Thanks @jorismak for the nice photo!
I wasn’t sure what I’d find here - I don’t take many people photos so I wasn’t entirely sure what to expect.
I first used sigmoid, and got a result I was happy with pretty quickly. I should mention at this point that whenever I use sigmoid it’s almost always in the ‘per channel’ mode. The other (rgb ratio) seems very similar to filmic, but with less control, so I haven’t done much with it.
I more or less just increased the contrast in sigmoid, and fiddled with exposure and tone eq until I liked the result. Using sigmoid (in the way I do) I often don’t need to add any saturation in color bal rgb, in fact sometimes I back it off a little.
Then I went back to original file and started again with filmic, and was a little surprised to find it more difficult to get a result I was happy with… v6 max rgb left the lady’s face very flat, although I could have got away with no tone eq at all… I ended up using tone eq with the gf medium preset (same as in the sigmoid image), filmic v6 max rgb with a bit of fiddling in the look tab, color bal rgb for saturation, and a bit of local contrast only on the highlights to restore… um… depth? texture? to the highlights.
And I’m happy with this result too! But I found it harder to get there.
In my opinion, in this case, how the colors look in highlights is very dependent on the correct white balance.
The second aspect that plays a big role is the treatment of highlights before they are taken over by tone-mapper.
Regardless of whether they are treated by filmic or sigmoid, in both cases they should be brought back - as far as possible - from the area of high compression to preserve the details and colors. This can be done with tone equalizer.
After that, the only question is which specific settings are important for each tone-mapper.
Filmic offers different modes for preserving chrominance, which can be advantageous depending on the scene.
In my experience, if you do it without these modes and adjust colors and contrasts with the color balance module, you will get good results very quickly.
Sigmoid has good contrasts from the start, especially in the mid-gray area, which need only minor adjustments. The color preservation is also good. Nevertheless, there is no way around making fine adjustments in the color balance module. In this case, I had to reduce the color saturation in highlights.
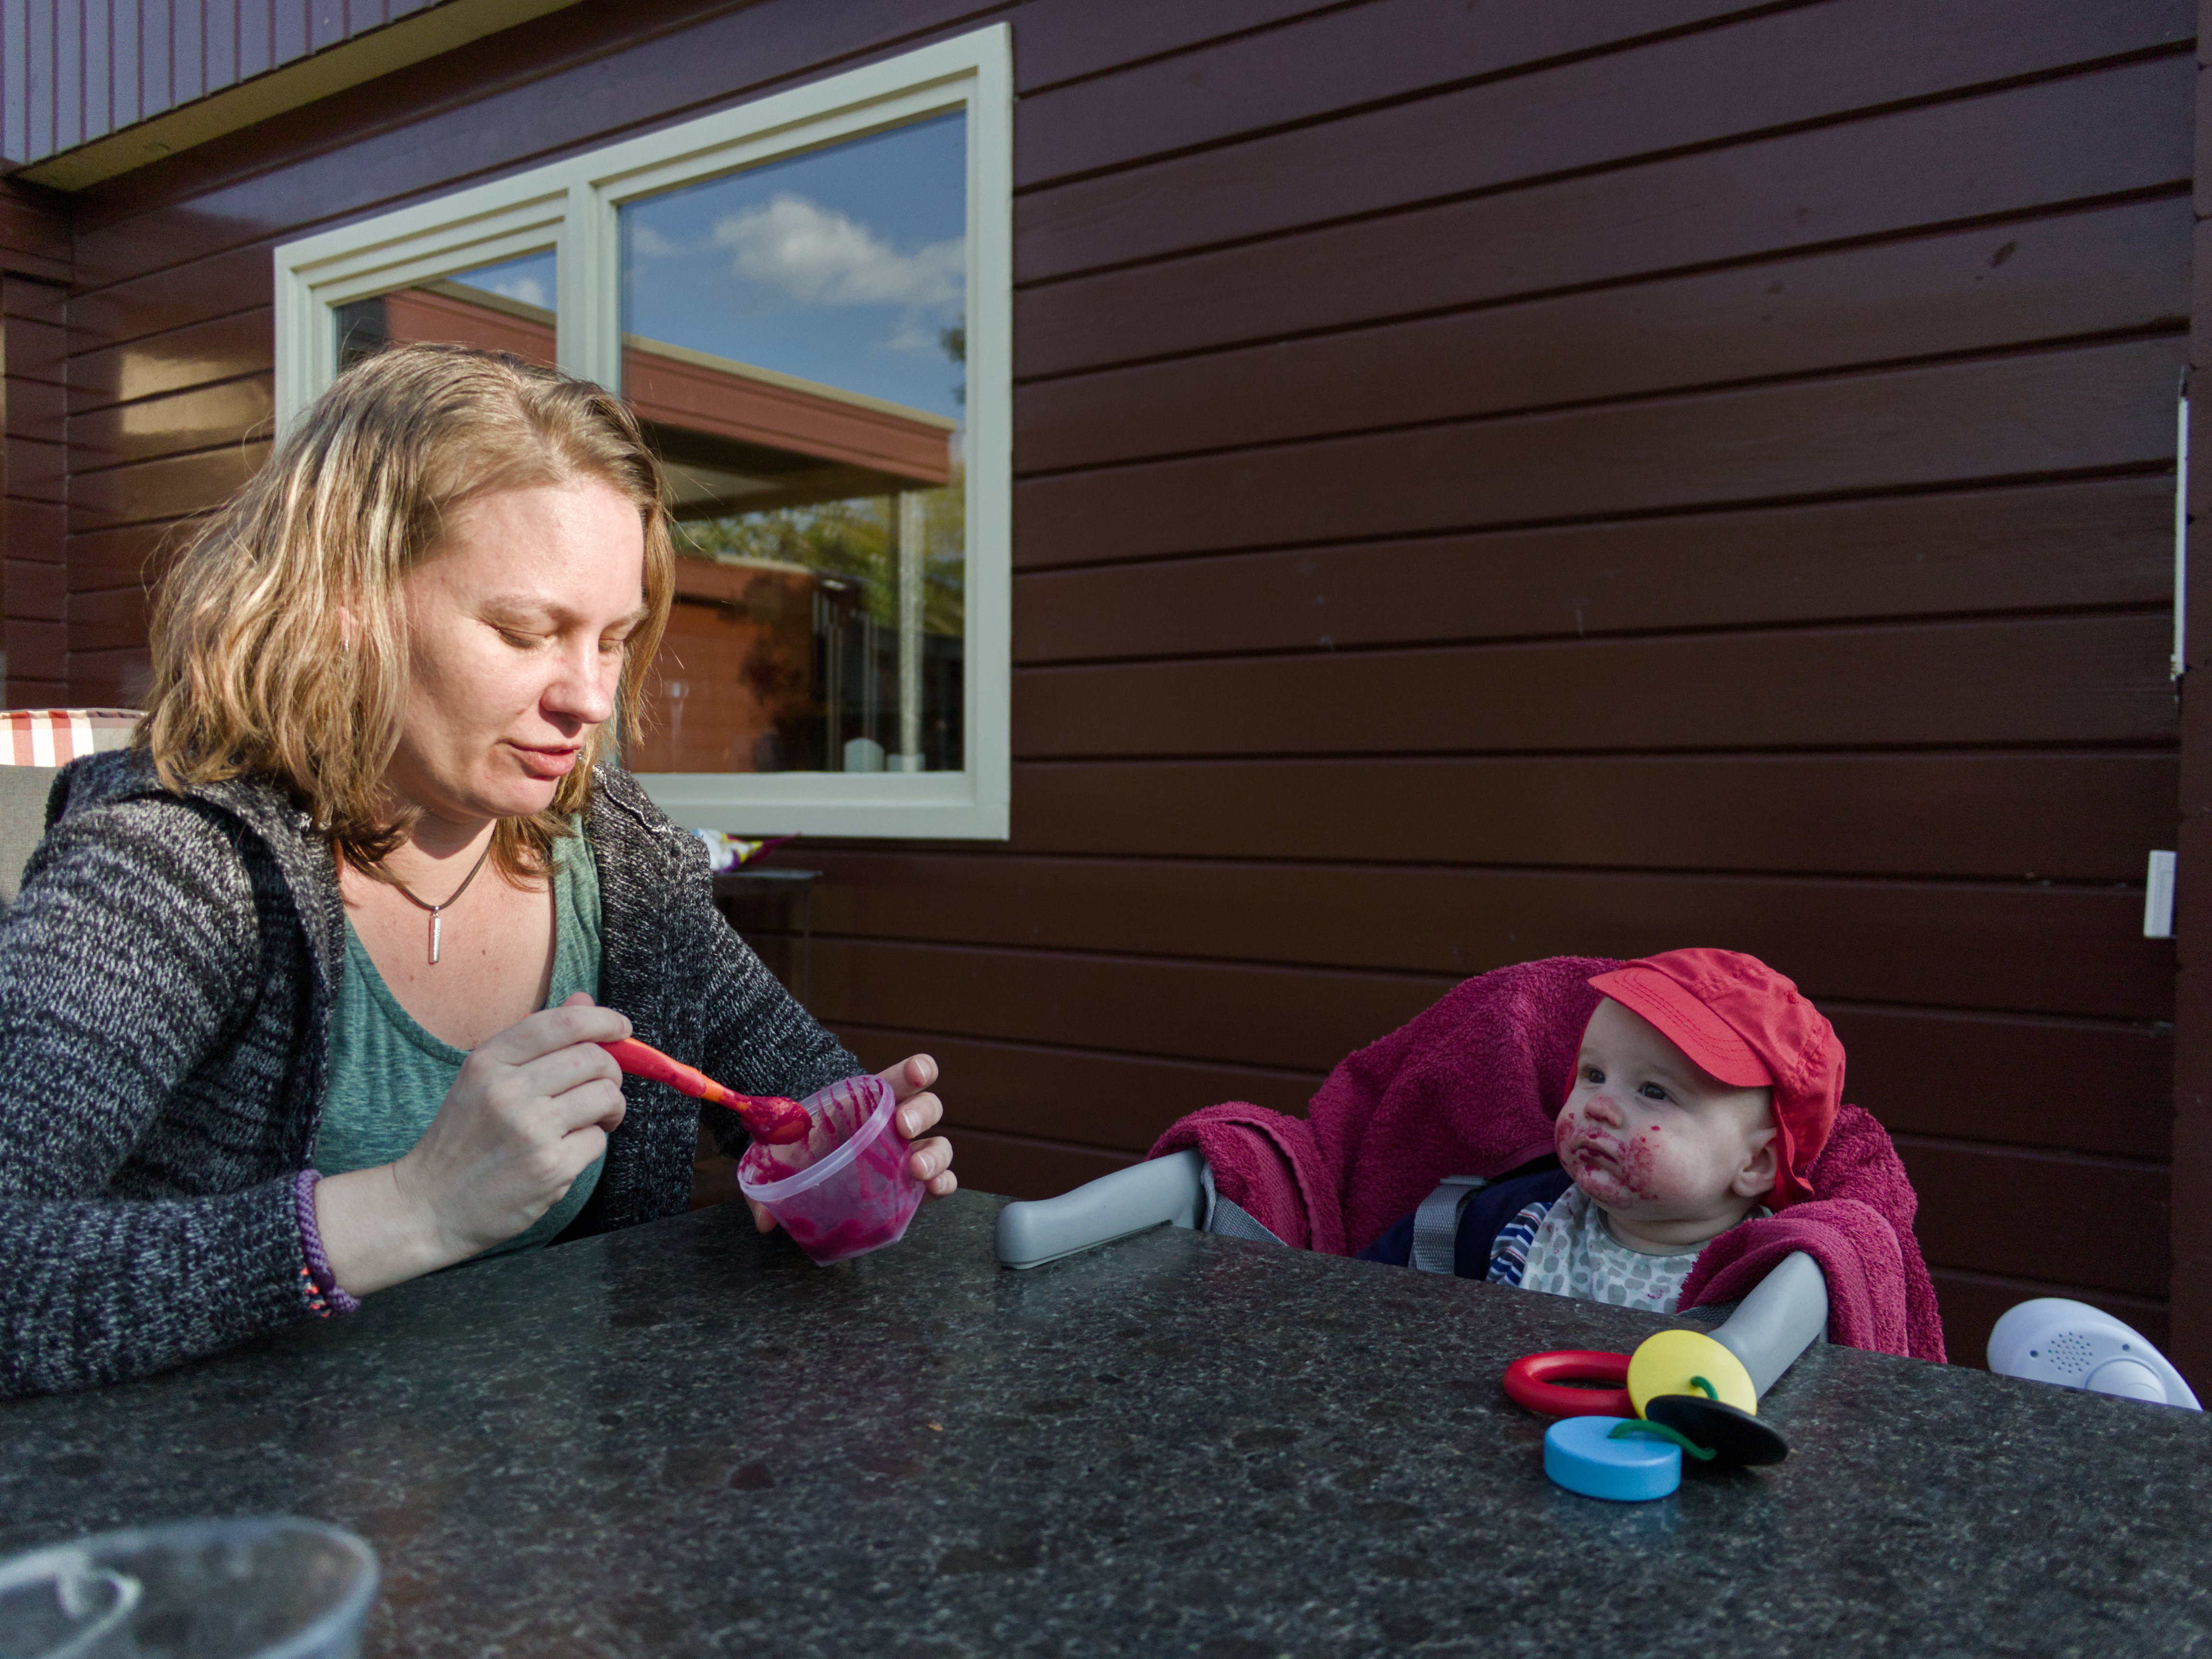
One more important note regarding this scene: be careful not to distort the brightness ratio in the scene. If the woman is illuminated by direct sunlight and the child is in the shade, they cannot be similarly bright. If you brighten the child too much, the scene will look unnatural.
Hi @s7habo ,
how did you managed the white balance in your edit? did you use both white balance and color calibration for it? I am having a hard time getting good skin tones.
With color picker in the CAT Tab of color calibration module I took window frames as reference:
Since the window frames are in shadows, they can’t be neutral gray/white because they were influenced by blue sky.
So I adjusted chroma a little bit (moved slider to the right) until the window frames and shadow area were slightly bluish.
I also paid attention to the change in the skin color of the woman, which is illuminated by the sun.
All the talk about skin tones, it was the back wall that gave me grief. I liked the contrast of light and wanted to keep the mood shade brought. Whenever I tried to darken or add contrast it turned into a pixelated blotchy mess with false gradients, especially noticeable on export. Managed to control it in the end.
I loaded indeed the sidecar file and was somewhat confused because darktable showed that both the white balance and the color calibration modules were used for white balance.
The original white balance module was split into white balance (for general purposes i.e. demosaicing) and color calibration (enables you to use multiple instances and masking for wb). See here: darktable 3.8 user manual - white balance
Thanks for the info @sushey ! Yes, I know that stuff. I was just confused because darktable showed following warnings saying that the white balance was applied twice:
as far as I know from the stable build, the warning only appears when you tweak the white balance module and the color calibration module for the same edit.
Maybe it is just a problem because I’m not using the exact same master build as Boris. But anyway my original question was answered. Thanks!
I think at some point in time there was a bug that D65 was showing as modified in WB and hence triggering the error…but it could also be something else…
This might be what you saw… seems like some old edit etc could invoke this with some changes that were made in DT…so it might be your edit age and version that were one of those combinations…
A note: when wide-angle shots involve people close to the edge, I prefer to set lens correction → geometry to stereographic. That projection does not maintain straight lines, but it does map circles to circles, which I find useful with human subjects.
I think that is a great tip… When I added this module to try and edit the image I was struck by how it seemed to distort the ladies head on the horizontal axis creating this effect of her jaw coming forward and hair going back resulting in unnatural dimensions… I will have to watch for this sort of effect…
It’s also perfectly fine to set your white balance how you want , then load color calibration and set it as daylight for example and make small tweaks.
The warning is just that, a warning.
I also often set white balance to as shot , then color calibration to ‘as shot’ as well . Color calibration is now a sort of no-op, but you can tweak it.
Mostly because the ‘camera reference’ workflow doesn’t work for all cameras when the lighting situation is too far from daylight.
(On my Sony for instance, its unusable if the was closer to tungsten ).
Also on this image , i use the normal legacy white balance workflow… But i want to add a masked color calibration on the kid to bring the warmth up slightly.
So i set color calibration to a mode (often cam16) , set it to daylight , and nudge the temperature up a bit, then apply a mask.
Know what you are doing (and why the warning is there ), and then don’t be scared of warnings .
That’s the most brightness I’ve seen on the kid without destroying the natural look, nice ! I would warm the kid up ever so slightly , but careful enough to NOT completely remove the ‘in the shade look’.
I’ve recently switched to the to the ‘legacy’ wb defaults, so color calibration is disabled by default. I originally tried it to remove one of the highlight reconstruction complications, but I’ve found it works just fine (no surprise really) and I find it a little quicker and simpler than the CC module. And of course, if I need the new stuff, it’s easy to switch it back on.
Again, I’m no expert… not entirely sure that I’m not missing something but it’s working well for me at the moment.
Edit: sorry I hit the wrong reply button… meant to be replying to the whole thread.


 .
.