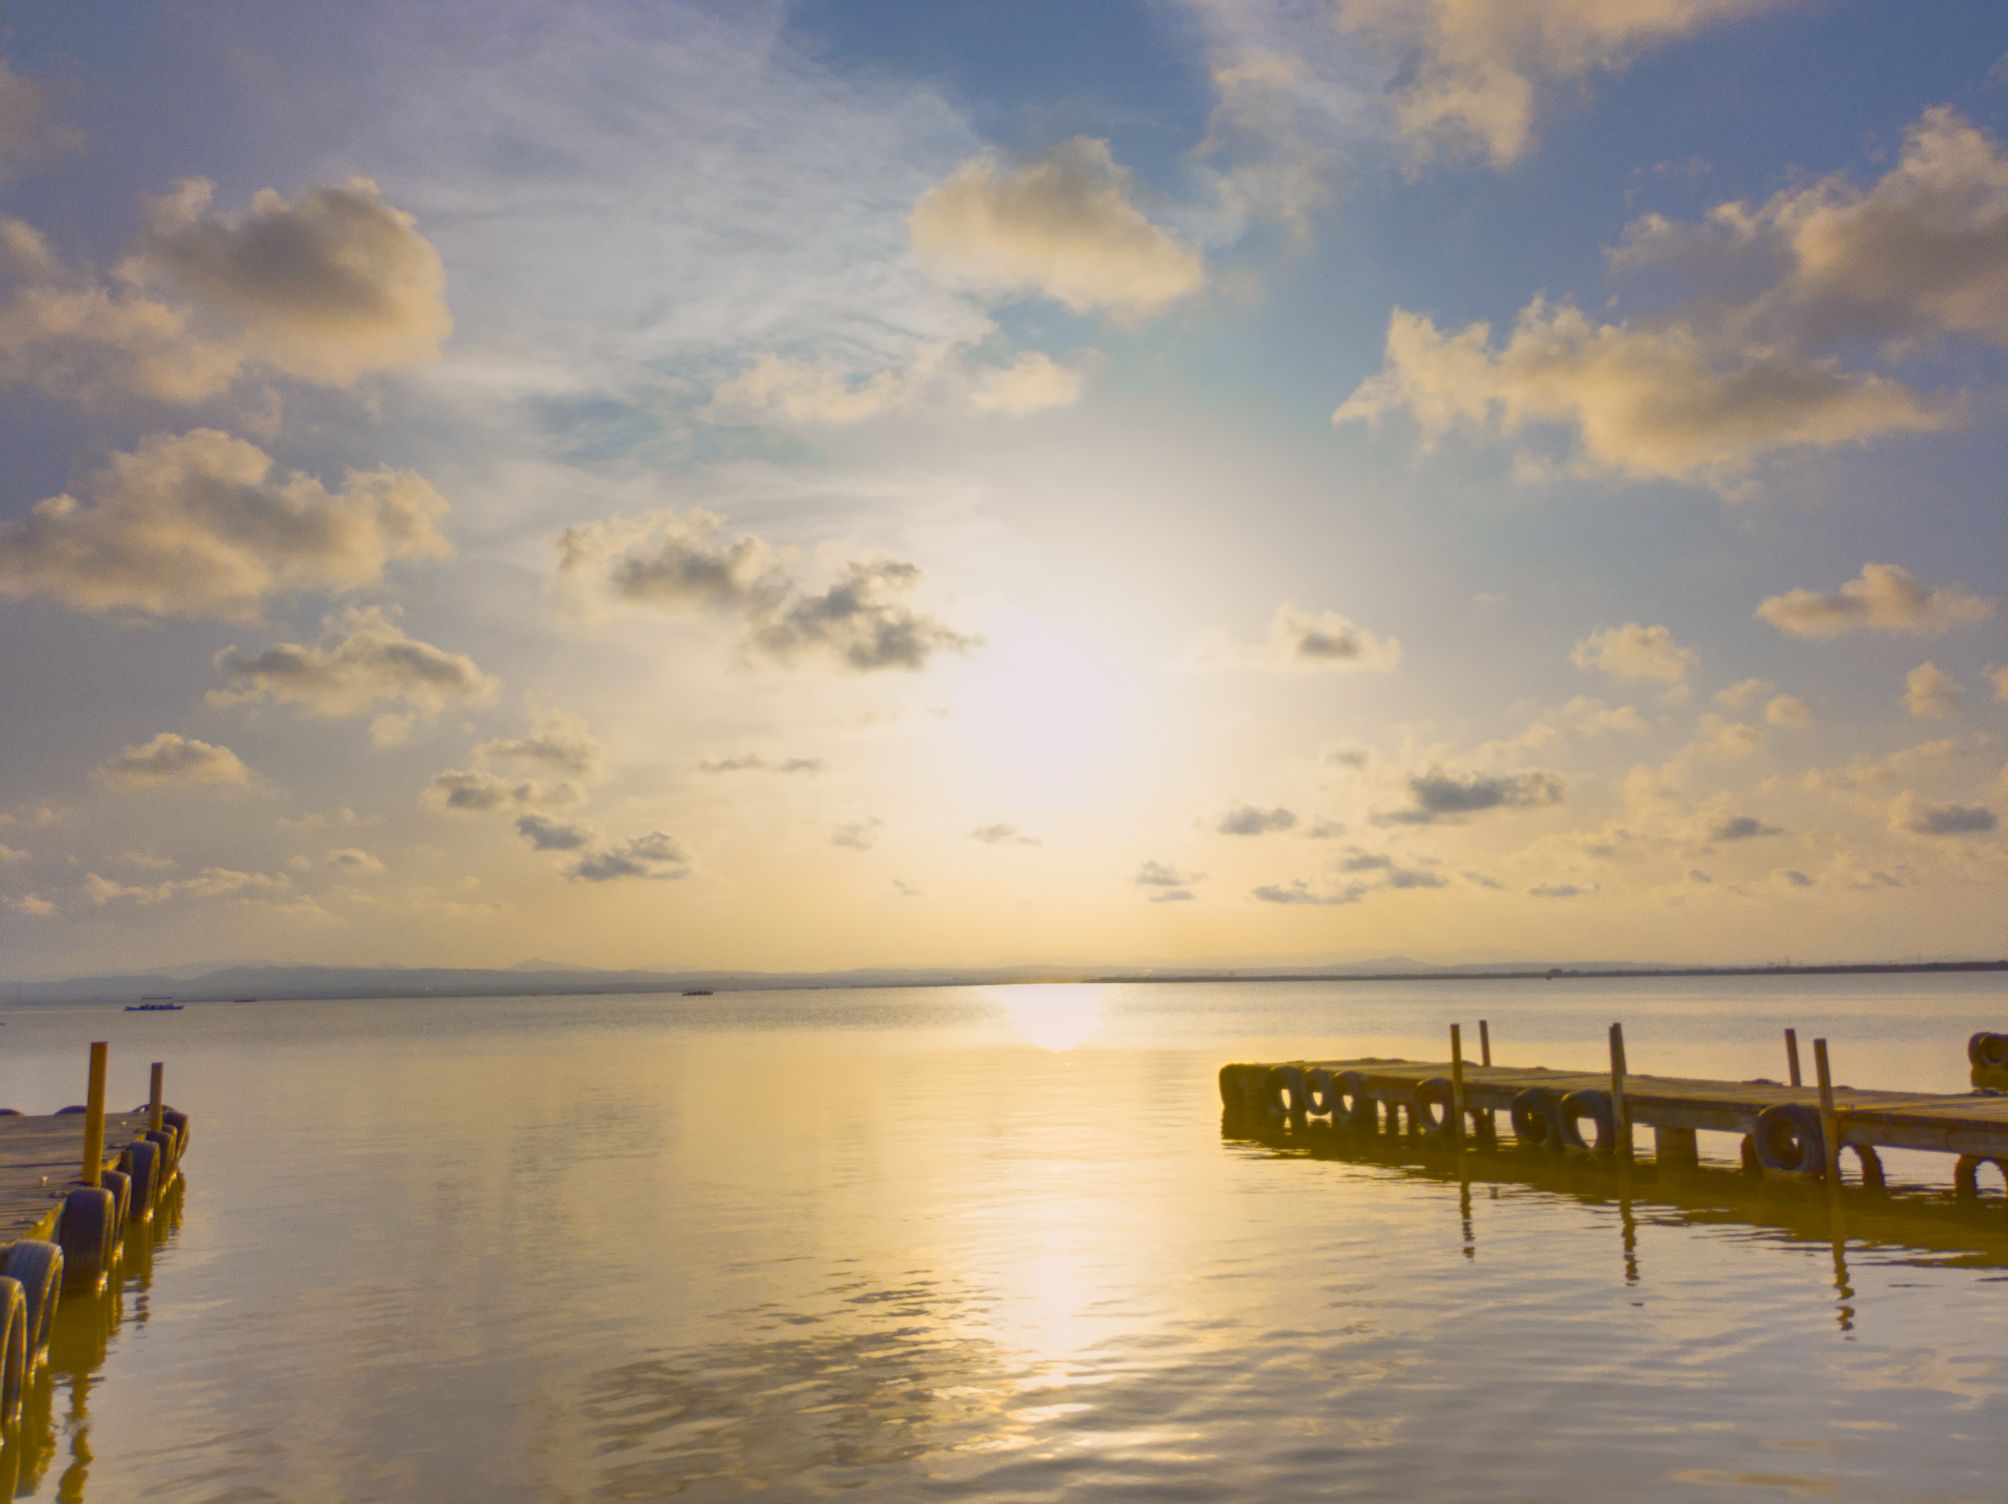
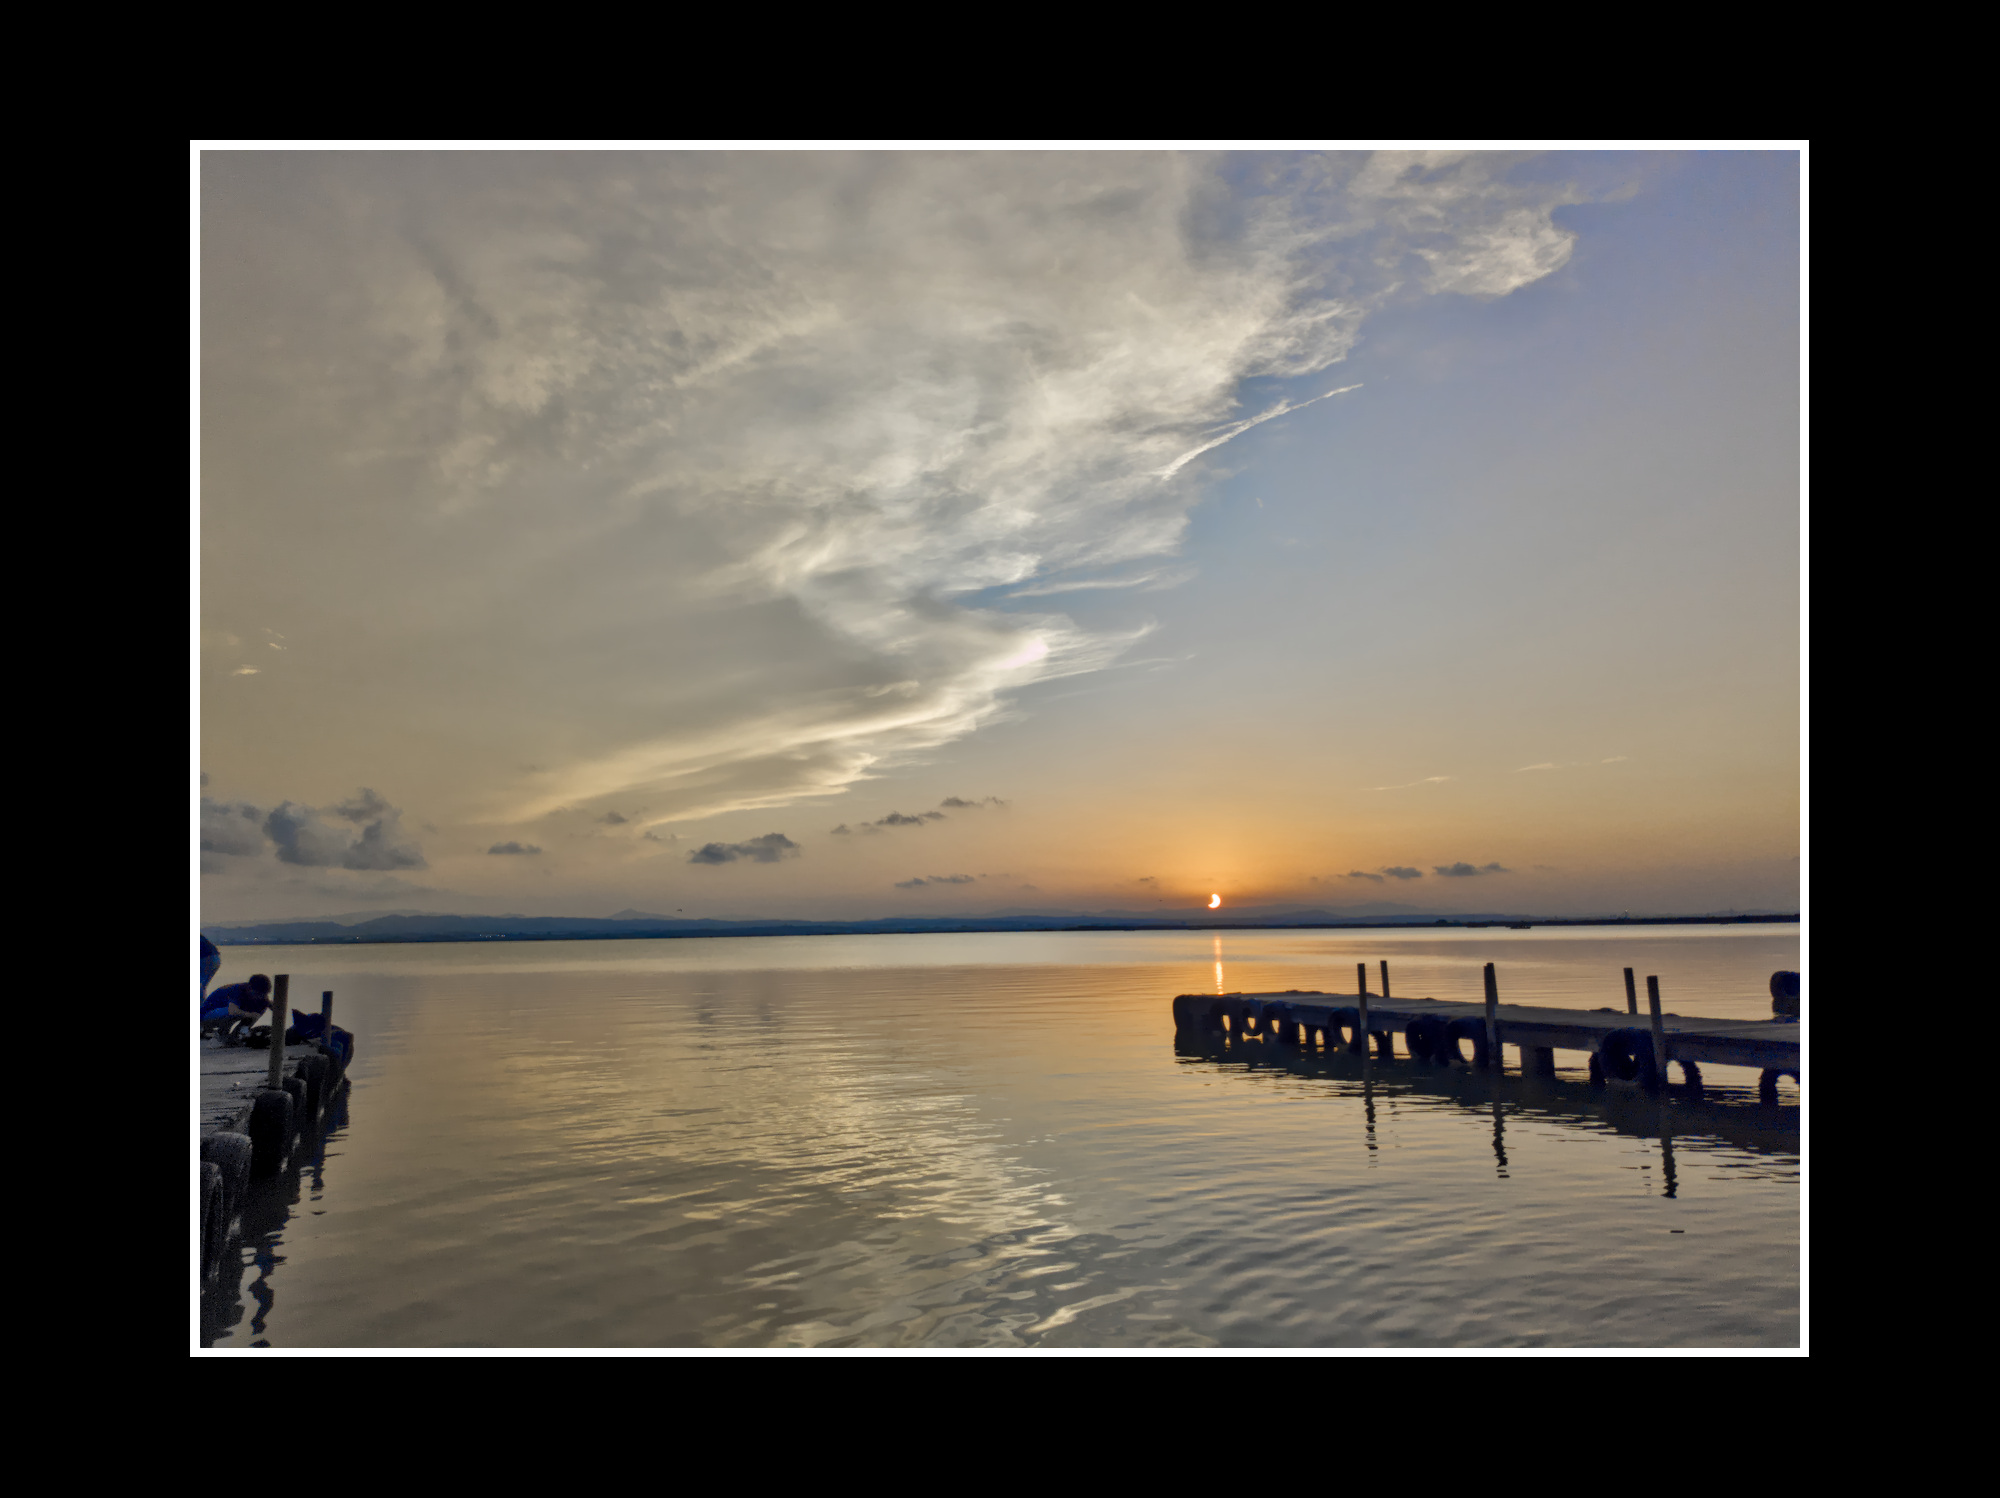
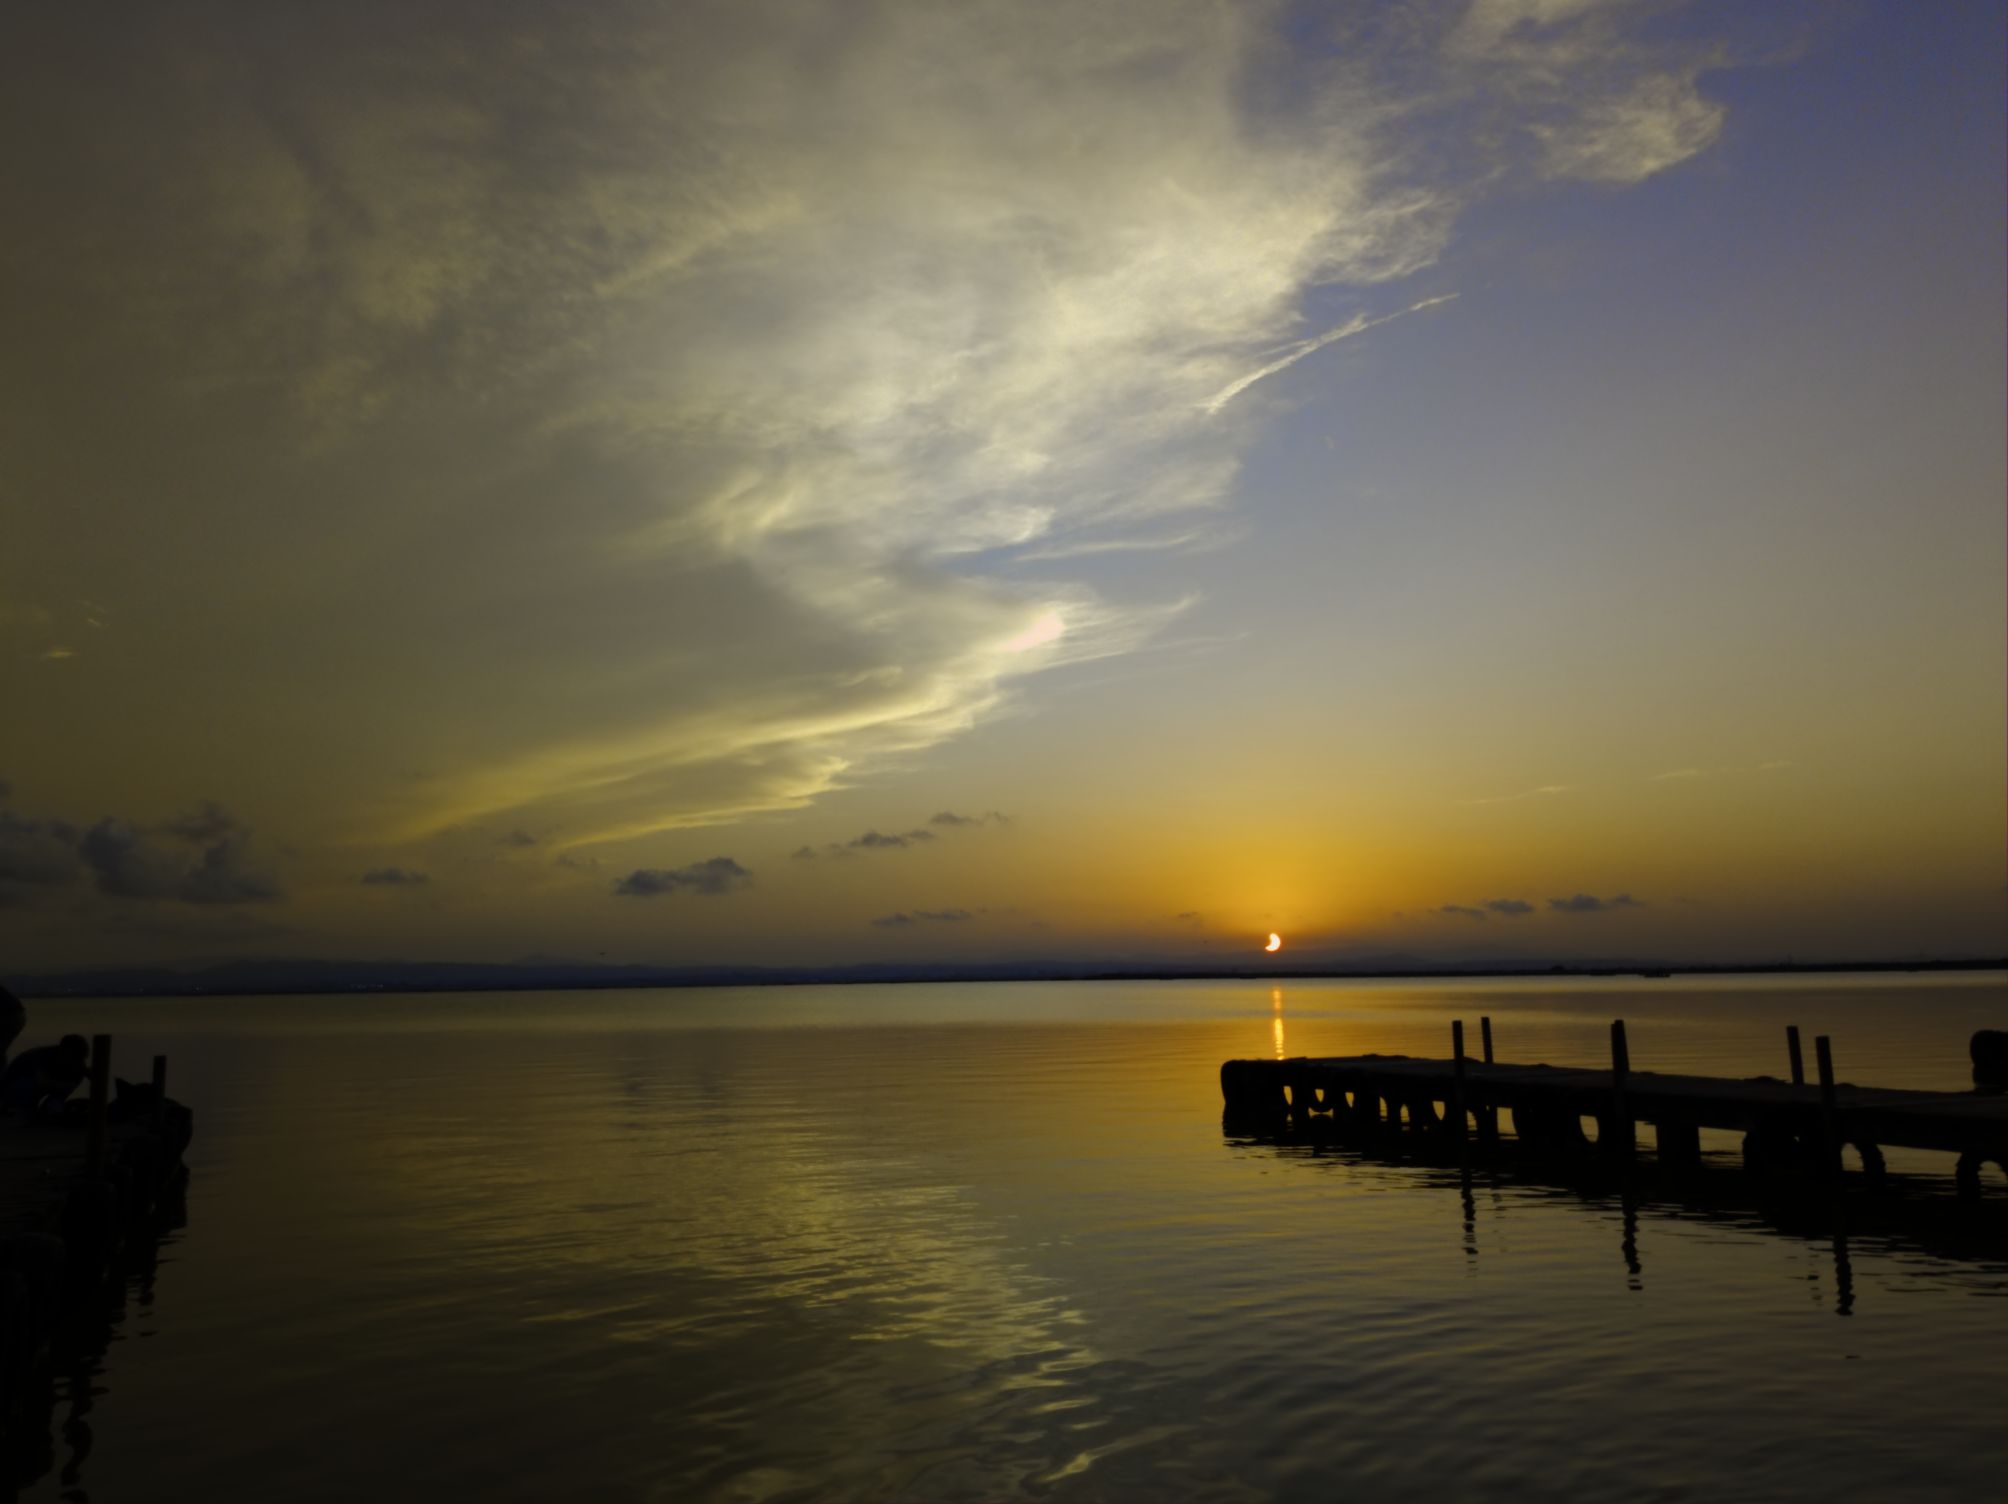
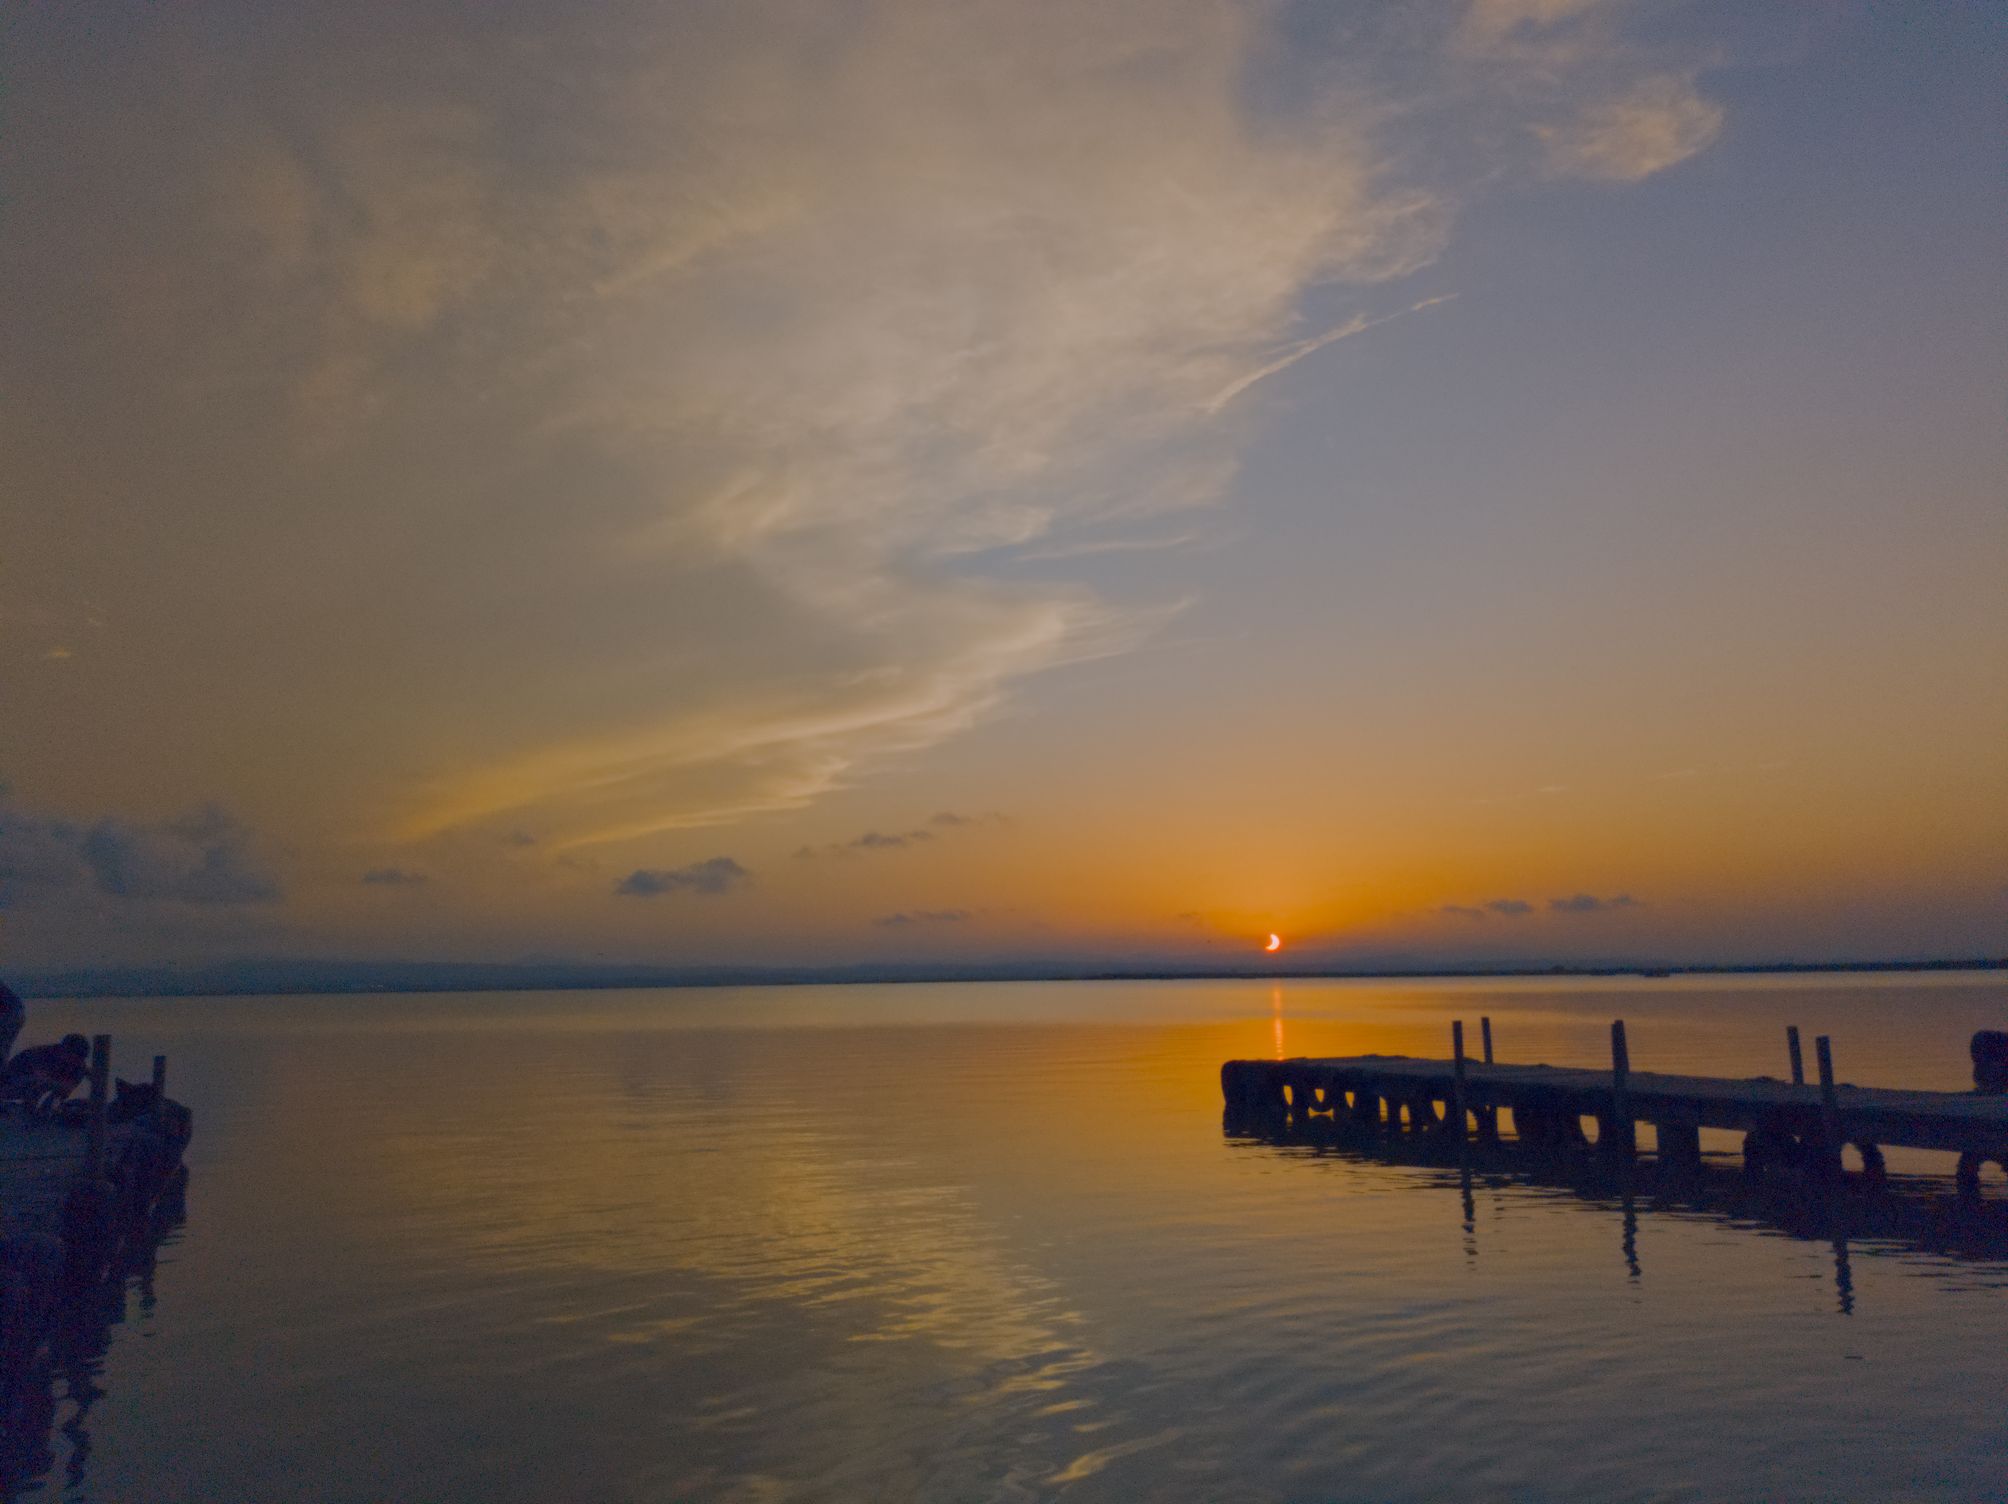
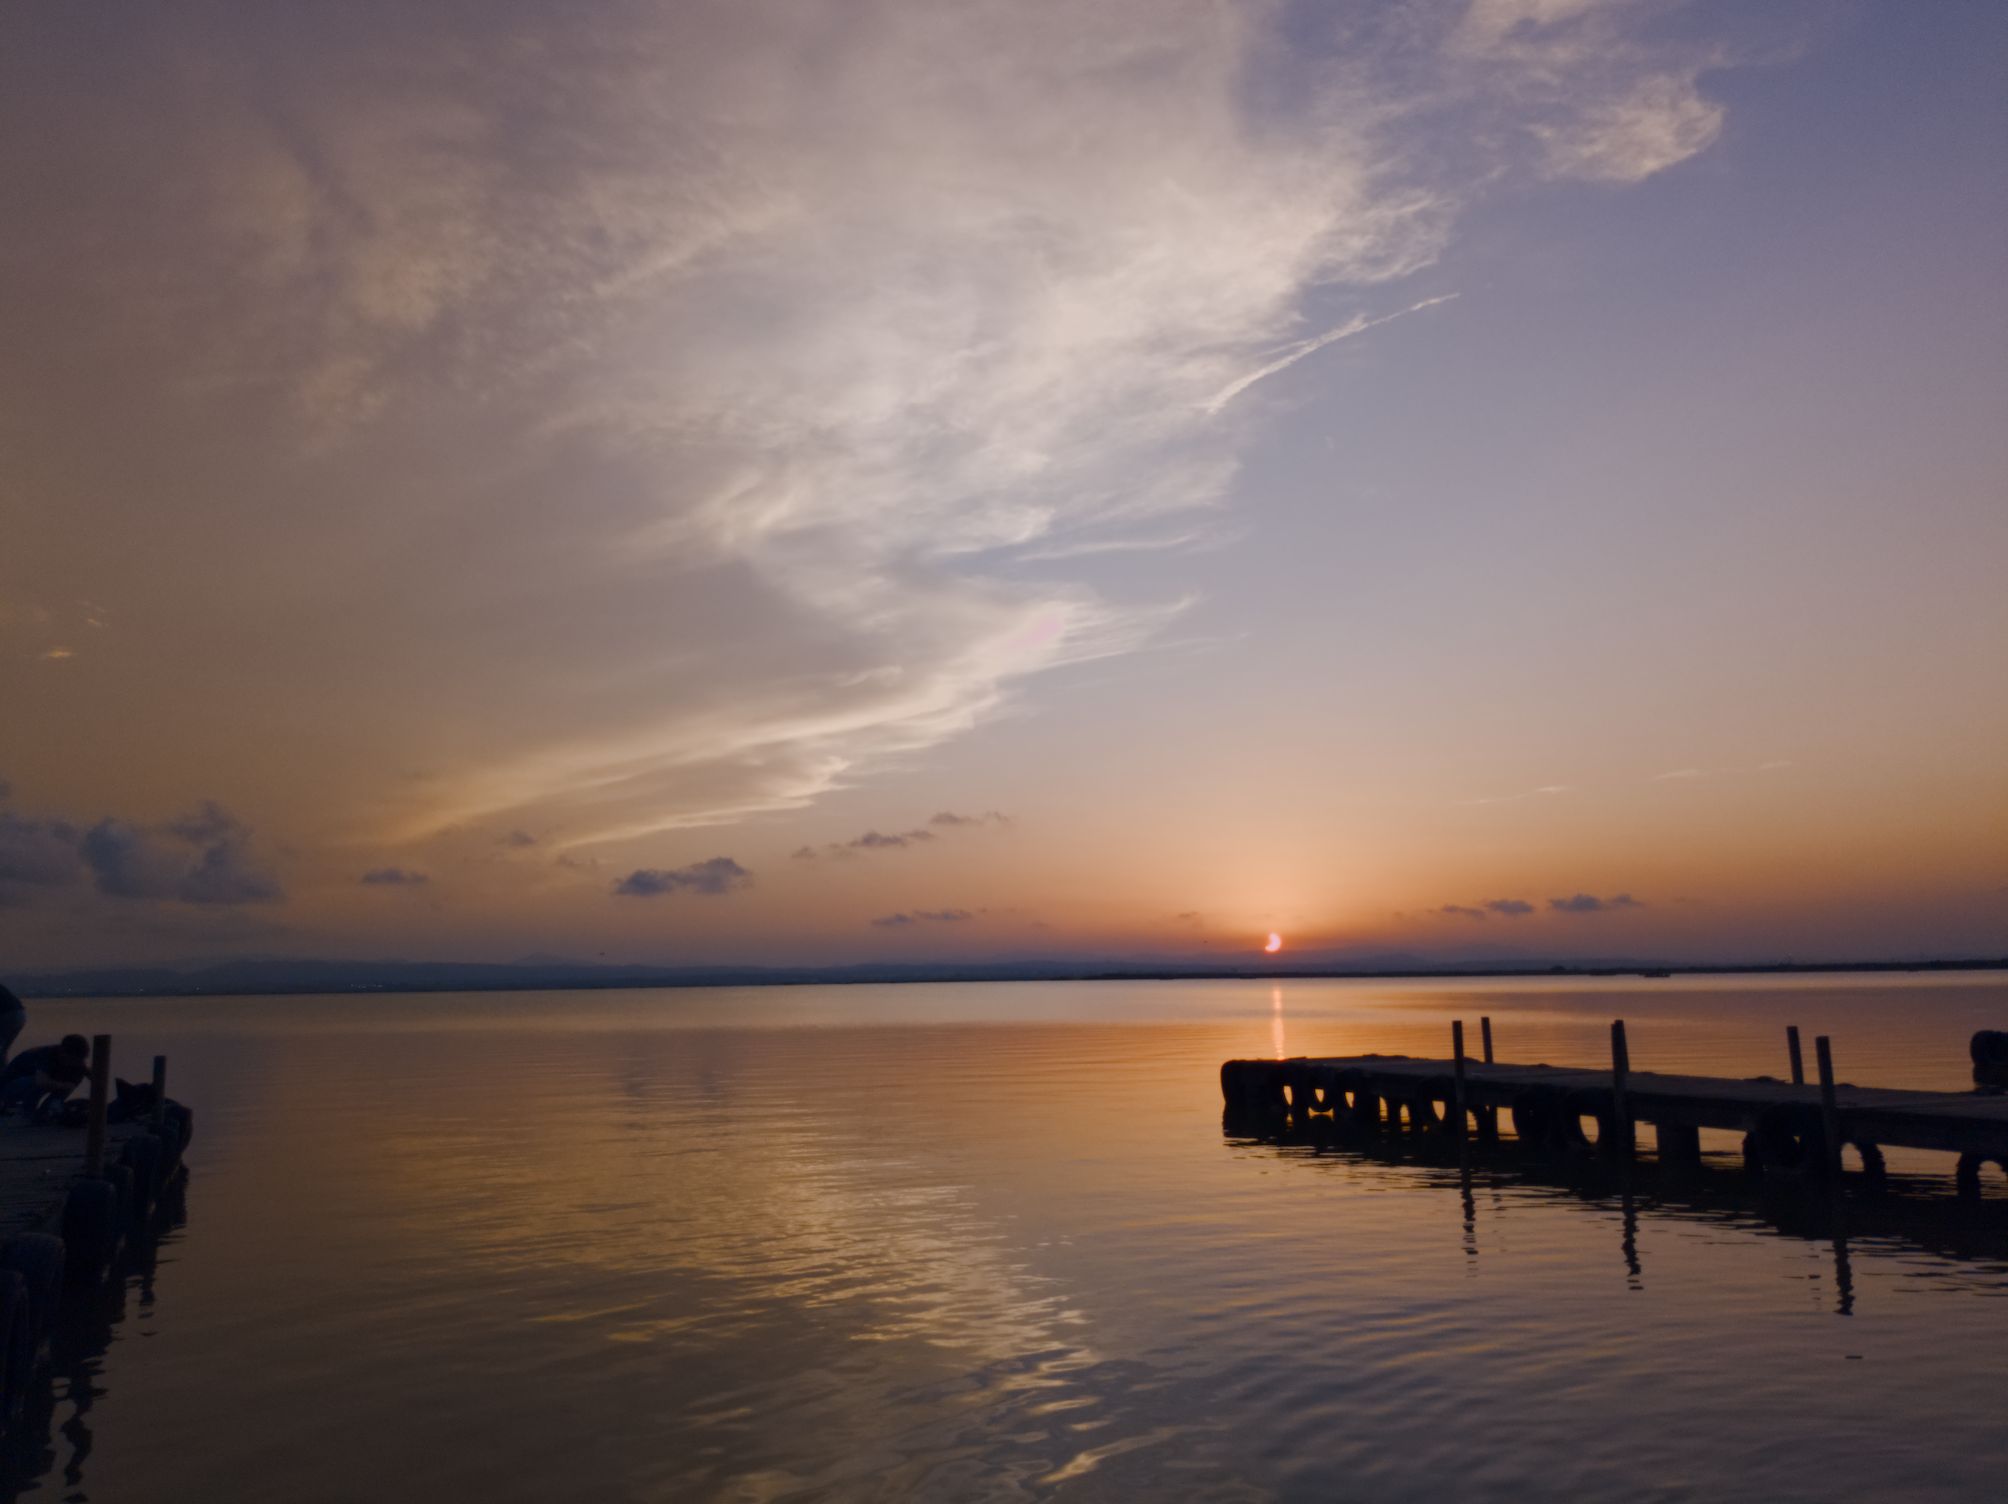
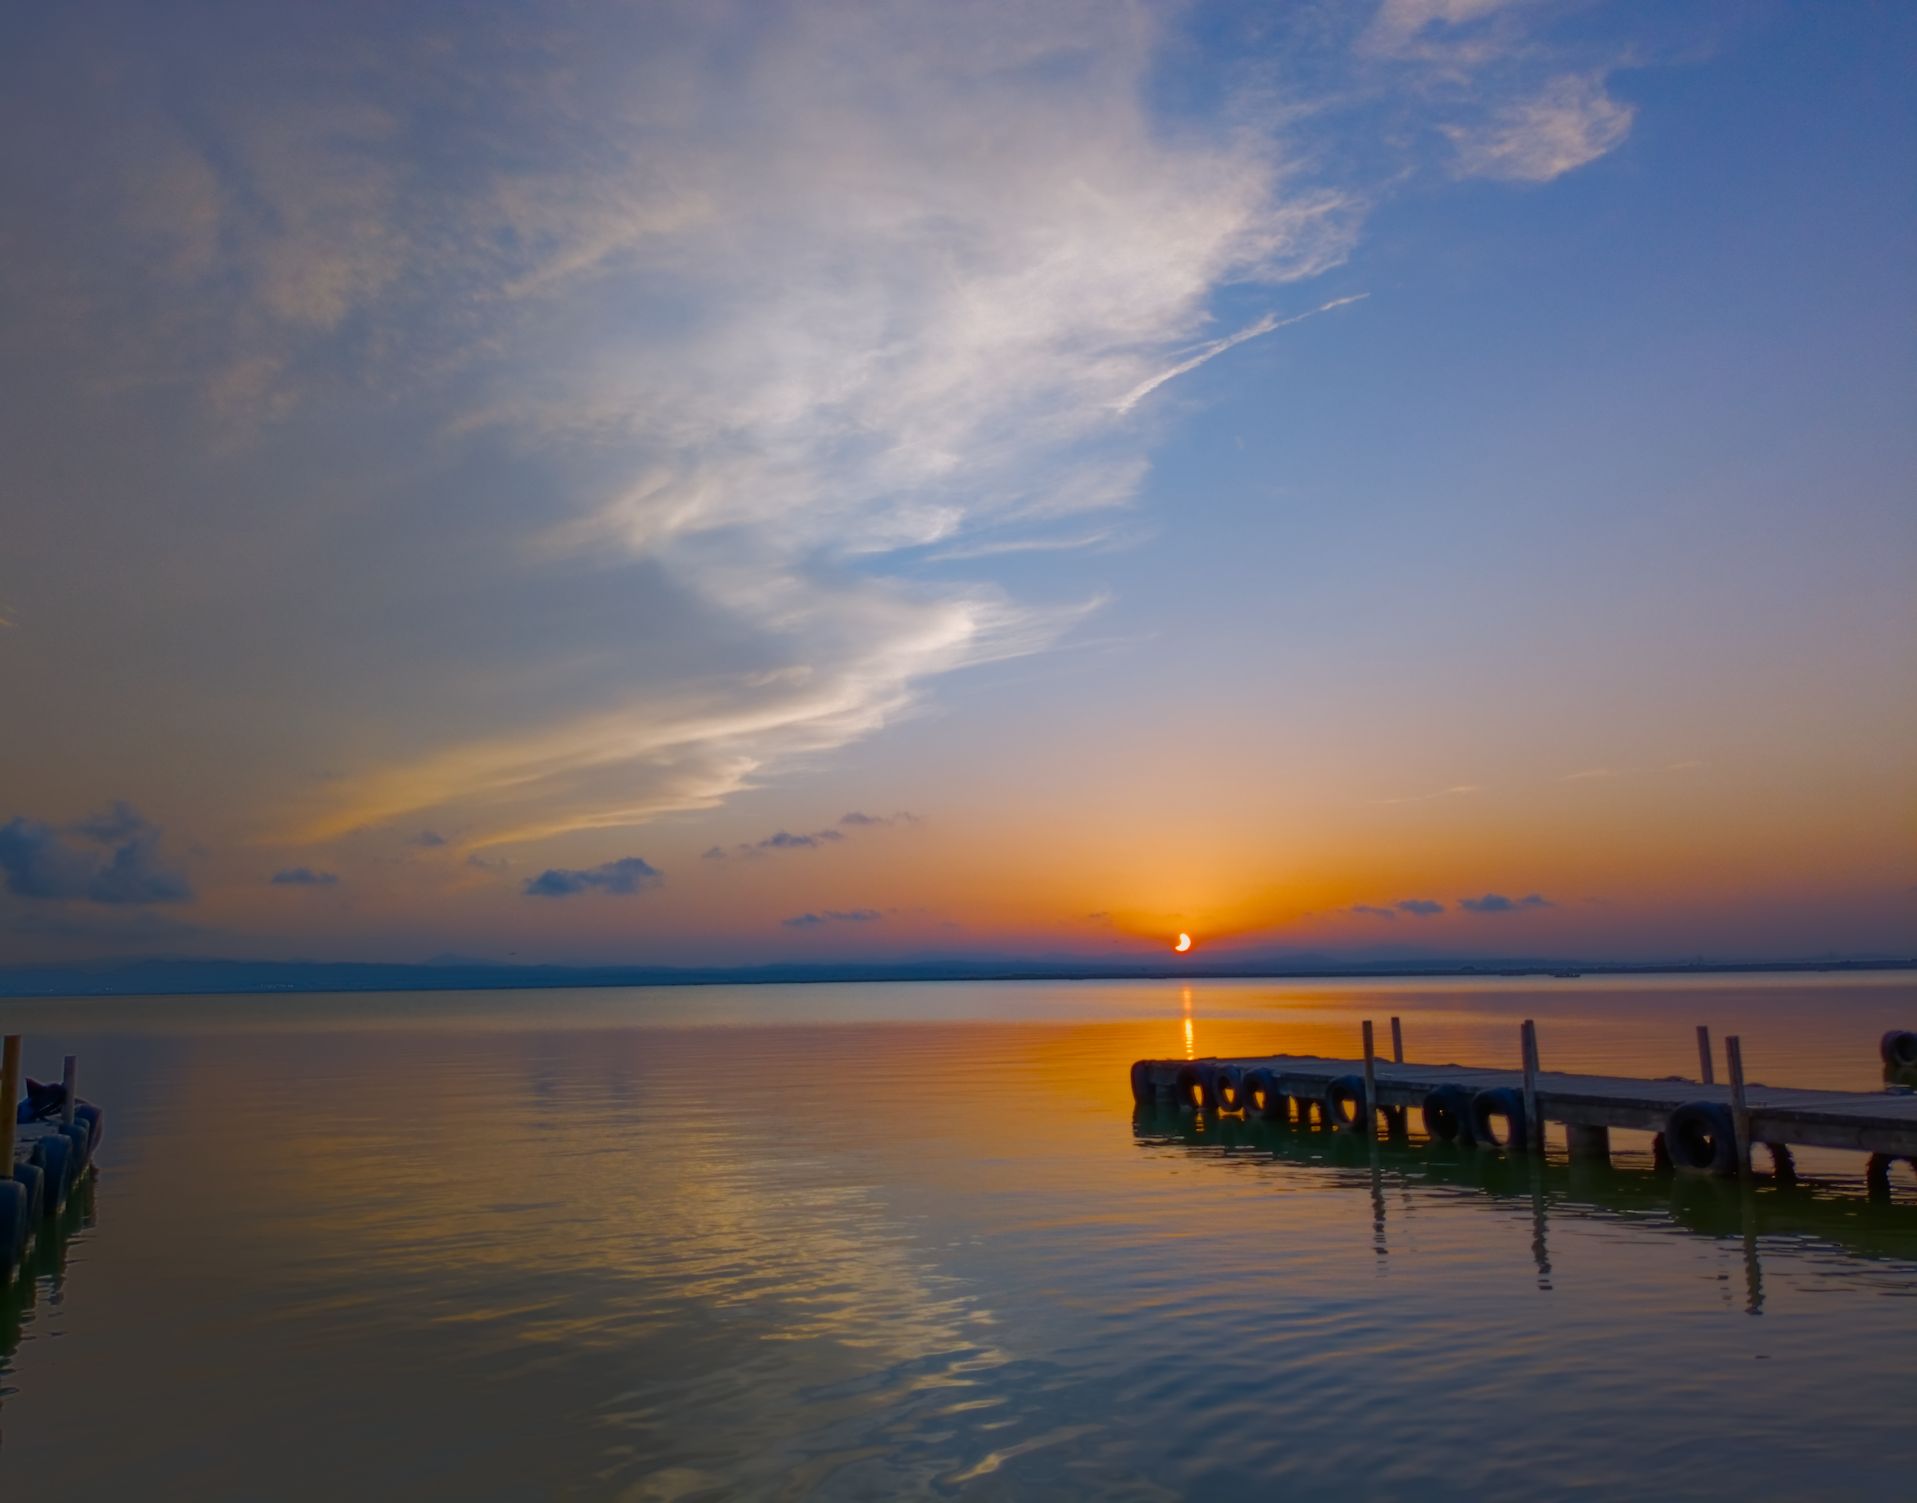
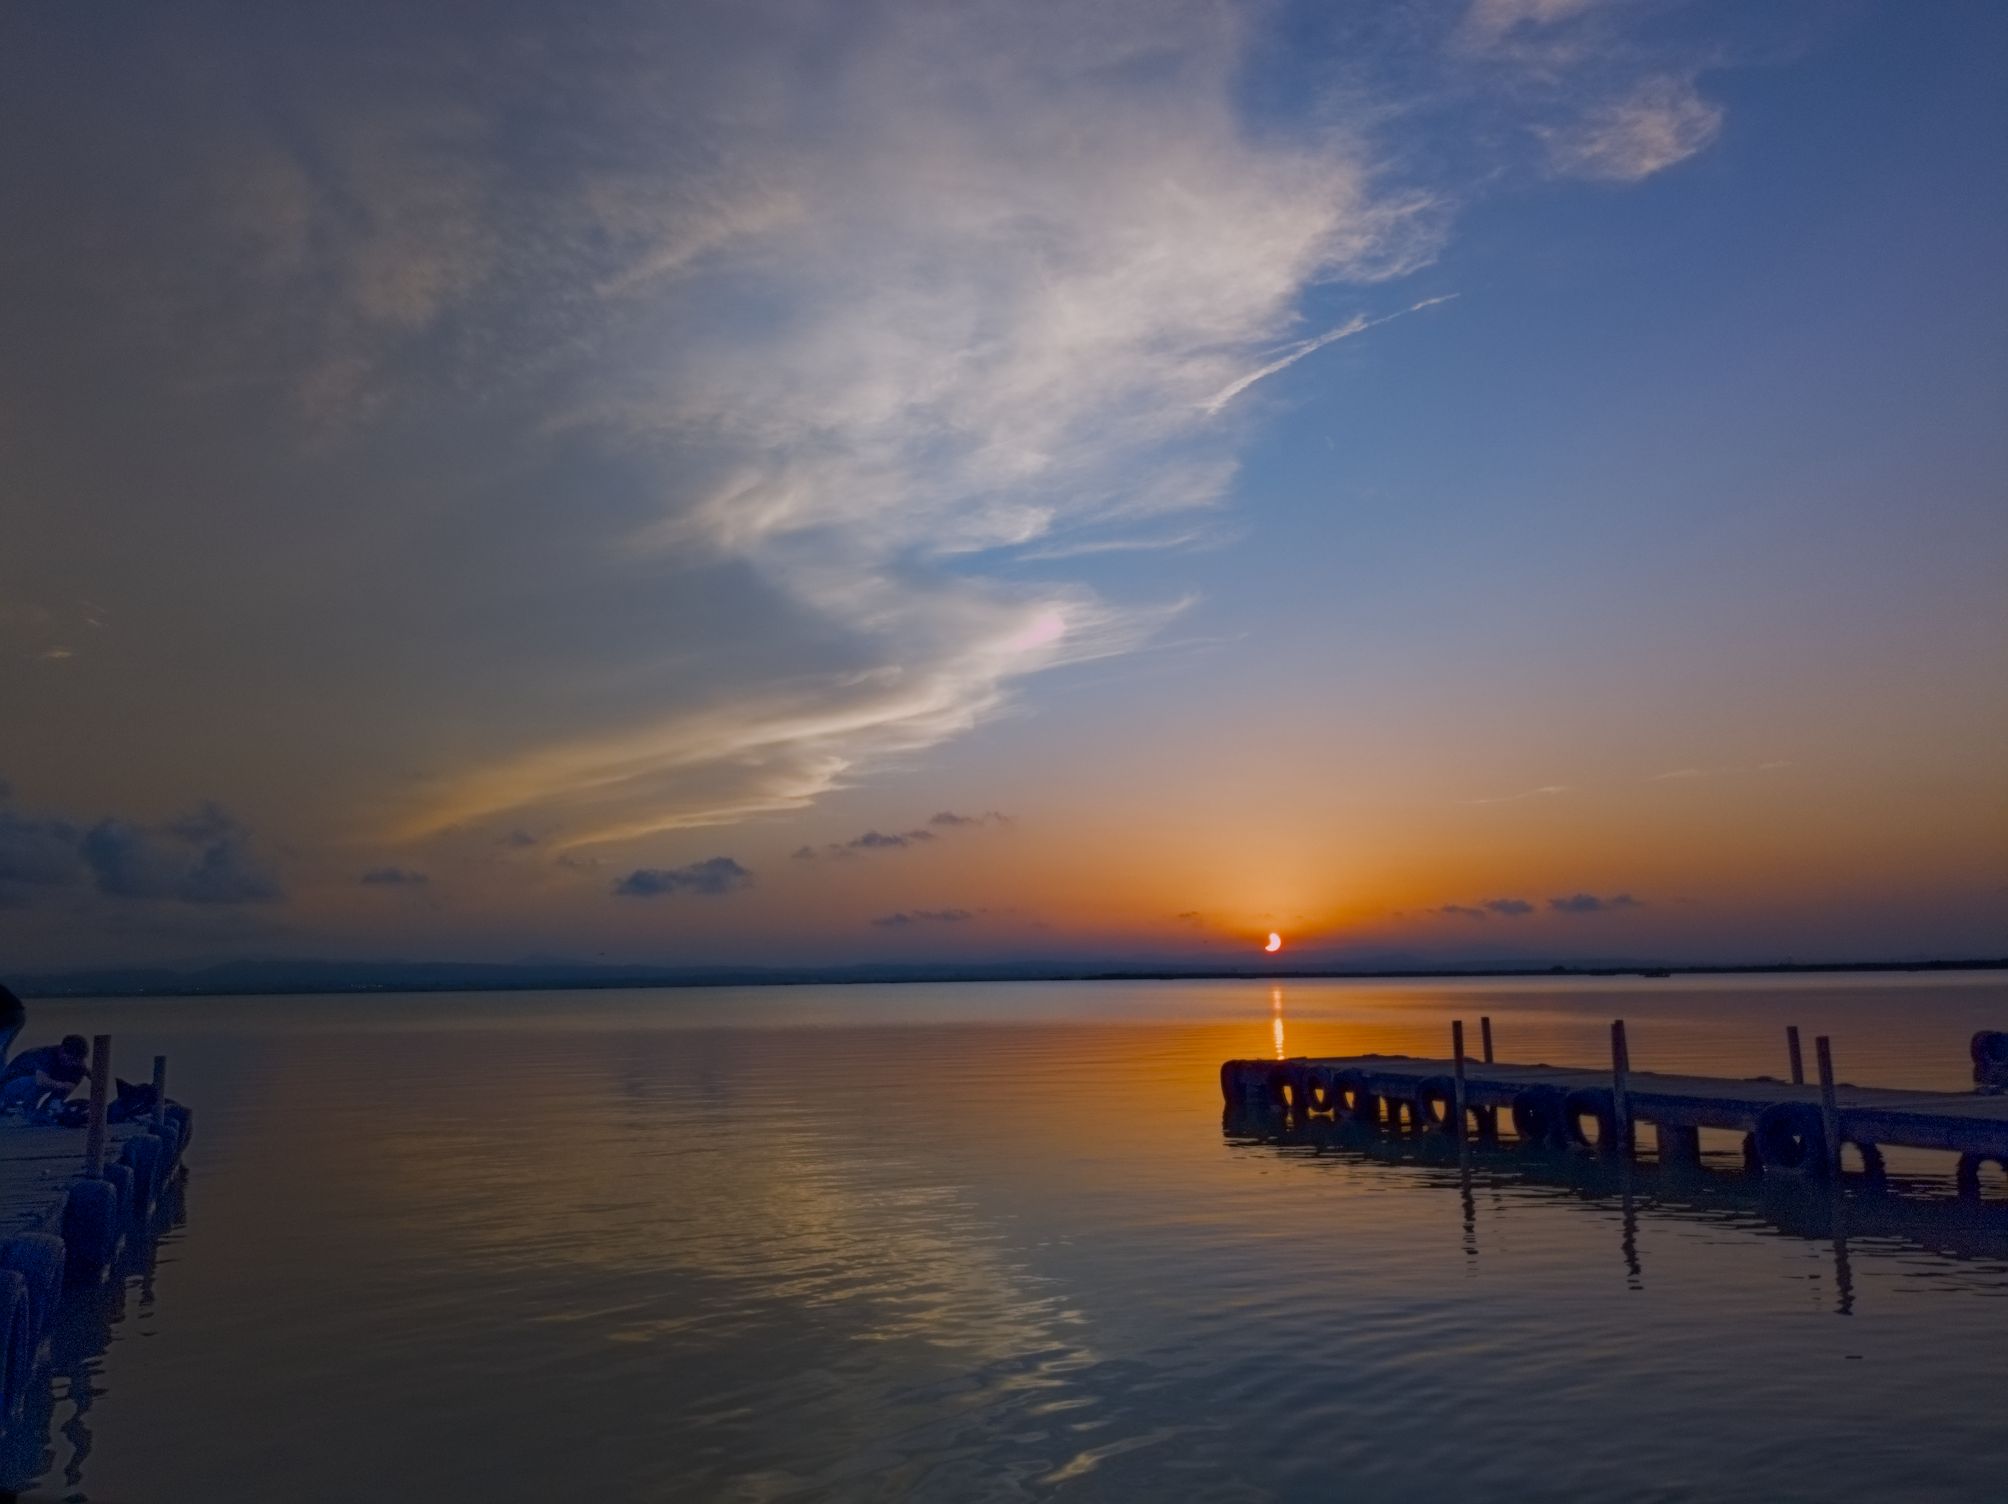
Hello, last month I shot a timelapse of the solar eclipse at sunset, and as a beginner I’m having trouble with the processing.
I’m actually pretty happy with the grading during the eclipse, it’s just immediately before it and the overall washed out look to all the pre- and post-eclipse shots. I’m reasonably happy with the crescent sunset in the last shot too but I also feel like it’s a little washed out and I don’t know how to bring that back because I already have global vibrance and global saturation maxed out.
I’ve been pulling up the exposure in the eclipse shots to bring back the foreground, but I’m really struggling to bring the bright blues that I saw on the day back into the pre-eclipse sky, especially just before the eclipse when the sky gets dark - I can only seem to get these off-putting golden yellow over the whole image. Messing with color balance rgb and color equalizer gave limited results.
I’ve put the XMP and RAW files to a few representative shots that contain my current edits in the drive link below.
Hello, I have a few comments after looking at the first and last ones.
First thing, you’ve included the 195218 tif but the 195238 xmp. I’ve applied the 38 xmp to the 18 tif assuming that the processing is similar.
Second, these are way less saturated than any raws I’ve seen. No wonder you’re having trouble. Maybe it’s because they’re exposure stacks. How does a single raw image from your camera look without any extra processing?
Colour equaliser isn’t doing anything at 195218 because the blues aren’t saturated enough for the guided filter’s default settings. You can lower the saturation threshold. (However, I’m looking at a mismatched xmp, so this might not apply)
You might want to adjust tone equaliser’s mask so you have an easier time separating the tones. (exposure and contrast compensation at least, then there’s the advanced settings on the third tab)
The picker module is reporting a negative saturation for the sun, with no modules active! No wonder it’s staying white in the centre. You might need to insert some colour with the Colour Balance RGB chroma sliders in the 4 ways tab.
Global vibrance actually maxes out at 100%, it has a soft limit at 50%. Middle click to see hard limits.
The first one is leaning towards green in the centre, if I fix that with colour calibration, then the sky turns purple at the corners. Probably a side effect of exposure stacking?
For the first one: I’ve moved colour equaliser after colour balance RGB, so it’s working with more saturated input. Then I rotated greens to orange, and purples to blue. A bit of brute force from the module.
For the last one: I’ve changed the Colour Balance RGB masks to catch the scene values better (i.e. lowered middle because the bright areas are relatively dark to begin with). The tyres are crushed to flat black to begin with.
The white balance on both is okay (apart from the green/purple thing I mentioned) so I didn’t adjust it with Colour Calibration. I didn’t see a need for tone equaliser so I left it off. You can re-enable Local Contrast if you want.
I have personally not had great success with exposure merged raw files. I have tended to get the best result from the brightest RAW image without highlight clipping on all three RGB channels. Could you share a raw image here here for testing rather than tiff files?
Thanks for the helpful replies. They are stacked exposures and I merged them with Enfuse which probably explains it, I’ve attached the original five exposures for each raw.
I was relying on the brackets to capture the eclipse and the sunset without touching the setup so the majority of them are vastly under- and overexposed, and the only reason I feel like I have to stack them is because it’ll end up as a timelapse and I’m trying to avoid sudden changes between the frames, which I was getting from HDRMerge.
Well, that was strange. I created an HDR merge using darktable’s function, and it appeared as a blank image at first. I had to change raw black point to 0 and raw white point to exactly 1. Then it functioned like other HDR merges I’ve seen before.
Info for others: these were taken with a Pixel 6a.
However, the sun was still getting negative saturation, so I had to do some careful things with colour calibration and colour balance RGB.
If you create an HDR with darktable with the same images, this xmp will work. IMG_20260812_195218_0-hdr.dng.xmp (12.2 KB)
I’ve also tested with a single exposure. Used the second of 5 following @Terry 's guidance regarding clipping in all three channels. I was still getting negative saturation readings in the picker module.
Now, some of this might be from the way the picker works (it’s the preview pipe and there’s colour space conversion happening) but without it I’m just more blind.
So I’m trying to get values that aren’t crazy high (so high they go negative) as I believe you wanted to add some colour to the sun?
I tested a few things, and I actually needed to start by reducing exposure. I got best results with Tone Equaliser to smash the values closer to the rest of the scene, and Diffuse or Sharpen with diffusion (example in my xmp). But it didn’t need both at the same time. After that, AgX was a good tonemapper for finalising the contrast and colours.
My experimentation with this is probably unnecessary, but… more things I hadn’t considered last night:
Highlights reconstruction set to clip highlights, with a lower threshold. (Maybe 0.950?)
White balance at ‘camera reference,’ then set green coefficient to 0.5.
These two changes do a good job of controlling rogue values. Partially because Colour Calibration doesn’t have to deal with a heavily green tinted image. (I haven’t seen another camera reference that’s green like this)
On top of those, you could also try gamut clipping to linear rec2020 in input colour profile but you have to take more care with exposure before input profile.
I’m not sure about the ‘flat field correction’ in the raw black/white point module. It seems to increase saturation and decrease brightness, more at the corners.
Exposure black level correction seems to be best at 0 on these.
Small negative values in the Colour balance RGB contrast slider do well to mitigate the rogue values. Same with highlights perceptual brilliance.
AgX seems to control it well too. But it might desaturate the brightest values if they’re way too high.
Gamut clipping a bit more necessary on the HDR merge.