hdrmerge module: feedback wanted

I started working on an hdrmerge module and because it is so fun, I wanted to share.
Feedback welcome.

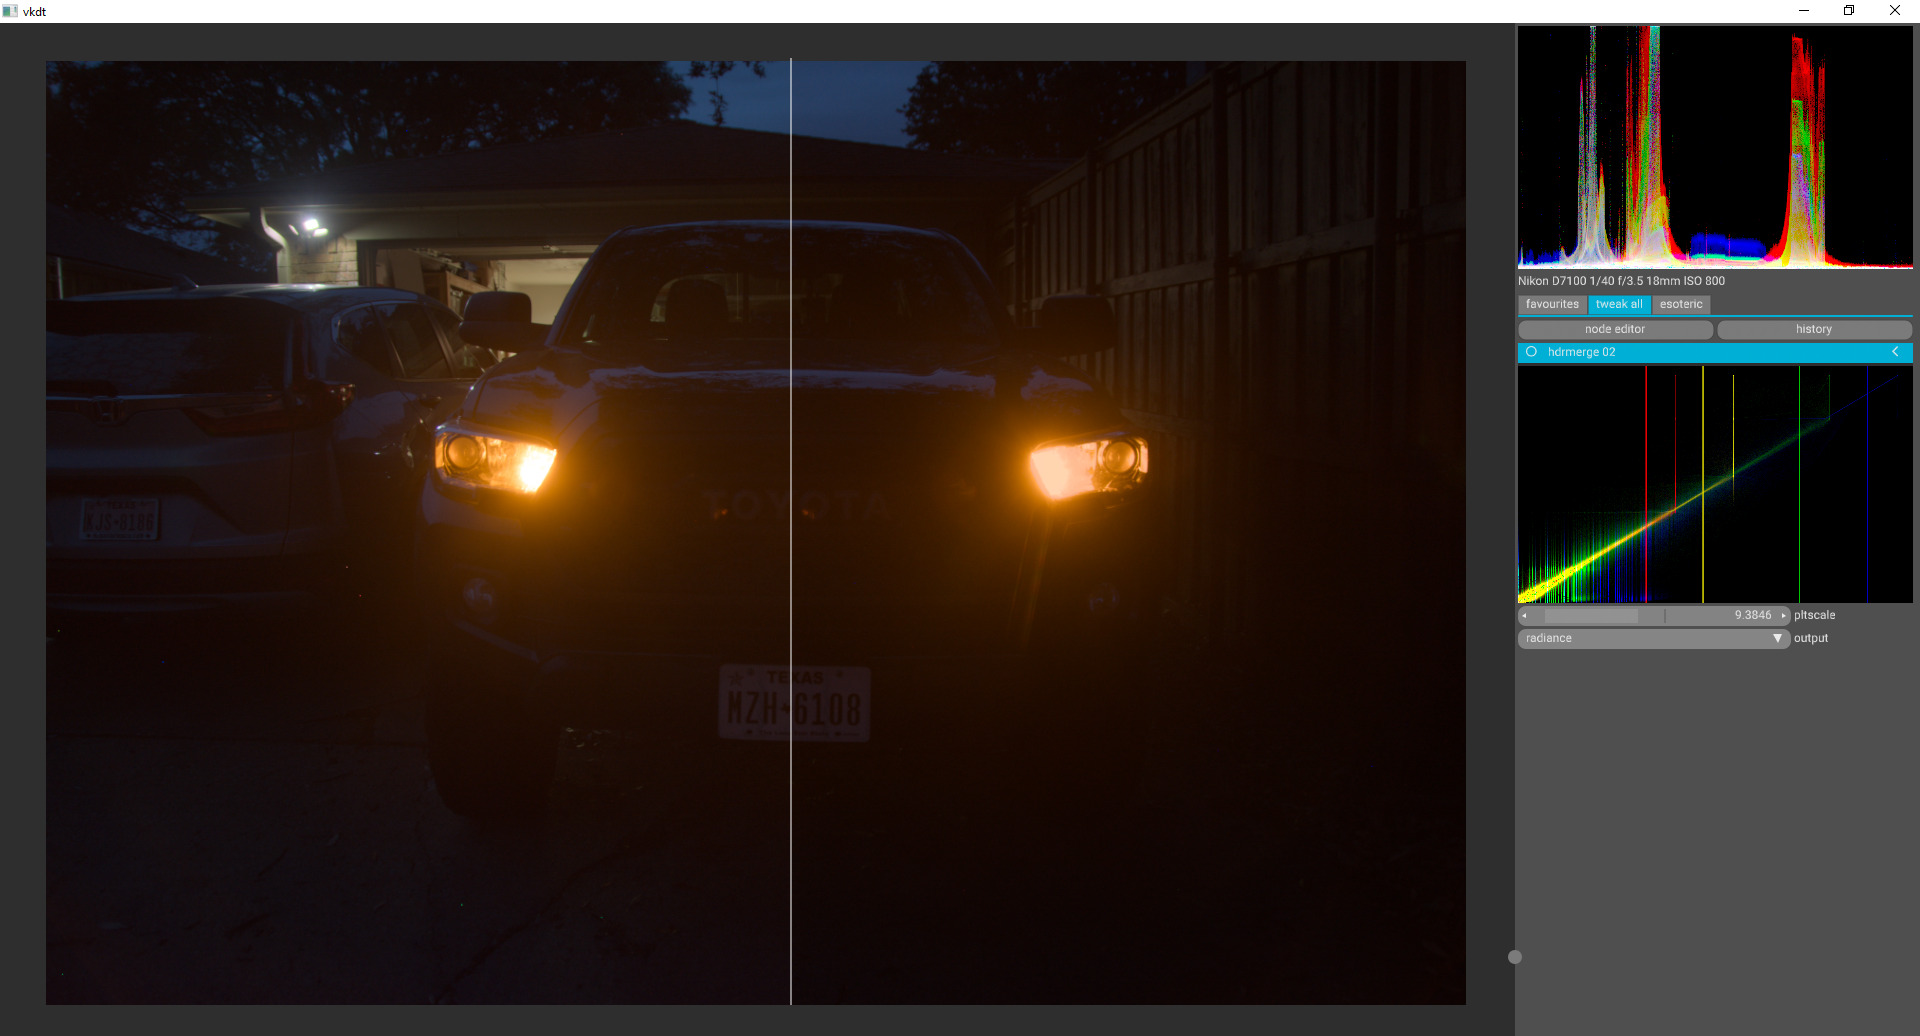
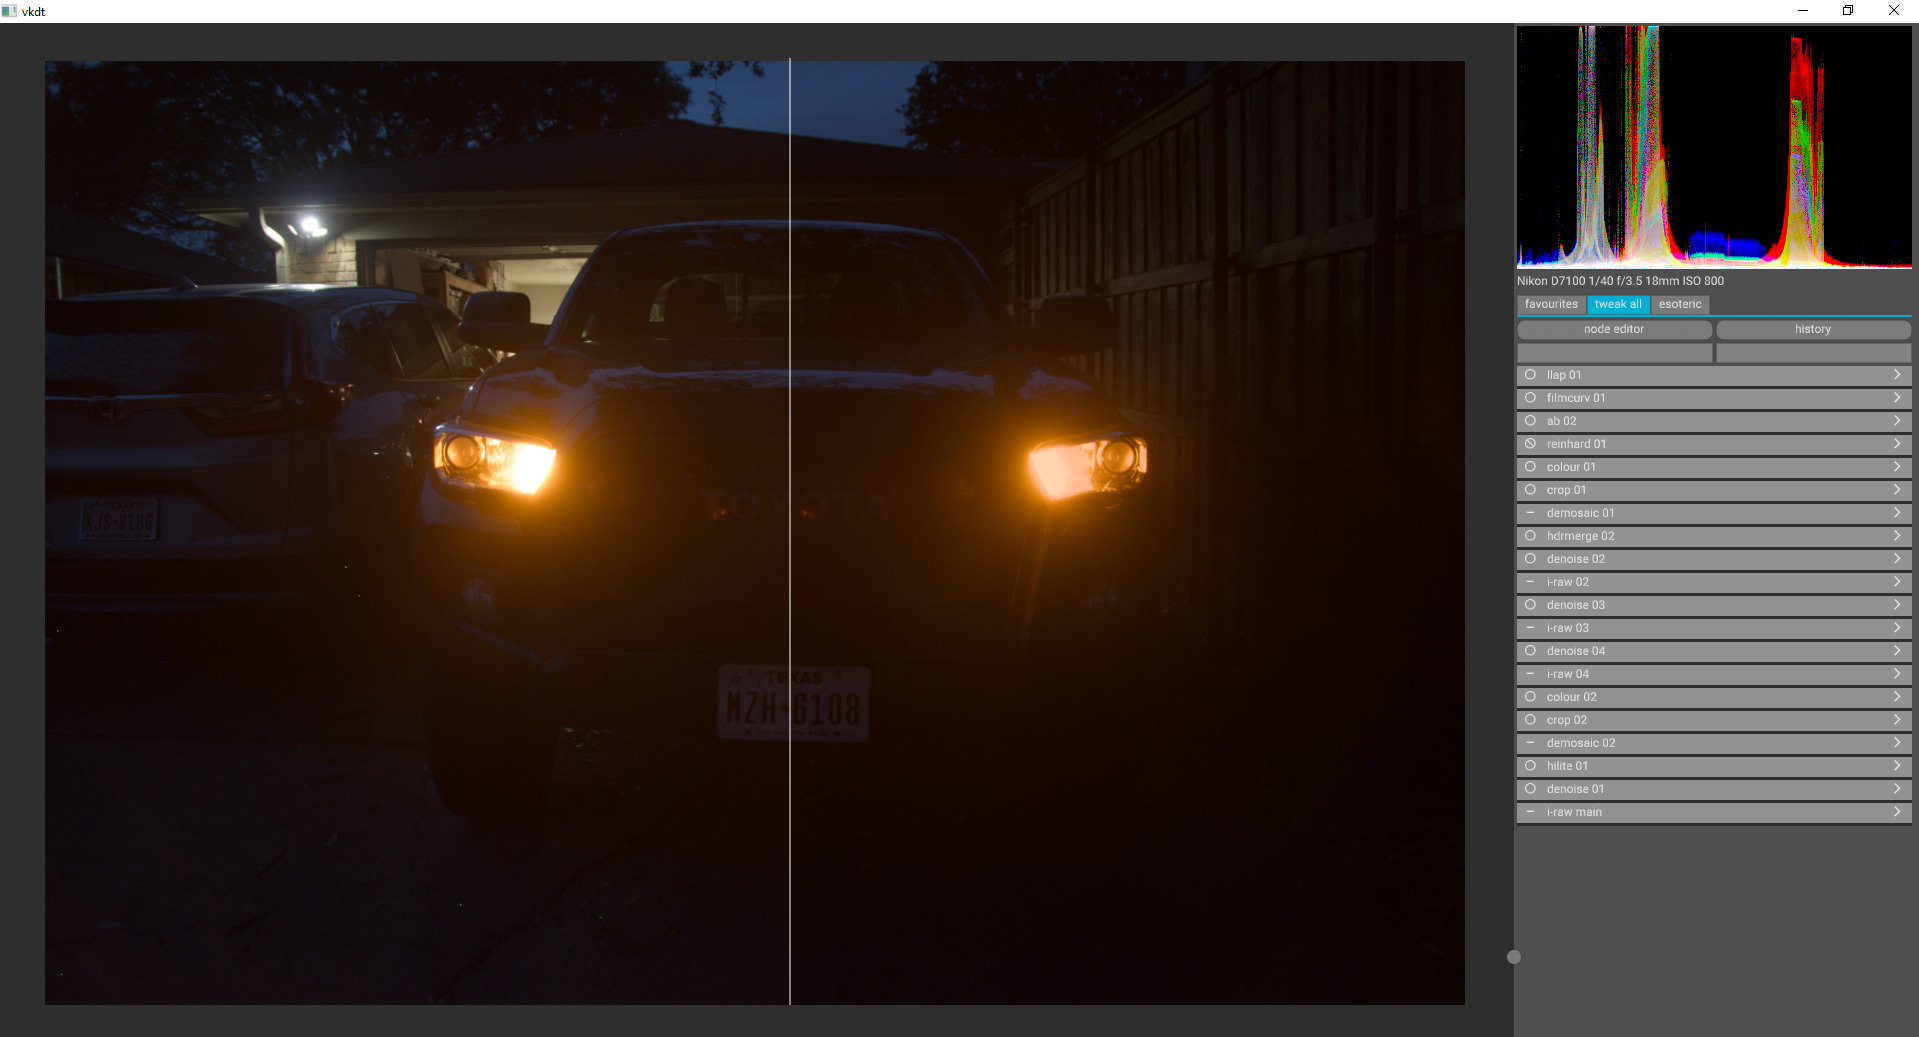
Example (Left: hdrmerge – Right: Typical pipeline with exposure match)
Look at the lack of detail and the amount of clipping going on the right side compared to the left side.

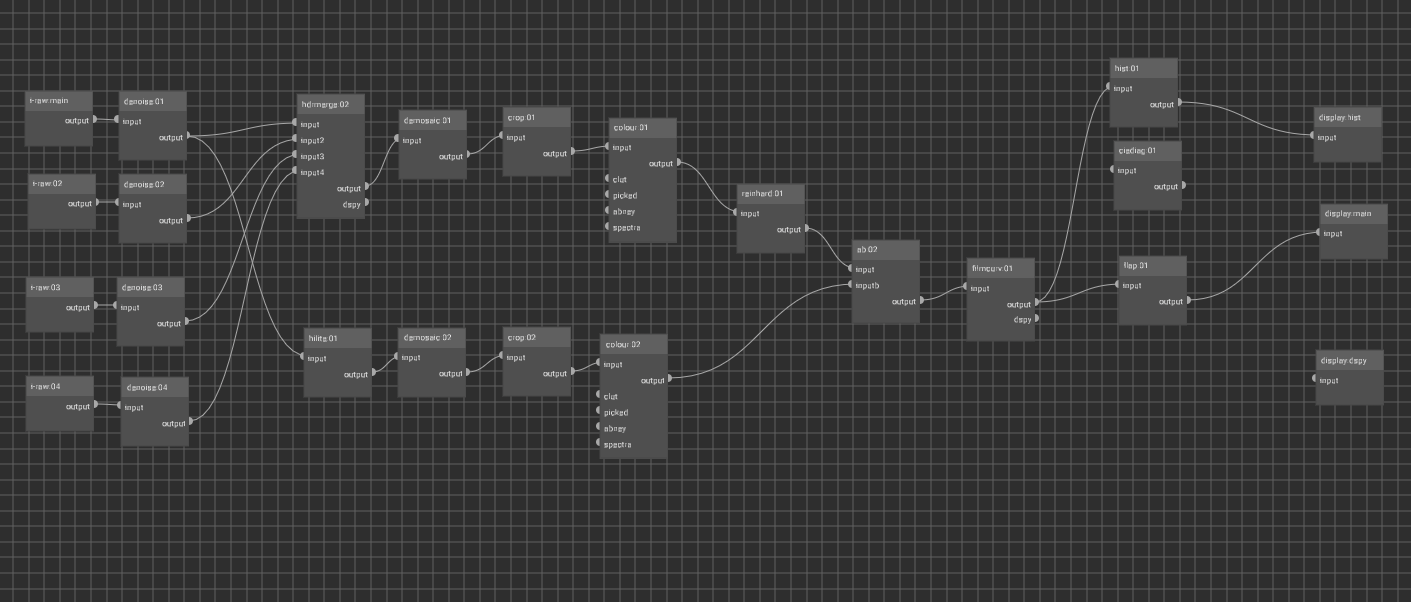
Pipeline:

colour 02 exposure is untouched but 01 exposure is adjusted to visually match 02.

What is the module doing? It is adjusting image exposures to equal irradiances and picking pixels with middle values (0.5 in the case of [0, 1]) to contribute to the resulting image.

The dspy is a log-log plot of log irradiance (lnE) vs the pixel output (Z) for each exposure (Red/Yellow/Green/Blue). Notice how it looks like some color go up and to the right, but then stop going right and continue up. This is where the camera peaks. Also notice how noisy the lower left is, especially for the blues and greens. This is sensor noise on the faster images that couldn’t pick up dark details. It has vertical lines showing that input “middle value” bar for each input.

Notes:

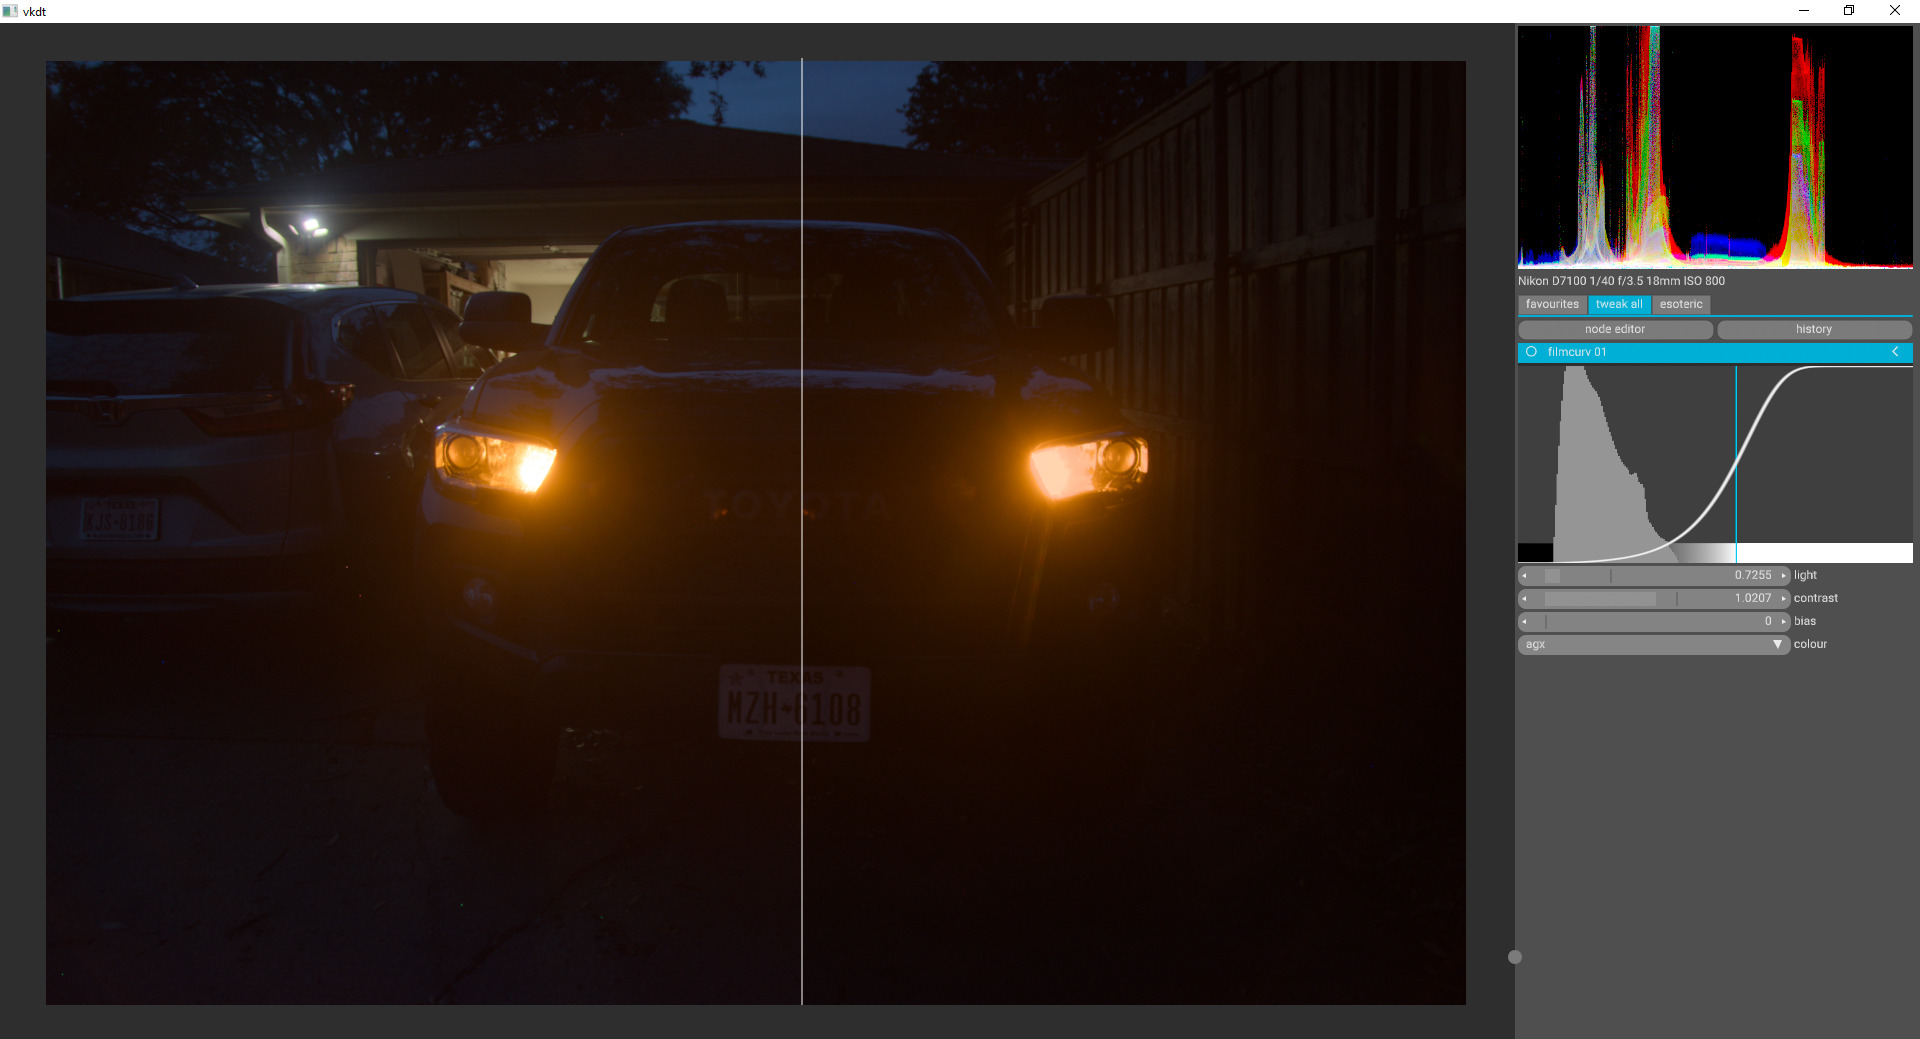
The reinhard is not entirely needed but it helps compress those really bright values. Example below with it disabled.

2 Likes

I assume you’re doing the merging in the node in glsl and not in the stand alone application HDR Merge, right? Sorry it wasn’t clear to me.

Results looks nice.

That is correct. Thanks, I want to spend some time creating other tests shots

Was there any detail in the inside part of the headlight in any shot?

really cool! good to see wenzel’s old source code is still useful :slight_smile:

why would you need paul’s jpg->linear conversion? fwiw i don’t think that is still very useful with all the crazy processing happening today, simply reversing a curve will likely not give you a linear image (and we have raw).

yeah… the align module is kinda hit and miss. especially on exposure brackets it just doesn’t work as-is. might be good to revisit. fwiw the low-light bracket button would create graphs with align modules and cascades of blend modules to do simple masked blending.

for focus stacks i went the animation way, so i can merge hundreds of images without exploding memory costs. here you have a fixed number of four inputs… not sure what’s the best way to do it here. will have a closer look at your code in a bit!

1 Like

Yes, there is detail in the faster shot shots, but there is a lot of noise everywhere due to being a faster image. I can post the originals

Yea, The linearizing from Debevec would really only be useful on non-linear images in the case of using ii-jpg. I didn’t want the module to fall short in case a different type of image was being used.

Oh, I’ll have to try this

Yea, i am thinking of increasing it to 6 inputs. It will work with only 2 or 3 inputs connected. I thought of trying to make it cascadable so you could do as many inputs as you want but I couldn’t figure out how to pass on some if the information needed.
i mean we can probably figure out the cascades, but i feel like 6 is a reasonable maximum for all in-memory graphs (i.e. not cast as an animation that would work on multiple images iteratively). some poor folks have 100MP input images, that x6 may be taxing on their video ram :slight_smile:

the low light bracket button does the extra work of assigning file names to the different inputs. applying the preset in your PR you’d still have to assign these by hand. no big deal bit slightly inconvenient i suppose. maybe have to think about some generic preset that will append the param:i-raw:${i}:filename: with filenames from a gui selection.

Yes I am so poor :dizzy_face:

hehe you’re the only person i know with such a crazy thing, but yes that’s what i had in mind…

1 Like

I did some more testing. This is a new composure on a new camera. This is out my door and is pretty difficult to capture since there is dark indoor shadows and bright direct lighting.

Here is and a/b of five images ( I couldn’t do all six because my gpu does not have enough memory I guess)

and here is the resulting merge

The stacked images of the flag reflection in the door is where this method falls short.

Comparing the above merge, the second and fifth shots, exposure match to “close enough”.


Left: hdrmerge 6 images
Middle: second exposure, faster
Right: fifth exposure, slower

The blending is very natural looking, I think its quite nice.

For the flag, I’d just mask in the single frame with the best exposure for it, the power of nodes!

1 Like

Is the sidewalk wavy like that or that’s a merge issue?

The sidewalk is wave like that

nice thanks for the updates! i think this looks pretty complete now, i’ll have another look over the code and then i’ll probably merge!

the flying flag is exactly what the align module + rejection mask is supposed to solve. unfortunately it sometimes works better than at other times, and also the mask computation is often fine… still might be worth putting a simple “auto exposure” or something into the match making. i’ll think about it.