Help Me Build a Lua Script for Automatically Applying Fujifilm Film Simulations (and more)

Are you Foto-Zenz? That’s a really cool blog post! Thank you so much for sharing it! I’ll have to experiment with your Darktable-chart styles!

Even with the “problematic” LUTs from Stuart Sowerby, I find it surprisingly useful to have a near-JPEG starting point. Actually I noticed that it is not that important to me that my starting point matches the JPEG completely. But having a rough approximation of what I saw in the viewfinder actually helps a lot.

Still, next week I’ll try to produce my own LUT with the help of @sacredbirdman’s program and see where that’ll take me.

Let me know how you make out I could not get it to work trying a raw jpg pair…I might be missing a nuance or two…

To mimic a camera profile, let’s say your camera produced DSCF1330.RAF and DSCF1330.JPG.

  1. You’d run the raw through Darktable and save it as png into source_images/DSCF1330.png
  2. then you’d convert the camera-made JPG into PNG and put it into target_images/DSCF1330.png
  3. ensure resulting png’s have exactly the same resolution
  4. repeat that for every photo you want to include in the test set.
  5. list those files. e.g. DSCF1330.png in the images.txt -file (the program tries to find that name in both source_images and target_images)

Hope that helps :slight_smile:

1 Like

That is the process I followed. I noted that my raw and jpg are listed at the same size but the raw also has a size in brackets that is smaller. I think this reflects the border allowed for demosaicing. I cropped a middle portion of the raw that was about 2/3 of the image and then I resized as you mentioned to around 300 by 500. I copied the crop to the jpg and did the same.

I will try again but just use the full image and resize or any other combination I can think of…

Yesterday I came back from a weekend trip (during which my camera died :disappointed_relieved: and my kids freaked out :sob:), to find at my doorsteps the lens adapter I had ordered for creating LUTs.

So I took out an ancient Canon FD-compatible Tokina 28mm, set my camera to take exposure brackets, and went shooting a training set. Some 180 images were taken, in series of [-2, -1, 0, 1, 2] EV exposure. I tried to get a varied set that covered all the major colors. Then I plugged my camera into the Windows VM, and told the Fujifilm X-Transformer to render these 180 images in each film simulation. This took some time, but was easy to do. At the same time, I exported the same images with Darktable in scene-referred mode, with filmic enabled and at default values, and everything else turned off.

With the training set thus prepared, I installed a zig compiler (available as a snap) and the required libraries (libsdl2-dev, libsdl2-image-dev on Ubuntu). Compiling the zig program was extremely easy. Impressive.

Then, less, easy, I figured out the required incantation of imagemagick to convert my training sets to PNGs, and coded up a Python script to apply it to whole directories, and with some parallelization for good measure. Surprisingly, this part took the most effort. If you’re interested, convert -resize 600x600 -auto-orient source.jpg destination.png works in almost all cases.

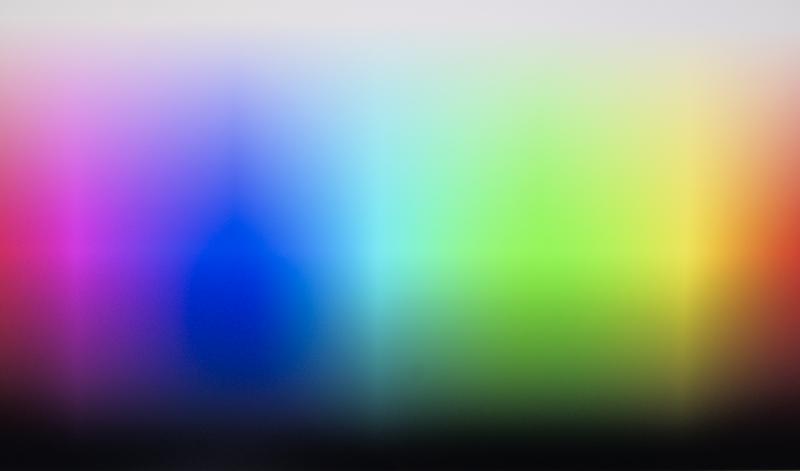
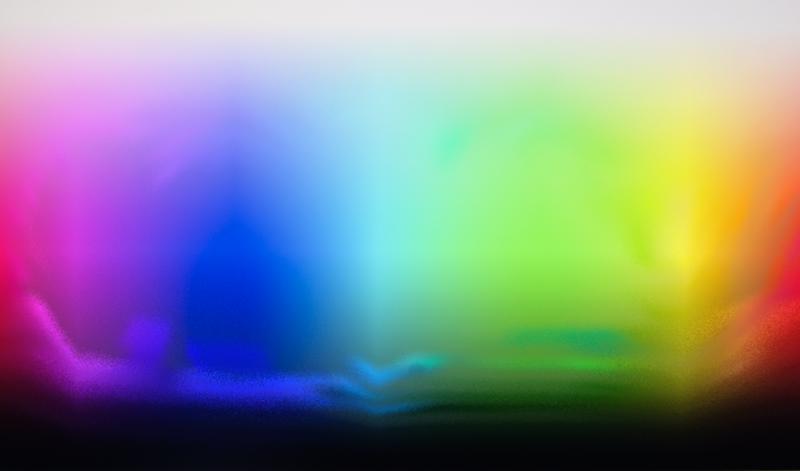
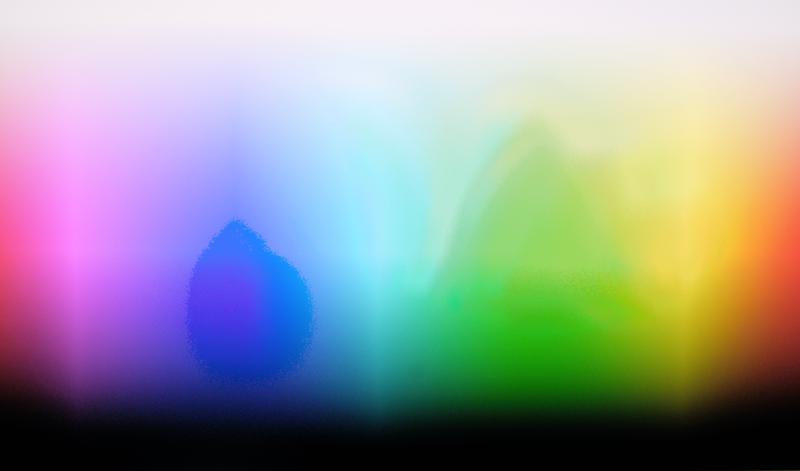
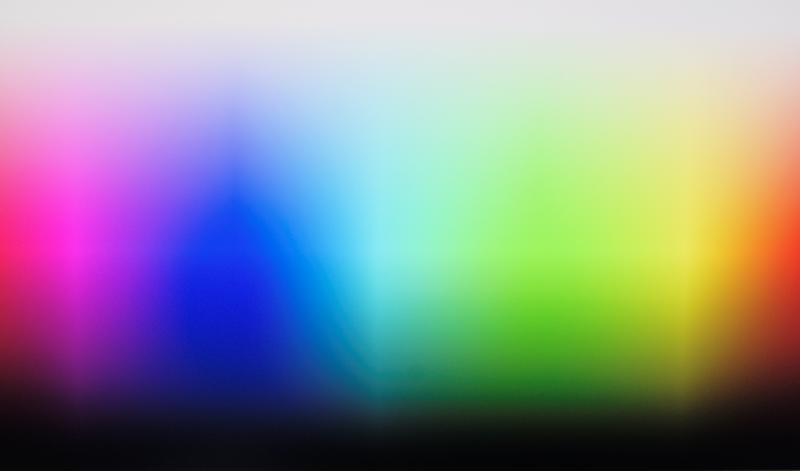
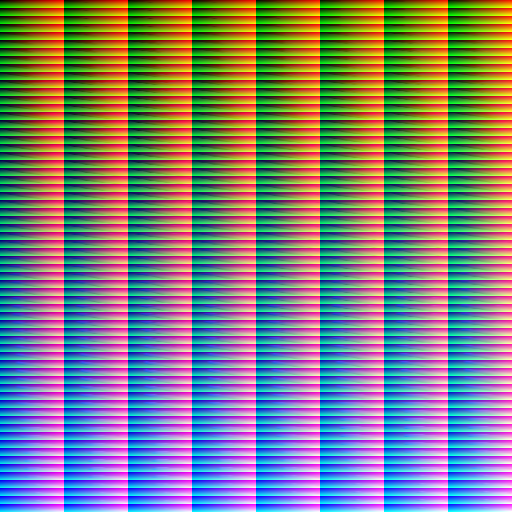
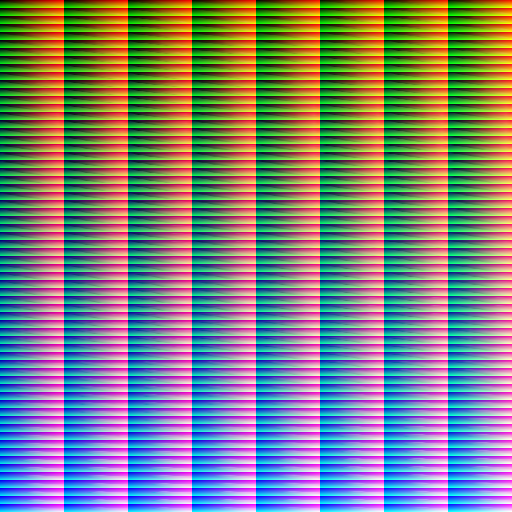
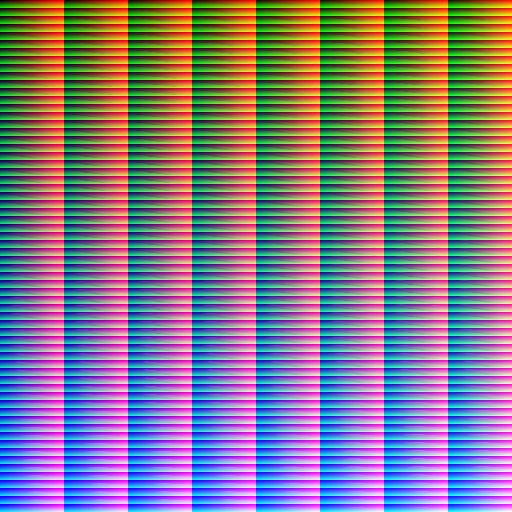
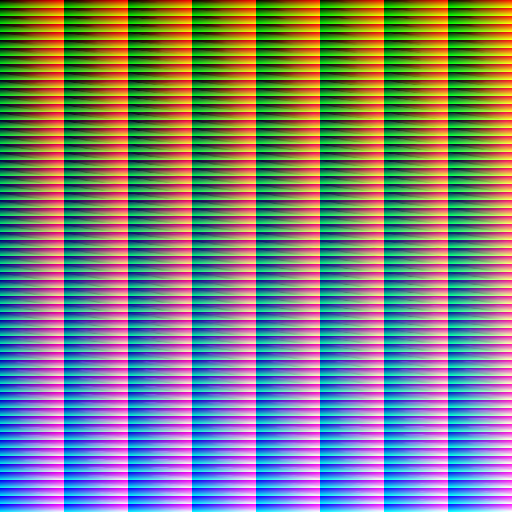
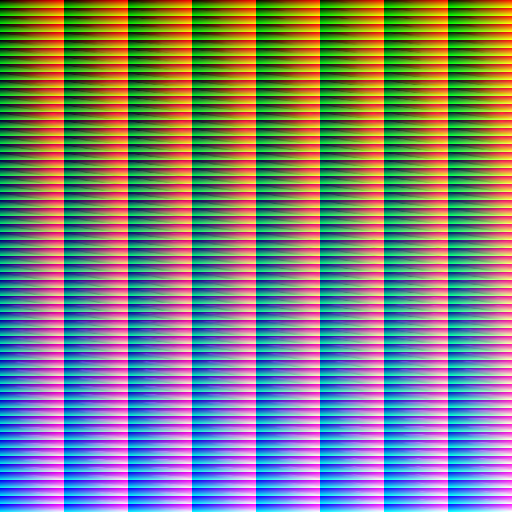
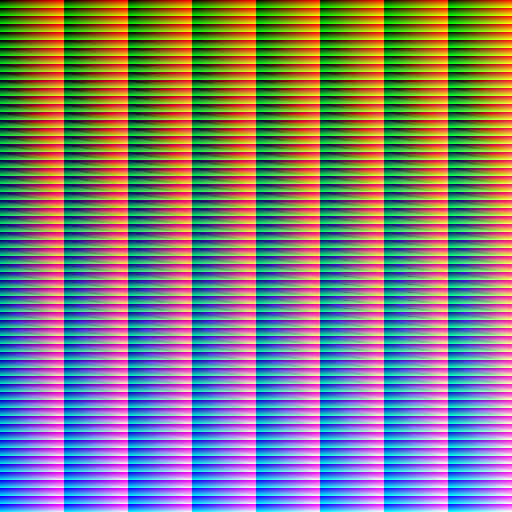
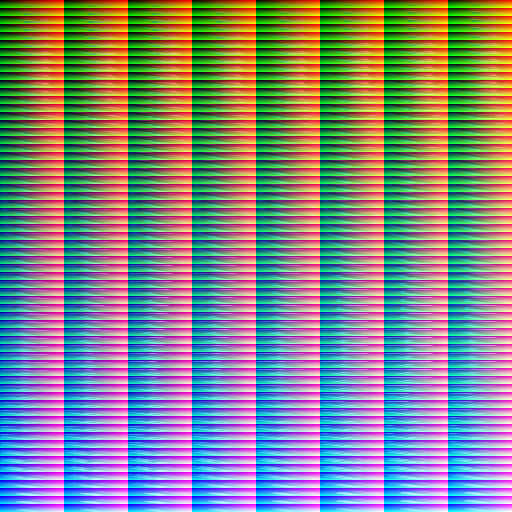
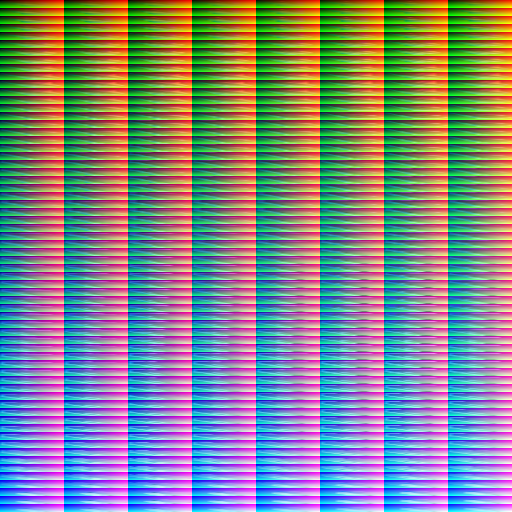
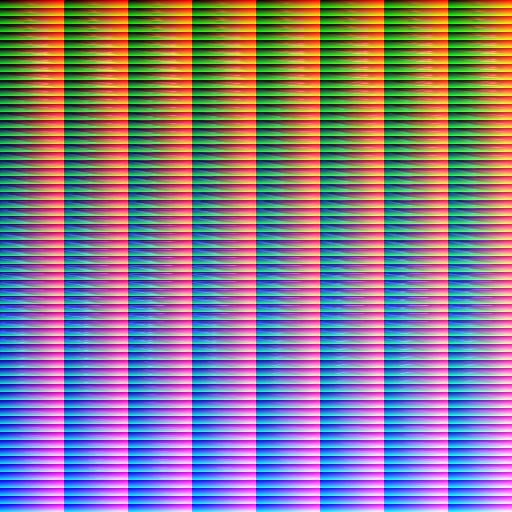
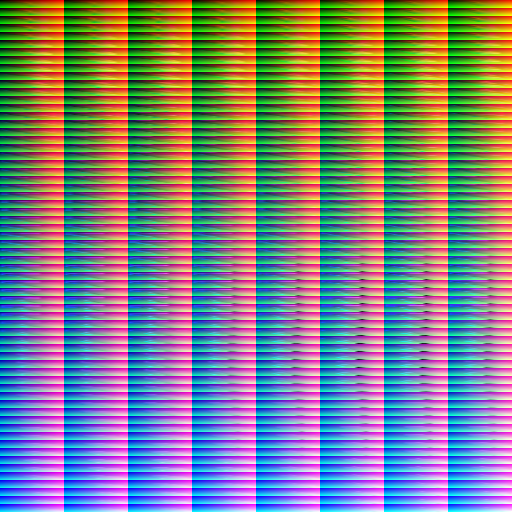
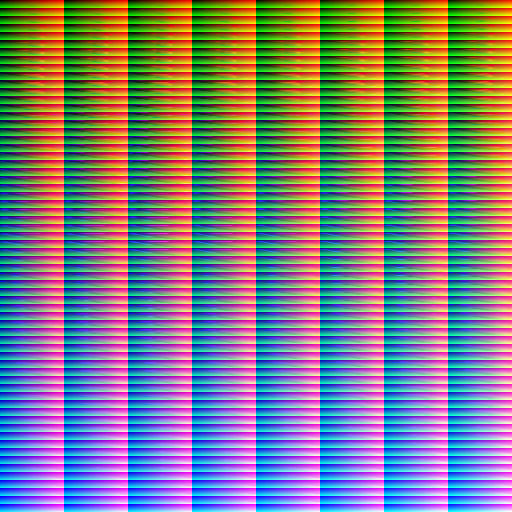
Then I ran @sacredbirdman’s wonderful program, and voila, new Fujifilm LUTs:

In my extremely limited testing on a couple of sample images from before my camera broke, these LUTs seem to look better than Stuart Sowerby’s LUTs I had used beforehand.

But I’ll have to check this in more detail later, and specifically look for defects. These LUTs are at this point less than an hour old. If you find any problems, please let me know! I’d guess that most problems can be fixed with a few more sample images but I’ll need to know what to look for!

5 Likes

Fantastic. I’ll do some tests tomorrow. It’s good to have these at hand for when you just need a quick edit without much thought going into it, plus the film sims look good. Thank you for your work, and sorry to hear about your camera :smiling_face_with_tear:

I wish I could contribute some classic negative samples, but the only camera I have with it is the X100V and from what I’ve read above it won’t work because of the lens corrections, such a shame.

For the record, one of my three cameras died, and it is probably repairable. I already sent it off to be repaired. So not that big a deal, really.

The problem was more that it was the only ILC on that particular trip, and I didn’t get to play with the cool wide angle I had brought on the trip.

1 Like

Thanks so much…I tried using png’s created in DT…they didn’t work… Any insight on settings that you used to prepare them…As you have done I was able to install and compile. I could use the single test image pair provided by @sacredbirdman but when I tried to do the same with a pair of my images the process crashes…If I used either of the images as both the target and source the process would run so the images seemed readable by the computational process but the two as a pair would not work… not sure what I did wrong other than the test images were not blurry…

Thanks for your work sharing the LUTs. Sorry to hear about the camera. In my experience very saturated violet&pink colors tend to have gaps in samples but I’m not sure if they have much of an impact in real world use :slight_smile:

I’m glad to hear you found the results (at least so far) good since one of the reasons for creating this program was my dissatisfaction with the existing LUTs for my cameras (mainly the color casts and other artifacts)… so I wanted to make a program that could closely enough mimic signature color renderings but also create well-behaved LUTs so you can rely on them.

1 Like

I could take a look at the problem if you can share a png pair that causes a crash :slight_smile:

I’ll shoot something again…only have my phone right now…I did try cropping them down as you suggested. I don’t think that was the issue…but maybe??

Here are a couple …lots of colors …


PXL_20220418_194054213.dng (12.7 MB)

I created the PNGs using the quoted ImageMagick command from Darktable-exported JPEGs. Weirdly, the zig program crashed for three of my 180 images, which were all-white blown out. The error was a segfault when trying to read the pixel data, which I presume hints at some sort of issue with SDL.

Another problem was orientation, as the SDL-loaded PNGs seem to not read the orientation bit correctly. The image must be a true 600x400; a rotated 400x600 does not count. And image dimensions must match exactly, which is a problem since Darktable likes to export one pixel wider than my camera. I’m hoping that downscaling and my less-than-perfectly sharp lens saved me from issues with that.

I’d be happy to upload my training set by the way, if someone else wants to play with it or contribute to it.

Could you clarify and did you crop all images to 400x600 or resize the whole image??

I exported full-size JPEGs from Darktable, then resized them to 600x400 PNGs using convert -resize 600x600 -auto-orient source.jpg destination.png (convert is part of ImageMagick). Then I exported “fine” JPEGs from Fujifilm X Raw Studio, and converted them the same way.

1 Like

It’d be good if you could share the actual png images you tried to use. I suspect the problem might be with the dimensions. The program throws a tantrum if the images are not of same size. I just pushed a fix so it only rejects the image pairs (and shows a warning about it) if the dimensions don’t match. So, you could try pulling the fixes from the repository and try again :slight_smile:

I just used the images I shared but save in Farstone Image viewer and it worked so it must have been something in my darktable settings…thx

I noticed that sunsets in particular looked off, with the new LUTs. I figured that this would be due to my training set not including many highly-saturated, very-bright colors.

But since there weren’t any vibrant sunsets forecast for the next few days, I figured I should be able to cheat by simply taking pictures of a bright color chart on my computer monitor.

And indeed this changed something; most notably, the LUT PNG file sizes got larger, which I interpret as them containing more data. However, by accident, I happened to apply the LUTs to that very color chart I had photographed:

I think what we’re seeing here is that the LUTs need some smoothing, and that my training set is incomplete. Or maybe I’m doing something fundamentally wrong?

And for the record, here are a few more renderings of the same file:

(By the way, these test charts look wild, but in practice the effect is quite subtle for most pictures. I guess it’s only the colors I don’t have good training data for that come out strange.)

1 Like

Are you shooting a color chart of some sort for your training data?

No, just exposure brackets of regular stuff in my neighborhood. In total, currently 35 images, with six brackets each (making 210 images total). It seems to me that the LUTs actually work well for colors I’ve seen in the training data. But uncommon colors are an issue.

1 Like

Yesterday I reimplemented sacredbirdman’s LUT building program in a different programming language. Not that it needed rebuilding, but that’s my way of figuring out how it works.

It really is a remarkably simple process, once you understand it.

With that done, I’ll try my hand at adding some fancy extrapolation and smoothing.

2 Likes