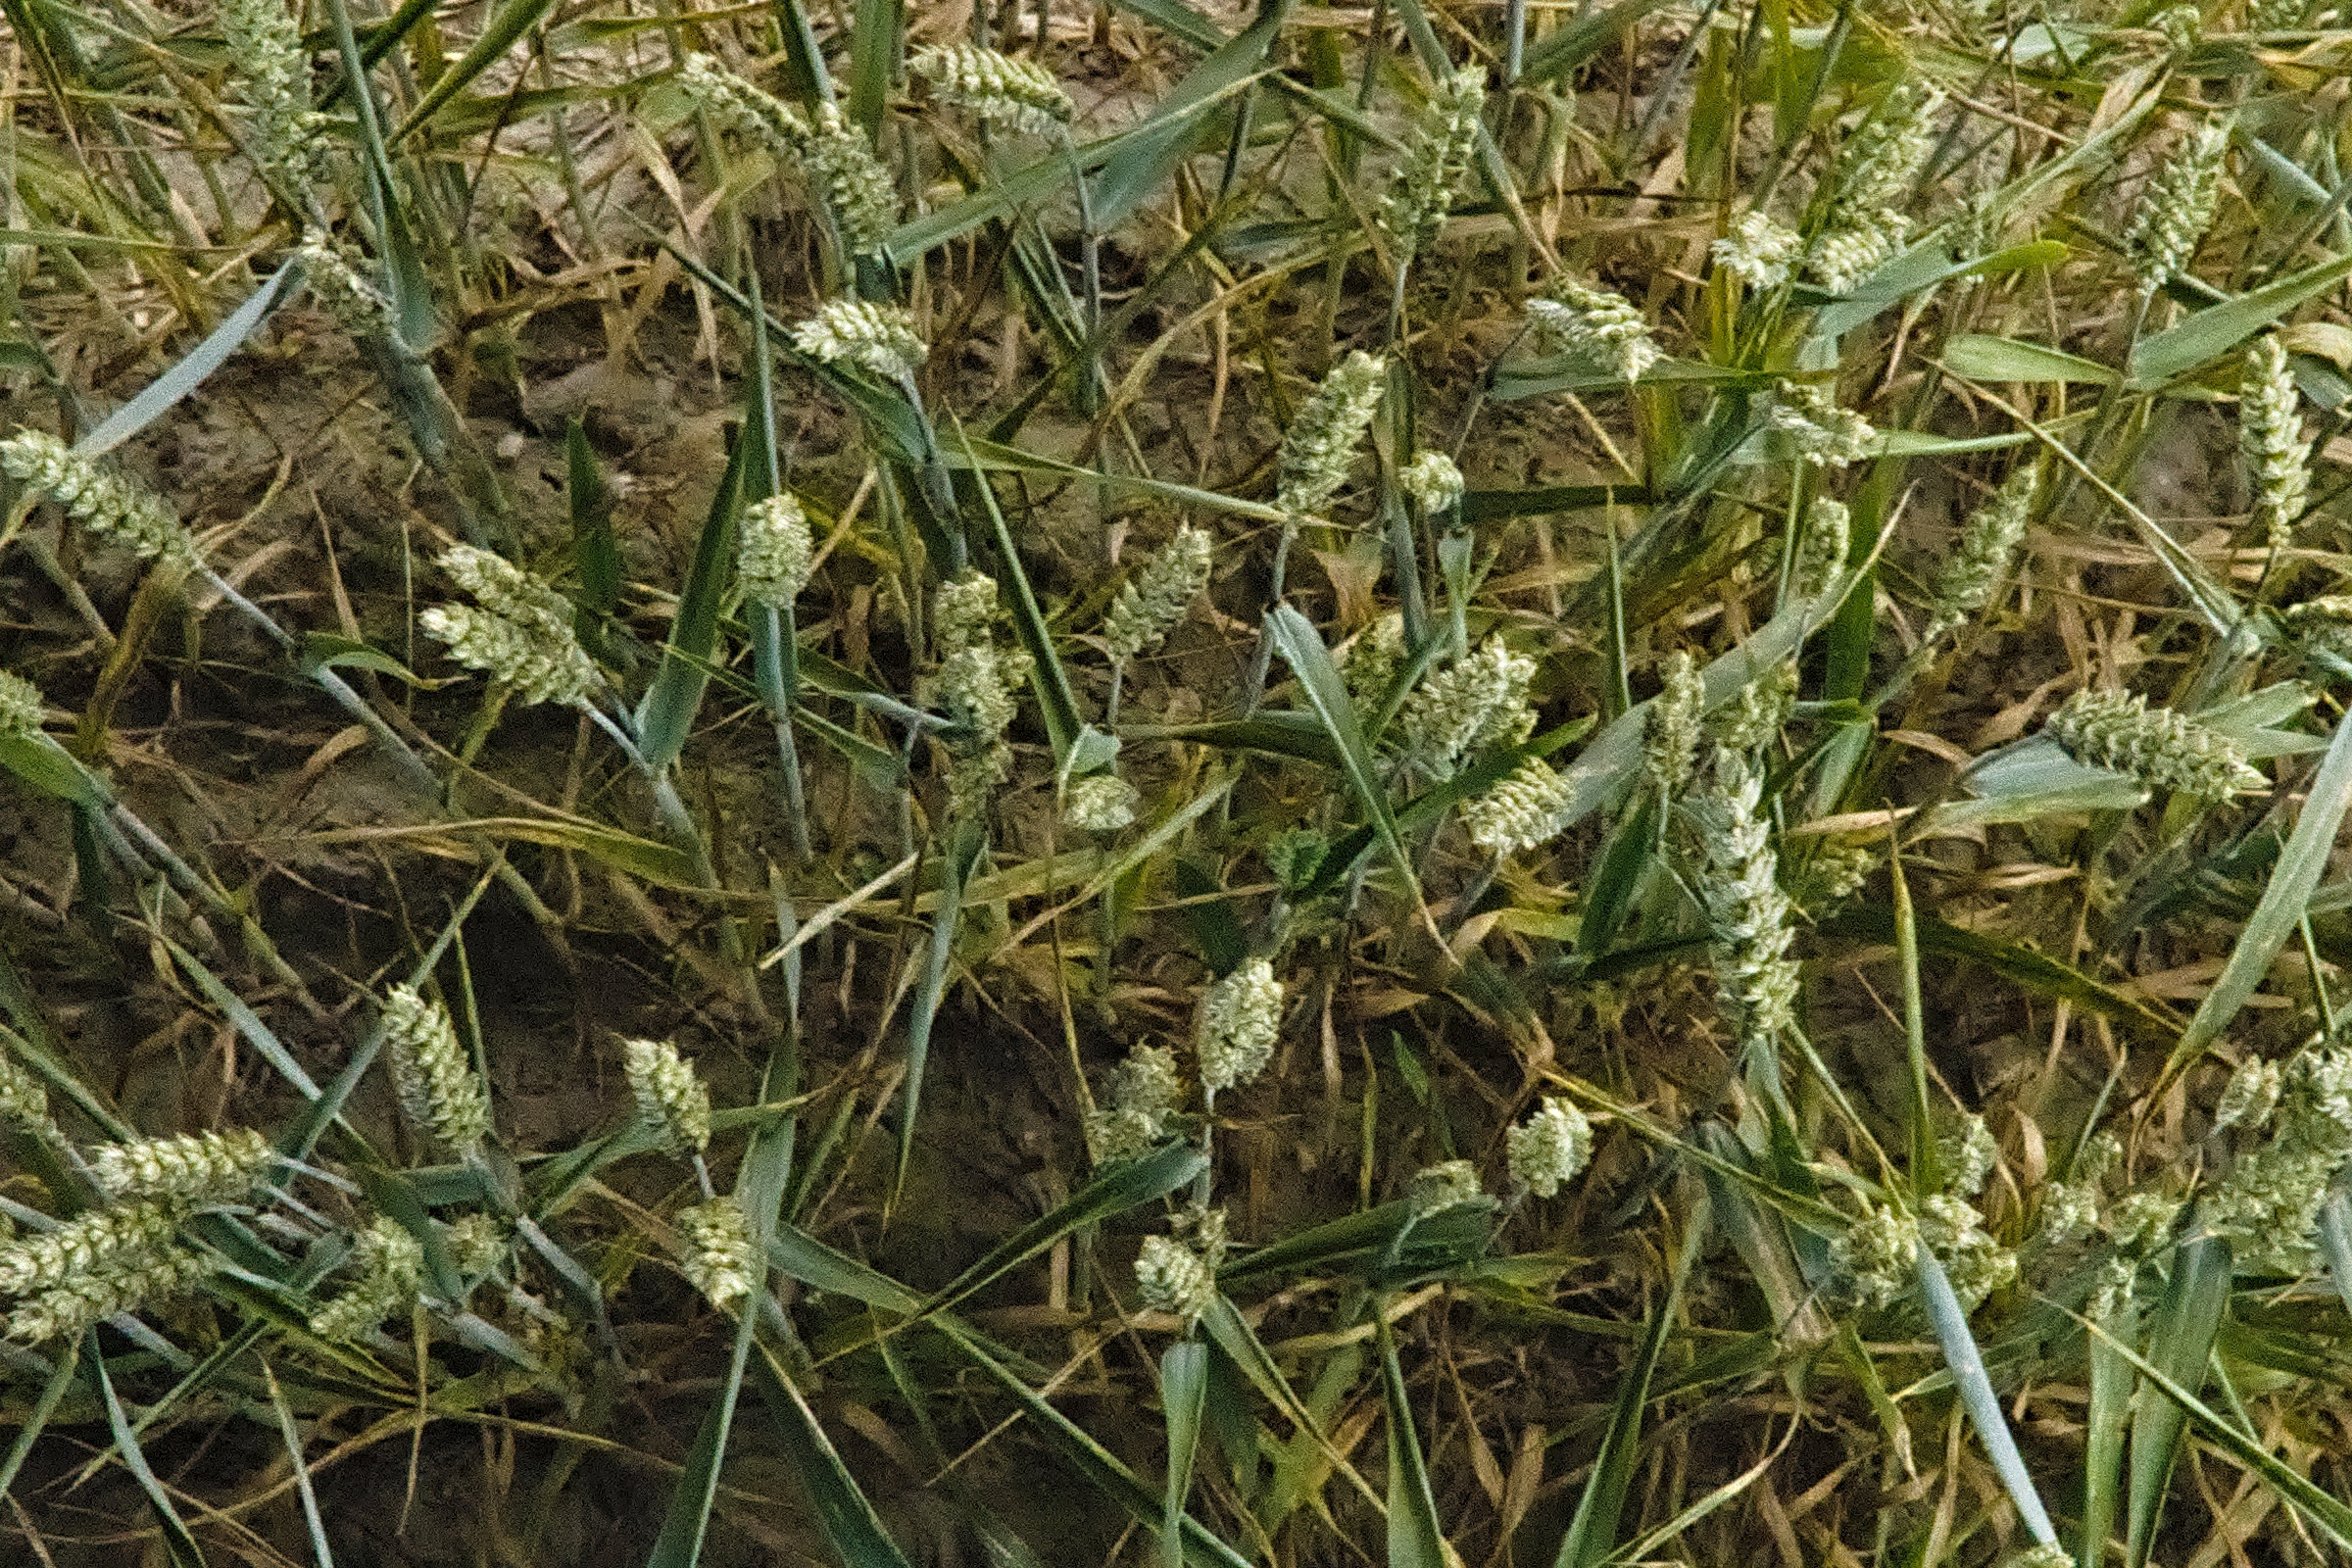
i have a few thousand sony arw images and i try to process them to pngs.
they are all shot with the same settings (and almost the same lighting) and iso 1000 so there is a bit noise. i have no experiance in raw processing so far. can somebody guide me what processing steps would be best for photogrammetry ?
I dont want any lense correction or geometry done.
Only the plants and the ground is important, the black sides can be too dark.
I downloaded the first raw file and .pp3. My suggestions to your .pp3 edits:
In Raw tab, you can change demosaicing algorithm from AMaZE to LMMSE/IGV or even VNG4 probably, since the image is quite noisy (especially after any kind of lightness boost) and AMaZE is not the best demosaicing algorithm for noisy images. See more at Demosaicing - RawPedia.
You’ve enabled Capture Sharpening and recently Rawtherapee dev Jacque Desmis raised the point that Capture Sharpening doesn’t work well with noisy images (and is working on a better version of Capture Sharpening). You can press “p” to review the sharpening mask and you’ll see the whole mask is white, meaning the whole image (including noises) were sharpened. Normally the background should be black and only the details should be white (sharpened). Jacque provided the download link for the development branch for people to try the new Capture Sharpening (Denoise – blur and sharpening improvments - #30 by syyrmb). Unfortunately, it is extremely slow for this image for some reason and I can’t really process it (5.12 release works fine though). In the end, the point is, take extra cautions when sharpening noisy images since you may also be sharpening noises as well.
My approach (.pp3 at the end):
Noise control. Disable Capture Sharpening, enable Noise Reduction in Detail tab, use Curve for Luminance Noises reduction for the dark area (curve’s X axis is luminance, Y axis is Noise Reduction strength, so a curve with a bump at left means noise reduction is applied to low luminance area).
Tone mapping/dynamic range control. I used Local Adjustments’ new tone mapper Generalized Hyperbolic Stretch (if interested, see Jacque’s comment at: https://discuss.pixls.us/t/generalized-hyperbolic-stretch) to do some quick tone mapping for the wheat(?) and ground. Fortunately it works well (to me) after 3 seconds of adjustments (thanks Jacque!). Now the wheat and ground looks bright enough to me (assuming what OP wants is decent brightness on those parts), but the left side is potentially still can be considered a bit dark, so I used Dynamic Range Compression to boost brightness. Now the image is a bit over-saturated, so I reduced Saturation to balance it out and called it a day.
Not sure if this is the effect OP wants. Also, I believe better effect can be achieved by other experienced RT users, but hopefully my pp3 can be helpful.
Not sure about the copyright of OP’s image (people usually specify a license, like Creative Common BY-SA-NC or whatever), so I’ll share this .pp3 only.
ISO1250 should not be that noisy on a Sony, but the shutter was too fast and the lens is stopped pretty far along, especially for a wide shot- so you end up amplifying the slight noise in order to see the image.
To fix the exposure, I would take the Black point all the way back -16385, add a stop of Exposure, add a gradient filter to fix the uneven light, and for color I would stretch the yellow to green contrast in the L*a*b* Hue-by-Hue (HH) equalizer, using the original Camera white balance.
Hey,
yes the image is noisy, but we needed the shutterspeed because of movement artefacts, even now some parts are blurred because of motion. also the aperture was needed for better DOF.
thanks for your take on it !
As @syyrmb already said, Capture Sharpening has a negative effect here.
So I added +1.5 EV Exposure Correction, Noise Reduction and USM Sharpening, plus some local contrast. Maybe too much local contrast …