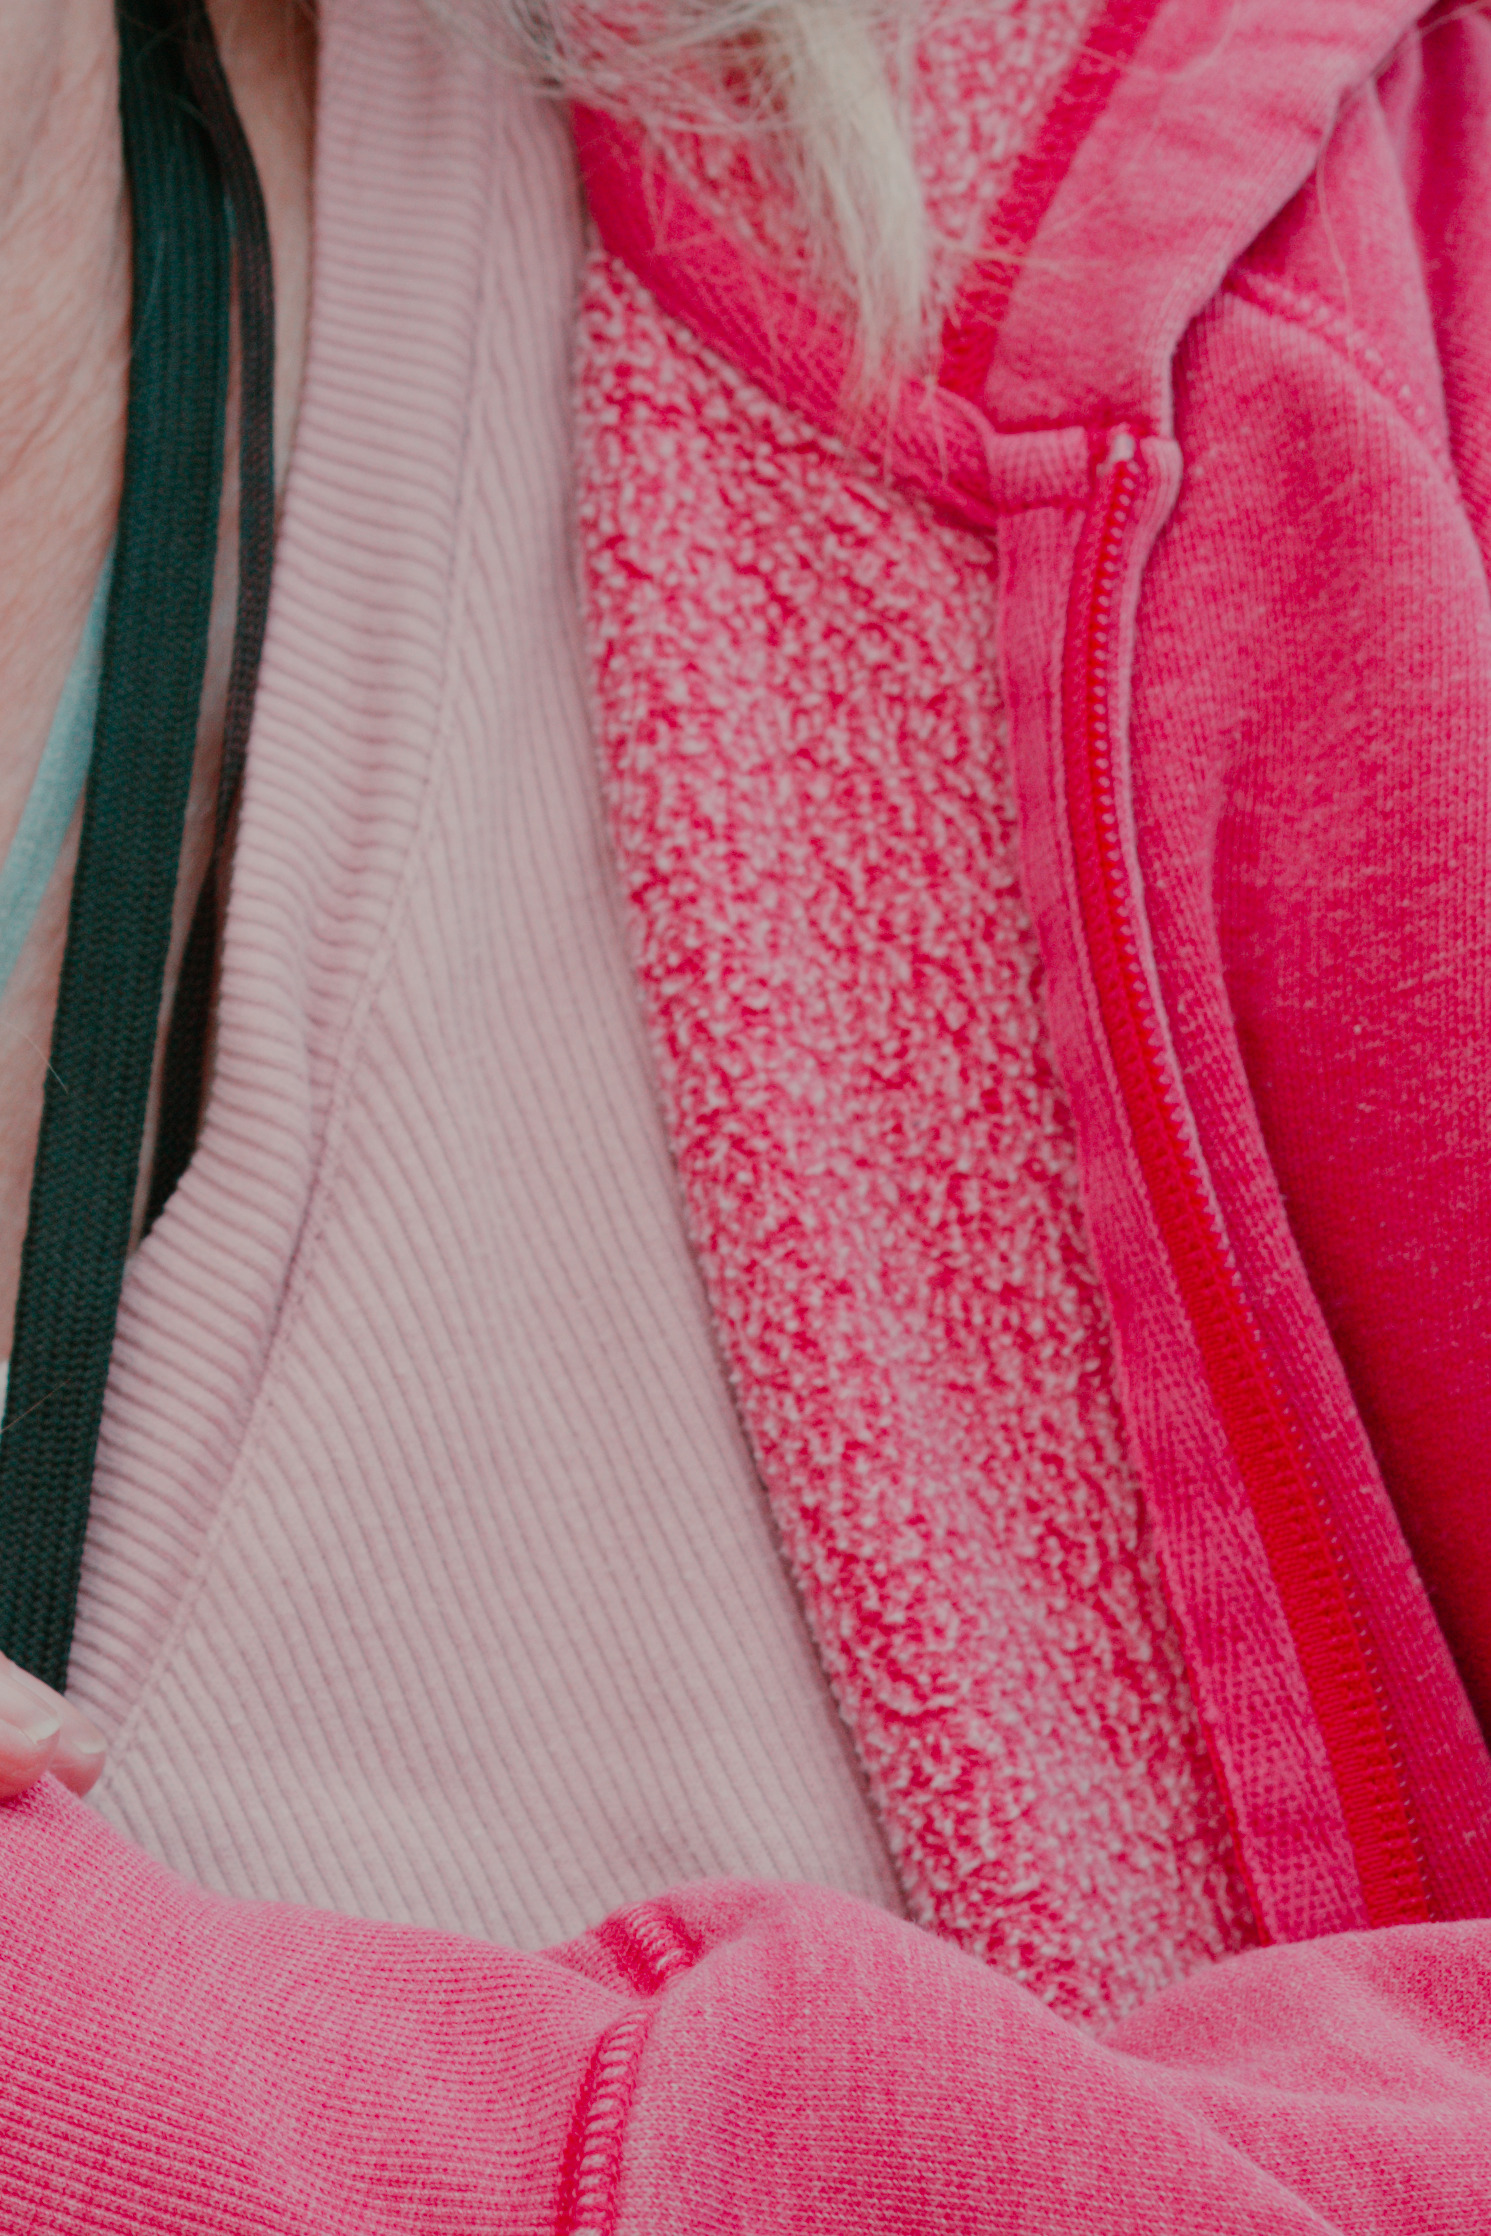
I’m having issues with out of gamut colours.
The pink/reds on the jacket go pretty ugly out of gamut unless I use the Lookup table feature in the camera profile.
Is there a reason why you use these settings, specifically base table and illuminant 2850K? I’ve always had not-so-pleasant results when turning on the base table with images that have colourful/vibrant parts (“difficult” colours). I actually stopped using that specific setting altogether; Too much hassle afterwards.
This specific image seems to work when using Illuminant 6500K, this will leave you with a tad of OOG around the plastic threads/zipper. Turning on Look table removes it altogether.
The above is based on a very basic edit (pp3, no Look table). Certain other edit changes will make this OOG “issue” more visible; The steepness of the S curve in Exposure → tone curve → Film-like for example. I think this issue is more of a total edit thing and not an issue based on one specific part (the Auto matched camera profiles et al does seem to be the base of it though).
As I mentioned before: I stopped using those specific DCP options altogether and switched to (custom) camera specific icc profiles. Those icc profile changes are subtler, but I like to have a bit more control and basically use CIEcam for when I run into the above issues. And now that Jacques has implemented Abstract profile in the Colour Management section, I’m using that in combination with the CIEcam module (especially *Custom Sliders/CIE xy Diagram) to get a better handle on colours if needed.
That’s what should be used if the illuminant was 2850k… (for example tungsten lighting) - won’t be able to look at the PP3s to see what the white balance setting was until I get home.
Base table is huesatmap in the DCP if I recall correctly, it defaults on and I have had no issues with it.
Turning on looktable without also using the DCP tone curve will likely result in odd behaviors - they’re designed in dcamprof to operate together. DCamProf
And, of course - if a color is out of gamut, it’s out of gamut, it’s as simple as that - it may need to be desaturated unless you’re targeting a Rec2020 display (which is nearly impossible for stills currently…)
That is why I asked why it was used in this case. This is an outdoors scene and the camera WB indicates 4596. I can understand using 6500, it being a camera reference of sorts.
If you have time could you post and example or explain your workflow around that last part using the abstract profile and CiEcam. I would enjoy learning a bit more about ways to use it.
I’m still in the process of figuring out how this Abstract Profile section works to be honest, but I already noticed 2 cases where it is rather powerful.
The one that is probably going to be used most: Lifting shadows without blowing your highlights and/or increasing noise (to a degree). The only part you need for this is the top part using custom, no need to adjust the Custom Primaries section.
This might introduce other things that need to be adjusted, but there’s a link between Abstract Profile section and the CIEcam module. They seem to be going hand-in-hand.
There’s the Sunset in Corsica image floating around atm that’s giving people, mainly noise, problems. I’ve been experimenting with that image a bit and the Abstract Profile section. It does a good job in keeping the noise and otherwise blown out sky under control (here’s the pp3 from that ongoing experiment: sunset.in.corsica_1.rw2.pp3)
Coming back to the above mentioned OOG problem: You can use the Custom Primaries section (set to Custom) to tackle this. As of yet I’m not entirely sure how this translates to sRGB when creating the final result. It all seems to work on my monitors (a good one that’s calibrated and a uncalibrated mediocre one). Both show a subtle, in my opinion pleasing, difference in the pink sweater. It certainly doesn’t show as OOG any longer in RT.
Here are 2 basic edits (my base profile + slight Film-like Tone curve + Abstract Profile + CIEcam only):
I downscaled the images after the fact, so I’m not sure if the nuances are visible, so here’s the sidecar I used.
EDIT: Just checked and it is visible.
EDIT2: Forgot to mention this but I did use Auto-matched camera profile and Base table in the above edit. This 'cause that is what @stefan.chirila seems to prefer and is relevant to this topic. I would not use this myself.
I found it quite easy to get something decent and nearly completely in-gamut. Just two adjustments here: Auto-matched tone curve, and some sliders in Lab Adjustments.
Thanks I had scanned that but it was quite long and requires a good read which I will get to at some point. I was just curious if @Jade_NL had a specific use case. I did see Andy’s video on it and it did seem to do a nice job on the shadows…