RawTherapee and GIMP
That is a fantastic set of tips …thanks so much…
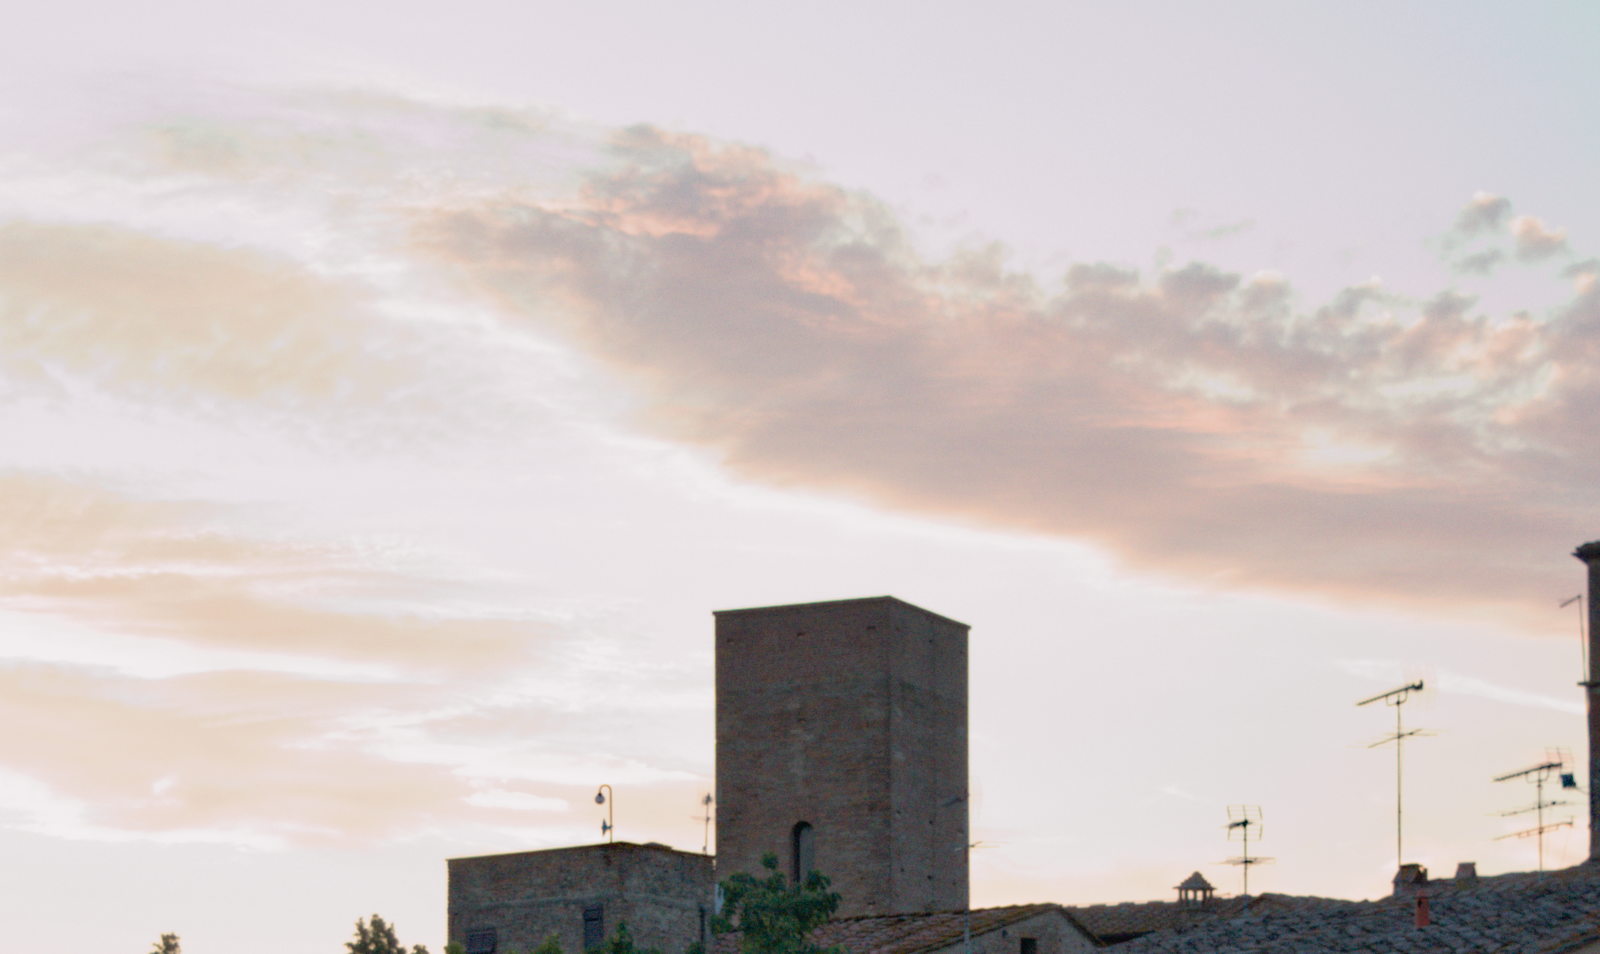
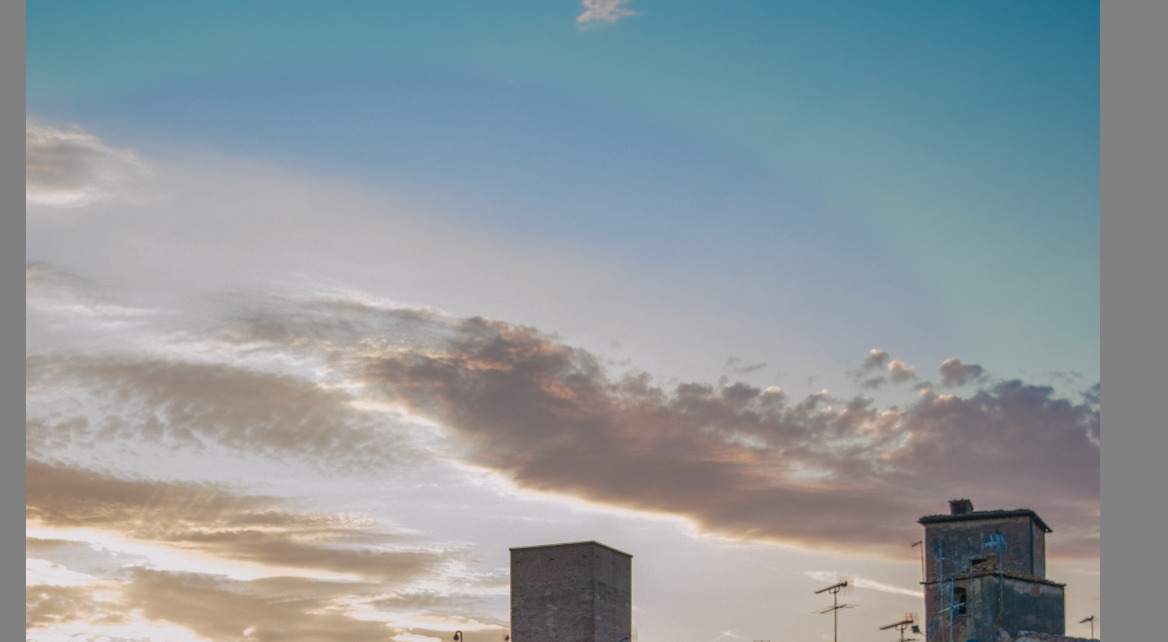
Yes, those smooth transitions are very hard ![]()
I saw that you choose to correct the white point, this leads to the same results as decreasing the threshold of course and could be an option for a camera/iso specific auto-applied preset.
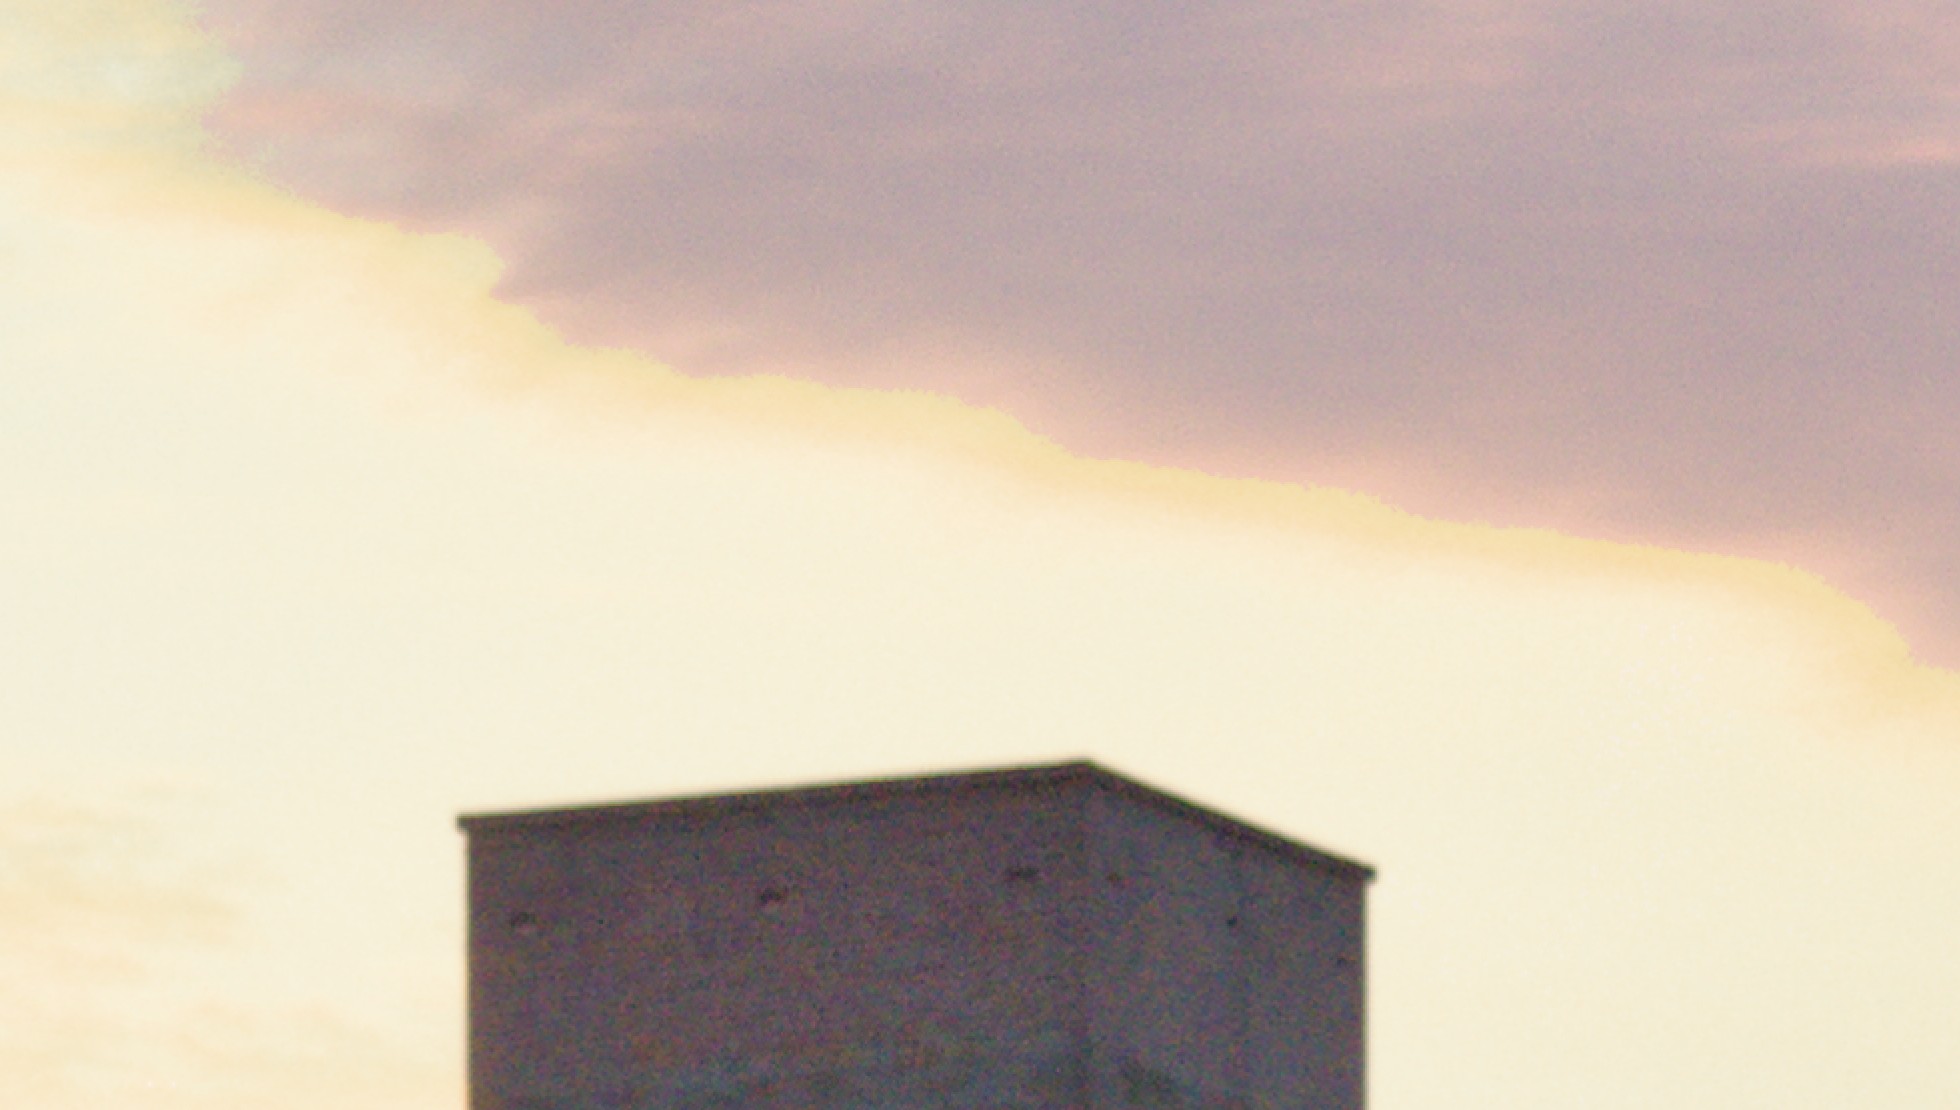
I also see the color casts at the different part of the sky. This is due to
- the “one best candidate per segment” concept we took for the segmentation algorithm.
- Be warned - this now get’s very technical and into algorithm details! Probably even more important is one aspect of the “opposed” algorithm - before the segmentation we always do that for preprocessing - we calculate a correction factor based on all parts of the image that are close to being clipped in any channel - in other words we look at the borders of clipped areas. No problems with specular highlights or smaller areas but for those large parts blown out - a single correction factor is not sufficient. We (@Iain, @garagecoder and me) did a huge amount of work on this a while ago and stopped at one point because results did not improve further.
8 Likes
I remember how bad highlight reconstruction was when I switched to darktable. RawTherapee was at this time at that point miles ahead. Now we have a lot different and very good tools. They are not perfect. But for me they are enough for nearly every case. So thank you guys for your tremendous work.
4 Likes
Highlight reconstruction - hard edges_DSC_0535.NEF.xmp (13.0 KB)
I can’t judge the colors right now because I don’t have a calibrated monitor at the moment.
The “color reconstruction” module is old, but it still does a good job.
4 Likes
Thank you everyone for your feedback. I found something useful in most of your comments.
In Kofa´s version the desaturation of highlights and using inpaint opposed in HC is what I think made the transition in the clouds so smooth - its a really great edit.
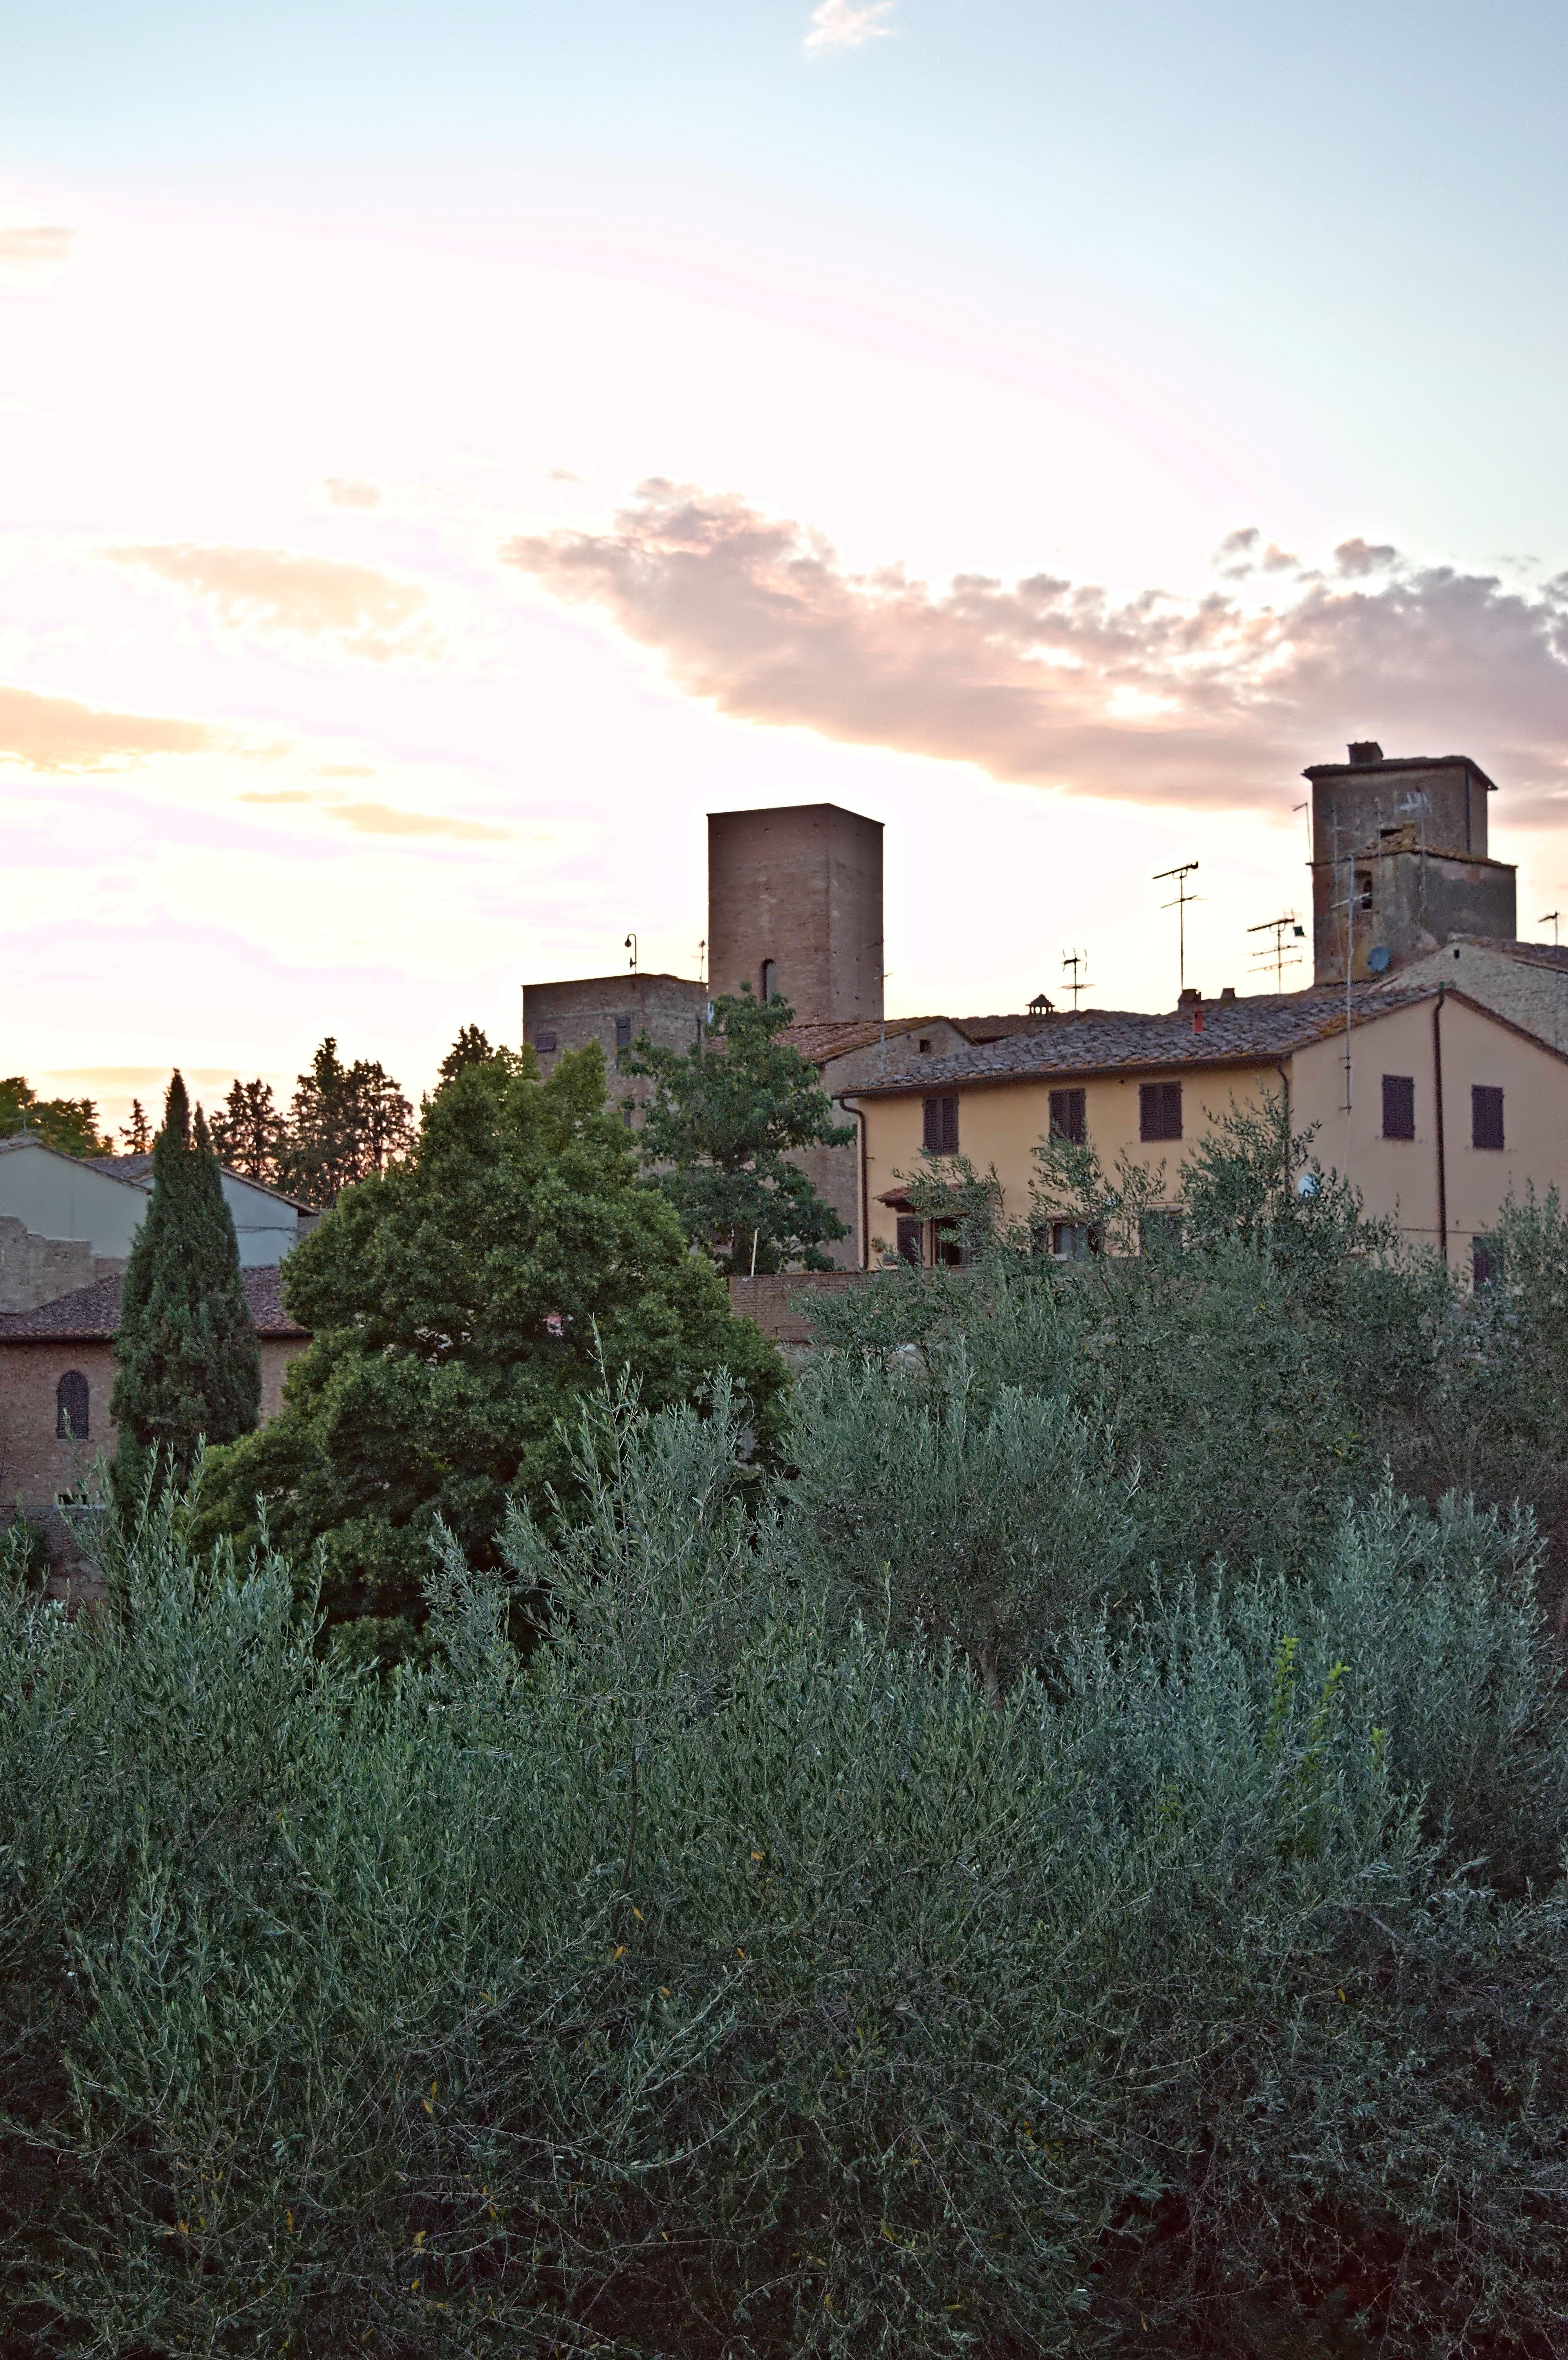
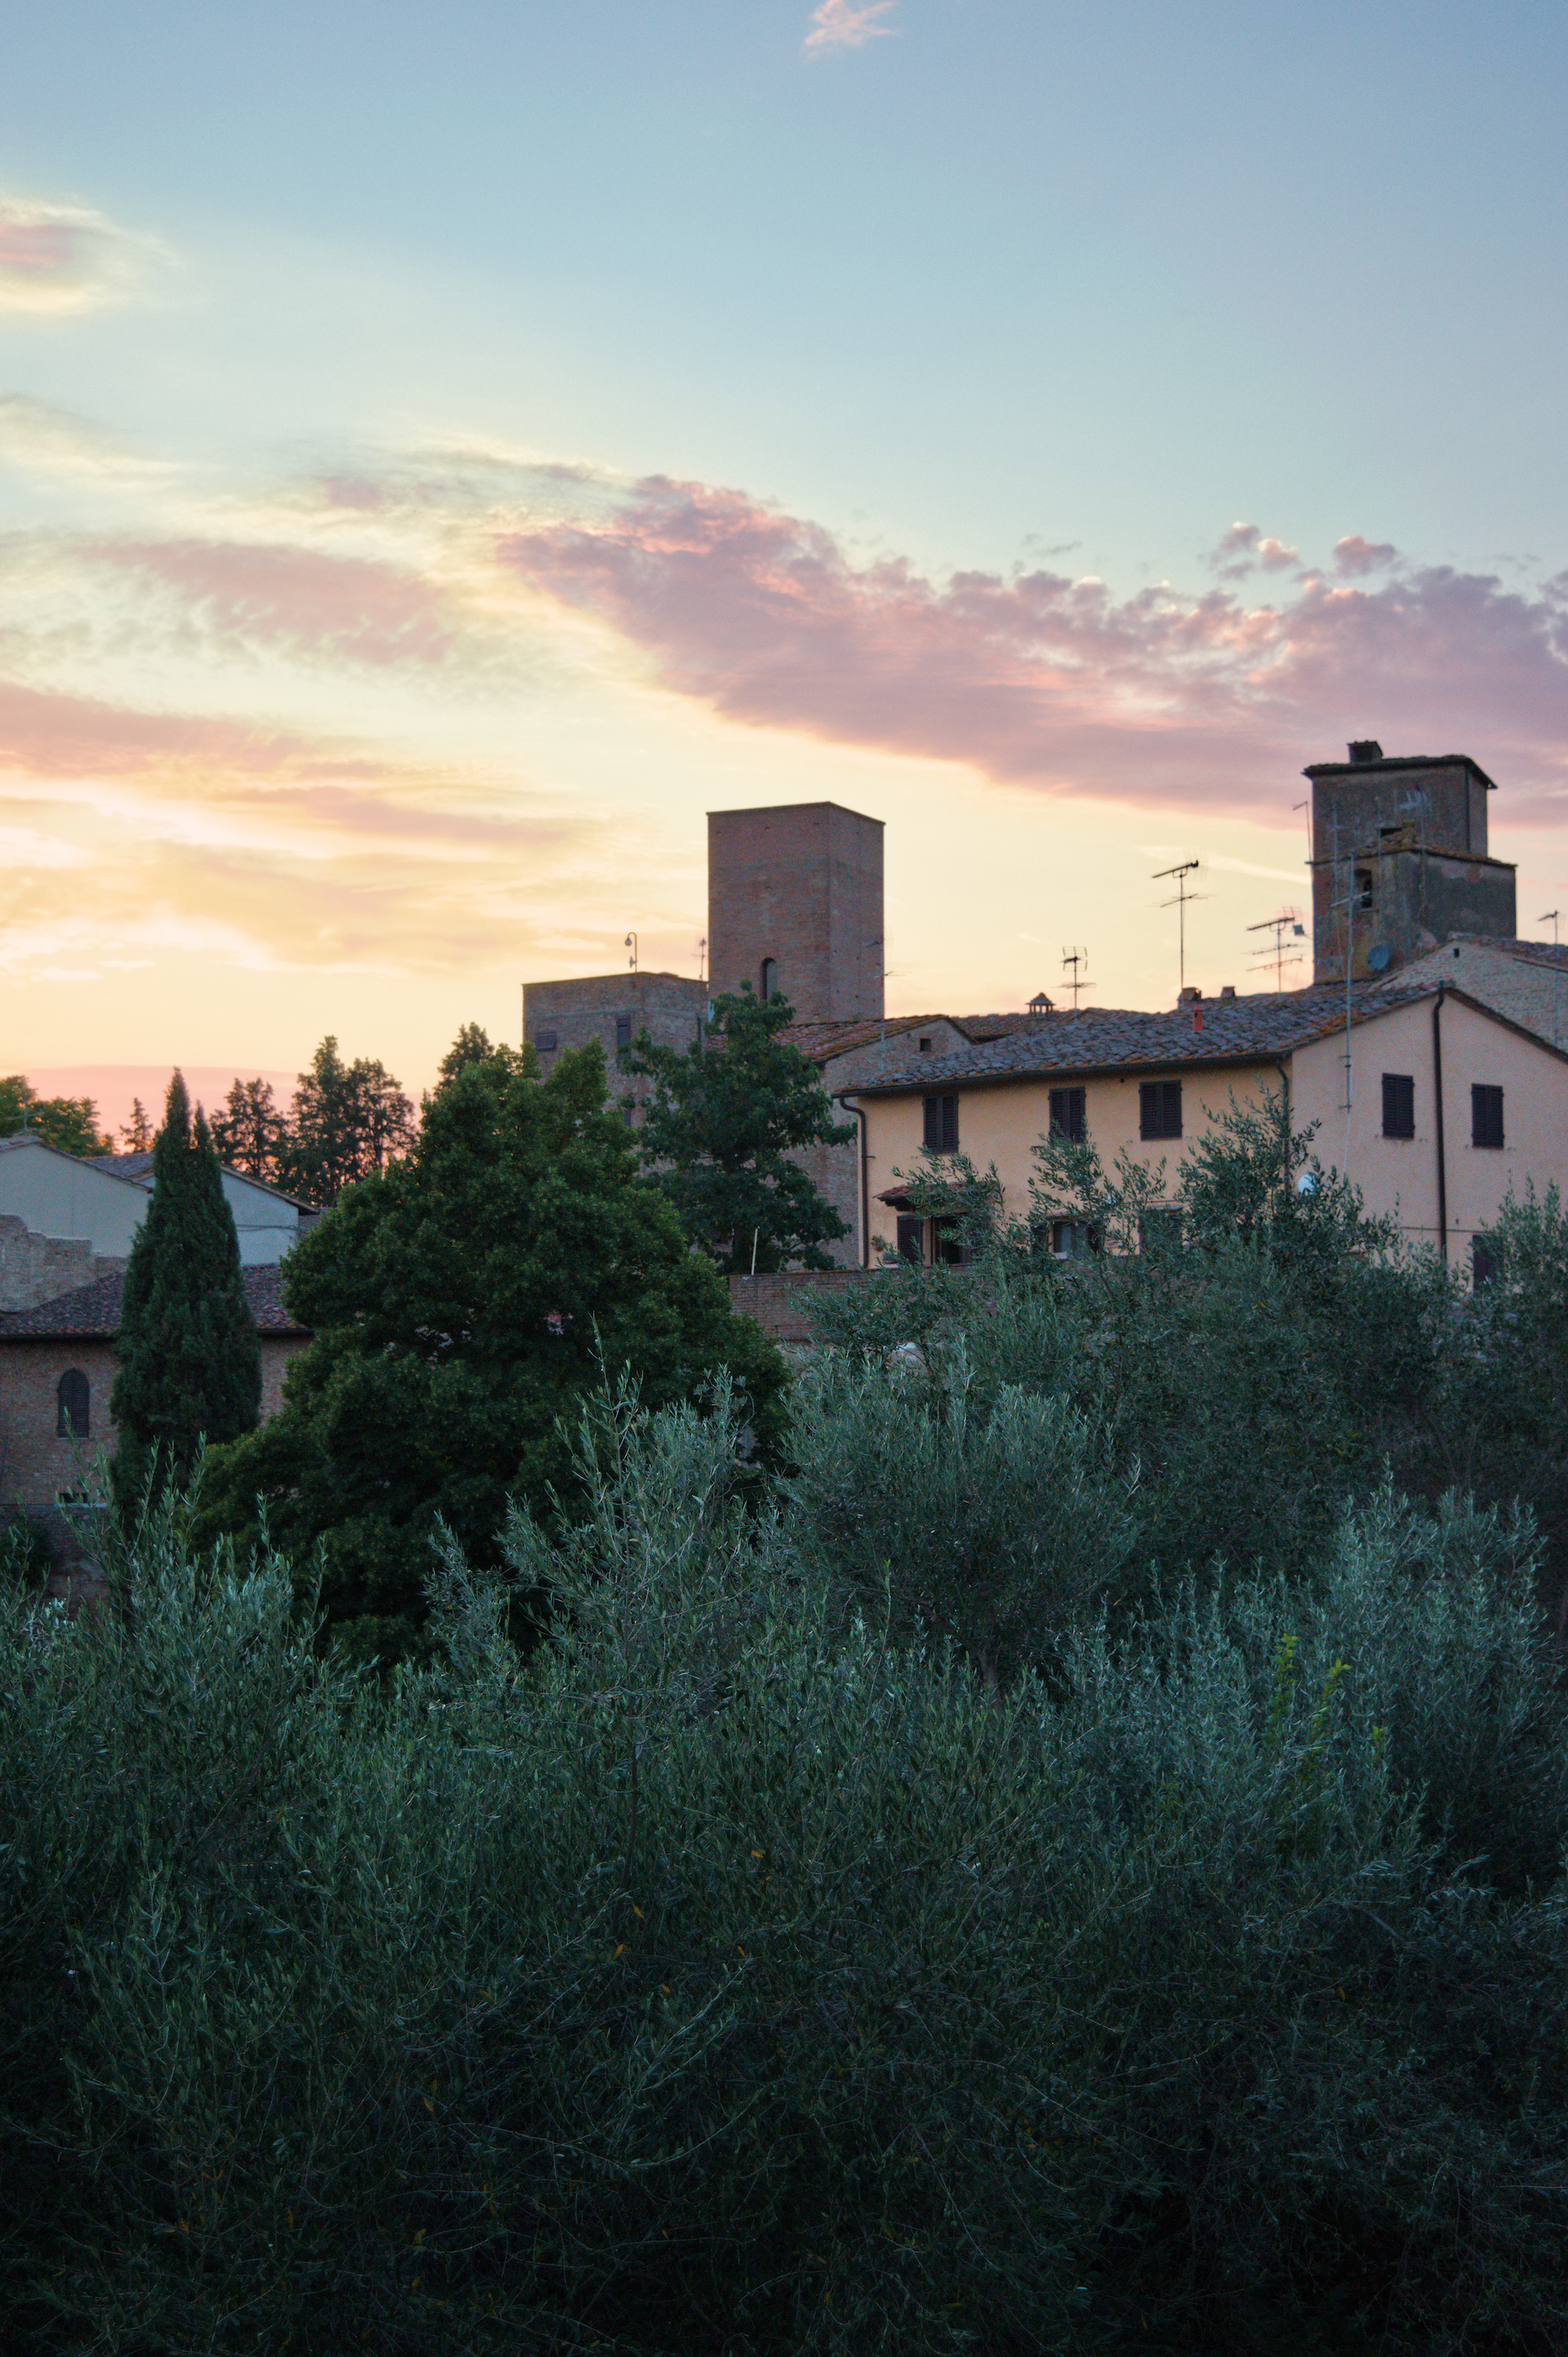
I wanted to make an edit with more saturation and smooth rolloff in the highlights which was quite easyly achieveable in filmic - however I lost a lot of contrast in the shadows region - maybe due to my lack of knowledge of the filmic module.
The agx version:
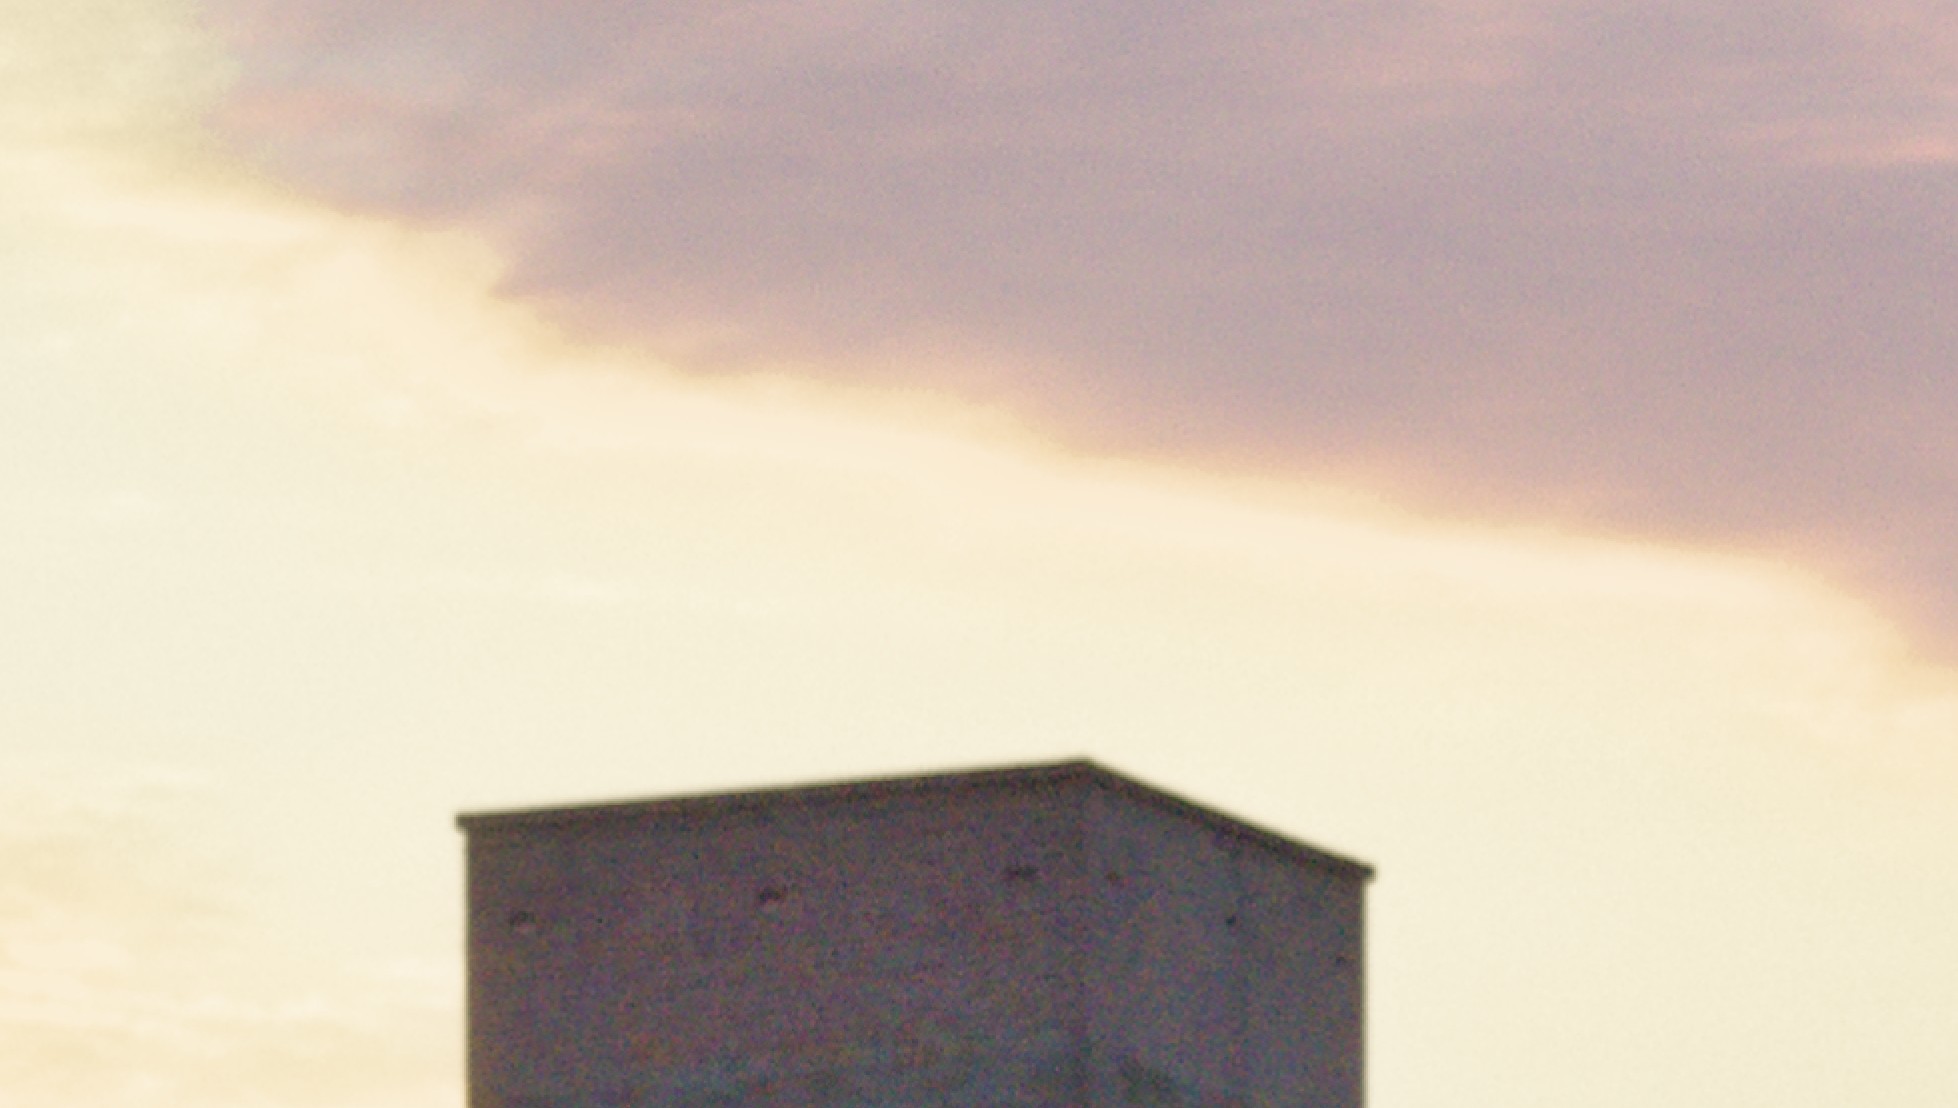
For eliminating the leftover magenta in the blue parts of the sky I had to use the recommended segmentation based method which on the other hand created even harsher edges in the clouds.
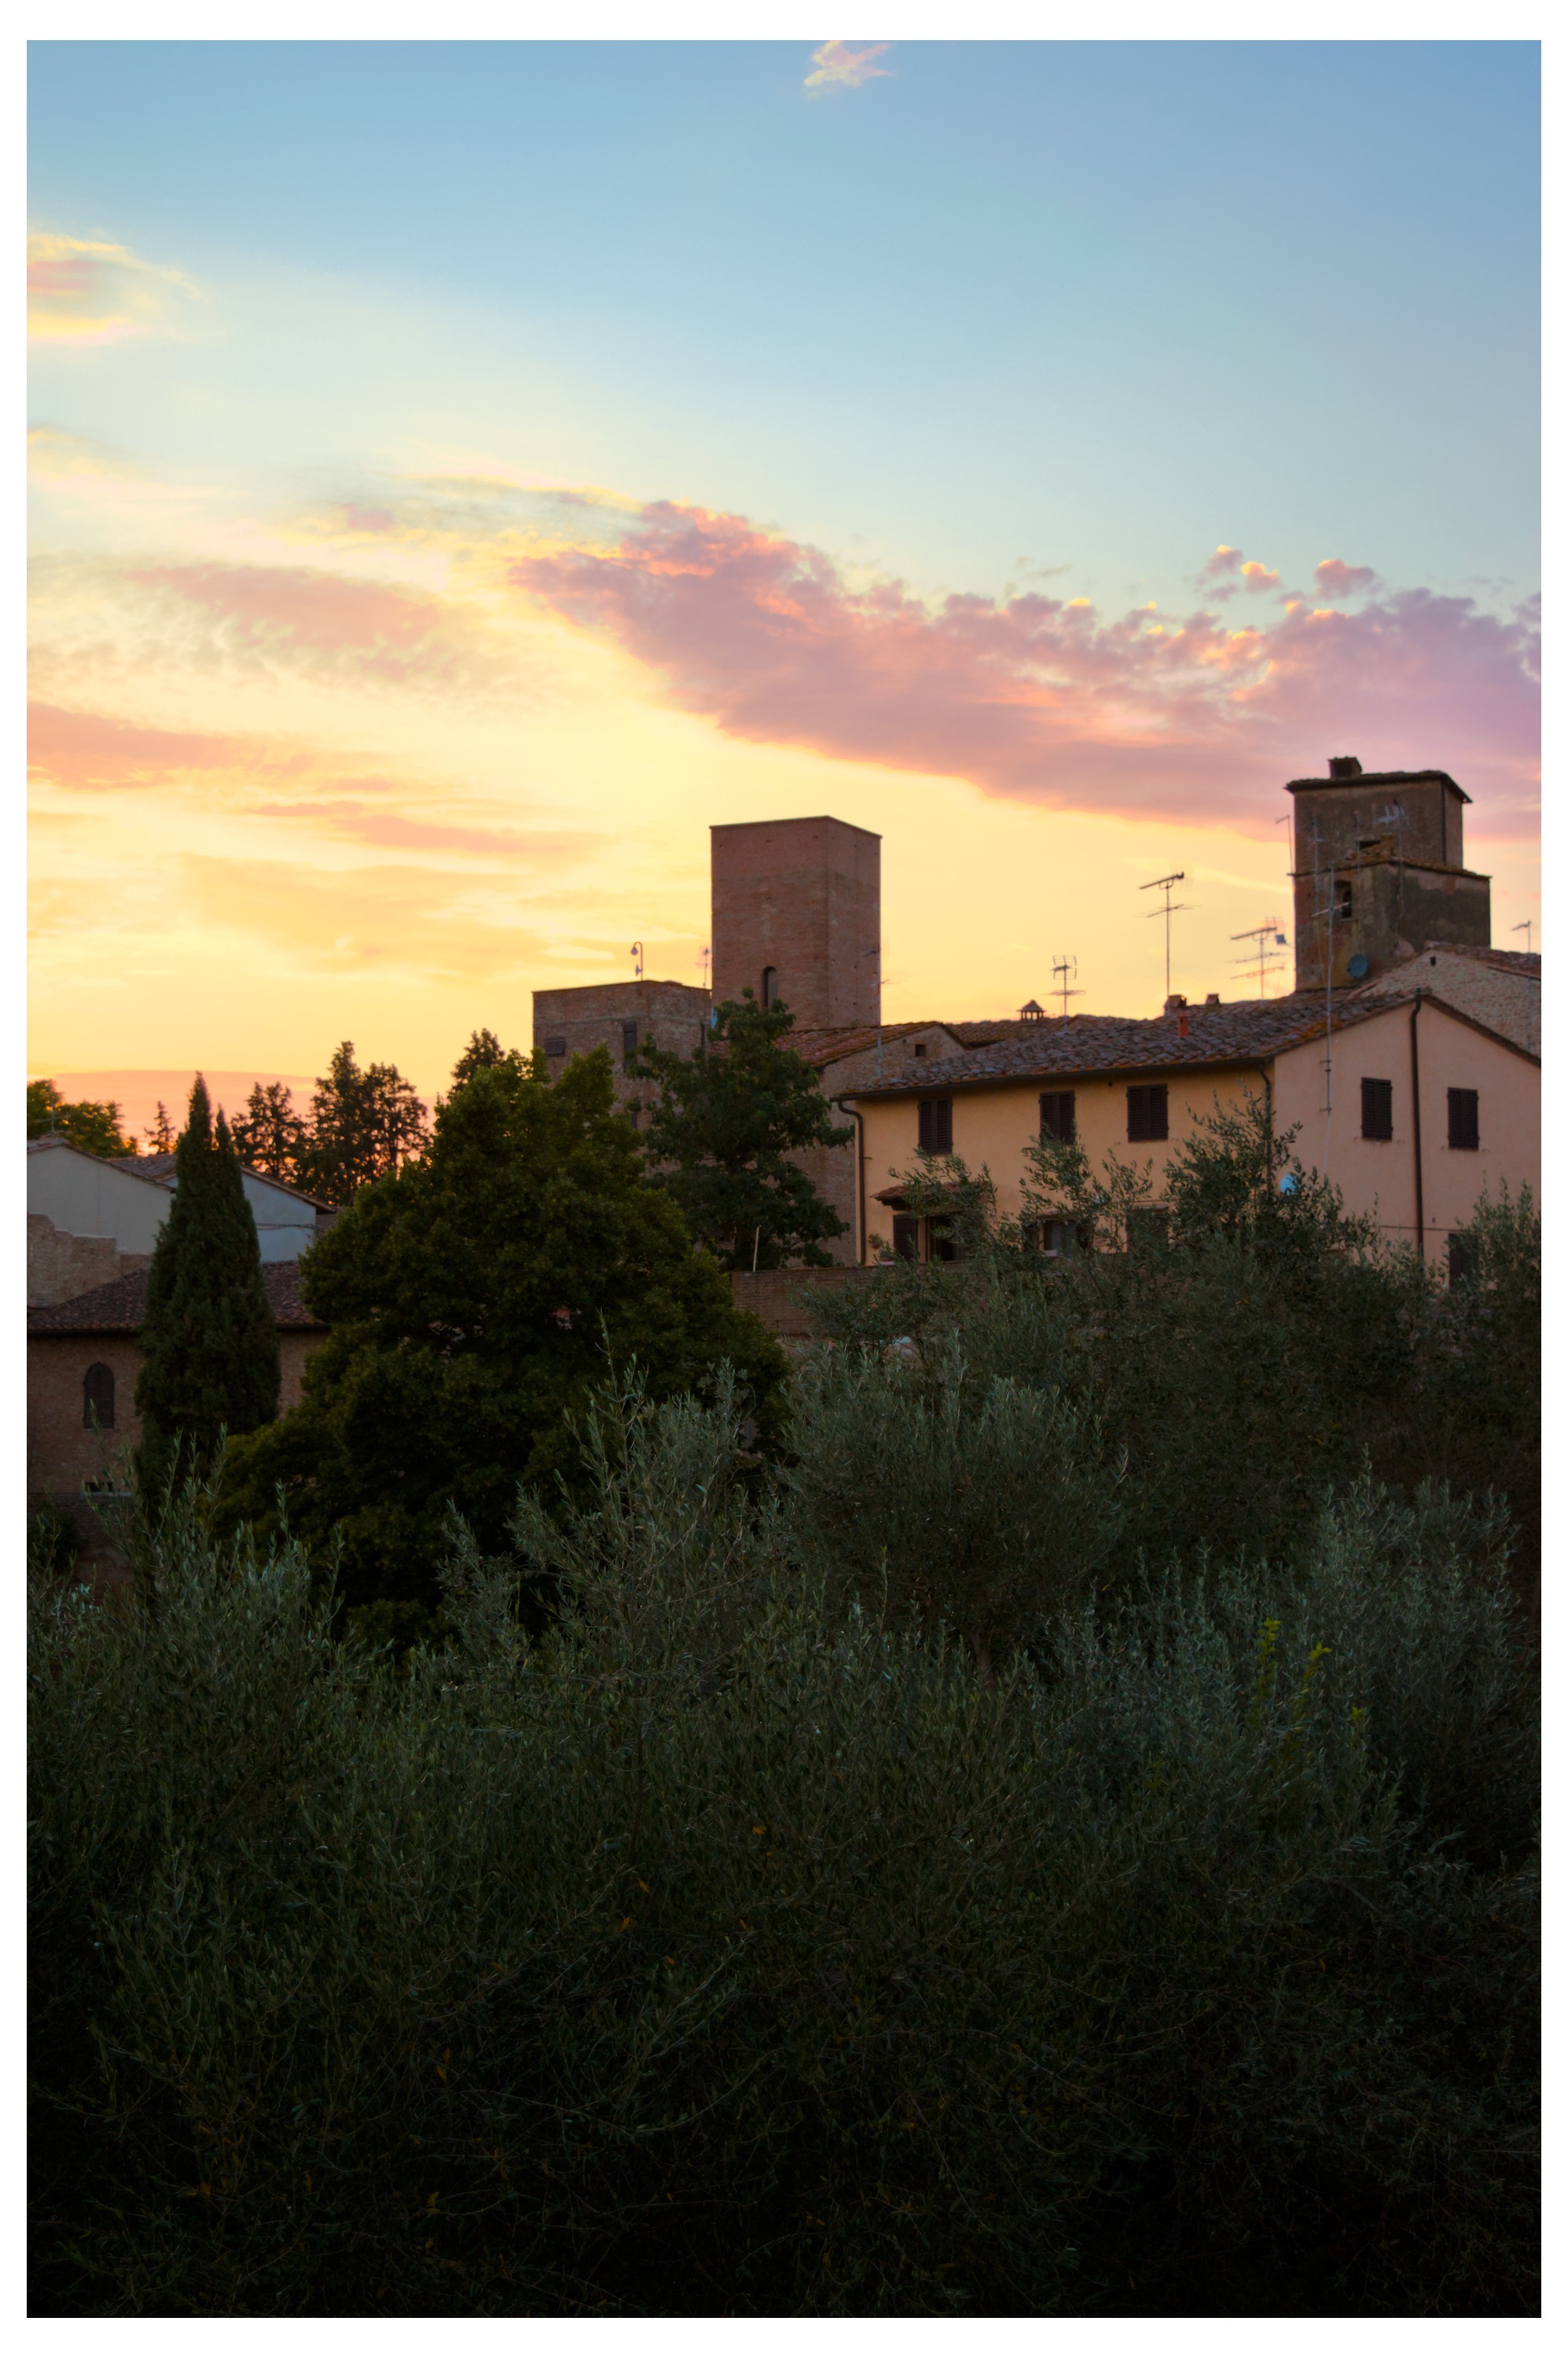
Hanno´s comment on highlight reconstruction module creating a raster mask helped the most - using a diffuse or sharpen (bloom) module with a raster mask in chromaticity mode it is possible to blend the problematic areas. See below without and with the bloom turned on.
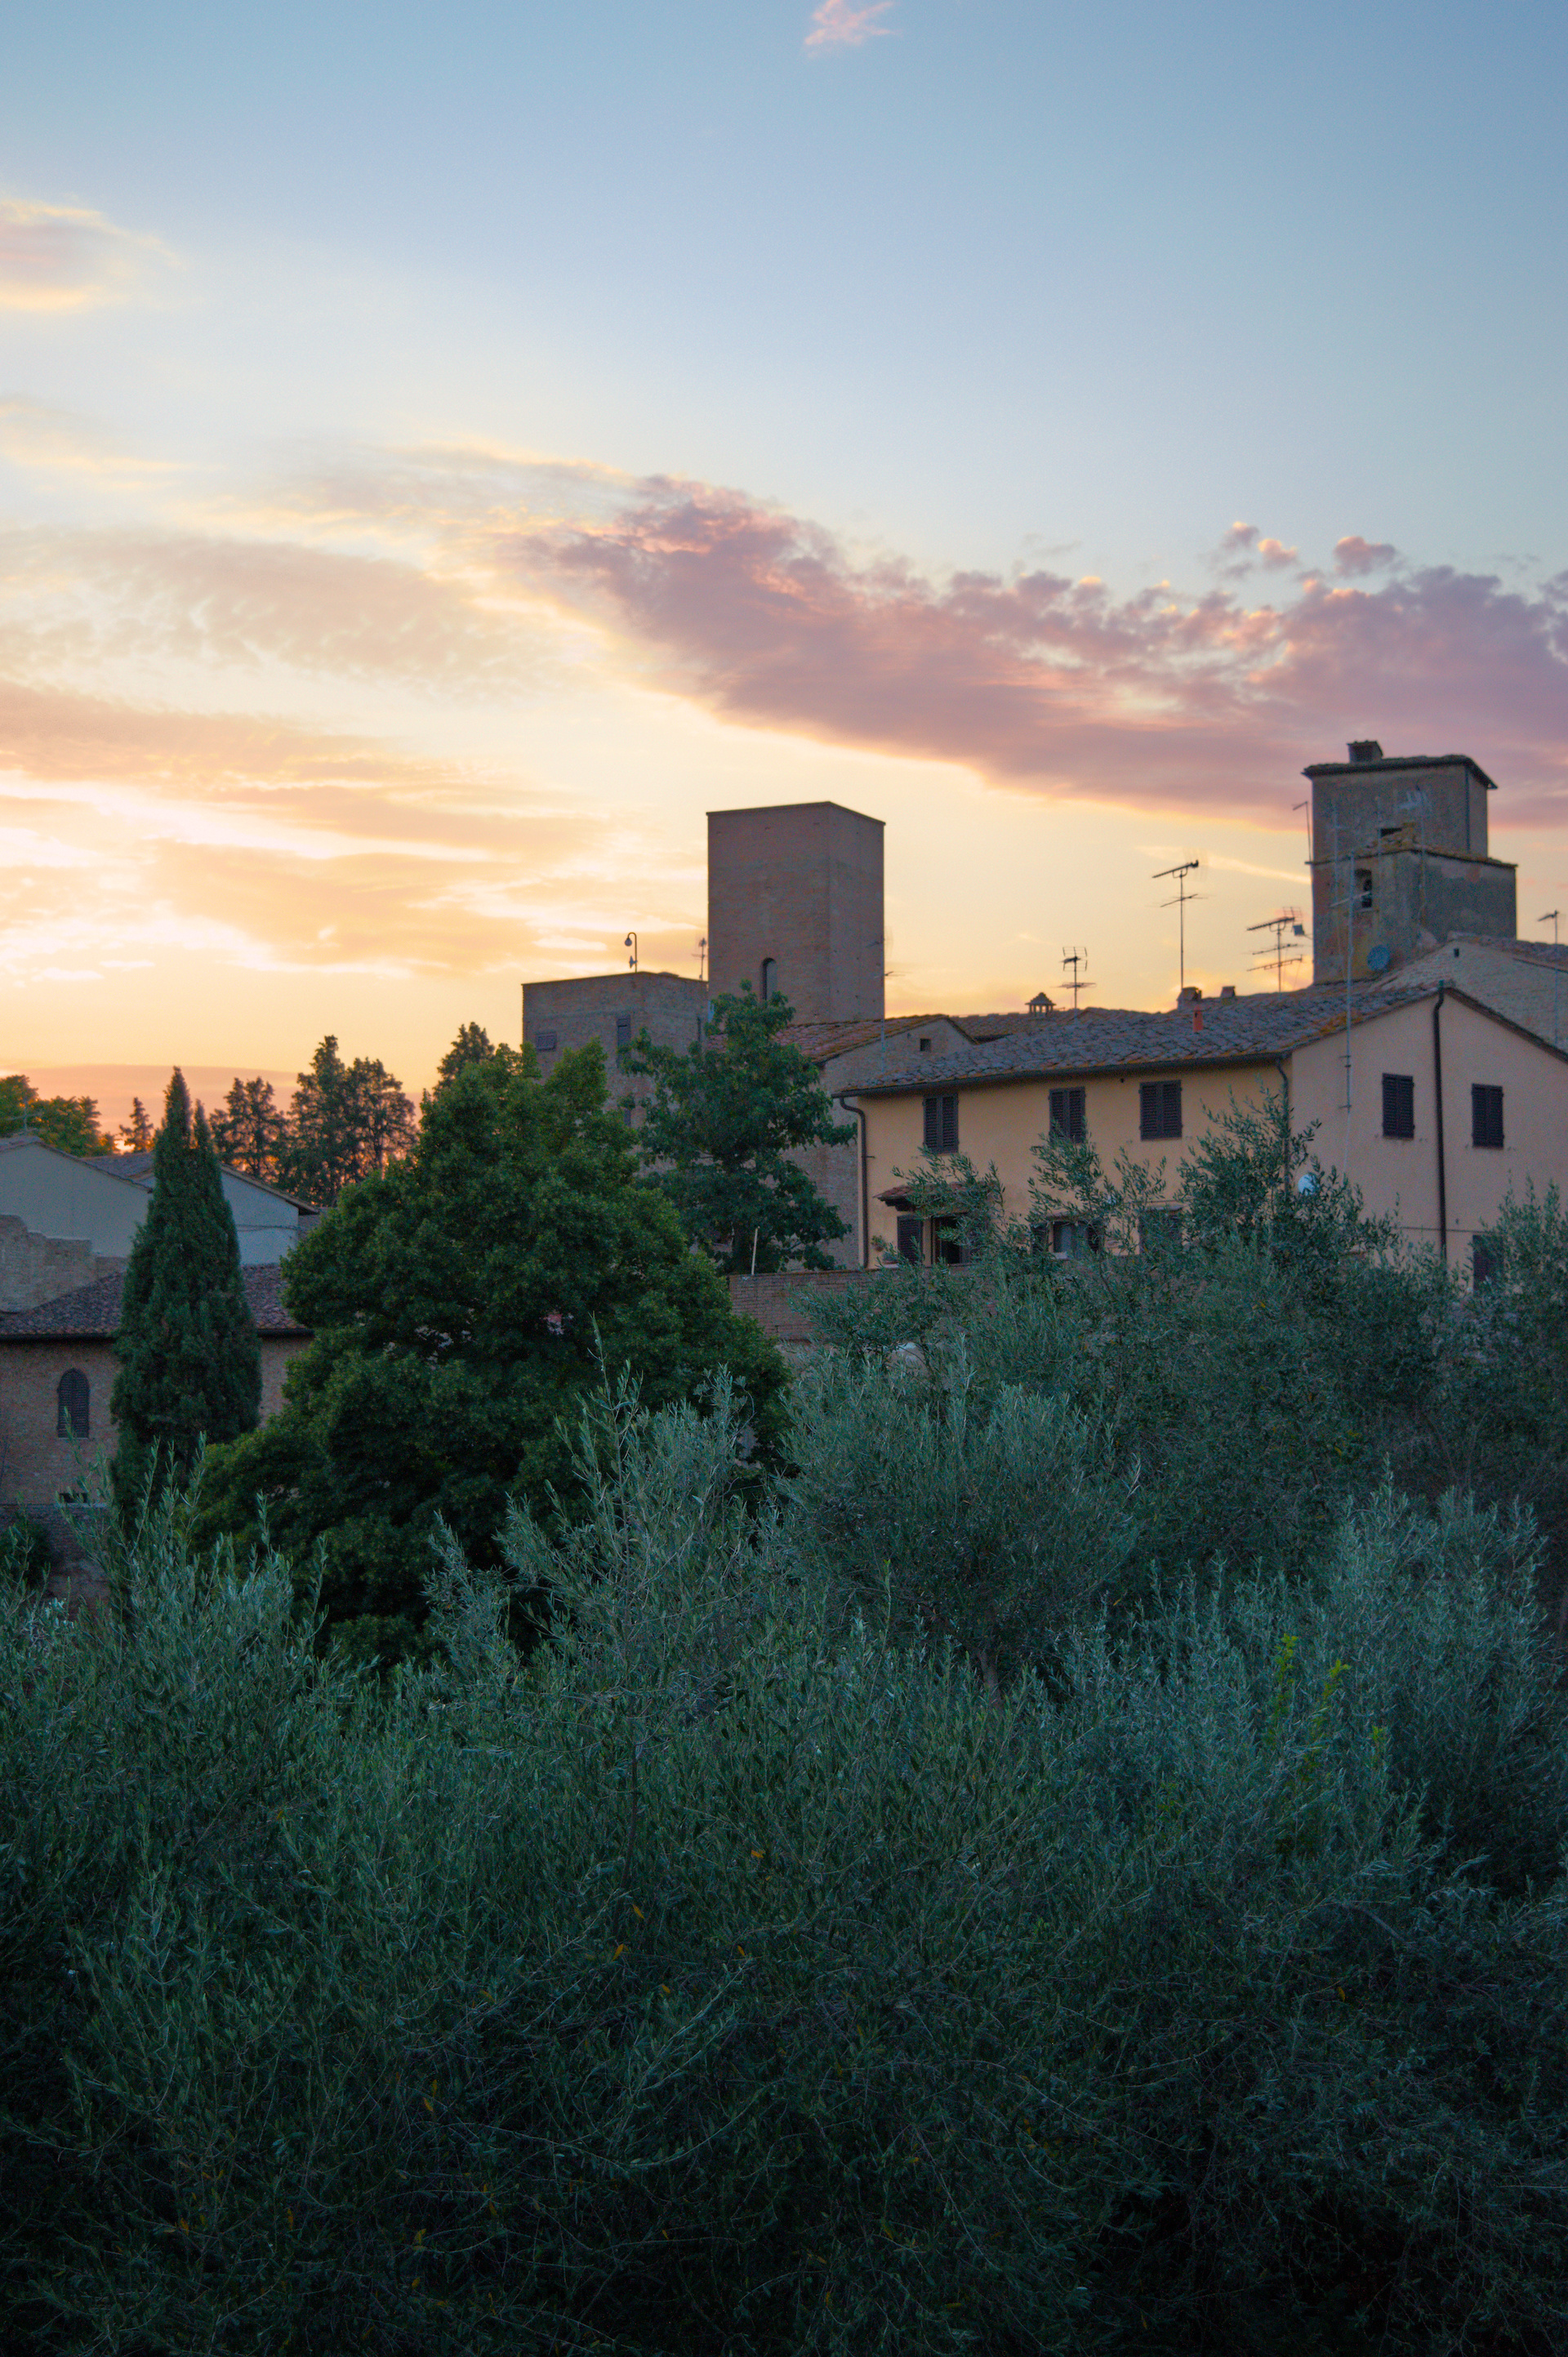
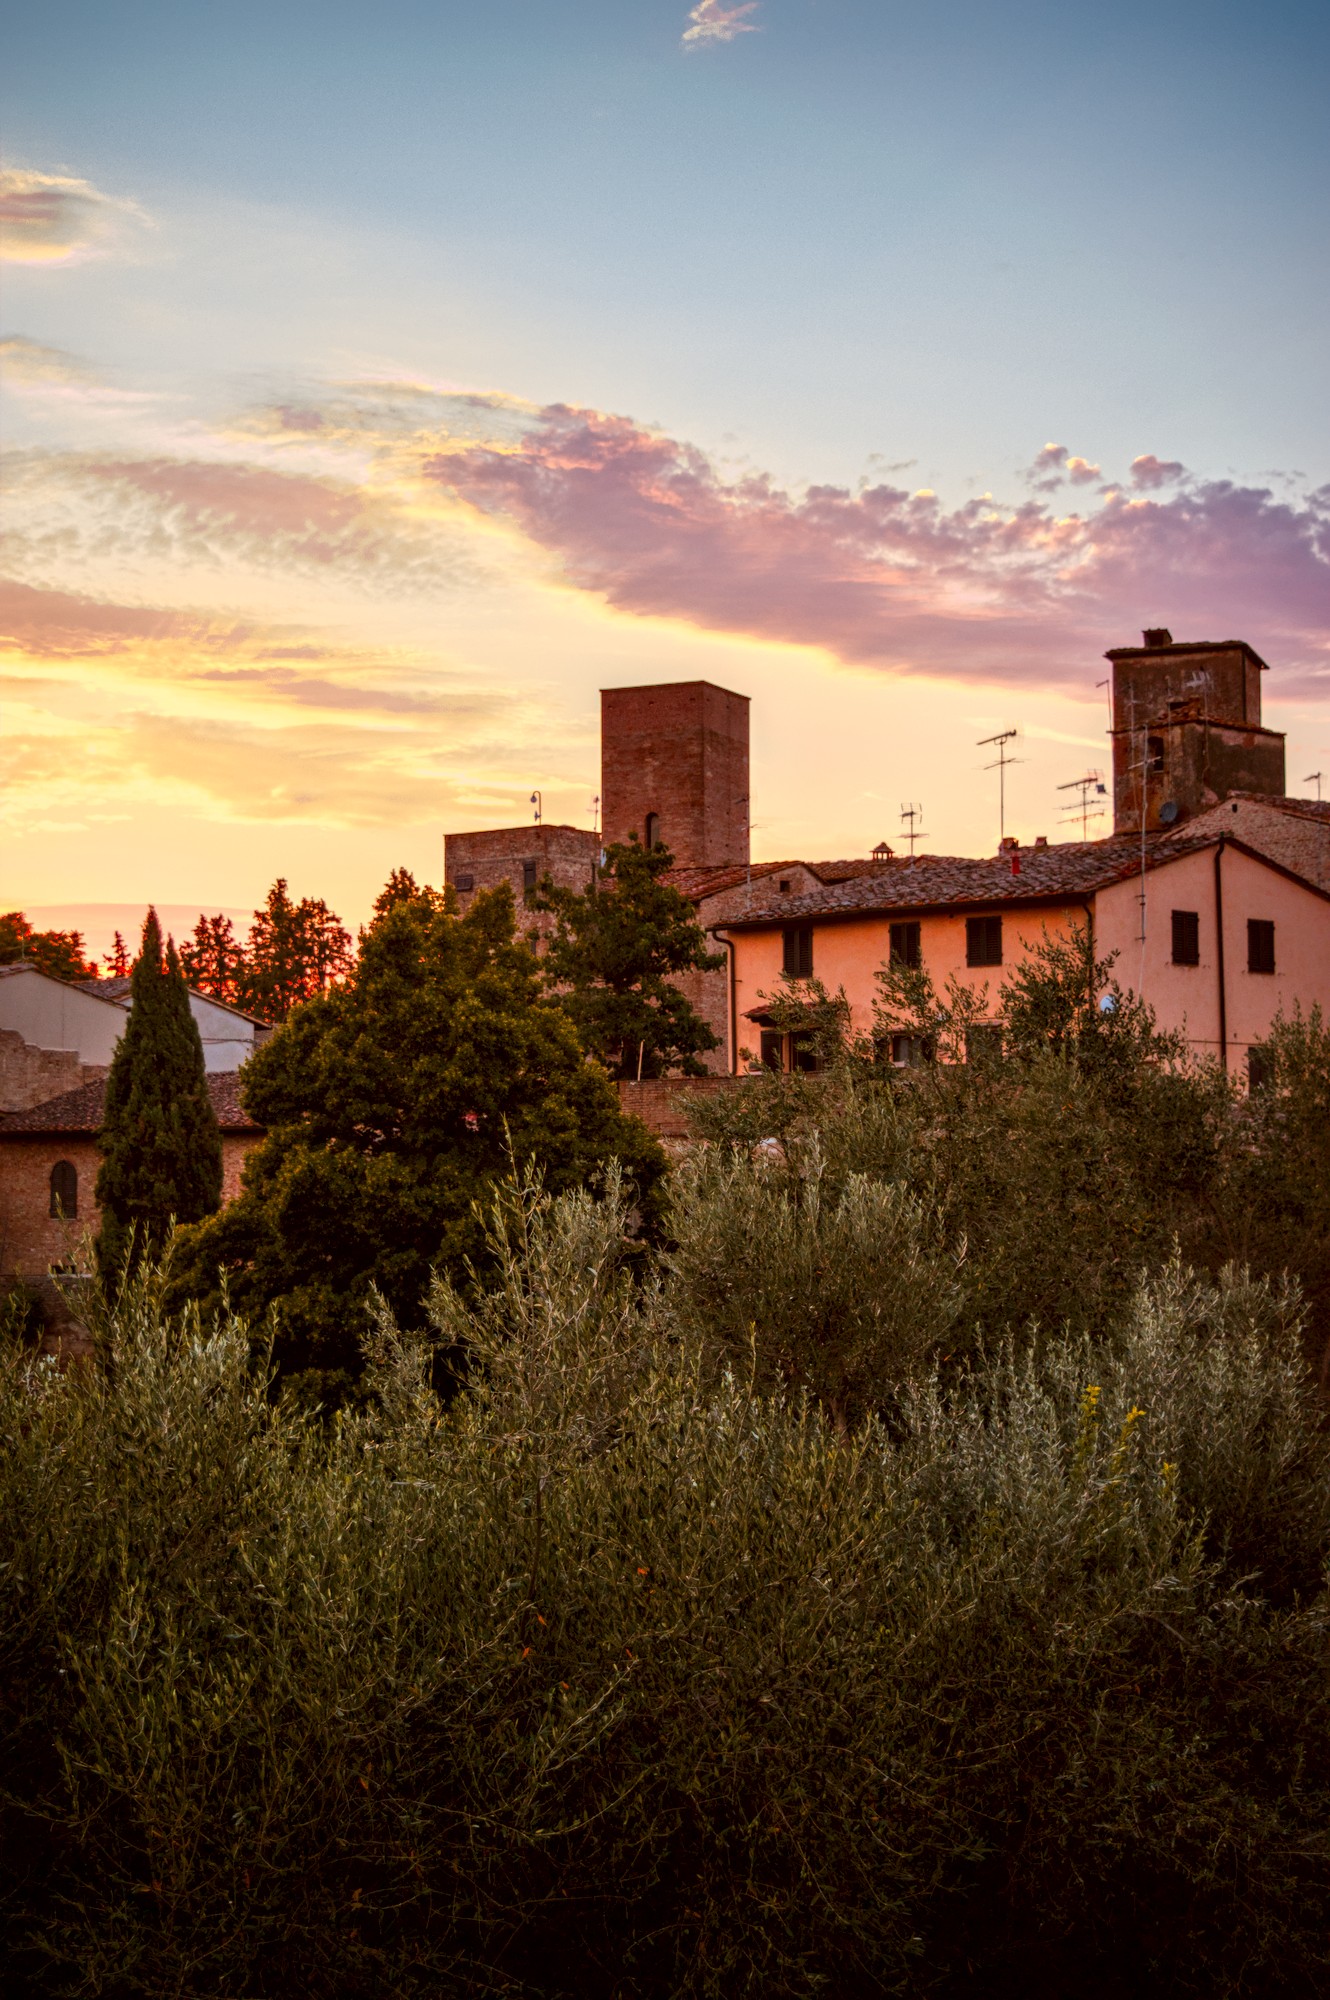
And here is my agx version
I still think the sky is smoother in the filmic version but maybe using another diffuse or sharpen module might produce smoother results in agx too.
3 Likes
Forgot to upload the agx version xmp file.
DSC_0535.NEF.xmp (18.8 KB)
1 Like
2 Likes
I feel LR gave a reasonable result very easily when I tested the image on LR6 on my computer. But the sliders were pushed to their limits and LR doesn’t allow multiple instances.
The screen shot below is from LR and I have pushed blue saturation to show that even LR had issues with this sky. This shot is challenging for any software due to the highlight clipping. I guess it is a good image to test highlight reconstruction on.
2 Likes
ok, the question was to match the highlight-reconstruction of LR
Here is, what i achived with RT 5.12, (regardless, what thappened to the rest of the pic)
DSC_0535.NEF.jpg.out.pp3 (21,0 KB)