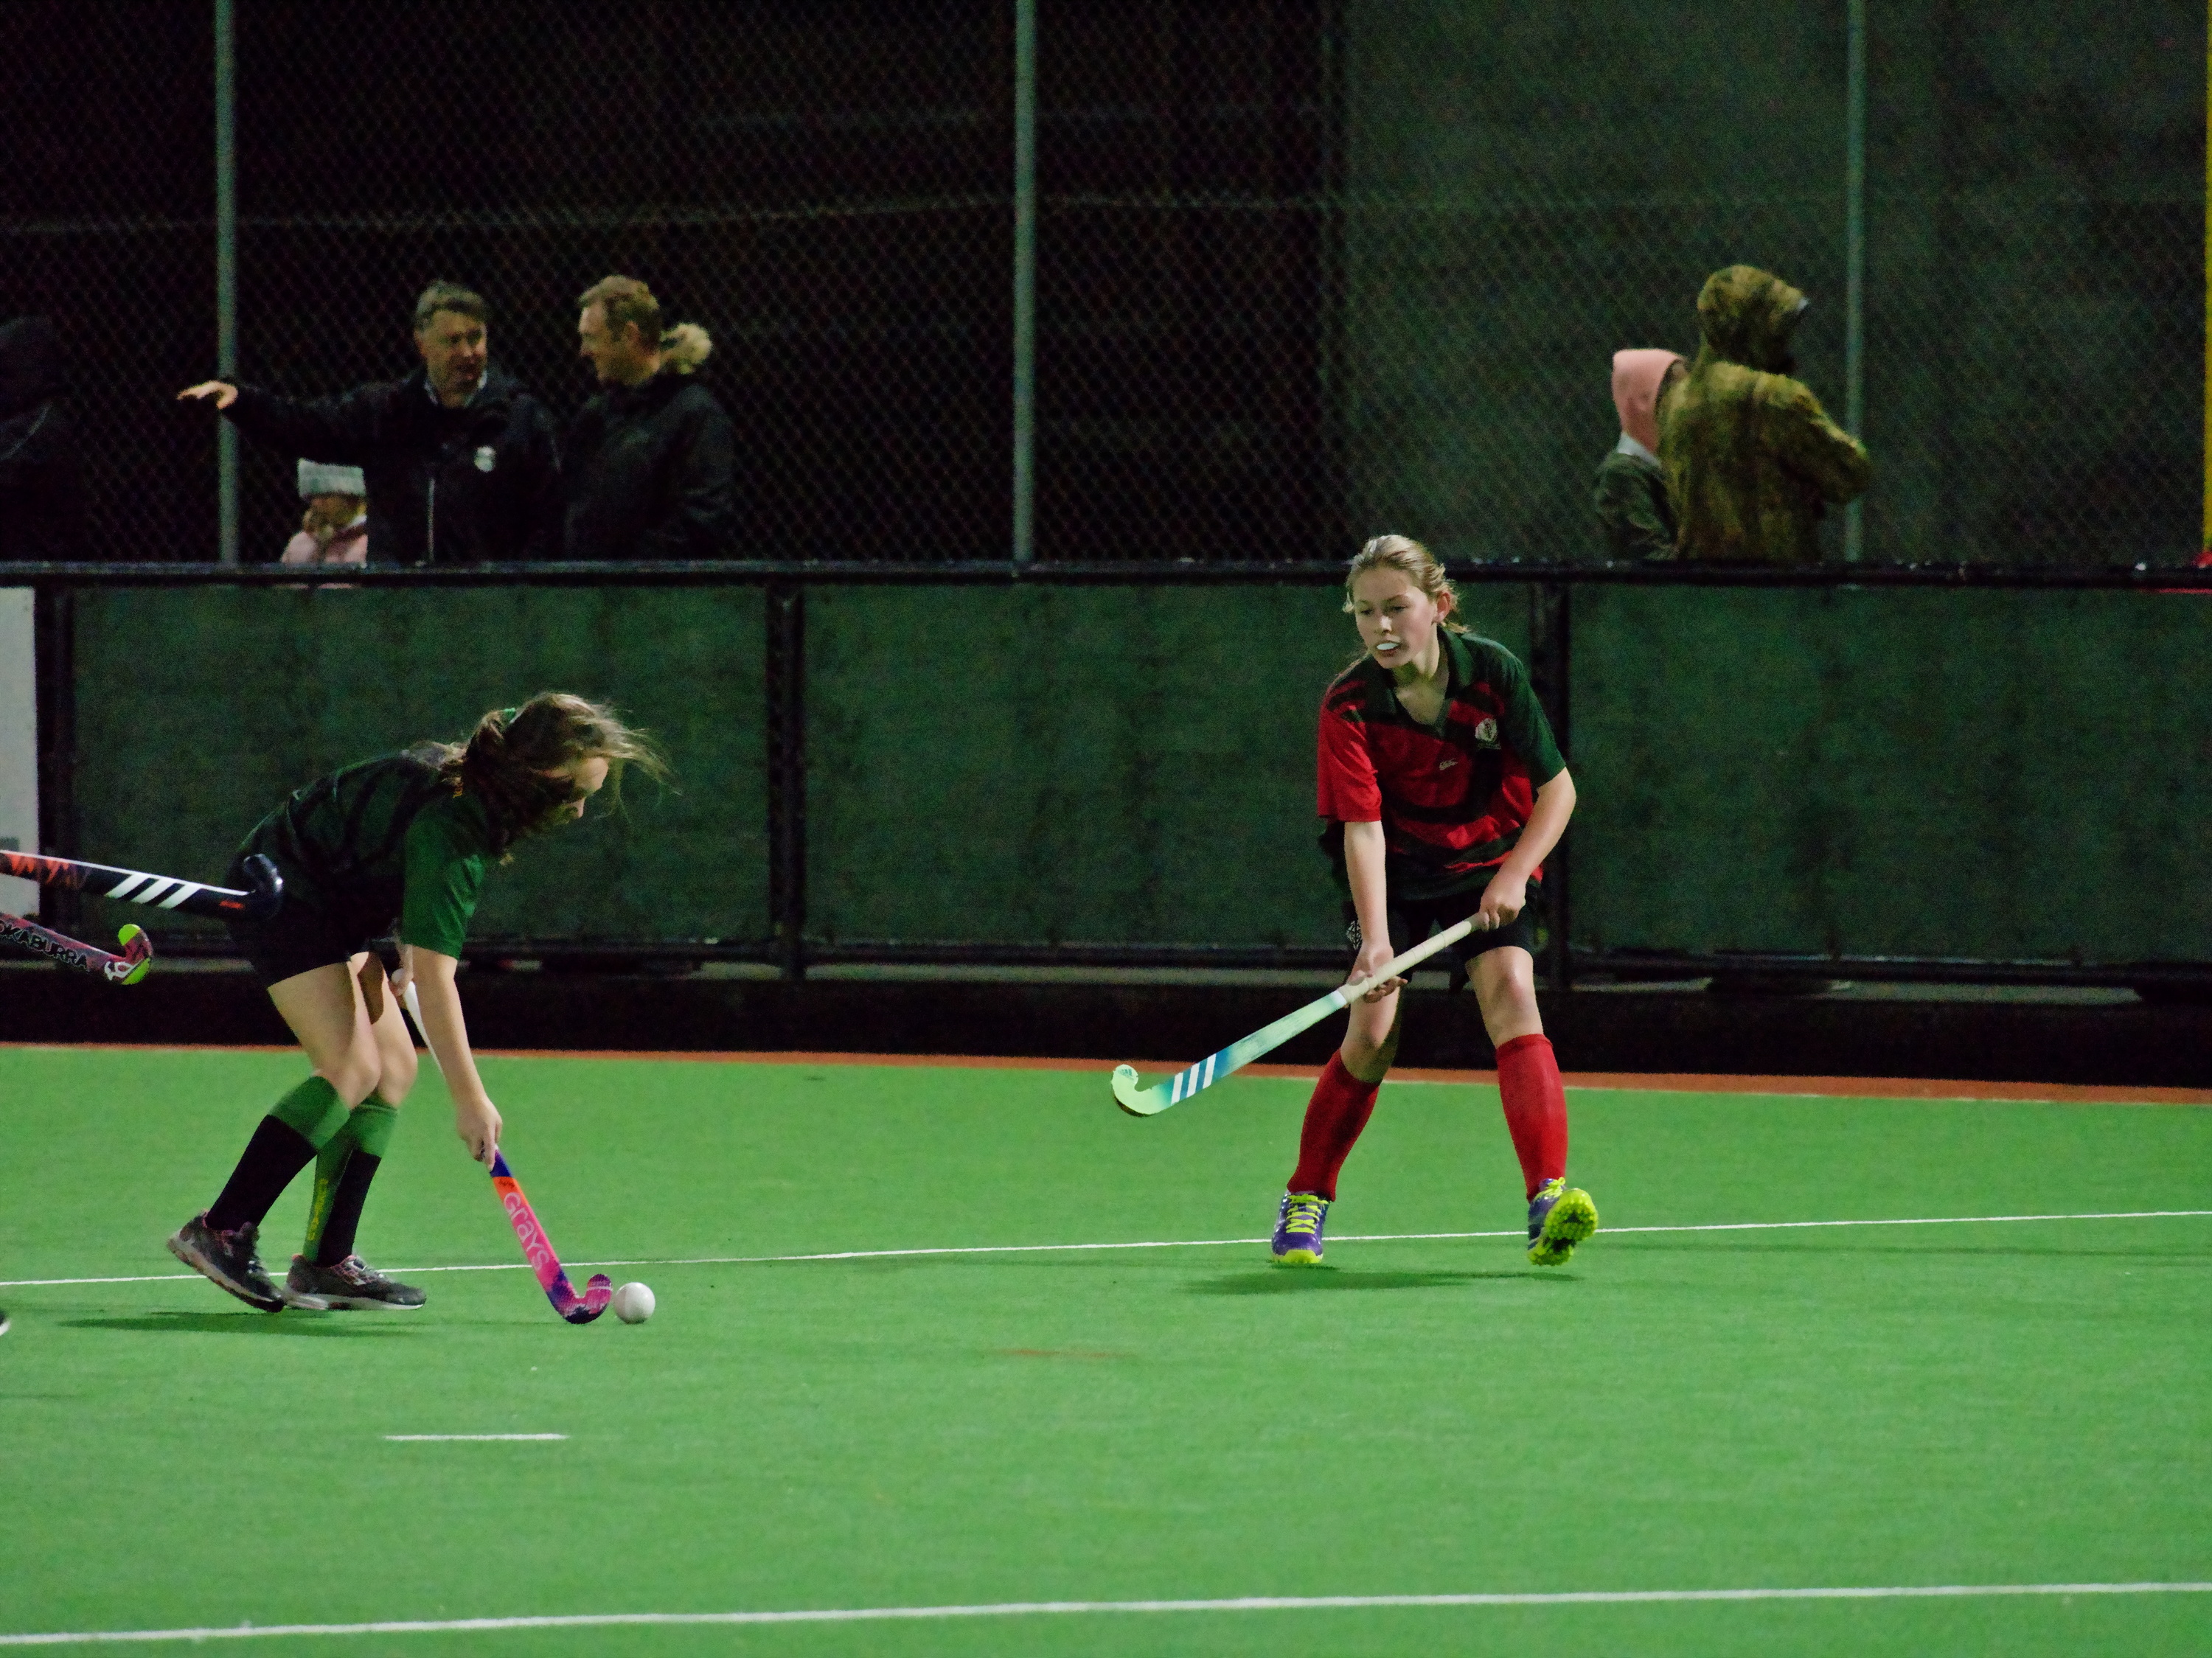
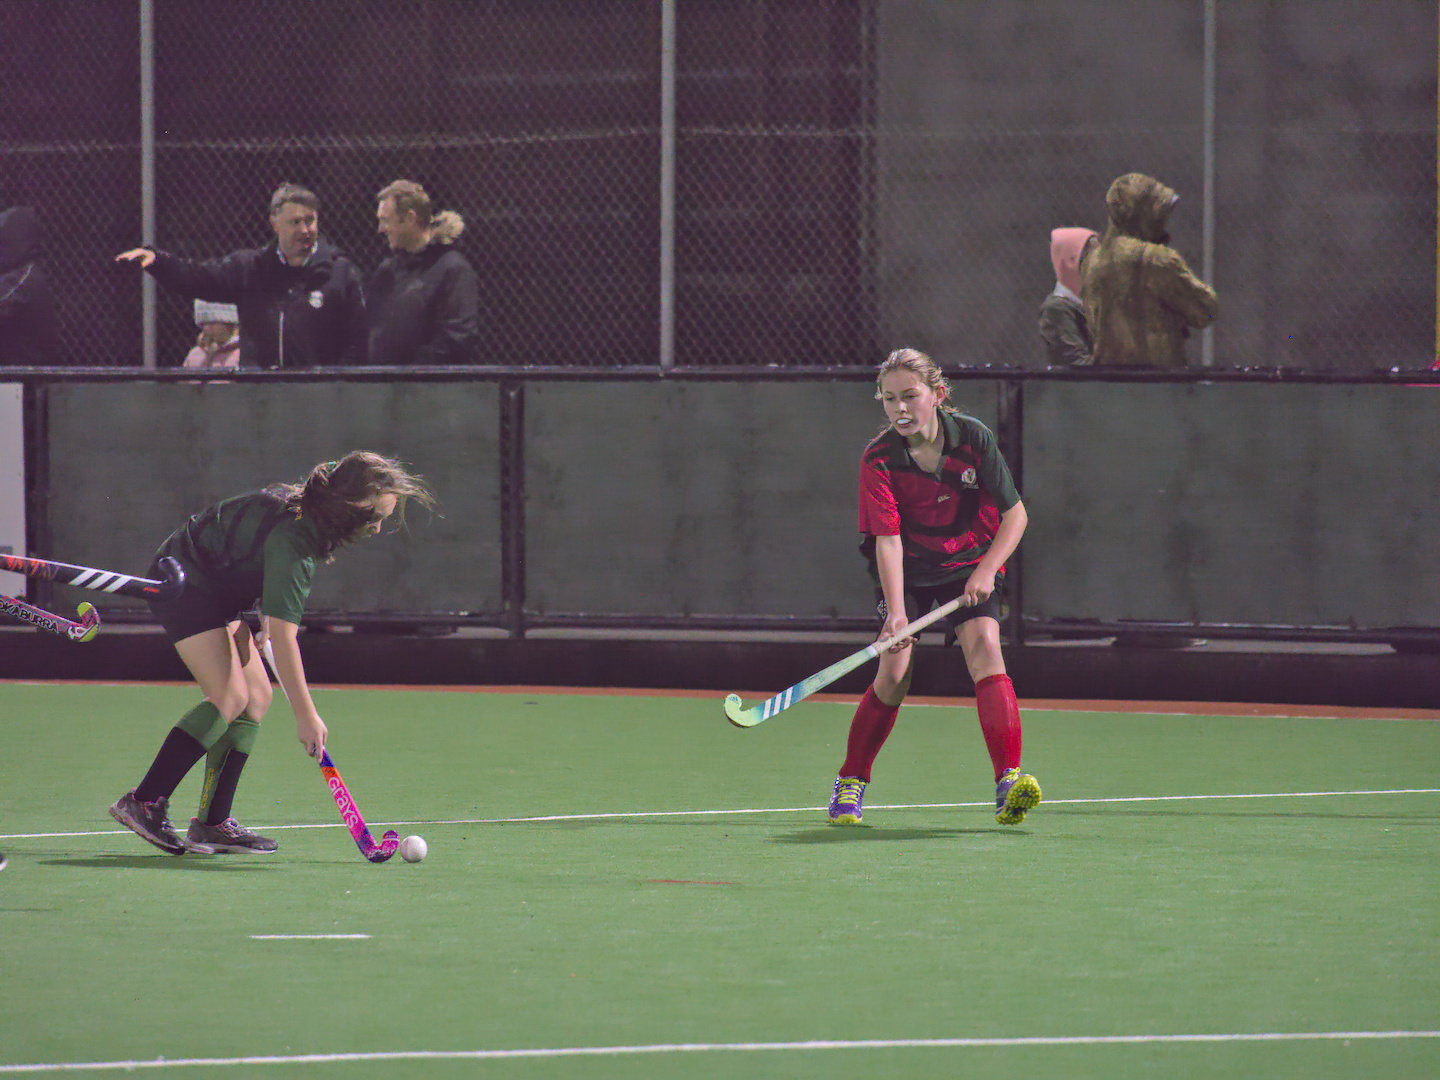
As suggested to me in IRC, here is the playraw from my kids hockey game.
Lumix G9 w/100-300mmv2, 20,000 ISO, aperture priority to keep widest as it changes through the zoom range. I actually saved this style as a darktable preset on a 12800 ISO image, then applied to the 20k ISO one with zero adjustments.
I haven’t done anything very special, I think it’s all default module settings. I usually just bang these out and upload for the team to see. I usually set up one image, save the style then apply to all in the folder then adjust exposure on them all, then export.
I often shoot around 2500 images per day at motorsport events, so unless I’m going to print something they get culled to maybe 300 then batch processed. My kids games I often shoot jpeg, but for night I don’t.
If someone wants to buy an image/print, then I spend more time on that image to suit printing.
@CarVac great job not destroying detail I reckon, but I agree it does seem to struggle with the shadow colours - like demosaicing hasn’t worked right maybe. I’ve noticed similar trends in darktable unless I change to AMAZE which works much better.
For an image shot at ISO 20000 this looks rather good. Digital camera’s have come a long way over the last few years, combine that with the advances in editing software and you’re able to end up with very reasonable end results (good results depending on what the end goal is).
Very nice practise material and worth revisiting this one at a later stage.
Thanks for following up on the suggestion I made on IRC and posting this one!
In this case using IGV instead of LMMSE gave me a better result. But this can only be seen when zooming in to at least 200%. Being able to use and tune wavelet denoise made the biggest splash. Not sure if an (semi) automated wavelets denoise option would be feasible for or in the spirit of Filmulator.
In the end both are great for high ISO images, though.
Full-res jpeg with mozjpeg-q85 to have something to preview.
This is basically simple, no-nonsense darktable:
exposure up quite a bit
color-calibration, trying to find a nice looking white balance is a bit tricky. I got a nice hit somewhere around the mouth guard. The average of the whole image seems better than the as-shot-in-camera to me, but this is all subjective.
filmic, there isn’t really any real high dynamic range, but I basically use it for everything these days.
local contrast with default settings
local contrast but with contrast 4%-and-high-detail-overdone bilateral, but with a soft luma mask and final opacity around 50%. This gets some smaller details out in the field surface.
I think I enabled ‘sharpen’ with default settings in the end.
But I did my usual ‘cheating’ thing → I started with a DNG saved by Dxo Photolab, with only optical corrections (vignette, distortion) and noise-reduction + sharpening, all on their auto settings (but their latest and greatest noise-reduction).
As a rule of thumb, if you get close to the detail/noise level that this does, then you can call your result ‘close to market-leading’ .
There is a bit of depth of field in this picture (m4/3 or not) so judging ‘details vs noise-reduction’ or ‘this might be slightly out of focus’ can be tricky by looking at it.
Currently I’m working on making sure I don’t mix up actual black levels (like 512 for Sony) with offsets like the Panasonics, because it’s stored as just “black” for both.
I tried to match exposure (0.8333) and raising the shadow-brightness a bit (315) to match the Darktable try I did earlier. I lowered ‘film area’ a bit from the default (428), to get some more pop into the image. Oh, and I set white balance on the same spot (yay for white-balance picker!)
I like the red of the shirt more in the filmulator version.
Before anyone wracks their brain too hard about the magenta shadows from what I understand it is a known issue that the G9 has a magenta shadow tint. At least that is the info I found when doing research before buying mine. It appears both at high iso and if pulling up shadows. Flaw in the camera from what I understand. I find it not noticeable in normal situations so fine but if pushing limits like this photo you will probably need to color correct for it. Maybe RT is correcting for the issue Panasonic never fixed in firmware.
Here’s a new version with proper(?) black subtraction (only 95% of the correction RawTherapee prescribed, because I think it overcorrected it), LMMSE, and adjusted noise reduction parameters.
It sure isn’t anywhere near the caliber of DxO Prime, but I think it looks quite good.
Interestingly, I’m finding that nlmeans doesn’t know what to do with the output of LMMSE; it somewhat ignores the finely textured luminance noise and mostly hits chroma noise. I still needed to use the directional pyramid denoise from RawTherapee to remove some of the chroma blotchiness, though.
Non-NR parameters:
Tint: 0.9224 (I thought it was off with the camera WB)
Shadow Rolloff Point is back to 0 because I didn’t need to hide the black subtraction issue.


 .
.