Nope, you have some preference or preset over riding that.
To use color calibration by default on new pictures (without complaints from white balance) you should set “auto-apply chromatic adaptation defaults” to “modern” in the processing section of the settings.
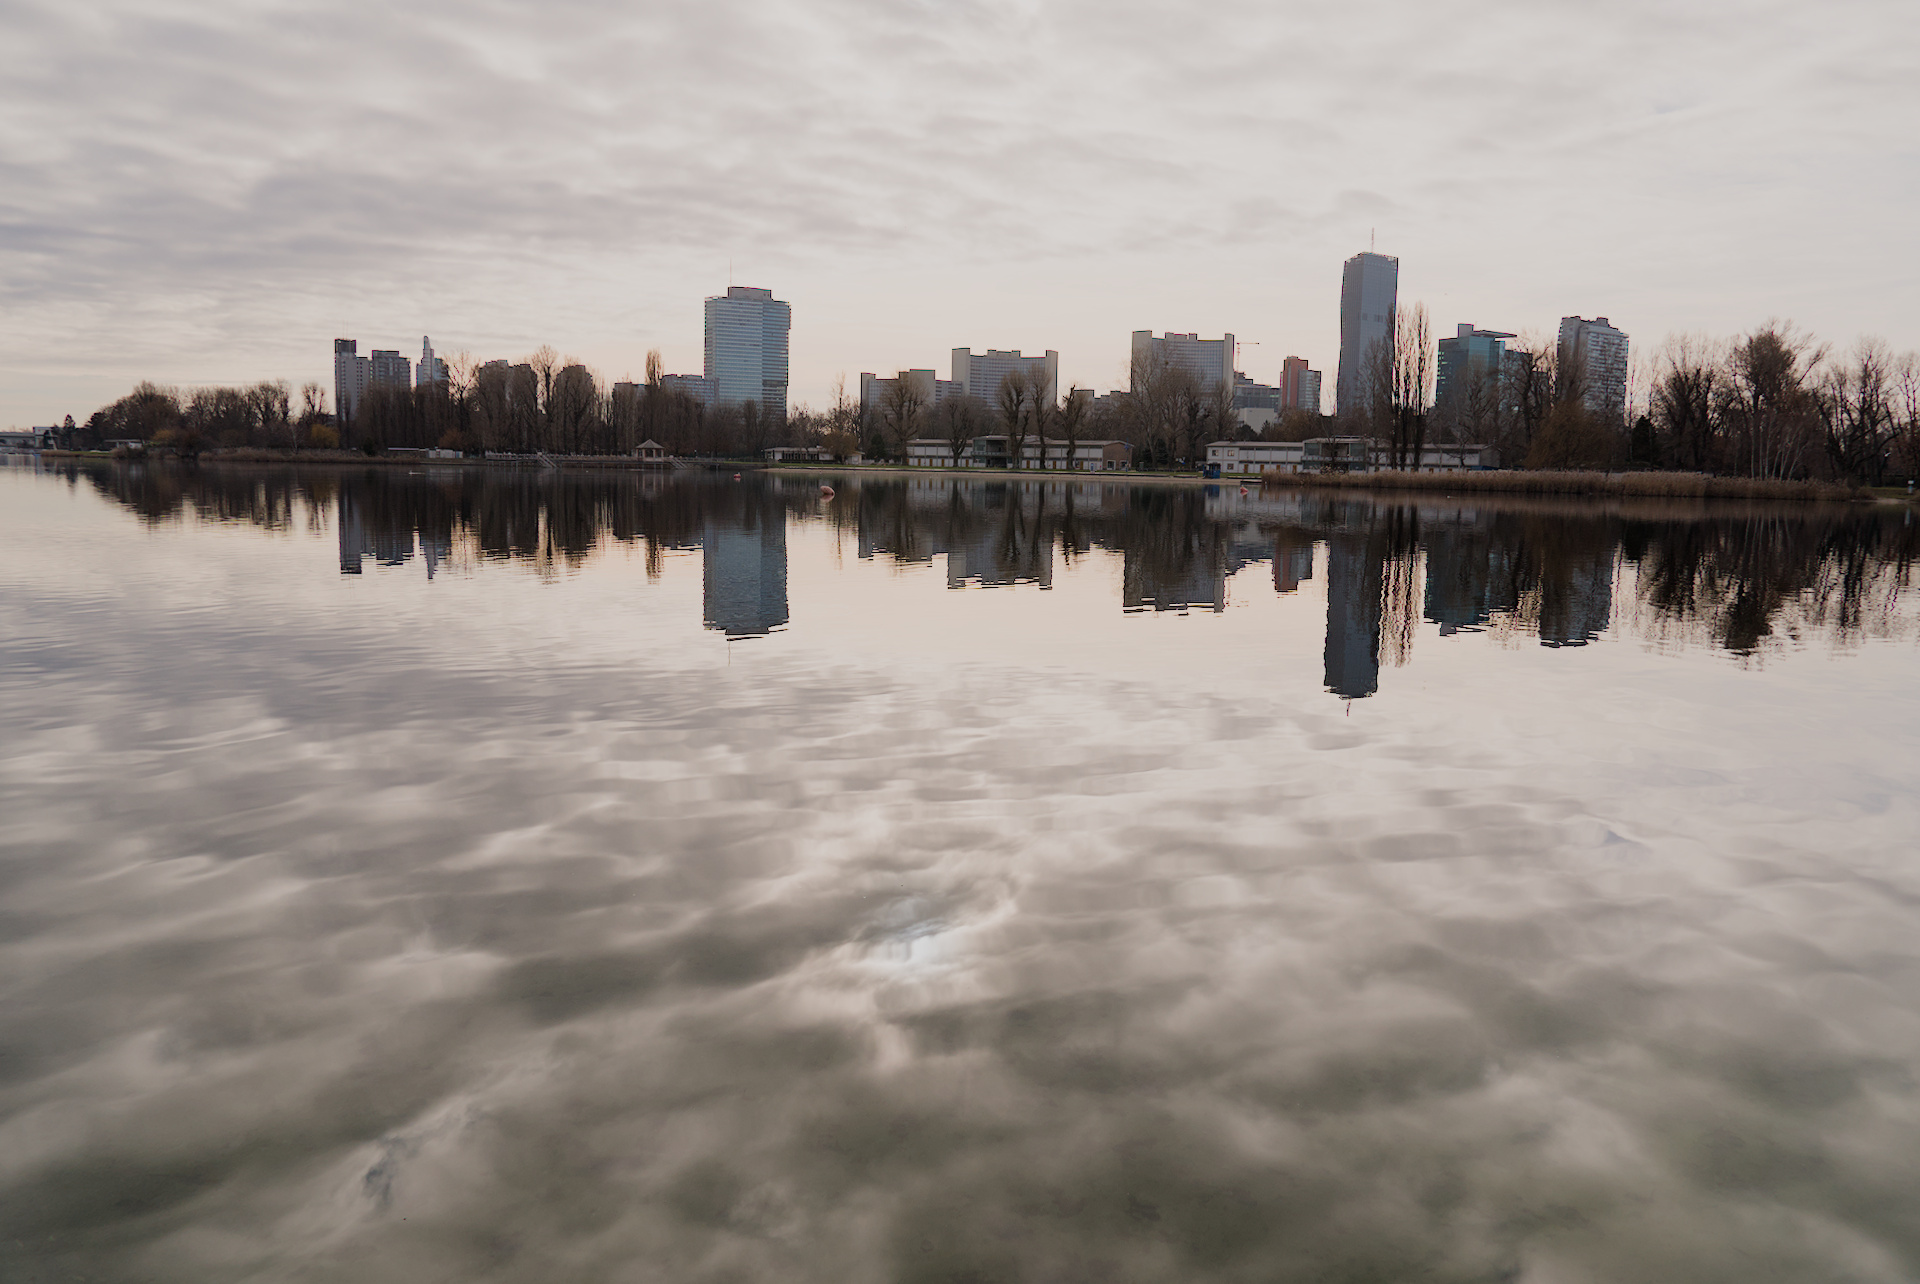
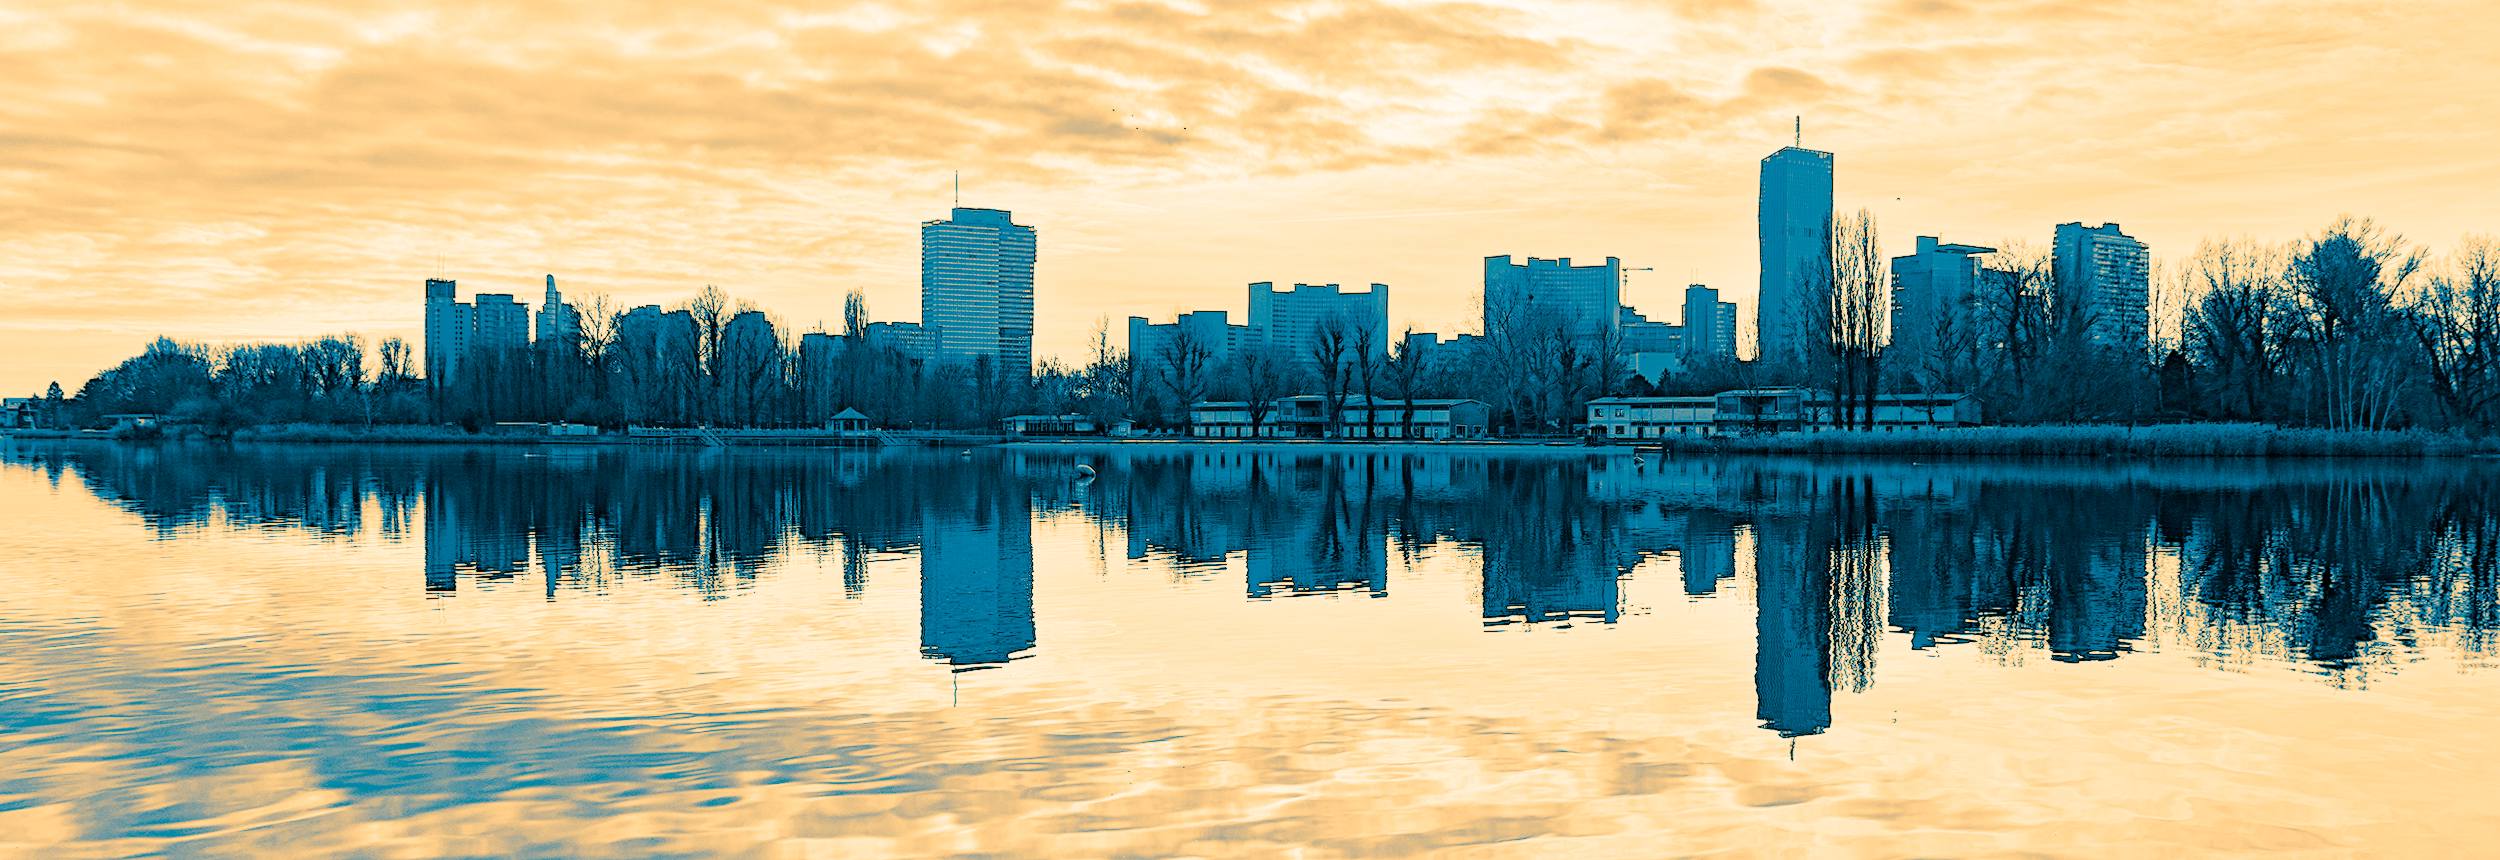
As for your picture, I’m not sure if the yellow sky looks wrong to me.
I think the yellow tone is real but it might not have been obvious, because the sky was very bright.
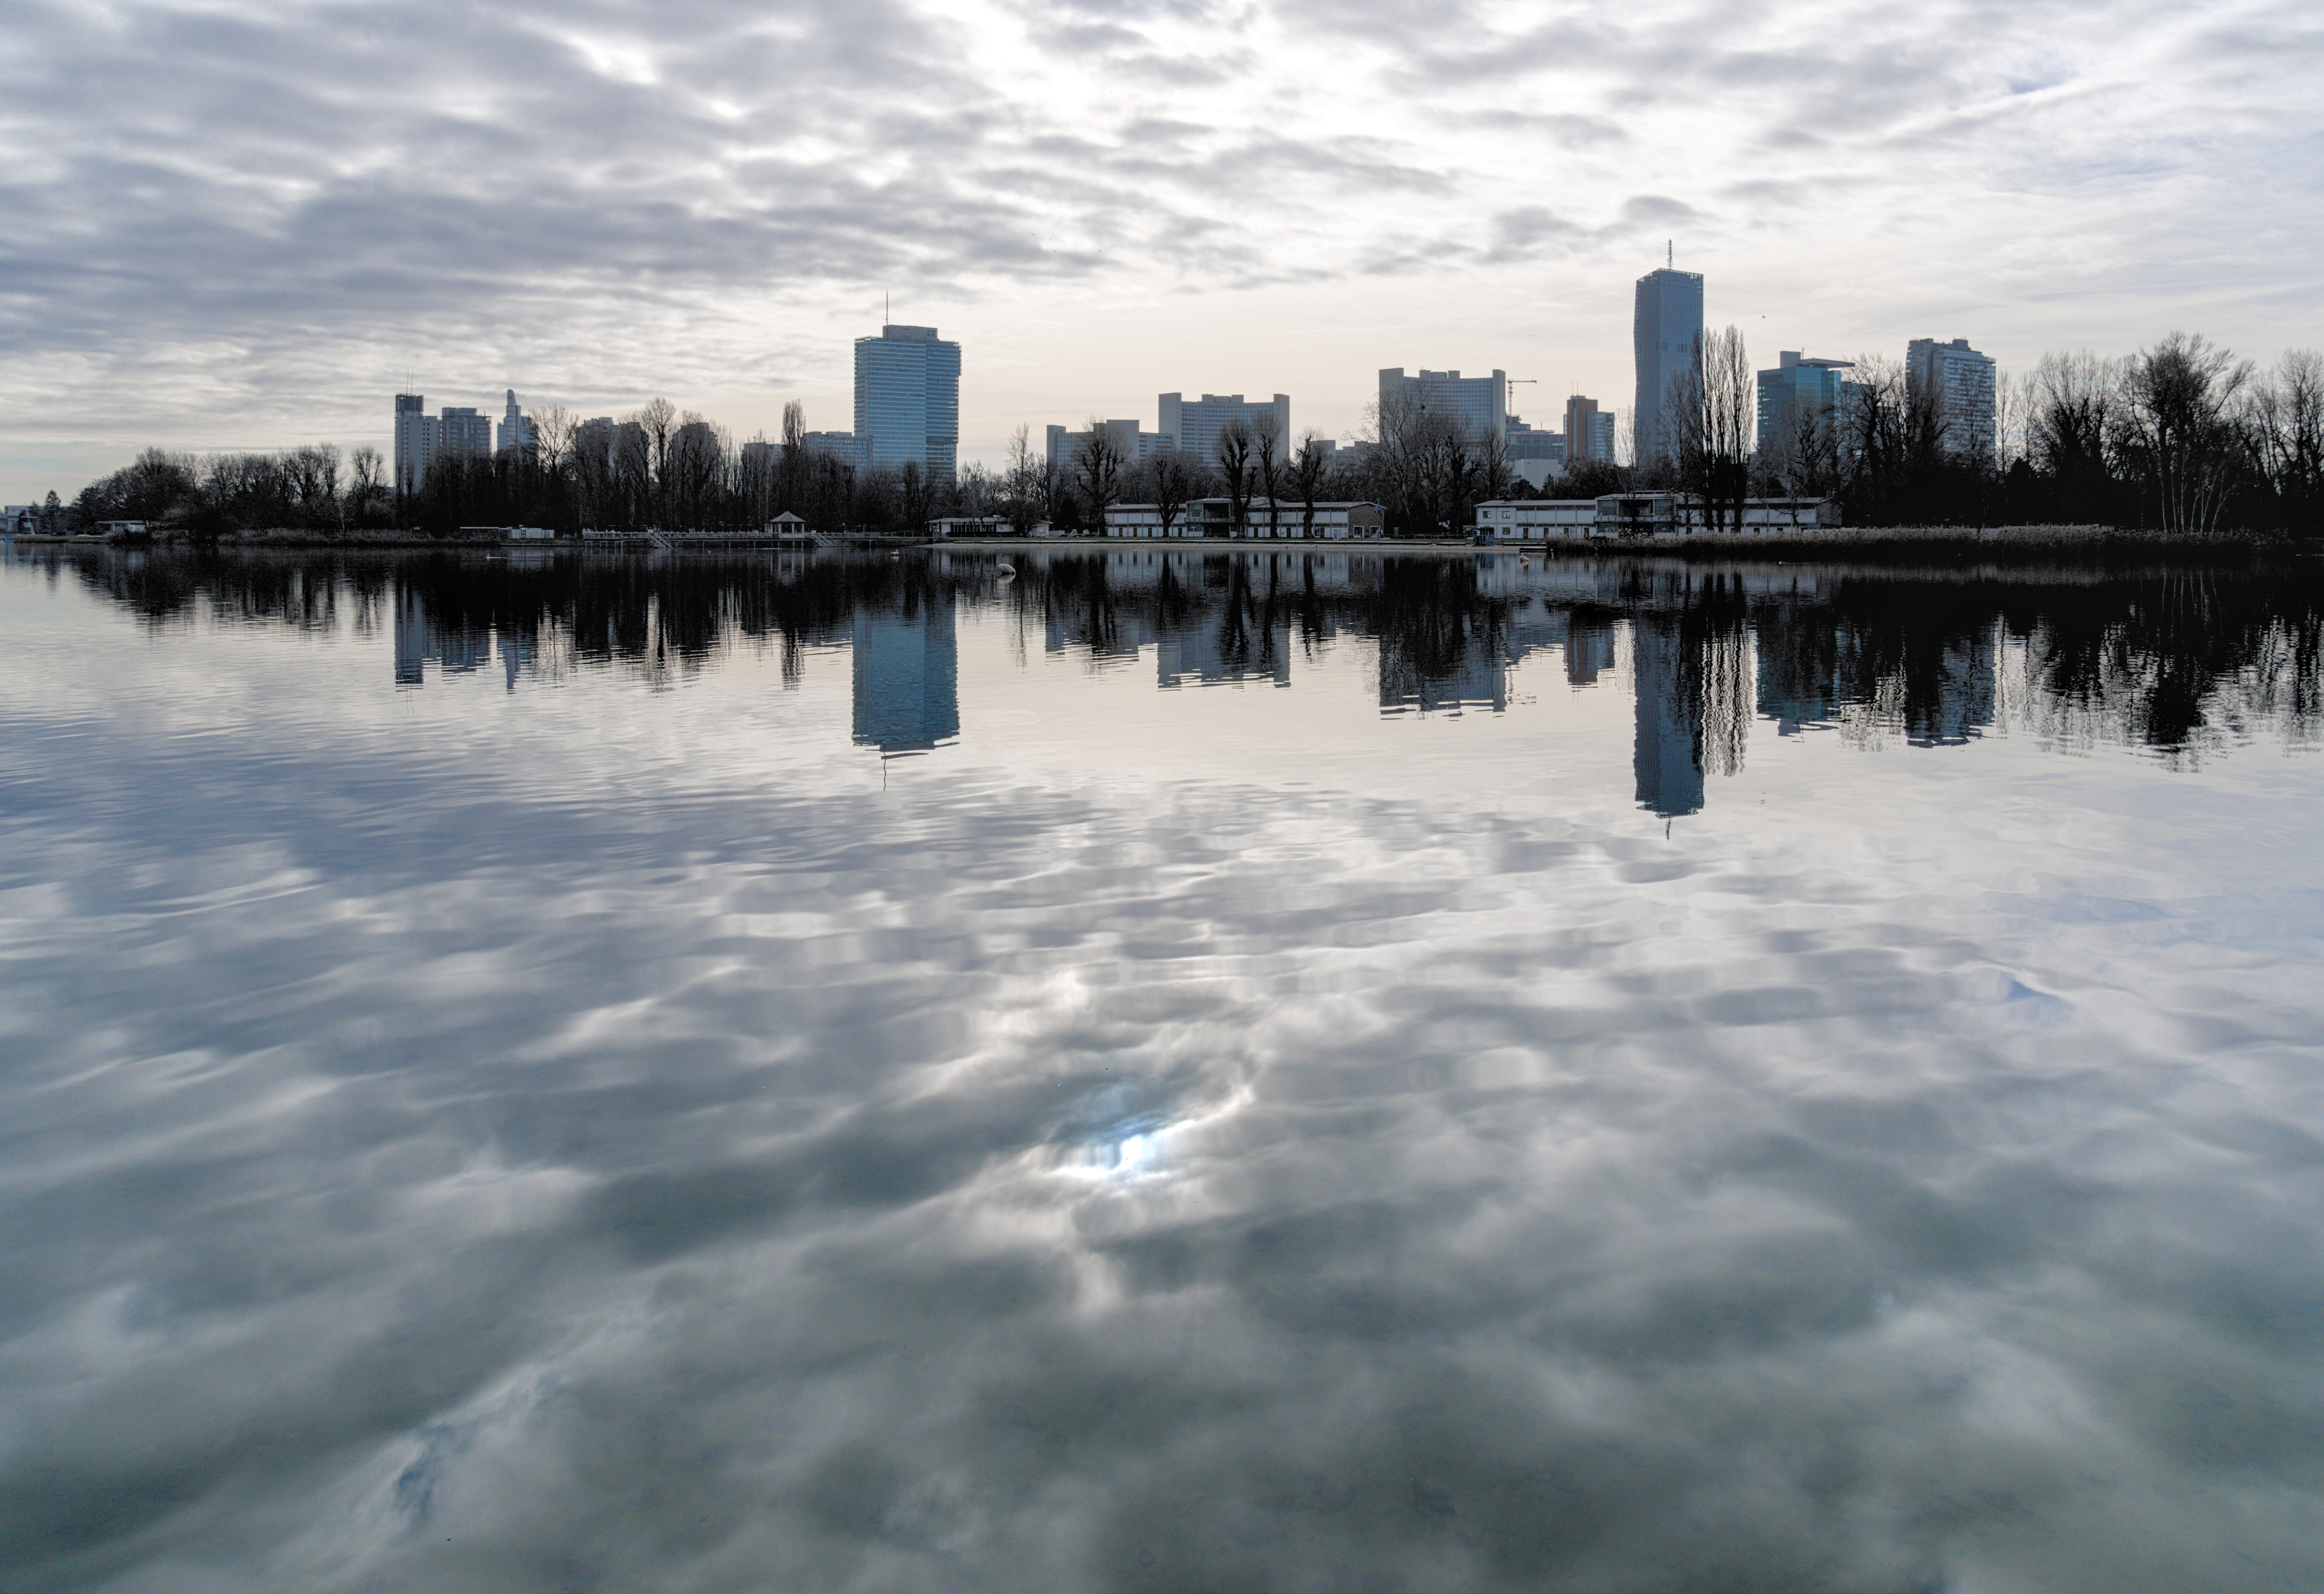
Here my version using the sigmoid module.
DSC00486.ARW.xmp (9.0 KB)
In these cases I like to look at the linear starting point of the raw file, before any tone curve or other shenanigans. Here’s your image treated suchly:

The magenta plops in the sky are blown highlights, not so bad for an image with the sun in it. Of note is the sky at the horizon, a bit orange which pushes up into yellow with an unsophisticated tone curve.
I’m not very familiar with darktable’s more recent gonkulators, but I think “preserve chrominance” in the filmic module (don’t know its version history) was made to deal with this specific condition.
At any rate, IMHO it’s misleading to posit solutions to such until you know the starting point…
4 Likes

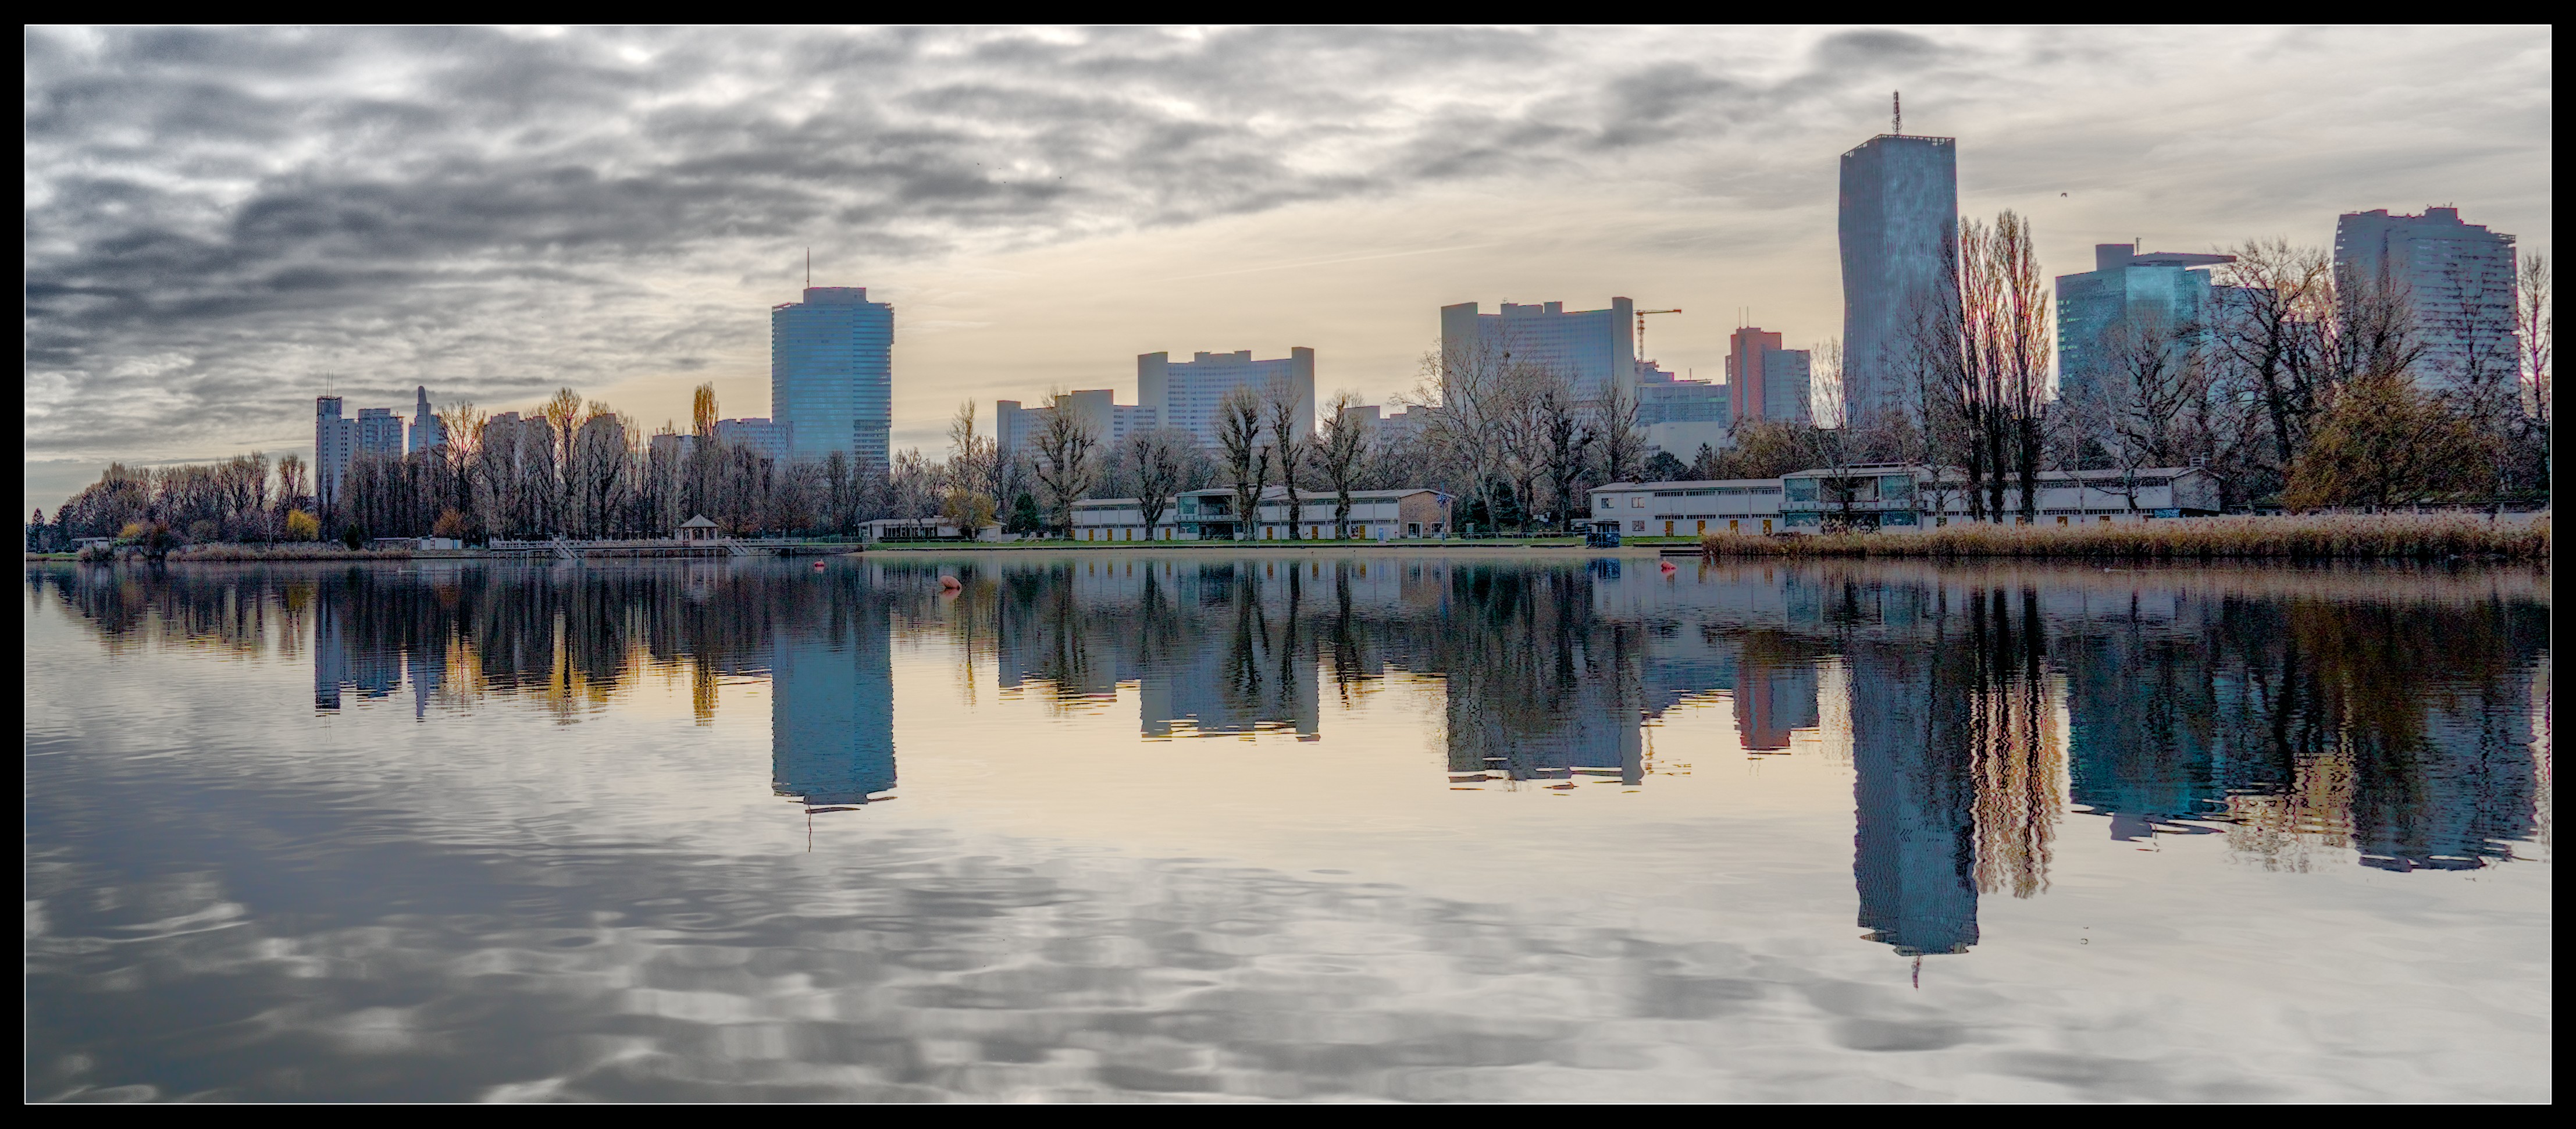
Looking at your image in DT I believe the yellow in the sky is correct. If I set the white balance to daylight it gives me an idea of how color slide film would capture the scene and the sky is very warm in color. However, you do not like the yellow so an easy way to resolve that problem is to use the color zones module and desaturate the yellow in the image. This module is great for this sort of problem. Masking can limit the area affected by the module if needed.

I’m not on my PC atm, but I would try Sigmoid. With my Sony, I find it quite impressive how close sigmoid gets to the OOC jpg. (If that’s wanted of course)
Just increase the contrast slightly, and leave the rest on default. It rolls of the colour in the highlights very nicely.
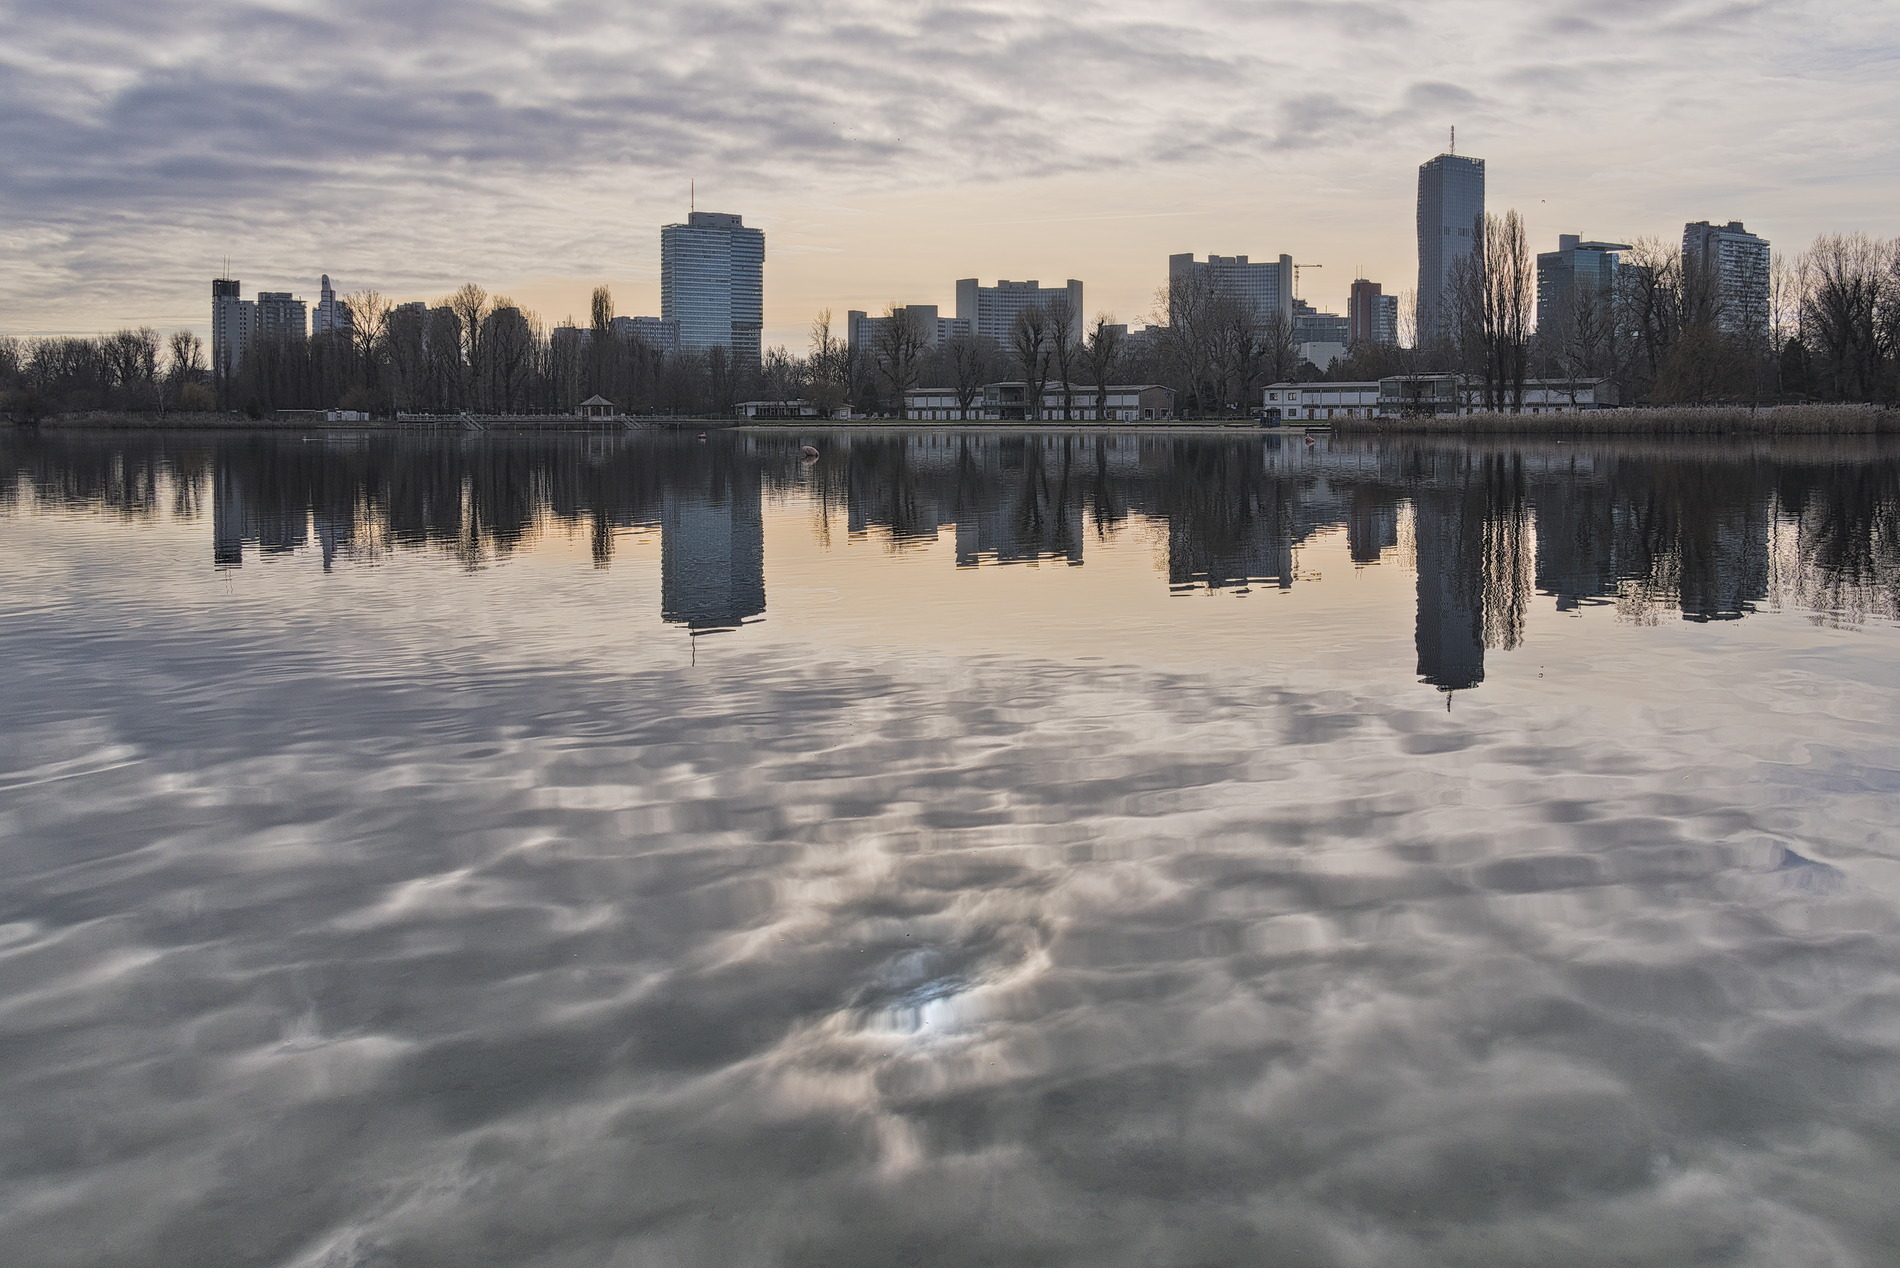
Thank you all for the help and the tips you gave me. I learned a lot from this exercise. In particular, I had never used the color zones module before because it seemed too difficult. However, after spending some time on it, I found it to be very powerful and easy to use. I see that sigmoid can be very effective with only a few adjustments, but in this case, it removes too much depth in the highlights for my taste. Here a version that I find satisfying. It’s not meant to be artistic, but the closest to the scene I memorized with my eyes.
DSC00486_01.ARW.xmp (18.6 KB)
6 Likes
DT 4.2 sigmoid used with tone eq as well. I found that I actually think the sky looks natural too, but I agree that color zones is a good way to reduce it. I like the ‘HSL base setting’ preset for this module. But I haven’t used color zones in this version at all.
Thanks for posting!
DSC00486.ARW.xmp (12.2 KB)
I fancied doing something kind of graphic… not if sure I succeeded!
DSC00486_01.ARW.xmp (17.4 KB)
Just one more  messed around in GIMP with the last one. Isn’t it marvellous?

4 Likes


thanks for this play, i like it very much.
Too late i saw, you are asking for darktable edits, here my try in RTdev

DSC00486.ARW.jpg.out.pp3 (25,4 KB)
of course i understand you want to get rid of this yellow sky, how about the yellish color as a sundowner?

DSC00486.ARW_sundowner.jpg.out.pp3 (25,4 KB)
You could work on the sky many ways but if you just don’t like the yellow then I think the most staitforward thing to do would be to use CB module… go to the masks tab and click on the two autopickers…
This sets your tonal masks… Now you can also adjust this after you play with the color…
Now go to 4 way tab and hit the autopicker for the hue and draw a box in the yellow area. It will pick the opponent color and try to cancel it… you can increase or decrease the effect with the highlight chroma slider and even slightly tweak the hue… This should tone down the yellow to your liking…maybe fade it out to a trace?? You could further mask or what ever or you could go back to the mask tab in CB and slide the middle gray slider back and forth to move your adjustment more to the highlights or also into the midtones a bit and you could even tweak the rolloff… steep for contrast or flat for smoother effect… Often just the autopicker and tweaking the amount with chroma is enough
2 Likes
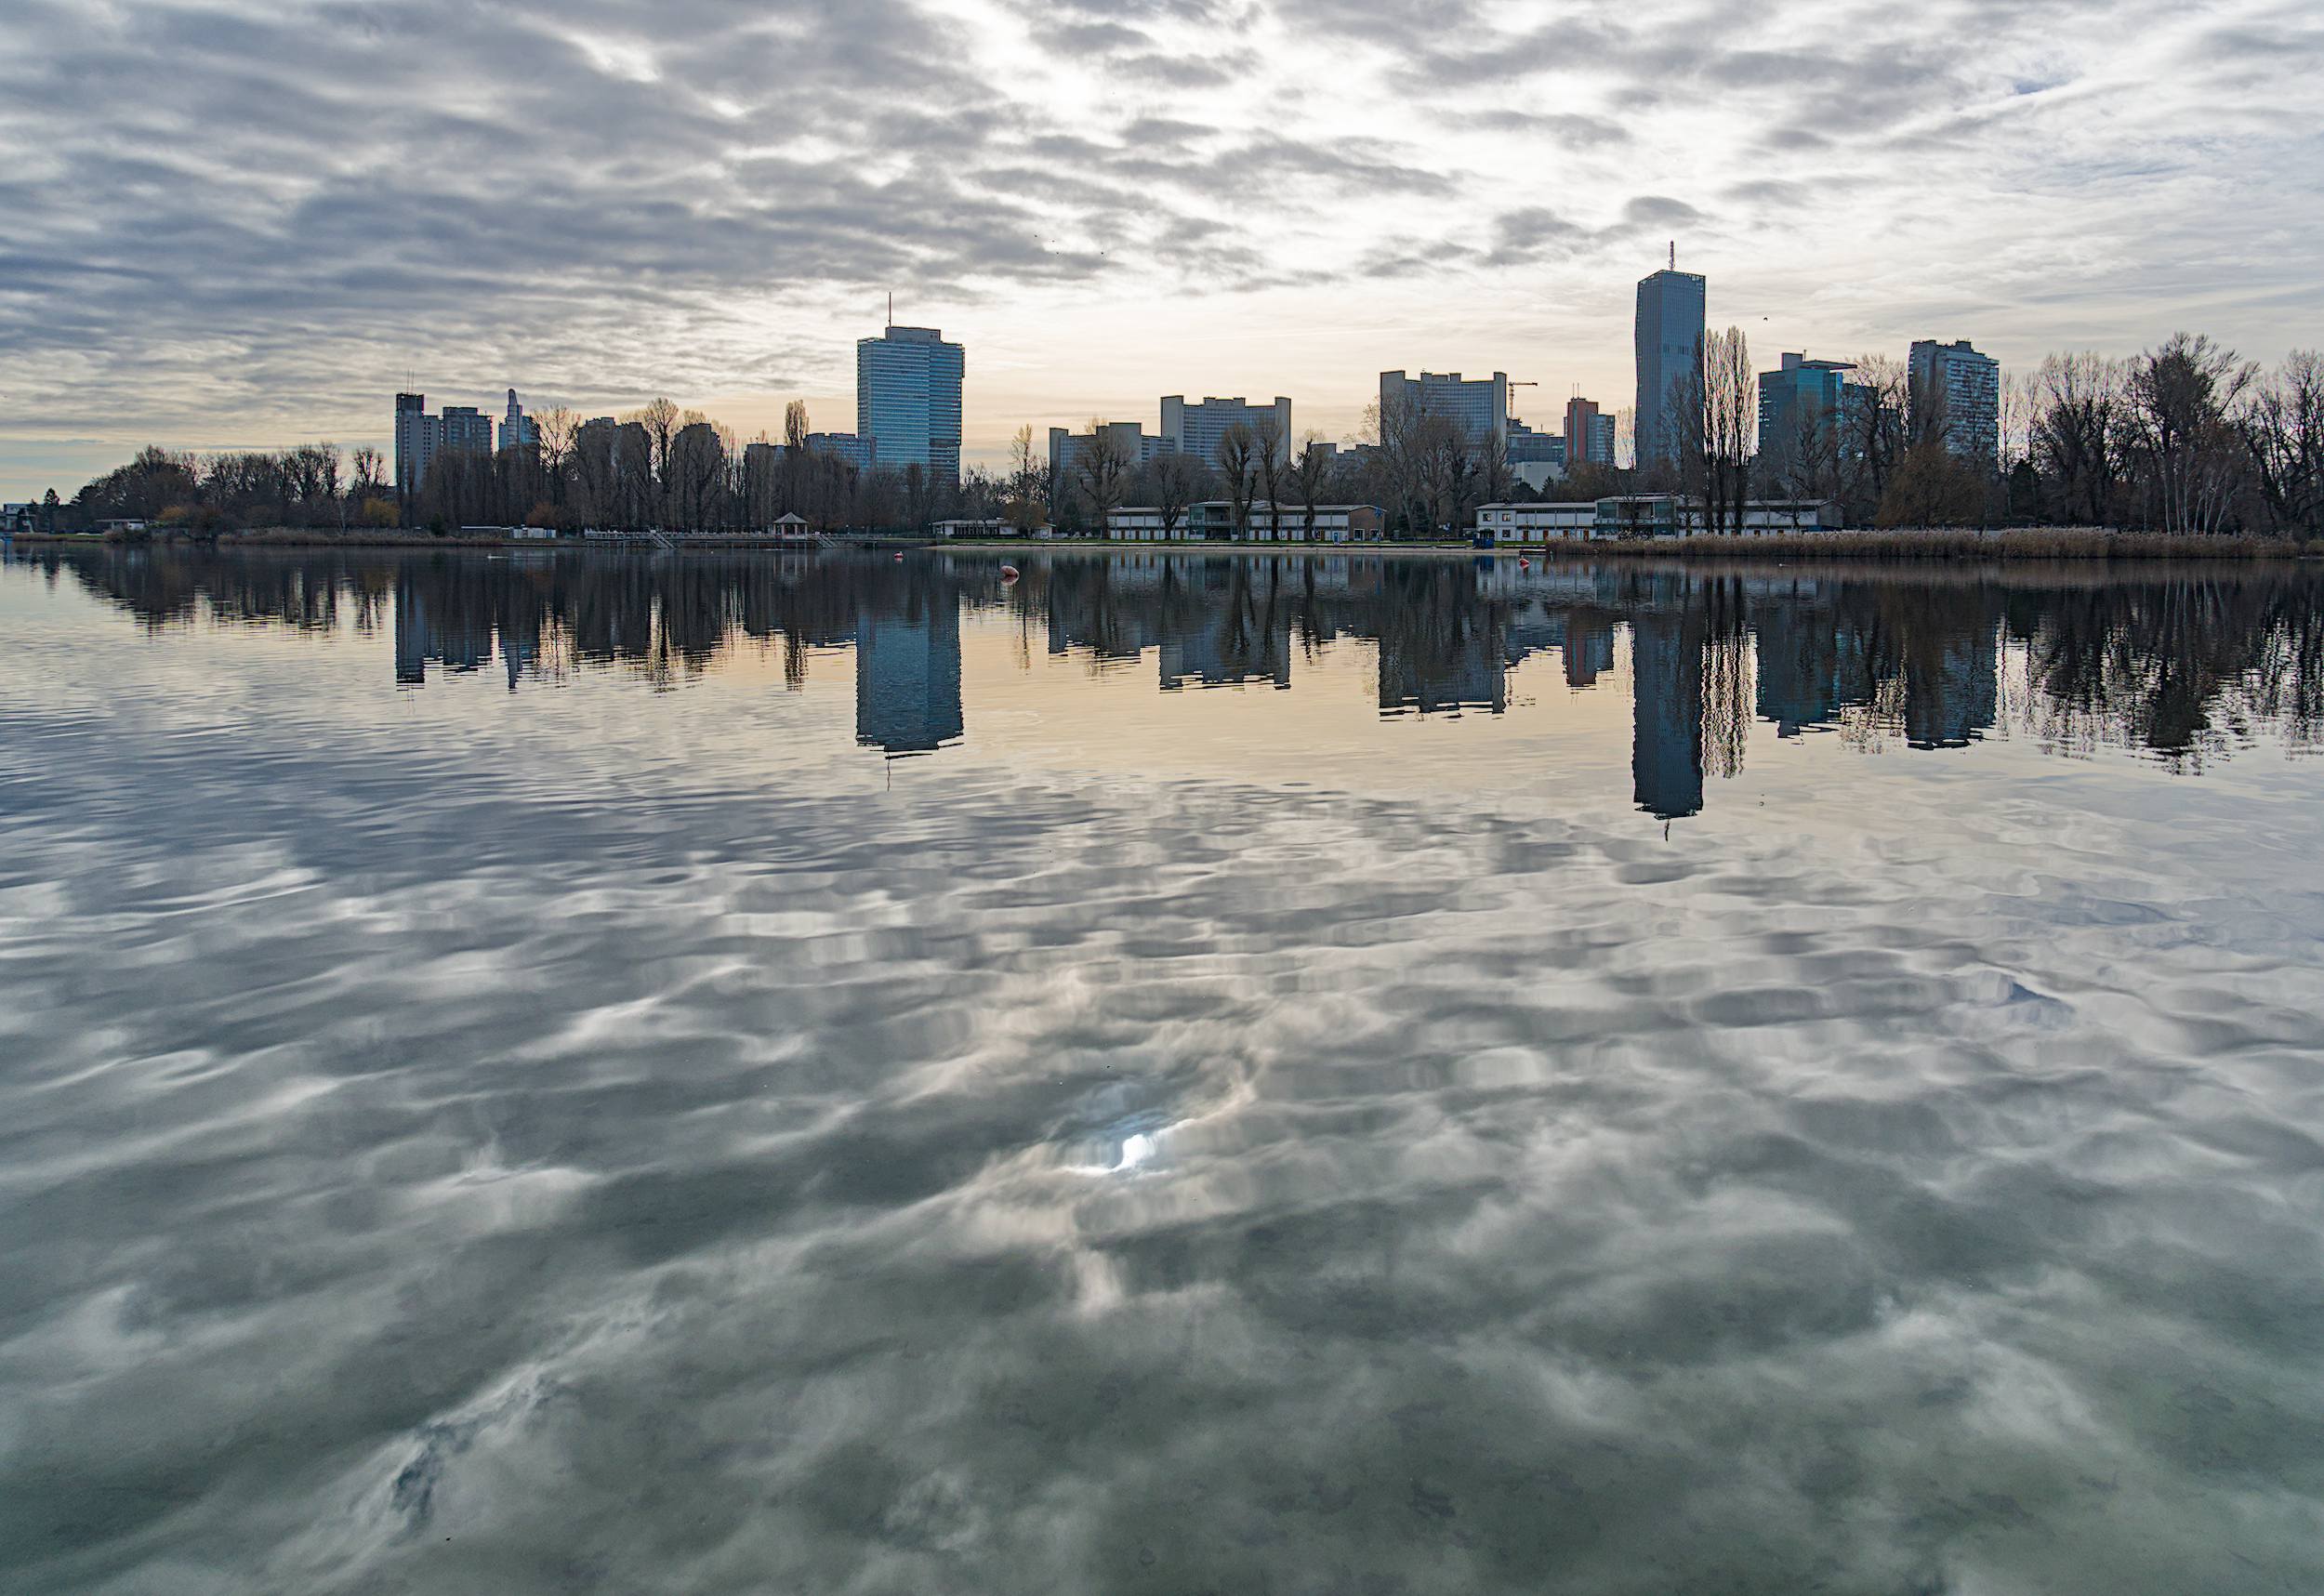
Many thanks for the tips. Using both CB and CZ modules and some masking you have really powerful tools in your hands. I usually try avoiding masking other than correcting exposure and contrast in some areas of the shot (I am an old guy, trained in a real dark room using paper masks shaken under the my Durst enlarger beam over Brovira paper …), but I am learning how effective they can be. Again, thank you. Here my latest edit. There are better results in this thread, but this seems the most realistic and natural to me.

DSC00486_01.ARW.xmp (18.7 KB)
5 Likes
