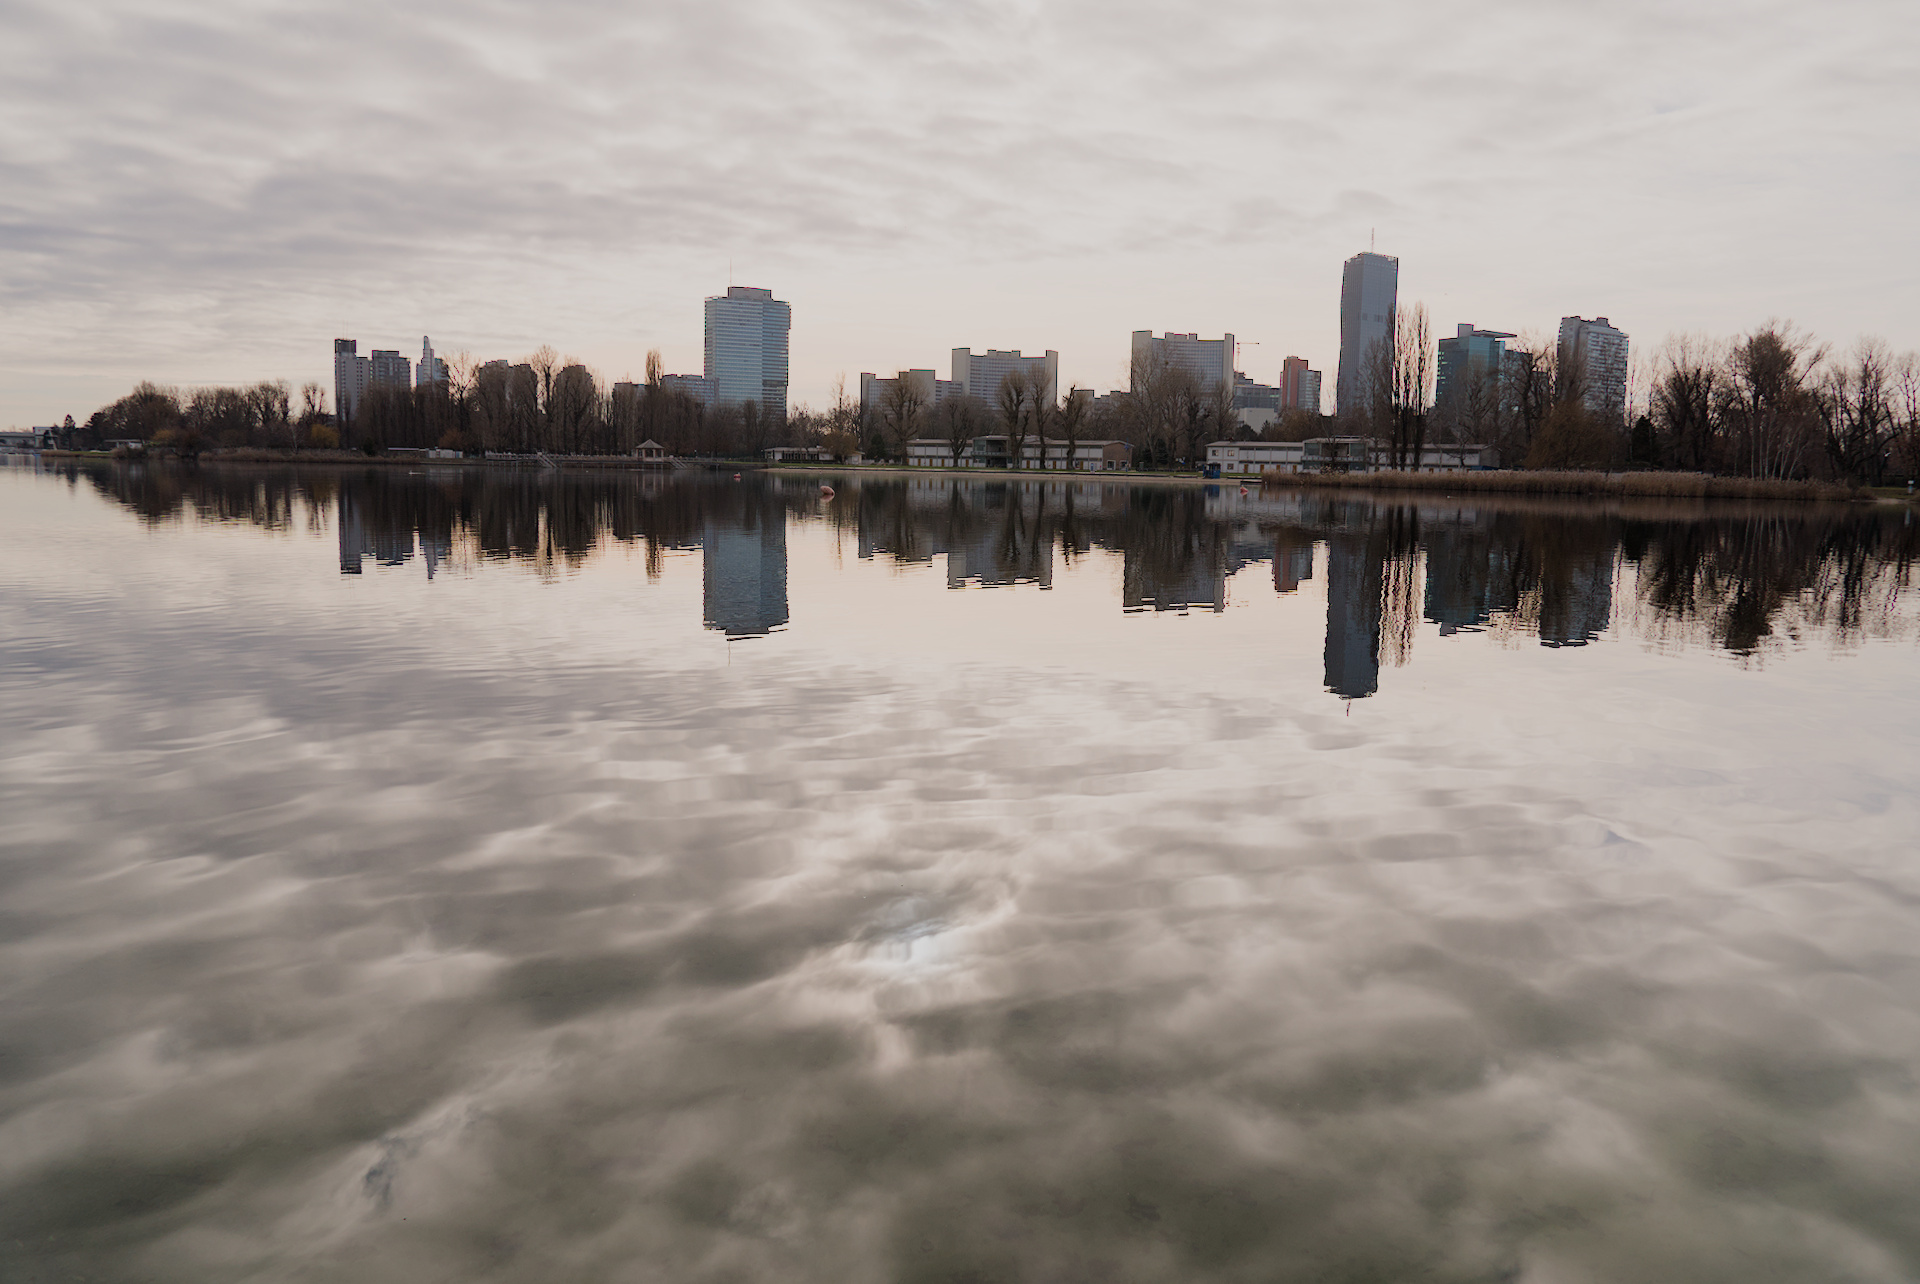
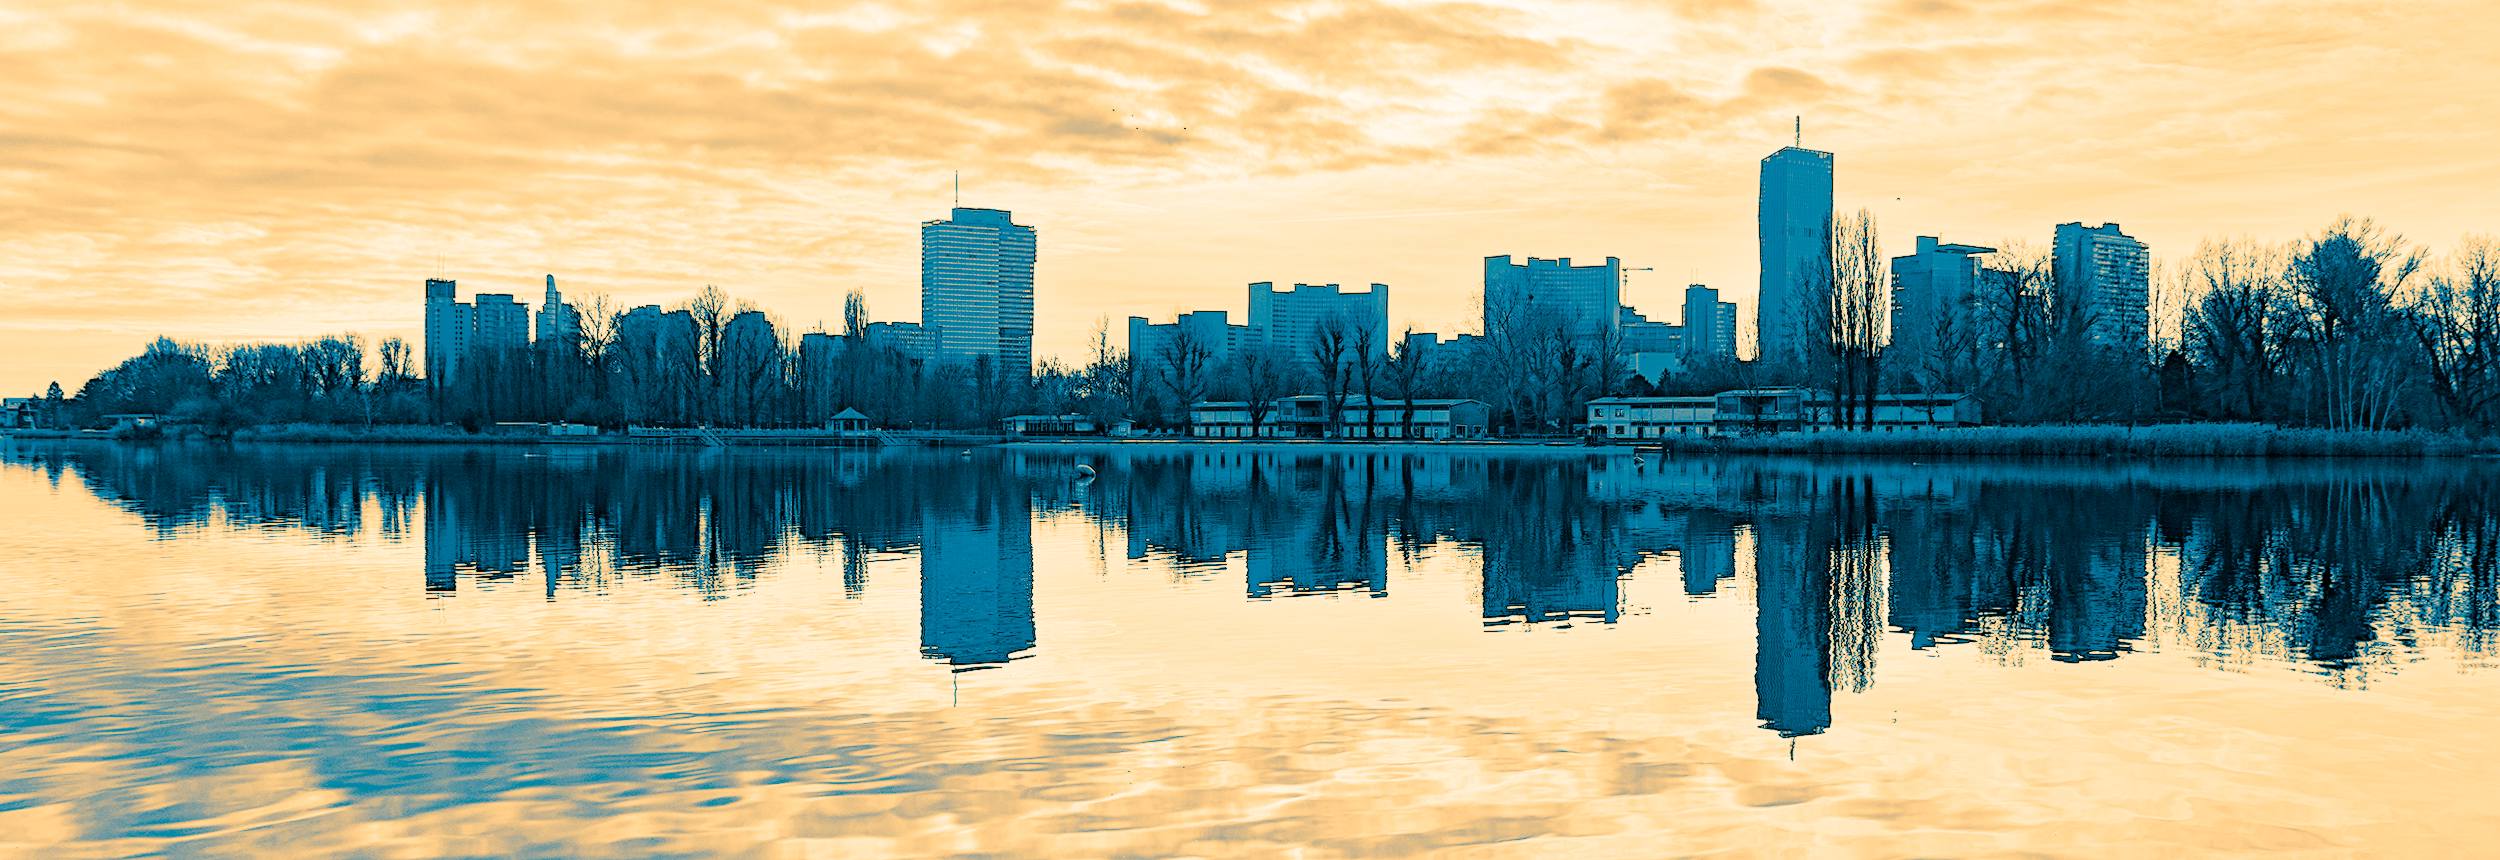
I would need some help here. I have been using darktable since more than one year, but my learning curve is not complete. While I am quite satisfied in more than 90% of my edits, I still have some shots where I cannot find a satisfactory color rendering. The one attached is an example. I would like to avoid taking the shortcut of masking out the regions that I want to correct, but am rather looking into a general approach or mistake that I am making. In particular, the yellowish sky here is not realistic. The shot was taken at 11 am on a bright day, although a bit cloudy. The yellow sky makes it look like shot at sunset. I have used DT 4.2 with filmic. Worthless to say that the camera jpg provides a better color rendering… Thanks for the help! And thanks to the great developers of DT 4.2.
My edit: DSC00486a_01|690x476
Original raw: DSC00486.ARW.xmp (10.0 KB) DSC00486.ARW (23.7 MB)
Hi
Have you set Filmic to use “color science” version V6 or V5? Your camera JPEG probably desaturated the highlights more than Filmic V6. Your picture contains lots of blue in the shadows and the midtones, which probably confuses the camera’s white balance settings. If the camera tried to compensate for the abundance of blue by adding more red to the whole picture, the sky becomes too yellow.
So what can you do?
Decrease the colour temparature in color calibration module
Thanks Mikael. I have tried both V5 and V6 ‘color science’ with no appreciable difference. Color calibration is off, apparently it is so by default for DT 4.2. I used white balance to adjust the temperature, but I am not satisfied with the results. If I use color calibration I get an error on the white balance module. I will try to desaturate the highlights with color balance rgb. Again thankyou for the tips.
To use color calibration by default on new pictures (without complaints from white balance) you should set “auto-apply chromatic adaptation defaults” to “modern” in the processing section of the settings.
As for your picture, I’m not sure if the yellow sky looks wrong to me.
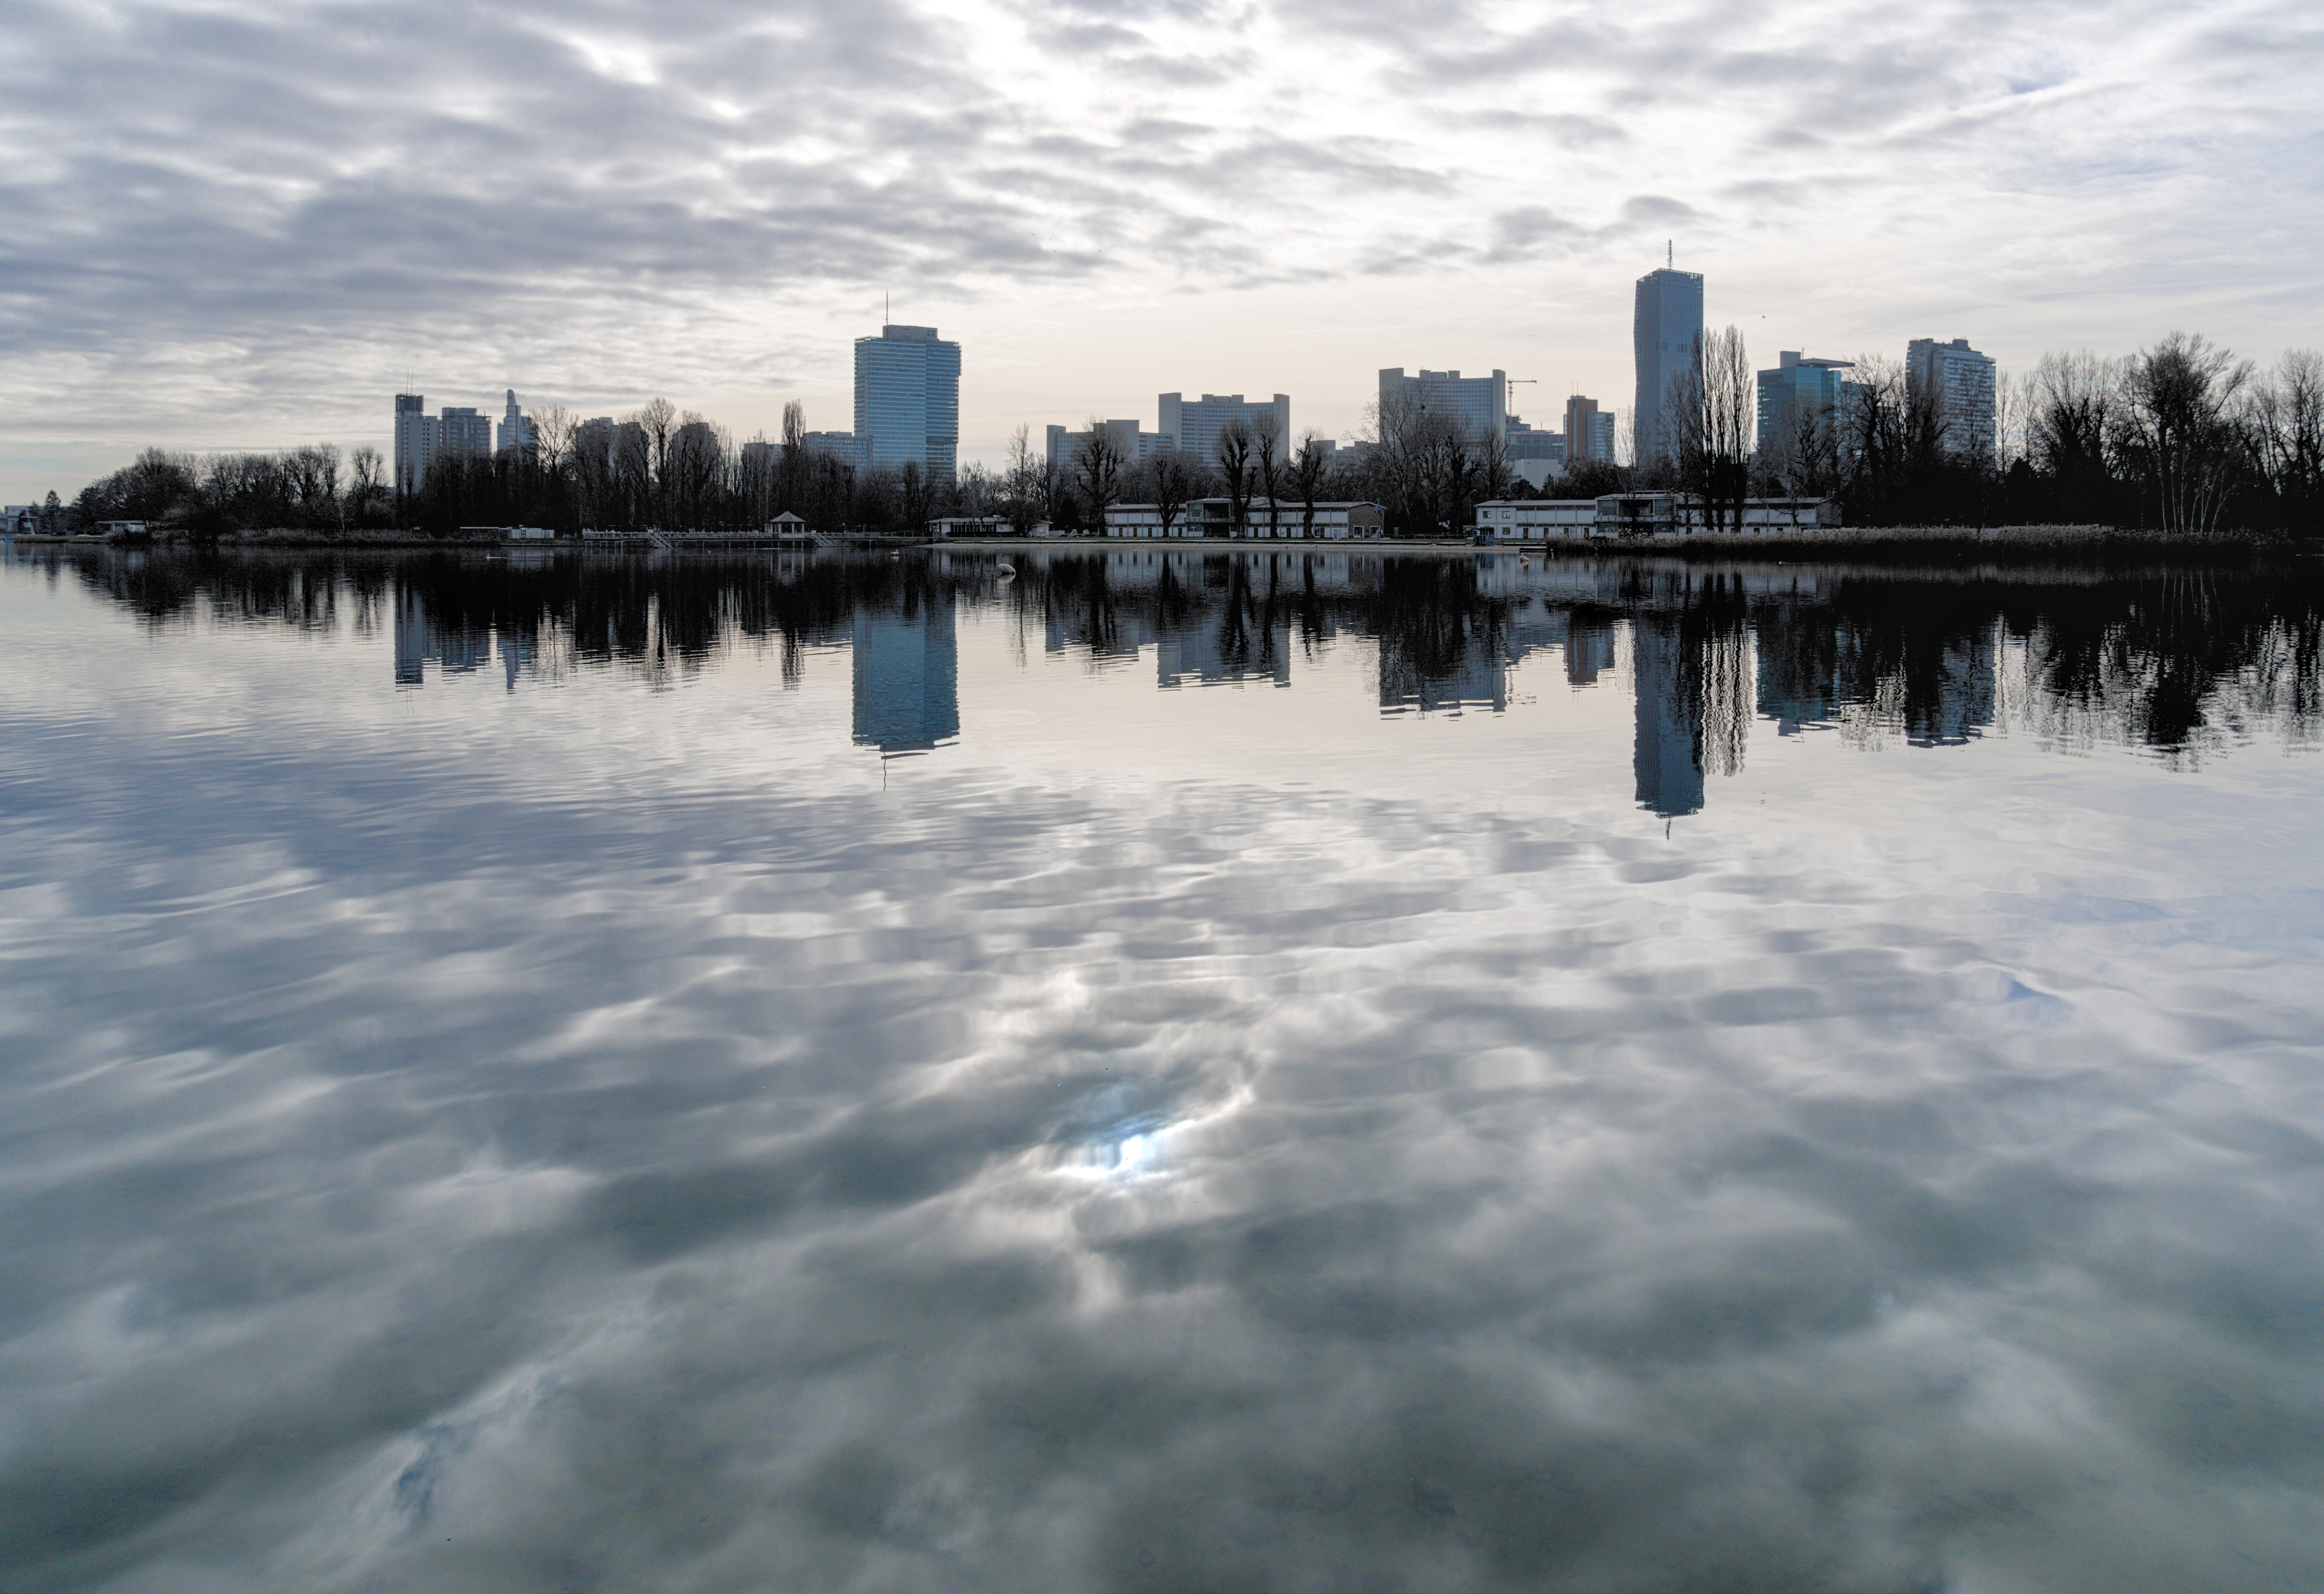
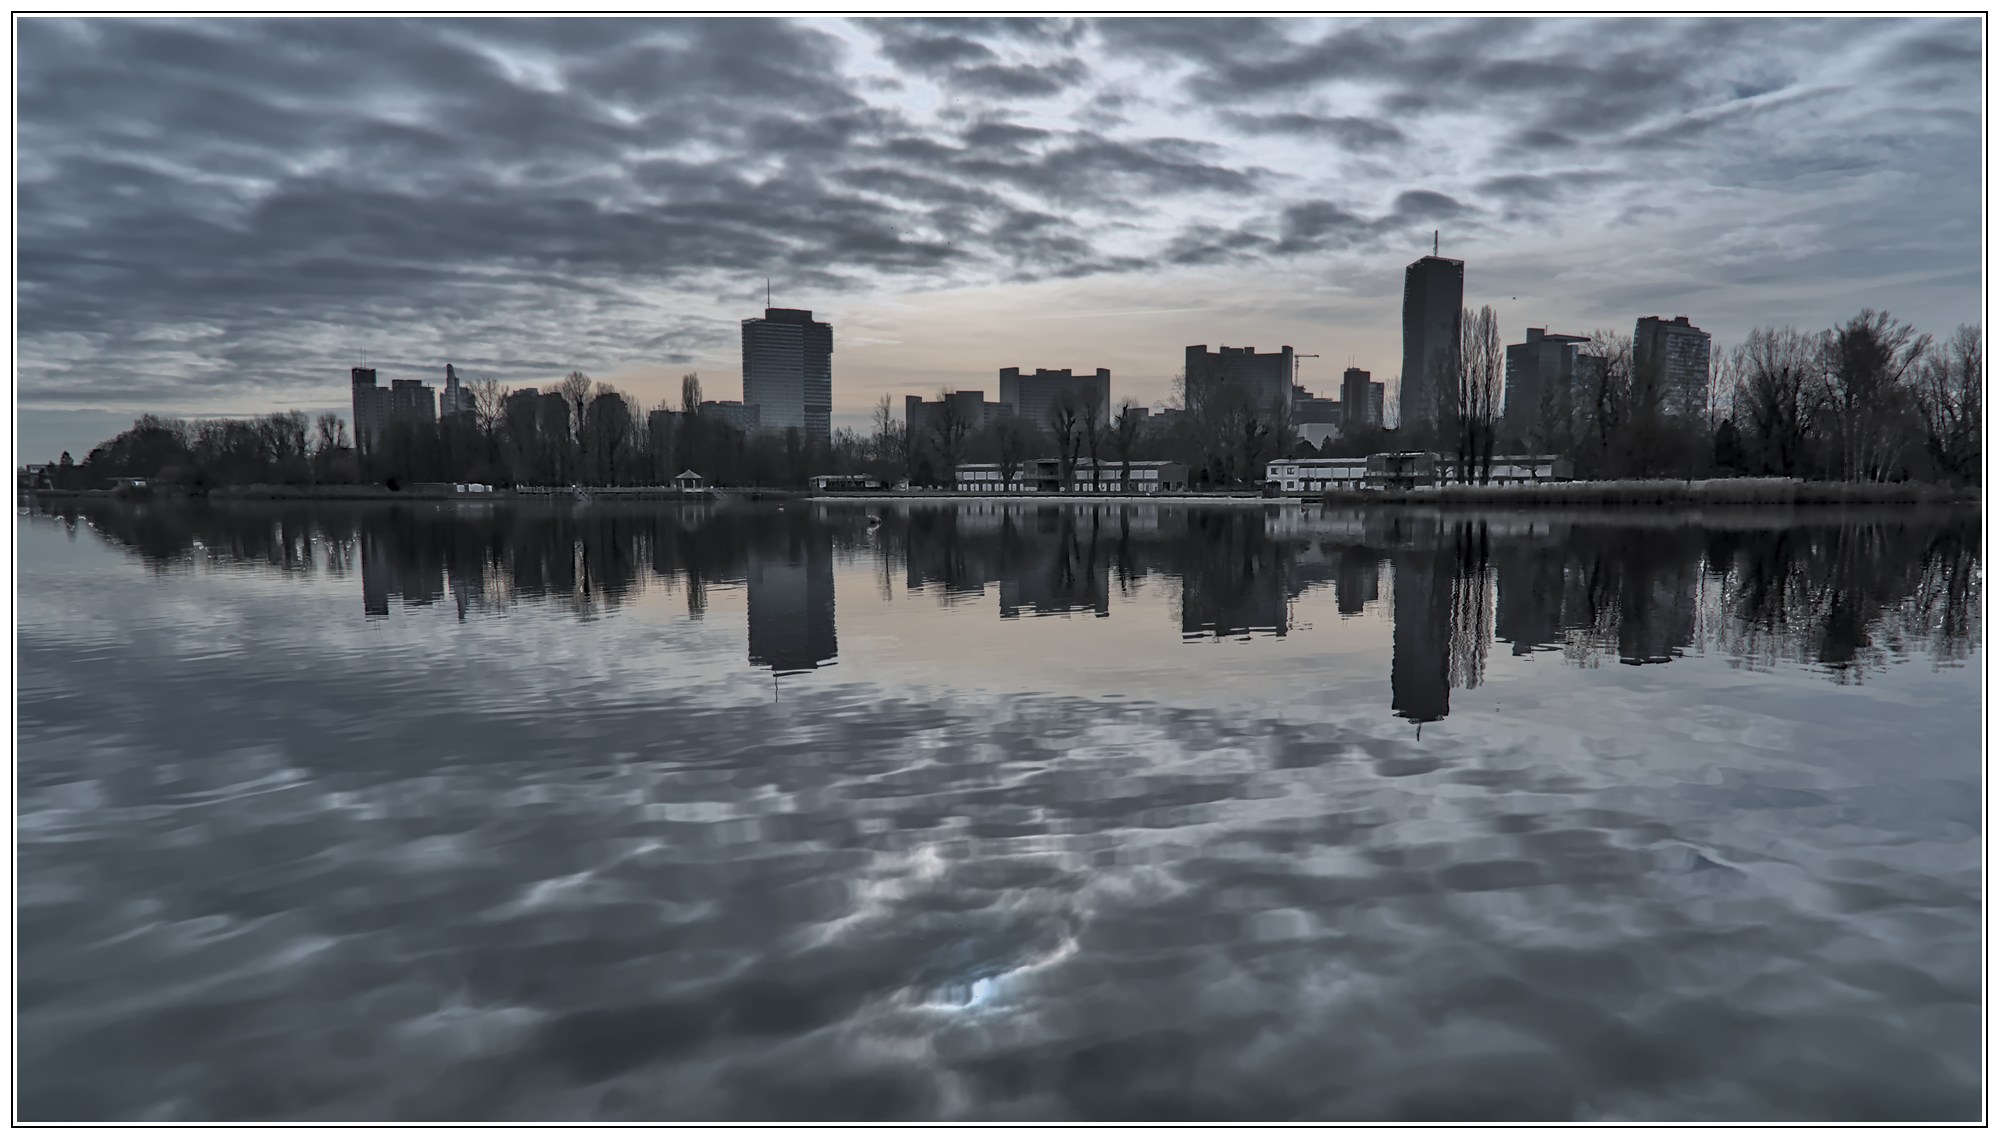
In these cases I like to look at the linear starting point of the raw file, before any tone curve or other shenanigans. Here’s your image treated suchly:
The magenta plops in the sky are blown highlights, not so bad for an image with the sun in it. Of note is the sky at the horizon, a bit orange which pushes up into yellow with an unsophisticated tone curve.
I’m not very familiar with darktable’s more recent gonkulators, but I think “preserve chrominance” in the filmic module (don’t know its version history) was made to deal with this specific condition.
At any rate, IMHO it’s misleading to posit solutions to such until you know the starting point…
Looking at your image in DT I believe the yellow in the sky is correct. If I set the white balance to daylight it gives me an idea of how color slide film would capture the scene and the sky is very warm in color. However, you do not like the yellow so an easy way to resolve that problem is to use the color zones module and desaturate the yellow in the image. This module is great for this sort of problem. Masking can limit the area affected by the module if needed.
I’m not on my PC atm, but I would try Sigmoid. With my Sony, I find it quite impressive how close sigmoid gets to the OOC jpg. (If that’s wanted of course)
Just increase the contrast slightly, and leave the rest on default. It rolls of the colour in the highlights very nicely.
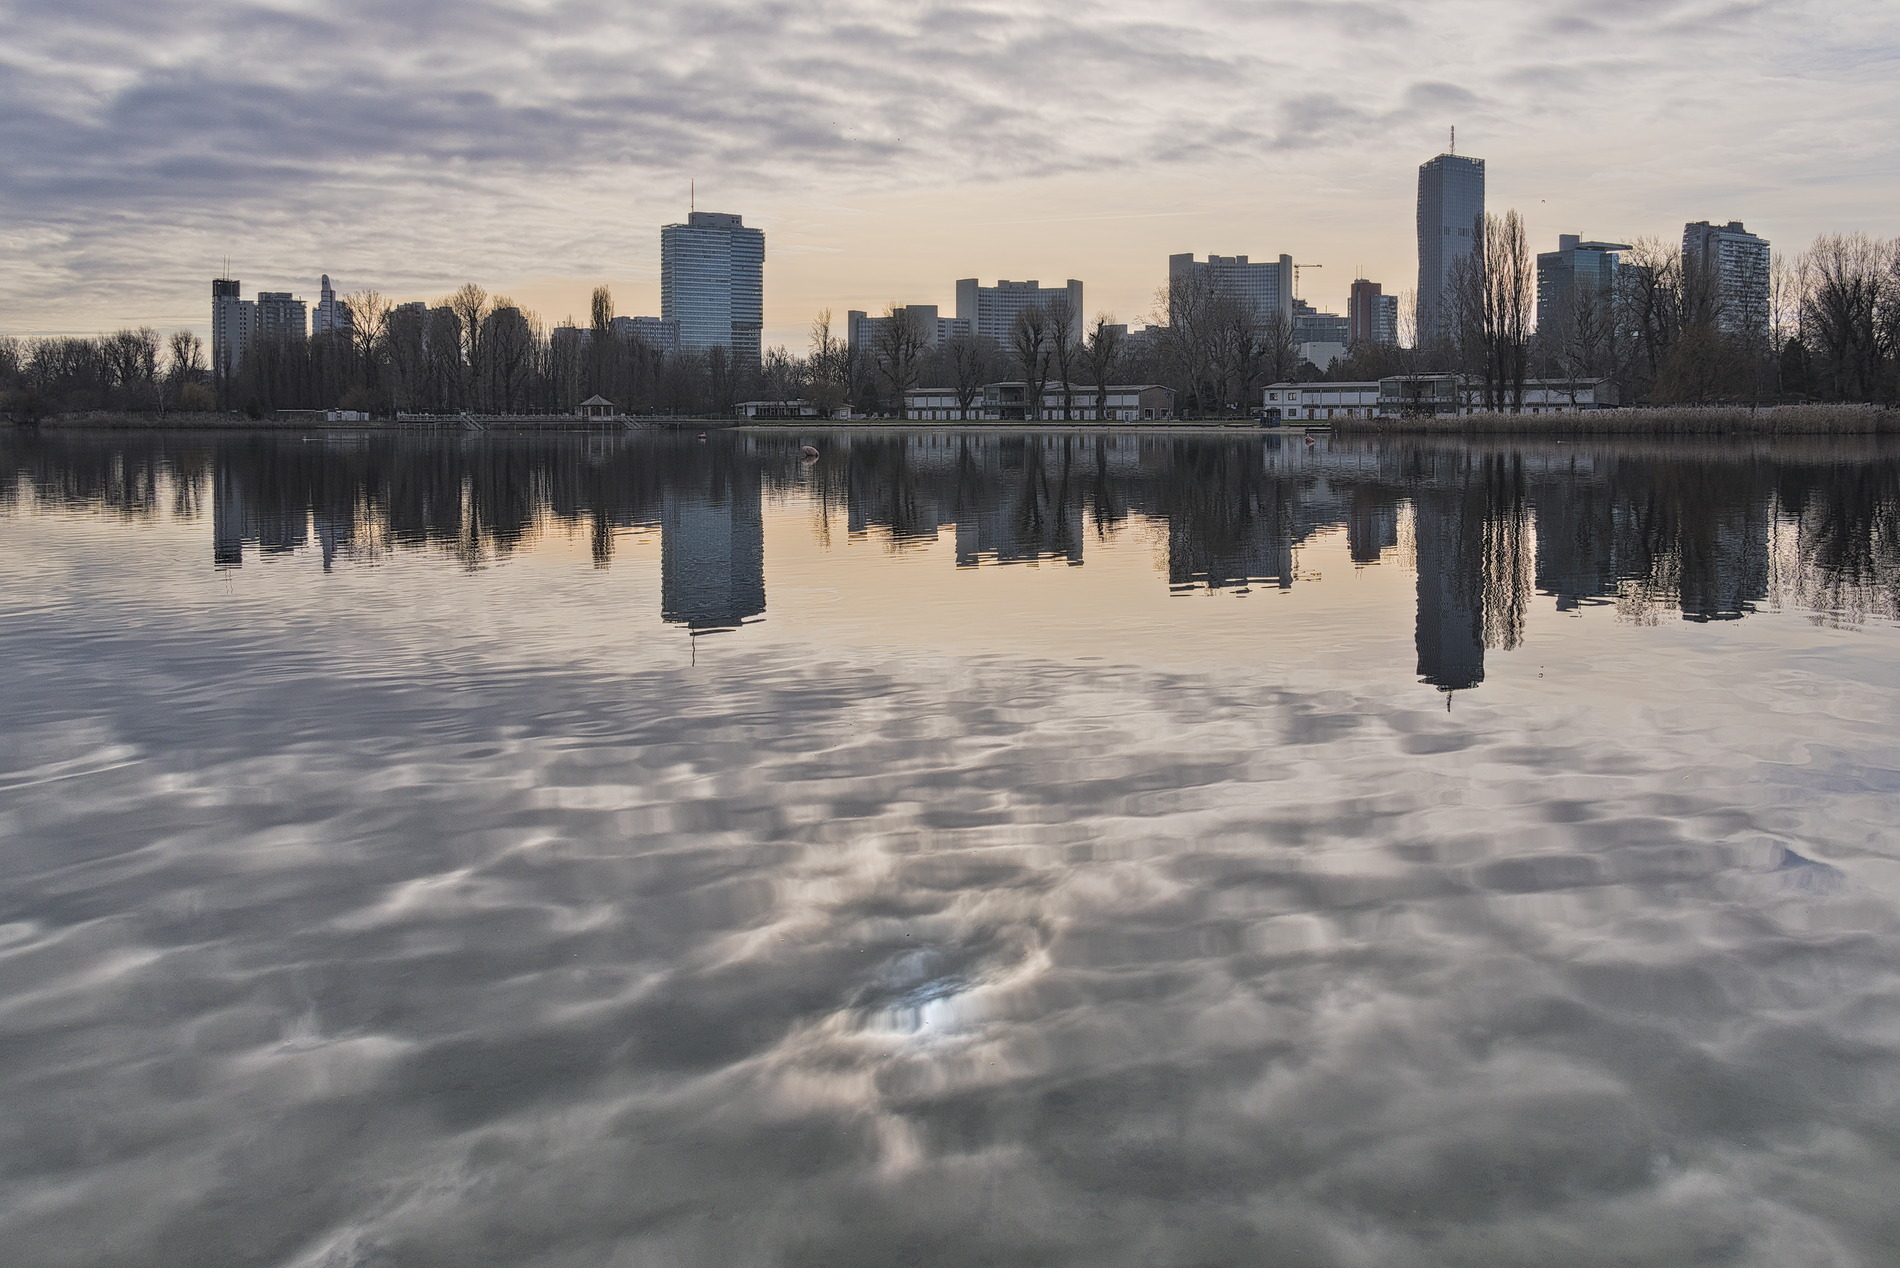
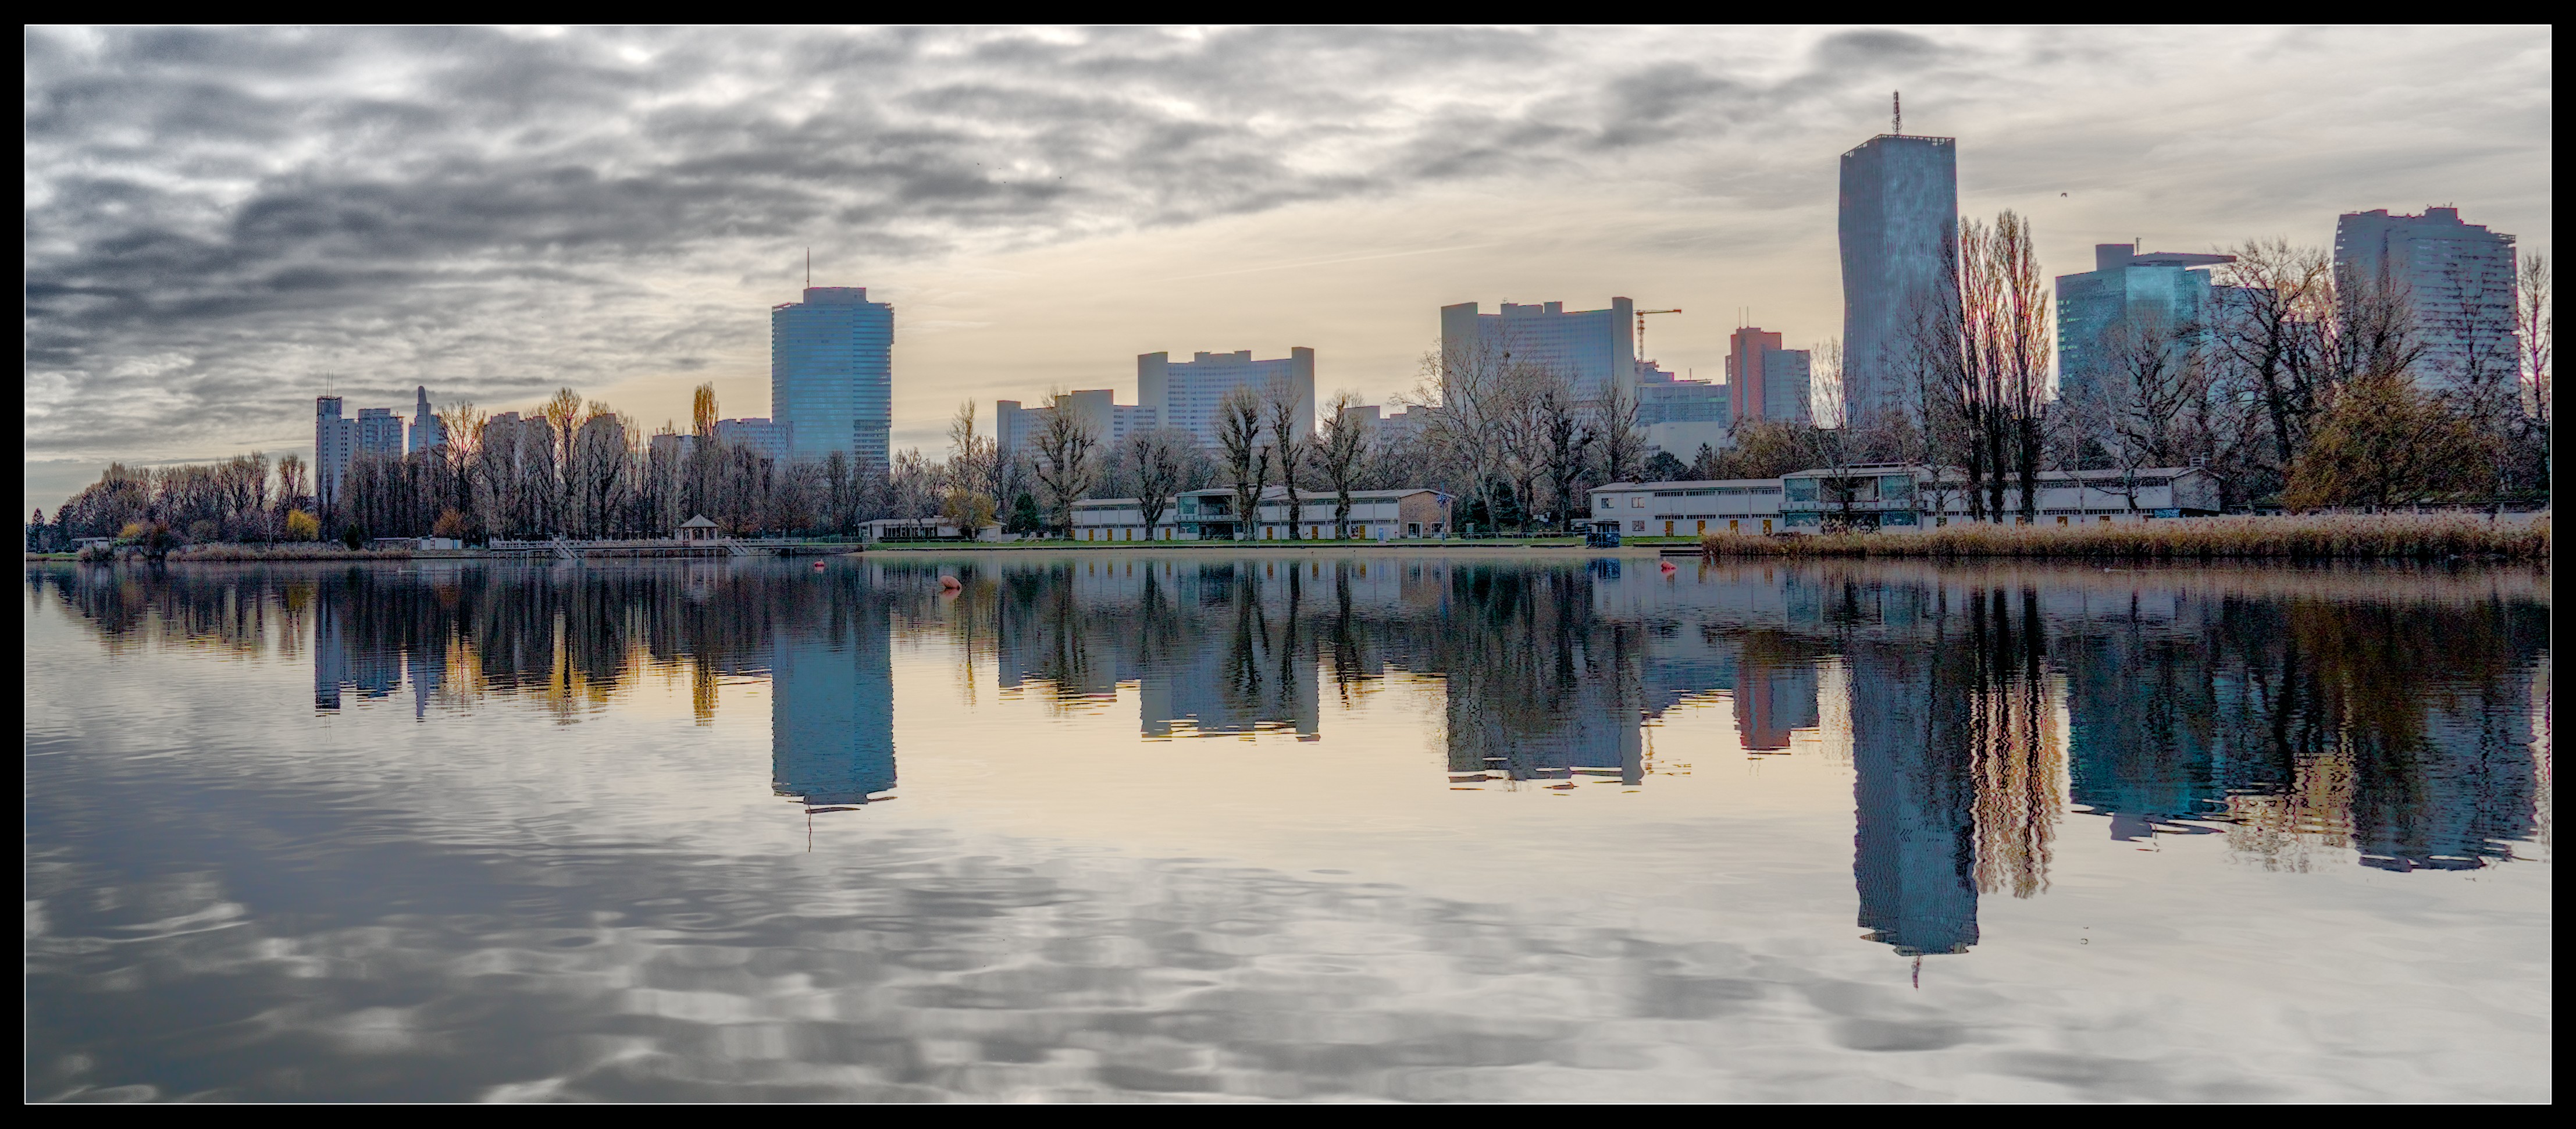
Thank you all for the help and the tips you gave me. I learned a lot from this exercise. In particular, I had never used the color zones module before because it seemed too difficult. However, after spending some time on it, I found it to be very powerful and easy to use. I see that sigmoid can be very effective with only a few adjustments, but in this case, it removes too much depth in the highlights for my taste. Here a version that I find satisfying. It’s not meant to be artistic, but the closest to the scene I memorized with my eyes.
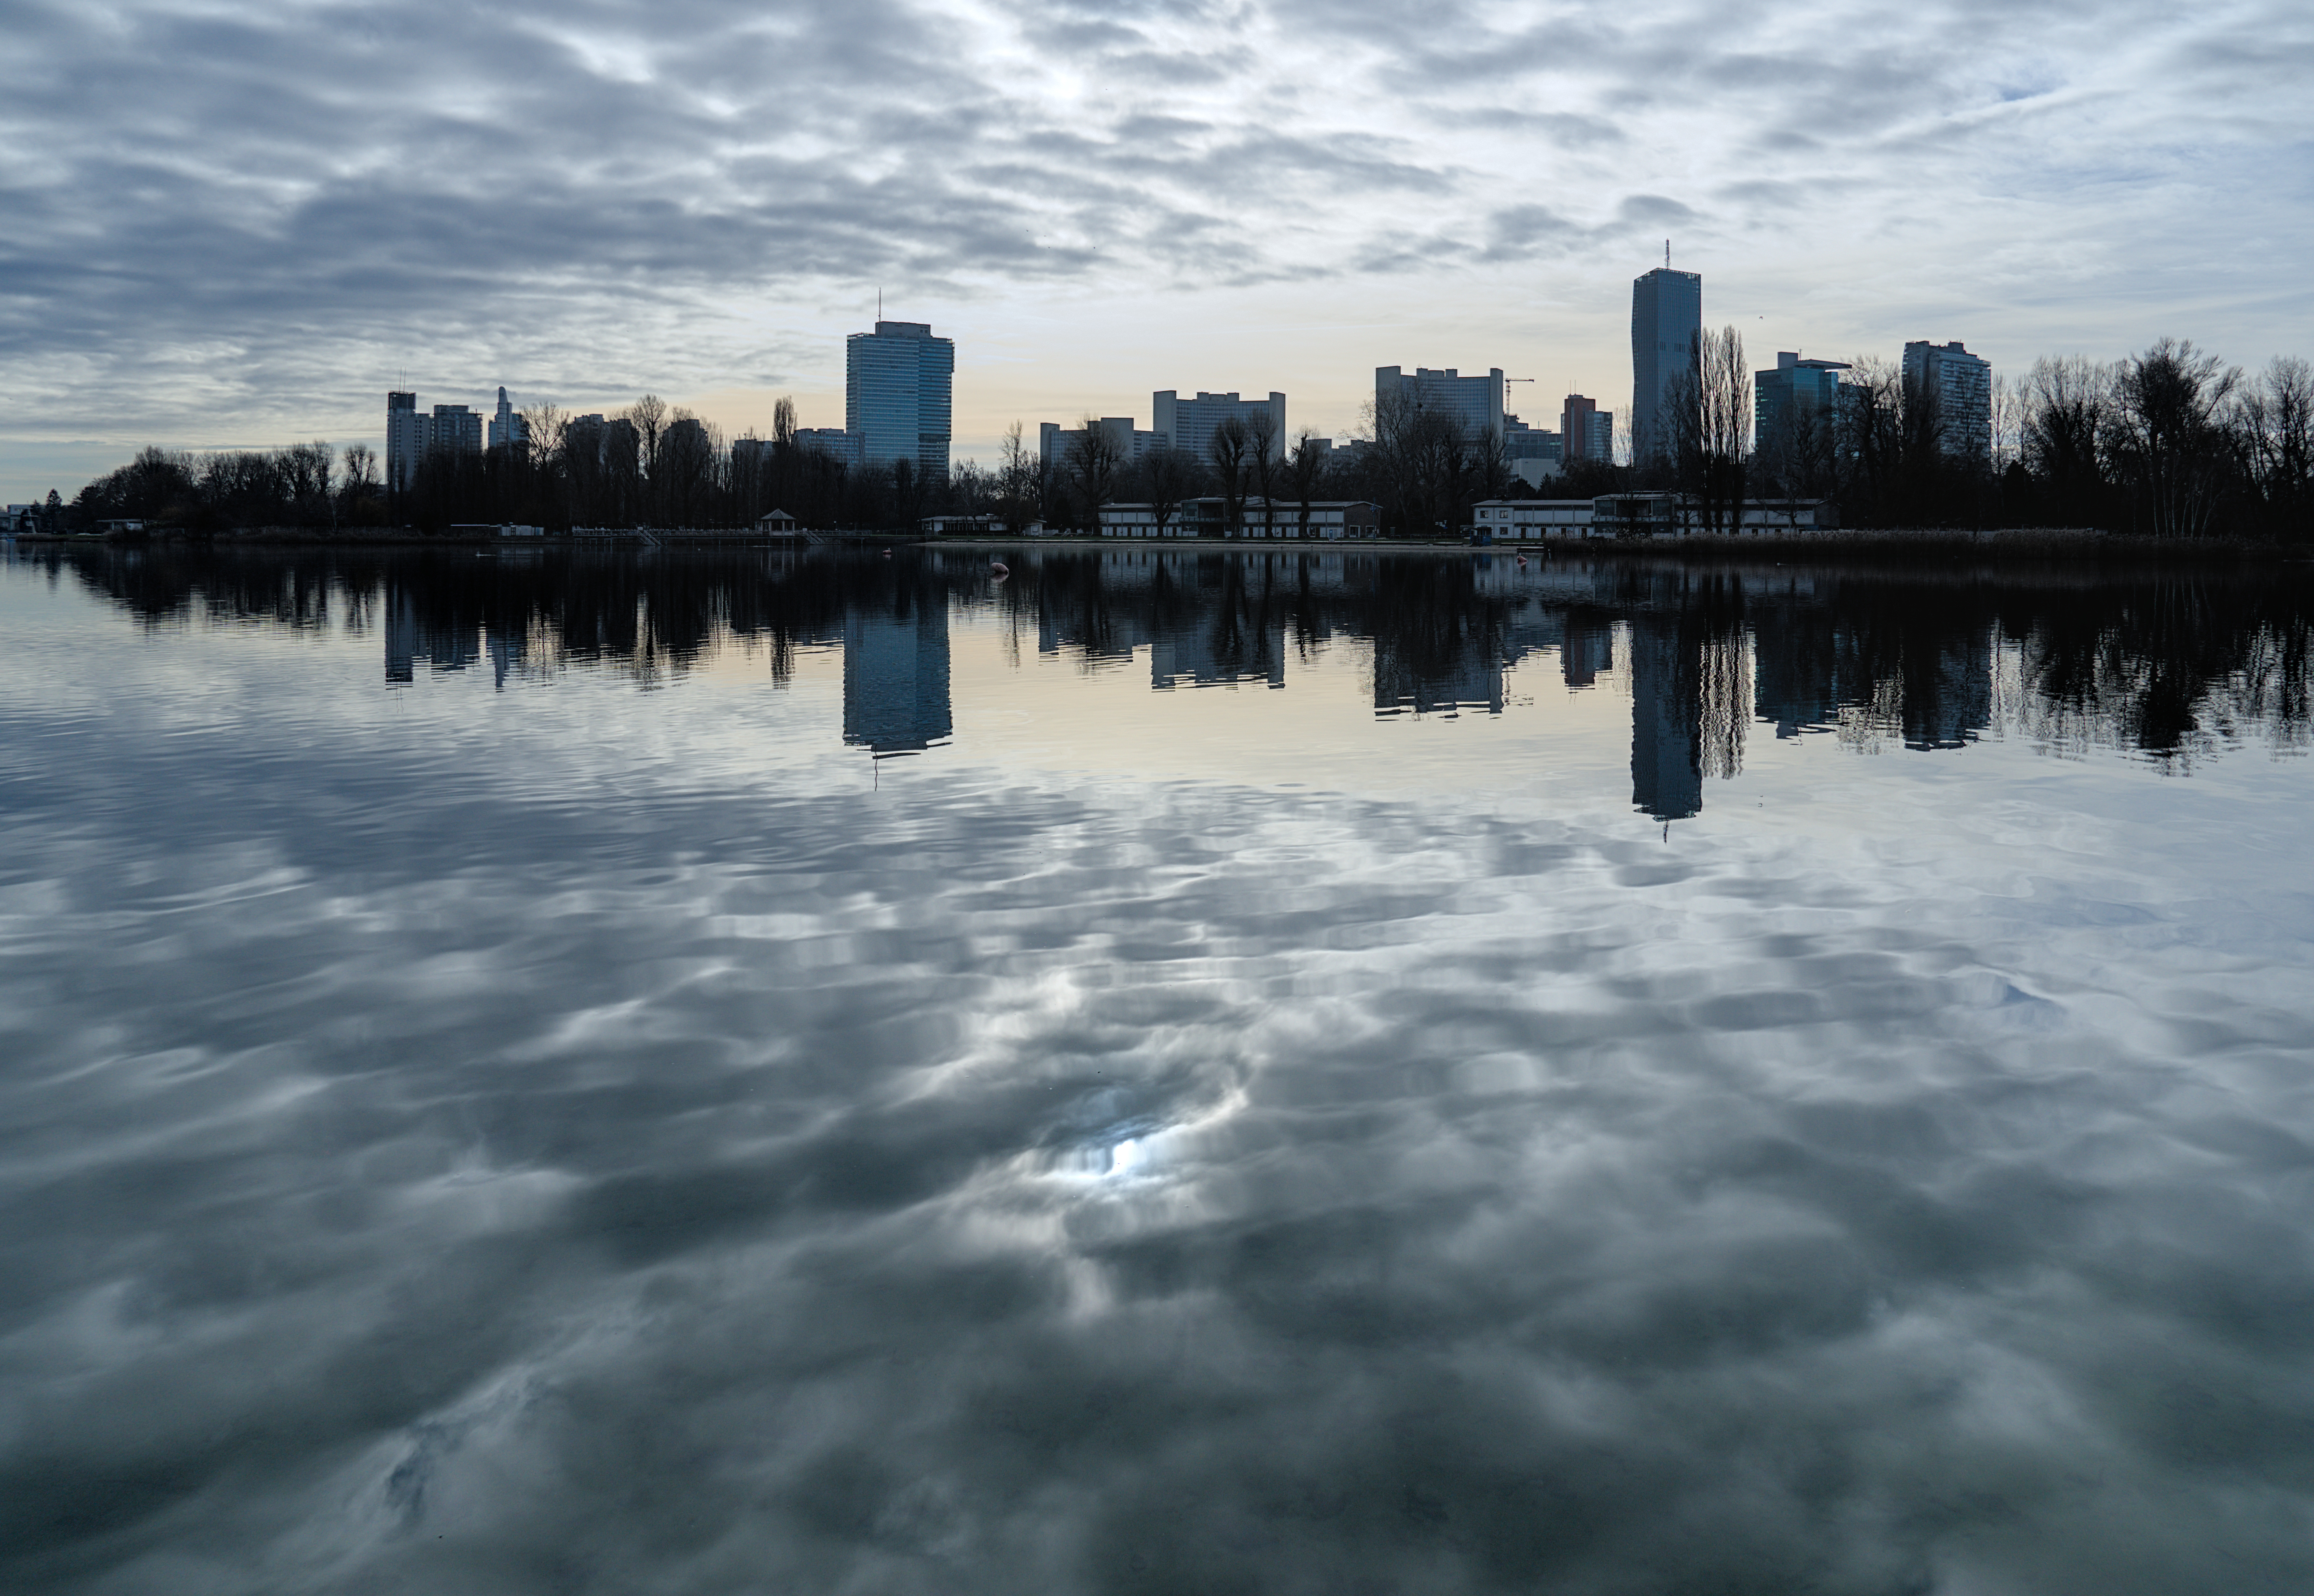
DT 4.2 sigmoid used with tone eq as well. I found that I actually think the sky looks natural too, but I agree that color zones is a good way to reduce it. I like the ‘HSL base setting’ preset for this module. But I haven’t used color zones in this version at all.
Thanks for posting!


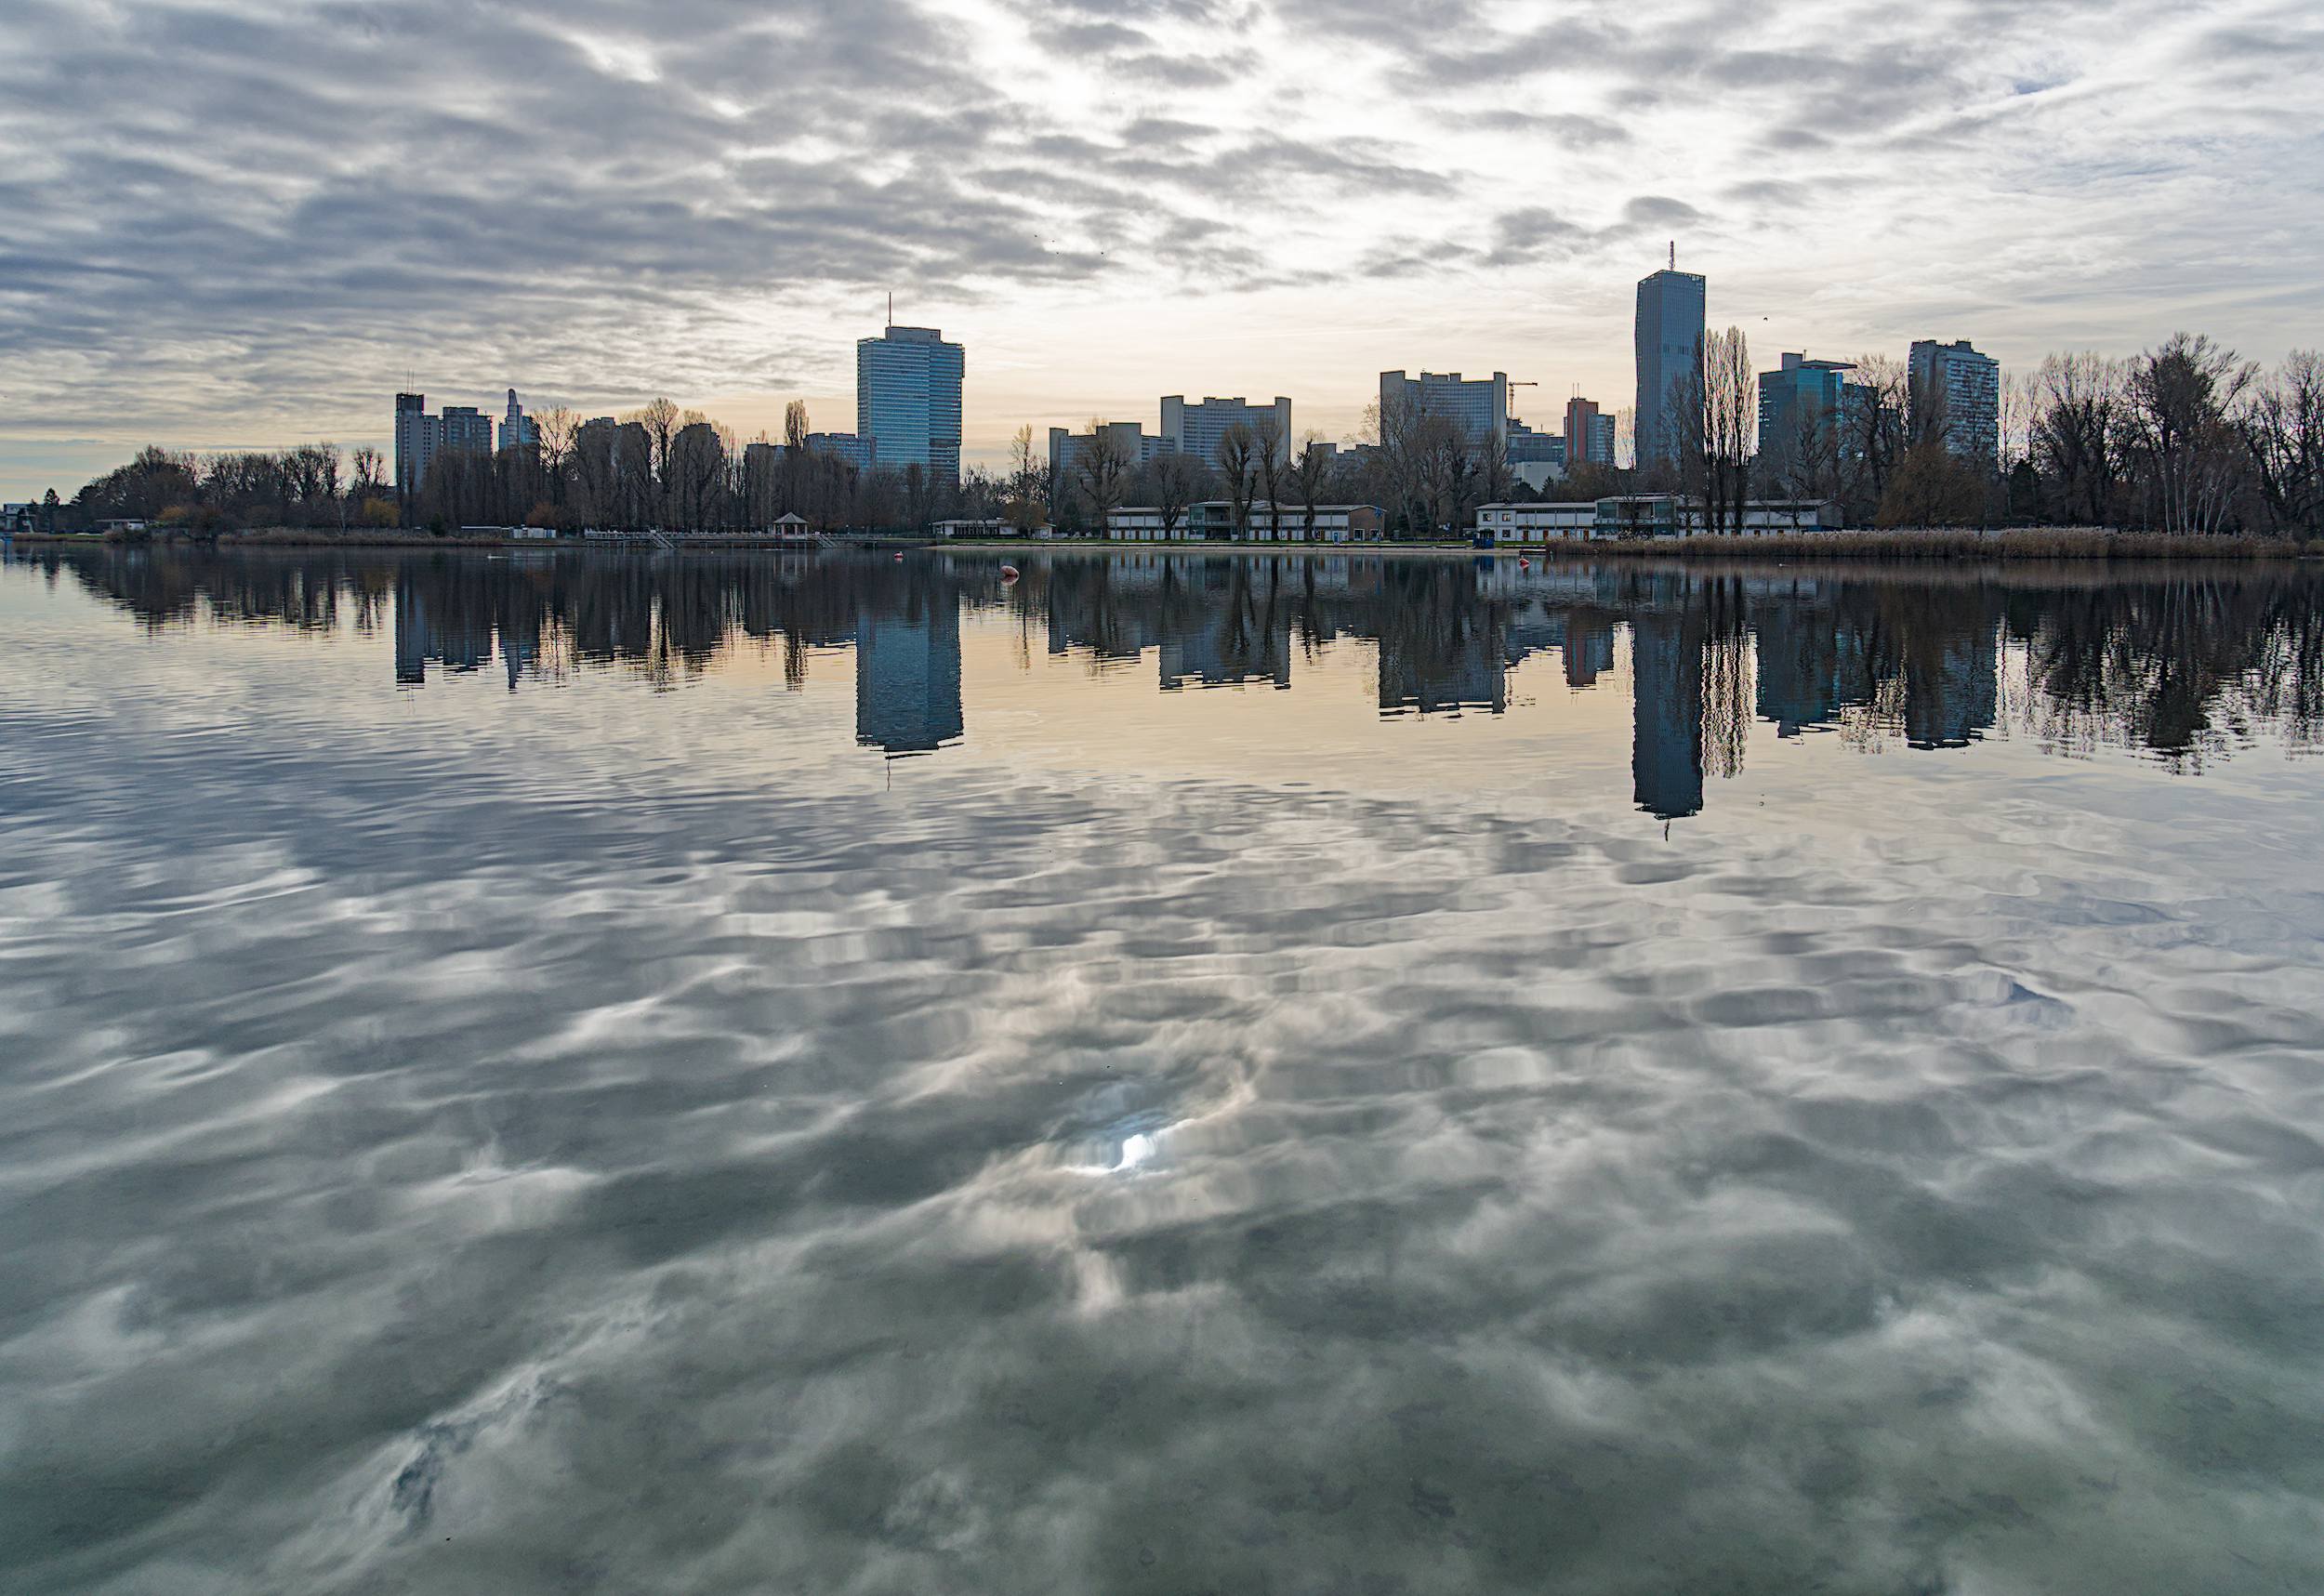
 messed around in GIMP with the last one. Isn’t it marvellous?


