I have tried playing with exposure and filmic RGB, as well as anything else related to contrast or brightness, but can’t seem to get a decent result. Just increasing the exposure blows all the highlights out to the point where I can’t recover them, and looks unnatural. Everything else I try looks odd.
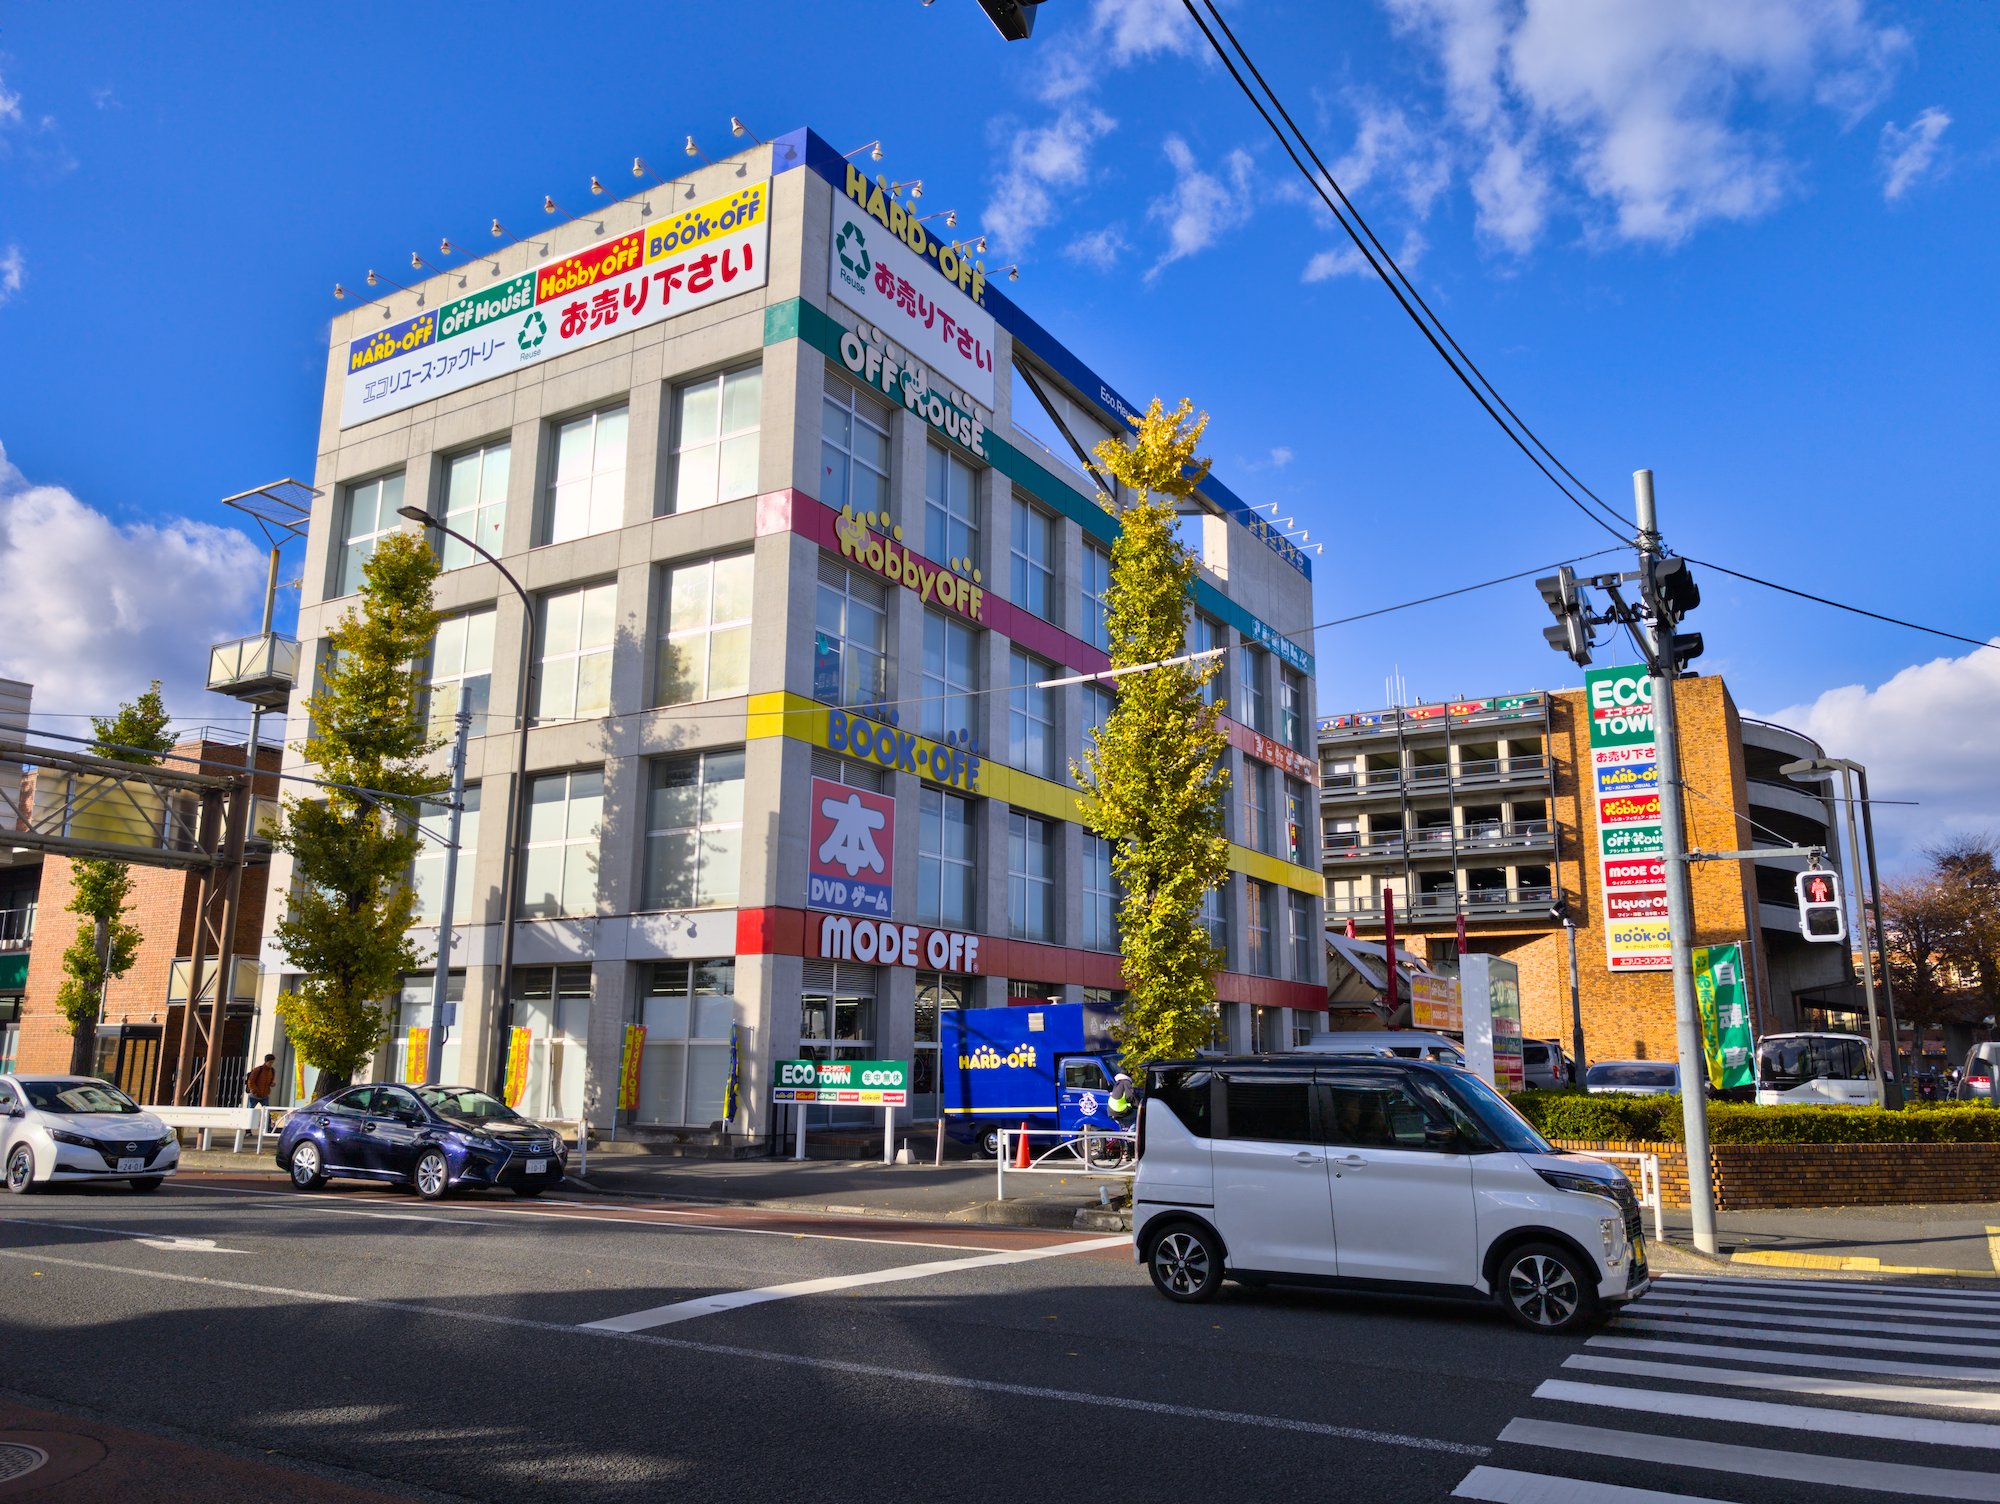
I feel like this is the biggest issue I have with Darktable. I just can’t get images to have realist colours and good contrast. The Google Camera JPEG is actually pretty good. The sky is a bit too blue, but not that far off, and the rest of it looks nice.
A quick edit in DT 5.1. I personally find Sigmoid easier t work with than Filmic for many images. It would be worth giving Sigmoid a try with this shot. I also had to use tone equalizer to brighten the shadows. PXL_20241208_051828478.RAW-02.ORIGINAL.dng.xmp (13.0 KB)
I increased exposure a lot, modified skew in sigmoid a bit to get more details in the highlights and used a rather extreme curve in tone equalizer to brighten shadows and darken highlights.
Thanks everyone. The tone equalizer seems to be a really powerful tool for this. I was looking for something like “gamma” and this is basically it, but much more powerful.
It’s still a bit blow out on the windows, but it’s getting there. Thanks everyone, I couldn’t get anywhere near this before. The tone equalizer seems to be the key to keeping the colours realistic while adjusting the brightness of the image.
I found sigmoid easier to use than filmic RGB too.
I did watch some tutorials a while back, and then forgot most of it
There seems to be a lot of focus on filmic RGB and on doing a lot of little tweaks, but what I really needed was the basic tools to get things into shape.
Everything was pretty simple (for me) except the blown highlights on the closed window shades of the big building. For those, I did do some FilmicRGB tweaking.
Thanks, that’s exactly what I need to study. I found it hard to get the sky bright enough without the highlights getting out of control, and it seems like maybe you did too.
I have to hand it to Google, whatever they do it’s pretty amazing. Both the sky and the windows look perfect, other than the slightly excessive blue tint on the former.
Indeed they do. Is that not possible here? I assumed that the raw output wasn’t really raw, it was multiple exposures blended to get more dynamic range.
The P8Pro has a primary Sony sensor that captures two simultaneous exposures.
I could selectively brighten just the sky using ColorEqualizer, but I felt like my posted attempt was “right”. PS - No, that was an unintentional lie. Actually, I brightened everything in the photo that was that shade of blue. I could have done a more precise change by masking the sky.