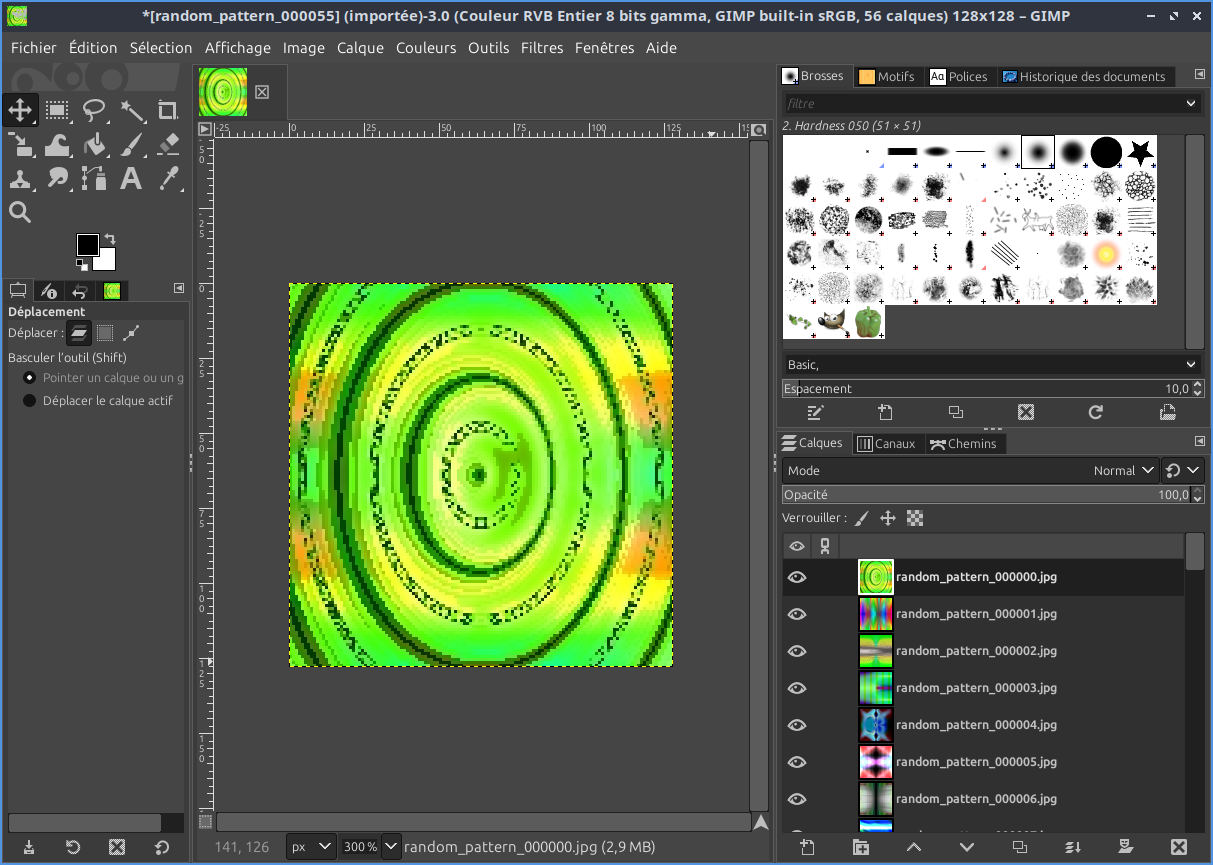
I am trying to set a number of rows and columns to combine all my 256x145 resolution images (around 100 images), so that would mean I set 7 rows and 4 columns to fill up most of a 1024x1024 image, so that when the plugin takes the needed number of images to do that. then it continues to arrange the next 7 rows x 4 columns on another layer.
Typically I may want to do the same with 341 width images with other rows X columns but not now. Now I will be combining same resolution images that are 256x145.
I don’t know what I need to set to do it like that.
I read and searched that in order to make a bunch of pictures (100 layers of small images) I need to use Arrays & Tiles - Montage.
I didn’t get any meaningful result with custom Layout, so I tried Montage Type: Horizontal Array. This does put a lot of pictures in a row before starting the next row but it adds more than needed in the first row.
I do not need any framing around the pictures so I set all these things frames, spaces between to 0.
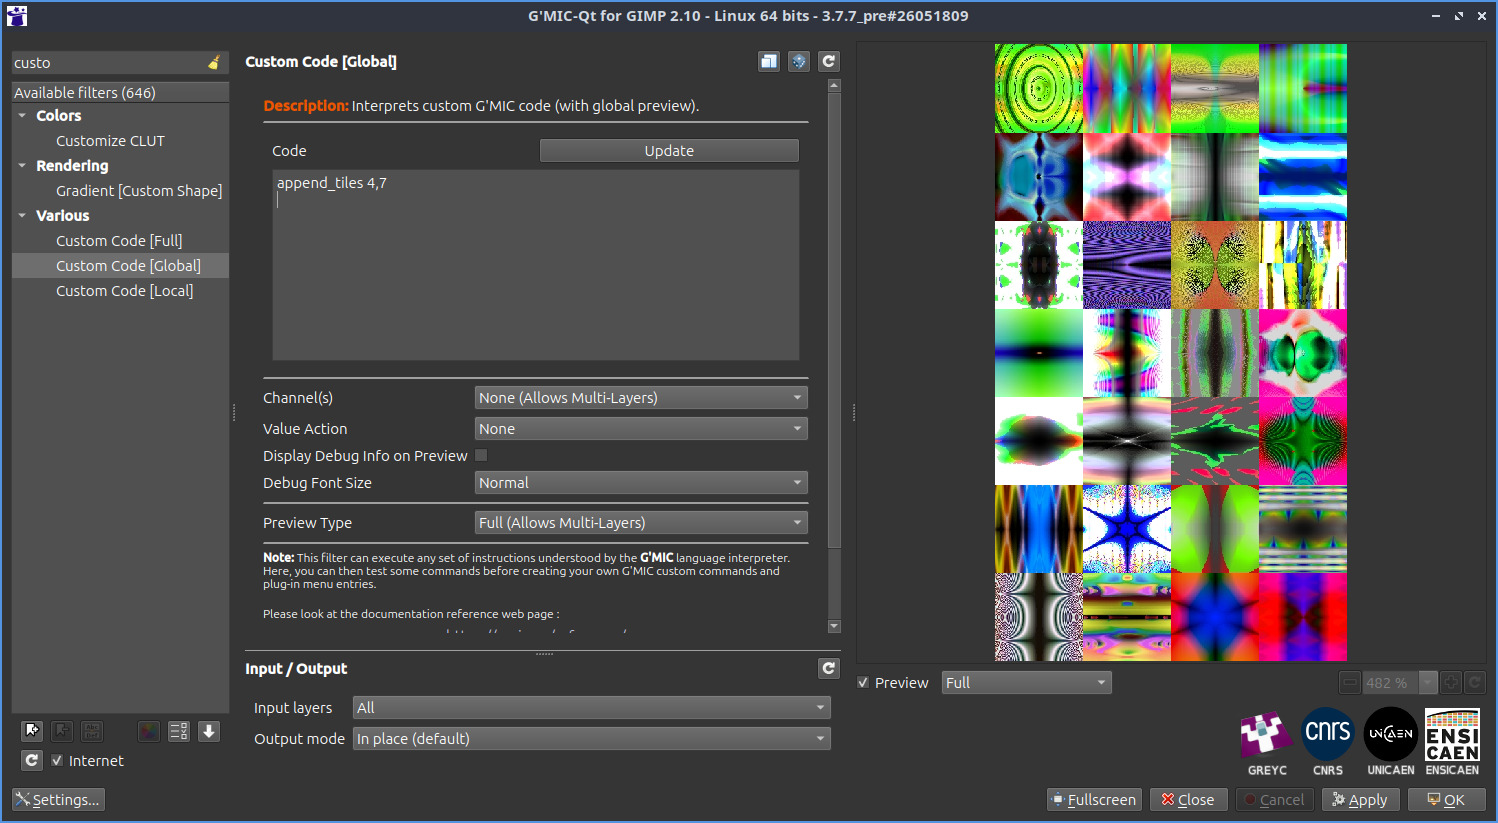
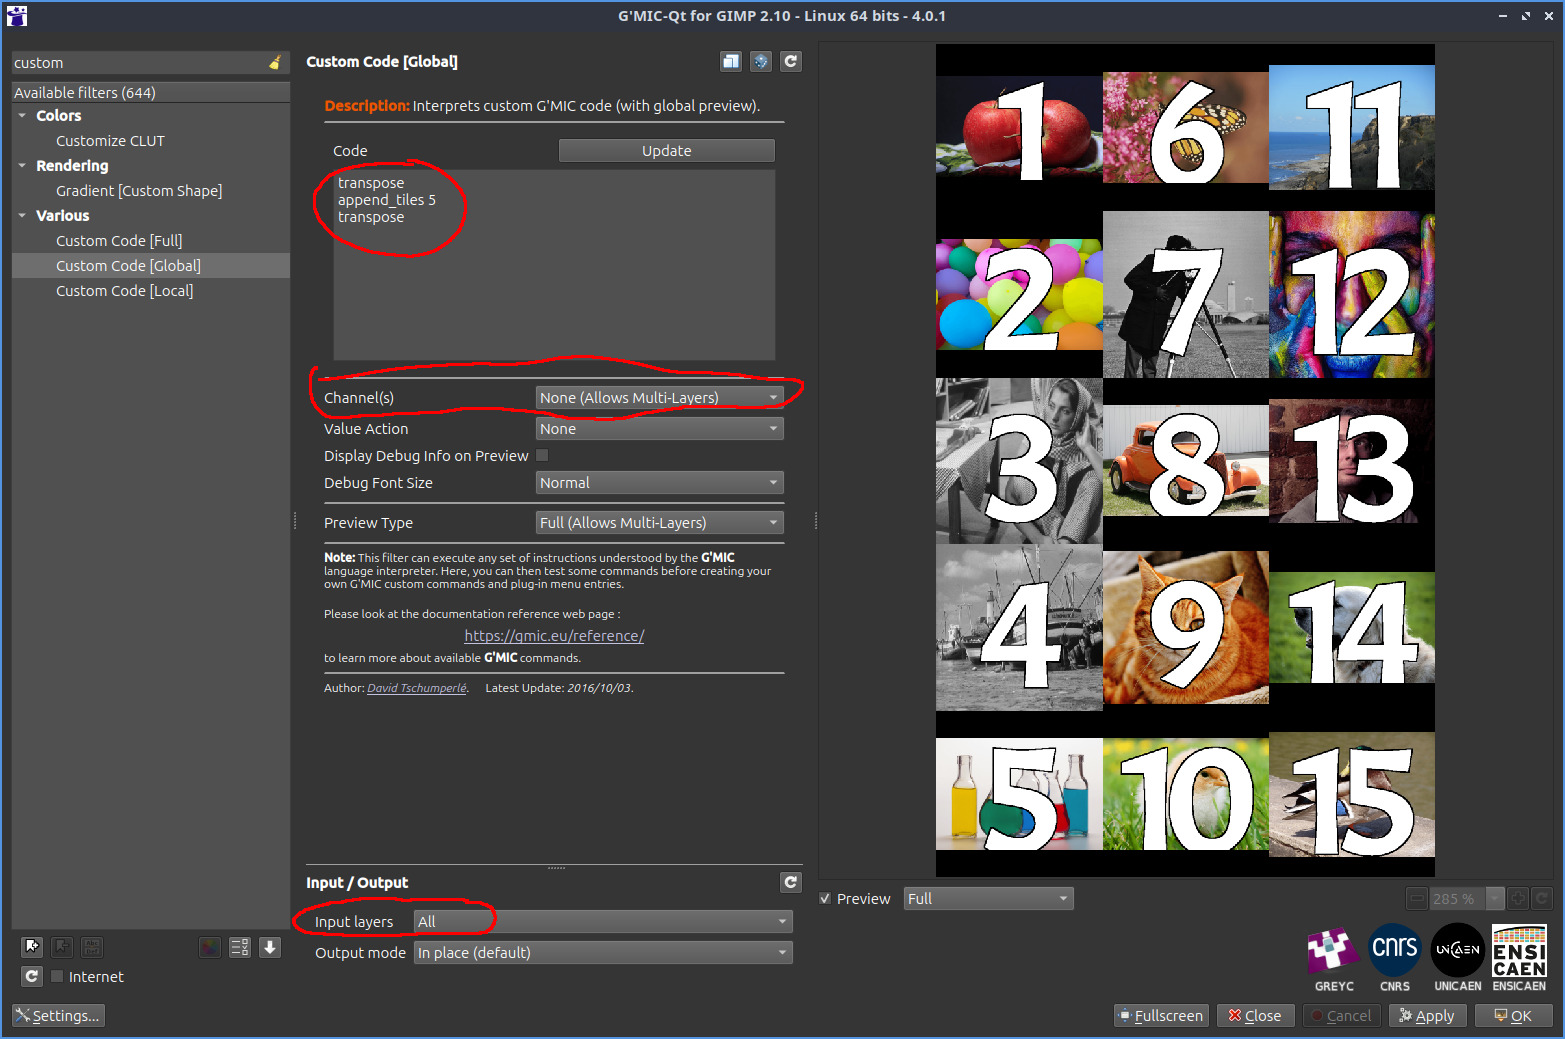
I would suggest using the “Custom Code” filter for that task.
What you need is actually using the G’MIC internal command : append_tiles 4,7 that will generate as many 4x7-arranged outputs as necessary to fit your number of input images.
This works because all your images have the same resolution.
Thanks very much for the detailed steps, it works indeed! Gone are the days of Alignment tool which was never good enough for this and using Film strip.
Just Can I remove the borders of black that form between them? It starts with some black borders and between the rows
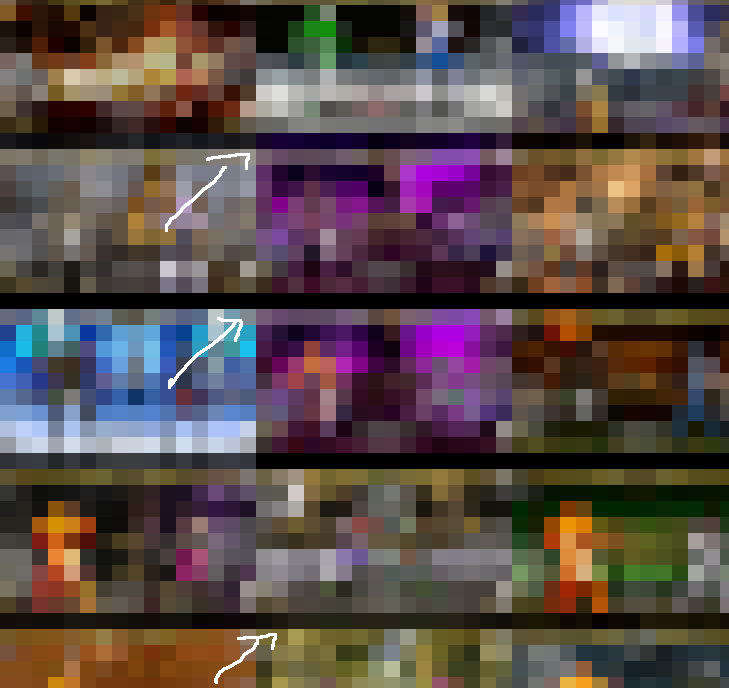
Just wanted to say that as I tested today I did with crop or resize including cropping from the Crop to Selection to ensure they are the same and I noticed it creates a lot of single layers where the top most layer image for example is put as a standalone like in the pic below and a lot of layers with single picture some of which are from the top layers. I would expect them to be also on the top.
This may happen if you try to append RGB and RGBA images together, because in that case, RGB images will get an additional channel set to 0 by the append_tiles command.
Proposed suggestion : Force all your image to be in RGB or RGBA before resizing/appending them, with command to_rgb or to_rgba.
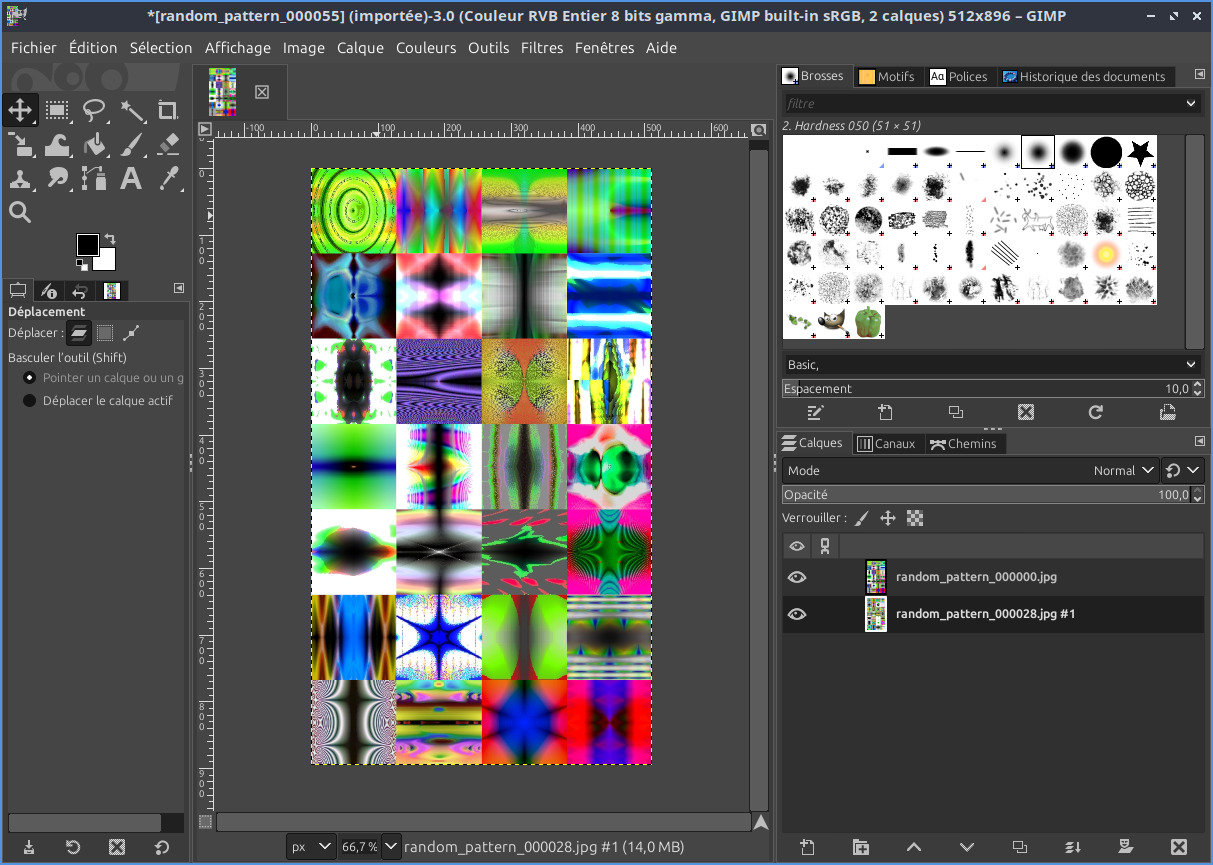
Finally now these are correct and I get indeed only the 4x7 layers then whatever remains tiles on the last layer. I have 145 images, so now I correctly get 5 layers with 4x7 tiles, which makes it 140 and last layer with last 5 images.
I did have some with alpha channel images and no wonder the Preview was showing a single image on alpha BG , now I add the alpha channel to all layers and when I combine, nothing seems missing.
Before that some images were duplicated as single image on a layer. last images were not included at all in the 4x7 tiles layers and were instead somewhere away as single layers.
But now all aligns, all are there, so the take is:
Make them exact sizes to avoid difficulties, crop to selection or resize if needed
Have them the same channels - RGBA ( as I prefer) or RGB - had no idea this mattered
That’s because append_tiles will always replace ‘missing data’ (like a missing row, column, or channel) by filling it with 0, and in the case of an alpha channel, this means adding a fully transparent alpha channel, leading to actually invisible RGBA images, if only RGB is specified.
Happy to see that everything works as expected right now
Well yes, as workaround I could combine them append_tiles 1,3 then merge all the 1-3’s horizontally but thought it would be nice for more automatic way if there was 100 pictures. I thought it could do the same way as it works for horizontal.
I read montage could do it there but it does it correctly for 4 pictures, for more - not. If not implemented that’s fine but would be good to have.
It would be nice to make the montage all-in-one go However a little more work for stages using gmic_gimp_qt option to use visible / non-visible layers.
You do need to set up a key shortcut for toggle layer visibility (normally deactivated)
Then it is into gmic and make two columns based on layer visibility
and then combine the columns horizontally.
I use same image sizes because I make like a sheet of the icons. Thanks for showing I will try that $ gmic images*.jpg a[0-2] y a[-3--1] y a x -o output.jpg
But yes I will have 7 columns with 3 rows, the above example seems to make it. I just need to test it.
Could someone tell me the syntax for within the Gmic interface? I go to Custom Code [Global] and how do I go?
Well, if you want a more generic command that concatenate your images, first by rows then by columns, without having to think about the image indices, you should try this trick instead: