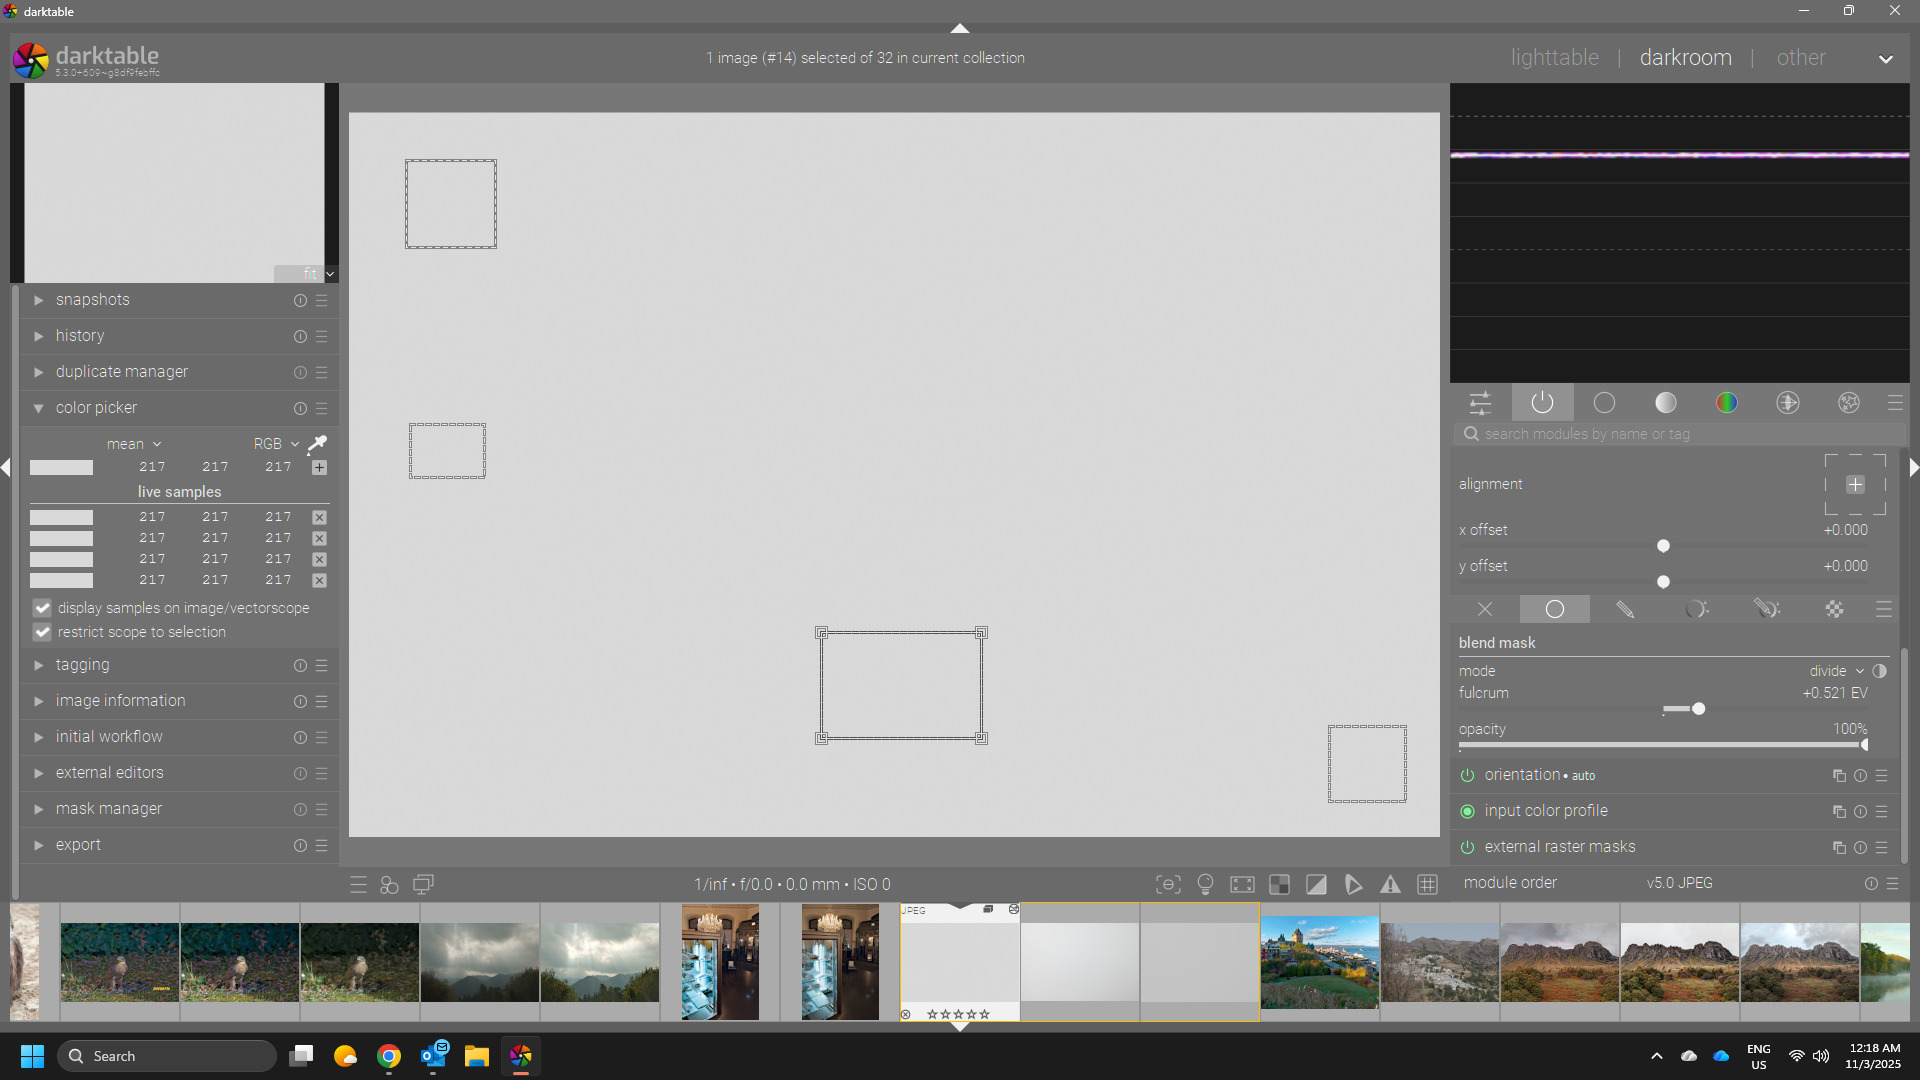
I have several shots with a plain background, but the brightness is not exactly even. I had taken a single shot of only background and thought that maybe it would be possible to correct the brightness based on this shot.
I discovered the external raster mask option in Darktable, and thought, that might be just the right tool. So I exported the image as a PFM file, and then imported it on the same image file as an external raster mask. Then I went to the exposure module and selected that mask, with blending mode lightness. In my idea, if I would adjust the exposure, I would find a way that perfectly corrects it to have a completely homogenous image brightness.
However, I did not manage to achieve this. Is this possible with my approach? I also tried inverting the mask, and flipping it up and sideways, turning it to a black and white image. All did not help. Any advice is appreciated.
I attached a jpg of the image, if anybody wants to try it.
That’s correct, that’s the image of the background. However, I should be able to apply this image as a mask on itself to obtain a perfectly homogenous image, that was my idea. If that works, I could then apply the same processing on the whole batch of images that include objects.
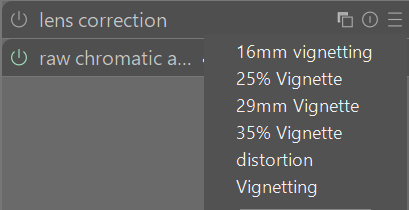
If I understand correctly you want to do a vignetting correction for your lens. This might be better achieved using the lens correction module or creating and second instance of exposure with a vignetting profile created using an ellipse mask, which can then be saved as a preset to apply to other images shot under the same condition. This first option with lens correction presets for vignetting is what I have done in my version of DT.
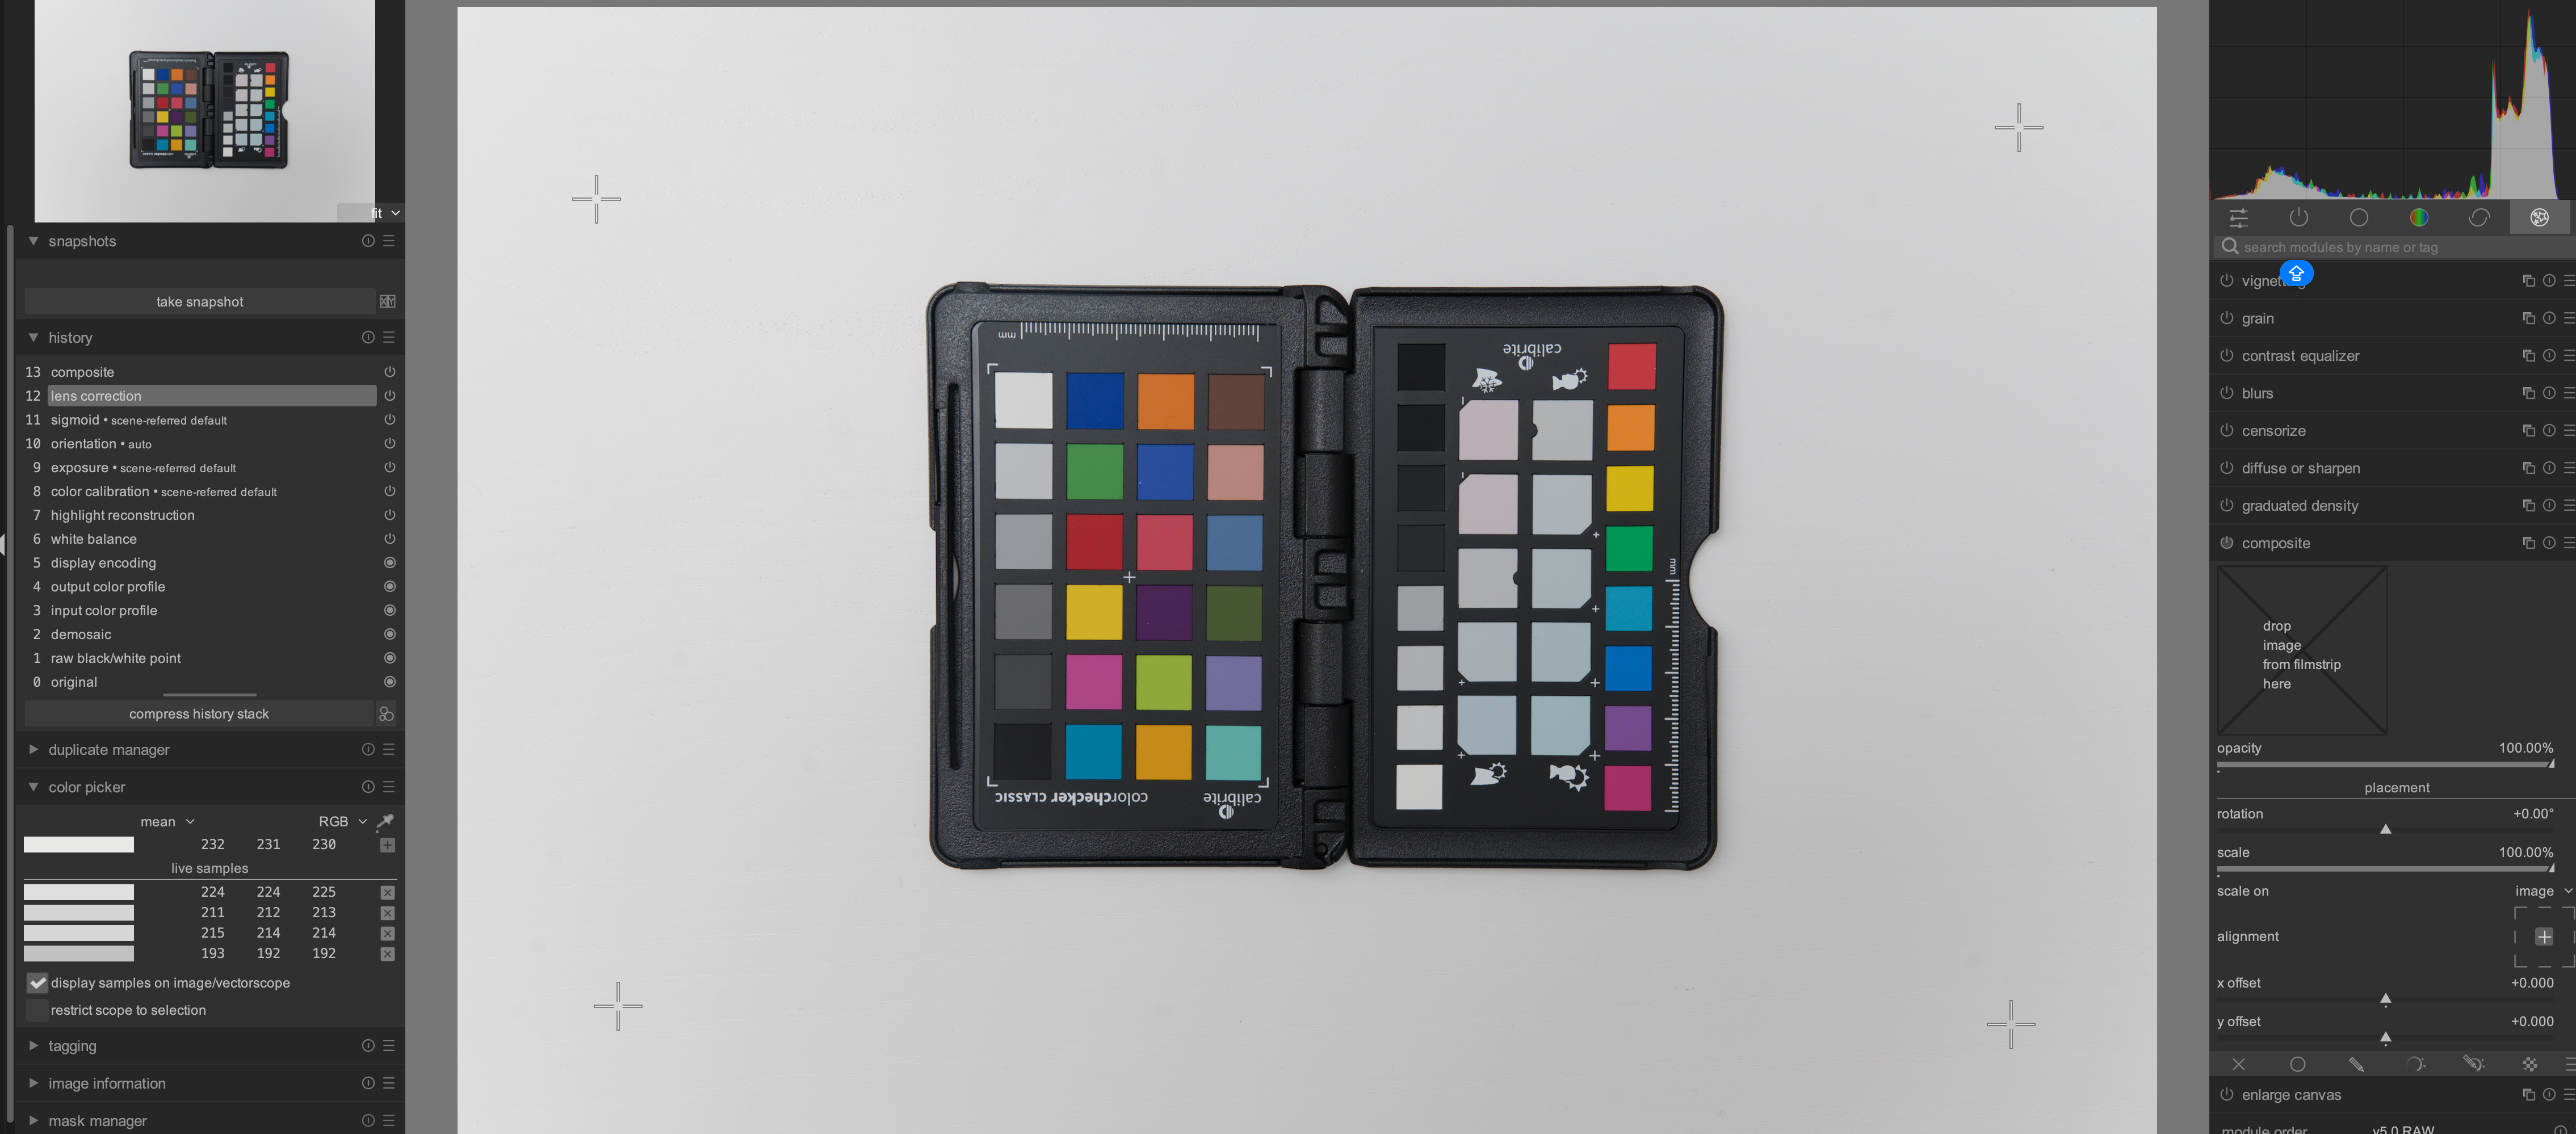
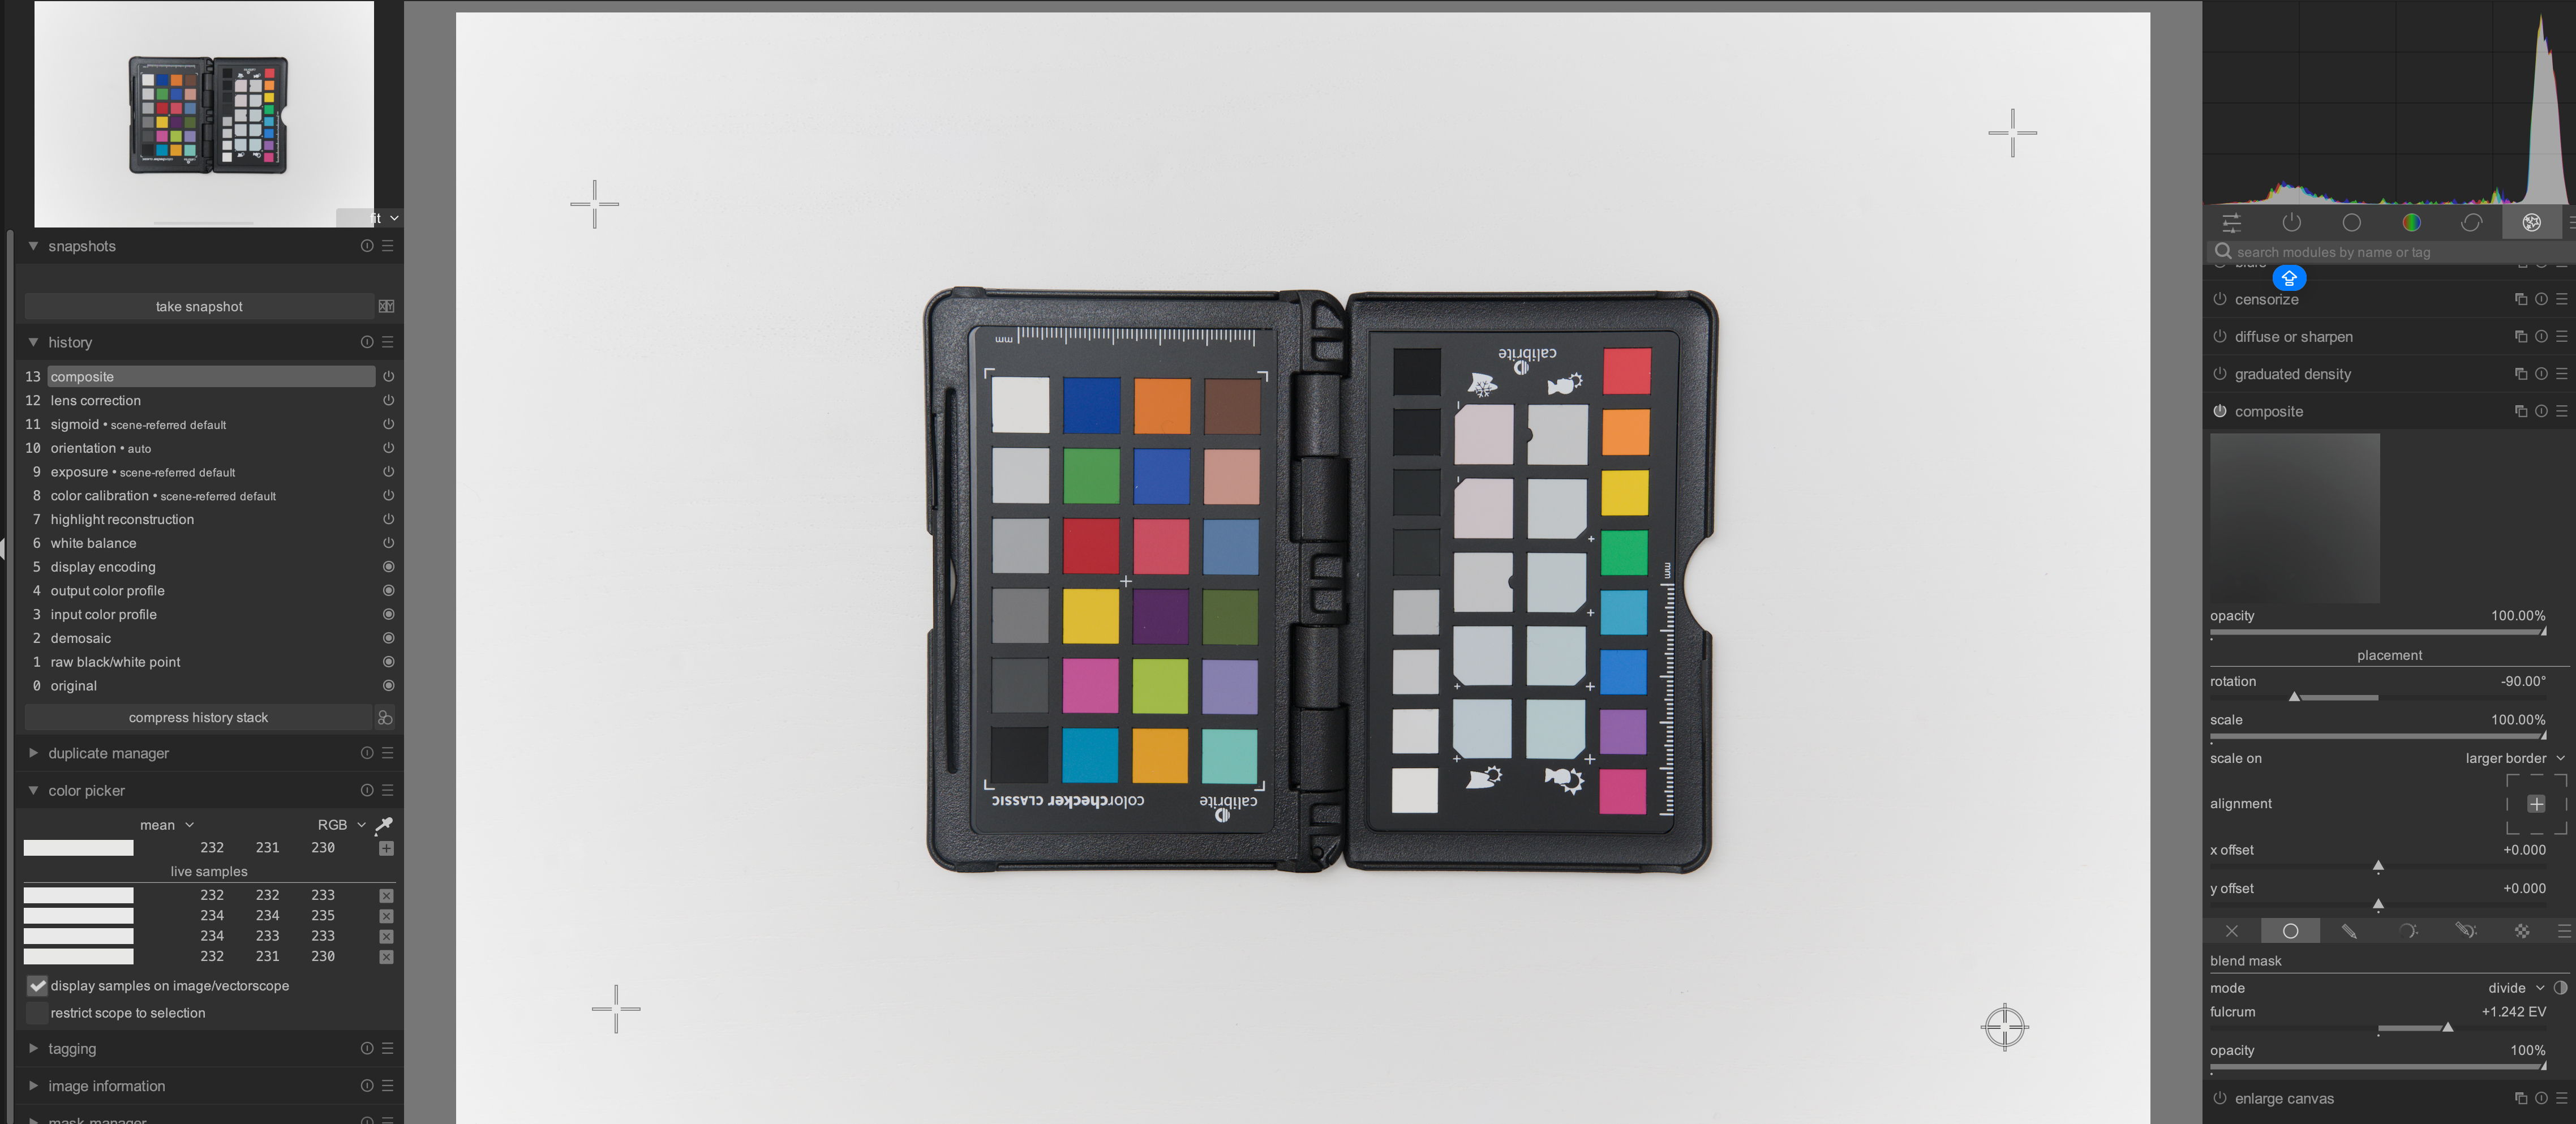
If you apply an image to itself with the composite module and use divide blend mode you will get a white image and you can bump that down with the fulcrum but I am not sure if that gives you what you want but it will be uniform white or grey…
Thanks for your responses, it is not what I was looking for, I have not been clear enough in my initial post.
What I would like is something close to a vignetting correction, correct, but as the lightning is not caused by errors from the lens, but from the lightning setup, it is not uniform at all. It is stronger on one side, but even there it is not even.
I could achieve something close by applying several linear gradient masks and then correcting the exposure using these masks. However, my idea was, that if I have taken several pictures with objects in them (let’s say product photography), all on the same background, and then I have one picture of only that background (the picture I posted in the first posting), that I could somehow use this picture as a mask and correct the exposure only in those positions (similar like with a linear gradient). I don’t know if this is possible or what I would need to do to achieve this. The end result should be pictures of objects that have an even lit background.
I copied your image and then inverted it with negadoctor… Then in the original I used the composite module and blended that inverted image using addition… The image was 100% for all samples… I used exposure after composite to set the overall level… it remained even…
A great thank you Todd, actually that works using divide, I misunderstood at first! And I am surprised how well that works, even though I have not been using a tripod, so the background does not align perfectly, the overall light distribution is much better. What I did different is that I had just used the tone curve and pulled up the left hand side and pulled down the right side to invert the background image, as I was not sure about the exact parameters using negadoctor.
For example, this is another shot from the same scene, that I had taken a couple of hours later handheld, so definitely not the same position:
That will save me tons of editing time, and I will use this in the future more often! What a great functionality from Darktable, I don’t know if any other Raw editor is capable of doing such things. I have the impression it even removes potential color casts?
Capture One has Lens Cast Correction which does more or less the same thing, but you need a special plate made from optical resin to place in front of the lens. And since that is made by Phase One, it’s not super cheap…