There are many threads about darktable masking already, but I did not see this particular effect covered yet.
When I use an inverted mask, an opacity change (ctrl-scroll) does change the opacity of the unmasked path and not the opacity of the masked path, which I find rather counter-intuitive. While this may be a design decision, how can I change the shape’s opacity itself?
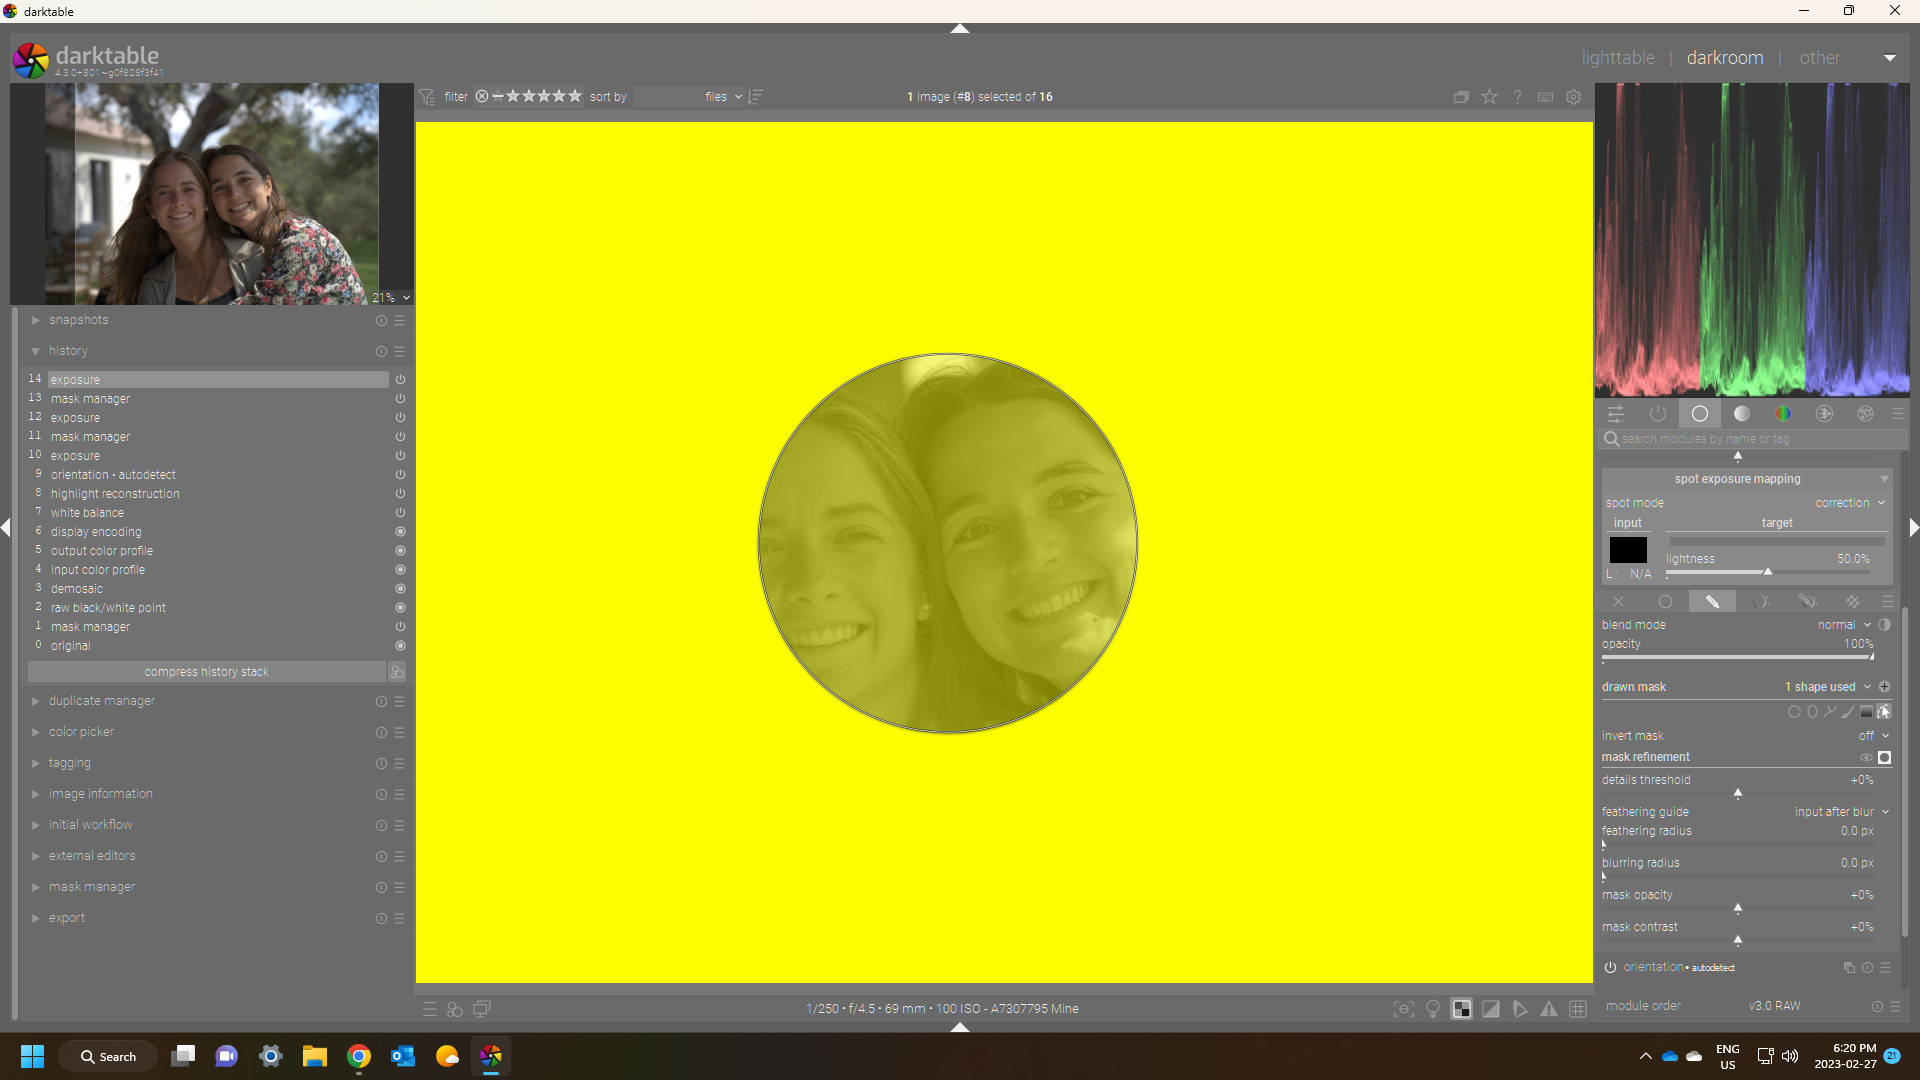
Here’s a demonstration: The picture shows the non-inverted mask with 64 % opacity, leading to a reduced opacity of the yellow shape in the center:
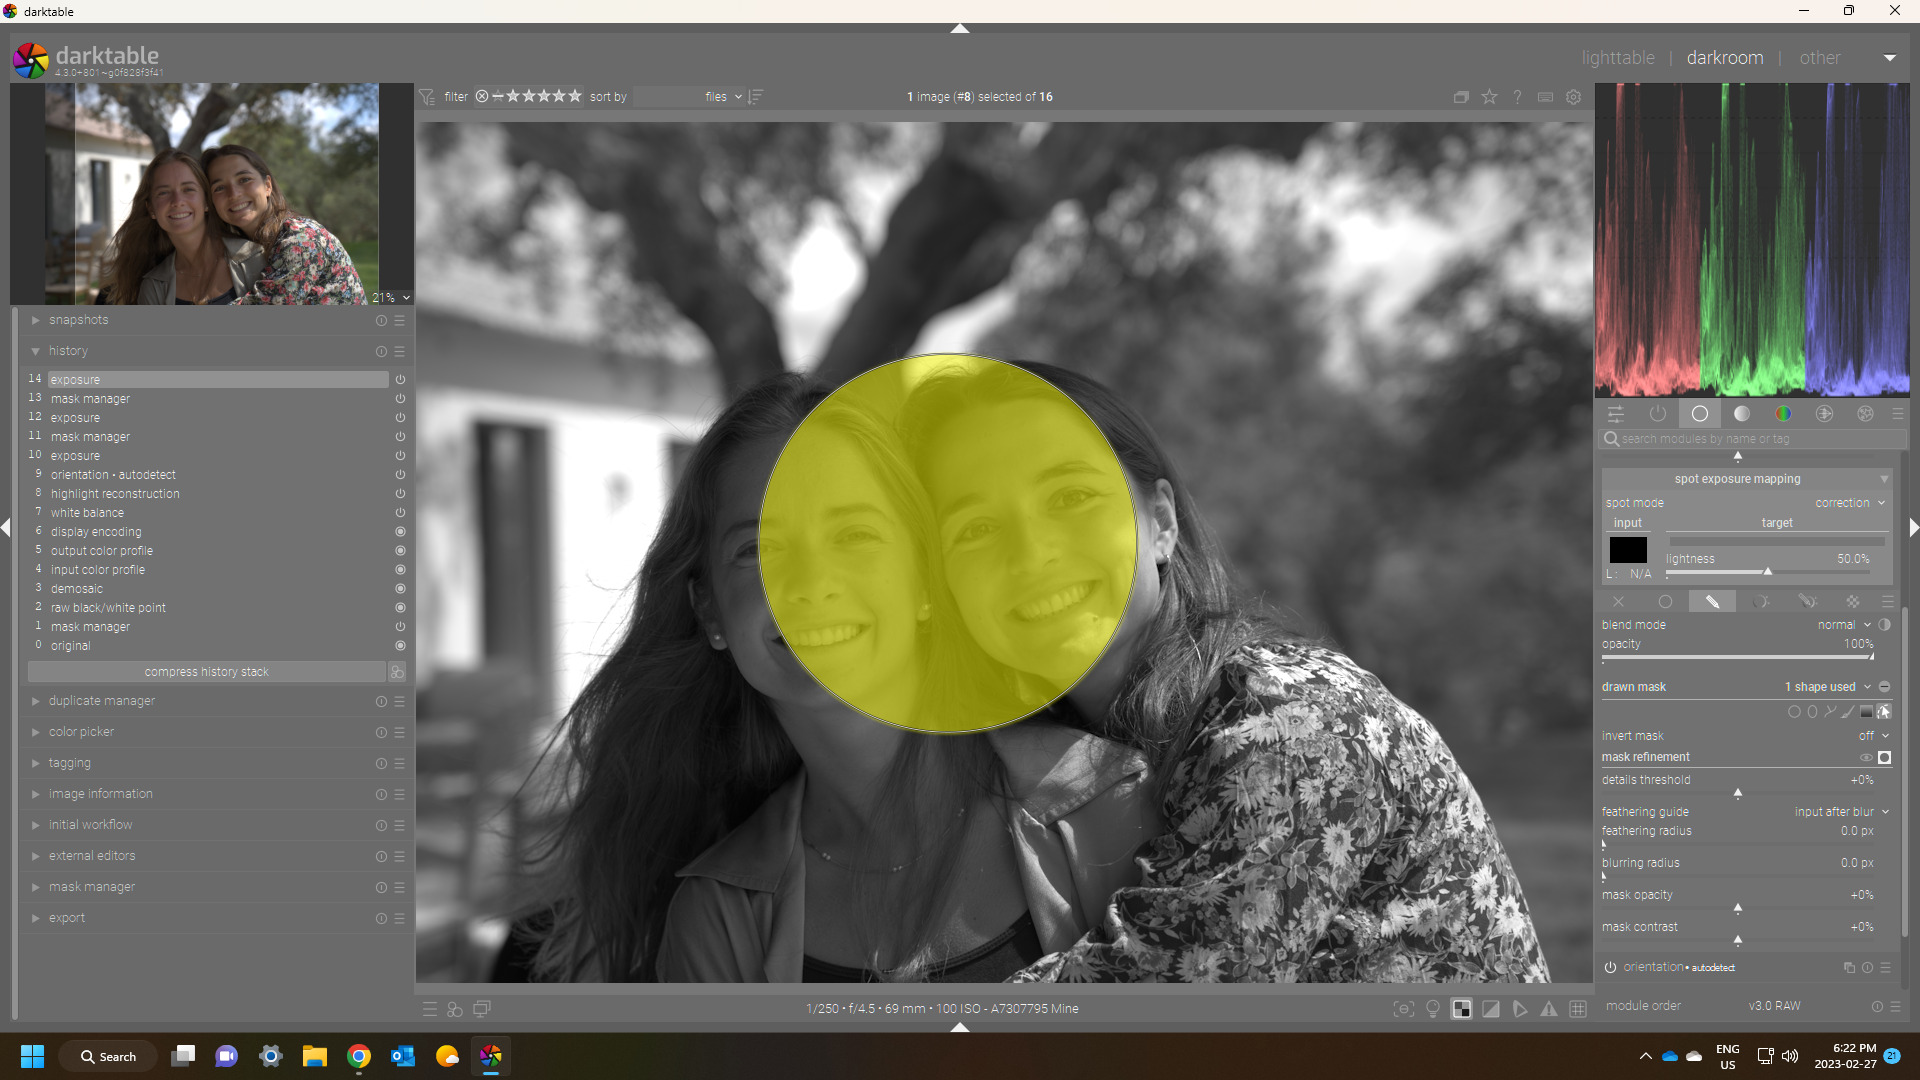
The next image shows the same shape but inverted. Here you can see that the yellow tends towards full opacity at the edges, while the center which should be cut out has some yellow, which vanishes for 100 % opacity.
I think maybe something is up… so would we not expect the simple inversion of a shape to apply the same opacity and in the most simple case that would be everything outside the boundaries of the drawn shape??
I just opened an image and placed a circle element in the exposure module and turned on the mask…
Click on the “+/-” button to reverse the polarity of the entire drawn mask. For example, a circular mask will, by default, cause the module to be applied only to the area inside the drawn circle. Reversing its polarity will cause the module to apply to the whole image, except for that circle.
But it seems like to me that what you see looks like inverting the drawn mask leads to all parts of the image being impacted roughly by a correction (1-element opacity)/1. So for a single element ie a circle then the drawn element say at 5% goes to something that looks like 95% and the rest of the image was at 0 so (1-0) /1 is 1 so it goes to 100%.
If the opacity is 100% you don’t notice anything as the circle will be (1-1)/1 or zero and the the rest of the image is (1-0)/1 or 1 so it goes to 100%…
I thought I would see what happens if you had 3 circles all with different opacity… same sort of effect… the image area not in the circle becomes 100% when you invert the drawn mask and each of the circles adjusted their opacity based on the starting point… so to me it looks like when you invert the drawn mask that you are applying a correction to the whole image and not exactly as noted in the manual ie not impacting the circle…
Thanks for the example with several shapes. Now it makes sense to me, I did not think about it before. Changing the opacity of the inverted shape would not make much sense in this case, as the combination of several shapes is not a combination of the inverted shapes but a combination of the shapes which is then inverted.
That means, the correct way to change opacity of the inverted mask is the overall opacity of the mask. Thank you very much for your eye-opening examples .
I don’t disagree but I don’t think that is what the words of the manual convey…
That is only really true for drawn elements at 100% opacity otherwise the module is applied to a degree inside the drawn elements… ie the inverse of the opacity of that drawn object…
Ya the separate opacity of the drawn elements could confuse some right… Most people are going to say select a sky if its easier for example and then perhaps invert to select the foreground for some other purpose and this will be done at 100%. So its like a binary operation toggling the mask. Then using the overall opacity for that instance of the module they will dial in the amount of the effect in either of those 2 scenario’s . That is pretty logical and I think covers the vast majority of cases but say you have a gradient mask or something and you apply it and then you dial back the opacity to whatever lets say 20%… Not thinking about this someone might want to apply that to the inverted part of the image and in doing so think it will do as it does at 100% and toggle the area that is masked but instead most if the image will be masked… some at the inverse of 20 and some at 100% so not the toggled effect they were expecting… This might seem puzzling at first until someone gets used to this and I think it will be a rare situation personally