Well, you are simply a proud member of the Darktable community then! After many years, I’m still fiddling around trying to find better/faster ways of doing things. And with each new module or release, there’s usually something that makes you revisit what you’ve done before. It’s because Darktable really is a toolbox and often offers multiple ways of doing the same thing. I enjoy it, but I guess it’s one of those things that some people don’t and get frustrated with.
3 Likes
I think people just have to inherently fiddle every single knob and slider available… even though there is plenty of advice and examples of what is recommended ![]()
If you’re happy twiddling every knob, then be happy. But if you’re not content, then why not take the advice? I just don’t get it.
This is of course, the “royal you” – not you or anyone specifically.
1 Like
Better is good ![]()
1 Like
You mean like that one guy from the salty Hacker News thread who said that Darktable had completely sucked all fun out of digital photography for him? Yeah, I don’t understand why people let themselves get so frustrated. I swear some people just enjoy getting mad.
3 Likes
post deleted
I was editing photos for decades following that advice, too ![]()
Then I started using Darktable with filmic and always started with black/white levels and tried to proceed from there, but I never liked it. Don’t get me wrong, I understand that some people like that approach but it never worked for me.
What I find helpful is thinking about the middle, where the slope of the tone curve is the highest; this is the area where I am going to get the most contrast. It should be my main subject most of the time.
Then, proceeding from there, I can think about how much contrast I want in the middle, which comes at the expense of contrast in shadows/highlights (as the tone curve goes from 0 to 1, the contrast (=slope) has to integrate to 1, so it is a finite resource).
Then using skewness I can shuffle contrast around a bit between shadows and highlights. This is where I miss more fine-grained control sometimes.
1 Like
I’ve been thinking along similar lines recently, where I sometimes want fine control over just the highlights or just the shadows. I don’t find the tone equalizer’s controls well suited to fine adjustments, even though it would be the obvious module for this kind of thing.
I can usually get close to what I want by messing around with Sigmoid’s contrast, skew and target black/white, but it’s not always straightforward.
1 Like
Skewing the mask in the tone eq can help target it but also using the mask of the rgb CB module combined with the adjustment there can be pretty fine tuned…brilliance is pretty strong and the highlights in the 4 ways is much more subtle…then sliding the grey/midtone mask slider back and forth to set the crossover point you can really define the range of adjustment pretty well…
2 Likes
You’re right that the CB module has some nice controls, and I use them extensively. But I was thinking in particular of working within a certain range, e.g. between +6 and +8 EV. I don’t want to push the white point higher, or make any changes lower than +6. So it’s a narrow 2 EV range I want to work on. The CB module controls aren’t really suited to that unless you use a parametric mask, and it can be fiddly to spread the Tone EQ’s nodes over such a narrow range.
It’s all possible of course, because Darktable offers so many options, but there aren’t really fine controls specific to working within highlights/shadows or any user-defined range. It’s something that was discussed in a recent Tone Equalizer thread, so I’m really just rehashing the same stuff here.
2 Likes
You can use a parametric mask on top of Tone Equalizer or CB RGB.
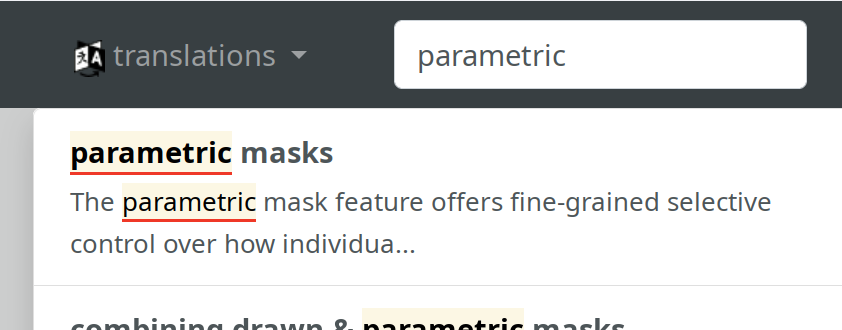
I’m not sure what “parametric” means but in the GIMP it is sometimes convenient to make a mask with the Threshold function which can operate over a range of image levels. Here’s one of the dog over the range 0.5 to 0.6 - or 127 to 153 8-bit.
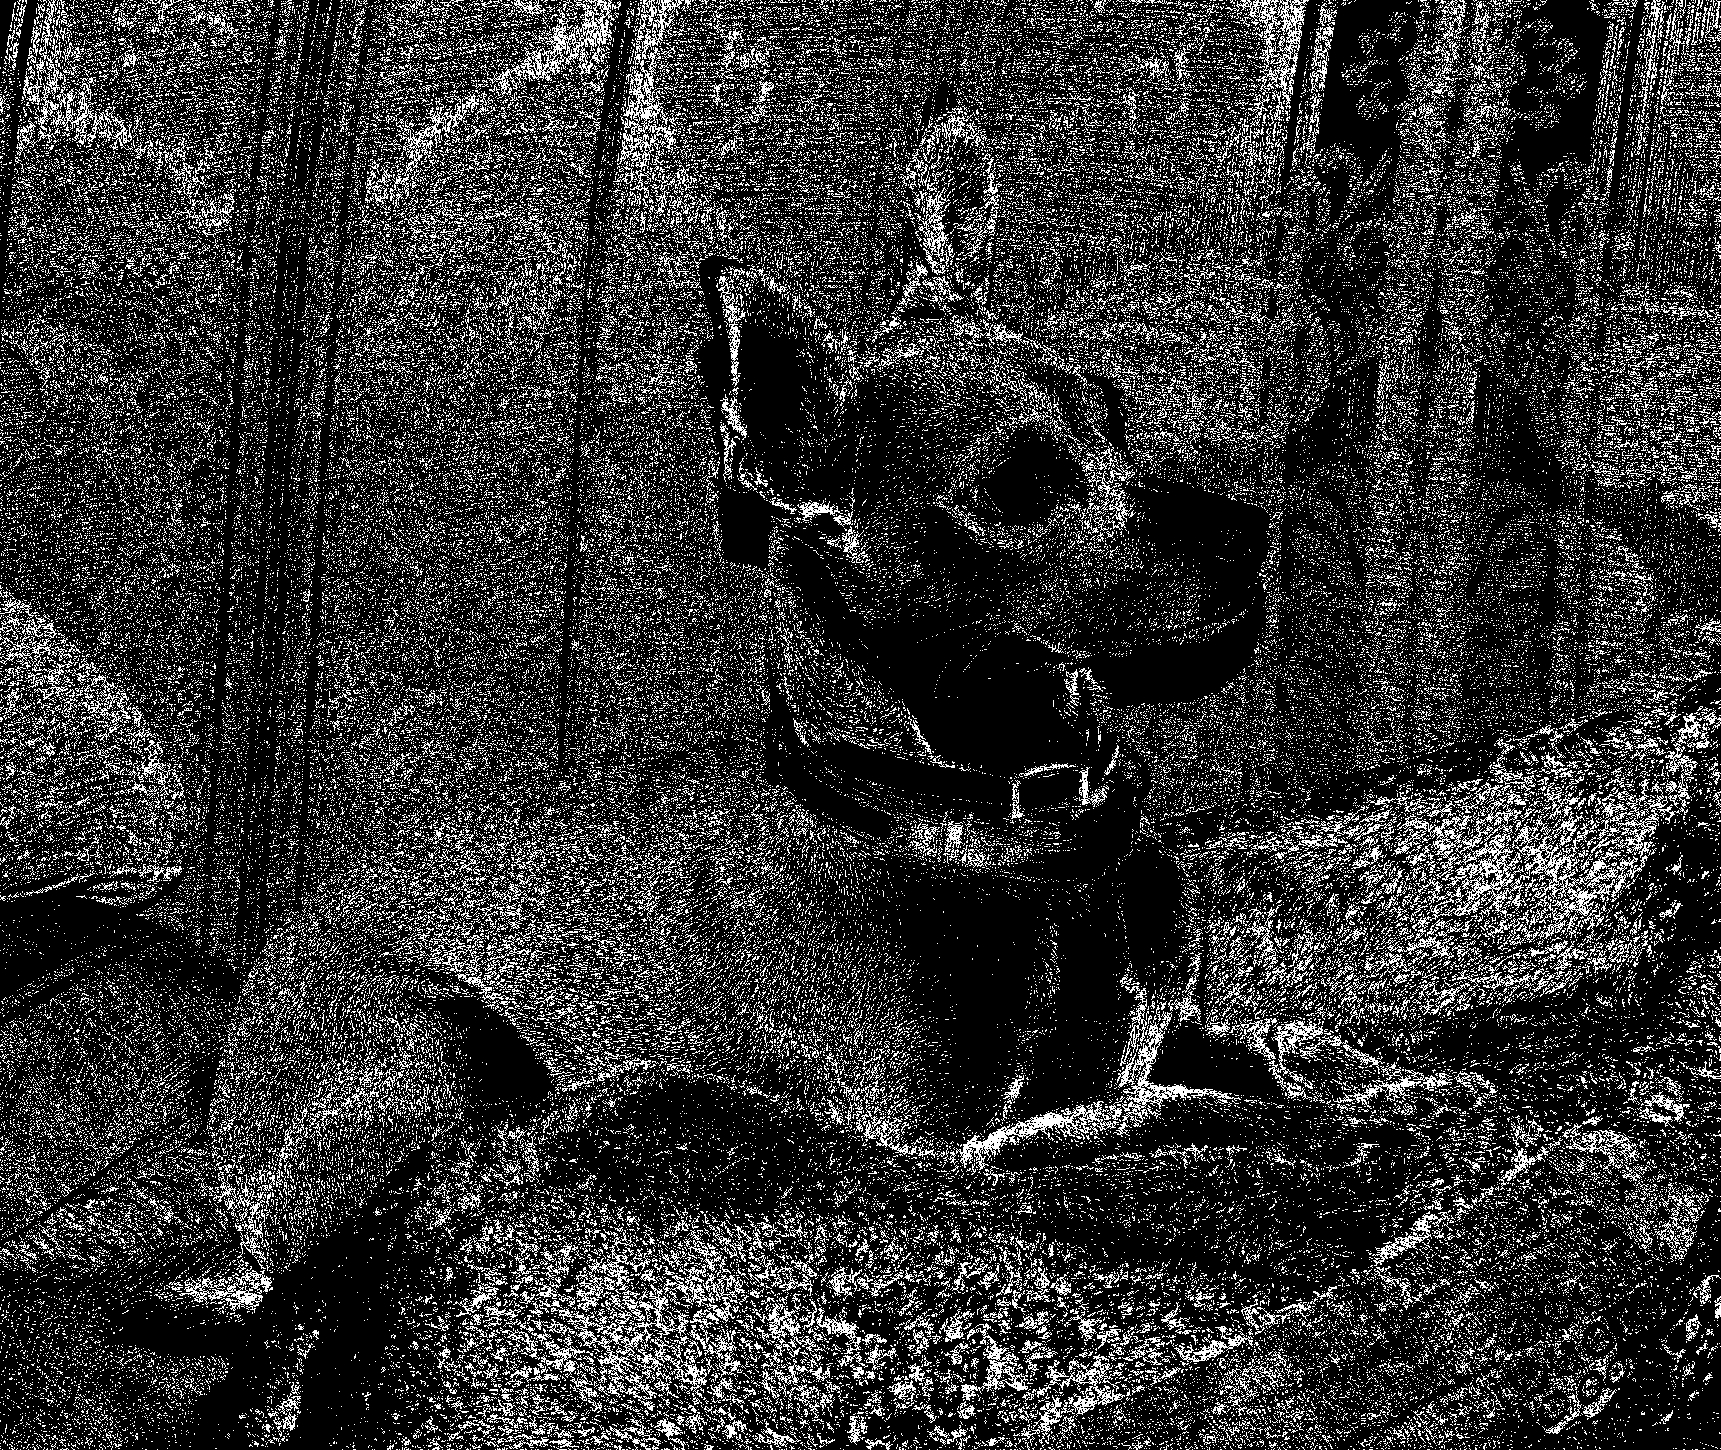
P.S. “Dog RT” was the original filename … no RT involvement in this post.
I assume that dt has a Threshold function equivalent.
I’m pretty sure you could tweak the mask to hit just what you want from the masking tab…do you use those masks or just the module mask…
You always emphasise that you don’t use darktable, but still contribute to darktable topics, which is great, as we get more perspective. You can find descriptions of darktable’s features at the documentation site, which is searchable:
4 Likes
Thanks for the link to “parametric” - well above my 85 yr-old head, I’m afraid.
1 Like
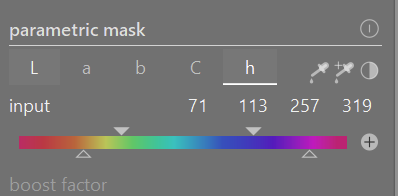
You can view videos. But it’s nothing fancy: in addition to drawn masks, you have ramp up - sustain - ramp down sliders to construct the masks. So, for example, you could limit the effect to a certain hue and saturation range.
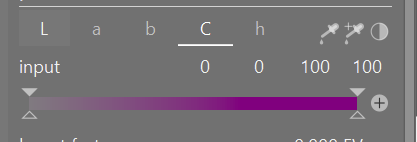
It’s much like these controls in RawTherapee:

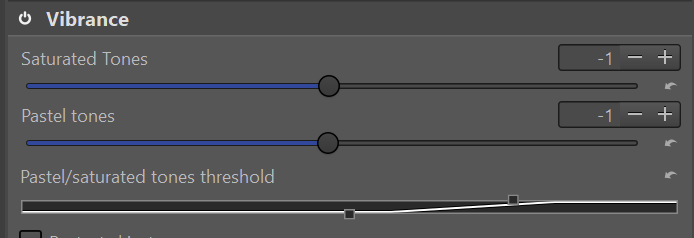
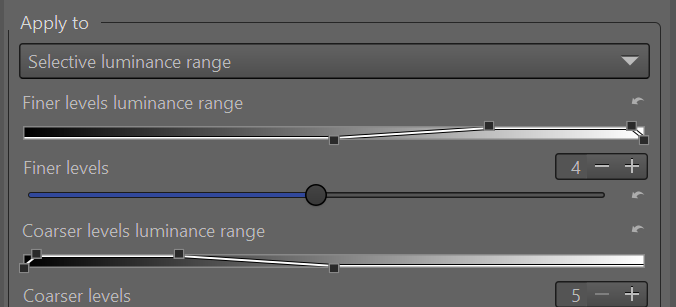

For comparison:

We’re getting off-topic, though.
3 Likes
And as shown by @kofa if you hover on one of the parametric sliders and use the C key you will get a map of the image so that you can decide if that parameter will assist you to create the mask where you want it and you can combine the individual “parameterized” masks ie say for a combination of hue and chroma or say brightness and chroma to define a region…
2 Likes
You mean the masks in the Masks tab of CB? Yes, I use those sometimes as well as the standard parametric masks.
As I said, it’s always possible to achieve what you want, but I find them all a little imprecise, if you know what I mean. I really like the idea of the fulcrum in CB because that has a specific value associated with it. There’s the “Contrast gray fulcrum” and the “Mask middle gray fulcrum”, which are both really nice ways to set your fulcrum or “pivot”. But setting the lower and higher ends of the range are not so precise. I think my ideal would be the ability to set the lower and higher ends of the range you want to adjust in the same way you can set the fulcrum, i.e. a picker (or type in a value).
The alternative would be to not use a fulcrum, but instead use multiple nodes like in Tone EQ. But again, I want the ability to precisely set the lower and higher ends of the range, rather than slide the exposure comp and contrast comp sliders to roughly where you want.
In theory, regular parametric masks on the g or Jz channel should be able to set the range, but the feathering can sometimes be problematic, and I still haven’t found the ideal module to do this in. I think CB might be best. Maybe I just haven’t cracked it yet and I need to keep working on it! Maybe I’ll do a Play Raw the next time I find an image where I struggle.
1 Like
Often to nail things using the Jz channel you need to add mask boost… The slider goes from 0-1 but that’s not 0-full scale by a long shot…sometimes if you use the picker on that channel your top white value might be 3 or 4 or 6 so if you don’t boost it then you might not be able to fine tune the selection as much as you would like to just those top highlights for example…
1 Like
I think there are some relations between those masks, which should be maintained. Allowing the users to set the masks with more freedom risks to cause issues with that.
And, for setting values precisely, afaik a right-click on any slider allows you to do just that (and go outside any soft limits, if applicable)
Yes, but how would you do it in Tone EQ if you just want to work on the highlights, for example? If we break the image down into 8 EV and I want to work on the top 2 EV of the highlights, what values could I enter into the masking of Tone EQ to restrict it to that range?
1 Like