Hi everyone, I’m trying to adjust the brightness across an image in Gimp and I’d really appreciate your help. The original image (link below) is the front of a furniture cabinet where the room was lit from a window on the left of the cabinet - the image therefore has higher exposure on the left, and is darker on the right.
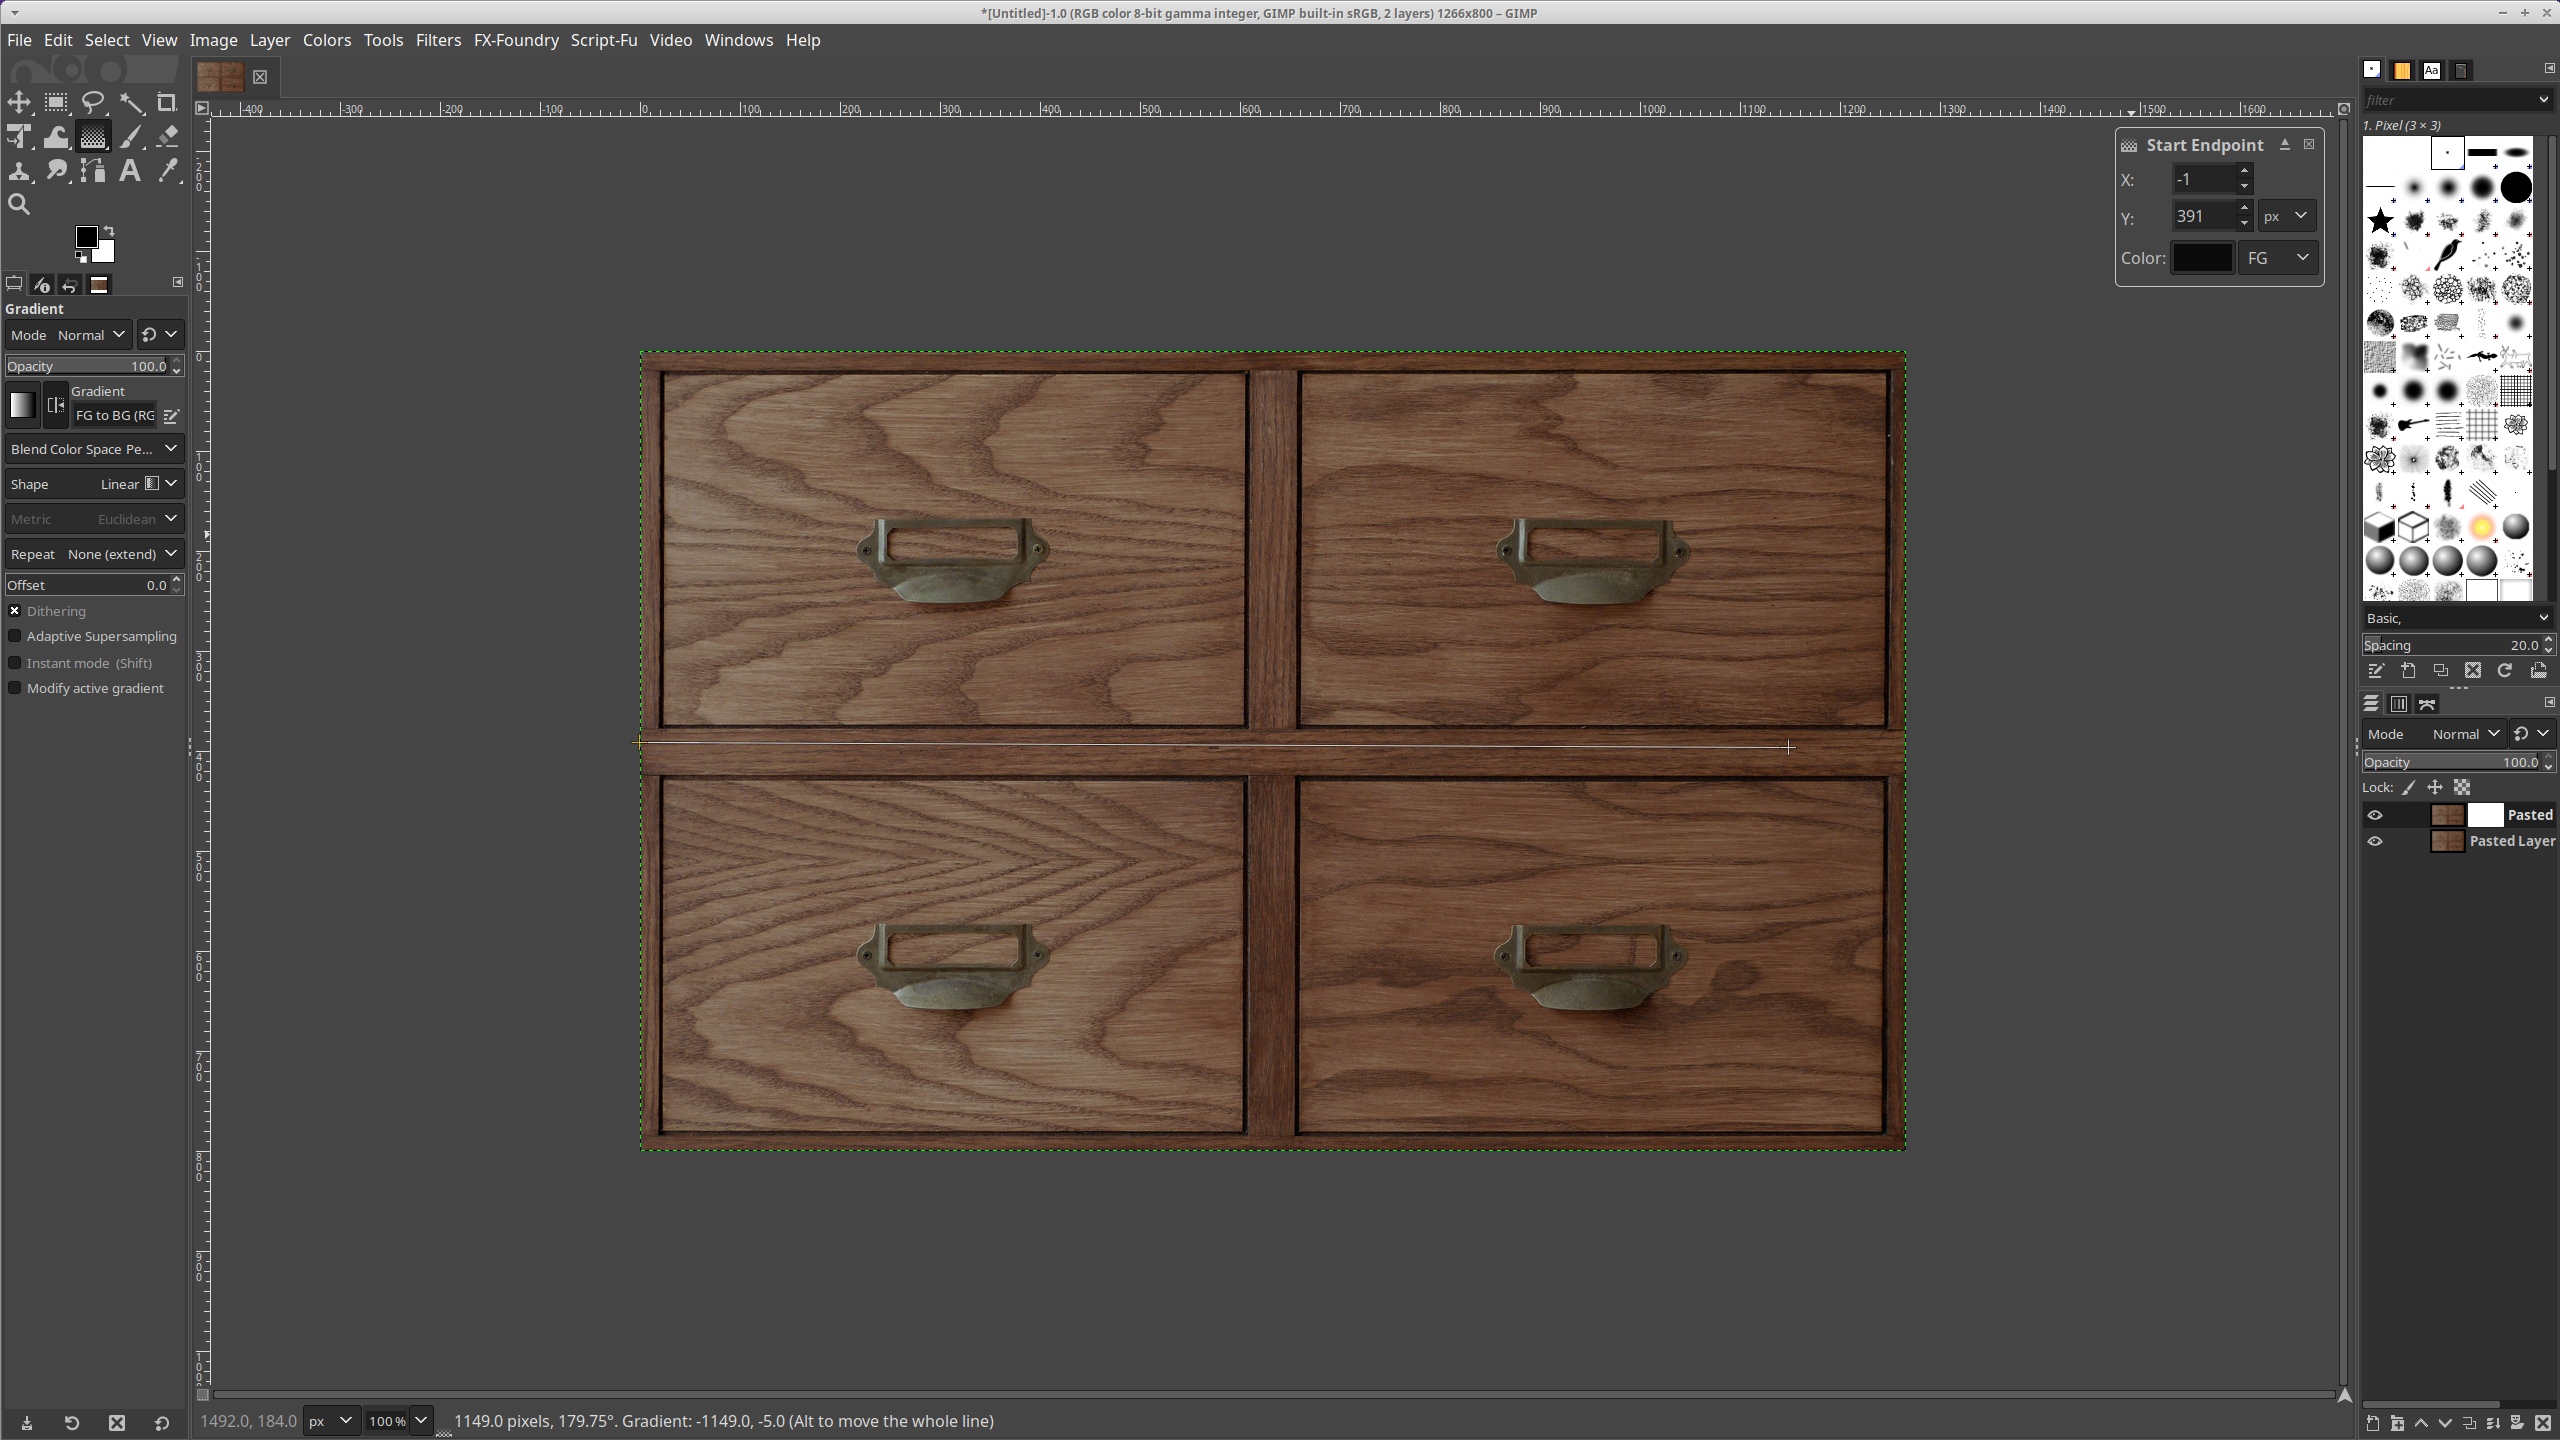
I’m trying to adjust the image to give a more even exposure across the image. I’ve seen various blog posts and YouTube videos that use the gradient tool to do this. They typically use the gradient tool to fade from a dark foreground colour to a transparency. I’ve tried this in various ways but unfortunately the part of the image where the foreground colour is applied does not look good - the colours, contrast, and detail become washed out by the foreground colour.
Here is an example of how it looks.
I’ve tried using a foreground colour that has a similar colour tone to the rest of the image (rather than just black or dark grey), but this doesn’t improve the image much.
Is there a way to create a brightness gradient? i.e. brightness is reduced on one side of the image, and gradually increases to full transparency on the other side of the image?
I’m relatively new to Gimp, and I’d really appreciate your help!
You can use a layer mask filled with a gradient: have one layer adjusted for the brighest part, another for the darker part, and use a layer mask on the top layer.
Better have a look at a manual on how to work with layer masks, a full explanation would be too long here.
This is basically what @rvietor said but a visual representation. Duplicate your image. Add a layer mask to the top layer. Drag your Gradient across the image.
All good advice above!
You might find it helpful to adjust brightness on both layers. The side where the mask is black, adjust the bottom layer - the other side the top layer. This may make it easier not only to balance the two sides, but also to get the overall brightness as you wish.
Many thanks @rvietor, that’s been really helpful - I’ve learned a bit about layer masks and I’ve been able to create a transparency gradient between two images, as below. Layer 1 is my original cabinet image. Layer 2 is the colourful triangles image - with a layer mask added, and a black to white gradient applied across it.
However, I don’t know how to create gradient which is not based on a second image. i.e. it’s not an image in the second layer, but just a brightness gradient mask - how do I do this?
Thanks @sls141, you’re processed image certainly looks like what I’m trying to achieve. However, I’m struggling to replicate what you’ve done. I open my cabinet image (layer 1), duplicate the layer (top of the layer list), then add a layer mask to the duplicate. I then drag a gradient across the image in layer 1 (original layer/image). That all seems to go well.
However, I’m not sure what to do when adjusting the colour levels - playing around with it gives spurious results, it’s not particularly intuitive!
Adjusting the colour curves is a little more straight forward, but I’m nowhere near achieving the required look for the image. I can’t seem to get a uniform brightness across the image, as below.
Can you give me some more info on how you achieved the uniformity of brightness in your second image?
Many thanks @rvietor, that’s been really helpful - I’ve learned a bit about layer masks and I’ve been able to create a transparency gradient between two images, as below. Layer 1 is my original cabinet image. Layer 2 is the colourful triangles image - with a layer mask added, and a black to white gradient applied across it.
However, I don’t know how to create gradient which is not based on a second image. i.e. it’s not an image in the second layer, but just a brightness gradient mask - how do I do this?
Hmm, I’m not sure what I’m doing differently from you @sls141. I’ve played with the Clamp Input slider, but achieved nothing like what you got. The variation in brightness is still very apparent in my image, but your image has a very uniform brightness. I tried setting the Clamp Input to 1.42, as in your screenshot, but that doesn’t improve things (as per my screenshot below).
Your Input Levels graph is quite uniform, similar to a bell curve, but my graph is a lot more varied and spread out. That seems to be the only difference between our Adjust Color Levels settings. Any idea why the graphs are different?
Here it is again, but this time a little differently.
Duplicate your image. Add layer mask to top layer. Add gradient to top layer. This time I went from right to left.
That’s great @sls141, I’ve been able to replicate exactly what you’ve done, and the brightness is now much more uniform across the image
I need to now adjust general brightness and saturation of the new image, I can merge all the layers and then simply use the HSL tool, but I’d rather do it in a non-destructive way, i.e. don’t merge the layers, and use a new or existing layer to adjust the HSL. I’ve tried doing this with each of the various layers (also with a new layer), but the HSL tool is applied in a a gradient fashion because of the layer with the gradient. Is there a way to apply the HSL uniformly to a layer without the gradient layer affecting the HSL effect?
Thanks again!
Brilliant @s7habo! Thank you for creating this video, it’s so clear and so helpful. I’ve followed your steps and my image now looks really good
Many thanks


 Now you can either merge down(after clicking the top layer) or do new from visible. Again, good luck!

