Is there a way in DT to create 1 single image with 5 exposures/slices, from -2EV to +2EV? So I can send it to the printer then I can adjust the whole serie when I get the enlargements from the printer.
Right now, I do 5 different exposures with 5 exported images, then I use magick to cut them and then I use slice 1: -2ev, slice 2: -1ev, slice 3: 0ev… to reassemble them with magick. But that’s a lot of work.
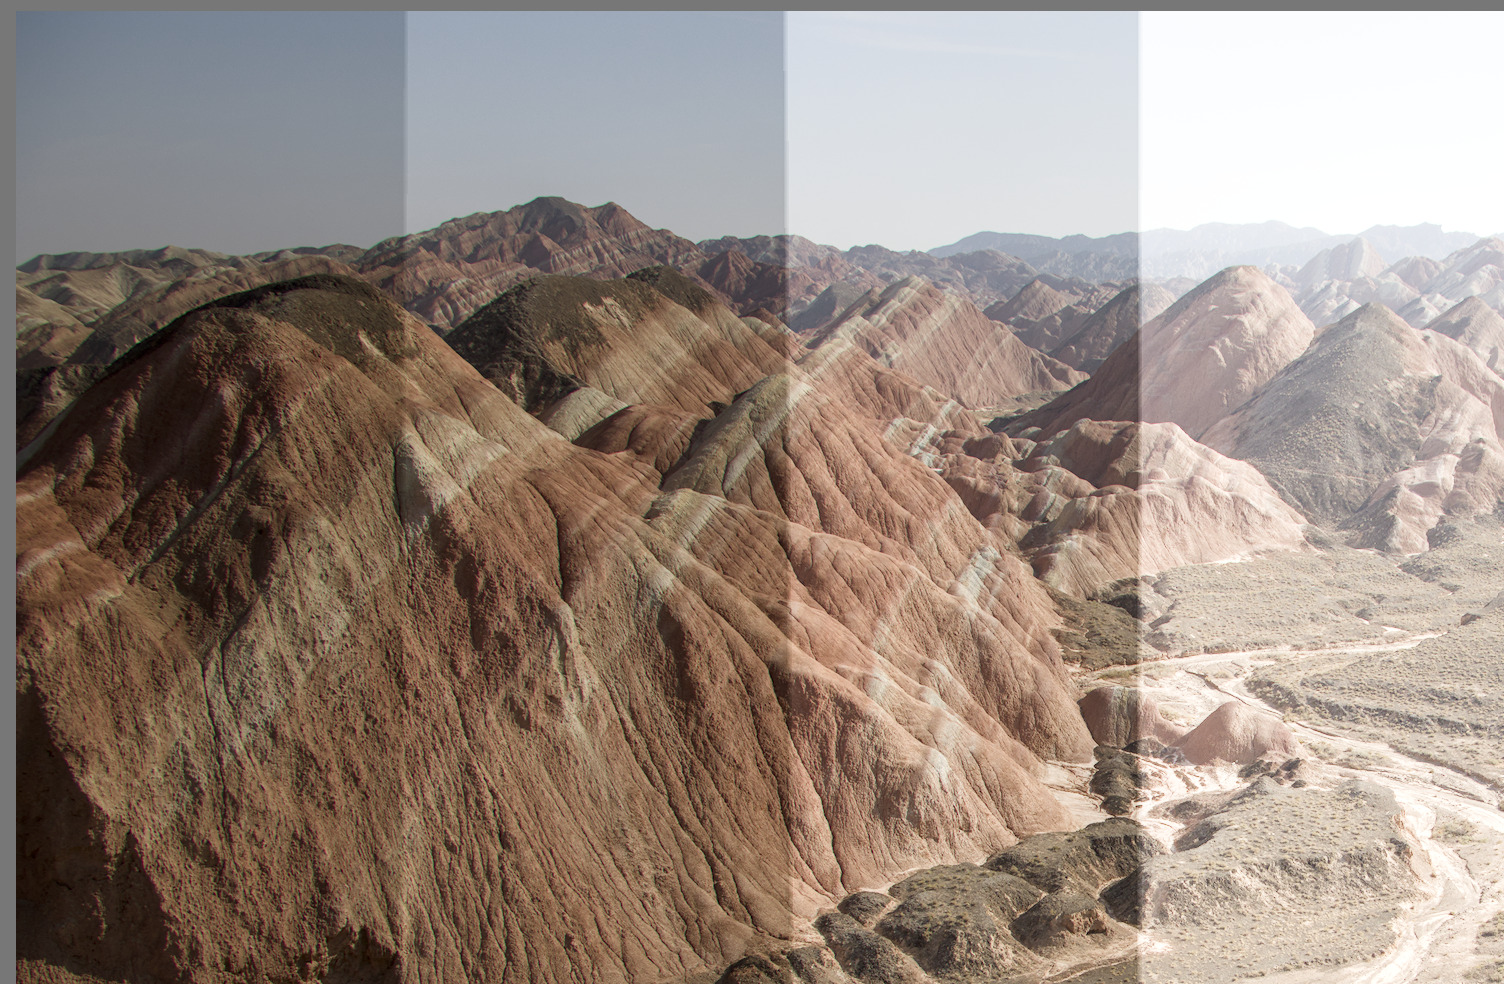
Here is the file and if you download my xmp file as well you will see how it is masked.
For each instance of exposure I have used the path option for a drawn mask. I have held the ctrl button down (windows) while placing the four nodes for the path. This creates straight lines for the mask selection. You will need to reduce the feathering as well after drawing the mask. Shift + scroll will adjust feathering on Windows.
As explained in my original post. I’m currently using imagemagick v7/magick v1 to do it. I have my script but it’s not fully automatic. So I wandering if I could achieve the same result in DT to save me time.
Are you printing at home or using a printing service? If using a printing service is it a professional or consumer grade service? If at home what printer?
My only suggestions since you are out sourcing your printing is to at Walmart check exposure and color on their kiosk and see if their prints match their kiosks. If your lucky it will and then you can do final tweaks on their kiosk.
With the pro lab talk to them about the issue and follow their advice. They may provide a print profile.
I print at home and I have to apply corrections for my printer to make it close to the computer screen. Luckily these corrections hold true for all the prints on that paper type so it is not an ongoing problem.
Also keep in mind a computer screen is transmitted red, green and blue pixels of transmitted light and a print is a reflection off yellow, magenta, cyan and black inks. They will never perfectly match under the best circumstances. They can only be close to each other.
You can get more control if you can justify buying your own home printer.