Ah yes, I think we’ve all been there! I used to get all caught up with values and trying to get things technically correct, especially when starting out with filmic. But to give AP credit, he did say we should use our eyes and just set sliders to what we find visually appealing. That was an important nudge that I needed.
3 Likes
In the GIMP, there is a function called “Threshold” where an image can be turned to pure black and white and every thing between two levels is made white, all else black. The result can be turned into a mask where the white “selects” part of the underlying layer.
As to “mid-gray” the common value for that is 118/255 in 8-bit sRGB, so one might select threshold values of say 113 to 123 to make the mask.
Only good for this question if DT has that function and masking, of course.
Yes, I do that quite often. Sometimes I accept what it gives, but often I just use it as a starting point and decrease or increase exposure from there.
2 Likes
In scene referred it’s not quite like that …values often exceed 255 and many of the tools have a fulcrum slider to maintain white or gray as defined by exposure… only after the tone mapping step are the data confined in such a way
I’m getting pretty good at finding a nice exposure for the image by selecting a region which I do as a next step if I dont like the global result ![]()
2 Likes
I don’t do this because I find the method @priort mentioned quicker, but you could also use the colour picker (left panel) to select the region of your image you want to be middle grey, look at the values in Lab/Lch, and adjust exposure until the L channel is equal to 50%
![]() xpatUSA
xpatUSA
In scene referred it’s not quite like that …values often exceed 255 and many of the tools have a fulcrum slider to maintain white or gray as defined by exposure… only after the tone mapping step are the data confined in such a way
I understand that, in scene-referred editing, values are not bounded during editing:
However, I am a little surprised that the numeric value of mid-gray is somehow variable in DT other than due to the precision being used.
So here’s an example of the principle suggested where “mid-gray” is all levels between 0.474 and 0.516 (see histogram) and the edit of those levels is to set them to a color - but any other editing could have been done …
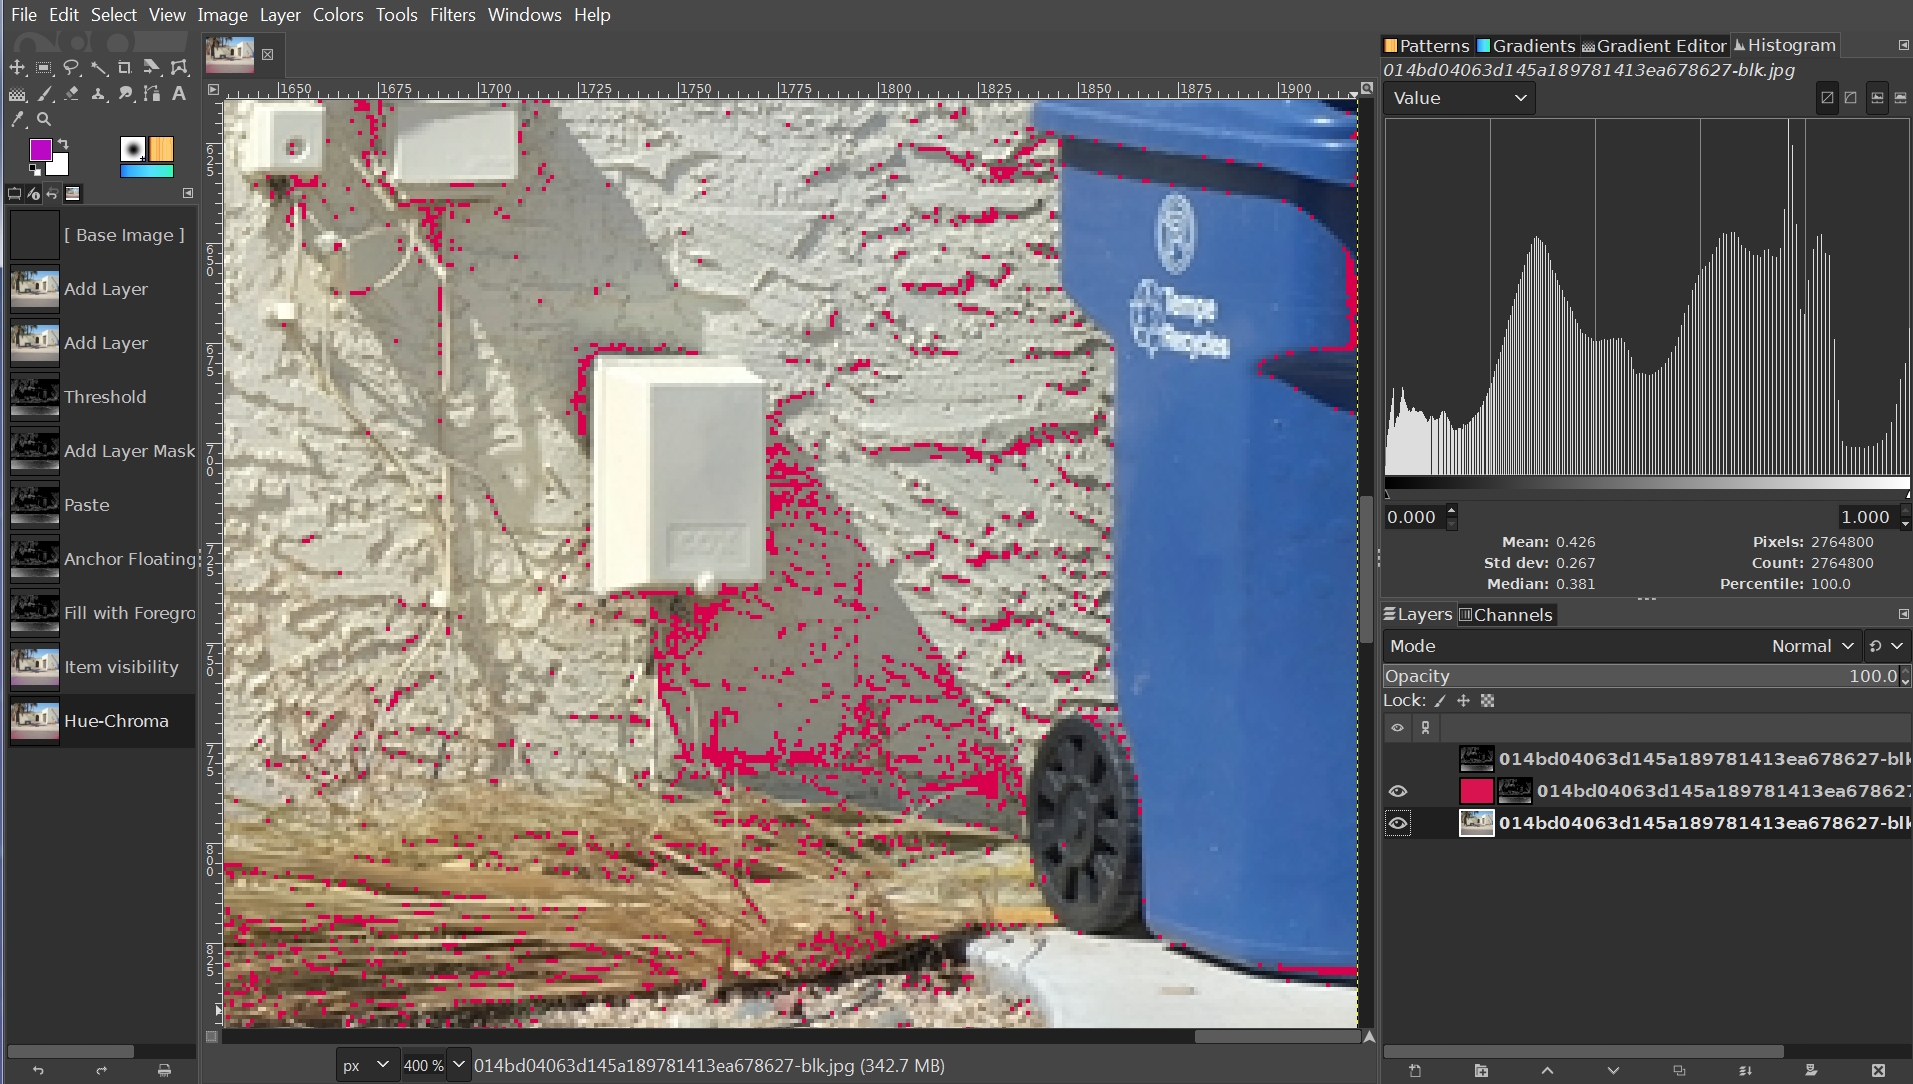
Not variable once its converted to the output/display colorspace where it will be standard middle grey but there are nuances to DT ie what is being used for the histogram profile and hence the picker values that you see and if you are masking or using a tone curve module module to select 50% then where is that in the pipeline… it will give you 50% based on the input data at that point in the processing chain as defined and restricted by the 0-1 GUI controls at the point. If you move it in the pipeline to a different spot then the range shown might change. Often the default histogram profile is rec2020 and is giving you representation of the data before the output/display conversion. If you change that profile to srgb or another way is to use the softproofing profile and set that to srgb then then the picker values mapped to that color profile will be closer to most SDR displays and in the range or 0-255… Toggling between softproof off and on then will show you alternating histograms that loosely reflect the data before and after mapping to output. You could also do two instances of exposure (0 EV) one at the start of the pipeline and a second later on and set up a 50% perceptual mask (much like what you are doing) and then use the little mask icons in the module header to turn the mask off and on as needed to visualize that area… this would in theory show you tonally where the image starts out with the first instance and then the second instance could show how the editing has remapped the tonality of the image…
Thank you for the DT-specific information which seems to imply that my simple GIMP method is not applicable to DT use. Pardon the snip.
One thing I did find was that selecting a narrow band of levels for the Threshold mask got me precious little of the example image such that any editing of that band of levels was almost un-noticeable unless viewed at 800%
Thanks a lot, Todd @priort, for your clarification of this topic that I’ve wondered about - and for the many other explanation you provide. Much appreciated!.
1 Like
Thats’s a nice tip right there. So, if I understand correctly, you would set lightness to 60%

and then use the pipette to select a face? It works nice for sure. Thanks
7 Likes
Yes, exactly (or just raise exposure until a colour picker on the main part of the face shows about 60% lightness in LAB).
It’s just a guide to get a nice exposure on faces because an “average” exposure of 50% can often look too dark. Note that creative decisions are more important than this, and different ethnicities might need different values. This is just a starting point for me when shooting portraits with my family and friends. If the faces are the important subject of the photo, I’m happy to blow out the background to maintain a pleasing brightness on their faces.
4 Likes
Exactly, this seems to be an elegant way to get there fast. Until now I’ve been eyeballing it, while fiddling with the slider. Currently I’m trying your method and so far I like it! ![]()
1 Like