How to launch from Digikam a script invoking imagemagick (on Windows 10)?

Hi,

I’m helping my father digitizing his huge photo collection. It was quite easy to launch such a bash script from Digikam on my KDE Neon computer - thanks to Dmitri “recipes” book (that both my father and I bought - which is fine, totally worth it).

The need is to convert a batch of TIF pictures from an album to 2 JPEG, one in HD (height 1080 px), one in 4K (height 2160 px).

No issues on my Linux, but my father uses Windows 10 (and I won’t convert him to Linux). I thought that would be easy and… nope, I can’t figure a way. I have spent the last 5 hours on this.

I tried two different way of doing this:

  1. install ImageMagick binaries for Windows and do the whole thing “Windows-ly”.

  2. install WSL with Ubuntu, sudo apt install imagemagick and call from Digikam (installed as an classic Windows program) a script that will somehow use the imagemagick cli

I figure there must be one or two Windows tricks that I can’t figure. I rarely need to script anything on Windows. In all cases, I’m not a professional dev, just an amateur.

I’d be happy to document it properly if we find a solution for this, maybe for the “NFAQ” (Non-Frequently Asked Question) part of Digikam doc?

By the way, inspired by Dmitri script to automatically group pictures (called dkgroup), I wrote my own version to meet my father’s needs. It’s my first ever Python script, that I had to write (instead of hacking Dmitri’s) because I’m too noob to understand Dmitri far more advanced Python knowledge. Too abstract for me! :slight_smile: However, I’d be happy to share it somehow (GitHub?).

Welcome! I’m also an amateur. If I wanted to convert images to different size JPEGs, though, I’d create a workflow in the Batch Queue Manager for each size I needed to convert to and do it that way.

Assuming that you need/prefer to use ImageMagick, some more details on what is failing would be helpful. Are you unable to invoke the script? Is the script failing?

2 Likes

Another question: what is the script language? Bash, or Python, or Windows BAT, or what? If it is bash or python, does the Windows computer have those?

If you can successfully call a Windows command, then a Windows BAT script should work. Or a bash script if you have bash. Etc.

1 Like

Well, I can install whatever needed on my father’s computer. I’m totally agnostic. I had forgotten about .bat scripts, I have the intuition now that it is the way, or one of the ways, to do it “windows-ly”. Otherwise, bat, bash, Python : I have no preference per se - as long as I can use the imagemagick possibilities.

I’m sure that my father would prefer to use a GUI such as the Batch Queue manager, but being able to call ImageMagick enlarges a lot the possibilities.

As far as I known, the Batch Queue Manager enables only to set the width, not the height, as far as I know. I tried to rotate first the picture then set the width and rotate it back, but that doesn’t work either.

It feels like the answer to my question is too obvious. Can you tell me the steps to get there? Or point me to a resource to follow. I’m sorry if that sounds like I’m not willing to work my way through it, but I really spent more than 8 hours now on this…

edit: typo

Hmm. I’ve never used DigiKam, but thought I might figure this out. The documentation at https://docs.kde.org/trunk5/en/digikam-doc/digikam/digikam.pdf is vague about scripts:

This last section of the Settings tab offers to run scripts to manipulate the images during import.
You can type the filename of the script into the input field or search for it using the Browse…button. Check out the info button for additional expressions to customize the command line!

So I downloaded, installed and ran DigiKam. What settings tab? There is a “settings” menu option, but nothing on there about scripts.

@youpi: (Welcome to the forum, by the way!) Can you tell me how you run a script? What menu option, or whatever, would take me there?

1 Like

Waaa… thank you so much, @snibgo, that’s super kind to install Digikam to try and help. Really, I’m touched.

Of course I’ll take you there!

I saw your message among the mails (on my phone) before going to sleep: I had good dreams! :slight_smile:

I need to go to work now, so I’ll do it tonight. I have a Windows in a VM so I’ll install Digikam on Windows to ensure no difference between our versions of Digikam. Just to be sure to give your the right inputs.

Thank you for your such good spirit.

I enjoy trying to help. With time zone differences, this will probably take a few days.

The need is to convert a batch of TIF pictures from an album to 2 JPEG, one in HD (height 1080 px), one in 4K (height 2160 px).

An ImageMagick command for this in Windows, for one input TIF file, could be:

magick in.tif ( +clone -resize "1080^>" -write out1.jpg ) -resize ""2160^>" out2.jpg

But it probably needs parameters for the filenames. In Windows, “>” is a special character, so we need to escape it with “^”.

2 Likes

I struggled with that section too; the documentation isn’t very clear. It’s referring to a tab on the Import dialog box (see below). That’s not useful if you already have the images in the digiKam database, though.

You may be able to use Batch Queue Manager to run a shell script. (I say may because I’m on Linux, not sure about Windows.) You can see if it’s available in the settings. Go to Settings > Configure Digikam, select Plugins in the left pane and then the Batch Queue Manager. Search for script and it should show if available:

1 Like

The “width” setting should probably read “longest side”. If I specify a pixel “width” it will resize the image using the longest side. I use this often for pics I intend to post to social media. I am running digiKam under Linux (version 7.6.0), so potentially it’s a Windows issue?

1 Like

Thanks, @ashurbanipal, that helps. Also see Add Bash Shell Scripts to the Import Module in digiKam | Scribbles and Snaps , which uses a bash example.

Okay, I got this to work.

  1. If you haven’t already, download and install ImageMagick. Ensure its directory is on the system path so the command “magick” works at the command line.

  2. Create a Windows BAT file that does what you need. Give it any name but with “.bat” extension, and put it in any directory. In my example, it is “f:\web\im\mkdkjpegs.bat”.

magick ^
  %1 ^
  ( +clone -resize "1080^>" -write f:\web\im\%~n1_a.jpg +delete ) ^
  -resize "2160^>" f:\web\im\%~n1_b.jpg

For readability I have split the command into lines.

BAT files are similar to bash, but the escape and line-continuation character is caret “^” instead of backslash “\”.

When this is executed, it will create two jpegs in “f:\web\im”. Obviously, use whatever directory you want.

  1. In the main DigiKam window, menu “import”, “Add images…”, navigate to the directory where your new images are, and hit “choose”.

  2. At bottom-right , “Settings”, “Execute script for image”, type this:

f:\web\im\mkdkjpegs.bat %file
  1. Select the images you want to “download”. Choose “Download selected”. Choose the album you want, than “OK”.

  2. After a few seconds, the directory “f:\web\im” now contains two files. In my case, they are named “x_v17_a.jpg” (1618x1080 pixels) and “x_v17_b.jpg” (3237x2160 pixels). The input file was x.tiff, and it took me 17 attempts to get it right.

4 Likes

:beers: cheers to perseverance!

1 Like

Hello @snibgo and @ashurbanipal,

NB : later in my post, I had to tweak your nicknames because the forum blocks a post mentioning more than 2 people for some reason (I guess it’s a moderation necessity).

Sorry for the delay, my schedule went astray. However, I read the notifications on my phone in quasi real-time so I was thrilled reading you - and impatient to try.

So thank you Ashurbanipal to have given the inputs that Snibgo needed, I appreciate, really.

And, Snibgo, well… I’m humbled by your kindness and willingness to help - whatever the effort required. 17 times ! You were right, Paperdigits, to point that - it’s amazing. Really.

So I installed Digikam and ImageMagick on my Windows virtual machine, and followed the procedure step by step. It didn’t work “fully”.

More precisely, it didn’t work well when invoking the bat script from the Digikam interface through the “import” feature. The result is weird: it’s a copy of the input file. Let’s say the input file is “inputA.tif”, I get as a output of the script a “inputA_v1.tif” - which is an exact copy of the input.

It’s weird, since I don’t see in your bat script a “_v1” intermediary file (for example) that could explain it. Maybe DigiKam adds this suffix in order not to overwrite a pre-existing file.

However: the script works perfectly in the command line! I get the file resized very quickly to both required height, it’s perfect.

So I investigated the glitch, without success yet - but I’ll keep on trying after this post :

1/ Maybe the setup is my VM is super unusual somehow. I will try the script on my father’s computer later today (he shares its screen with me through the net, since he lives 50 miles away).

If it works on my father’s computer, I’m happy. But we all like to solve a mysterious bug and it would be great to publish a reliable how-to (with the proper credits to you both for your respective work, I just volunteer if needed to put this how-to in the most appropriate form).

2/ I checked and I don’t see anything unusual nor in the paths to the bat script or the input picture. They are in the same folder actually, and its path is a bullet proof (no space, no accentuated character, just plain ascii).

In all cases, a huge thank you Snibgo, as well as Paperdigits. I let you know asap if I find the solution.

If you repeat an import of “inputA.tif” multiple times, DigiKam creates files “inputA_v1.tif”, “inputA_v2.tif” etc, so it doesn’t overwrite files.

The actions I showed don’t change that process. But they should create two new files at each import. These files will be named “inputA_v1_a.jpg” and “inputA_v1_b.jpg”, with appropriate version numbers, in whatever directory you specify.

DigiKam seems to have no error checking or reporting of the script. If the “magick” command fails, it won’t create the two files, and will return a status greater than zero. We can add a line …

if ERRORLEVEL 1 exit /B 1

… so the BAT file will then return with an error. But DigiKam doesn’t report any error to the user.

The two new files should be created in the directory you specify in the BAT file. That directory must already exist. In my case, the directory is “f:\im\web”. I expect yours is different.

I suggest you paste the contents of your BAT file here, so I can check it for errors. As it “works perfectly in the command line”, I doubt that is the problem.

Also check the entry you put in “Execute script for image”.

I know nothing about Virtual Machines. Perhaps that is where the problem lies. My computer is Windows 8.1, with Cygwin tools so I can use bash and other Unix-like tools.

EDIT to add: We can check that the BAT file is being executed. Add the following line, either at the start or the end:

echo Importing %1 >>f:\web\im\dklog.txt

Use you own directory instead of “f:\web\im”.

After doing one or more imports, check that they are listed in dklog.txt, with lines like this:

Importing C:/Users/Alan/Pictures/x_v2.tiff
1 Like

EDIT: this post was written before the previous @snibgo reply, but posted after.

Hi,

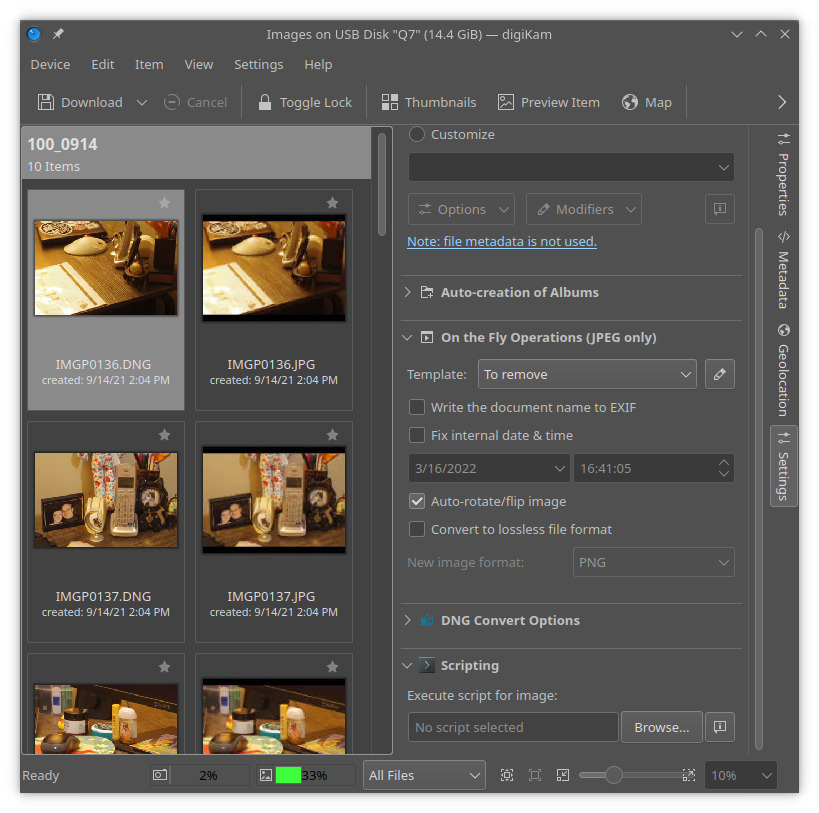
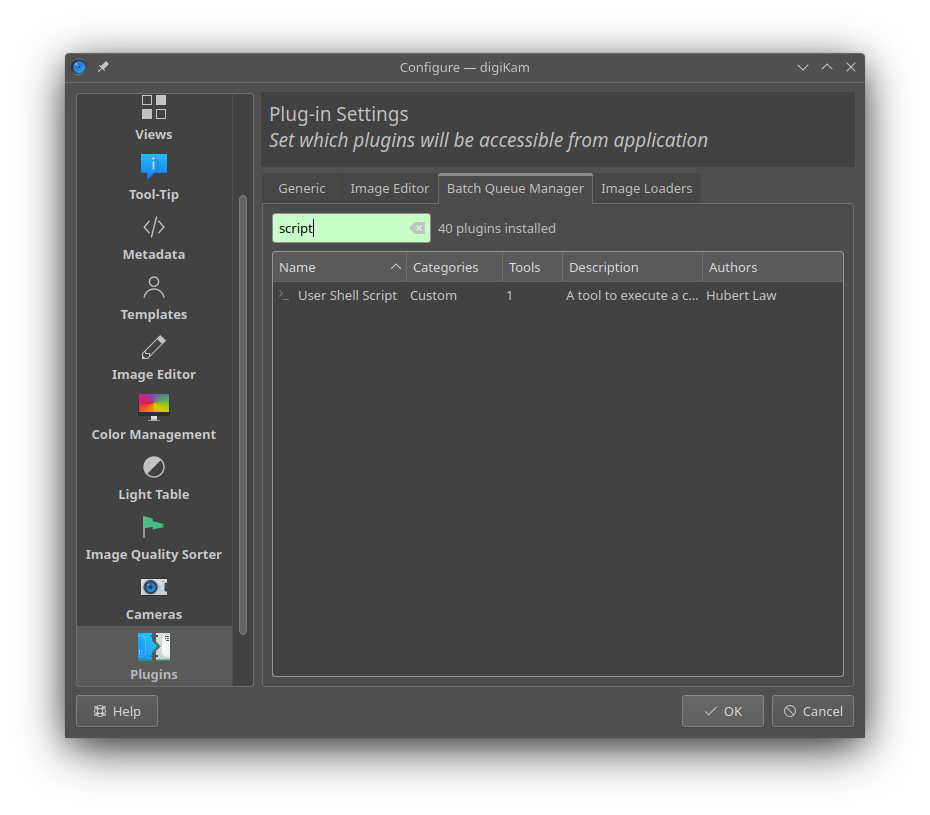
I tried the script on my father’s computer and I have the same result as on my VM. Which is both reassuring and troublesome, since @snibgo 's script - when launch trough the “import” featur of DigiKam - produce a copy of the input file with the mentionned “_v1” suffix.

Both our Windows 10 OS are up to date, as are DigiKam and ImageMagick.

I use choco to install software on Windows. I mention it because that might change some configuration parameters somehow. I wonder if there versions of the command line terminal that we could compare.

I hacked the script a bit to get rid of the multiple line, just in case: no effect. So the script works from the command line but not when launched from Digikam.

Well, “on our computers” since it works fine on Snibgo’s.

So that cursing being done, they are still plenty of people that we want using DigiKam, therefore DigiKam on Windows for most of them. I’m a Linux guy but the more people have a good experience with open-source software on Windows, the more likely they are to move to an open-source OS one day.

So I fell it is worth keeping on trying.

For my father’s need, I can hack the script so that my father can have all his TIFF resized as need in a batch.


This part is just for those curious of my father’s endeavor to digitize 24,000 photographs and manage them with DigiKam

To give context, my father is scanning the 18,000 slides (35 mm positive) + 6,000 prints, using a semi-pro scanner (Epson v850 pro) with SilverFast AI Studio 9 & HDR 9. Those are full-versions, paid for (since we read many reviews in favor of that choice of software).

This collection of photos are to be given to the French National Archive. We have already donated (for free of course) all my grandfather’s papers. He was a mid-level public agent in Madagascar during 50 years, when it was a French colony (I know… nothing justifies colonization, I’m totally convinced of this now self-evident truth).

What make his archives rare is not his position in the colonial hierarchy. He made a descent career but nothing exceptional. But it appears that all of his career files were preserved by the French administration ; nobody knows why, by chance probably. The archivists were surprised, that’s uncommon for a mid-level public agent.

But what the archivists loved is when we showed them his personal files and photographs. He was a maniacal note-keeper. Every time he went touring a district for inspection, he noted everything. Every photograph has a precise date, a location, and a comment of what it shows.

It’s easy to understand the archivists’ enthusiasm. Historians and ethnologists will find quite rare material. Rare because as a middle level agent, he spend many years in very remote parts of Madagascar. But it is also very systematical, as he was interested as much as the daily life, e.g. common things like tools for example, the way people lived (since he was asked to tour a district and write up a report on it). But he was also a lover of Nature so they are infinite photographs of plants, trees, flowers, … There is even a “gore” section why more than 600 photos of body dysmorphia… because it was one of his job’ requirements. He sent them to the health service so they can intervene. Leprosy is endemic in Madagascar. It’s a clear sign of under-development too and it still exists today.

Well, so we want to donate all my grandfather’s photos to the National Archive. But it is also the family memory, so we want to keep a numerical version of them.

OK, I’ll do what you suggest.

Just a detail: my father’s computer is not a virtual machine, just a classic PC with Windows 10. I have set-up a permanent connection to it, so I can now directly try on his computer. So the “virtual machine” variable is no more. However, I had the same result on my virtual machine and his computer.

I note that you use Windows 8.1. Could it be that the syntax differs a bit in the command line? But I’m working on your suggestions right now.

As far as I know, Windows 8.1 and Windows 10 have identical scripting.

As I mentioned above, I suggest you insert the “echo” line in your BAT script. That will tell us whether the script is being executed.

Also paste the contents of that BAT file here.

The archive work sounds fascinating. Good luck with it.

1 Like

We’re good! Solved!

So, @snibgo, I carefully followed your instructions and one was

check the entry you put in “Execute script for image”.

I wondered what you meant, because I couldn’t see where a mistake could be made whilst browsing to the select the script.

So I thought … maybe, there is something I missed there, otherwise, why would he mention it?

And indeed: there is a [i] button next to the “browse” button. A pop-pup explains:

These expressions may be used to customize the command line:

  • %file: full path of the imported file
  • %filename: file name of the imported file
  • %path: path of the imported file
  • %orgfilename: original file name
  • %orgpath: original path
  • If there are no expressions full path is added to the command

The last line tells me that my previous input was ok (e.g. only the path to the script). But I gave a try adding %file after the full path to the script … and it worked immediately.

Another point I found out: DigiKam doesn’t like it if one import an image already among its collections. That’s not illogical, since it’s an “import” function. This leads to a weird result, with a partial recursive loop of sort.
=> I won’t dig into that, since this is an “import” feature.

There are other ways to call a script. As mentionned by @ashurbanipal, one can use the Batch Queue Manager. And Dmitri’s recipes book mentions that it is also possible to use “Open with” when you right-click on a photo. However, doing this means that the script will be linked to the type of the picture, so all TIFF images will be opened with the script. Not only in Digikam, but in Windows Explorer as well.

So IT WORKS! Yeaahhhh ! Victory to you Snibgo, hail to the BATman!

I’ll give a try using the Batch Queue Manager. I expect no issue, but I’ll confirm it here.

1 Like

I forgot to reply to your post but I did give it a try.

I understand your point and for sure, I had not imagined to interpret “width” as the longest side. I’m not sure to find that logical to interpret it that way, but ok, as long as it is made clear.

However, in my case, the photos are 35 mm slide scans, e.g. in a 3:2 format, so the longer length is the width. That width varies slightly from one scan to another: it’s almost but not exactly the same number of pixels in both dimensions. I can’t help it, it is due to the scan software.

Anyway, I need to define the height and keep the width/height ratio, in order to produce pictures that will go well on HD and 4K screens. I’m considering using imagemagick capabilities to add vertical black zones on both sides so that the pictures are exactly on the HD & 4K format: 1920x1080 and 3840x2160.

Vertical pictures will be resized in the same manner, to make them “horizontal”, just with much larger black surrounding. It’s important because having a total uniform format make it much easier to share on various configurations. In my case, these configurations are those of the members of the family. They have all kinds of devices, and all kinds of viewers to display the photos.

Thank you again for your help. Really, I mean it, @ashurbanipal .

Just dropping by to say I am enjoying the positive vibes of @youpi and the contributors to this thread. All the best in the archival work!

1 Like

Thanks! I really enjoyed it too.

I have not forgotten my promise to document this properly. But… can someone tell me how to do it and where to post it? All credits will be given to @snibgo and @ashurbanipal, I’ll just be the scribe, that’s the least I can do.

Is there some sort of knowledge base? I may have missed it, I’ll look again but don’t hesitate to point me the obvious if it is obvious. I often miss what is right in front of me!