After a long time of shooting JPGs only I have started to discover what (magic) can be done with RAW files. And while some pictures look just plain better even with my limited experience I have troubles with other pictures, mostly with getting correct colors.
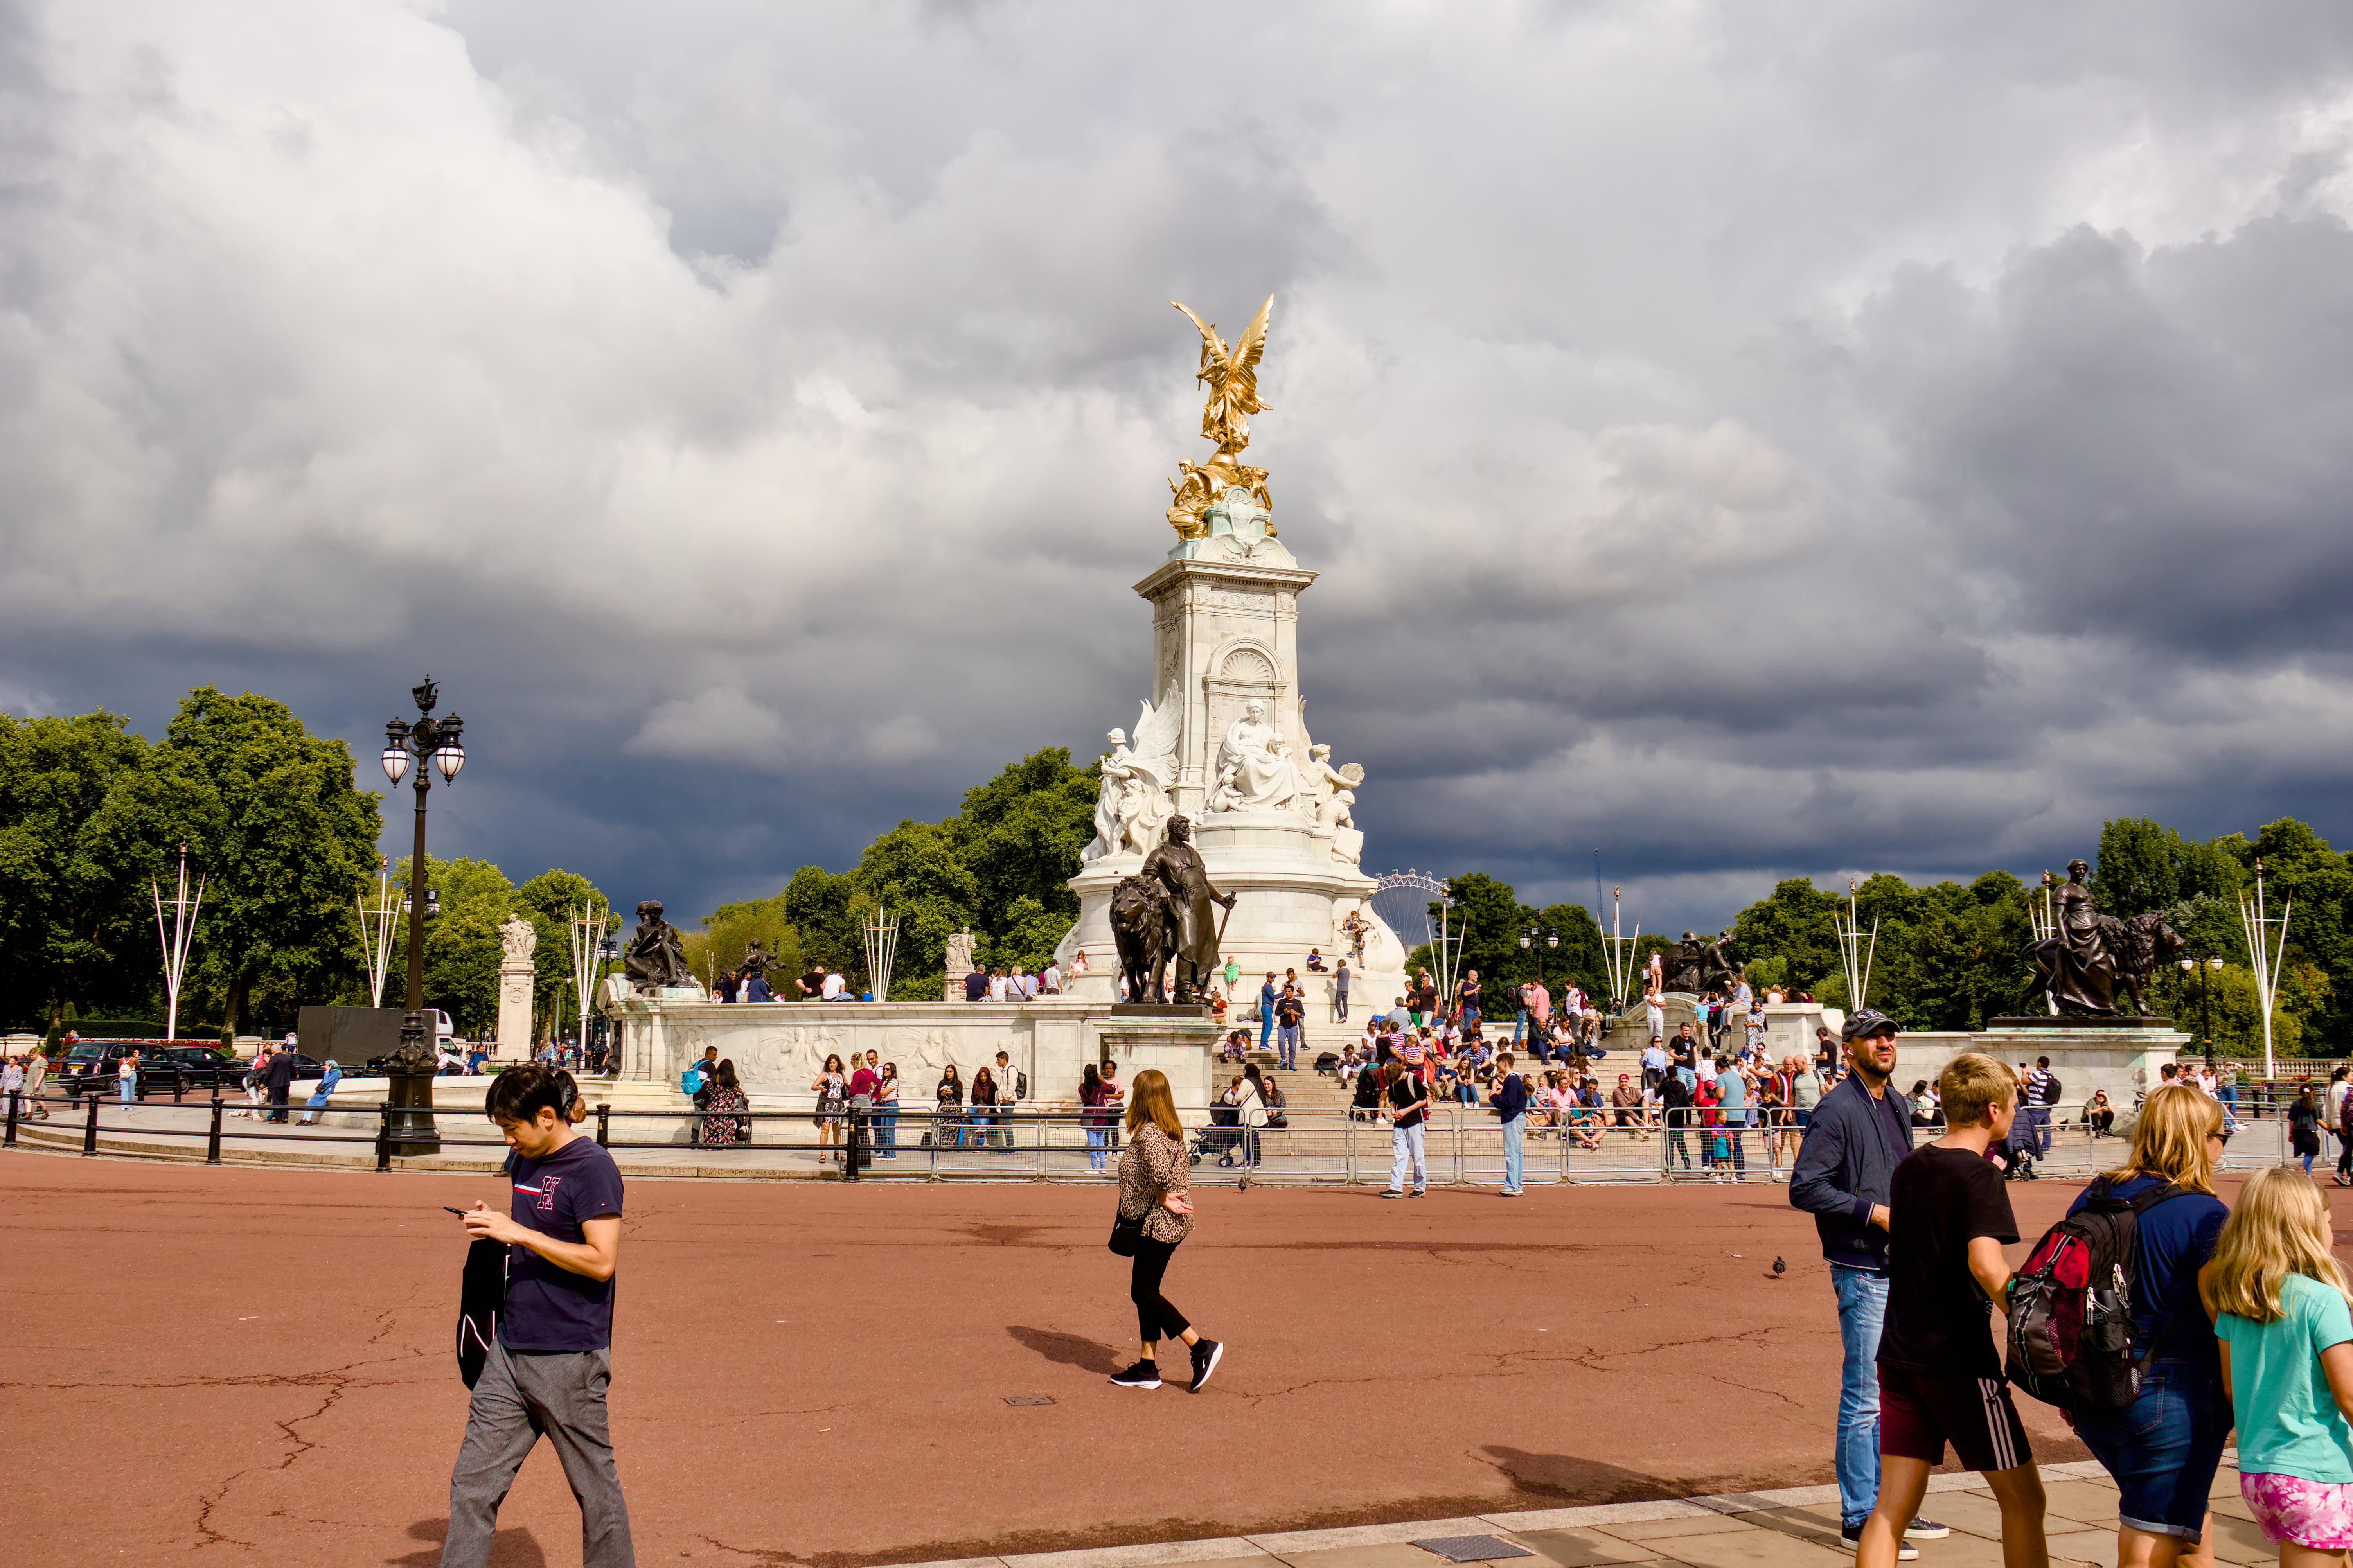
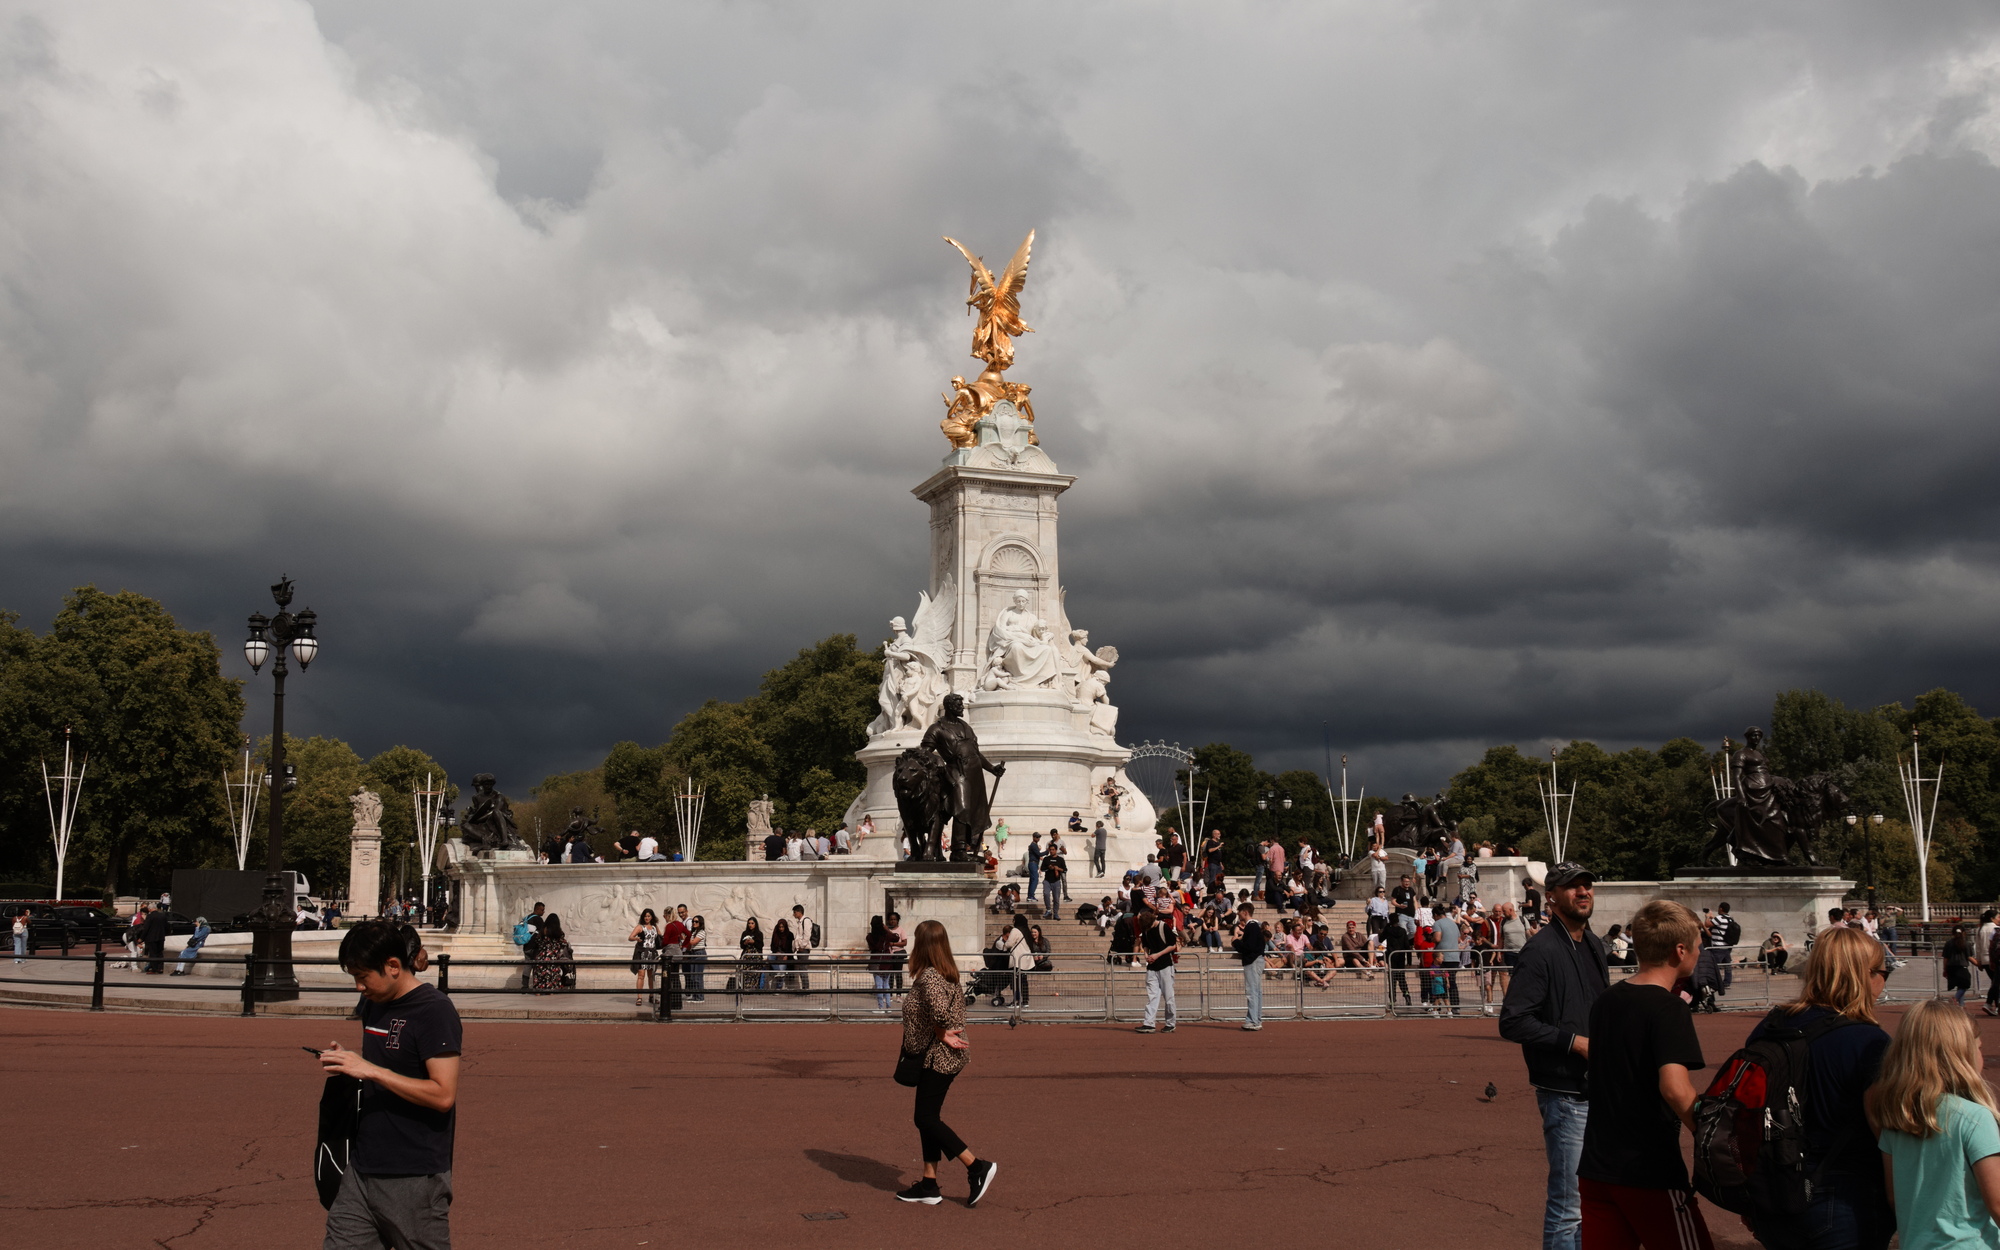
I have recently captured a photo of the Victoria Memorial in London. I think that the JPG produced by the camera looks fine and represents the colors of the scene really well in this case. If anything, it is a bit darker then it really was out there, but the clouds are vibrant, the memorial itself is almost white as it should and the red tarmac is well saturated.
But when I tried to develop the RAW file I was not able to produce as good result as the camera (not to mention surpassing it). Out of the three prominent things in the picture (the memorial itself, the clouds and the red tarmac) I always got at most two of them right (considering the color).
I would highly appreciate tips for developing the photo and would love to see examples of what can be achieved. if possible, I would like to avoid using any cherry-picked masks for this (the camera is capable of producing a good result automatically without a process tailored specifically to this image). I am mostly (but not only) interested in attempts made in Darktable as this is what I use. Please keep in mind that the colors in the JPG are (IMHO) quite realistic representation of the scene and I would like to adhere to it.
I’ve found that it’s good to know the linear starting point of the raw image. So, I developed your raw in rawproc, where I can explicitly control what processing is (and is not) applied. Here’s a screenshot, where the only processing past black subtract (511), the camera’s as-shot white balance (which appears to be the camera’s assigned numbers for “cloudy”) and a simple demosaic that doesn’t mess with the data:
Note that the only processing you see past the original linear data is the display transform, which is my calibrated display profile. A bit dark, but the hues are very close to the camera JPEG (which I extracted from the raw file).
So IMHO it’s not a question of colors, rather, one of tone. I applied my simple filmic curve and got this:
The ochre pavement is still not quite what the camera JPEG provided. I was able to get close by adding a bit of HSL saturation; I couldn’t find any evidence of something similar in the metadata. You might inspect the Standard picture control in the camera to see if any saturation has been dialed in…
Here is my attempt with my typical workflow (note I am by no means an expert, I just started using DT this last spring).
It has my typical workflow:
-lens correction
-denoise on default
-chromatic abberation correction
-filmic on default
-slight exposure increase
-local contrast, clarity preset with detail changed to 200% and midtone at 0.45
-color balance RGB with basic colorfulness preset
-color calibration set to “as shot” and then adjusted to 4200K to make the memorial closer to white
And that’s it. Now, the experts can chime in on the newbie mistakes I made (probably several), I am very much willing to learn.
P.S.: Maybe I overdid it a little bit with making the WB in color calibration cooler, because I see the monument is whiter than in the OOC jpeg and the color of the pavement is off.
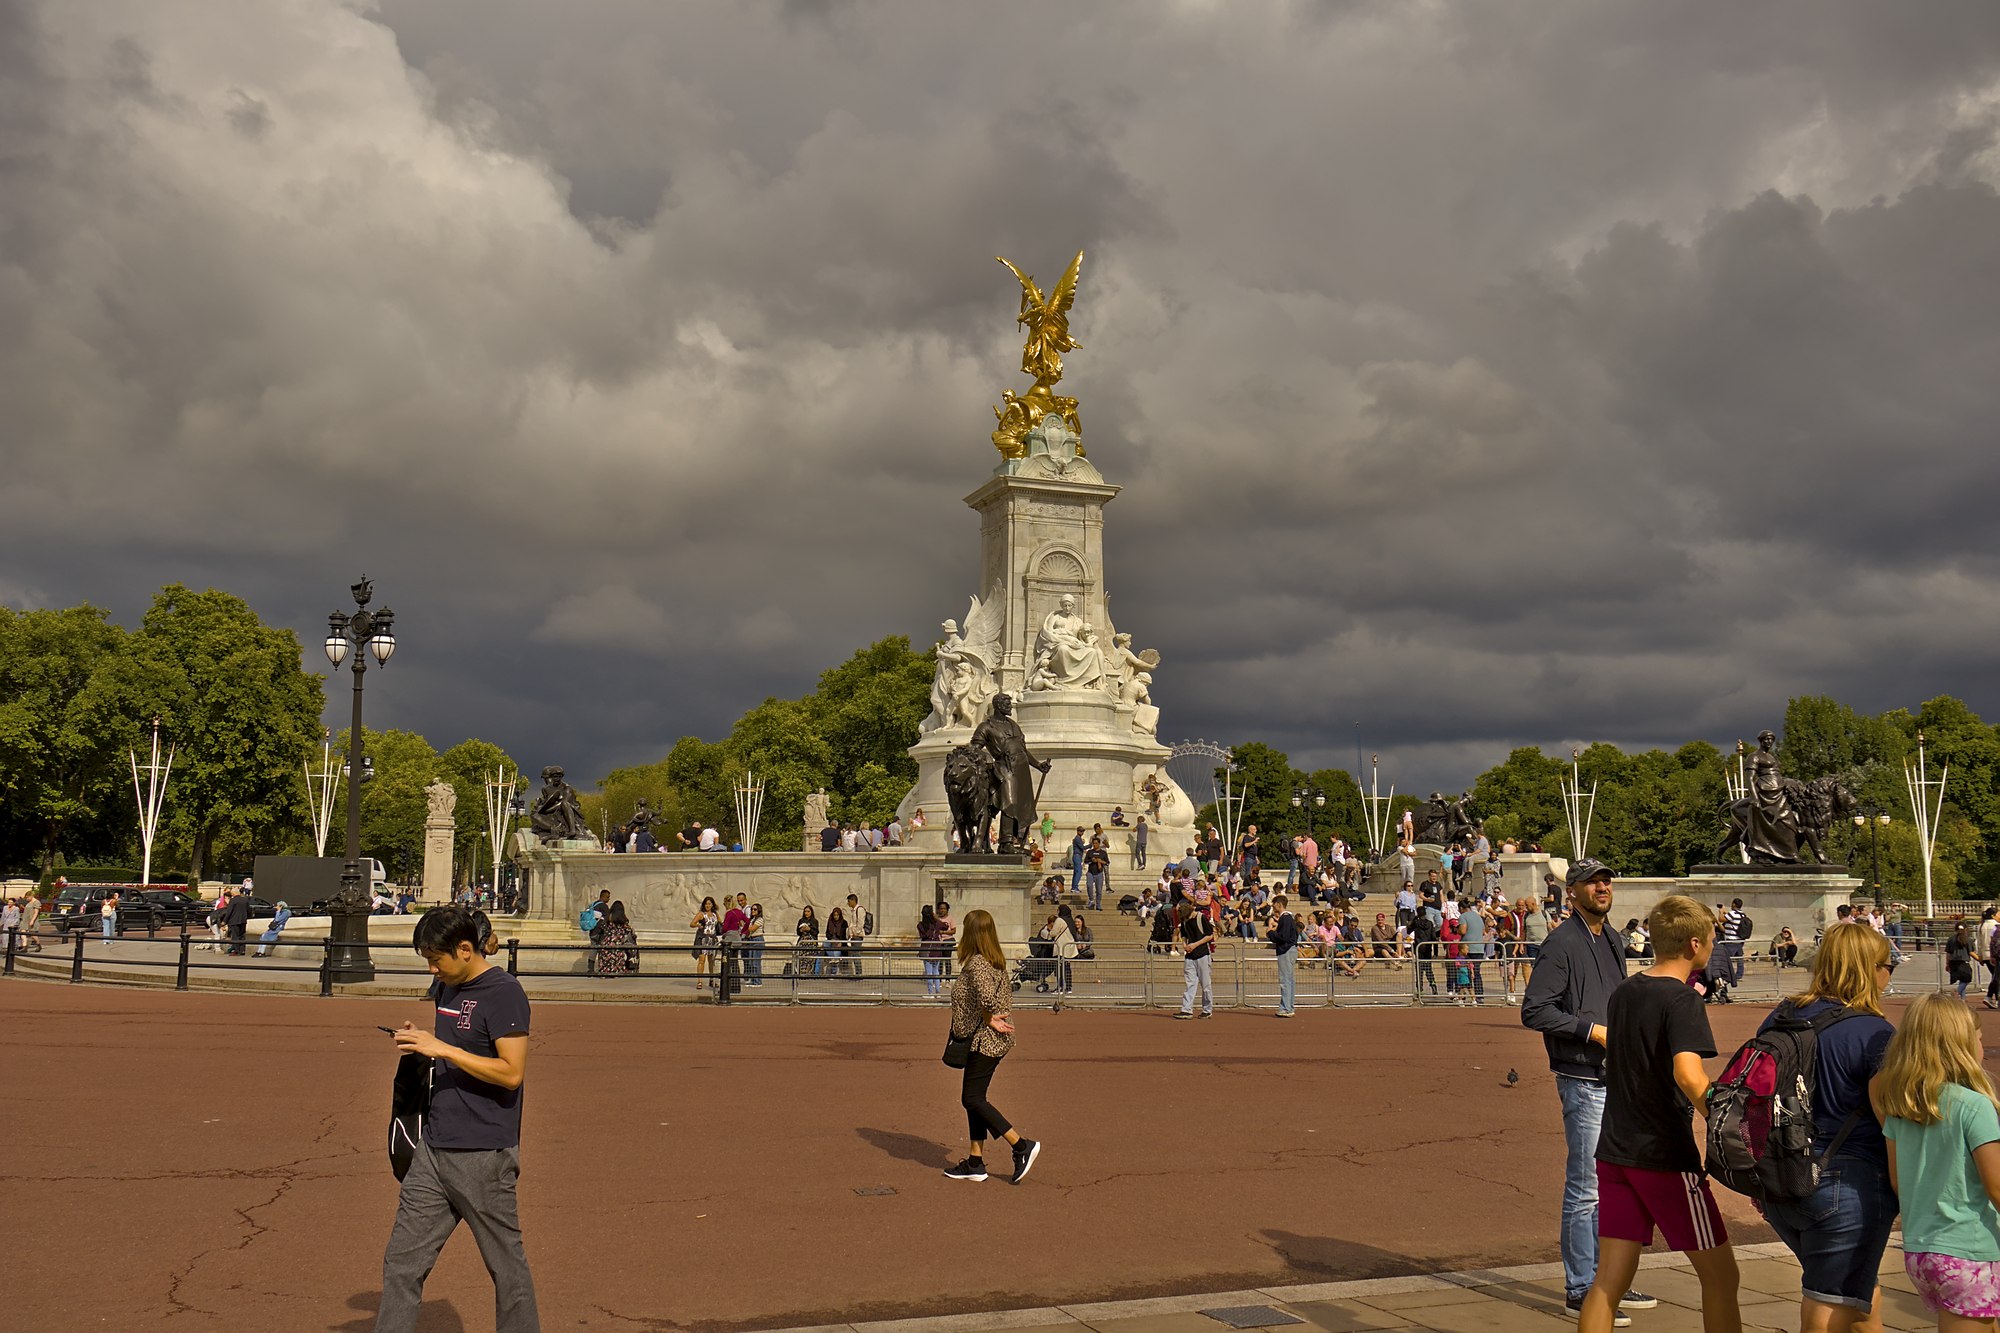
Not sure what you’re looking for exactly but here’s my version. Your original JPG on the left, my DT version on the right (I did lift the shadows a bit TBH)
I think the in-camera processing and free raw software provided by the manufacturer has the advantage of having the correct colour profiles provided by the manufacturer which are not open source
that said there is proof here that is by no means a requirement and some examples worthy of study
when I first saw the picture I thought it was Marble Arch which I think also has a similar statue of the goddess of Victory. In the bad old days Marble Arch was Tyburn where people were hung and made speeches to try and help the crowd back on the straight and narrow I kind of thought I might end up there for making that point here, repenting for using Windows
One thing I like to do is try out different film simulations to get a starting color and tone profile I like and then edit from there. (I use the RawTherapee film simulations in ART, but I understand they can also be used in Darktable and probably any editor that allows you to add your own LUTs.) Usually I can get a result that I like better than the camera JPEG without too much work. Though some film simulations add a color cast that needs to be corrected with white balance or other means.
For this one I used Kodak Elite Chrome 200 and then did some minor color and tone corrections and cropping and rotation to improve the composition. Comparing with your original post, I think the colors are pretty similar to what you got out of camera, though I wasn’t specifically trying to match them.
How to outperform? don’t start with dragging sliders in an arbitrary tool, start with reasoning what might should be different.
Then you can start with editing. If the jpg is good enough, why spend time on dragging around sliders. darktable won’t do something better itself. It’s about giving control to you. But if you don’t know what exactly you want to achieve all that control ist quite useless …
To reduce the degree of freedom, it might be one way for starters to compare edits against camera JPGs.
Recently, I installed the manufacturer software to compare OCC JPG against my edits in darktable. Having less time for photo edits I thought this JPGs will do it. They don’t. In high contrast scenes they just suck even with this auto modes in camera on.
After looking at some images on the web of the Victoria Memorial, I don’t belive that the camera created a realistic respresentation either.
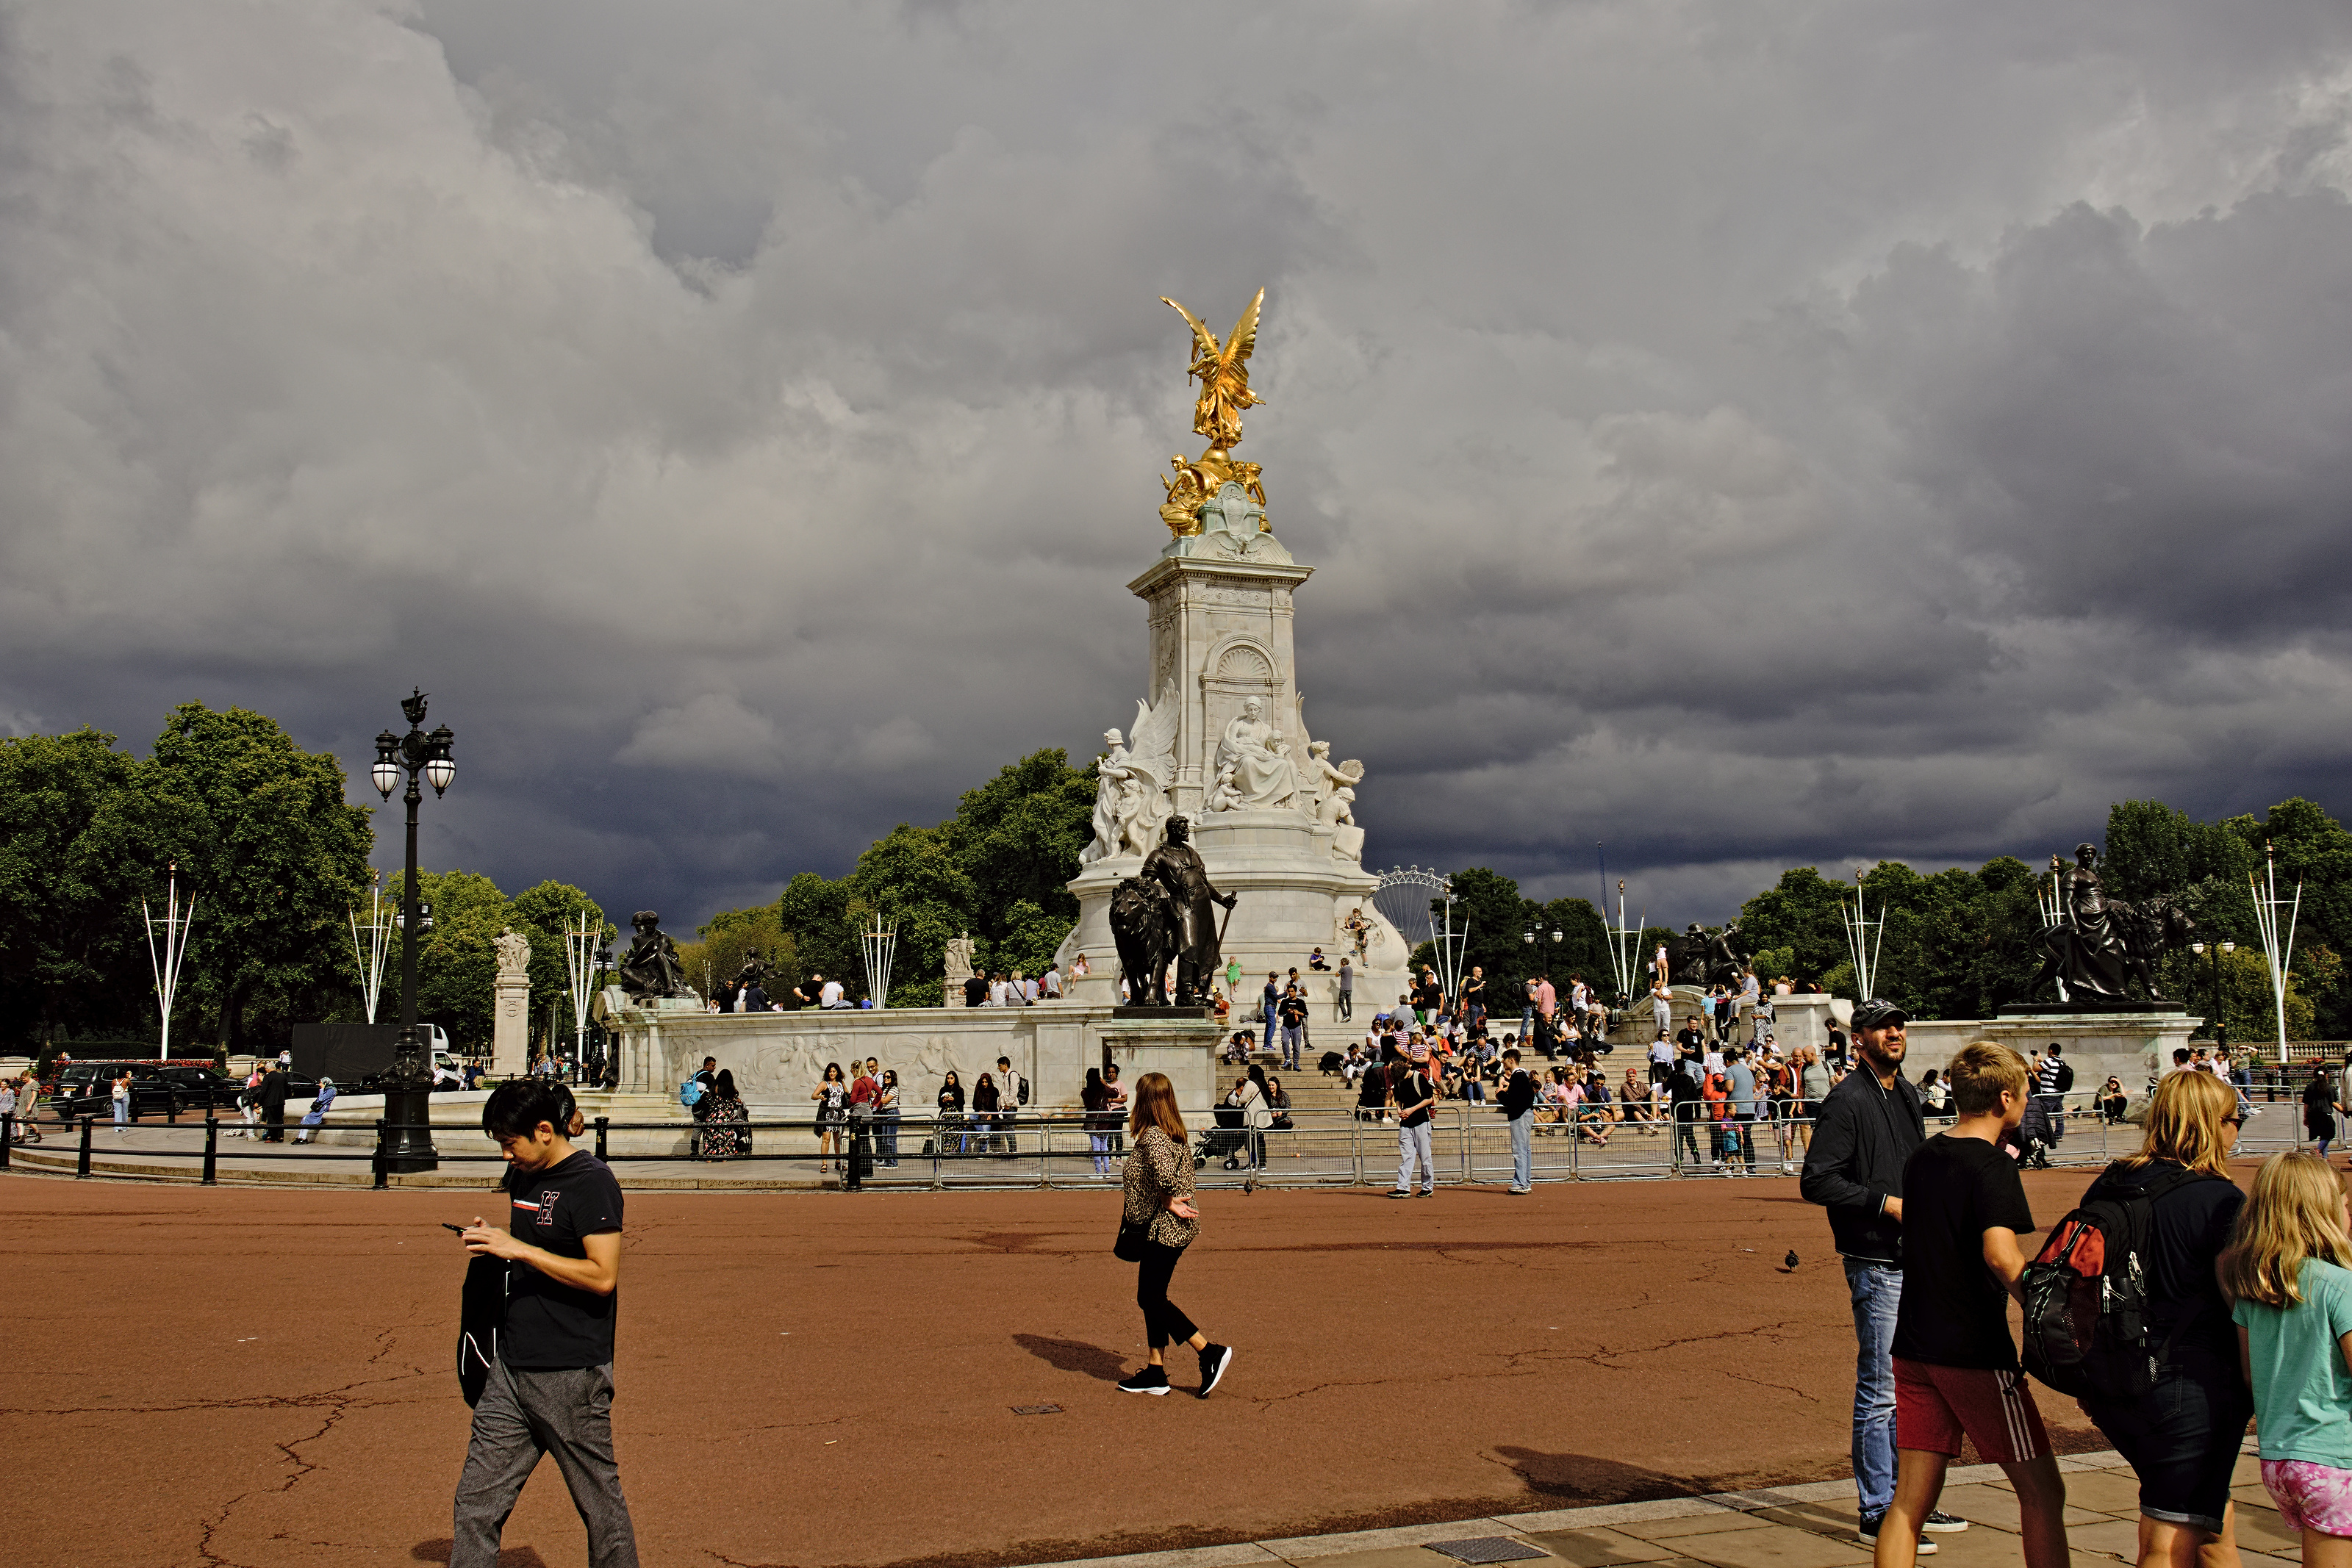
I like more dramatic skies and warm tones. By the way 10 years back it was not so easy to get crisp images with darktable without riscing artefacts. Comparing details e.g. on the monument shows that current version of darktable performs well.
So this could be another interpretation of the scene:
I don’t know what I am doing with Darktable so I had a go with RawTherapee. (I don’t really know what I’m doing with RawTherapee but have a bit more practice with it than Darktable ). I used the colour profile and lens correction profile from Adobe’s DNG converter. Not sure if that can be done in Darktable.
When I get home I will download and play with the file. But what I sometimes do is load the jpg file into the darkroom and take a snapshot. I then open the raw file and use the snapshot to identify the strengths of the jpg. This helps me exceed the jpg 99.9% of the time. But 0.01% of the time the jpg wins, so I stick with the jpg.
Thank you for this beautiful shot! I love sunshine with dark clouds in the background.
I have difficulties with the shining back of the golden angel, there is some colour shift in the burnt regions, which look better in the OOC jpeg. False Colour Suppression makes it even worse. The main advantage over the camera jpeg are the finer details IMO.


 ). I used the colour profile and lens correction profile from Adobe’s DNG converter. Not sure if that can be done in Darktable.