When I get home I will download and play with the file. But what I sometimes do is load the jpg file into the darkroom and take a snapshot. I then open the raw file and use the snapshot to identify the strengths of the jpg. This helps me exceed the jpg 99.9% of the time. But 0.01% of the time the jpg wins, so I stick with the jpg.


Hello everyone,
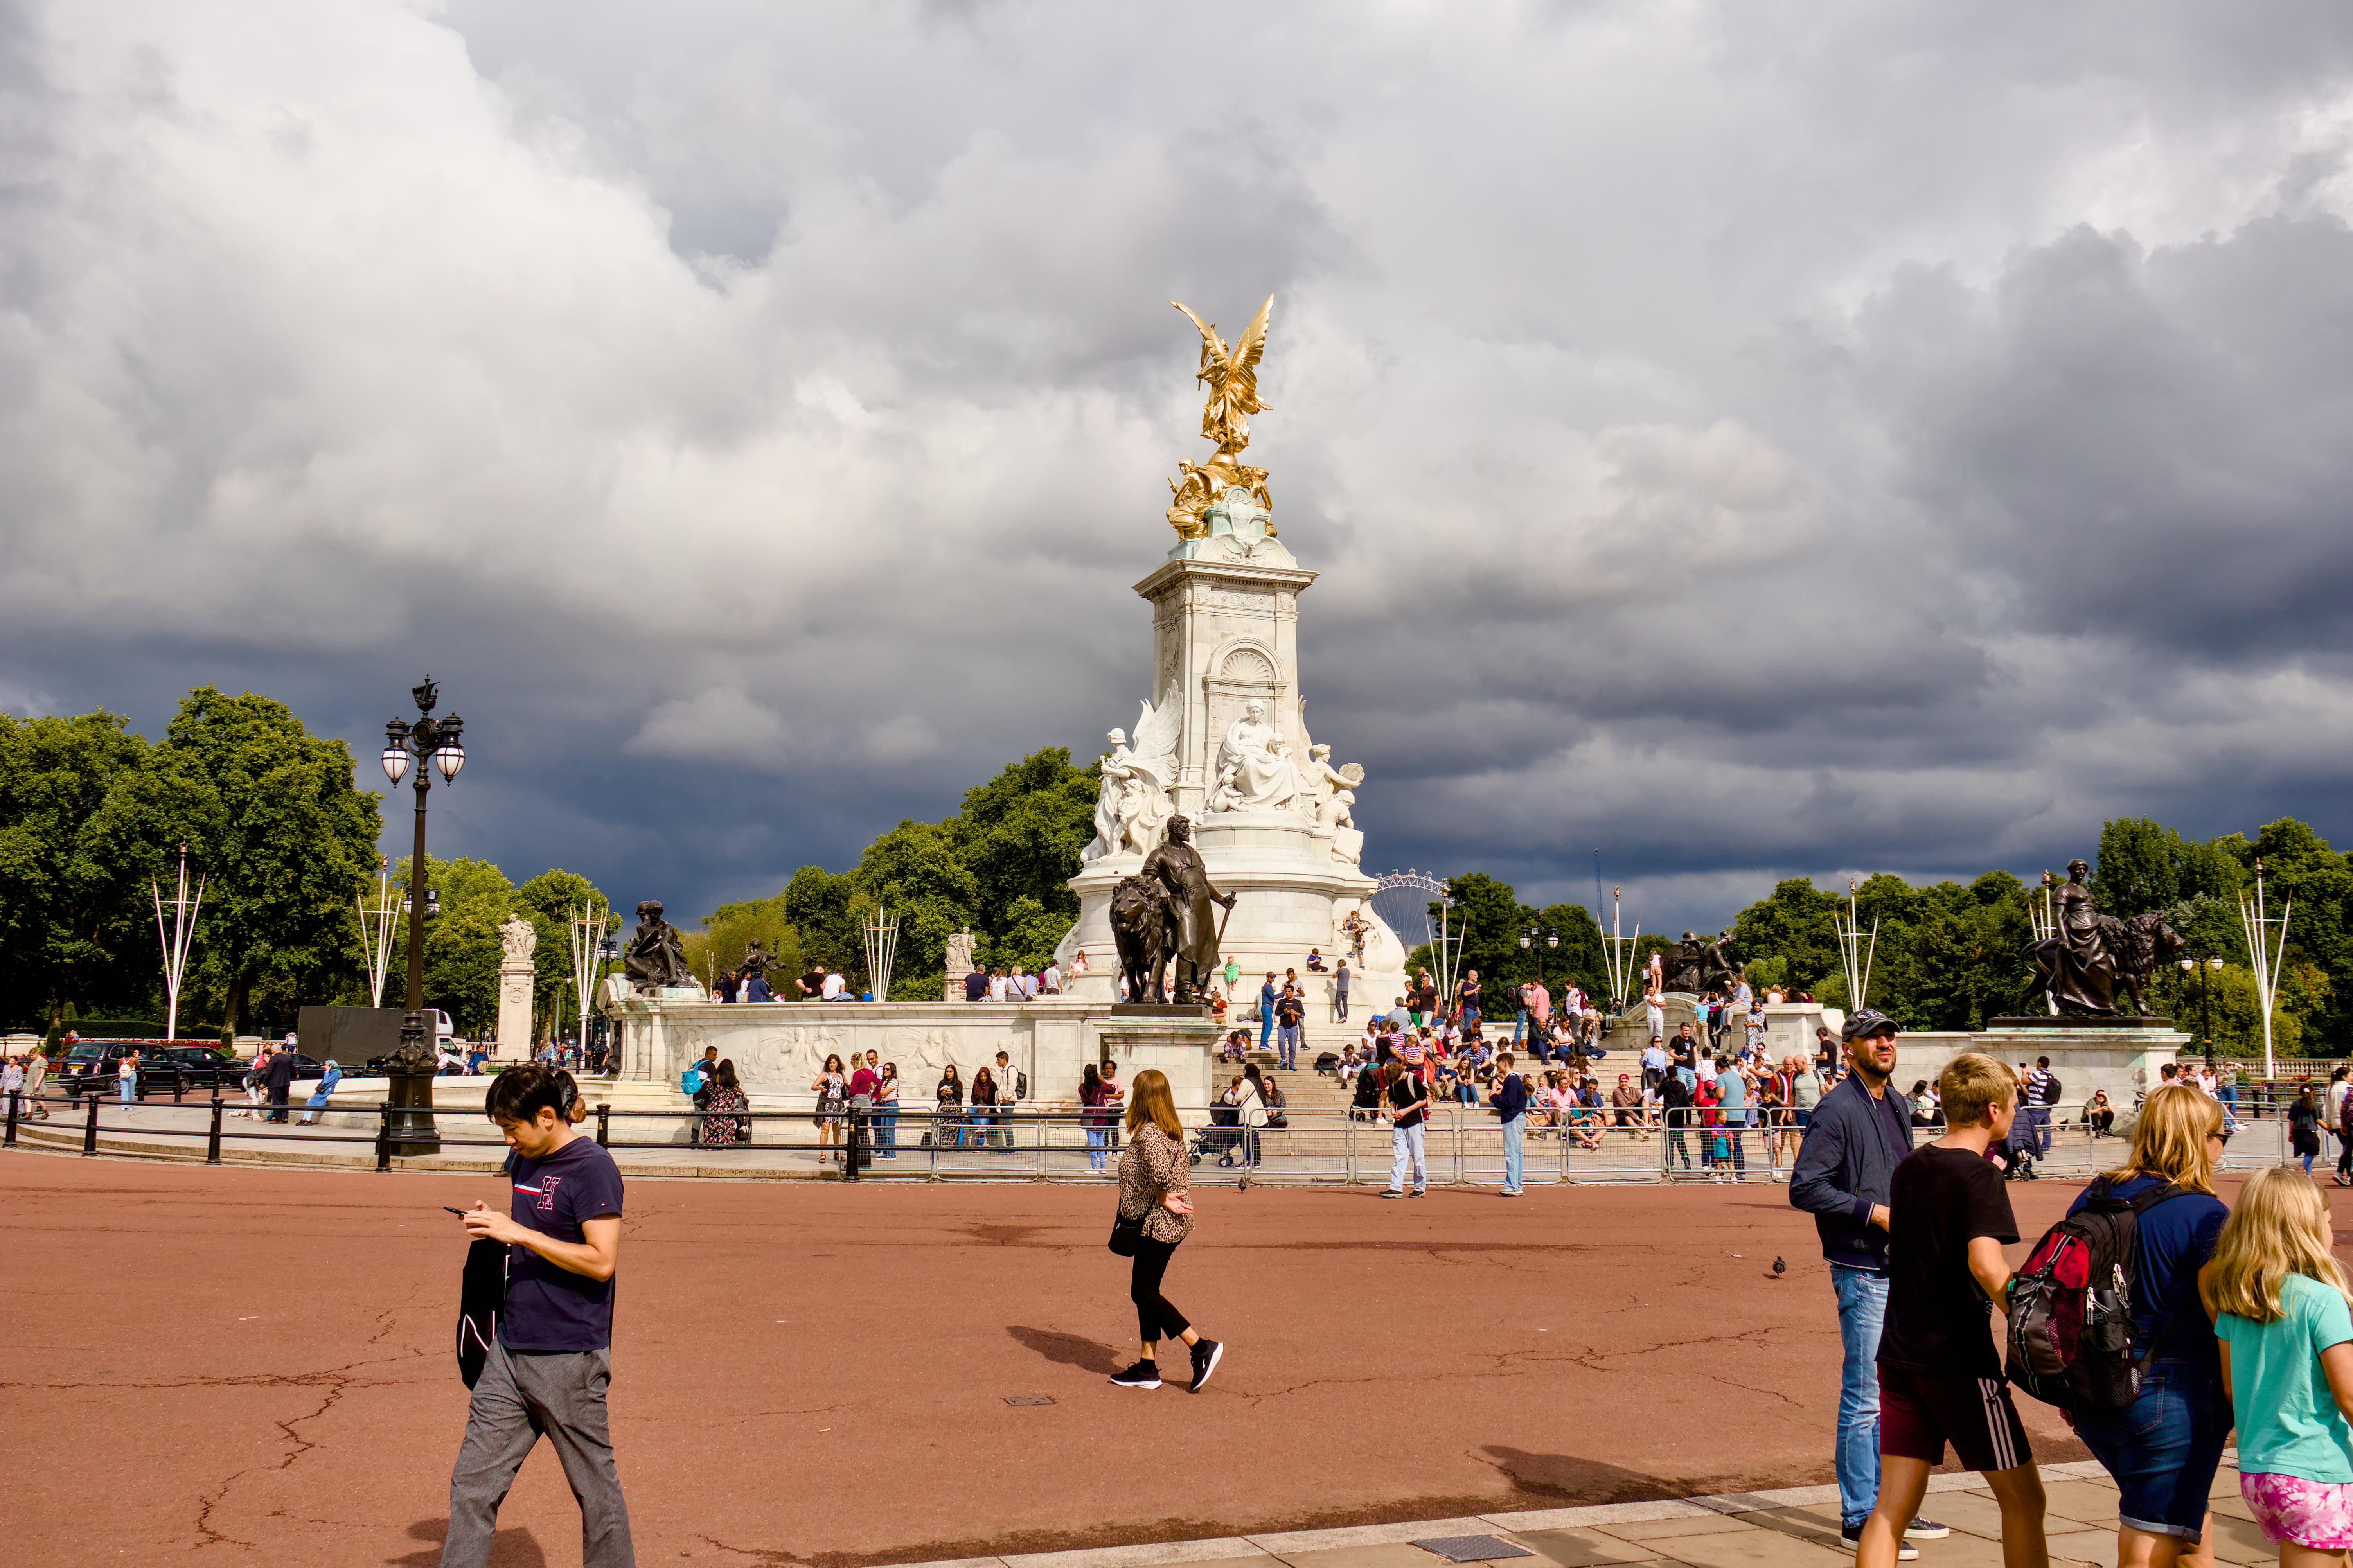
Here is my version made with some presets.
A nice contrast between the sunshine and the cloudy sky.
Greetings from Brussels,
Christian
IMG_4311.CR2.xmp (10.9 KB)
6 Likes

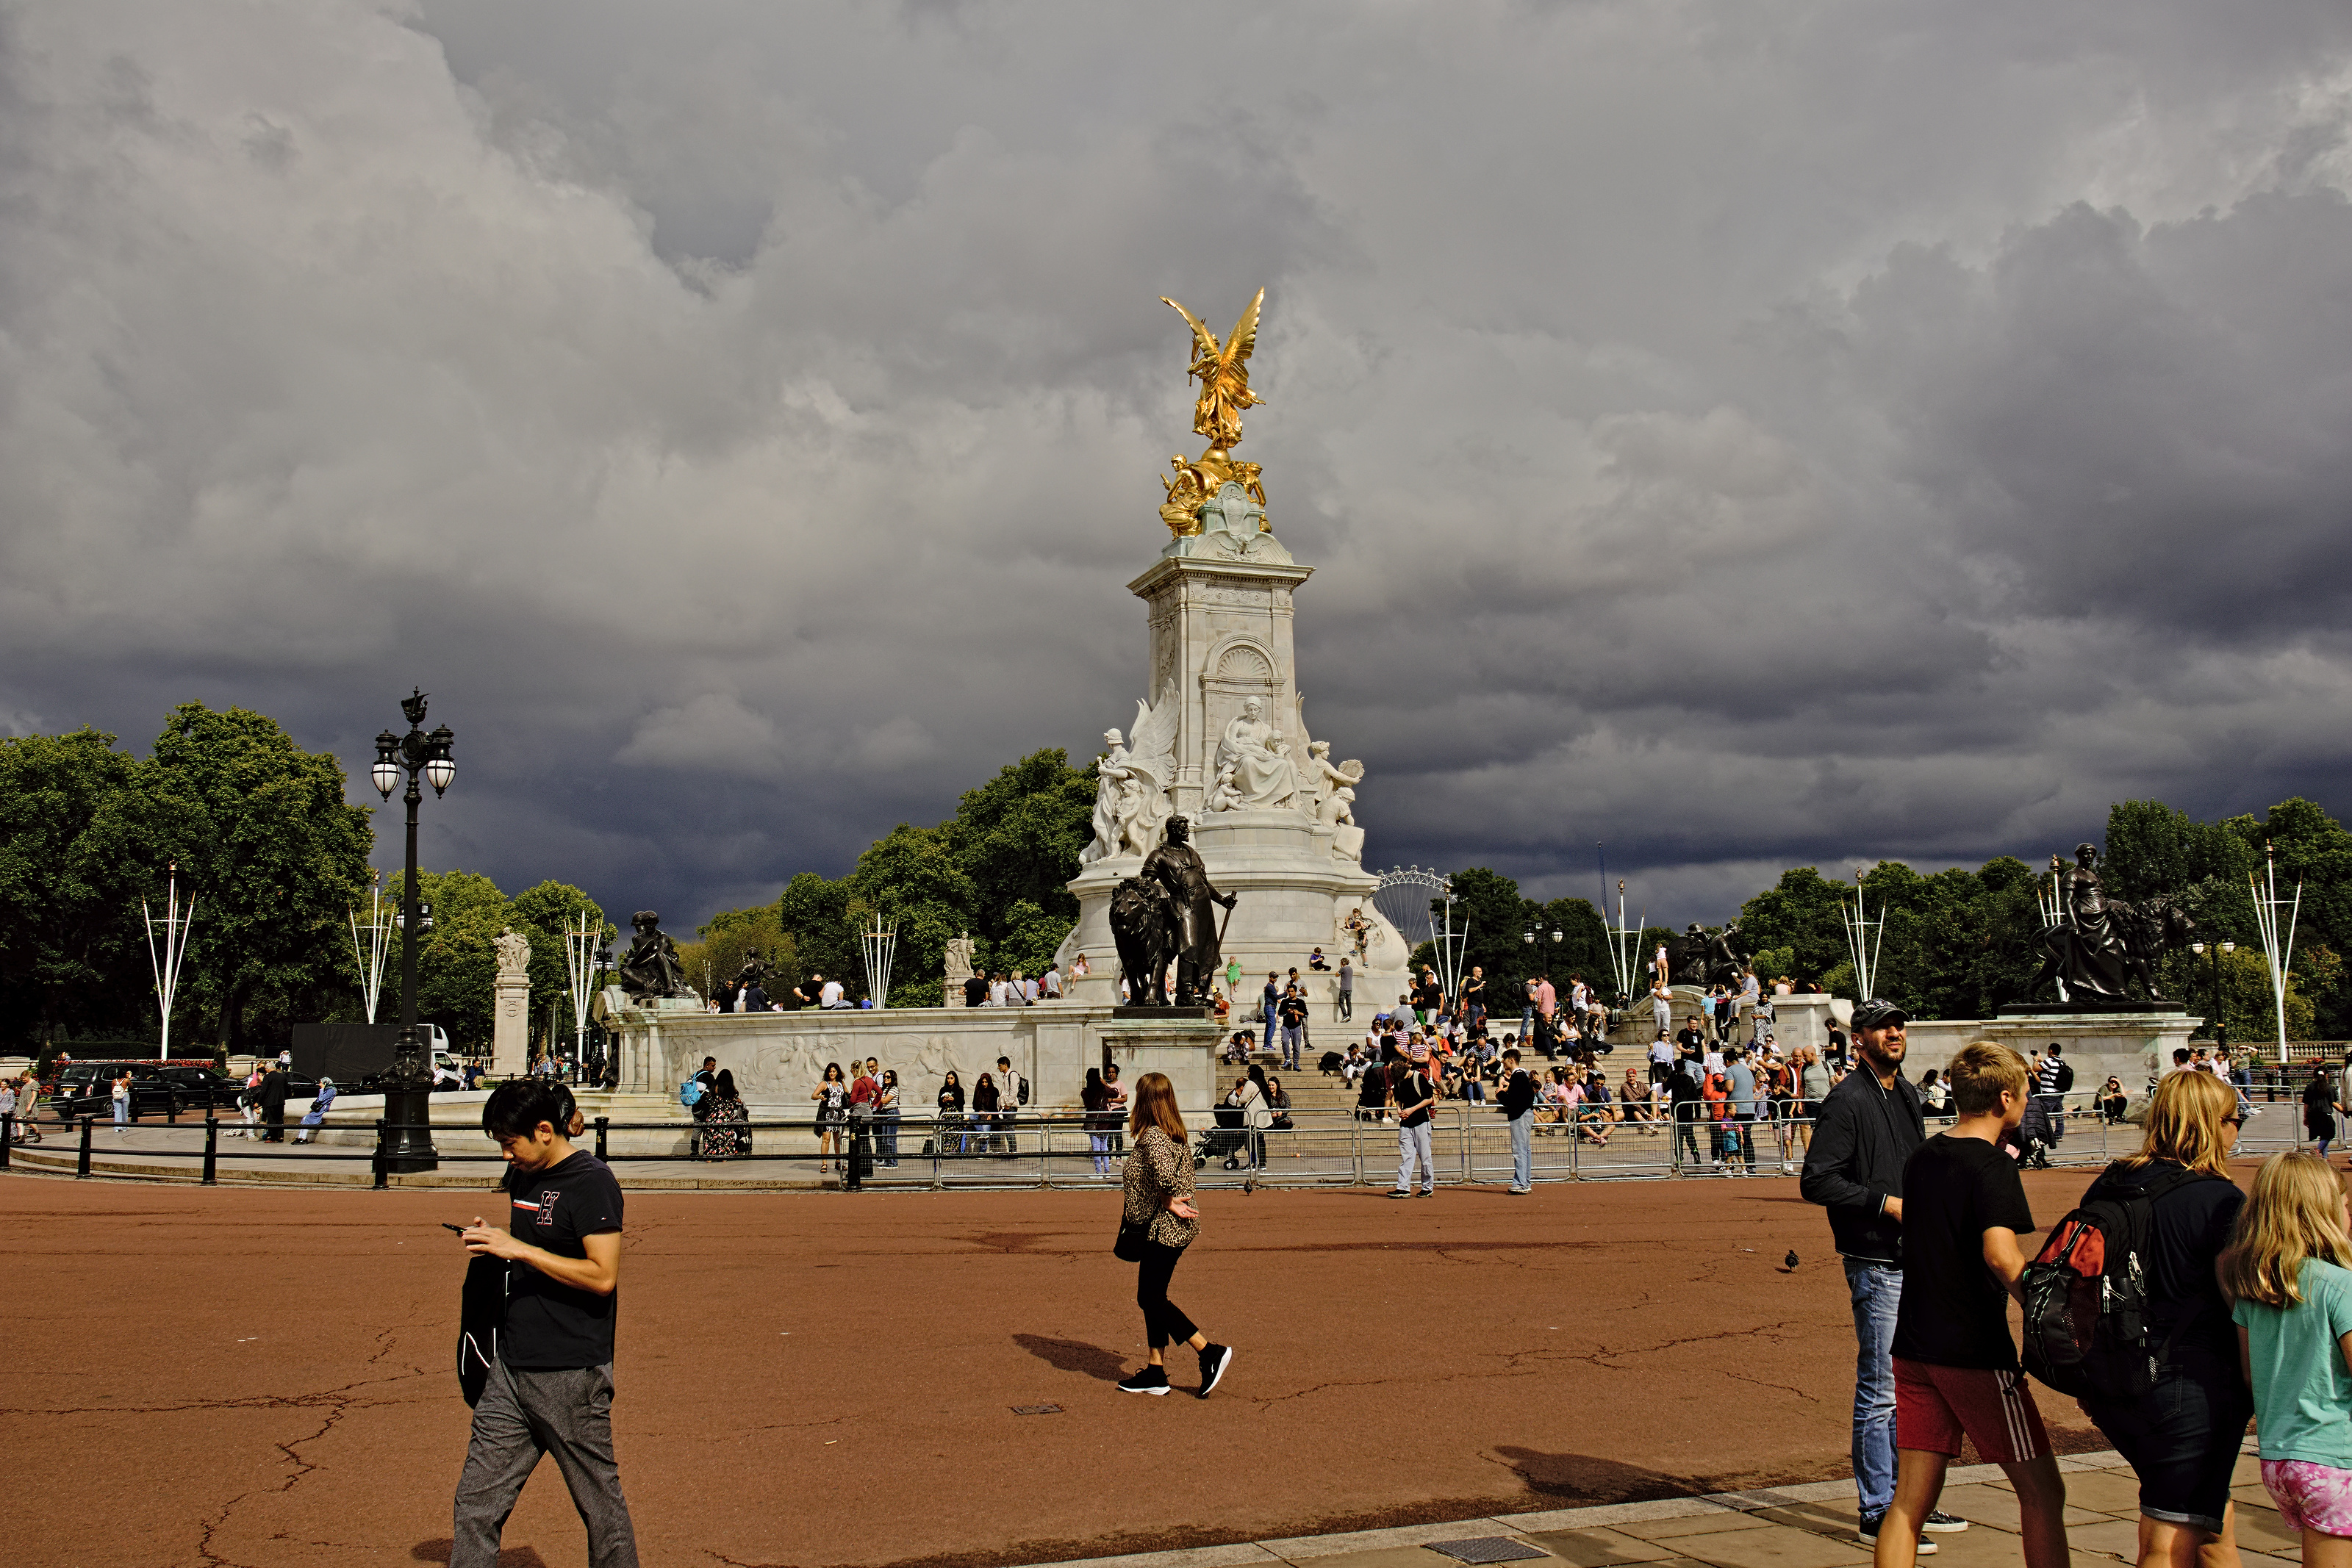
Thank you for this beautiful shot! I love sunshine with dark clouds in the background.
I have difficulties with the shining back of the golden angel, there is some colour shift in the burnt regions, which look better in the OOC jpeg. False Colour Suppression makes it even worse. The main advantage over the camera jpeg are the finer details IMO.
RT 5.8 dev and Fuji X Velvia LUT
IMG_4311_RT-6.jpg.out.pp3 (15.0 KB)
Built-in presets have many drawbacks—they are geared to deliver an acceptable display-space interpretation from any scene, any combination of lighting and colors, not really to provide a great interpretation that uses available display space to its fullest potential, and definitely not to interpret the scene the way you see it—but a benefit they do have is that camera manufacturers tend to bake in a good profile for how zeroes and ones from camera’s sensor correspond to light wavelengths.
You can do better if you create a profile[0] that corresponds to your camera, lens and maybe light conditions.
And if you have such a profile (and maybe a color card frame even?), it might make sense to attach those too… A raw file alone somewhat limits the potential for interpretation.


IMG_4311.JPG.xmp (2.6 KB)
Trying to get as close as possible to the OOC jpg.
DT 4
P.S.
IMHO you can get better results than the OOC jpg with less effort.
I’m very impressed with this result, Mike! Not only it looks quite similar to the out-of-camera Jpeg, but it actually puts it to shame, with great details on the status and more details in the shadows.
What steps did you follow exactly?
Hi Pierre,
I uploaded the XMP file so if you study that, you’ll find the exact modules and settings used. I tried to get as close to the OOC jpeg as I could, not necessarily use my own interpretation of the image. I hope that helps.
1 Like


Here is a trick I found out about recently: using Adobe camera profiles. For my Nikon Z6 camera, these get me very close to the camera JPEG with very little work, which makes it very easy to outperform camera processing by adjusting the things you want without having to fiddle around much matching colors first.
How to get LCP and DCP profiles
The link is for RawTherapee, but I use them in ART, and I bet Darktable can use them too. I have a dynamic profile set up in ART to load the standard DCP profile for my camera (not the “Adobe Standard” one; the one from the Camera/YourCameraModel folder) with a couple basic default edits like adding a little bit of contrast and vibrance. I found that in ART/RT I needed to select Base Table and Look Table in the DCP box to get results as close as possible to what the camera produces. I don’t select Tone Curve or Baseline Exposure because the existing defaults do a good job with those already.
If you read the link, it talks about installing an old version of Adobe DNG converter in Wine. I was able to use the latest one. It installs but doesn’t run, but you don’t actually need to run it - you just need to copy the DCP profiles somewhere else after installing.
When I poked at the DCPs for my Nikon D7000, they had somewhat skewed primaries compared to my ColorChecker-based primaries. I think in the past they’ve tried to mitigate certain extreme colors in doing that. I could probably do the same comparison for the Z 6 as that’s now my main camera, but I use my own profiles so not that concerned.
IIRC darktable isn’t using DCPs as of this date. RT has good DCP support because (again IIRC) Anders Torger wrote most of it; he’s the person behind dcamprof and Lumariver, two of the best camera profiling tools out there.
I haven’t tried creating my own profiles and don’t know how Nikon’s (or Adobe’s) compare to what could be produced with a ColorChecker tool. I do know that the Adobe profiles match the Nikon Z 6 JPEGs pretty well and that I like how they look. I think it’s probably a good starting point for people who want their RAW edits to look close to the camera JPEGs by default without a lot of additional work.
Thanks for the additional info about darktable vs RT on this subject. I thought DCPs were pretty universal, but obviously I don’t actually know very much about that. I do know that the RAW editor I used previously, DxO Photolab, uses them, and in fact they are the only way to get different color profiles, since it doesn’t support LUTs.
With DCP comes a whole 'nother workflow, so it’s not a one-for-one replacement to ICC profiles. Anders wrote a lot about DCPs, here’s what’s relevant concerning workflow:
http://rawtherapee.com/mirror/dcamprof/camera-profiling.html#dng_profiles
1 Like
Thanks for the info. It’s quite possible I have been confused and conflating ICC with DCP. In any case, it’s still nice that RT/ART support this workflow.
1 Like
Actually no, darktable can’t use either. But you can convert DCP to ICC and LCP to LensFun and then use both in darktable.
1 Like
FWIW I tried a RAW file from my Canon EOS M50 (my previous camera), and I needed to also enable Tone Curve under DCP to get good results with the Adobe DCP profile. Otherwise it was a bit flat. Even so, it was still not as close to the camera JPEG as the Nikon profiles were. So YMMV a bit with using these.