I’m very impressed with this result, Mike! Not only it looks quite similar to the out-of-camera Jpeg, but it actually puts it to shame, with great details on the status and more details in the shadows.
What steps did you follow exactly?
I’m very impressed with this result, Mike! Not only it looks quite similar to the out-of-camera Jpeg, but it actually puts it to shame, with great details on the status and more details in the shadows.
What steps did you follow exactly?
Hi Pierre,
I uploaded the XMP file so if you study that, you’ll find the exact modules and settings used. I tried to get as close to the OOC jpeg as I could, not necessarily use my own interpretation of the image. I hope that helps.
Here is a trick I found out about recently: using Adobe camera profiles. For my Nikon Z6 camera, these get me very close to the camera JPEG with very little work, which makes it very easy to outperform camera processing by adjusting the things you want without having to fiddle around much matching colors first.
How to get LCP and DCP profiles
The link is for RawTherapee, but I use them in ART, and I bet Darktable can use them too. I have a dynamic profile set up in ART to load the standard DCP profile for my camera (not the “Adobe Standard” one; the one from the Camera/YourCameraModel folder) with a couple basic default edits like adding a little bit of contrast and vibrance. I found that in ART/RT I needed to select Base Table and Look Table in the DCP box to get results as close as possible to what the camera produces. I don’t select Tone Curve or Baseline Exposure because the existing defaults do a good job with those already.
If you read the link, it talks about installing an old version of Adobe DNG converter in Wine. I was able to use the latest one. It installs but doesn’t run, but you don’t actually need to run it - you just need to copy the DCP profiles somewhere else after installing.
When I poked at the DCPs for my Nikon D7000, they had somewhat skewed primaries compared to my ColorChecker-based primaries. I think in the past they’ve tried to mitigate certain extreme colors in doing that. I could probably do the same comparison for the Z 6 as that’s now my main camera, but I use my own profiles so not that concerned.
IIRC darktable isn’t using DCPs as of this date. RT has good DCP support because (again IIRC) Anders Torger wrote most of it; he’s the person behind dcamprof and Lumariver, two of the best camera profiling tools out there.
I haven’t tried creating my own profiles and don’t know how Nikon’s (or Adobe’s) compare to what could be produced with a ColorChecker tool. I do know that the Adobe profiles match the Nikon Z 6 JPEGs pretty well and that I like how they look. I think it’s probably a good starting point for people who want their RAW edits to look close to the camera JPEGs by default without a lot of additional work.
Thanks for the additional info about darktable vs RT on this subject. I thought DCPs were pretty universal, but obviously I don’t actually know very much about that. I do know that the RAW editor I used previously, DxO Photolab, uses them, and in fact they are the only way to get different color profiles, since it doesn’t support LUTs.
With DCP comes a whole 'nother workflow, so it’s not a one-for-one replacement to ICC profiles. Anders wrote a lot about DCPs, here’s what’s relevant concerning workflow:
http://rawtherapee.com/mirror/dcamprof/camera-profiling.html#dng_profiles
Thanks for the info. It’s quite possible I have been confused and conflating ICC with DCP. In any case, it’s still nice that RT/ART support this workflow.
Actually no, darktable can’t use either. But you can convert DCP to ICC and LCP to LensFun and then use both in darktable.
FWIW I tried a RAW file from my Canon EOS M50 (my previous camera), and I needed to also enable Tone Curve under DCP to get good results with the Adobe DCP profile. Otherwise it was a bit flat. Even so, it was still not as close to the camera JPEG as the Nikon profiles were. So YMMV a bit with using these.
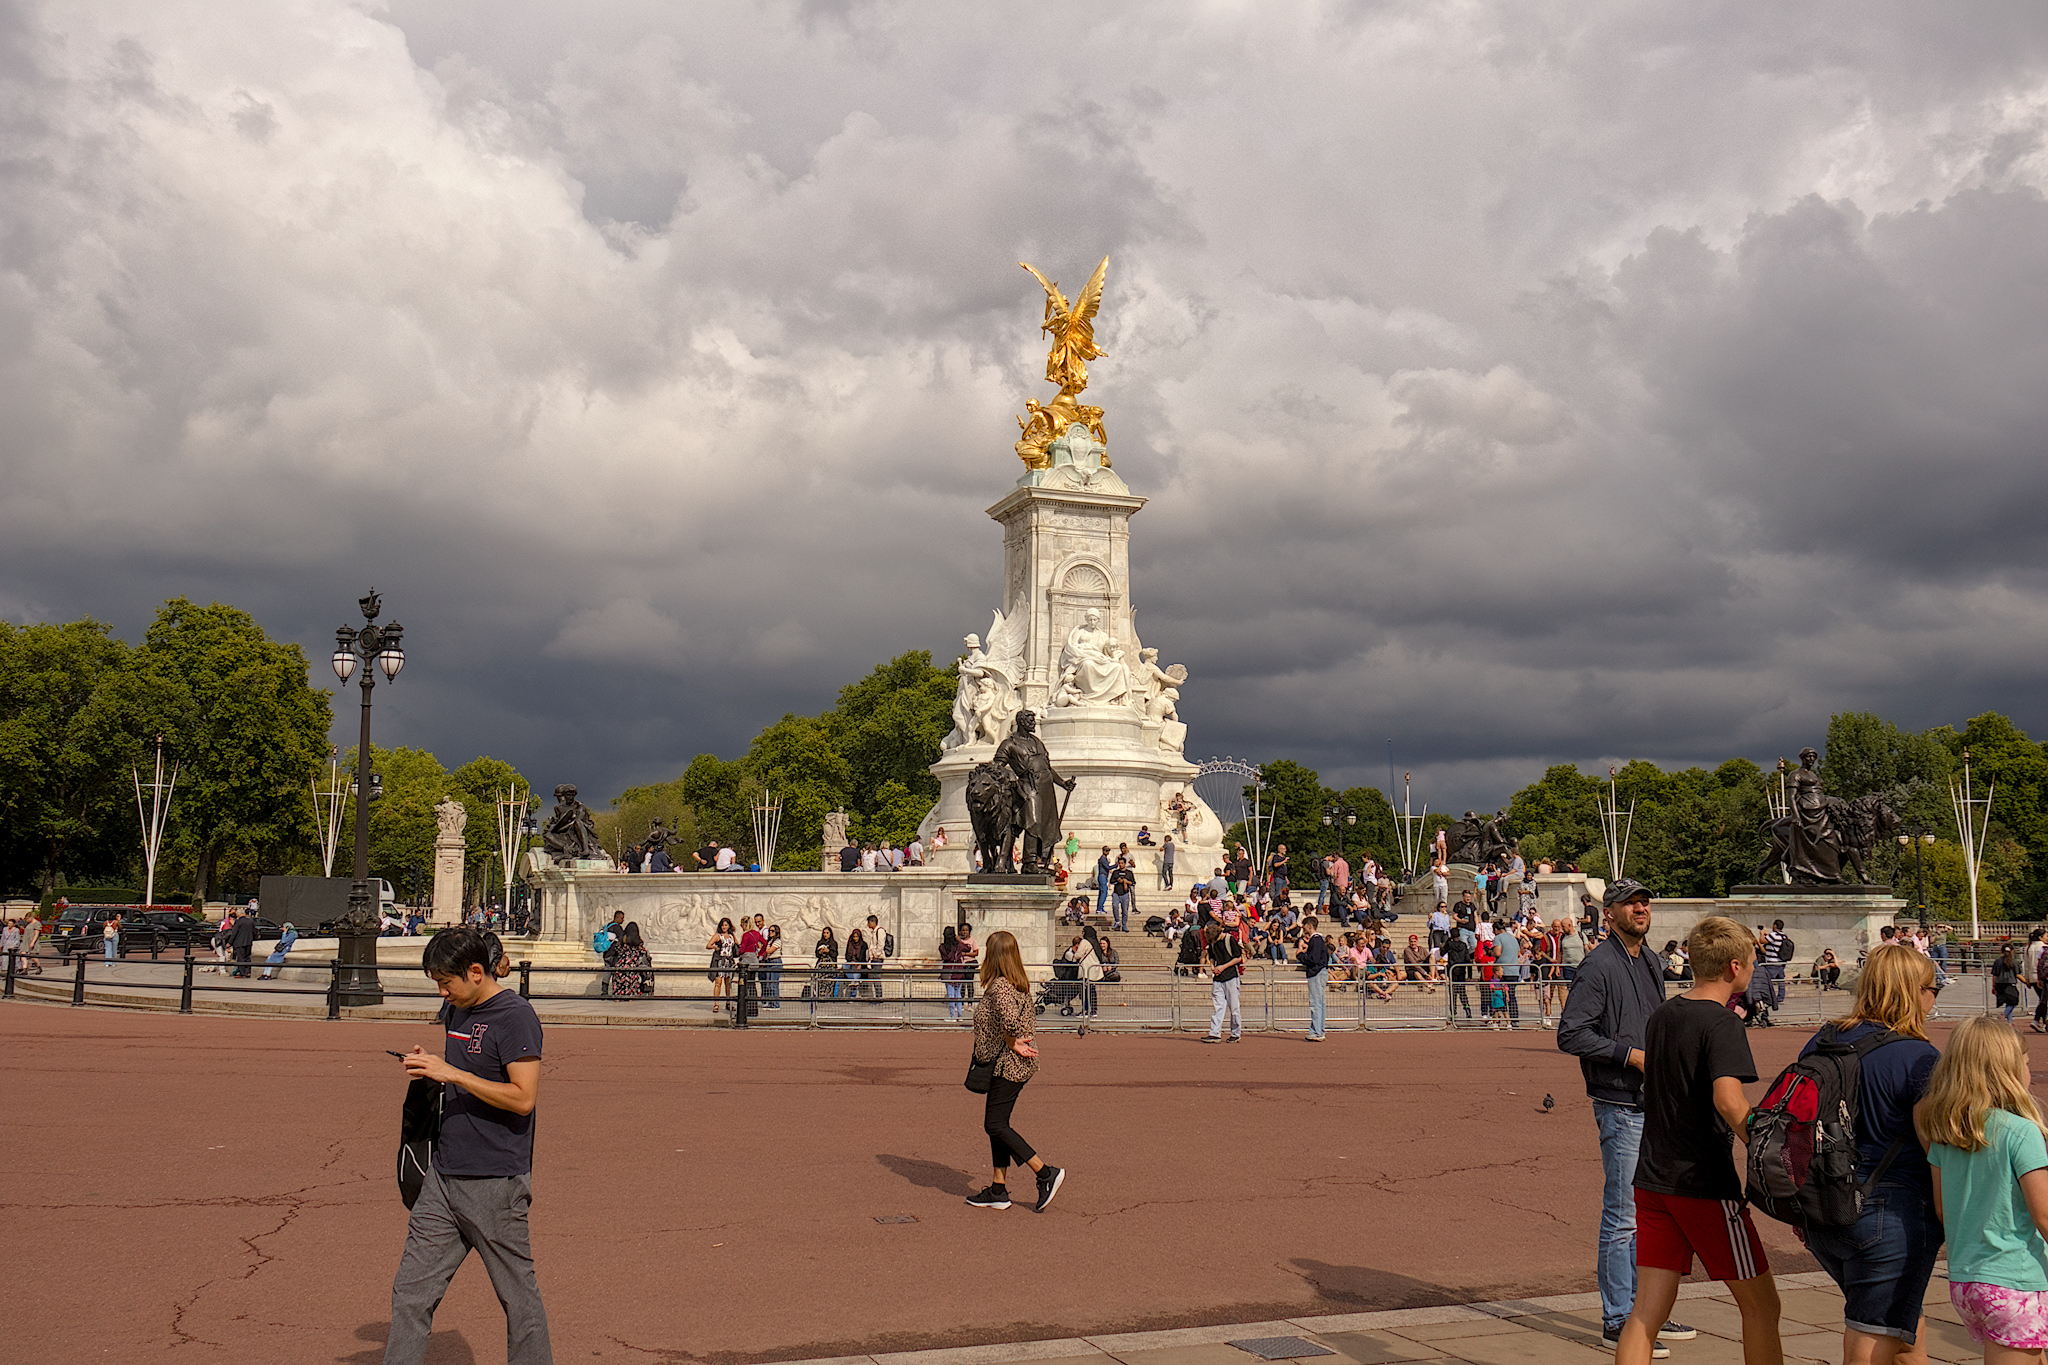
Thanks for the image to play with.
I added a sort of warming-lut to it at the end of the pipeline, to kinda highlight the sun shining in the foreground while keeping the doom-and-gloom of the clouds in the background  .
.
I think I overcooked the clouds a bit, looking at it now.
Basic workflow:
I personally don’t think that’s possible. Spent two years working on an island in the Pacific; sunsets over the open ocean were just gorgeous, every day. Little wispy, low clouds were the best; looked like you could just pick them off the sky… your treatment reminded me of that.
Yours is a nice render…
‘Back in the analogue days’ is maybe the equivalent of ‘during the war’ as a queue for sending everybody to sleep. My dad does still say ‘during the war’ though he has some good stories, if disturbing
Anyway, back in the analogue days I worked in a photo library which was later bought by Getty. We were told to warm up duplicate transparencies; I seem to recall by taking out cyan and adding yellow on the the enlarger projecting onto duplicate film:
There does seem to be warmer defaults to the presets relative to the jpeg, maybe a similar kind of thinking
I was banned from touching the computer, maybe prescient, though it couldn’t do anything with images.
On my to read book list is, ‘why it doesn’t have to be in focus’ ; Jackie HIggins alongside ‘why your five-year-old could not have done that’ Susie Hodge
I suspect the authors will approve of the fauvism on Play Raw
I don’t have a fixed work flow although
Susan Sontags’, ‘On photography’: 'Photography is the only naturally surrealistic medium"
and ‘layers are so central to gimp that without them this powerful application would be almost useless’ from the ‘Book of gimp’ are influential
I found this question and the replies helpful: thanks, more so than in areas where open source is advantageous; by distancing from consumerism, for example
It might be helpful for some people to avoid the situation of people saying they’ve take a better photo on their phone on the basis of it having more realistic color to local people
I suspect this is less likely in artificial light;
in mixed natural and fluorescent light people preferred my Dt interpretation to other people’s jpg’s although that might be because I used the mechanical shutter
I also used the Fuji base curve preset on Sony, Tyburn
Maybe the day will come when we will all be like Letterpress printer operators and it’ll all be done by phones and AI
zzzzzzzzzz
My take with Darktable 4.0.1. Made it a little lighter, as I think there was kind of direct sunlight judging from the hard shadows and the guy with the basecap seems to look into the sun.
So, I have really been challenging myself with my workflow. I’m trying to get used to Color Balance RGB. I really have very little idea of what I’m doing, but it’s easy to get many pleasing results. Here is my most recent attempt. Compare to my post in this topic on September 1. dt 4.0.1