As this is only valid for raw images, shouldn’t it be located on the Raw tab?
1 Like
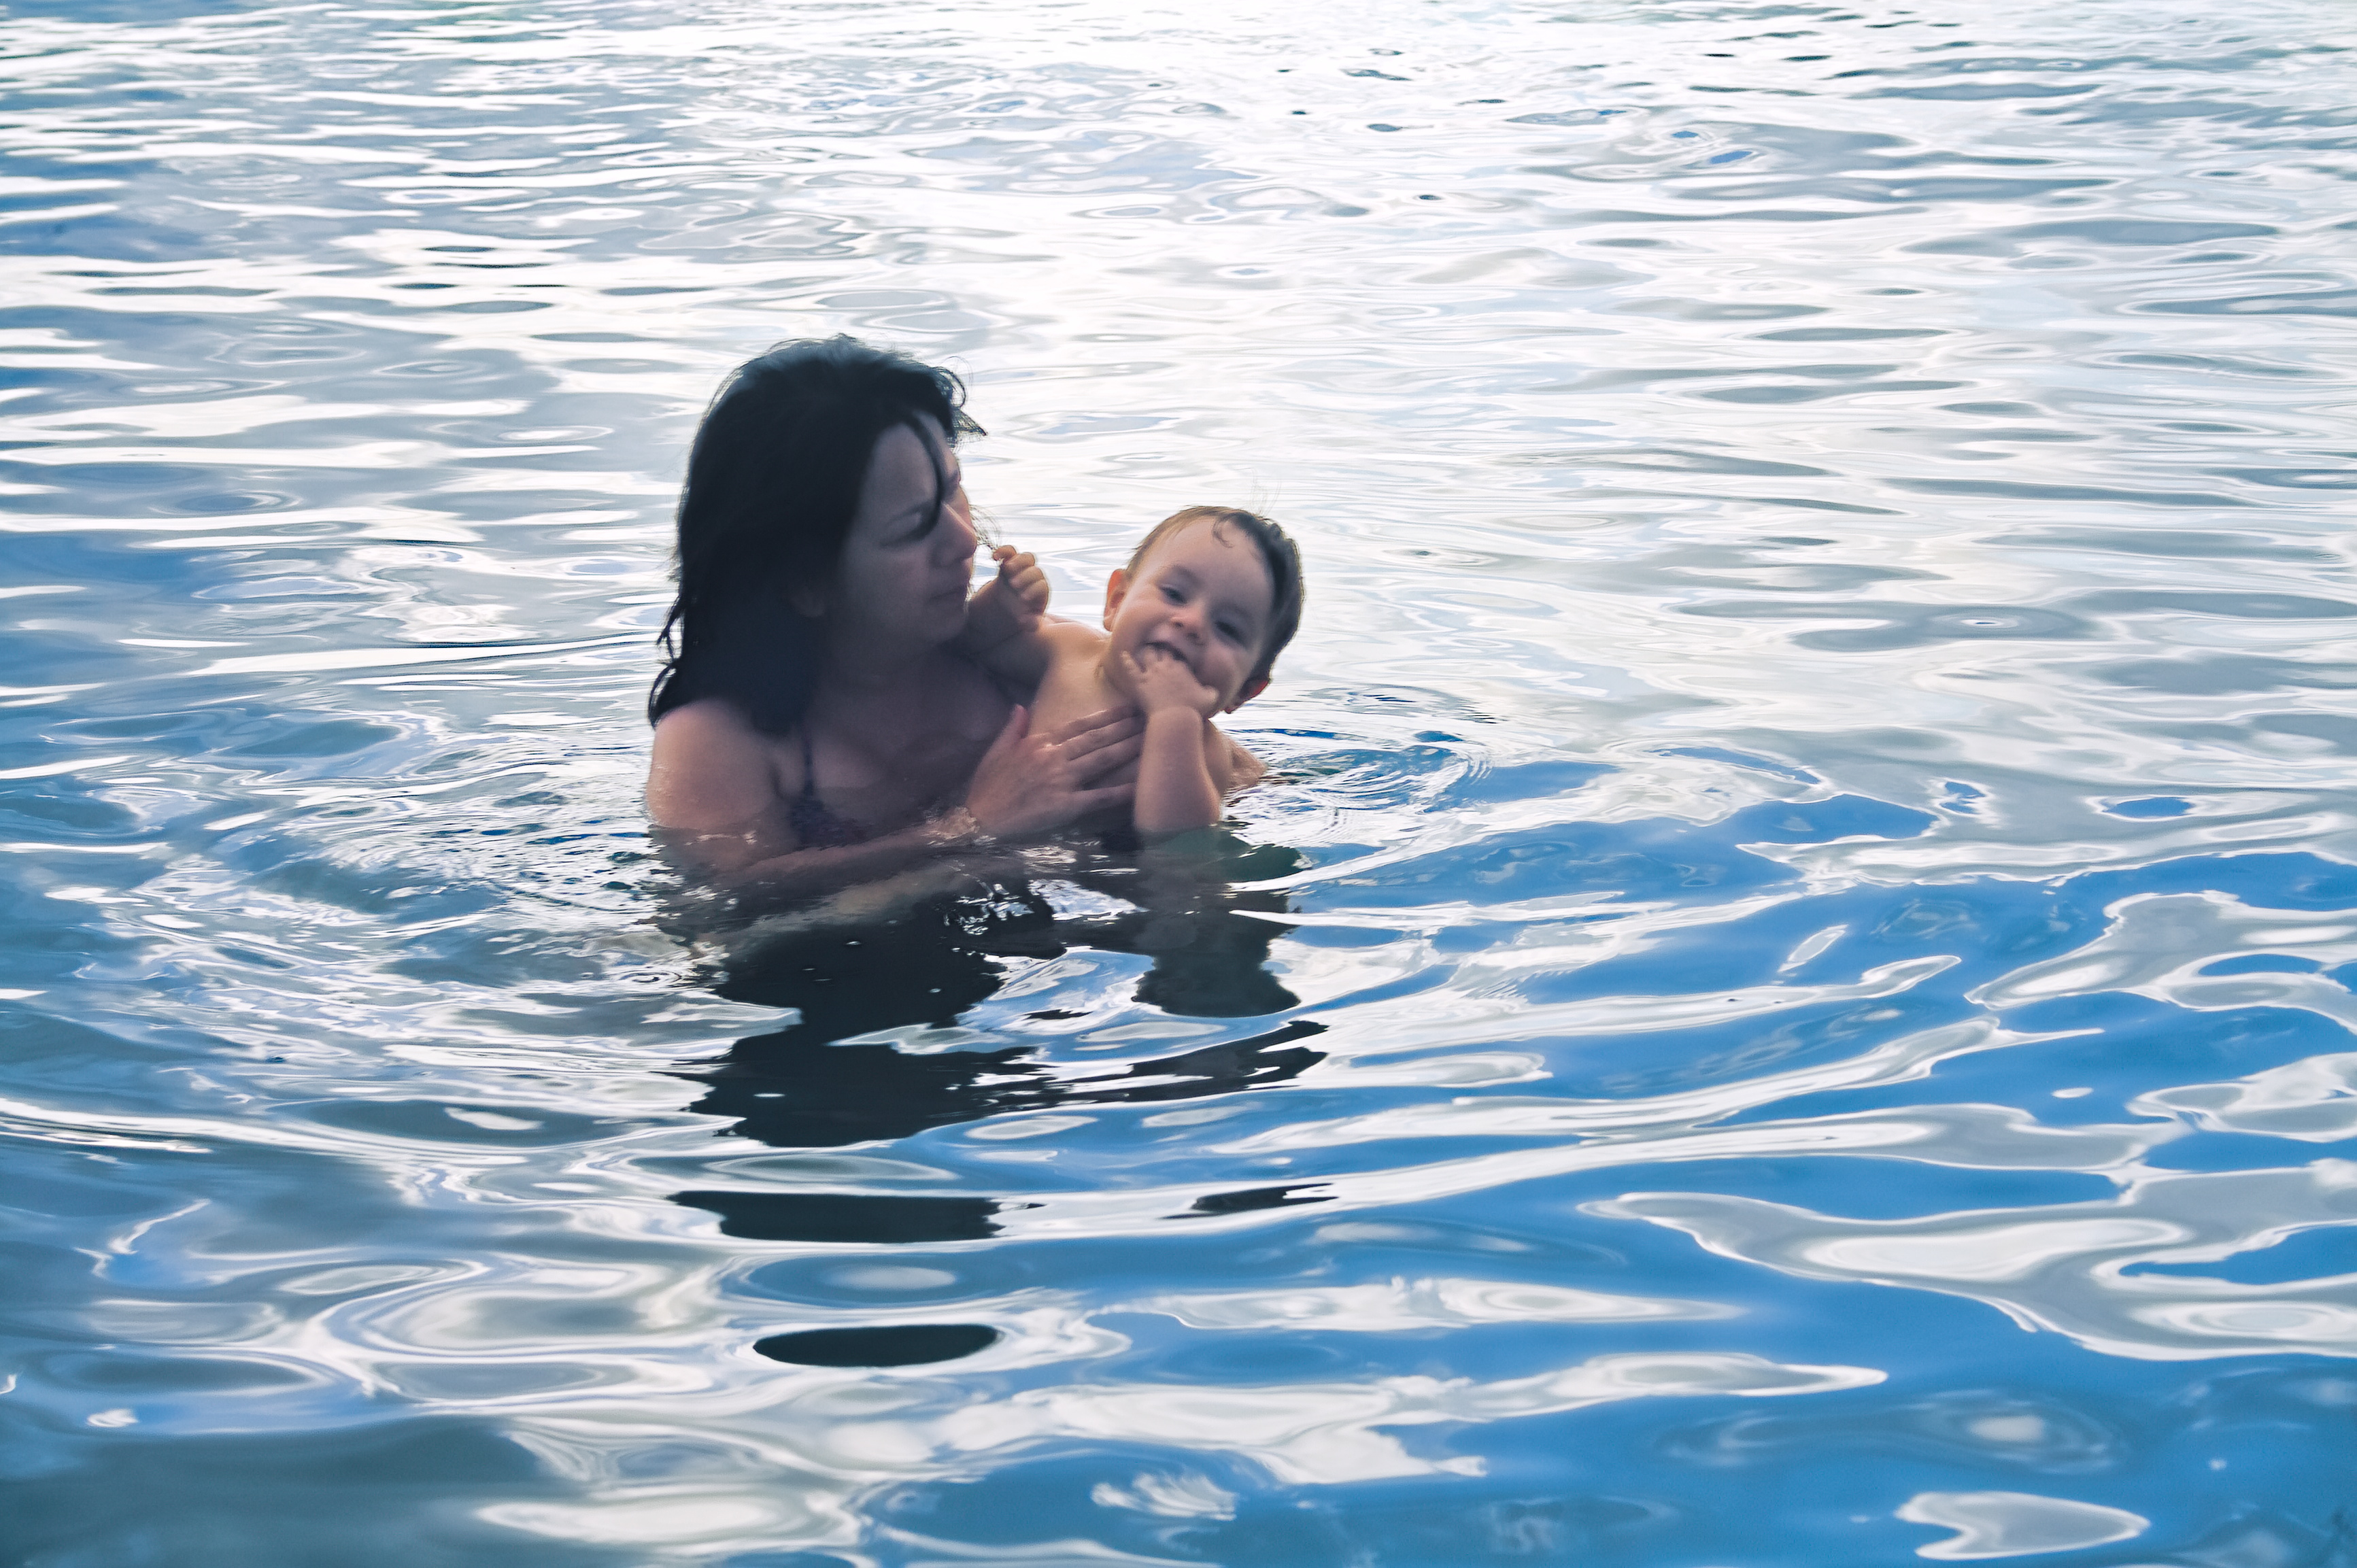
Using RT Dev with local adjustments (and other functions), this is what I was able to do with it.
1 Like
Thanks for that, I used what Ingo did and it looks fine. But it is always good to have another option
Yes, that is part of what I did. I just took it further with additional functons.
@chaimav thanks for that, when I try that .pp3 it goes green for me - maybe because I am using a different version (5.8) of Rawtherappee?
Yes, I am using an unreleased version with local adjustments that won’t be available until version 5.9. You can download a copy from here Release Automated Builds · Beep6581/RawTherapee · GitHub
Note that this is not an official release so you may run across some bugs, but you should have no issues running it alongside 5.8.
I long wished for a more “ergonomic” black point tool. But i think it should apply after demosaicing, input color space conversion, capture sharpening etc (which I’ll call "raw-operations "in the rest of this post), because otherwise it’s very slow to fine tune the values because after each change of the blackpoint the raw-operations have to be recomputed. In this sense, the tool i imagine has a different function than the one we currently have, which afaik was developed to correct wrong raw-file reading.
Having a black-point tool after the raw-operations also means that the values are more consistent between images, as they dont depend on e.g. ISO and exposure as much. This in turn allows a more ergonomic range for the sliders. At the moment the range is awkward, as you have to move them in the minimal possible steps, and even this is too coarse for many images. Especially since the ability to enter floating point values into the blackpoint tool has been removed a few rt-versions ago. Some images can thus no longer be black-point-corrected precisely enough, giving them a (sometimes strong) color cast.
I would envision a black-point tool to have a color-picker tool, much like the white-balance tool has. That way one can quickly measure some dark area to get a first rough black-point setting, and then manually fine tune the values further. Usually I aim to have the lowest pixels clipped to black, so I usually set my blackpoint a bit above the lowest color values that occur in the image. The reason is that noise also adds a form of “haze” to the image, and does affect black point measurements. So maybe it would be best if the color-picker would return the average color values, instead of their minimum (again: just as the color picker in the whitebalance tool does).
I feel the most logical place for such a blackpoint tool would be in the color tab, next to the whitebalance tool (blackpoint next to whitepoint, makes sense?). But it could also make sense in the exposure tab where all the other blackpoint tools are (the ones which work in colorspaces other than linear rgb), or in some other place.
So this would be a “black balance” tool to compliment “white balance”.
Hello,
On André Gauthier’s website is:
RawTherapee_poor_man_dehaze_5.8-2840-ga489e20f5_W64_Skylake_210306.7z
but I don’t see that there is an automatic calculation option in the raw tab-> “raw black points”. It’s all set to 0 when I open any raw file for the first time.
Do I have to activate some other option somewhere ?
Thank you.
Arturo
Assuming for the moment that you are talking about @heckflosse’s
Poor man’s dehaze:
The numbers you are after are only shown in the terminal at the moment. You need to enter those manually into the Raw Black Points section. Positive numbers only.
Yep, it is a hack, so there isn’t much to see until it has been formalized (if it ends up that way). The concept is already doable in the regular RT (without the auto adjustments).
Yes it’s a hack from @heckflosse and I hope it will be included in 5.9.
To use on windows:
- open a DOS shell ( if you don’t have MSYS2 installed)
- go to Rt dir
- type " rawtherapee.exe >file.txt
- open your image in RT, close your image
- the black points data should be in file.txt
If you have MSYS2 installed, execute from a mingw shell. black point dispayed in window
Following your instructions I have already managed to make it work.
Thank you.
Another argument for having a blackpoint tool later in the processing pipeline is that the raw blackpoints tool does of course only work on raw files, but such a tool for haze removal would also be useful for other file types. When i tested it in the past it also didnt work on pre-demosaiced raw files. E.g. when I was using dxo denoising ai tool to preprocess the raw file before doing the raw conversion in rawtherapee. (I didn’t check it with the newest rawtherapee version (currently 5.12 as of this writing)).