If possible, could someone please show or tell me the steps, after creating a Color Similarity Mask, in order to remove areas that I don’t want to change.
Thanks, Mike
If possible, could someone please show or tell me the steps, after creating a Color Similarity Mask, in order to remove areas that I don’t want to change.
Thanks, Mike
Yes, this is achievable, but remember if you simply used the Color Similarity Mask again on the same color you’d get the same area masked off.
So in effect you need to use something different, like the Brush Mask to select portions of the Color Similarity Mask you’ve already created that you now want to erase…
Here’s one way:
After creating the Color Similarity Mask you mentioned, keep it on to make it visible.
Then next go to Brush mask (turn it on) and check “Eraser Mode.” Then Click on the icon to “Add the brush mask on top of the other masks.” Then select the brush icon to begin erasing the portion of your Color Similarity Mask that you no longer want to be masked. Your brushing will likely be a different color (orange?) than the original mask (yellow?).
Once you let go of the brush, the portion of the original (yellow) mask will be erased.
As with other masks, you can adjust the feathering, opacity, etc.
Once you’re happy with the newly-edited combined mask (presumably masking less of the Color Similarity Mask as you intended), then go ahead and make whatever ART-edit adjustments in the Local Editing tab you were hoping to achieve in the first place - now applied to a subset of the Color Similarity Mask area than originally captured.
HTH.
There are likely other ways (inverted masks, intersection features, etc.) to accomplish this. But it would seem that a brush mask in eraser mode would be to me the most intuitive way to remove some portion of a color similarity mask that captured too much of your image than you intended.
Yes, that worked great! As to other ways, that would be of interest to me as well.
Thanks
So one alternative would be to do it backwards…
Instead of selecting Eraser mode, select the “Intersect the brush mask with the other masks” icon on the right side, then instead of painting what you want to erase, paint what you want to keep.
Note that this will make the initial mask disappear for the moment … since you haven’t yet selected the portion to keep (so nothing just yet intersects between the two masks you’re about to overlap).
One approach is additive, the other is subtractive.
Different (brush) strokes for different folks. ![]()
(BTW, if you wanted to use the same refined mask area for more than one kind of Local Edit, you could copy and paste the combined edited mask from, say, “Local Contrast” over to, say, “Color/Tone Correction” … if there were multiple categories of local edits you had in mind for this same masked area. See the Copy/Paste icons just to the left of each “Show mask” checkbox.)
It’s all brilliantly executed thanks to @agriggio .
Yup! all is good. Thanks for taking the time to explain
Indeed. I was just now trying to remove excessive areas of a parametric mask by creating a brush mask that covered the unwanted parametric mask areas, then somehow using it to logically subtract the brush mask from the parametric mask. But I never succeeded. No combination of Boolean relationship, inverse, etc. would remove the parametric overruns that overlapped with the brush mask.
But the process of effectively editing an existing mask by “painting with an eraser” is far easier and more intuitive. I can possibly think a of situation or two where it might (?) be handy to pit one parametric / color similarity mask against another (a la darktable) but it’s unlikely I’ll ever need to do so.
Anyway, thanks for the explanation - It saved me asking a redundant question! ![]()
EDIT: Actually I do have a question…
Can both additive and subtractive methods be used simultaneously on the same mask? I tested with a Color Similarity mask and when I erased I of course did so on the existing mask. However, I wasn’t able to subsequently add “intersectionally” to that same mask. I assume creating a new separate mask won’t work, unless a logical relationship can be achieved between the two masks.
Interesting question. So I just played around to see if I could determine how additive and subtractive might work together. I couldn’t immediately pull it off, but I’m probably not thinking about the kind of use case where it would make sense and/or didn’t exhaust all the possible combinations of buttons/settings to determine the full set of possibilities.
If you have any breakthroughs on this in the meanwhile, let the rest of us know. ![]()
Hi,
I’m not sure I understand what you want. Can you make an example perhaps?
Thanks!
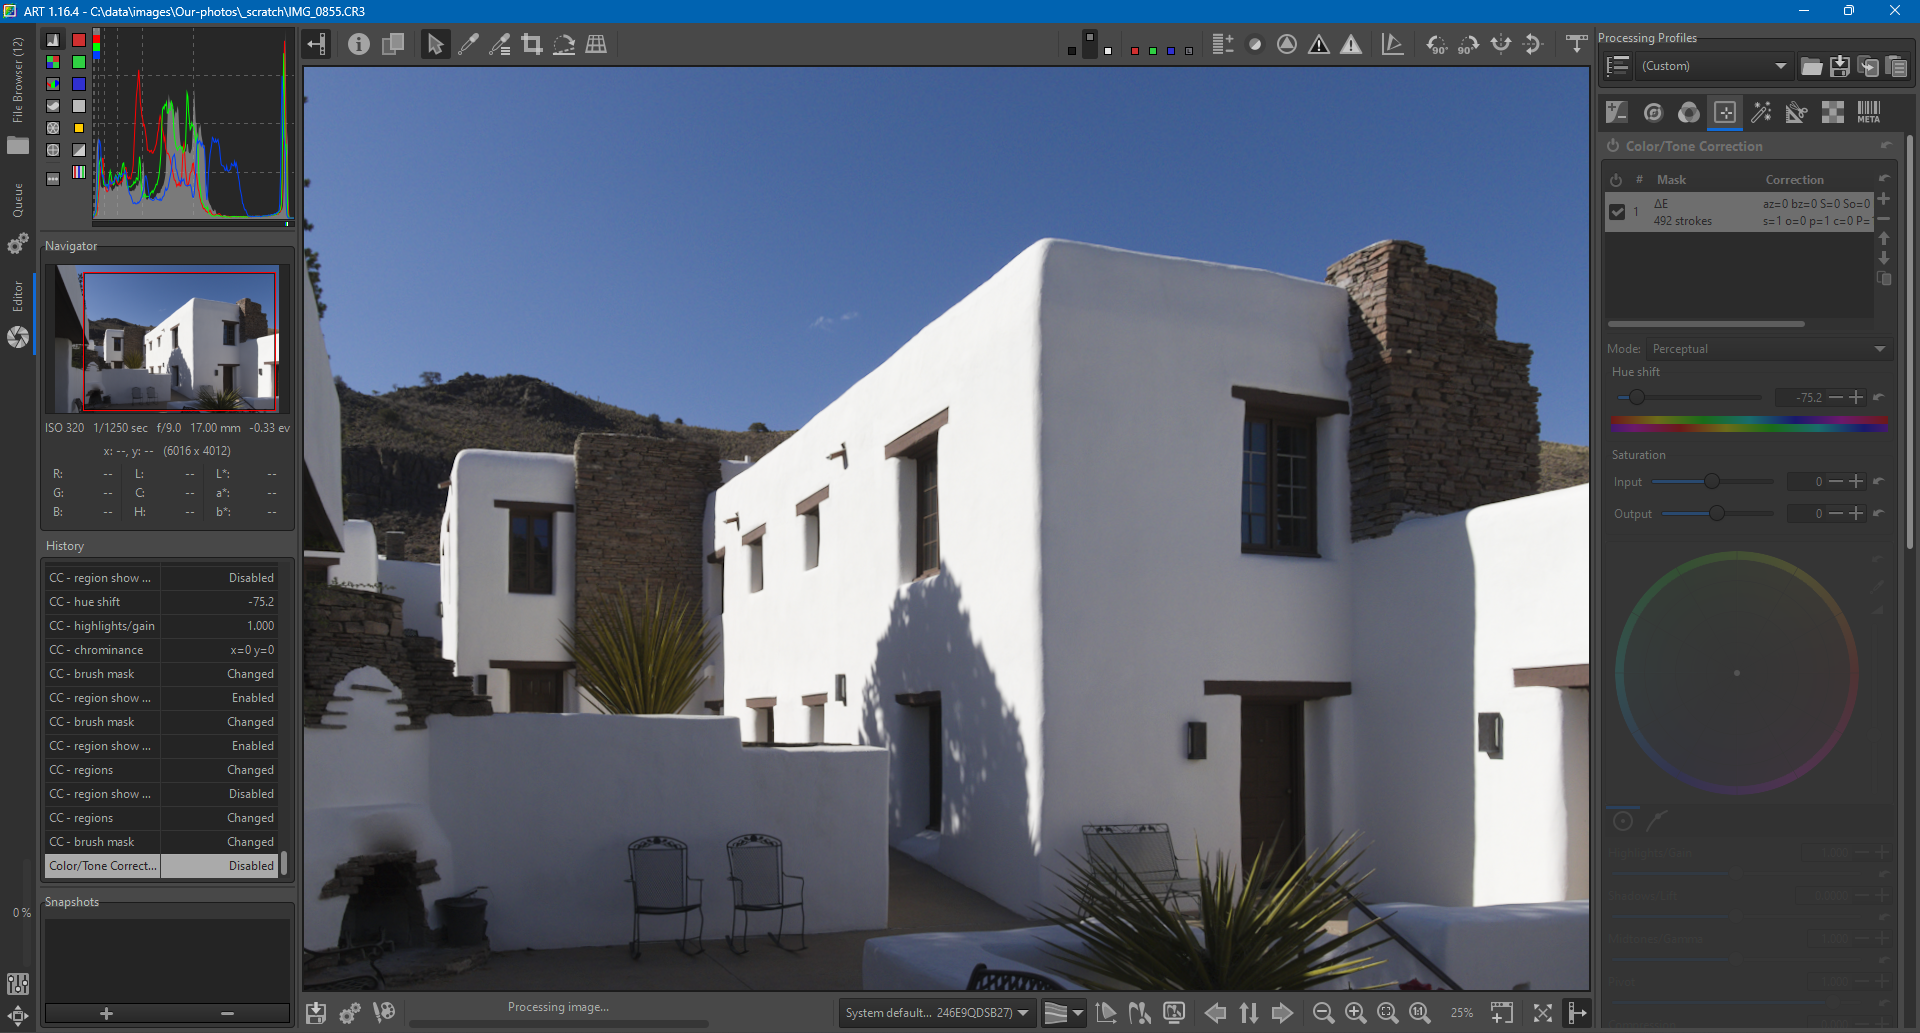
Here’s what I was trying. It’s not a “real” edit, just a contrived example to get familiar with how ART’s tools work. I don’t usually turn blue skies to aqua… LOL
I have this image (attached):
I made a Color Similarity mask for the blue sky but since some of foreground shadow areas are bluish they were masked a bit as well. The CS mask could probably be tweaked more, but that’s not the point of this exercise (although advice is always welcome).
So I added a erase Brush Mask on the same layer and “painted out” the unwanted foreground areas. But there’s a little non-opaque part of the original CS mask that needs fixing, so I’d like to paint over it:

Can that be done with another Brush Mask? How?
Thanks.
IMG_0855.CR3 (25.1 MB)
IMG_0855.CR3.arp (14.4 KB)

I’m asking because I’m in a rush at the moment on something else and don’t have time to test it myself…
Can it be done on the same layer – using the same Brush Mask – as was previously used for erasing part of the CS mask? Or can I create a additional Brush Mask on the same layer as the previous Brush Mask and CS mask?
I assume (?) a (brush) mask on one layer cannot affect a mask on another, hence the assumed necessity of doing all “editing” operations on the same layer as the (CS) mask being edited.
Thanks.
OK, no need to answer. I’ve tested it now and it indeed works as you describe …why should I even doubt?  . I didn’t realize a single brush mask could be used for multiple, differing, edits. But now that I think about it, why not? I’m learning little by little. LOL
So basically, any mask can interact with another on the same layer. The only exception is if the exact same mask (type, options, etc.) is used it’ll duplicate the previous mask. The inherent nature of a brush mask makes it easier to use in a predictable manner.
Thanks again.
One other question, which I’ll be glad to take to another thread if appropriate.
Is there documentation somewhere that goes into the details of UI “sub-elements” / widgets? For example, I already know (or can deduce) the basic functionality and operational details of curves, equalizers, etc. but what about these sliders / handles?
Are these the color and slope (blend) limits? Or just the limits of whatever’s being chosen?

I’ve been able to (with great care) use these to move the node sideways, but do they function like a spline handle in all directions?

Knowing the Real Facts would avoid mistakes. I’ve looked in RawPedia but haven’t found these little widgets, at least.
what @apostel338 showed above is the way to have the brush mask acting as a “global modifier” for the other masks. In this mode, brush strokes add or subtract from the rest of the mask according to whether “eraser mode” is active or not. In practice, you you the brush to paint over the mask as you would do e.g. in GIMP. Example video:
I was a bit confused too. In order to be able to use the Eraser in this way, you must have already activated the “add mode”.  My english is a bit decayed for today.
Think of it this way:

These settings here are only affecting new strokes and not the ones you have already done. So switching between Eraser and not-Eraser will only affect the next strokes you will do
OK, that makes sense. I just need to play with it so I can “get it under my fingers” (as guitarists say). Truth is, I’ll rarely need more than a mask or two, at most, per image. Further editing may occur elsewhere downstream in my workflow.
Thanks.
Only sideways. As its name says, it works like an equailzer. And these nodes are just there to control something like the Q factor / bandwith of an parametic equalizer, to stay in the musician’s language.
So theoretically (although never in practice I suspect) if I need a more complex curve I just need to add nodes and adjust accordingly.
Thanks for the clarification.
Can two “color similarity” masks be used on one image? If so, how would I see the changes made to both areas at the same time?
Hi,
There’s only one such mask per layer. you can have as many layers as you want, but it’s not the same as subtracting two masks. However, I’d be curious to better understand the use case here if possible.
Thanks!