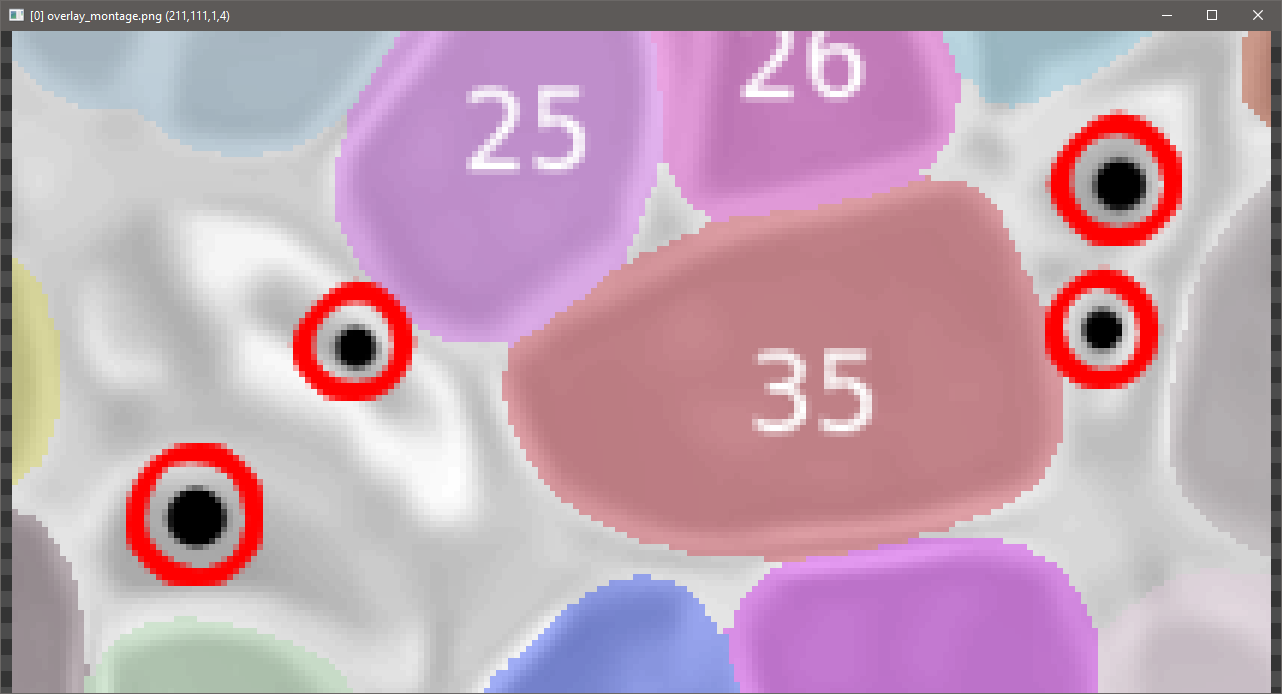
Like this?
C:\Users\Reptorian\Downloads>gmic overlay_montage.png s x,3 rm. channels. 0 100%,100%,100%,{s#0},[255,0,0] to_rgba[0] rv[-2,-1] a[-2,-1] c blend[0,1]
[gmic]./ Start G'MIC interpreter (v.4.0.4).
[gmic]./ Input file 'overlay_montage.png' at position 0 (1 image 633x111x1x3).
[gmic]./ Split image [0] along the 'x'-axis, into 3 parts.
[gmic]./ Remove image [2] (2 images left).
[gmic]./ Keep channels 0...0 of image [1], with dirichlet boundary conditions.
[gmic]./ Input image at position 2, with values '[255,0,0]' (1 image 211x111x1x3).
[gmic]./ Force image [0] to be in RGBA mode.
[gmic]./ Reverse positions of images [1,2].
[gmic]./ Append images [1,2] along the 'c'-axis, with alignment 0.
[gmic]./ Blend images [0,1] together, using 'alpha' mode and opacity 1.
[gmic]./ Display image [0] = 'overlay_montage.png'.
[0] = 'overlay_montage.png':
  size = (211,111,1,4) [366 Kio of float32].
  data = (182,177,172,168,165,165,165,165,165,165,165,165,165,165,165,165,165,165,168,170,175,182,187,192,192,192,189,187,184,180,175,172,170,170,168,168,168,168,165,165,165,165,165,165,165,168,168,168,168,168,168,168,168,168,168,168,168,168,168,171,173,180,187,192, ... ,255,255,255,255,255,255,255,255,255,255,255,255,255,255,255,255,255,255,255,255,255,255,255,255,255,255,255,255,255,255,255,255,255,255,255,255,255,255,255,255,255,255,255,255,255,255,255,255,255,255,255,255,255,255,255,255,255,255,255,255,255,255,255,255).
  min = 0, max = 255, mean = 200.368, std = 49.5824, norm = 63178.1, coords_min = (184,22,0,0), coords_max = (128,4,0,0).
[gmic]./ End G'MIC interpreter
Other suggestions:
$ overlay_montage.png s x,3 rm. channels. 0 +negate. . a[-3--1] c f[0] [max(i0,i0#1),min(i1,i1#1),min(i2,i2#1)] rm.
gmic overlay_montage.png s x,3 rm. channels. 0 /. 255 +f[0] [255,0,0] image[0] [2],0,0,0,0,1,[1] k[0]