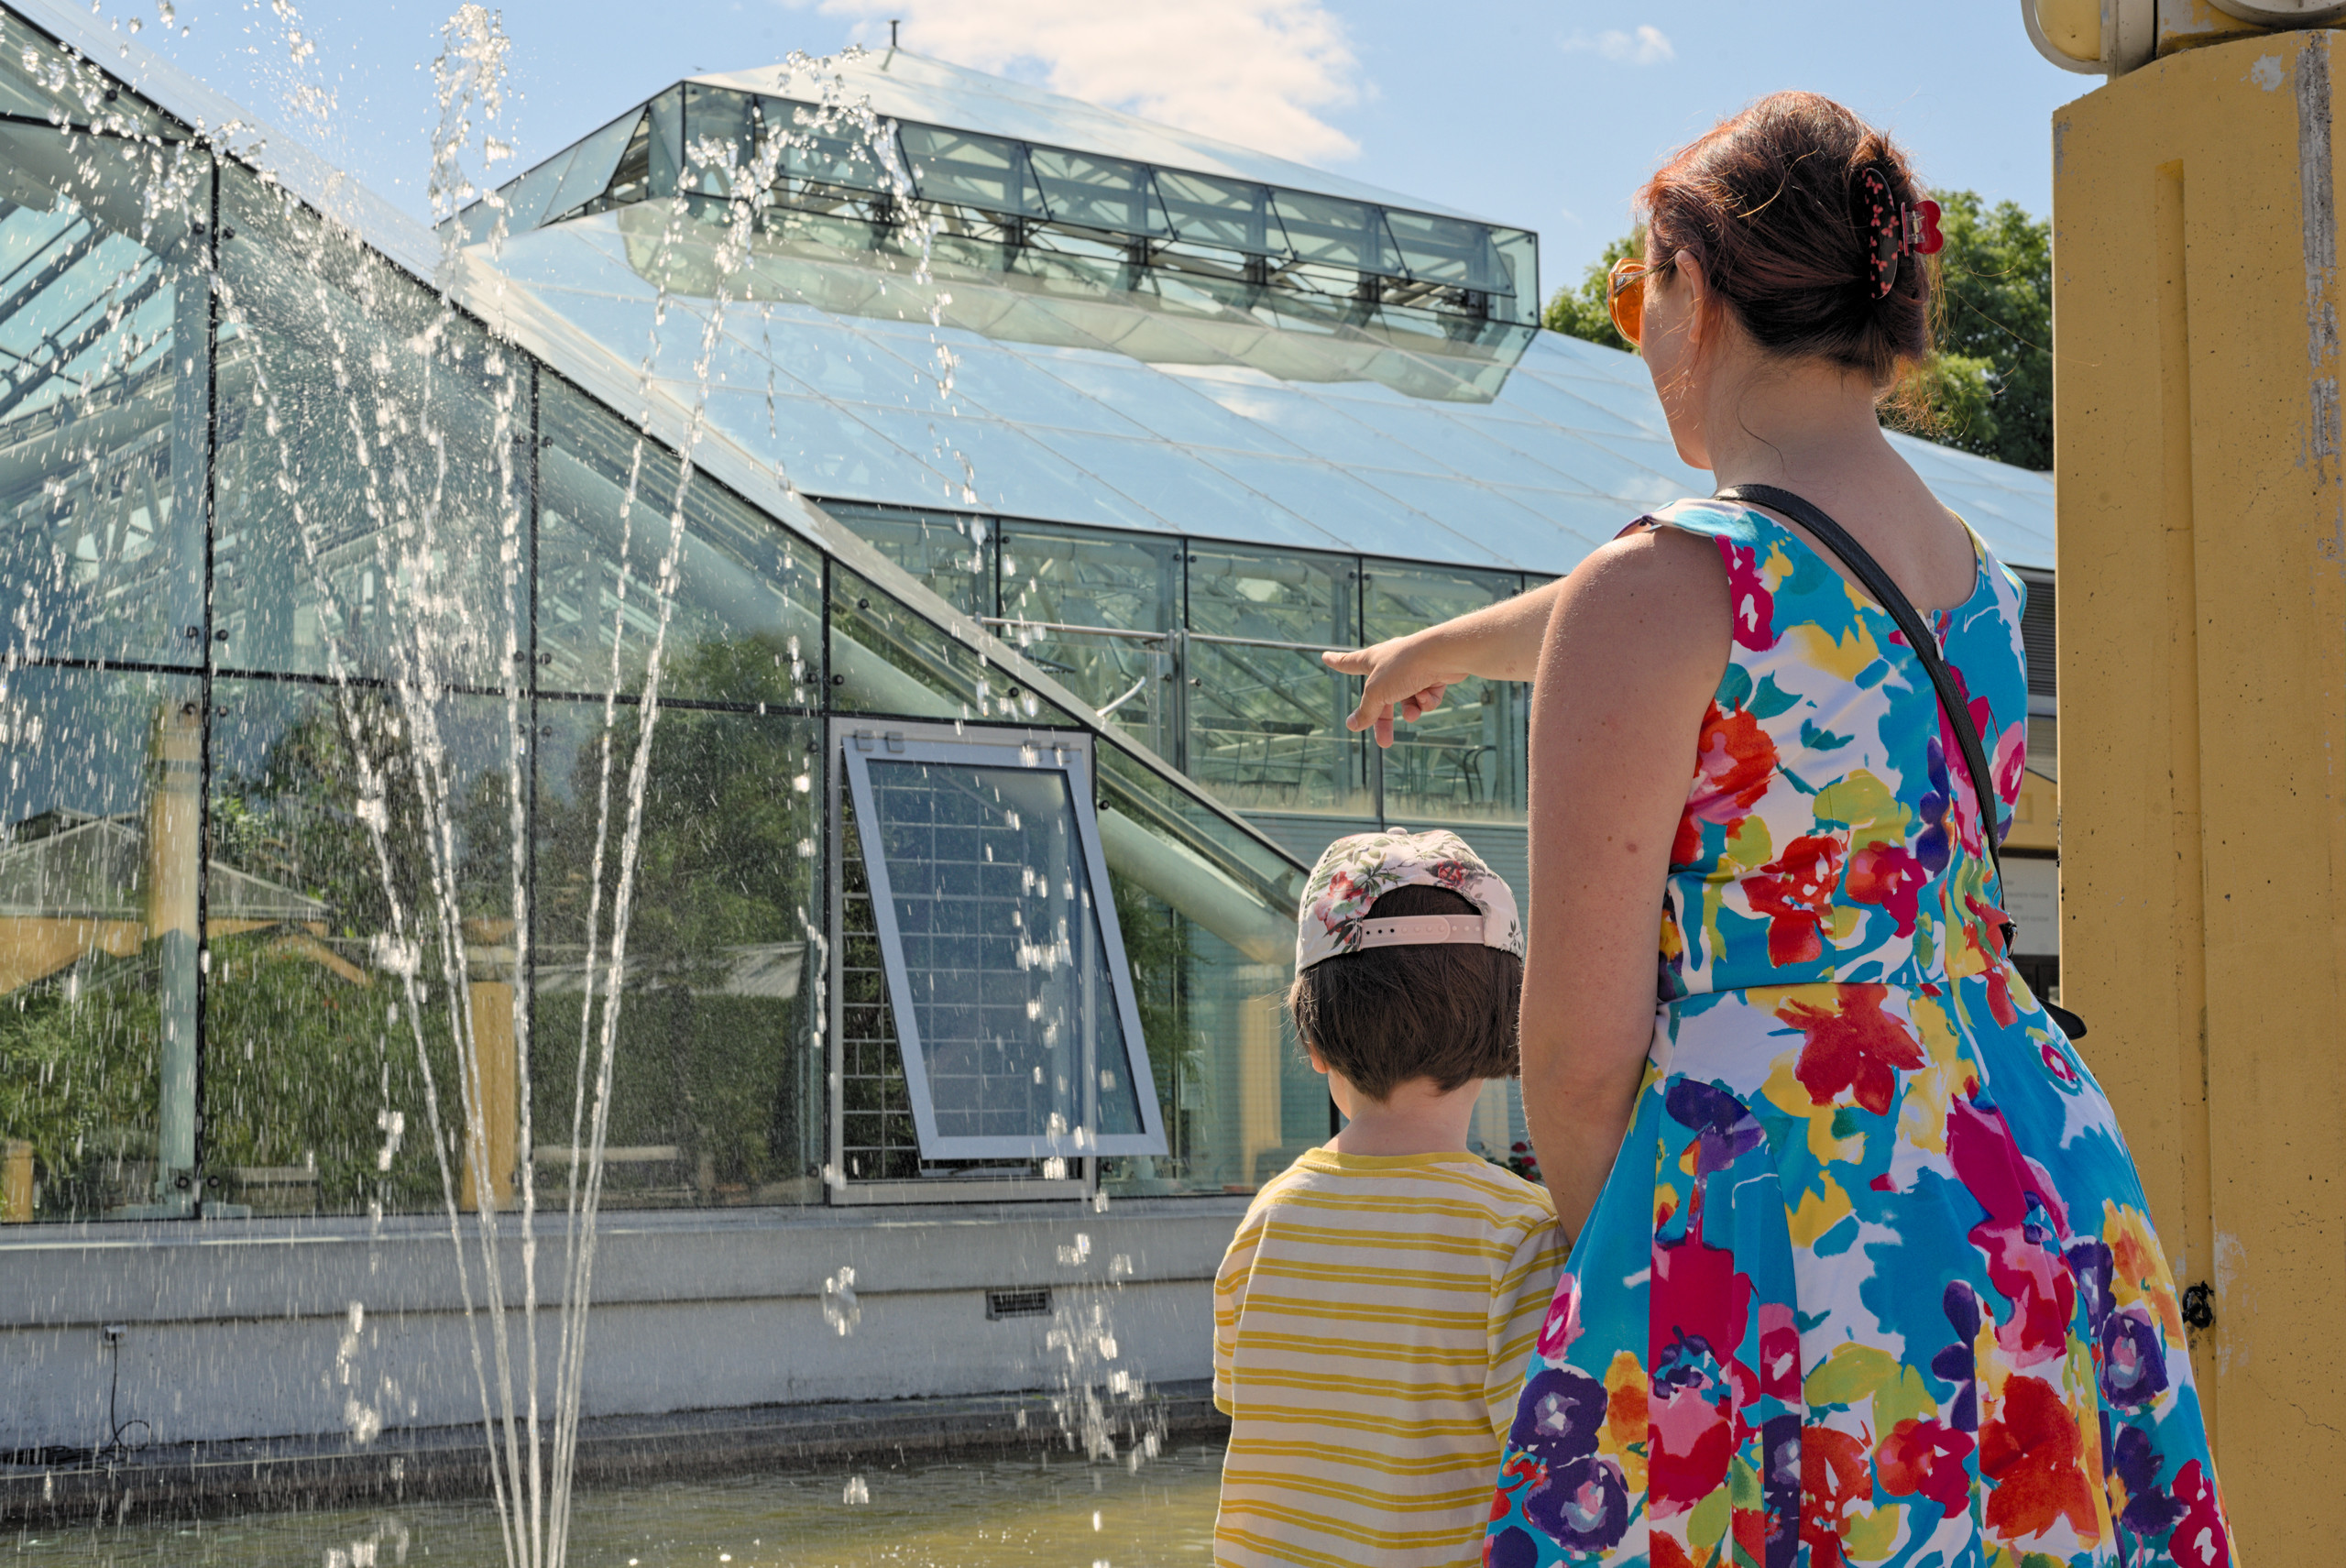
I just love the new version of Darktable. The color balance rgb module is so much easier to work with than previous modules that it replaces.
The edits I done on this picture in order of the pipeline.:
- White balance + color calibration. Default settings. Color calibration is so much better than old darktable and also my camera in setting the correct white balance.
- Denoise (profiled) in wavelet auto mode (default settings)
- A tiny bit haze removal (since the air was full of moisture from the fountain.
- A bit of retouch
- Exposure at +3.54 (I shoot with exposure calibrated for the highlights)
- A fake vignette using -1.6 EV exposure and an elliptic inverted mask
- Tone equalizer to lower the reflection in the roof of the greenhouse.
- Graduated density to compensate for the uneven lighting. I use this module quit often when shooting outdoors in sunlight.
- Contrast equalizer where the finer details of the luma tab are made more contrasty. This gives a more “crunchy” look.
- Sharpen module. Does not do much, but I usually leave it on per default.
- Color balance rgb: Something close to the “add basic colorfulness”-preset.
- Filmic RGB. WRE: +4.7EV, BRE: -13 EV, Contrast: 1.89, latitude 14.5%. V5 color science
- First instance of the local contrast module (default setting)
- Second instance of the local contrast module with a gradient mask from right to left up to the center of the picture. This made the water droplets stand out more clearly without affecting the skintones of the persons in the picture.
- A LUT that mimics the looks of 80s analog film stock. Made by Mathieu Stern. It adds cyan to green, increases saturation of red and turns skintones slightly orange.
Utflykt till Bergianska Trädgården-0022.NEF (27.0 MB)
This file is licensed Creative Commons, By-Attribution, Share-Alike.