It is clear, you can’t get perfect photos with 4MP sources and a bad lens, but I think you can do some improvements. Just a note, the 5MP photos with a Zeiss lens are a lot better. The discussion here is with the Ricoh Caplio R1, it was ok for small paper prints, but times change.
Mainly I am interested what can be done with options to improve upscaling for UHD-monitors. I think on the fly upcscaling is more bad than doing it with dt. So the goal is 3840x2160 and that is my main problem.
Often oversharping helps a bit.
From another thread:
The expamples are the better ones, with backlight the lens gives up.
Again the main question is what can be done for upscaling. Maybe a better sharpening can be done. Check the result always with 3840x2160 and not in darktable-mode.
I would leave them as is, and let the display software interpolate. UHD is about 12MP, so for 4MP photos, you are talking about a 75% (\approx\sqrt{3}) linear upscaling.
I think your edits 2 are way overcooked. I would dial that down significantly, and focus on color, tone mapping, and local contrast. My 2 cents.
I tried upscaling and I was unhappy with the result. I agree with Tamas that I would leave the resolution as is. I know that is not the answer you are looking for. Maybe someone else can upscale and improve your result, but I couldn’t. I personally would just put a border around the picture so it felt framed and use a watermark to identify the location or something else about the photo.
And your sharpening was way too harsh and in my view destroys the image. JPGs normally don’t need sharpening. Certainly not as much as you have applied.
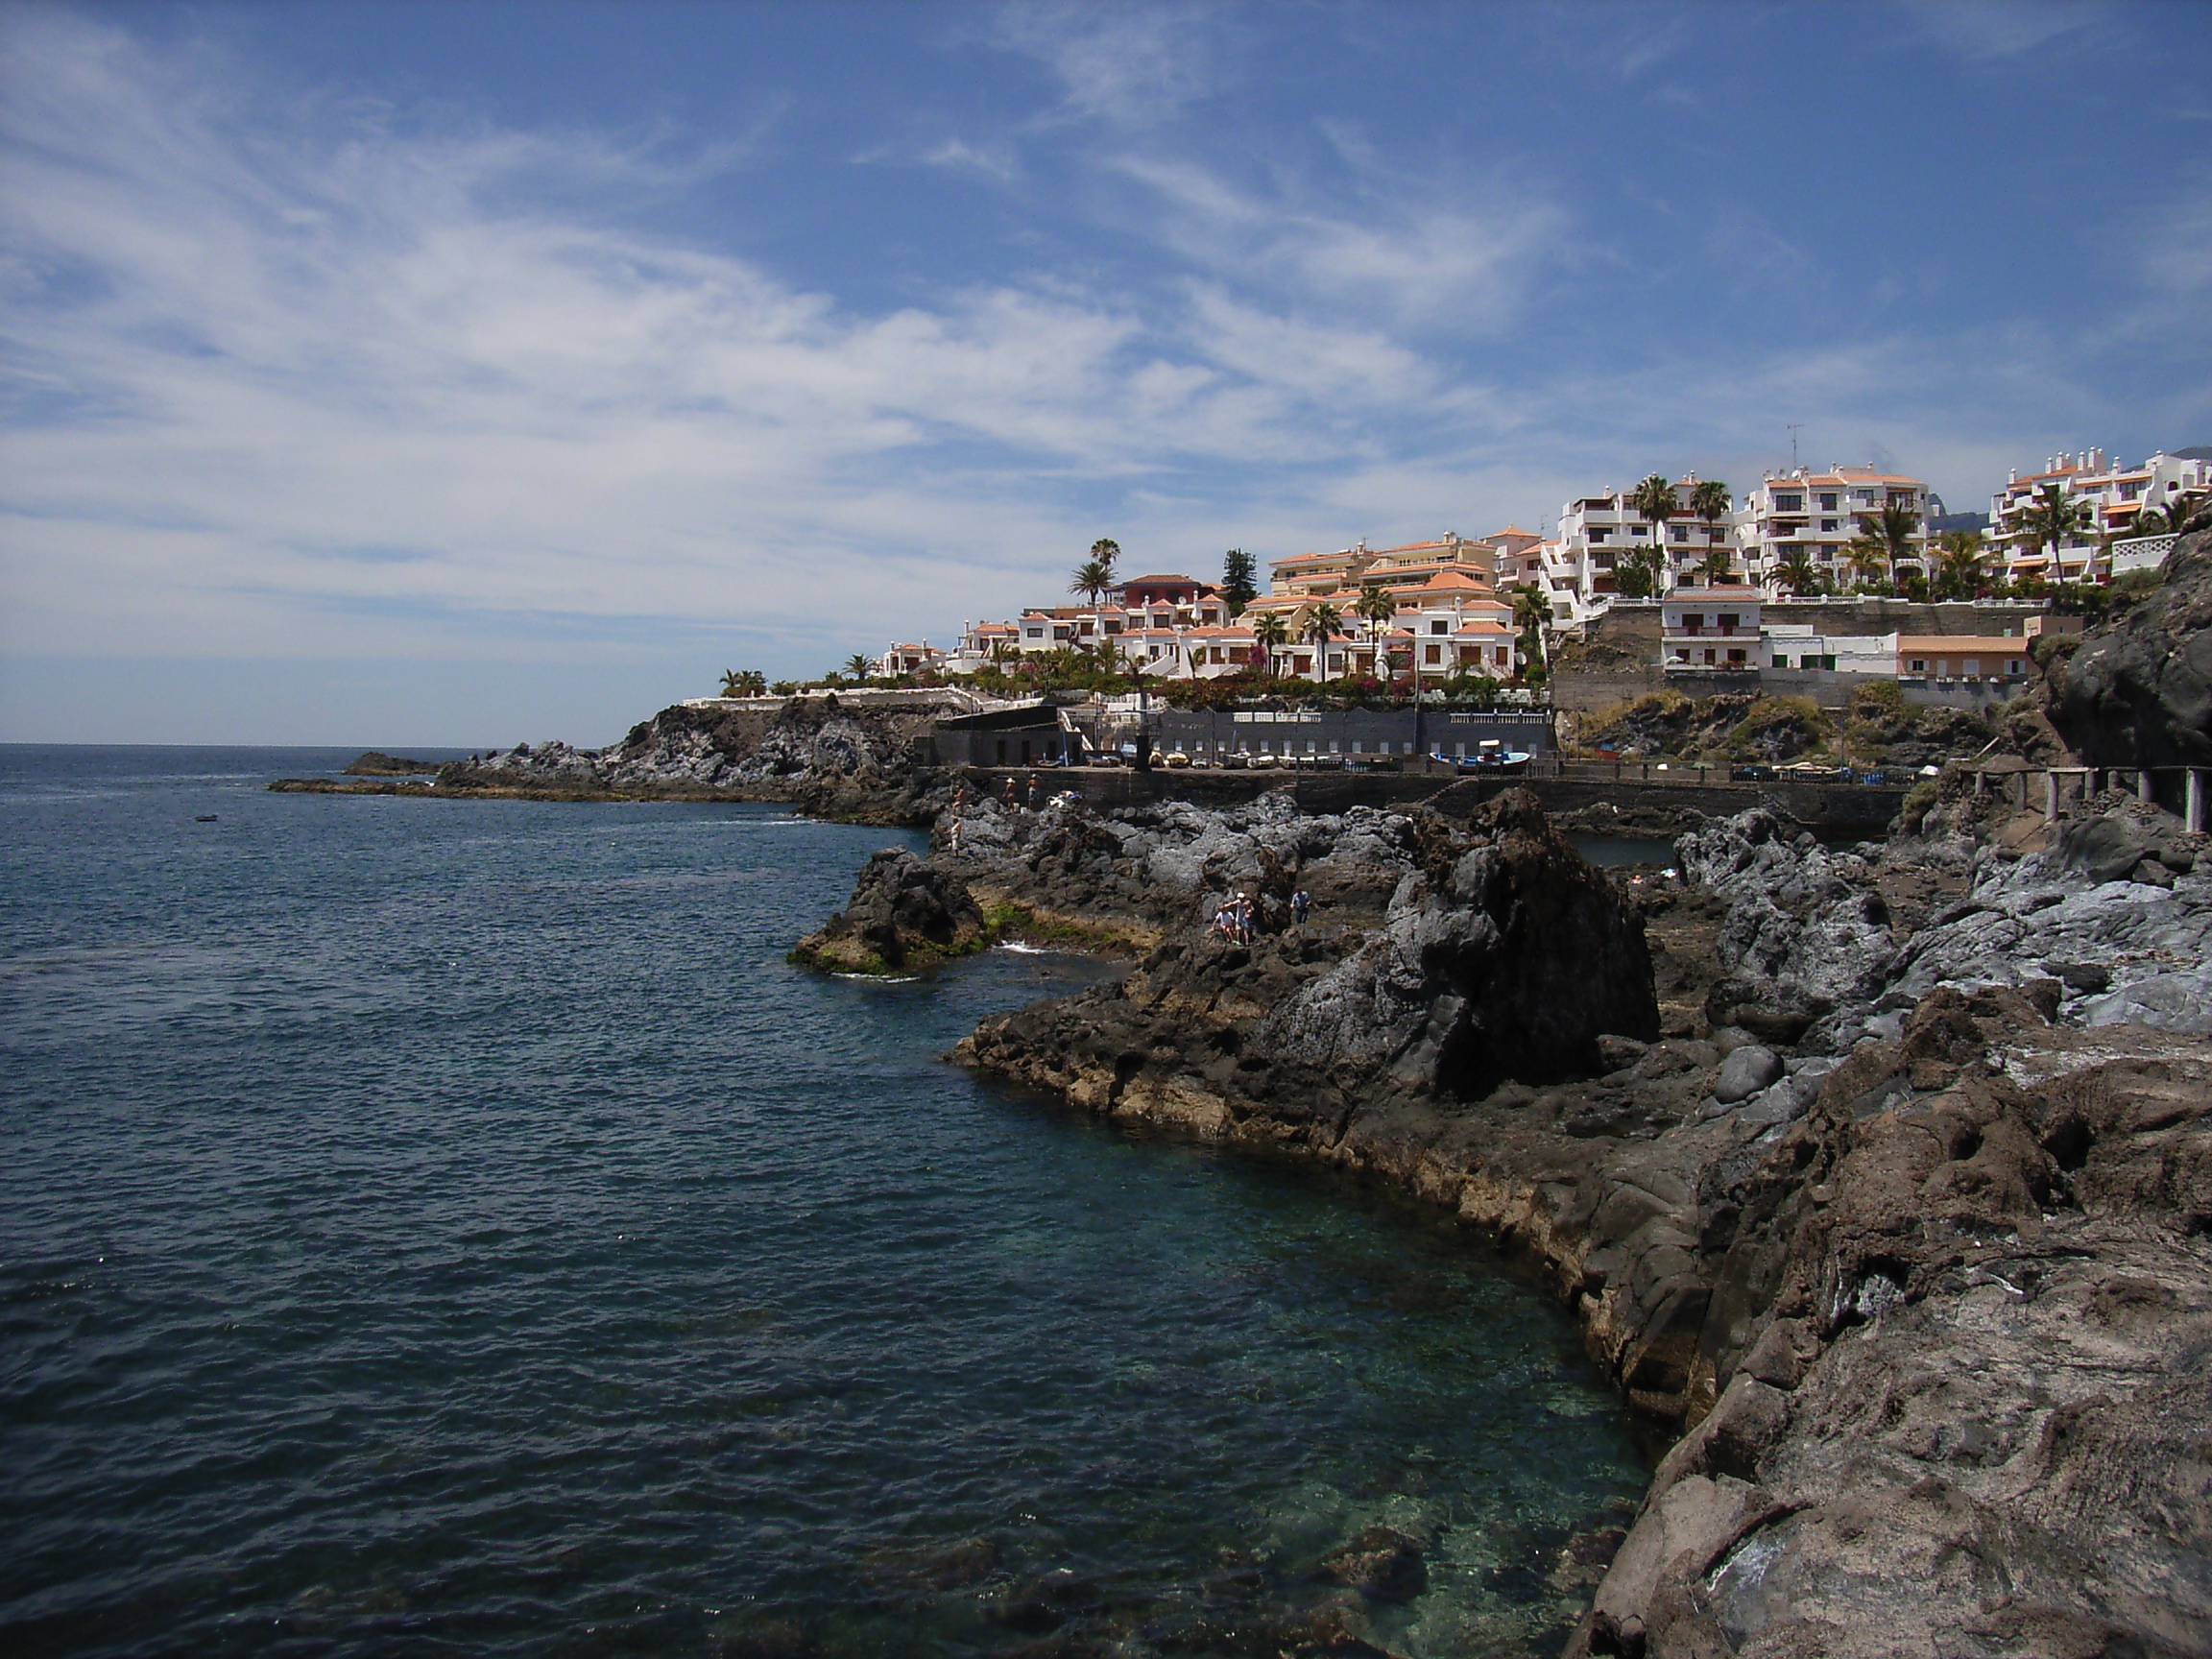
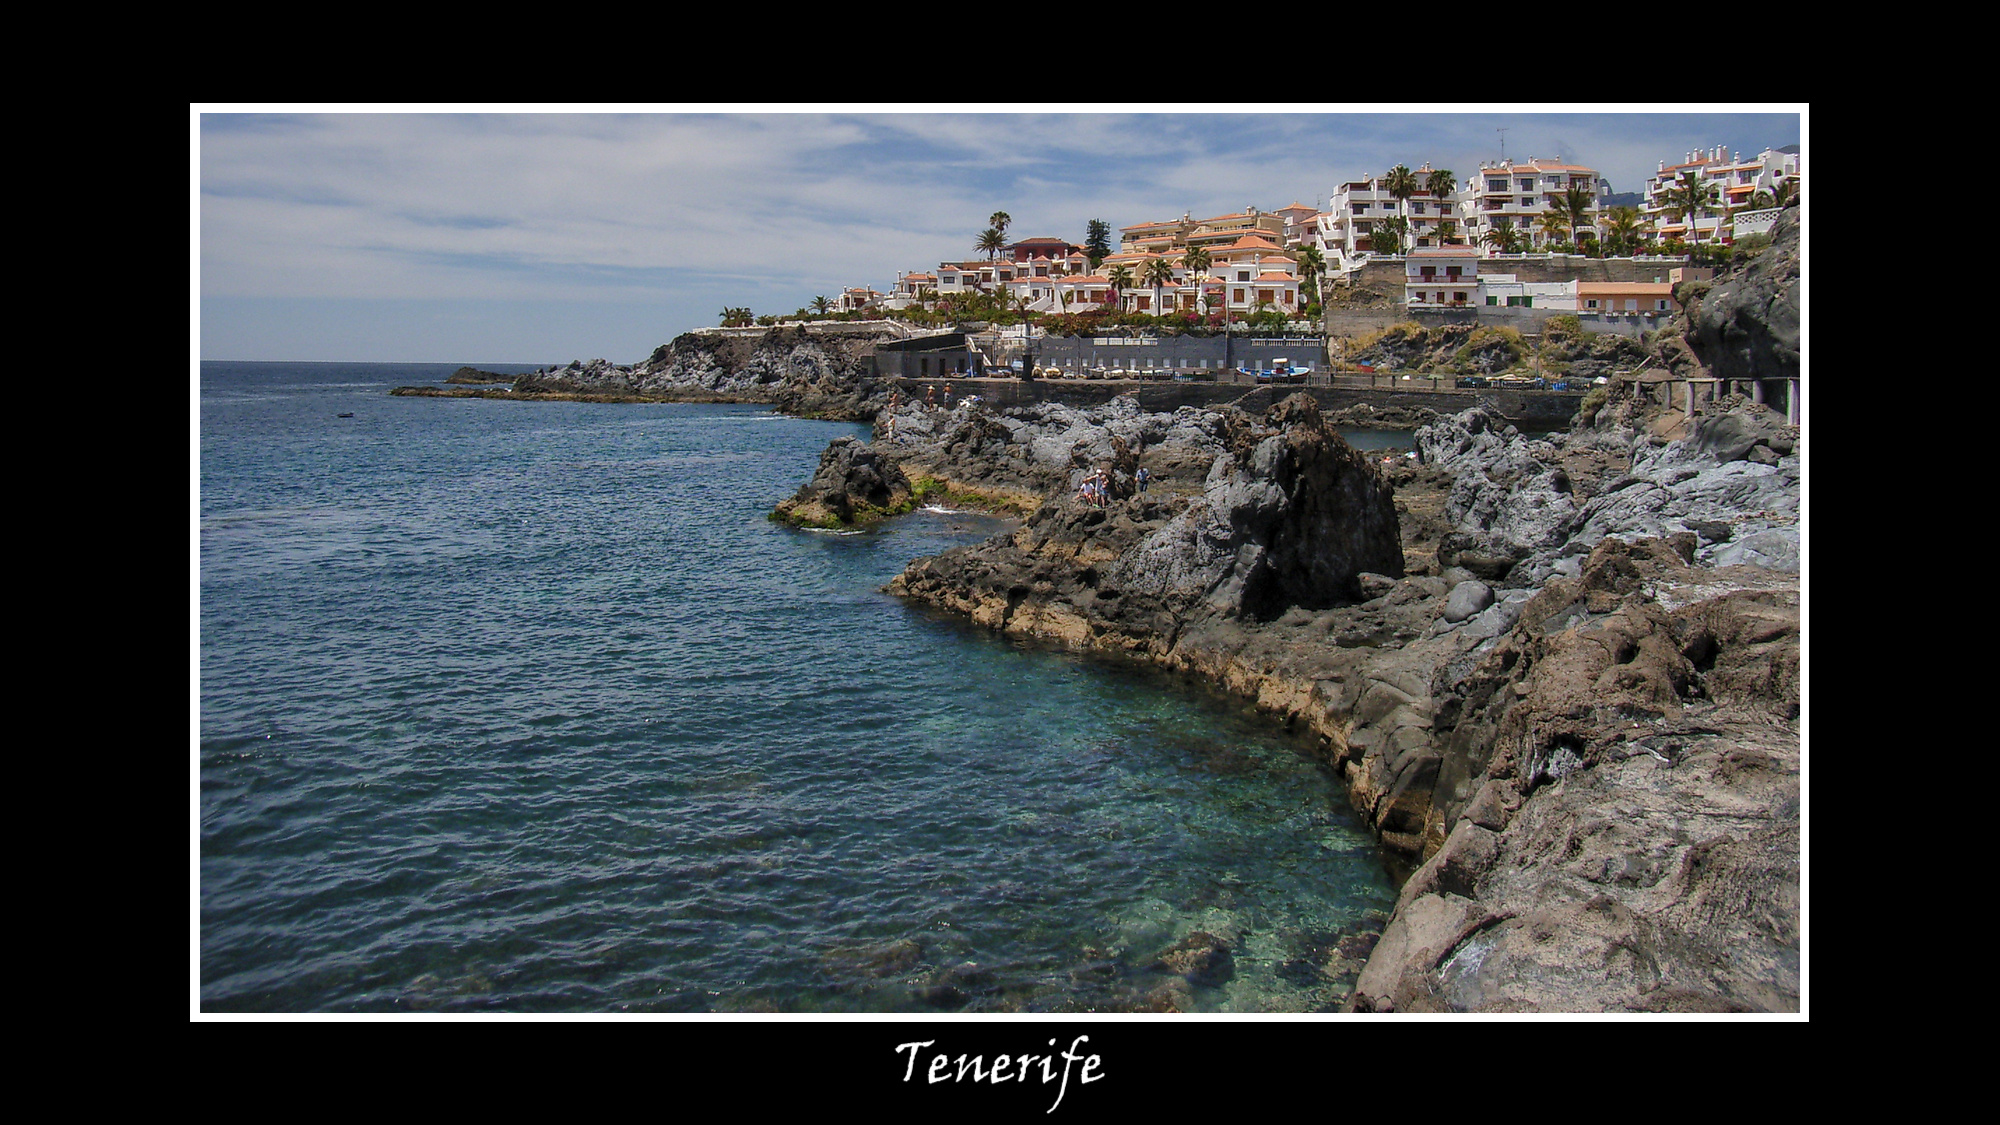
My edit is simple. Shadow and highlights helped a lot, then I used color balance RGB to lift the shadows in the foreground using a gradient mask. I finally decided to add local contrast module at default settings as a compromise towards some sharpening/clarity. I added a border and watermark. Upscaling in DT did not look good to me so I didn’t upscale this image in the end. The forum appears to have reduced the size of my image posted here. Maybe I could have raised the brightness on the image a little more? tenerife1.jpg.xmp (7.3 KB)
With “normal” editing tools you can not retrieve information, that is not there. So, upscaling might hide some shortcomings but will not really improve the image.
The only way is to let an AI invent the missing information that is needed for successful upscaling.
I would keep the images as they are. They have “character”!
Exactly. Despite the overall poor quality of photos that came out of my ol’ Coolpix L830, they had a certain “character” as for the grain structure combined with automatic denoising. Same goes for my (now almost sold) D3500 - the quality was sometimes really not great, but it had something to it…
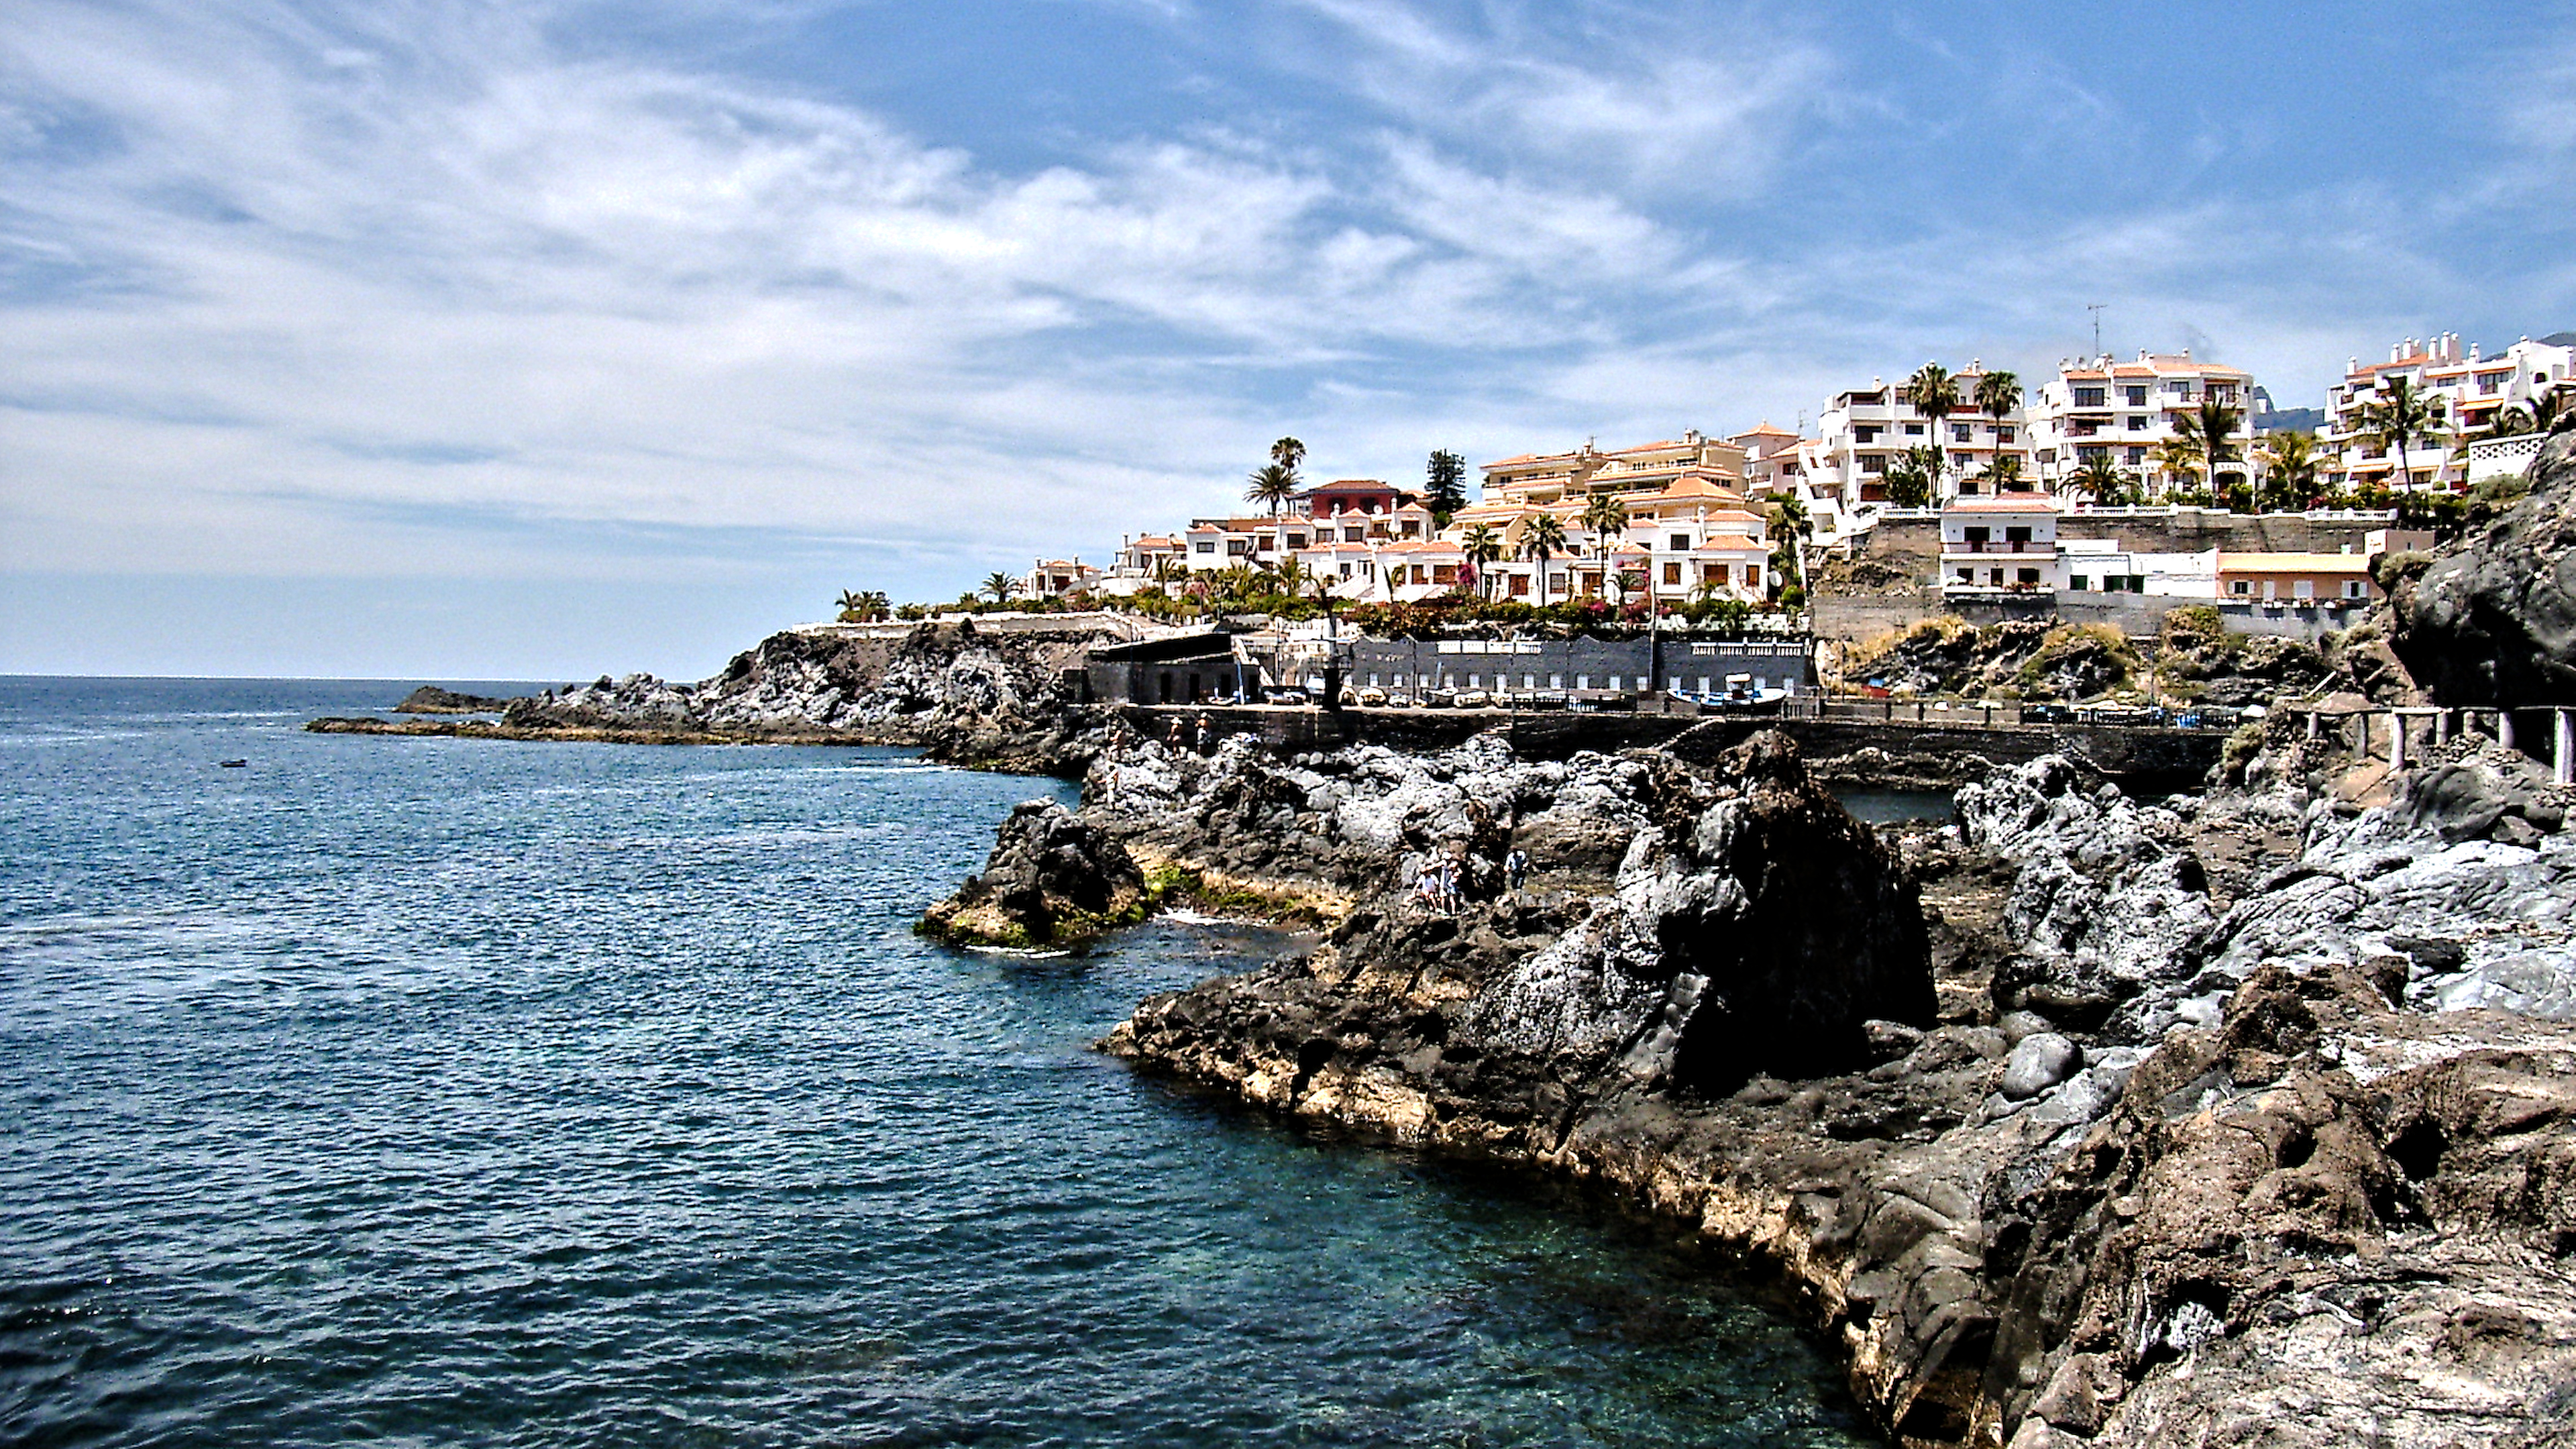
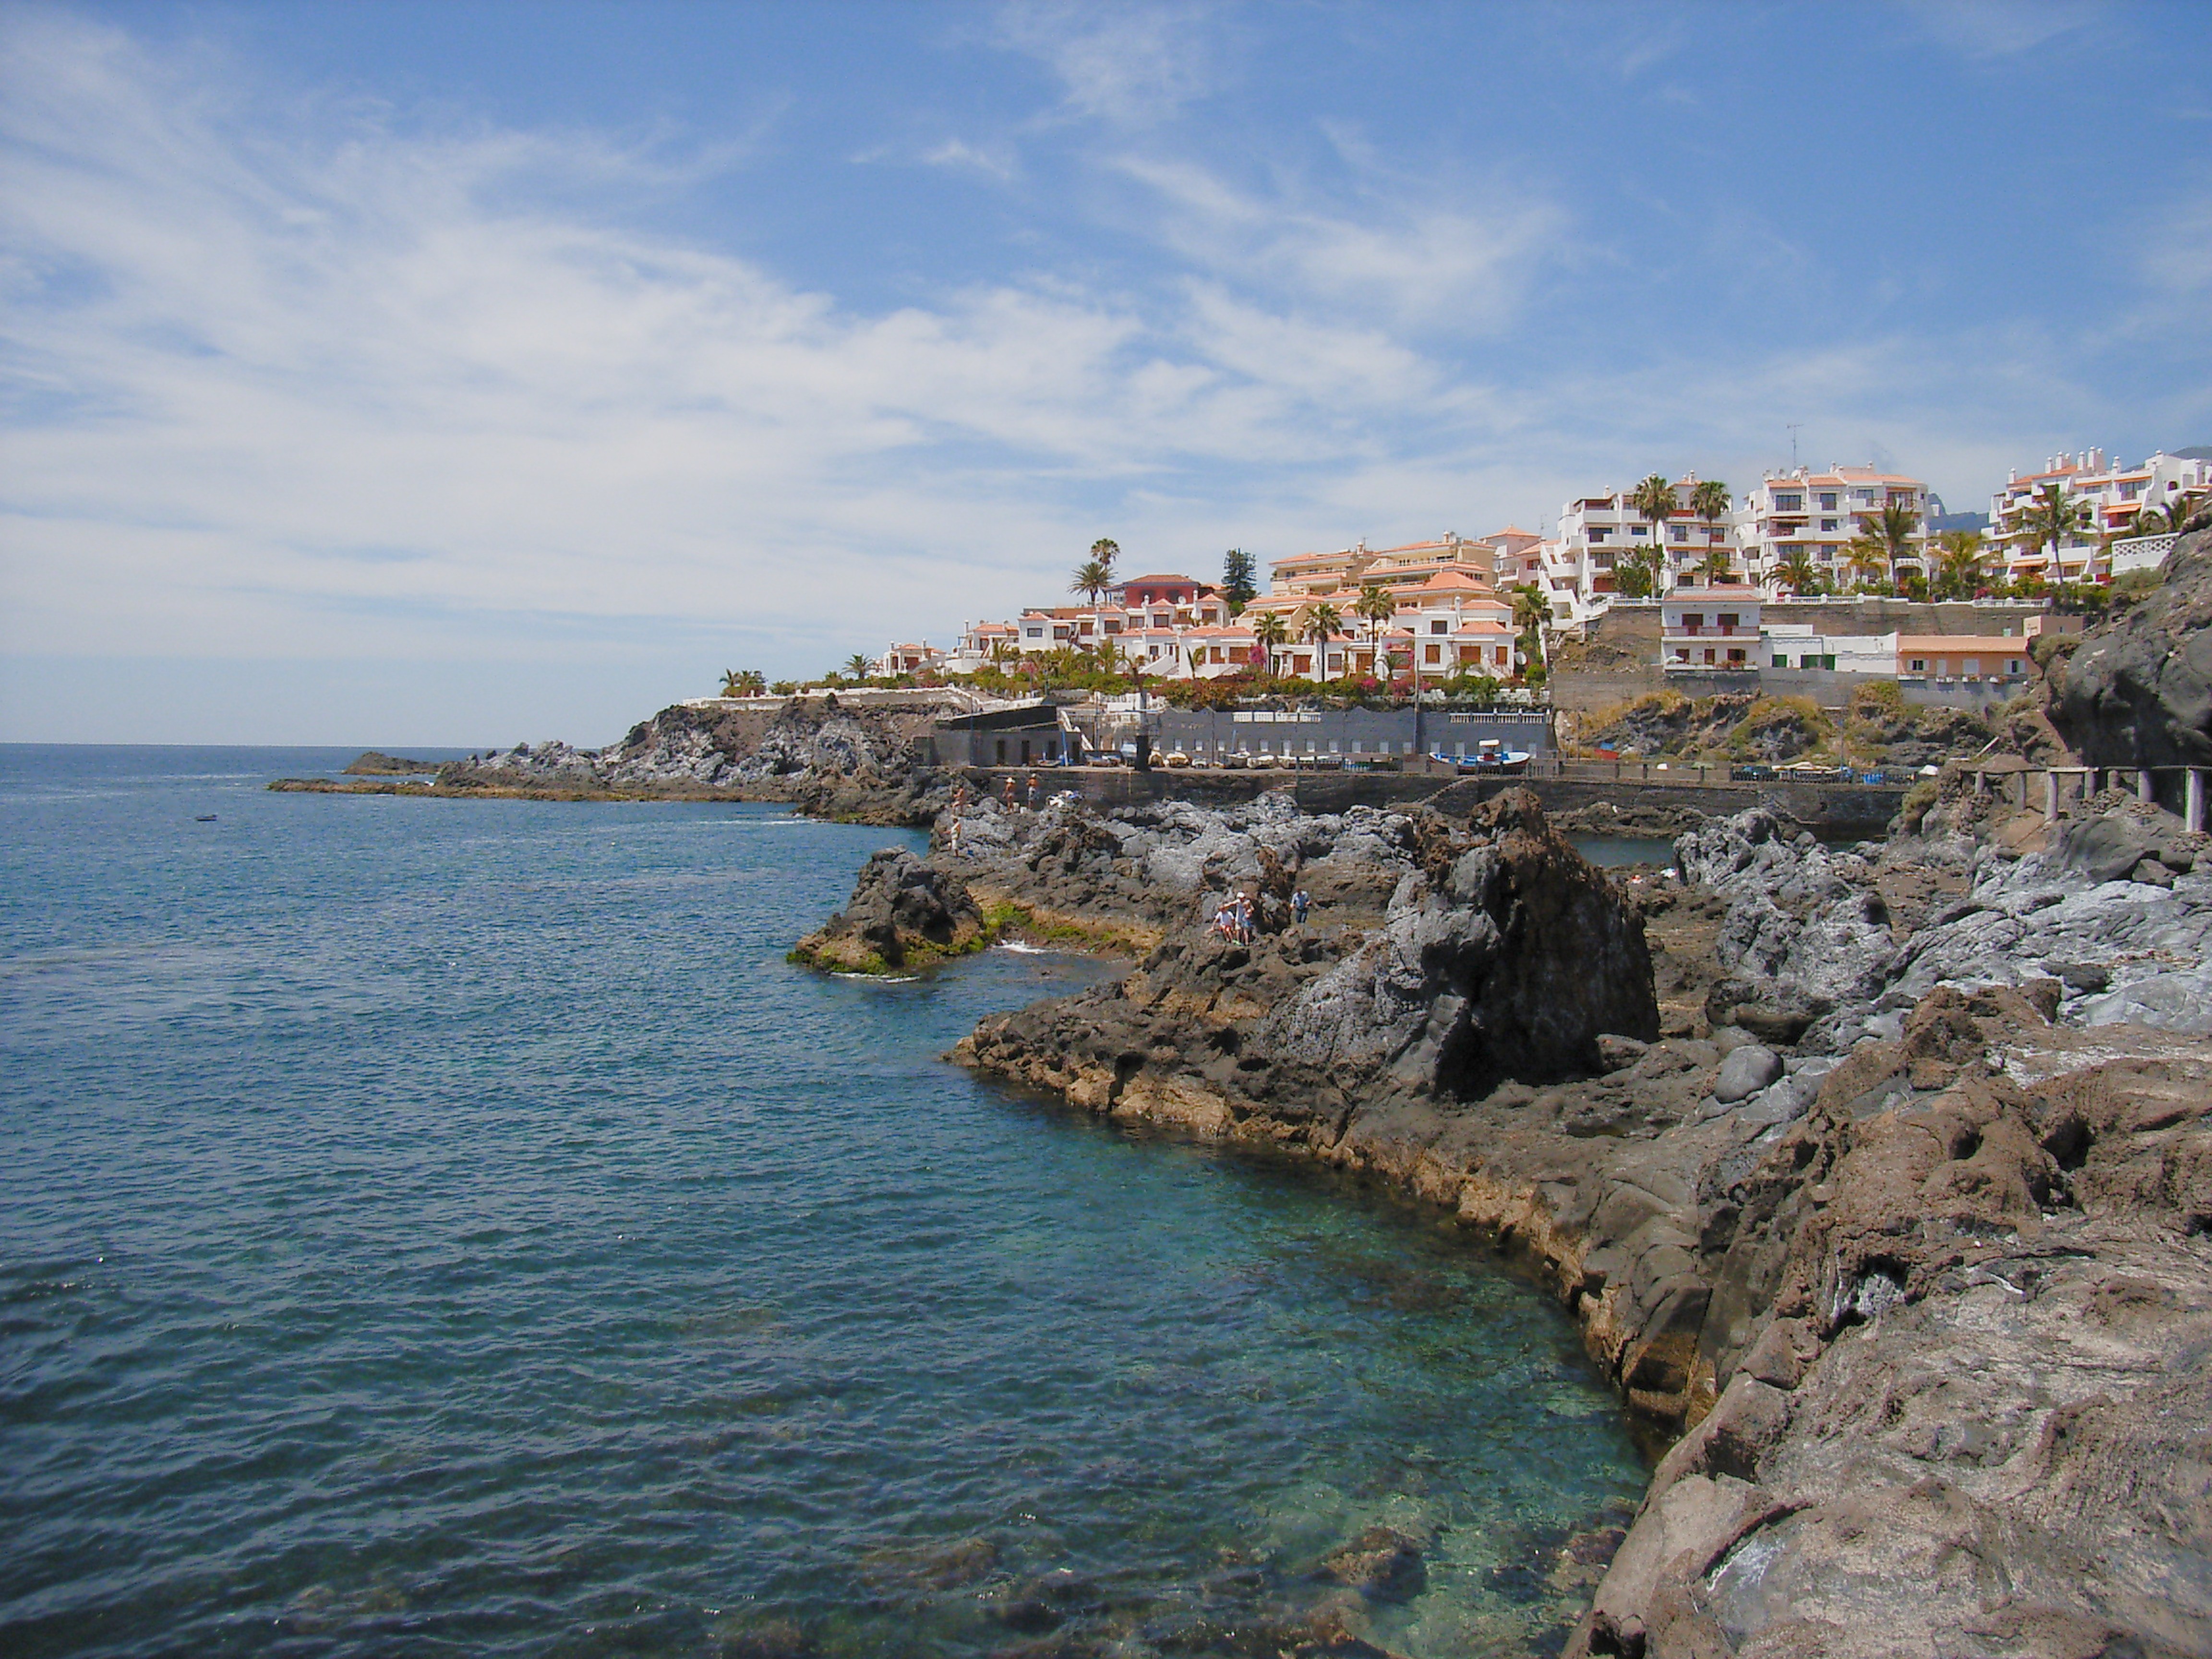
I’m not sure exactly what you are looking for, but this is a 4600 x 3450 image. I have no idea if it looks good on your UHD display, but it looks fine on mine. (Are you going to try to eventually print, or just use on displays? Are you going to try to zoom way in, or just leave it at 100%? etc)
A little AgX and color rgb work is all - it was too dark for my taste.
I exported it as a JPG at 90% quality. I “set size” to “by scale (for file)” and typed “2”. I checked “allow upscaling”.
Some day I’ll get back to the images from my Fujifilm DX-5. The colours I got from it were wonderful, but at 0.3MP, there wasn’t much detail. Lots of wonderful memories though.
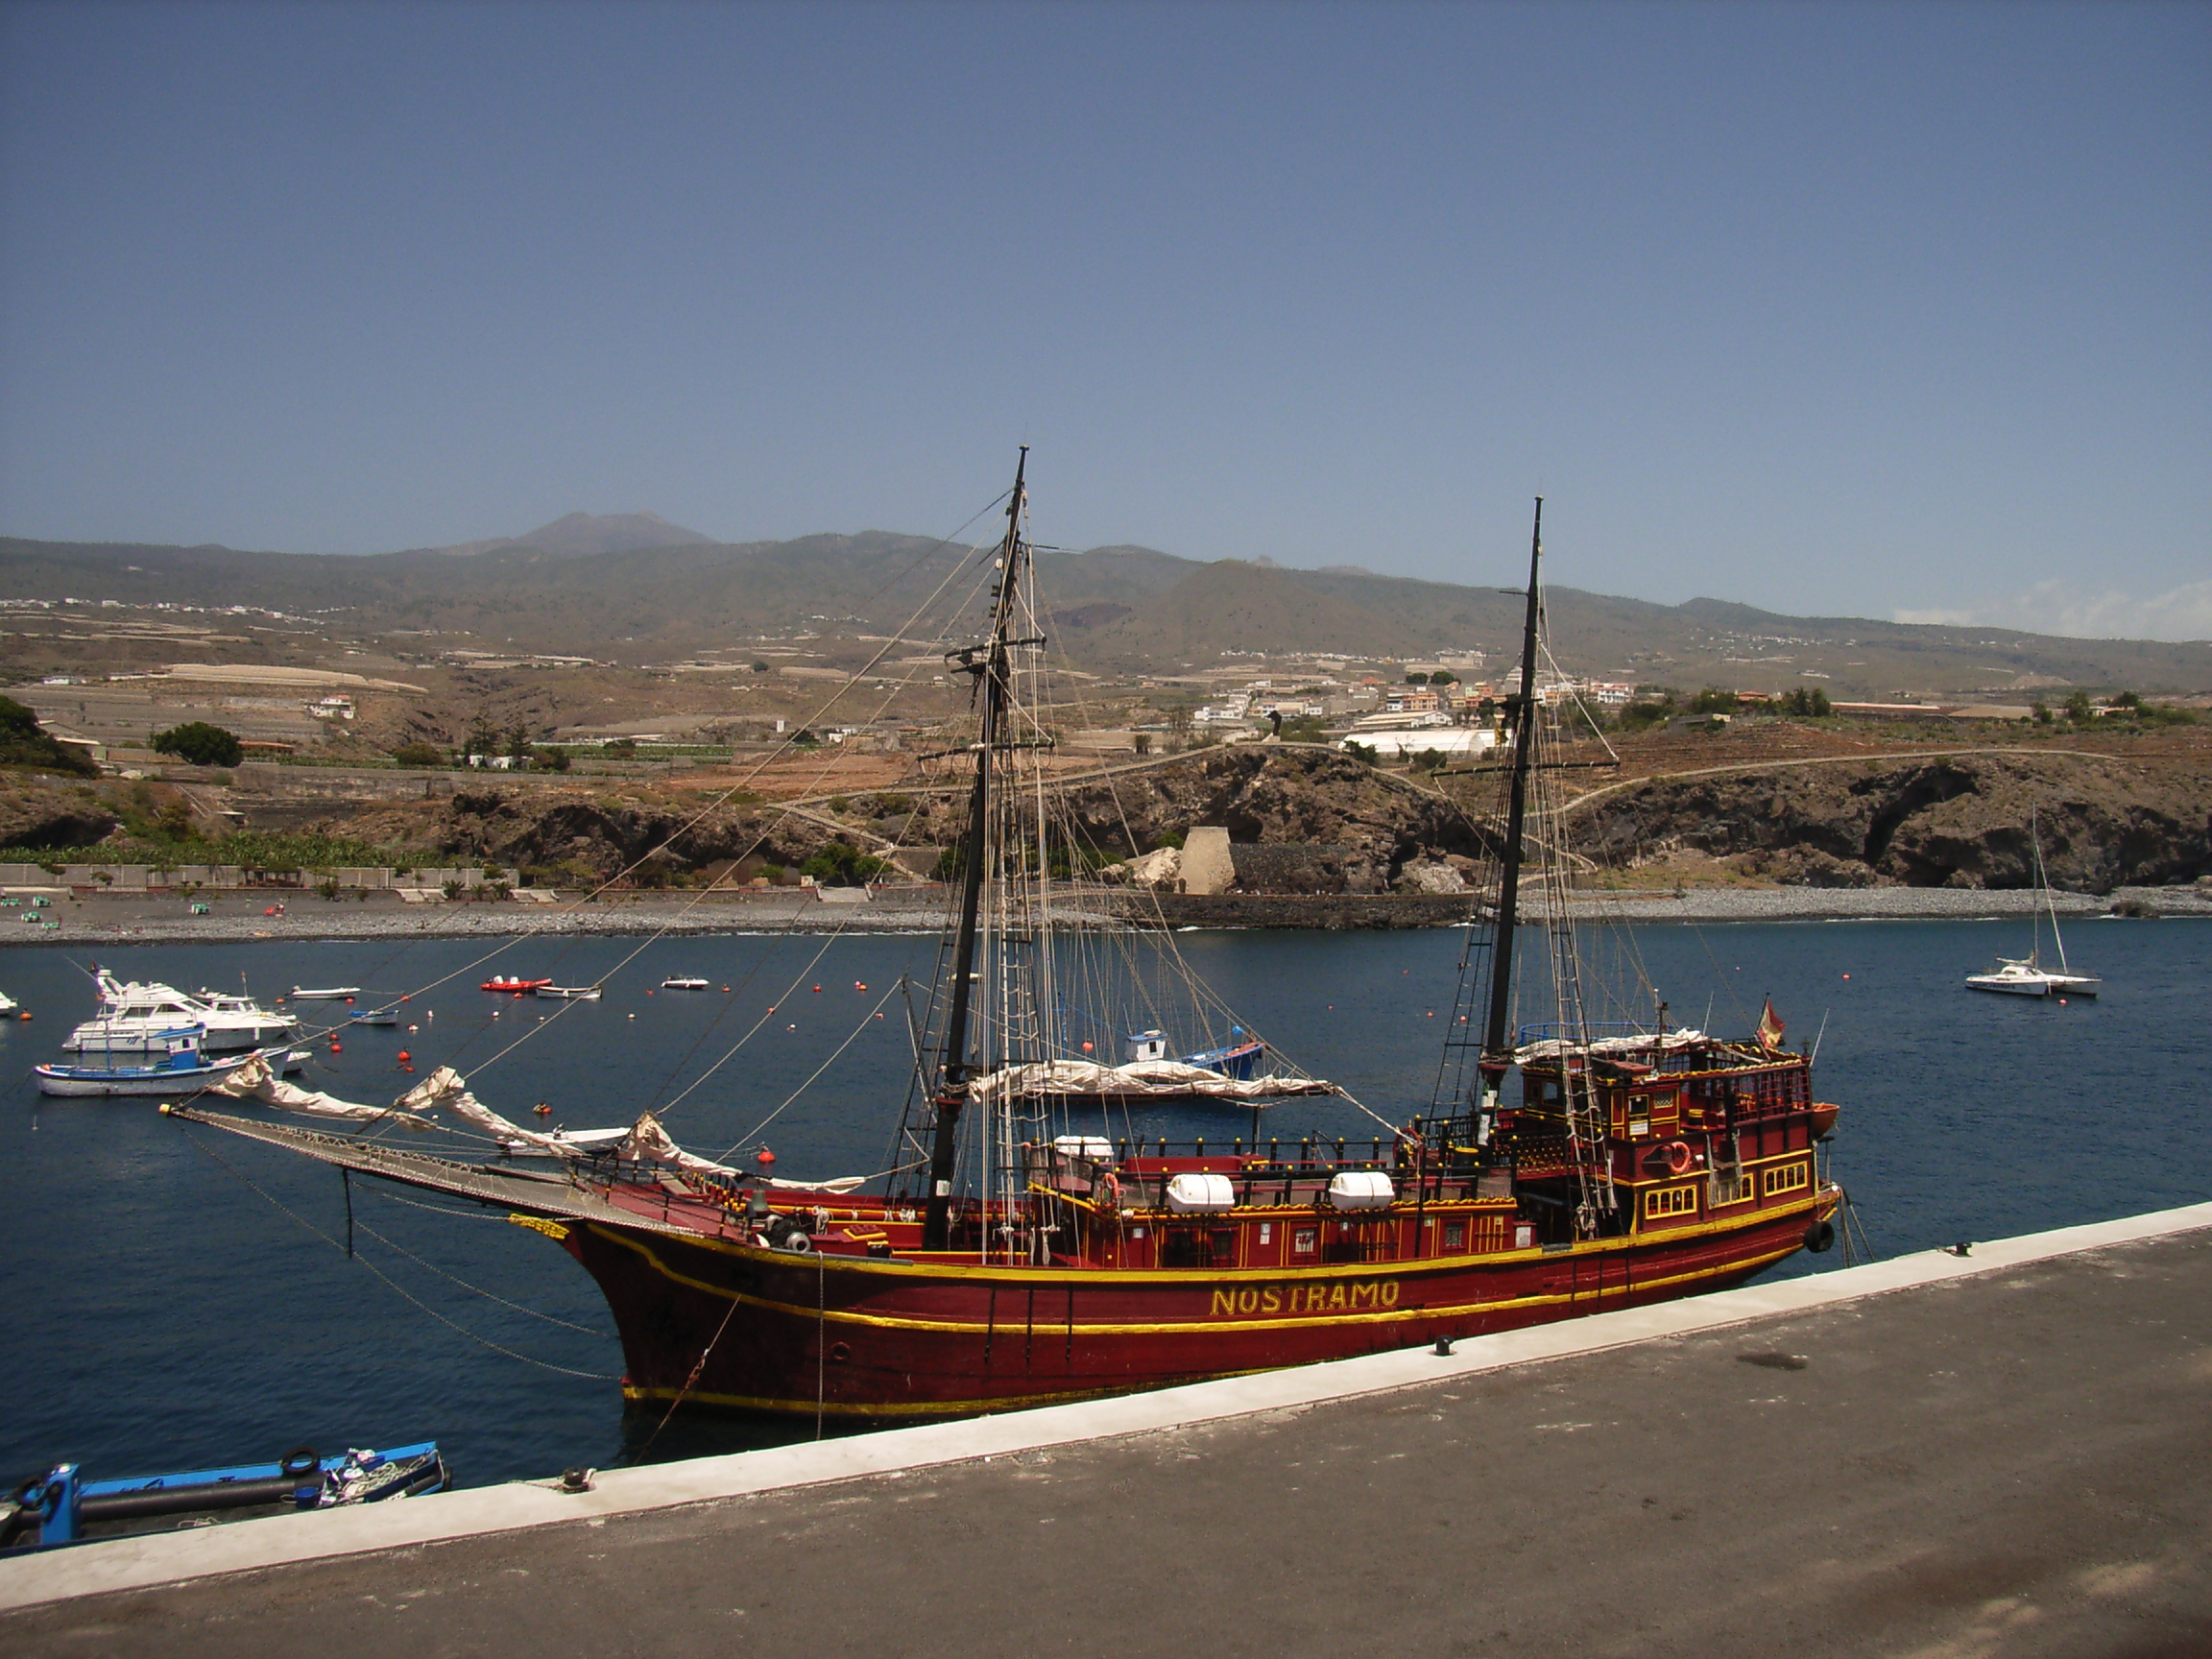
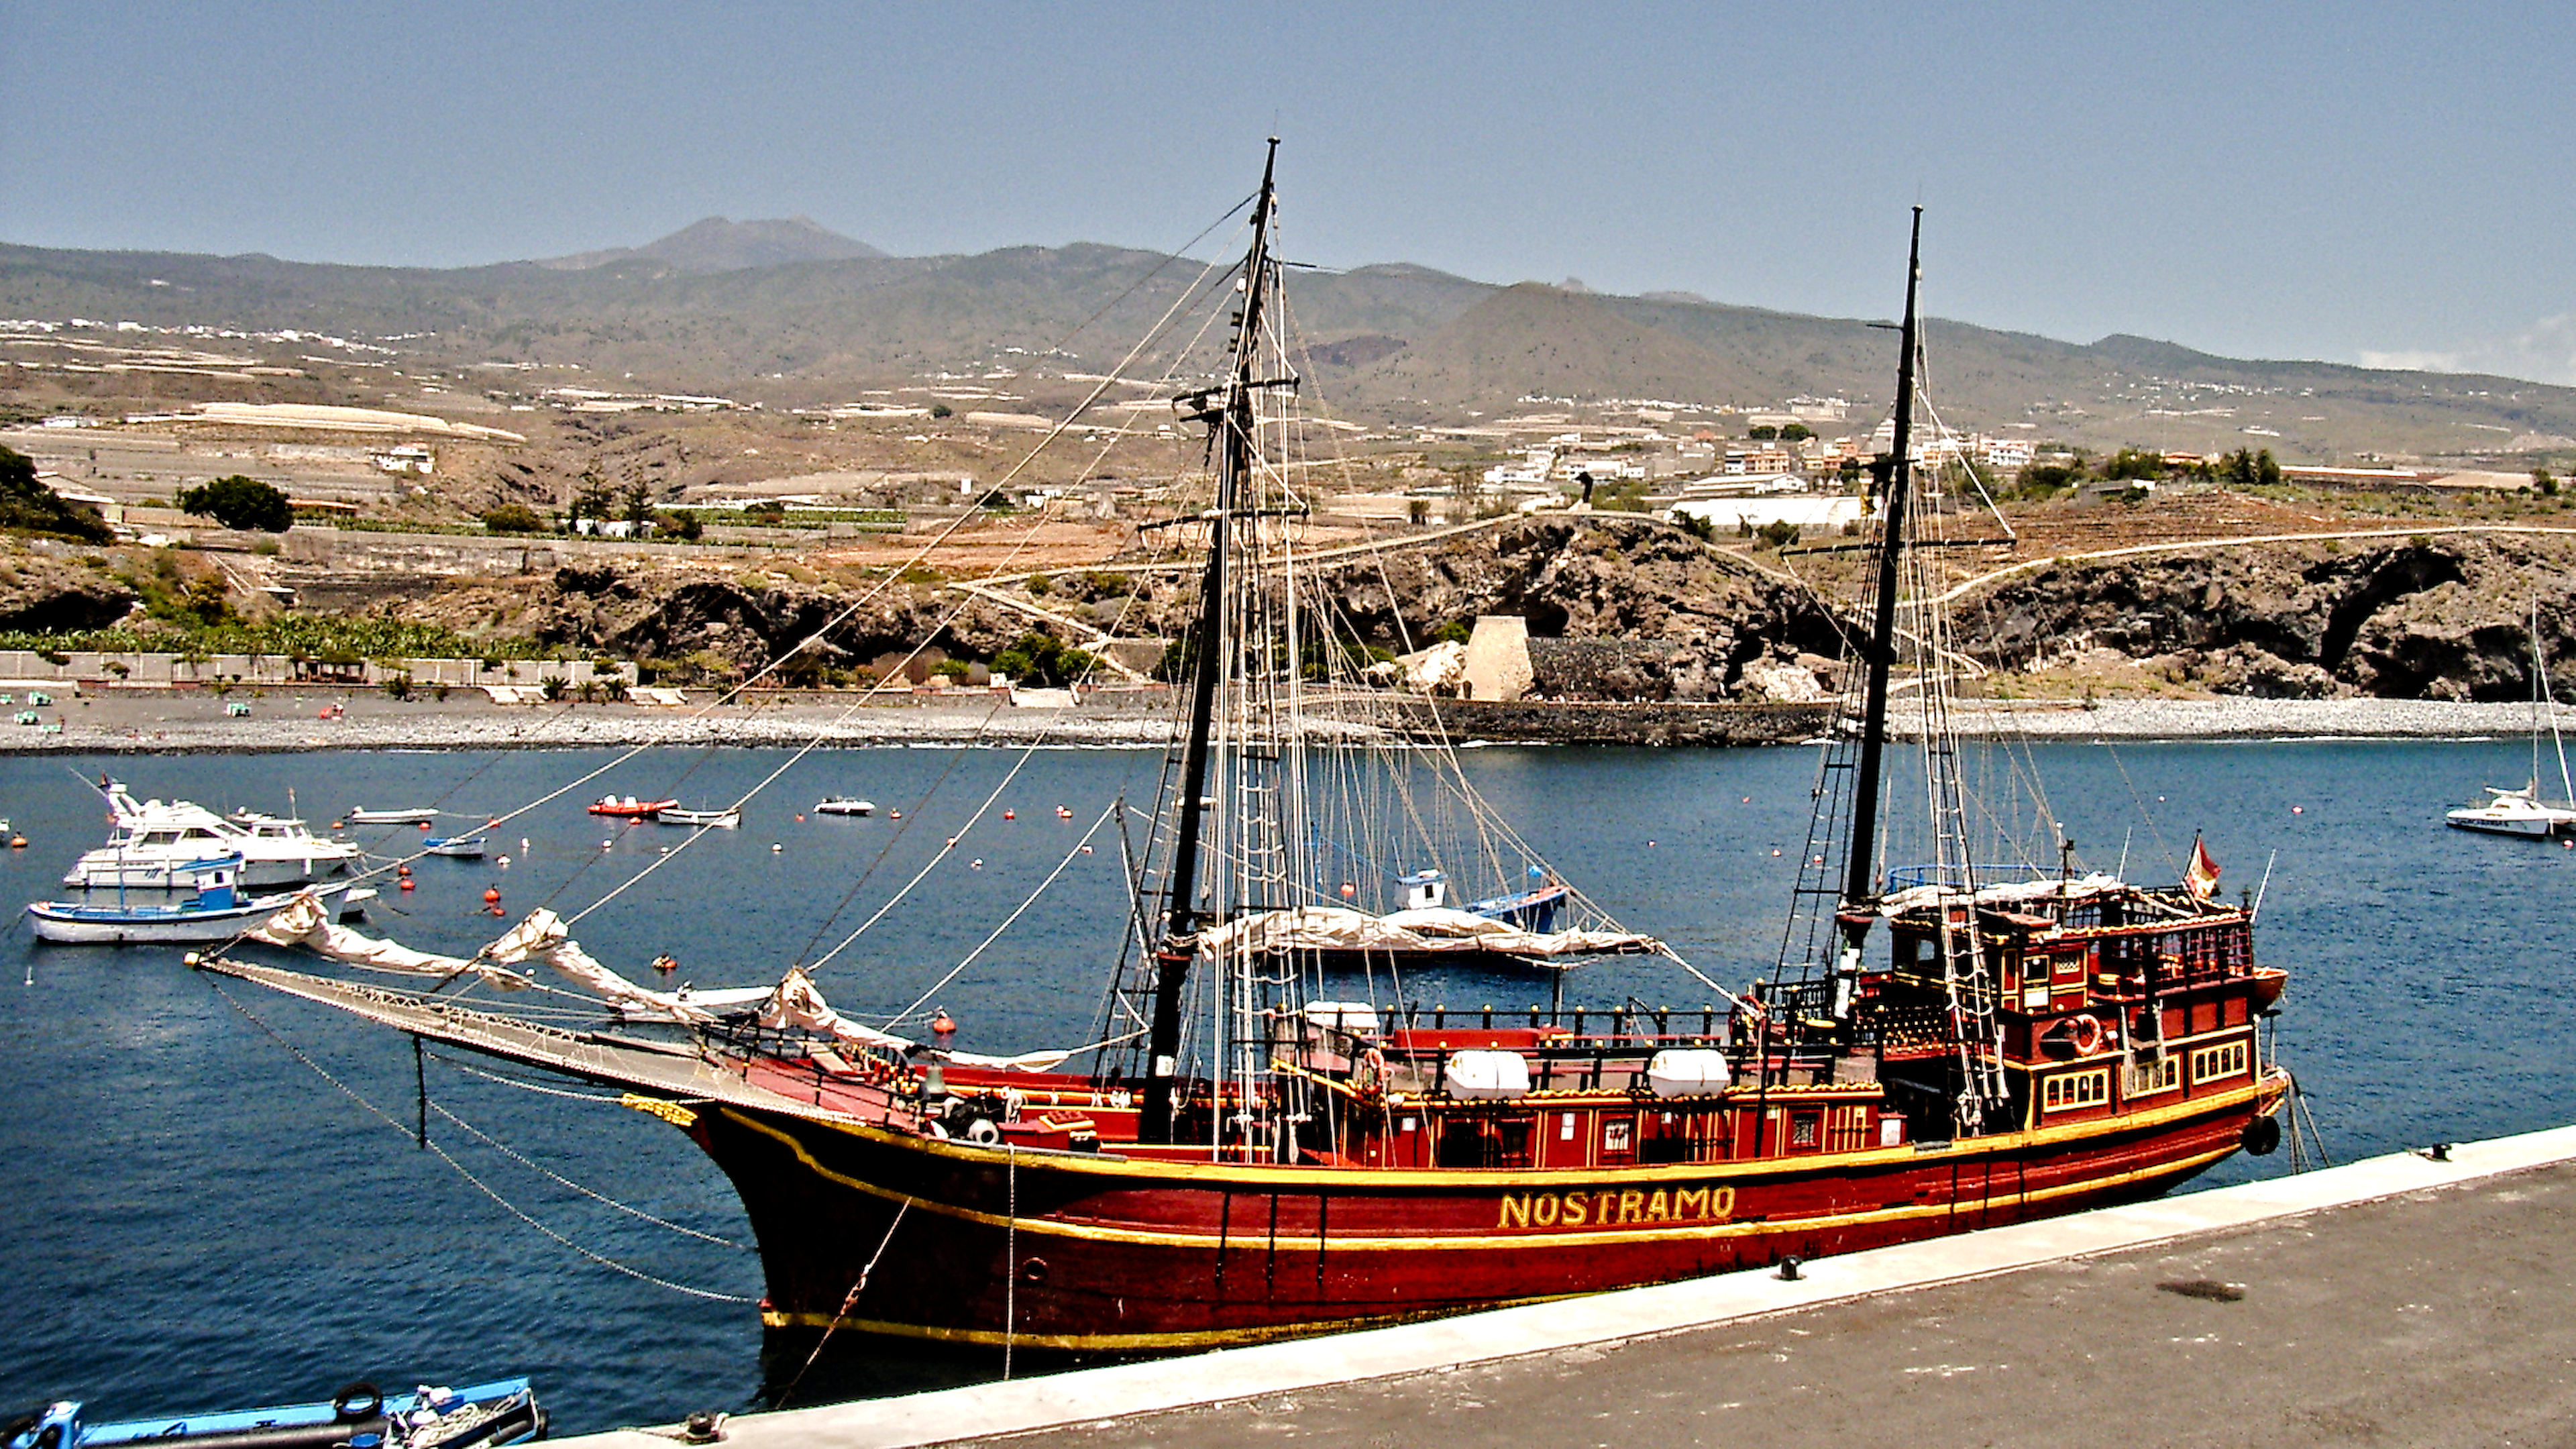
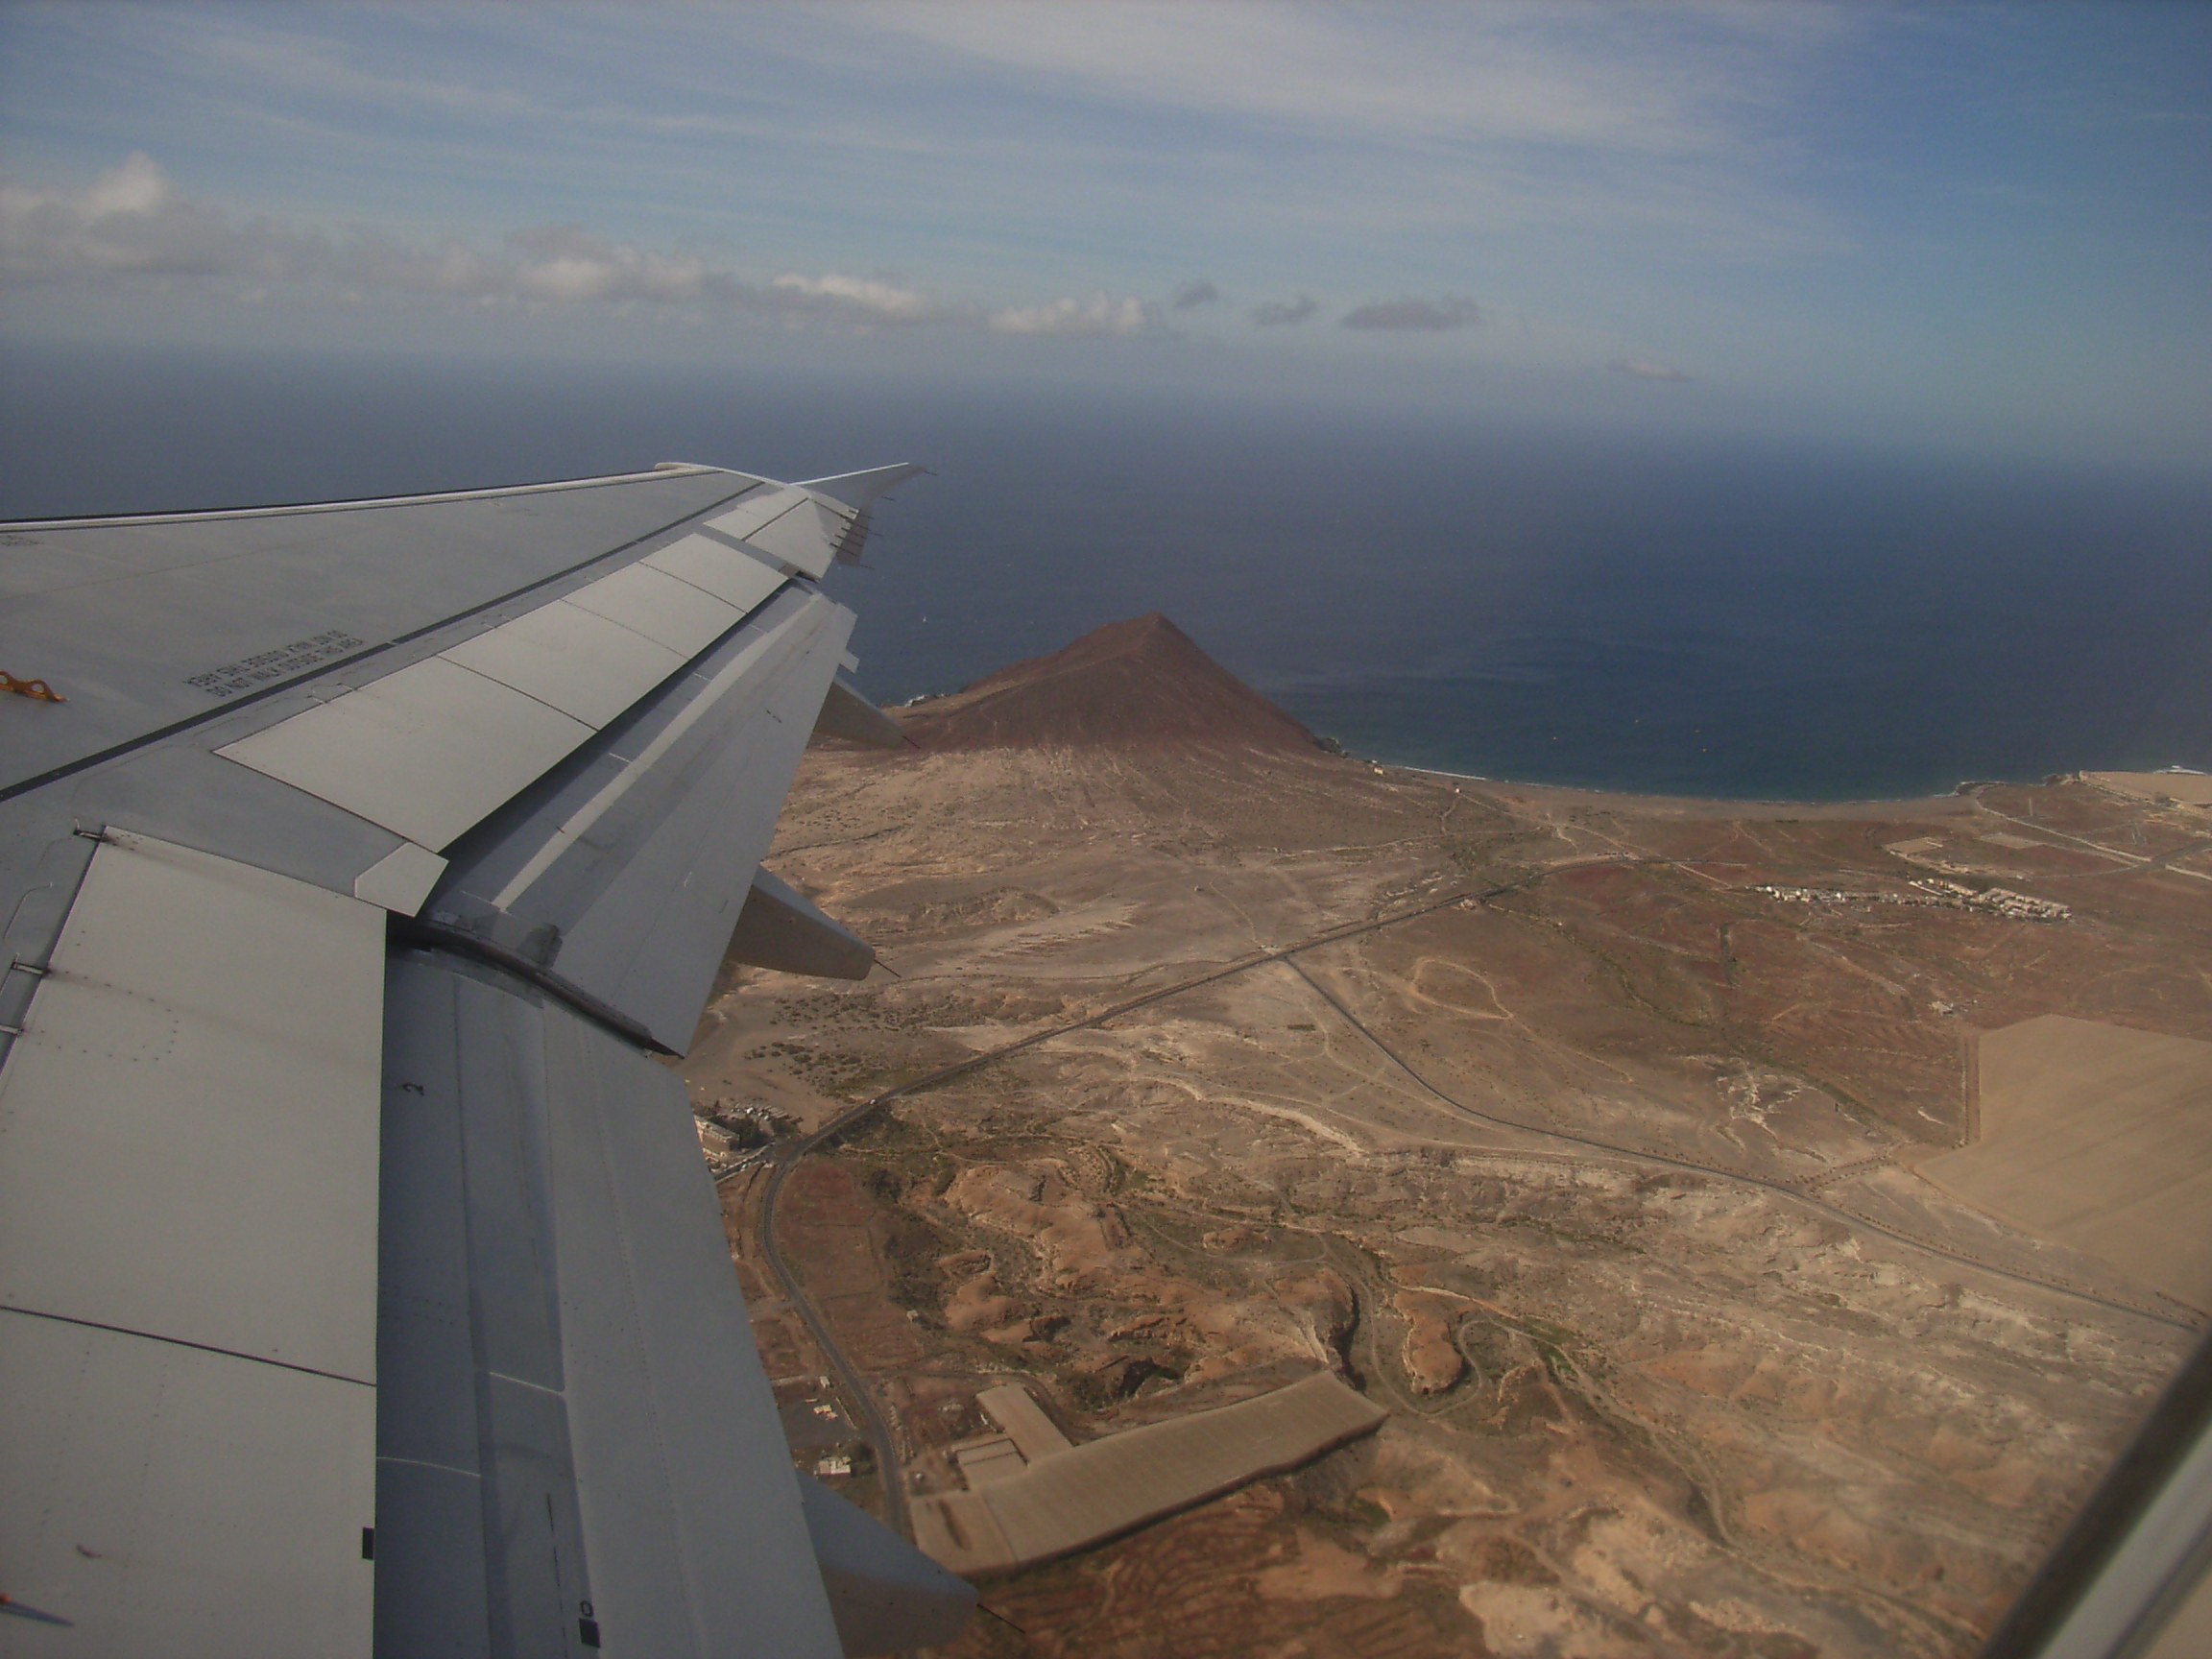
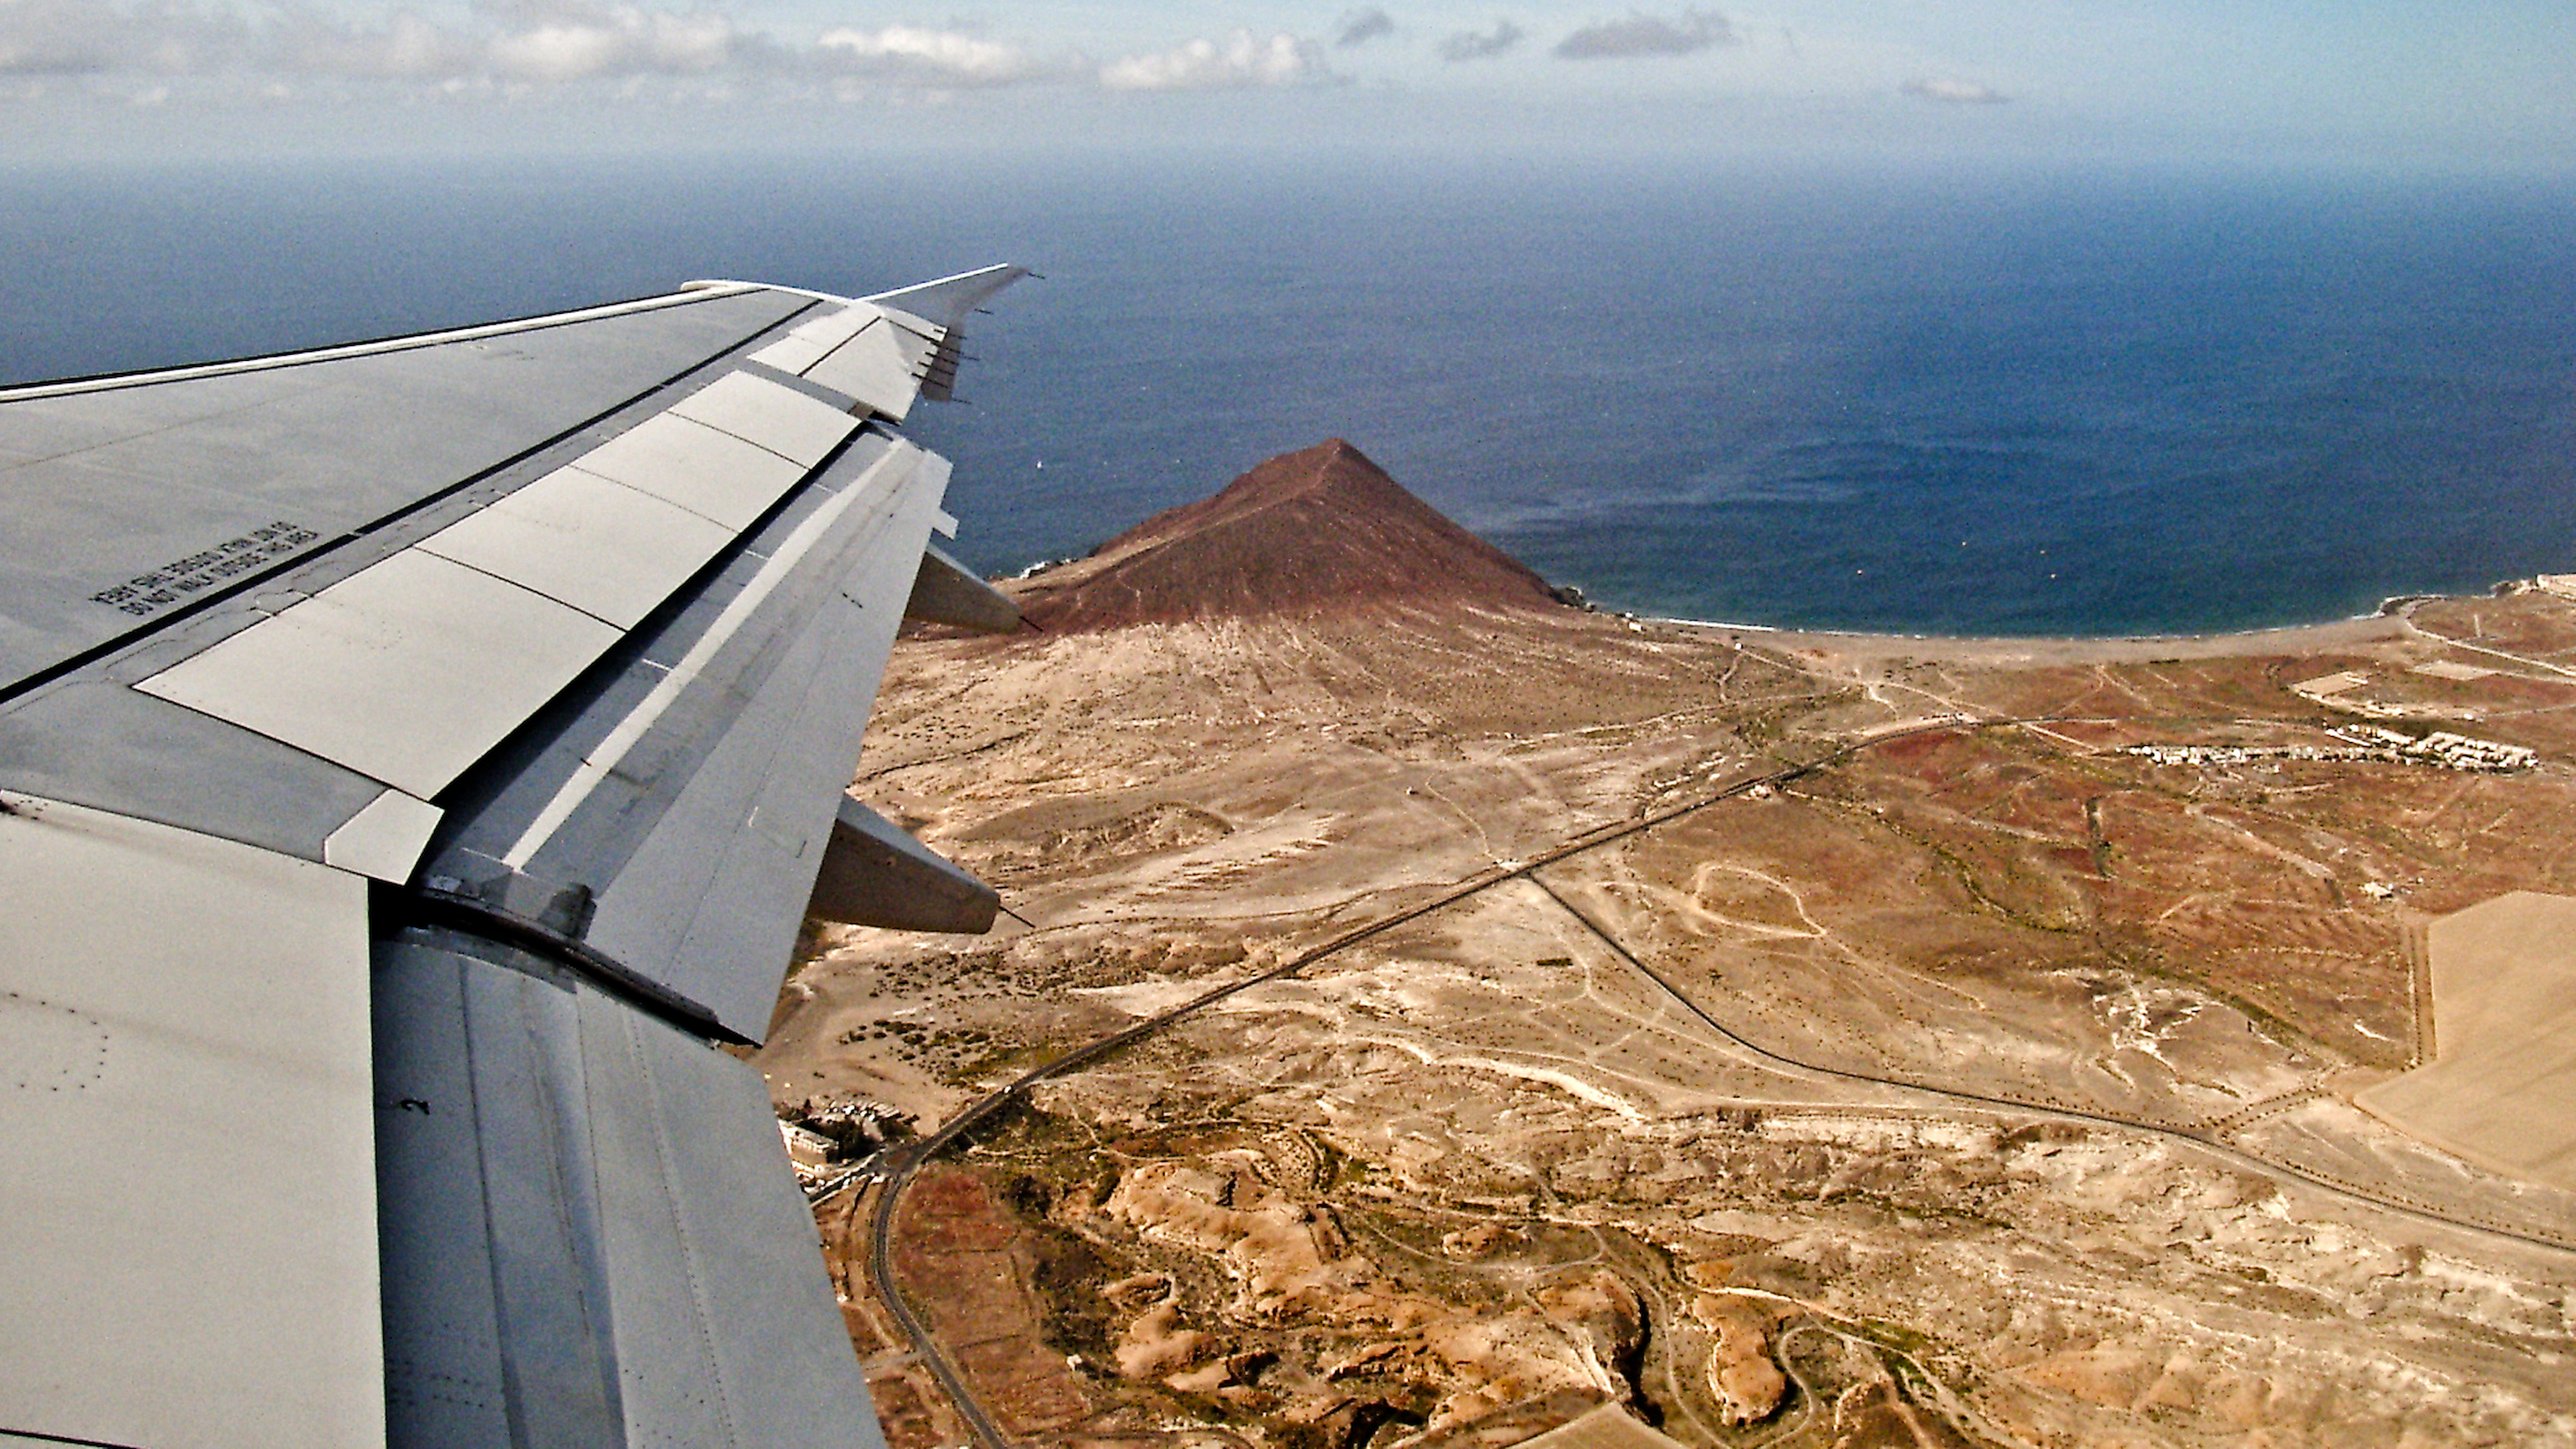
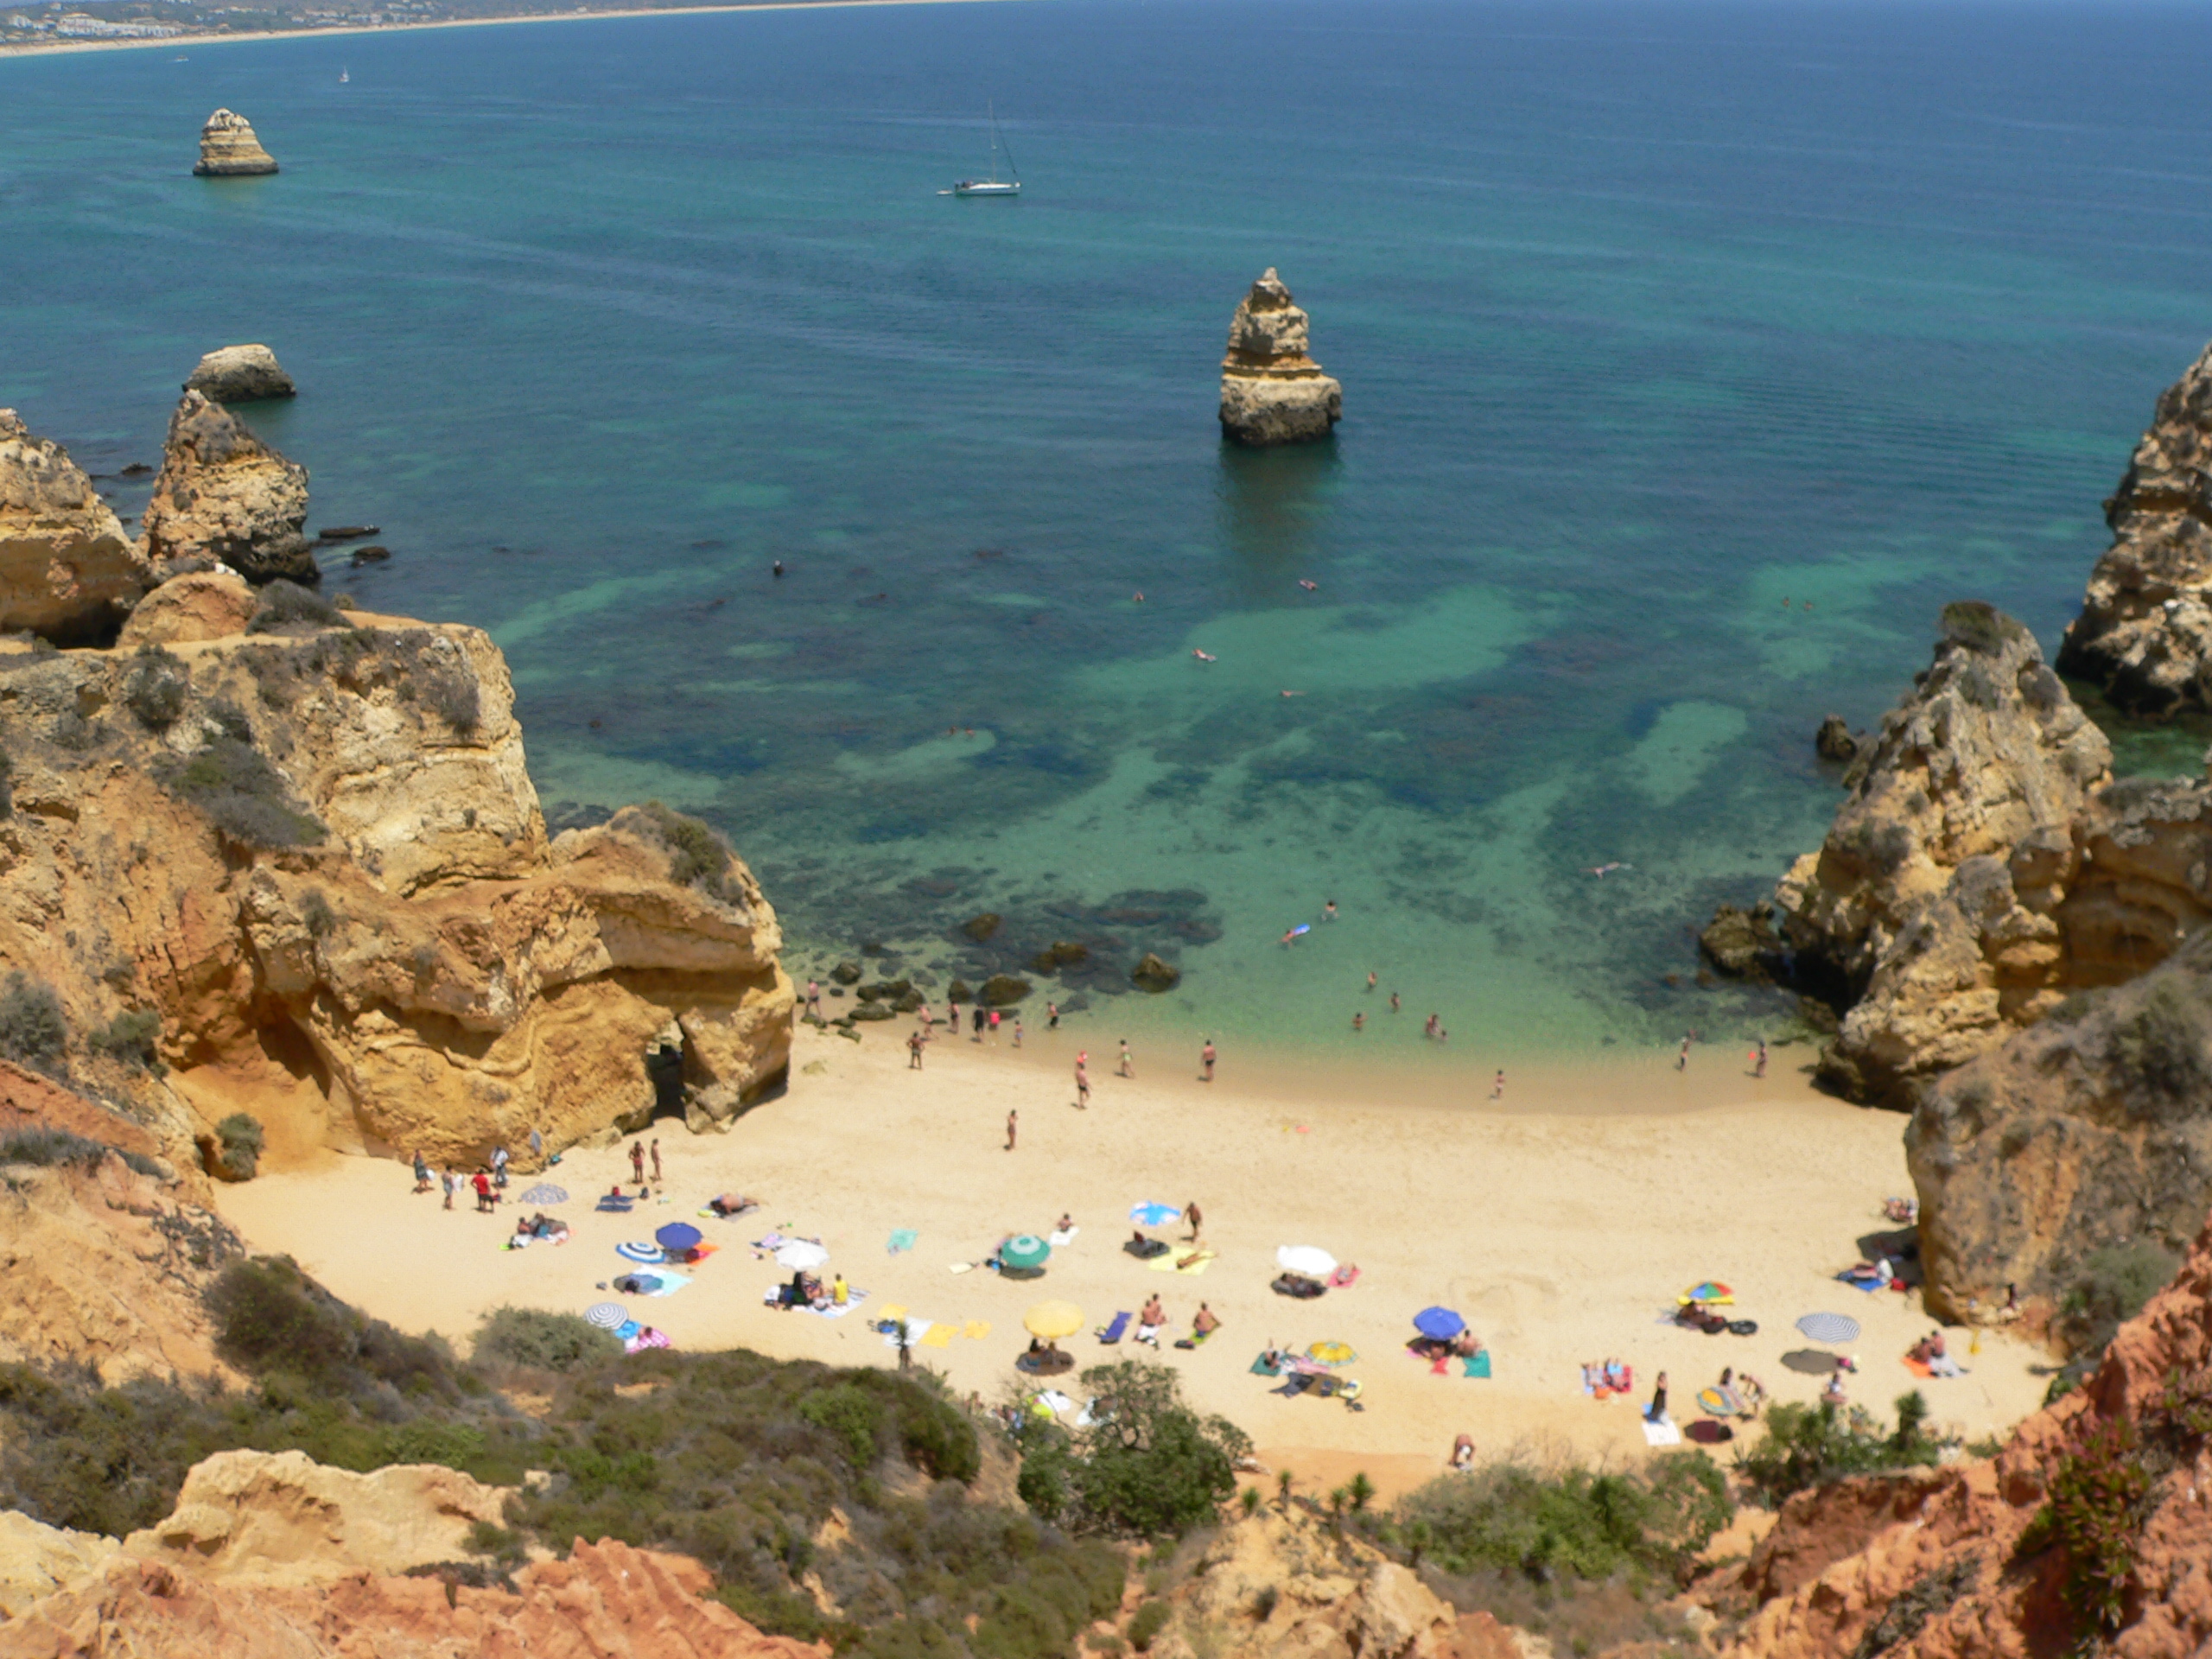
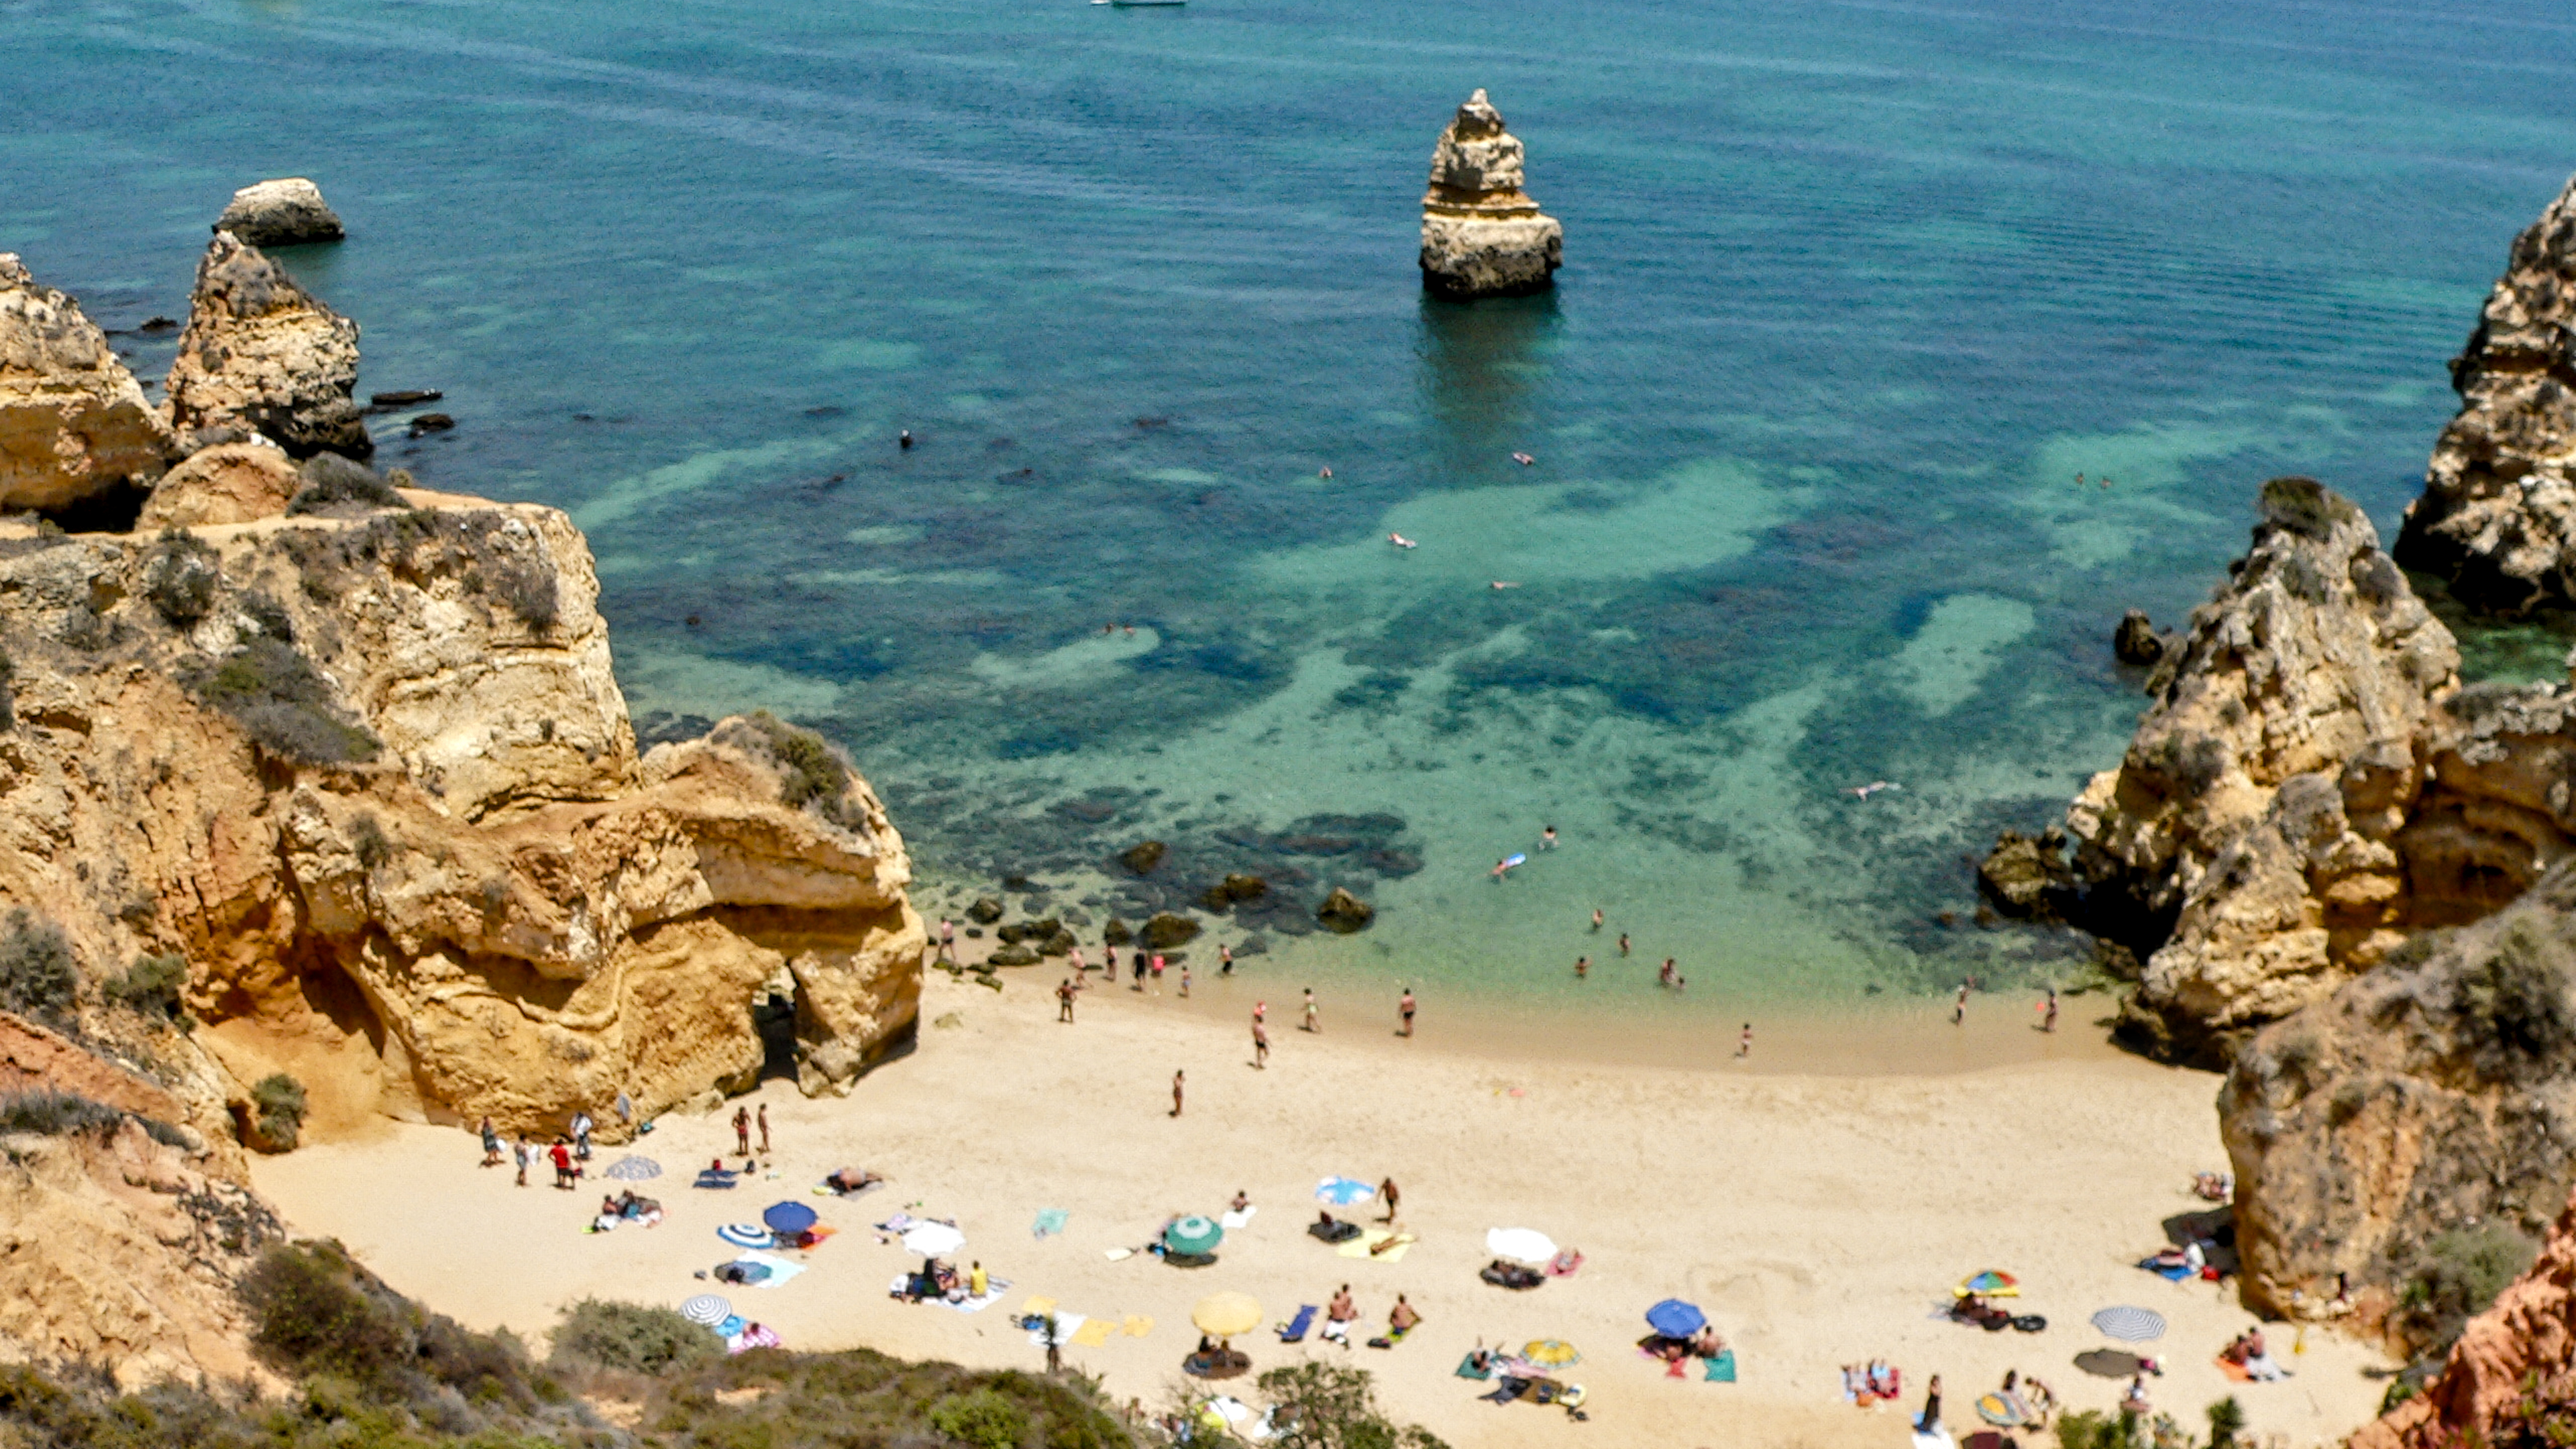
I agree with you with JPGs of today, like the mobile phone photos. I will provide photo(s) which are unsharp IMHO from the camera. Very strange, on a sunny day and unsharp. This is normally click and done.
Which module would you use if the original is unsharp?
@linuxuser Nice photos. I agree with the others that the images are overcooked. Part of the reason for that is that there are little to no fine scale details, so you have to go with the finest one available. However, at that size, details are already too chunky.
There are a few strategies we could employ.
Choosing (a) smarter sharpeners with (b) smarter masking to prevent uniform crunchiness.
Iterative progressive sharpening might work.
Do the opposite of #1: selectively blur non-subjects such that only the important details are prominent.
That is the simplest IM doc there is. There are ones that travel to the centre of the universe. I think for your purposes try to stick with processing in dt alone, until you are ready to experiment. There are enough tools for you to explore as is, all of which can be masked in a sophisticated manner. I suggest you search the forum or create a new thread if you want to get into the weeds.