I am amazed, not only by the so-far implementation of the denoise and masking projects, but by @anry’s patient help to those of us who found the initial installation difficult, and the fact that, so often, when bugs are reported, he so quickly responds that problem is found and fixed.
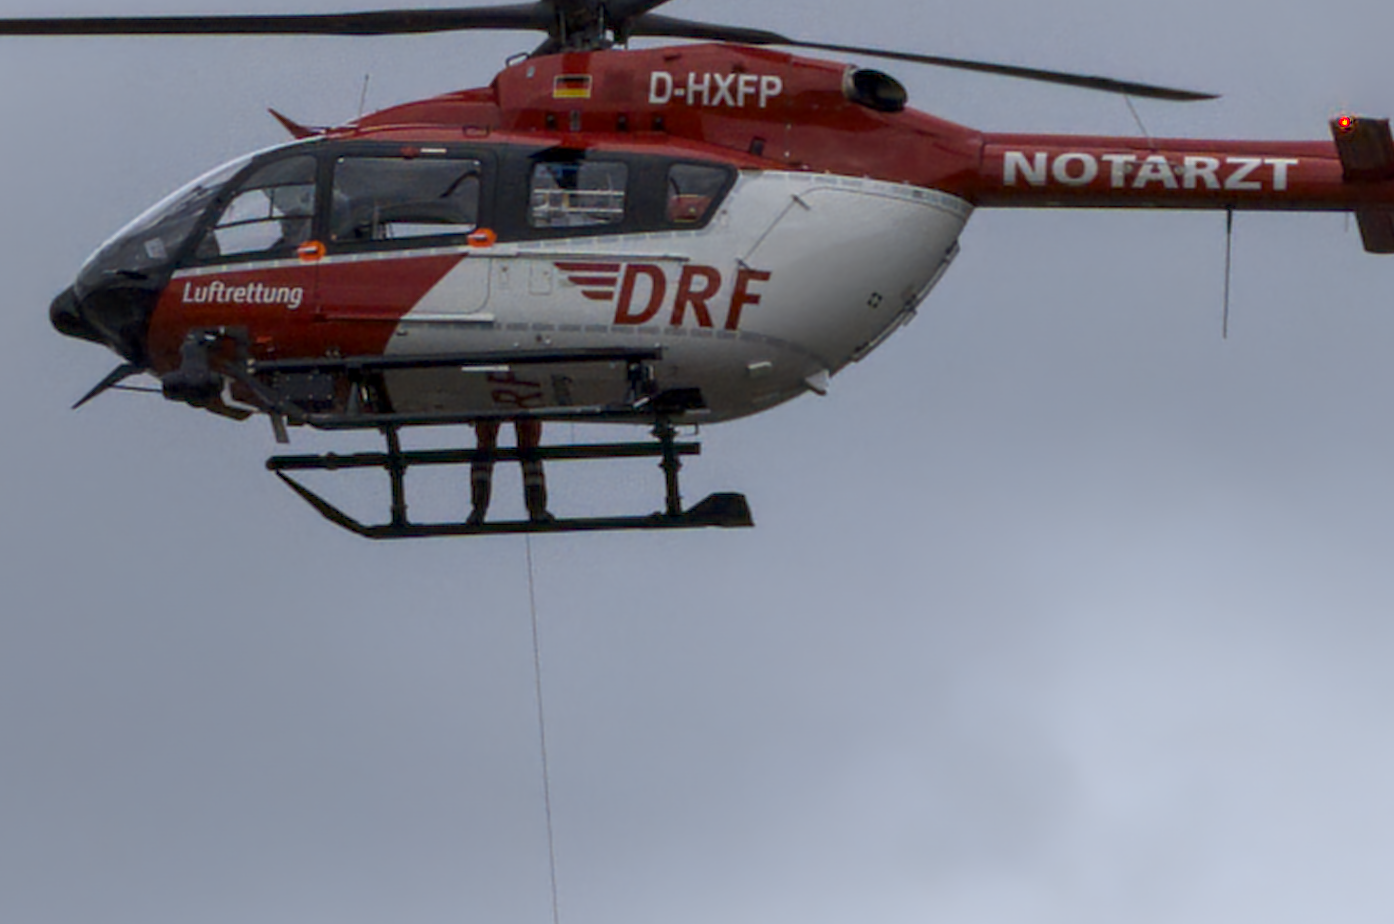
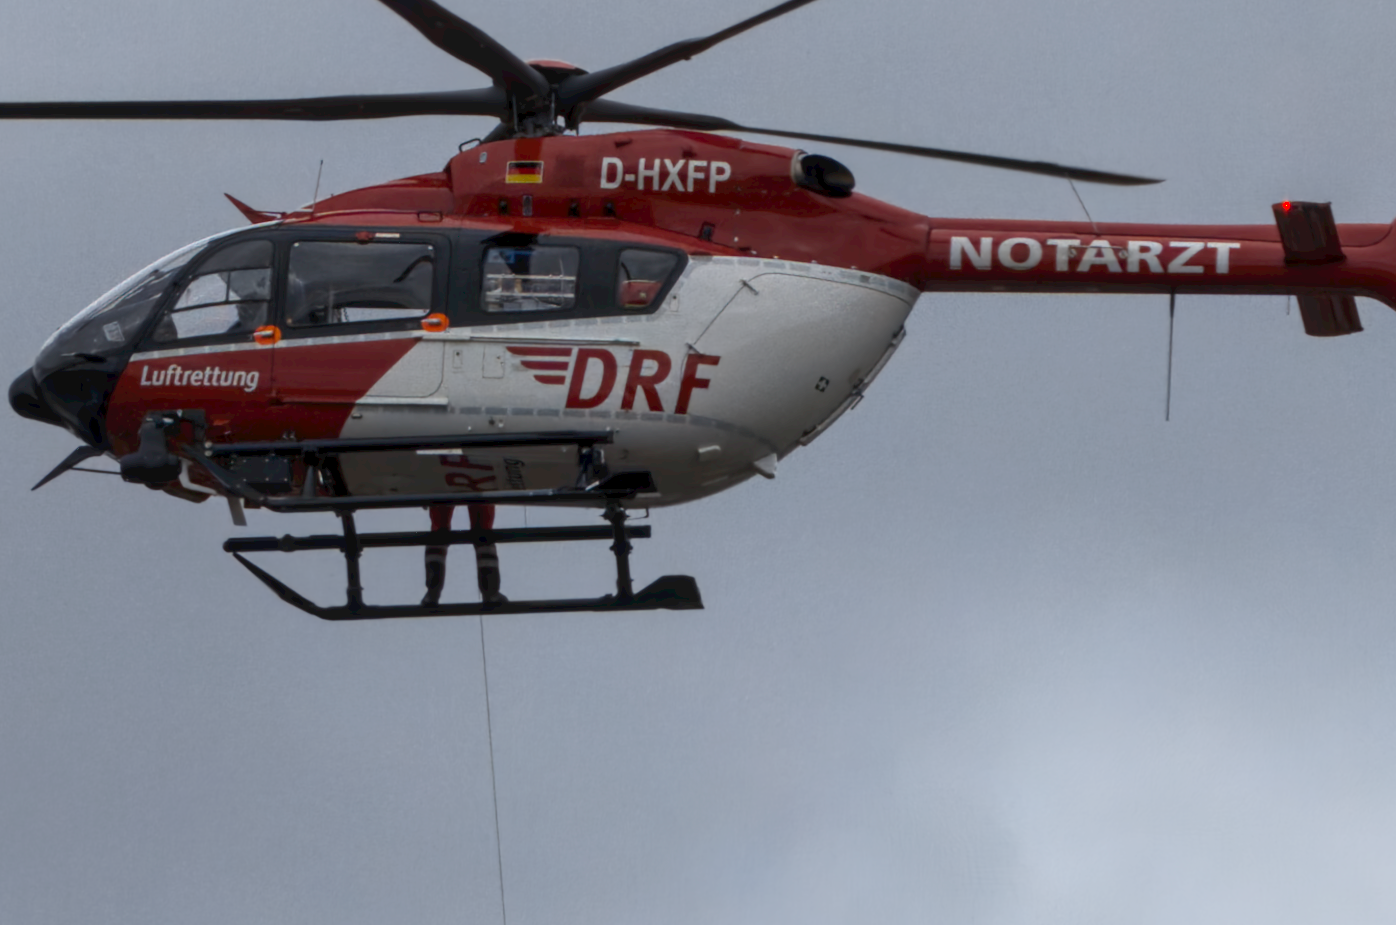
Comparison of raw-denoise-nind and denoise-nind: Artifacts along edges when using raw-denoise-nind. Is this a result of JPEG compression of image_raw-denoise.dng?
I processed the same image identically, with the only difference being:
Variant 1 - raw-denoise-nind as the first processing step
Both details shown at 100%, taken from darkroom main view.
In Variant 1, one can see distinct artifacts along the edges that strongly remind me of the effects of JPEG compression. They are particularly visible to the right and left of the rope under the helicopter.
If one looks at the metadata for both versions, one can find
There’s no JPEG compression in neither DNG nor TIFF. The artifacts you see are due to the model struggle on high-contrast edges. RGB denoise models handles this a little bit better, but it still may appear.
Regarding metadata - tag IFD0 in DNG is for preview, not the image itself.
[IFD0] - Preview Image : (Binary data 2787141 bytes, use -b option to extract)
So, sorry for the noise. But I’m still surprised that we have a nearly full-size preview here for a (NIND-raw-denoised) file that, aside from the original RAW file, serves only as an intermediate step for further processing. Wouldn’t a much smaller preview be sufficient?
exiftool -a -b -W %d%f_%t%-c.%s -preview:all /path/to/original.raw
on the original raw file (Sony ARW) I get two files as output :
original_JpgFromRaw.jpg (7008 x 4672 px)
[IFD2]          0x0202 Jpg From Raw Length             : 2787141

original_PreviewImage.jpg (1616 x 1080 px)
[IFD0]          0x0202 Preview Image Length            : 98885
[IFD0] and [IFD2] from original.raw. At this point, I would expect to use the preview image [IFD0], which is about 28 times smaller than the JPG from RAW.
It’s brilliant work. The AI upscaling is fantastic, and the denoising are also working very well and I hope for more speed improvements over time. Thank you!
I’Ve been running the darktable nightly builds now for awhile and every time I’ve tried neural restore on my Mac Mini M2 Pro with 16GB of RAM, nothing happens for awhile and eventually I get a pop-up stating that the computer has run out of memory and there’s a list of all running app paused. I checked the whole thread here and coudln’t find anyone with a similar problem. Is neural restore just too resource intensive for my mac or is there something else going on?
All models used in neural restore module require less than 4 GB of memory. So it should not cause an issue. But it also depends on model - some require more memory.
Anyway, what you are describing is not a normal memory consumption by the model. Looks more like a memory leak. Can you share more details - that task and what model was used? Logs with -d ai will also be helpful.
@anry I just wanted to say how impressive the AI denoising was when working on some DNG captures from my phone. I had been editing in DT 5.4.1 but the non-AI denoising options in darktable were struggling. I then opened DT 5.5 and the AI denoising was excellent although I dialed the strength down to just over 20% to get pleasing results. I am so impressed with how this denoising has improved in the last few months. The preview options are also really good at letting us determine the desired strength to use.
I waited quite a while before testing AI denoising in dt. Now I did.
I have mixed feelings about it. Some results were really good, some really bad. Unfortunately I don’t know yet what makes the difference. Maybe it’s just something i did wrong. But I haven’t found any settings besides the strength slider. An example where I found the results very bad is the puma picture from this Play RAW: Getting the most out of noisy images.
If I use the sliders quite carefully I get a result similar to classic denoising. Some things look a bit better others worse. Being more aggressive killed the noise as good as all the details on the puma. The area including the eyes was on any try worse than on classical denoise. They always lost detail and sharpness.
I won’t comment about normal denoise, because I never use it.
RAW denoise is very good, BUT it makes sense if your images have lots of noise. Very high ISO, or extremely pushed shadows. For “normal” amounts of noise, denoise (profiled) is already excellent, and there is nothing to gain from using RAW denoise.
AND RAW denoise looks plasticky out of the box, but if you it (1) overlay it with the original image (which is what the strength control does), or (2) add some noise with the grain module the results will look much more natural, and you will be able to use some shots that, before the treatment, had unbearable amounts of noise.
Of course, it does not always work, but it generally does, and it does it quite well.
I found that using the composite module you can effectively mask areas to retain the AI-Denoising or exclude the AI-denoising. I also use the AI denoising a low strength values as I don’t like a plastic look.
As mentioned in the other thread I started about AI Raw Denoise, deleting the models and installing the latest versions resolved this memory problem. Neural restore is now quite rapid.
The one issue that I have with neutral restore is not being able to separate out the high and low frequency detail when denoising. The global denoising causes a loss of detail in the subject which is not something that one would want to do. Some sharpening does help somewhat, but it’s not ideal.
Perhaps an algorithm can be developed to achieve this separation of low and high frequency detail like that which is achieved with recent versions of DxO Pure Raw.