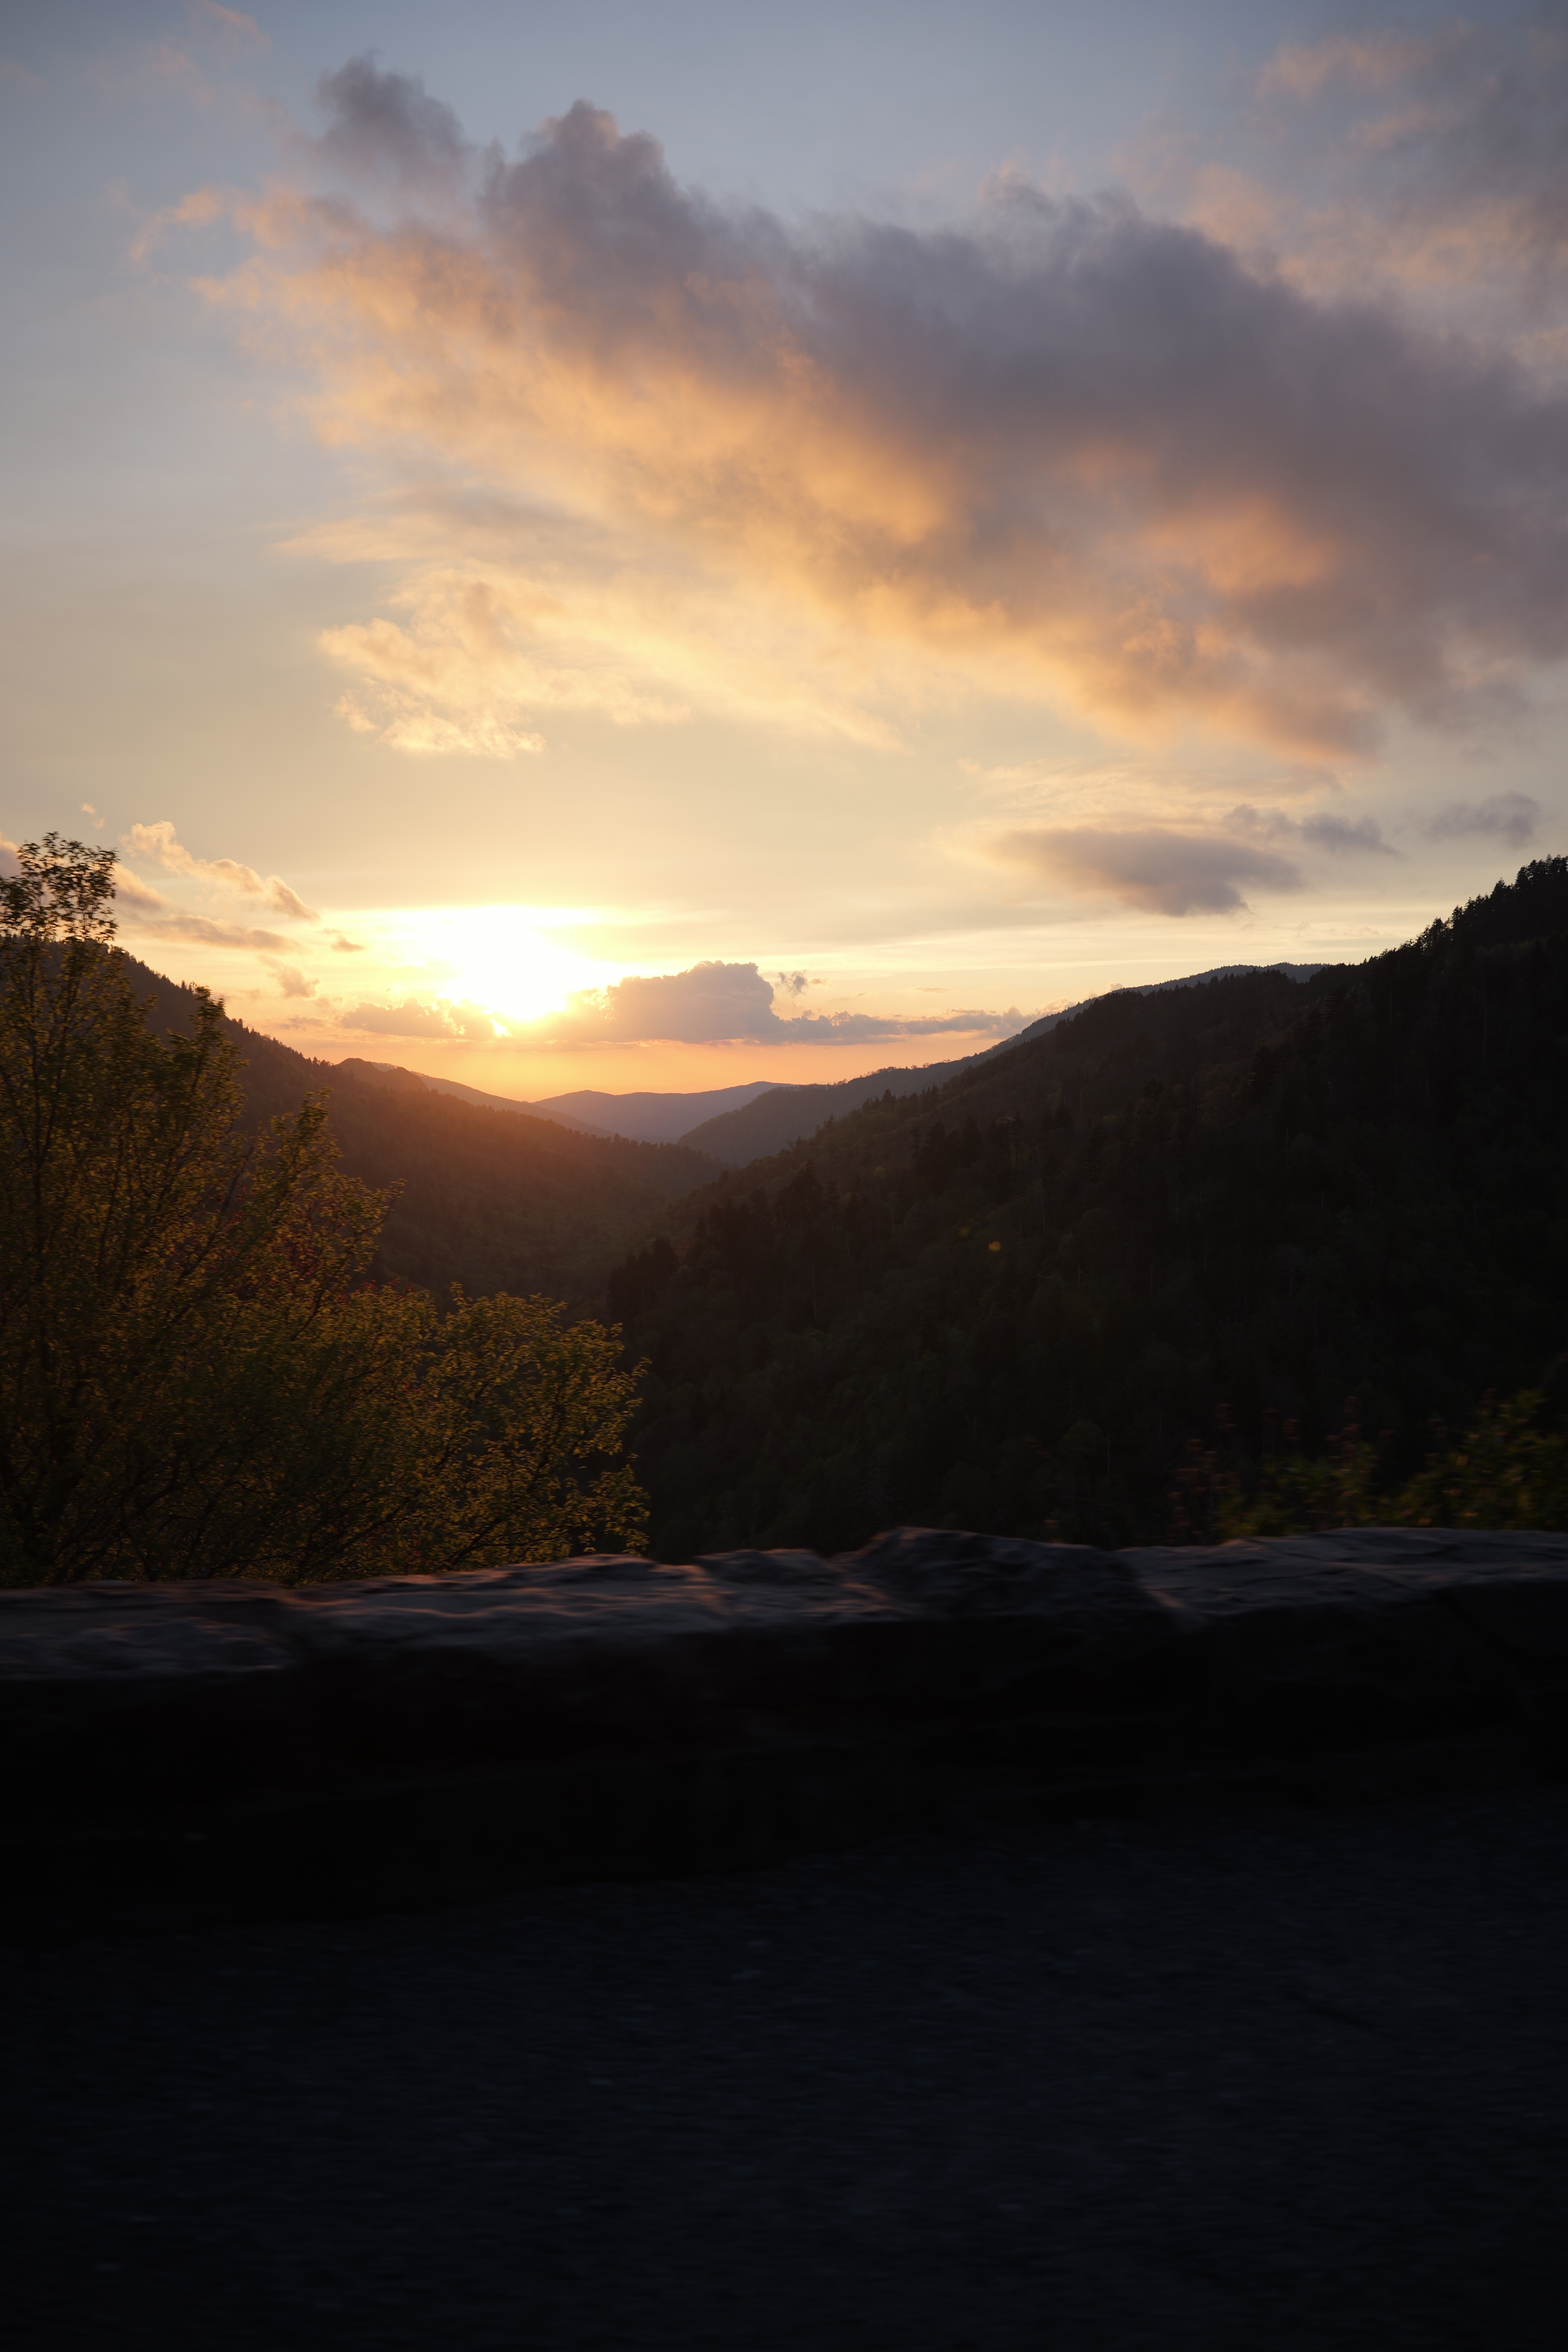
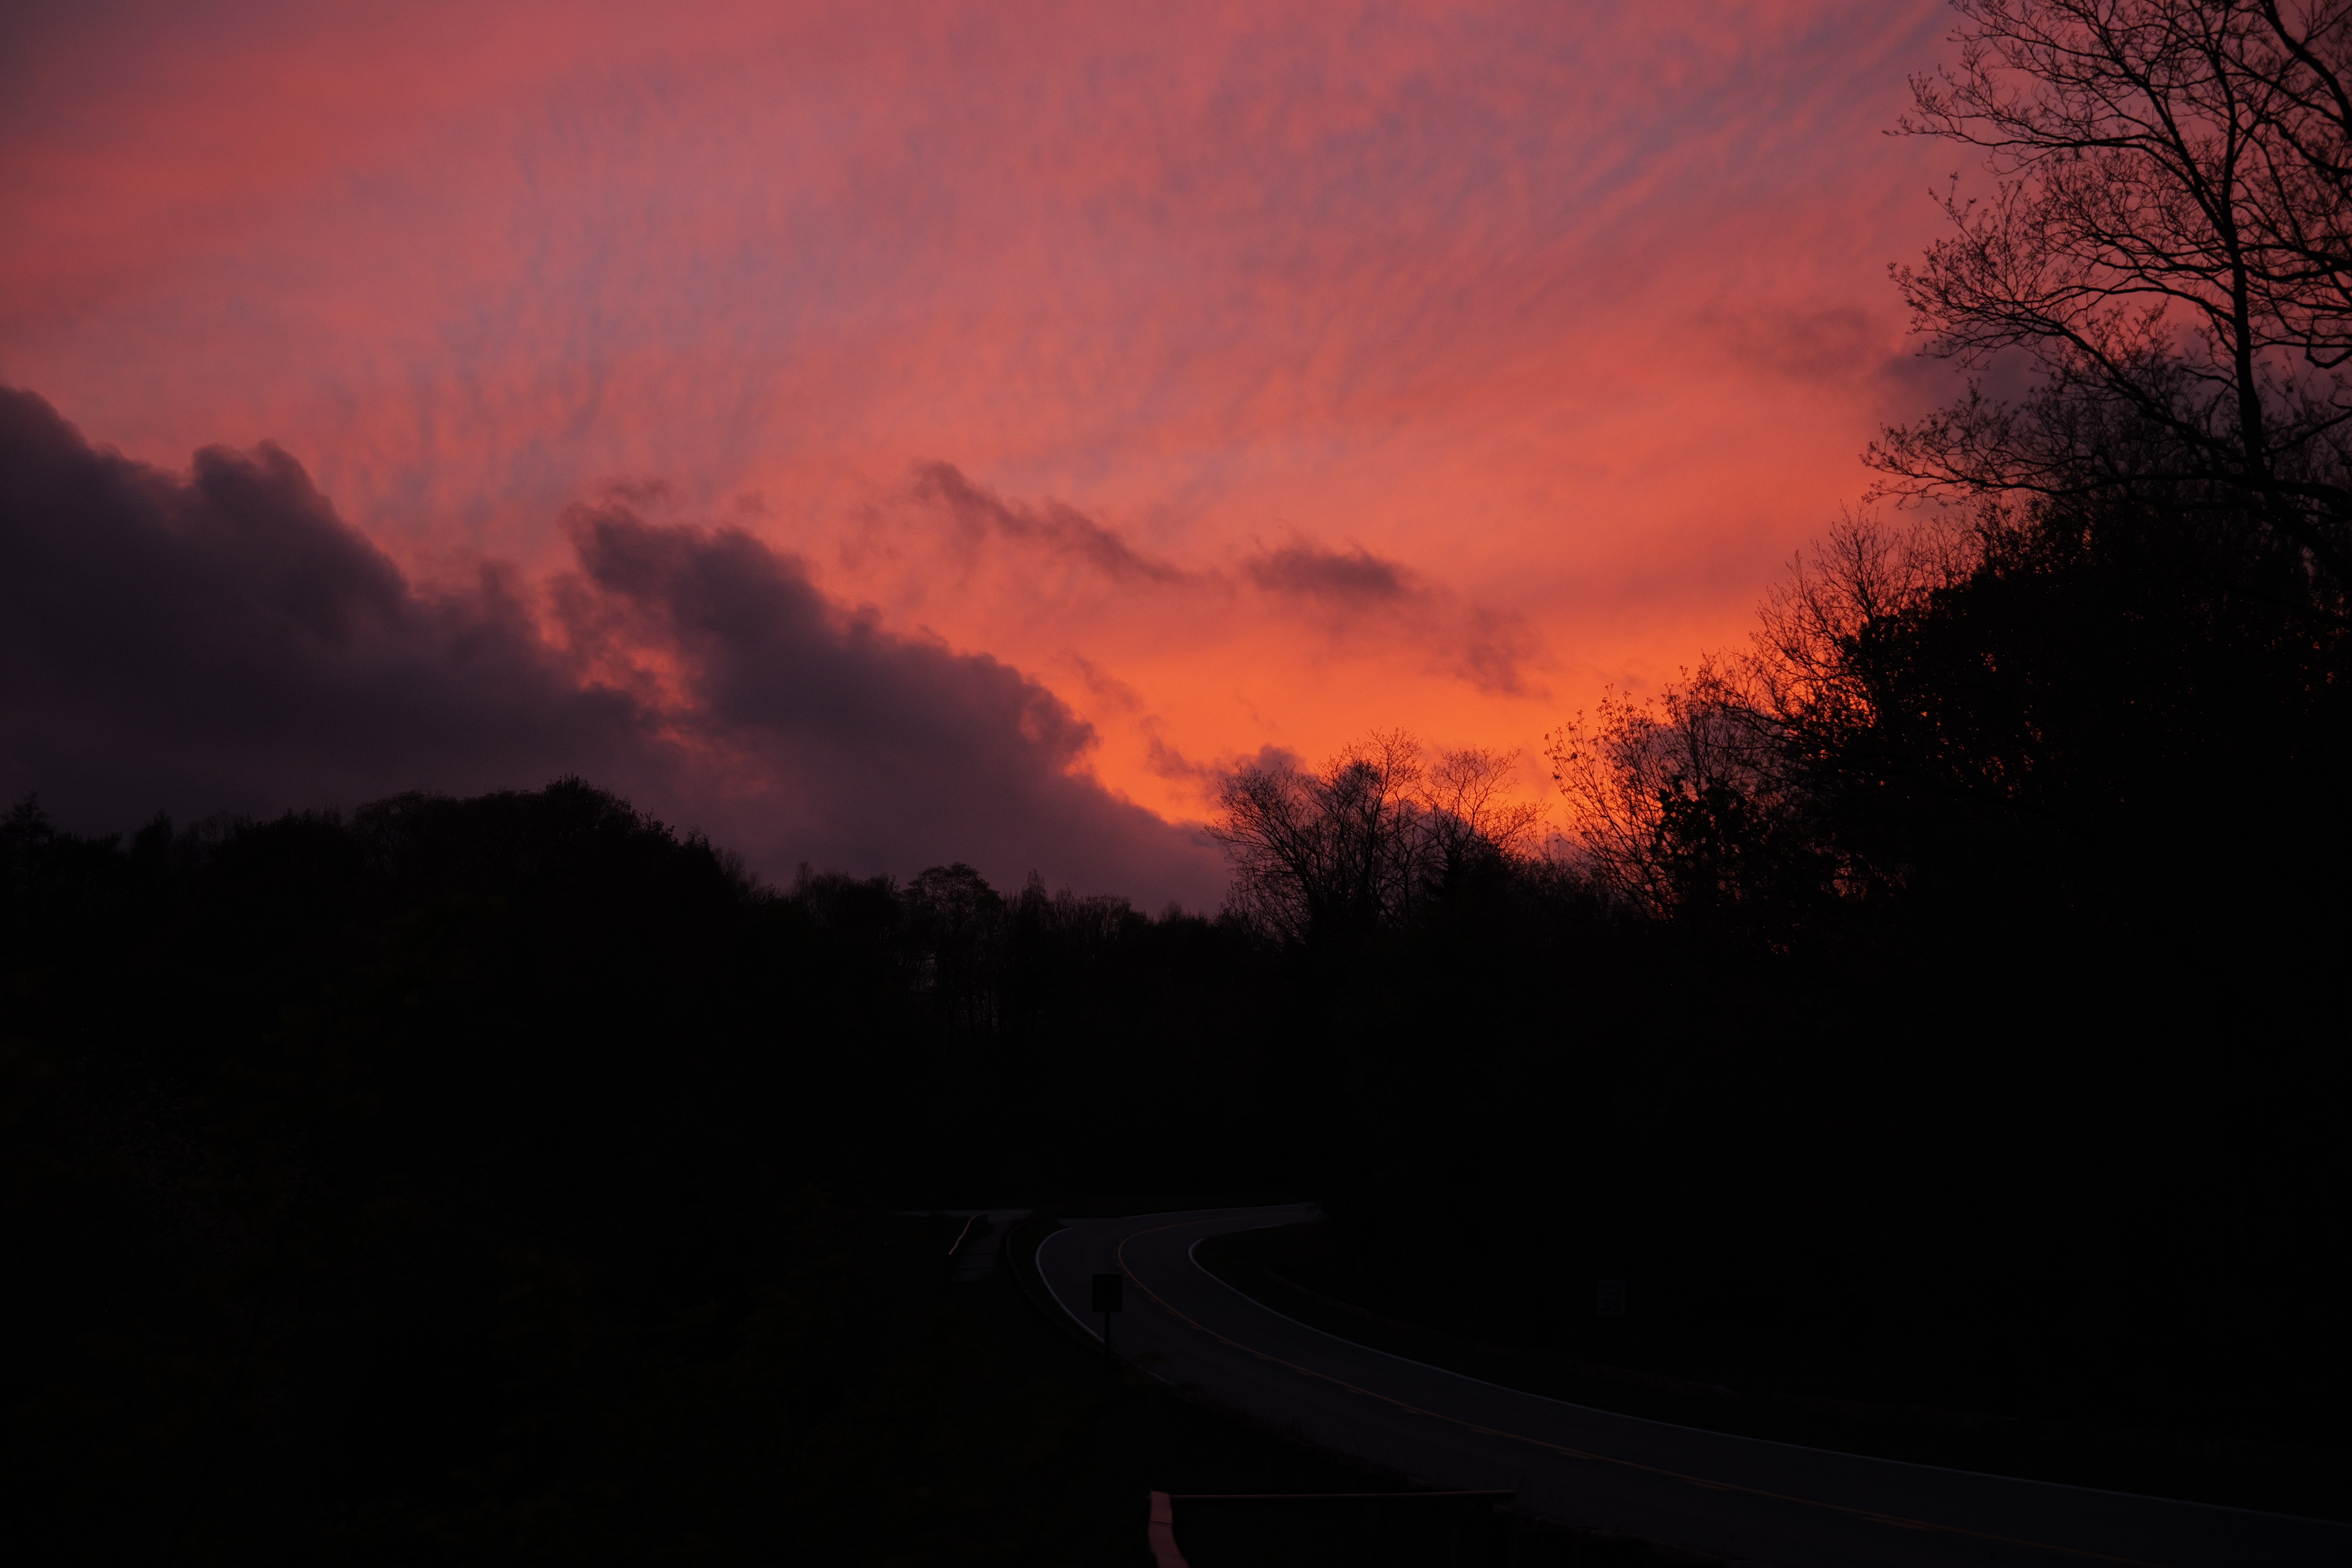
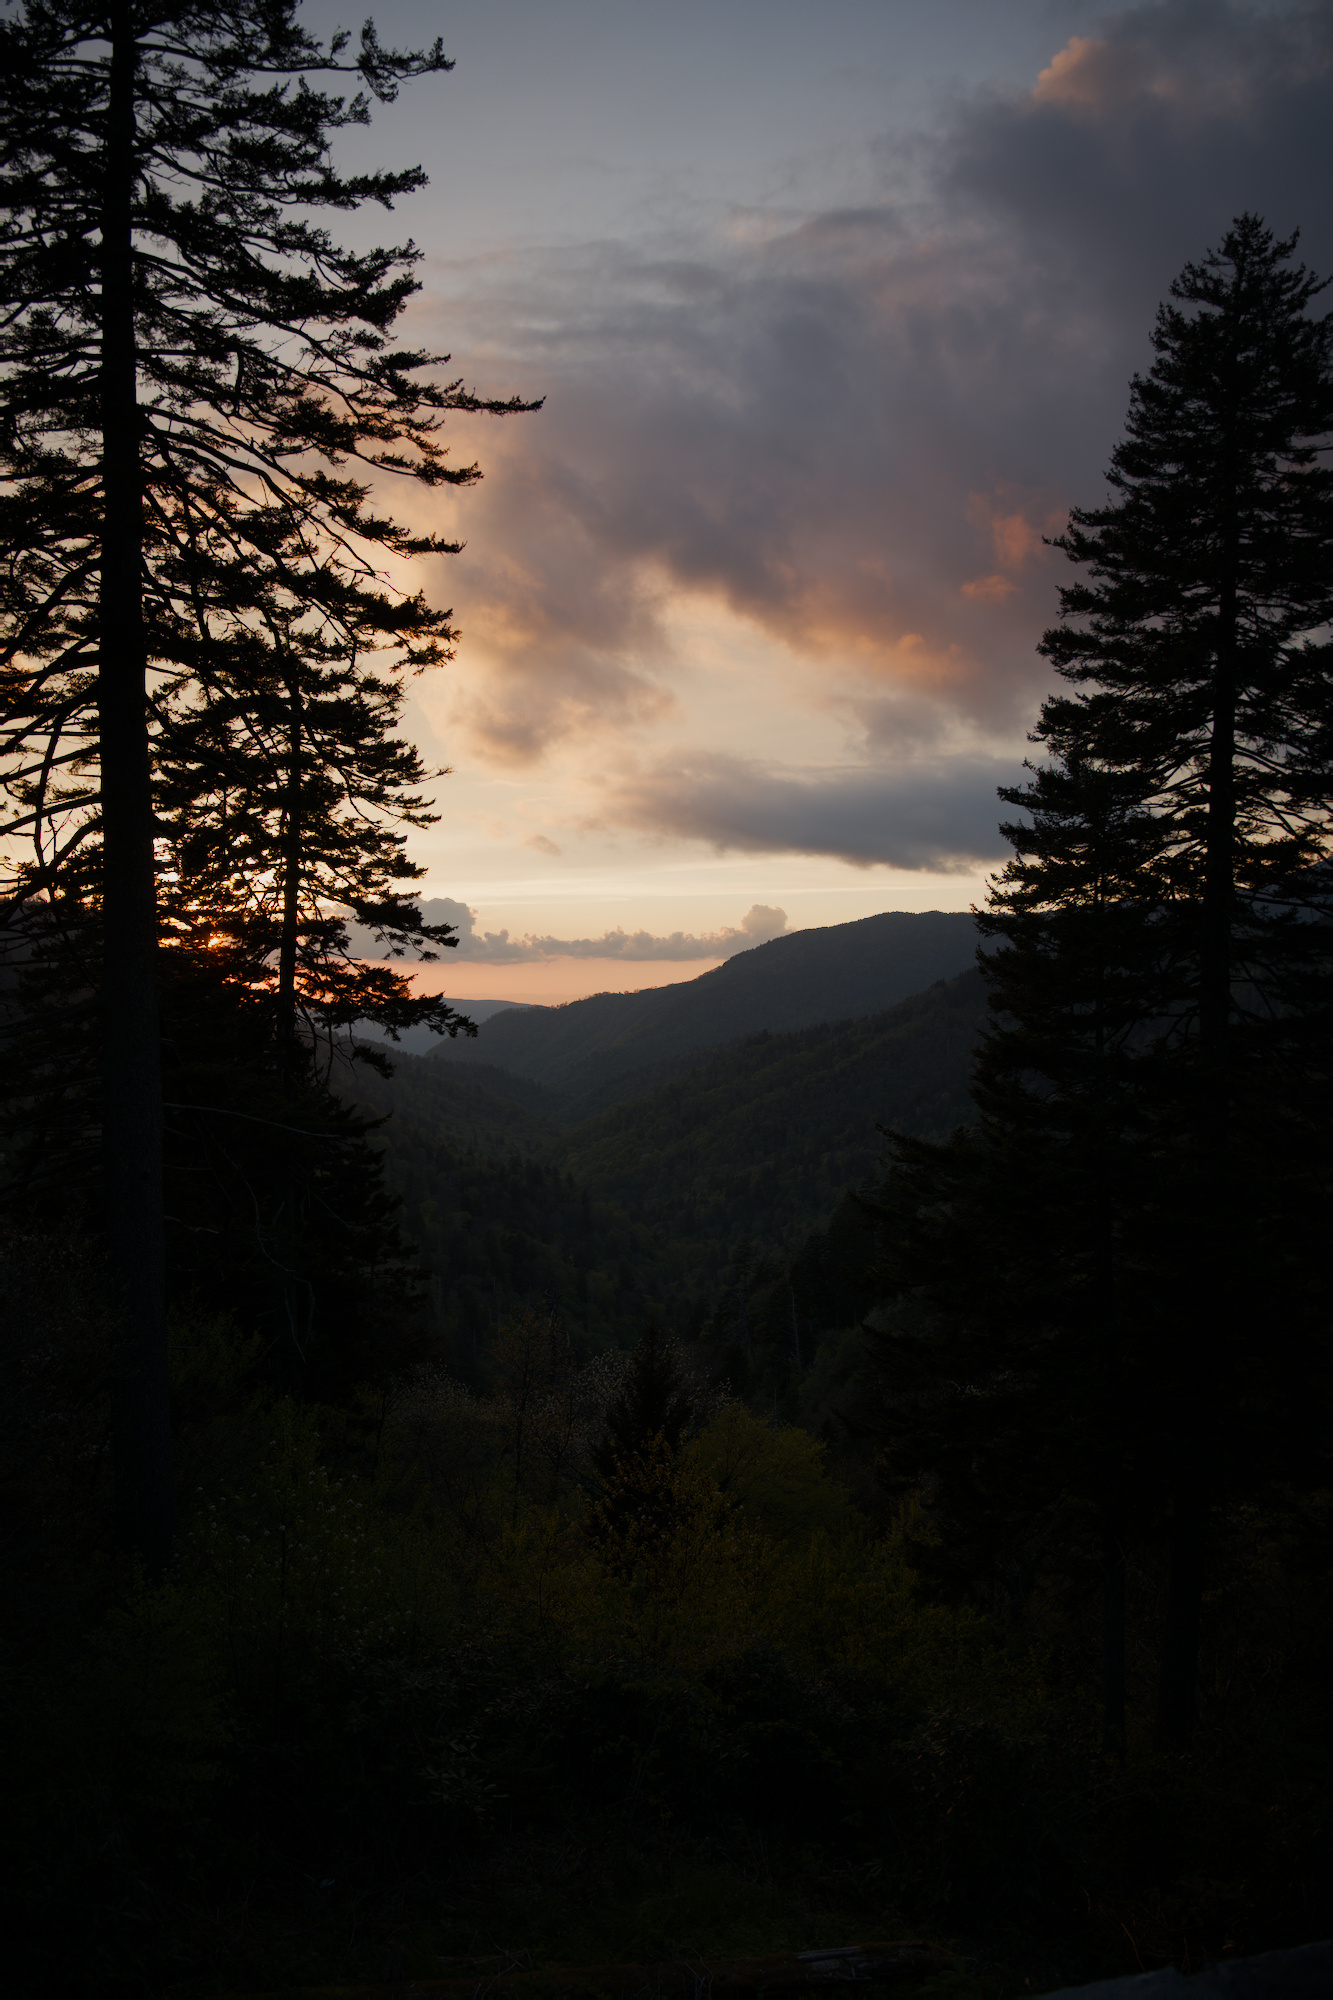
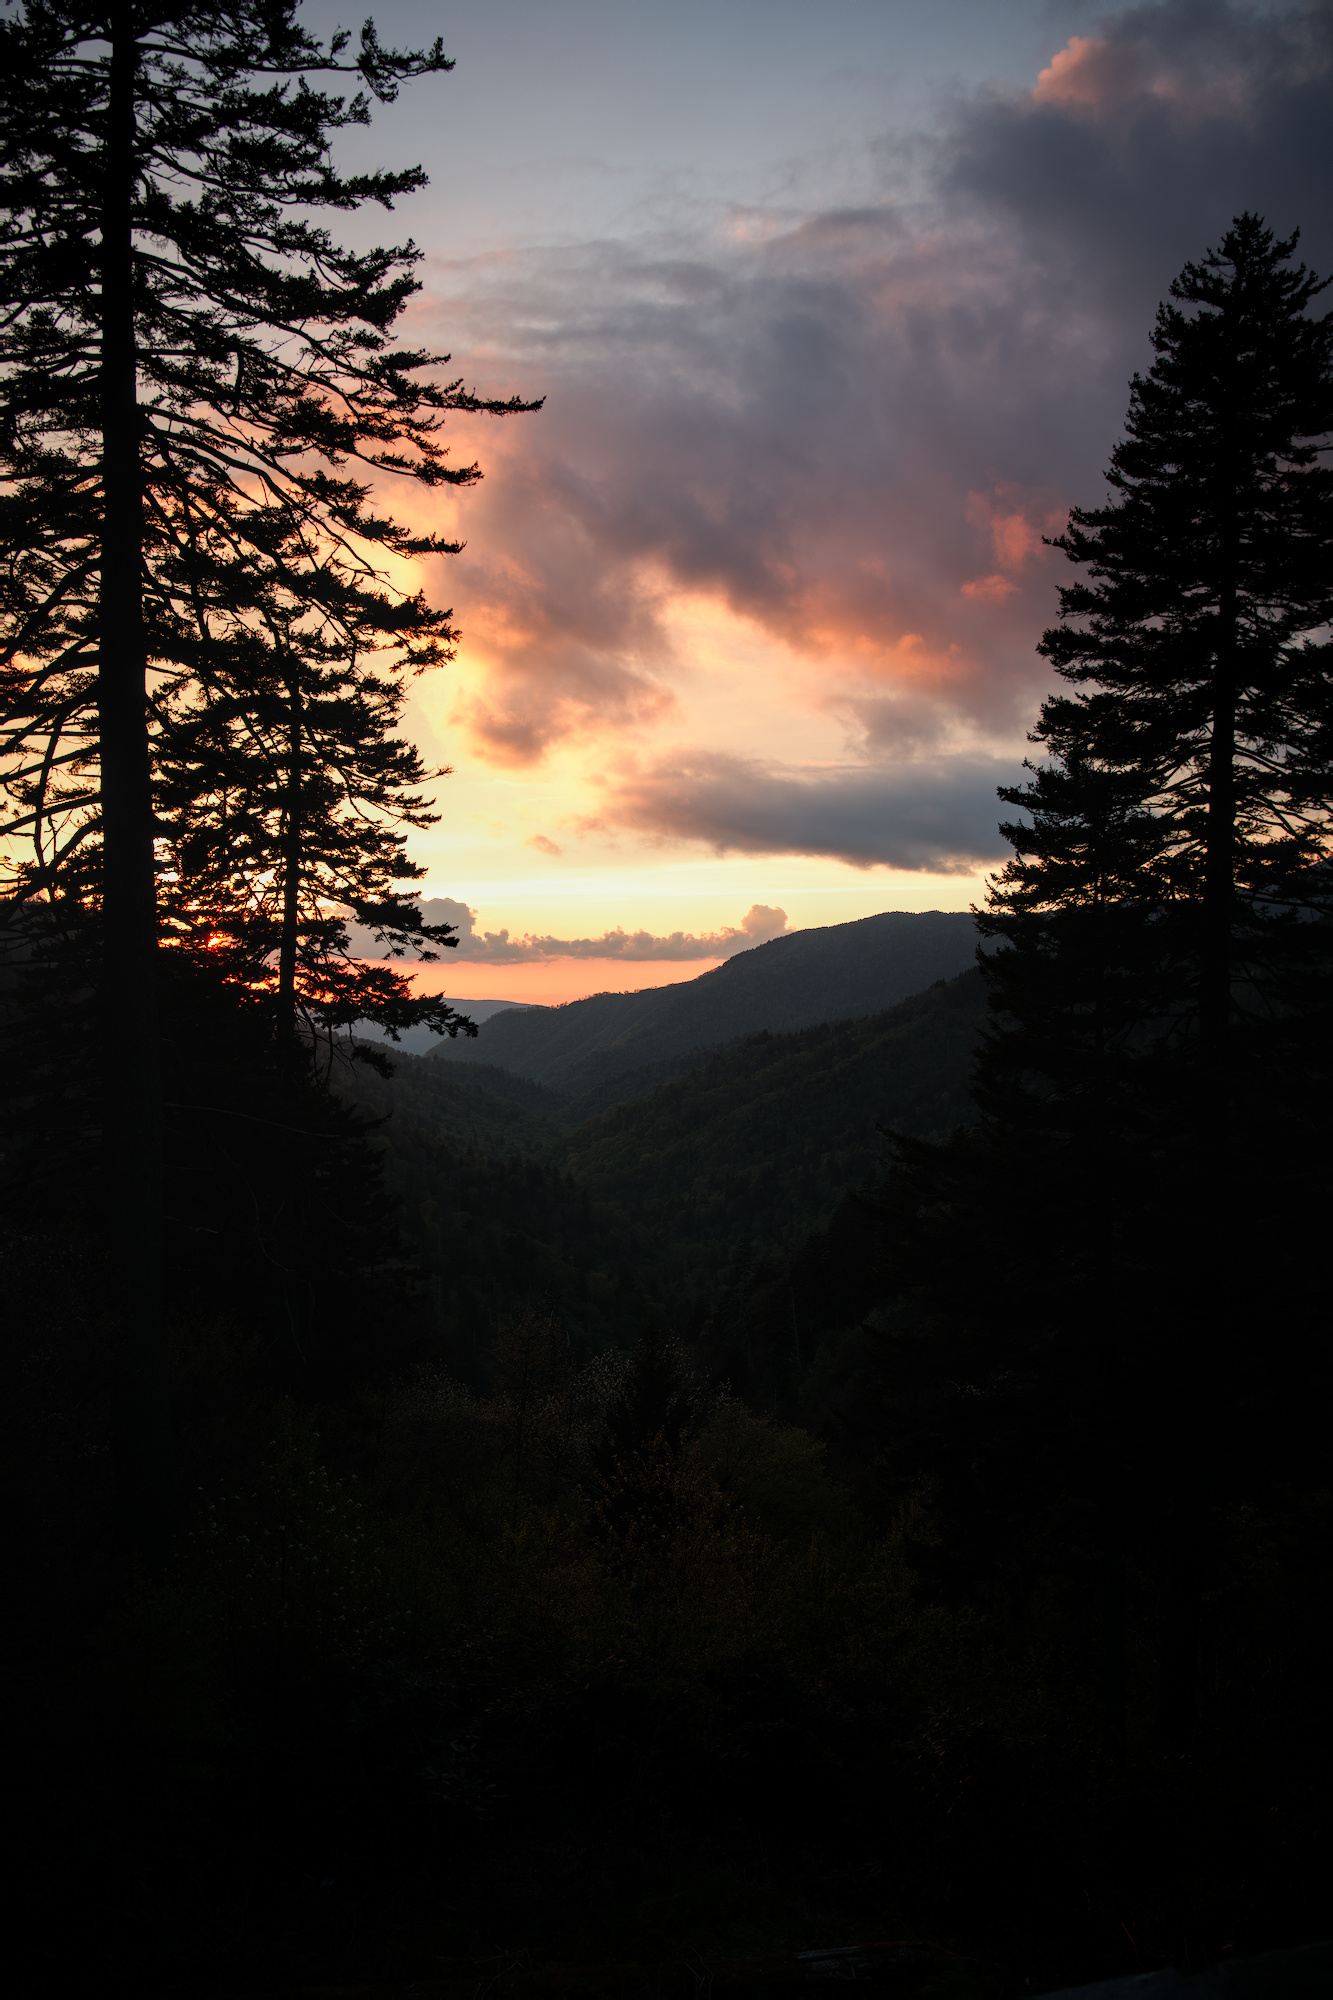
Hey, I have an issue with raw files in Darktable. When I edit raw photos, the colors always look off, and it’s different in each scenario. I found changing the sigmoid helps. but doesn’t fully fix it. If the photos are dark, changing the sigmoid to smooth makes it better, but if they are brighter, scene-referenced default is better. I didn’t have this issue in rawtherapee. I use a Lumix S5iix. Attached are a jpg and raw, and the jpg is color accurate.
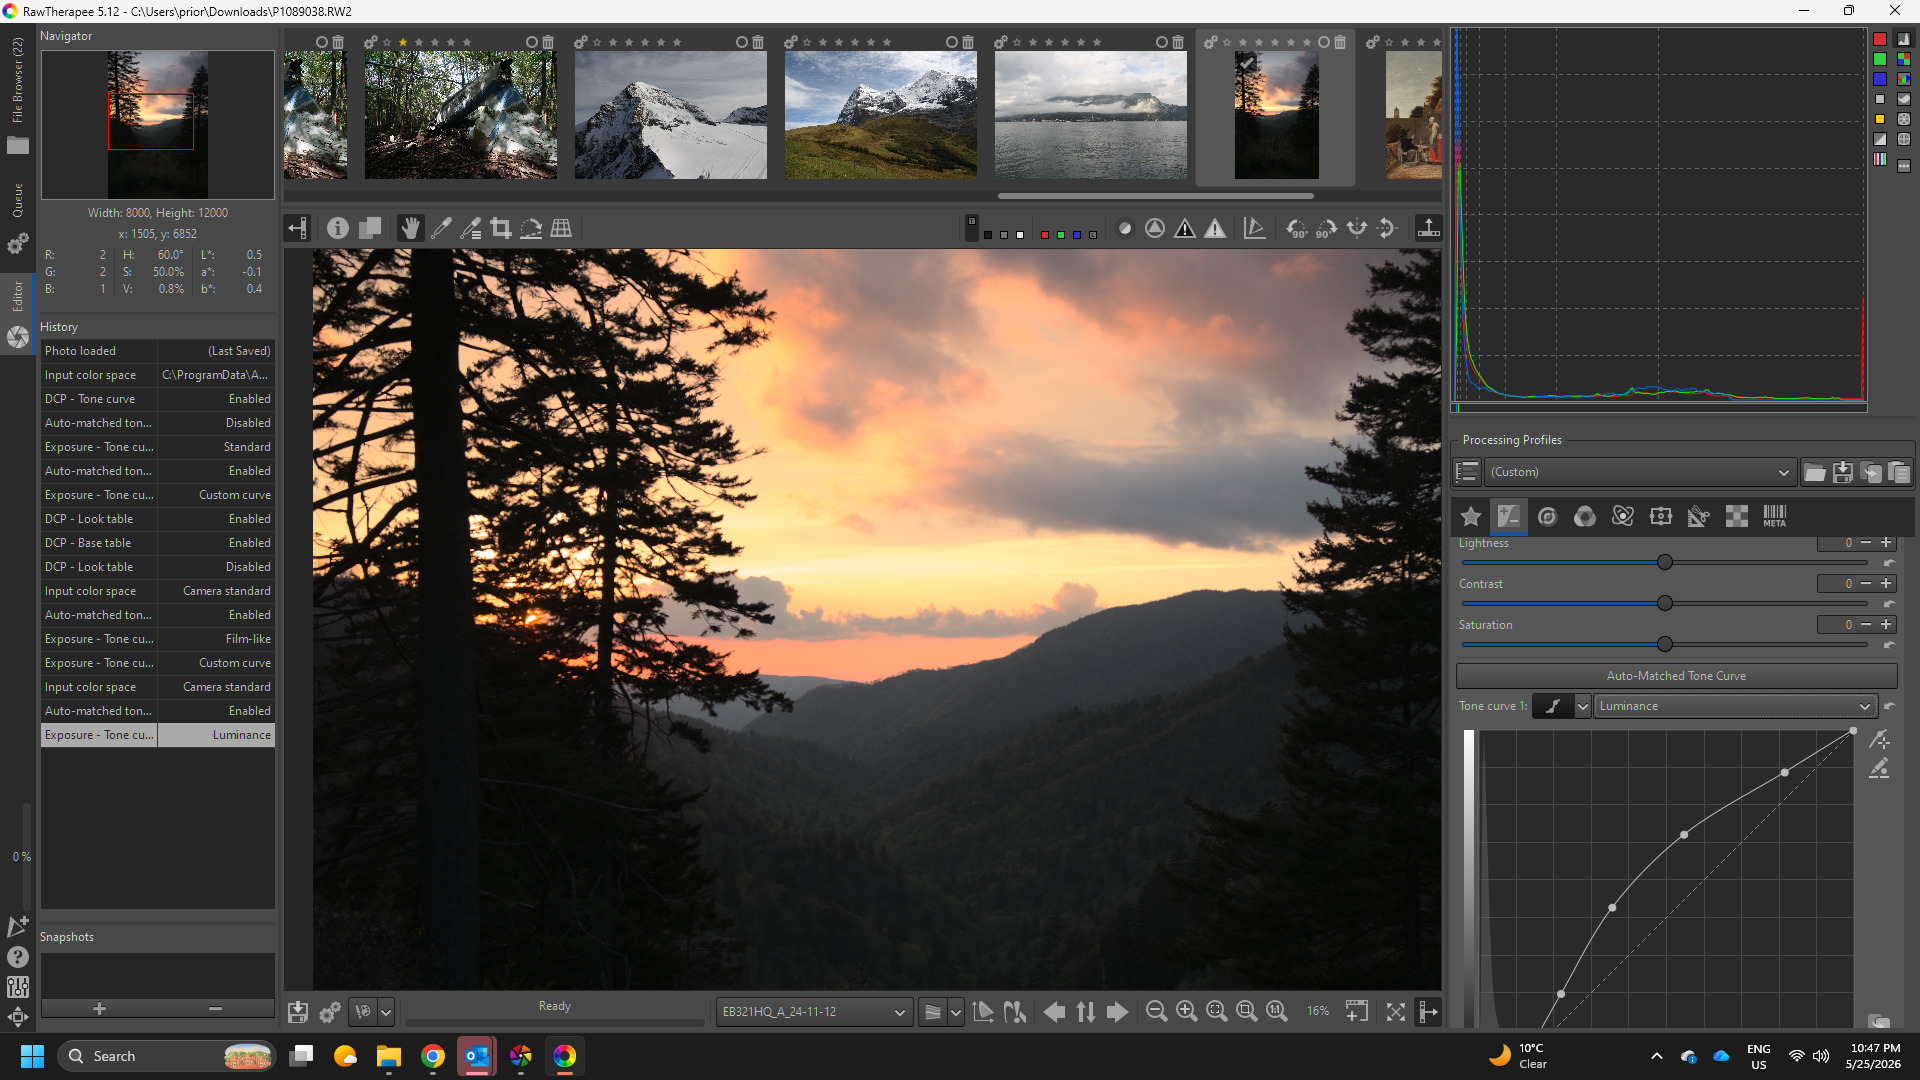
Ok, thanks. My exposure in those 2 shots is what I want it to look like. Also, as a previous rawtherapee user, is there any good way to edit the brightness in a way similar to the lightness slider in rawtherapee? I used to use that to turn the brightness of jpgs down, and I can’t find a suitable replacement that will darken the image without making it look flat. I currently use the color balance lift gamma gain sliders for that, as I’m used to davinci and those perform basically the same as the ones in there.
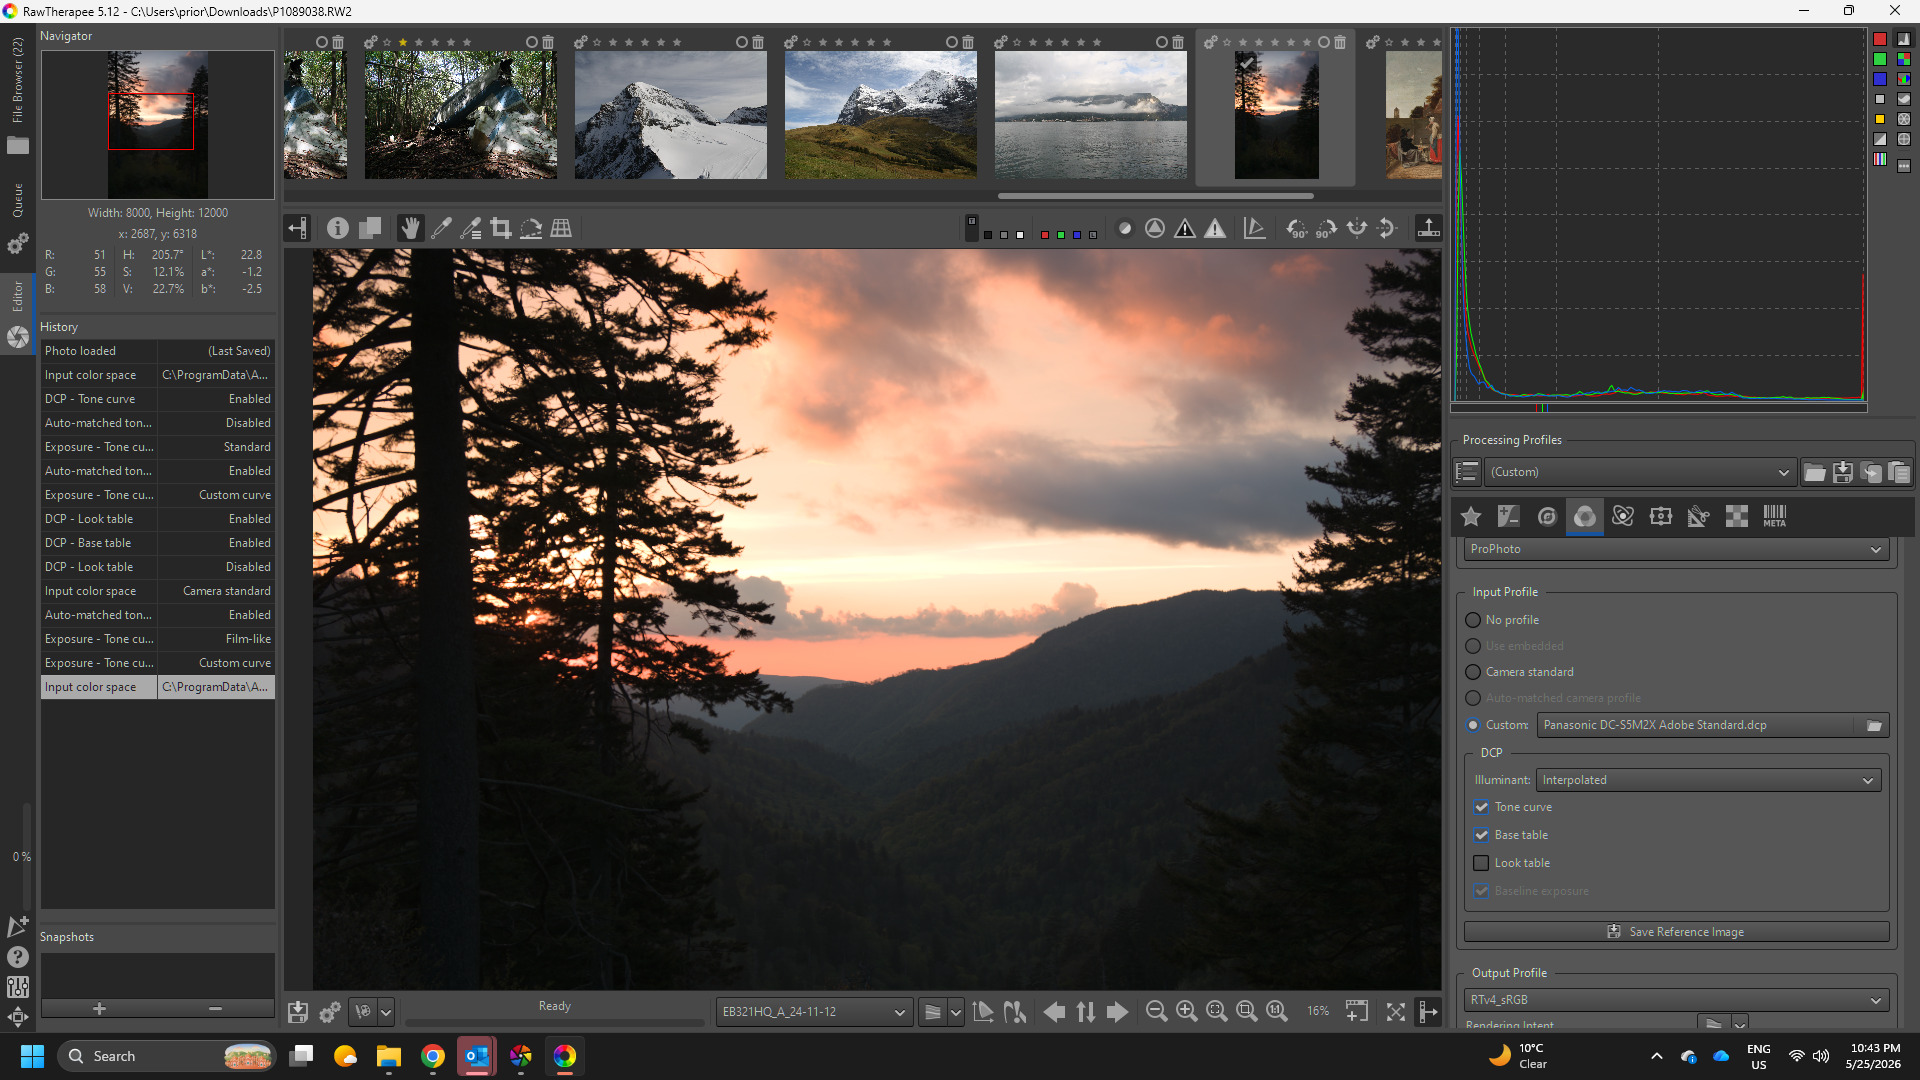
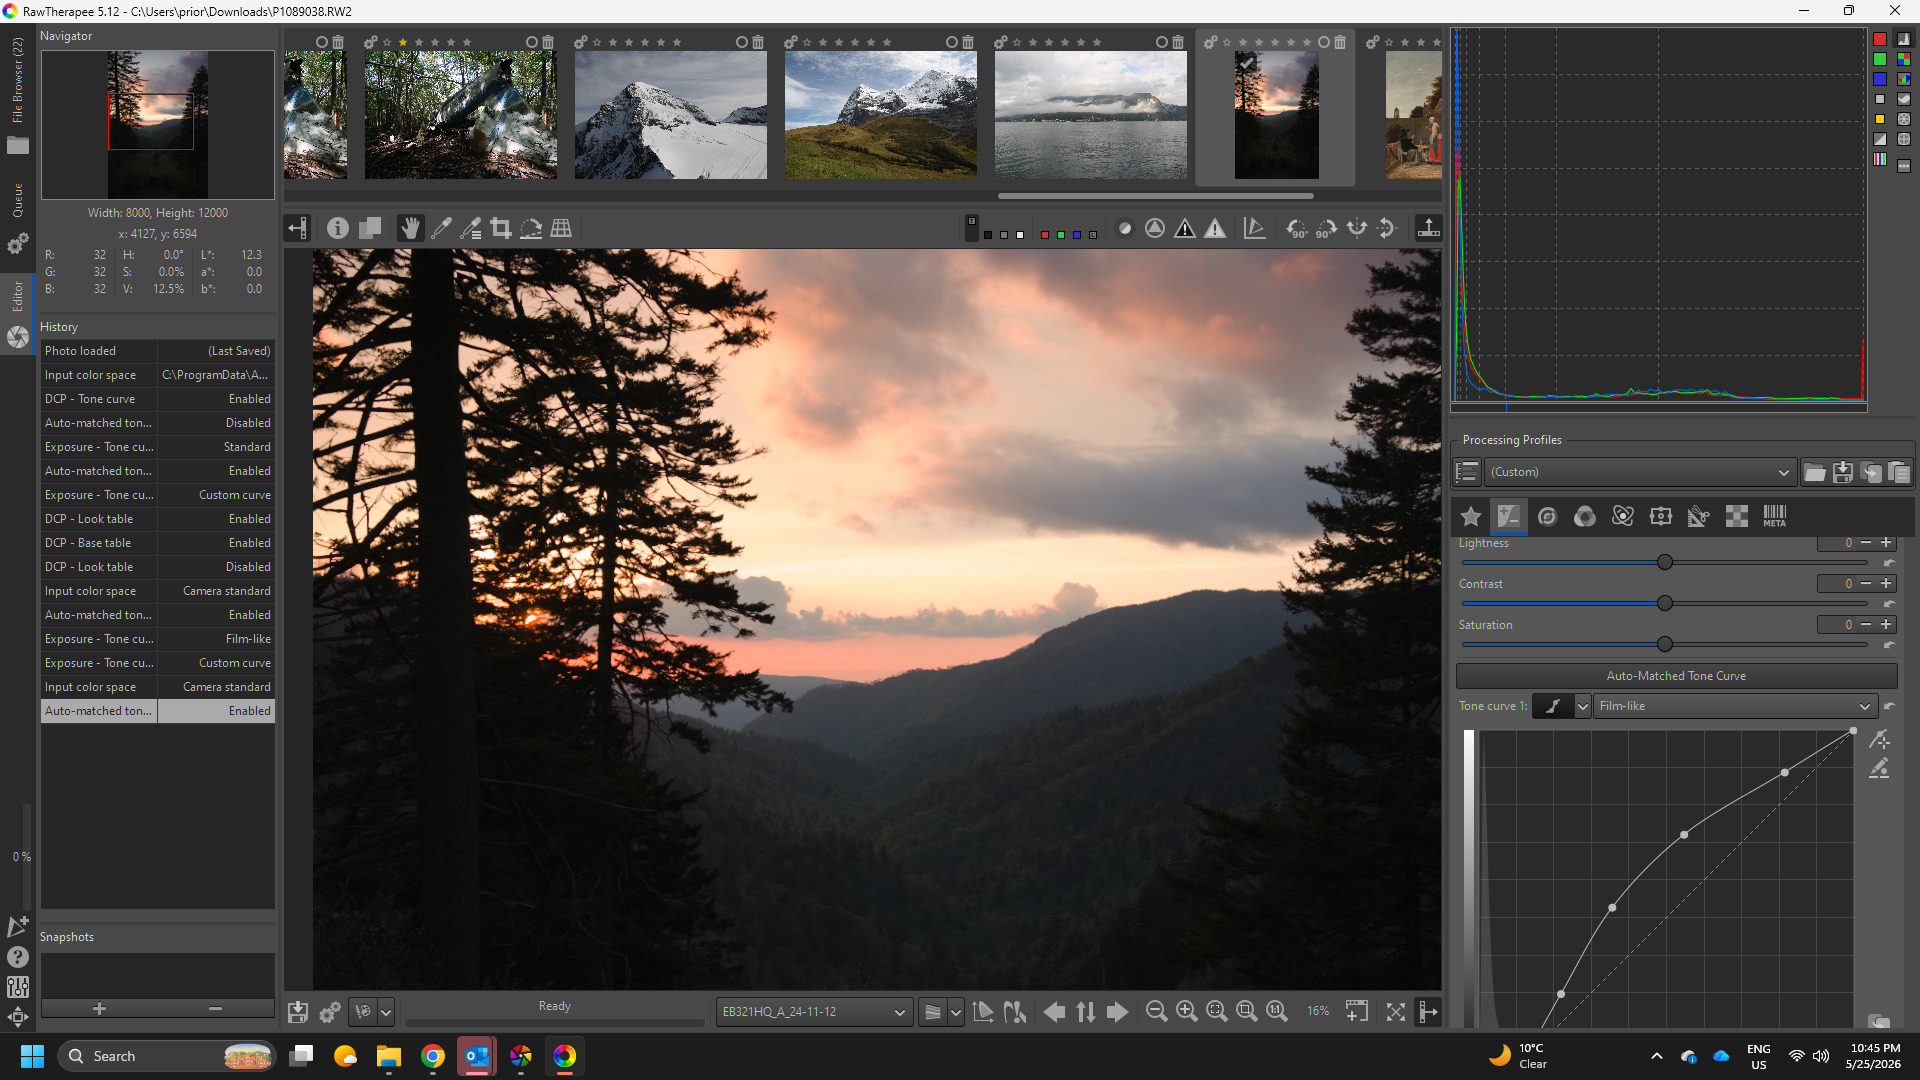
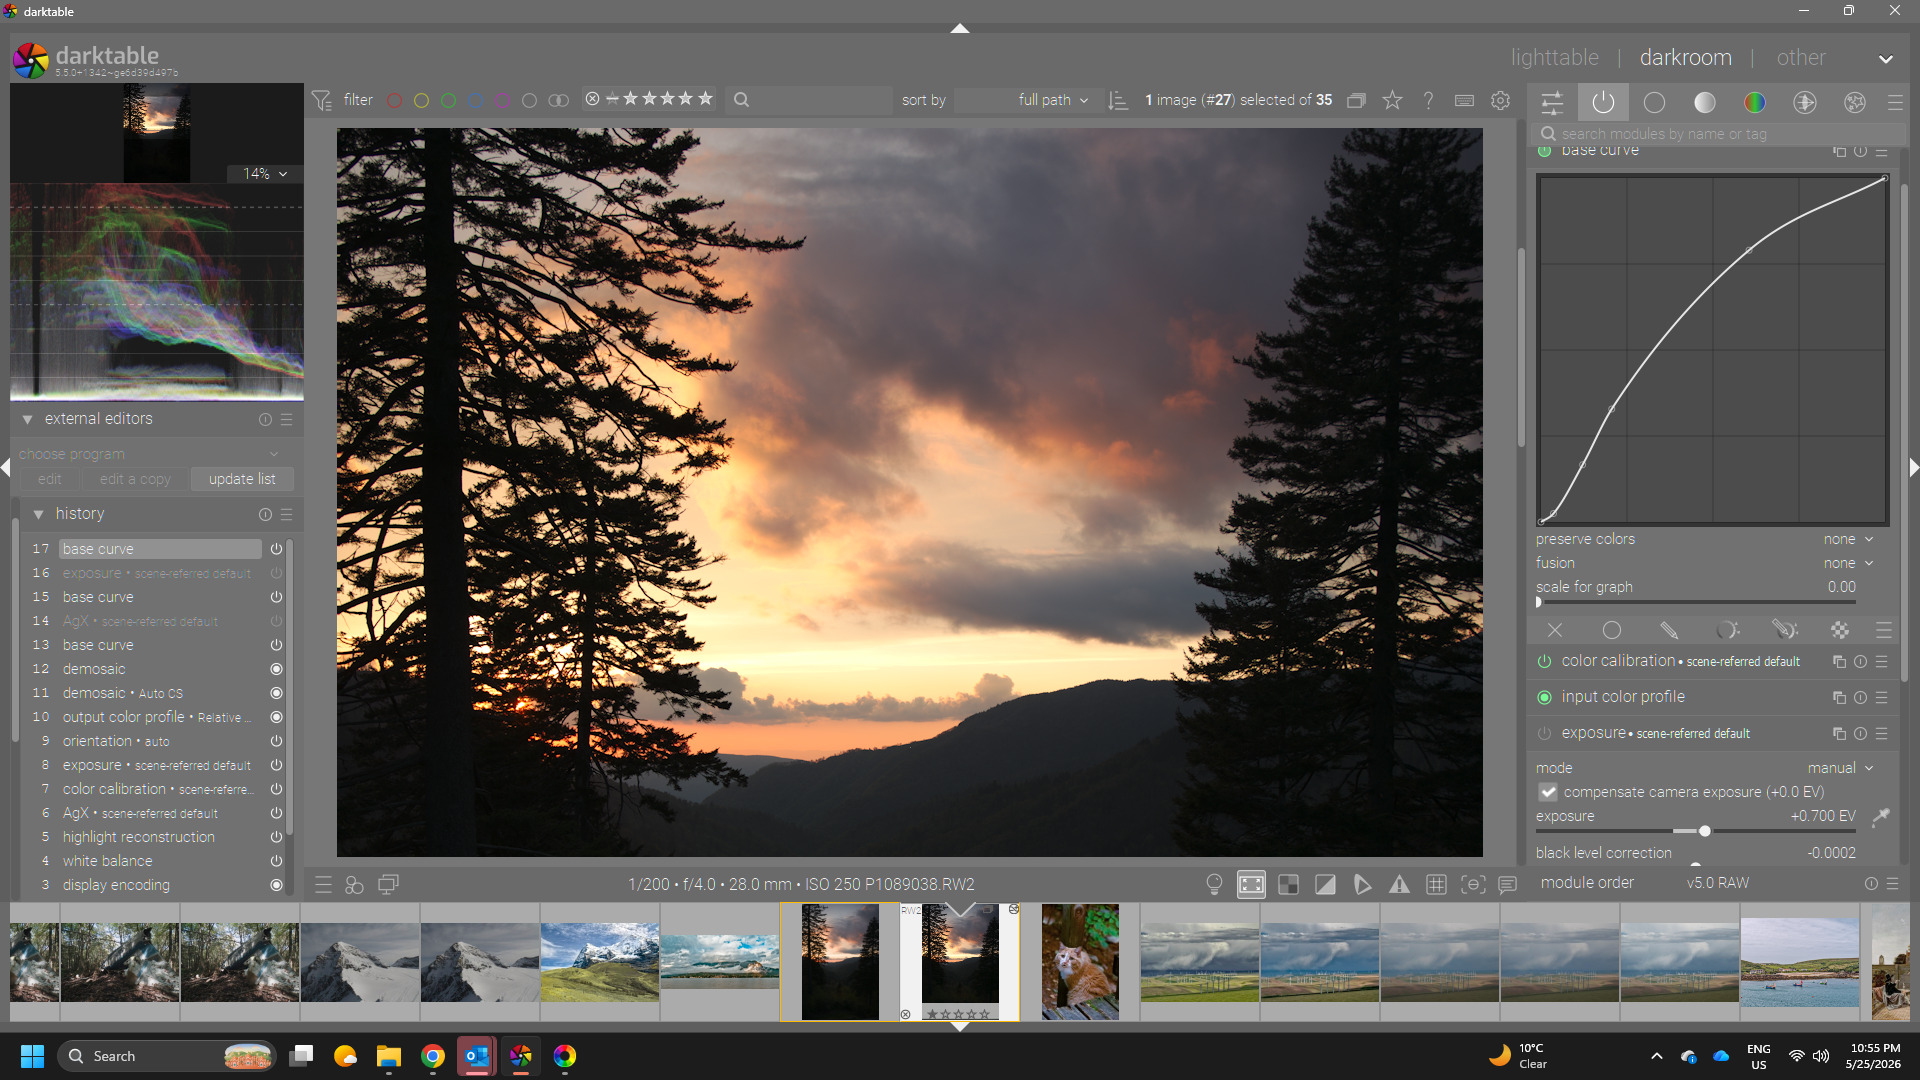
Take rawtherapee and apply the neutral profile…if you dont’ adjust exposure and set your tonemapper up then this if what you get in DT…it doesn’t add a profile like RT infact I think RT adds the automatch to the embedded jpg and depending on the model you use the starting color changes a lot or maybe you use the Adobe profile??..DT doesn’t do that…you have to craft your color and tone…there are some default styles for cameras but they are also just a general approximation…
Try using the autopicker for exposure on your subject…dont’ worry it might blow the highlights depending on your tonemapper setting but then you adjust that…its a different way to start out with you image and once you get your defaults and presets you will perhaps be closer to expectations…
Ok, I want the colors of the raw to be similar to the jpg, as that’s basically how it looks in person. They are 2 separate images taken about 10 seconds apart. I looked in rawtherapee, and the image looks better but not fully as good as jpg.
I did a test edit of the raw you posted, and couldn’t quite duplicate the colors that your jpg indicates you are looking for, so I won’t bother posting it. I’m not great at color manipulation, so I will leave it to others to make suggestions.
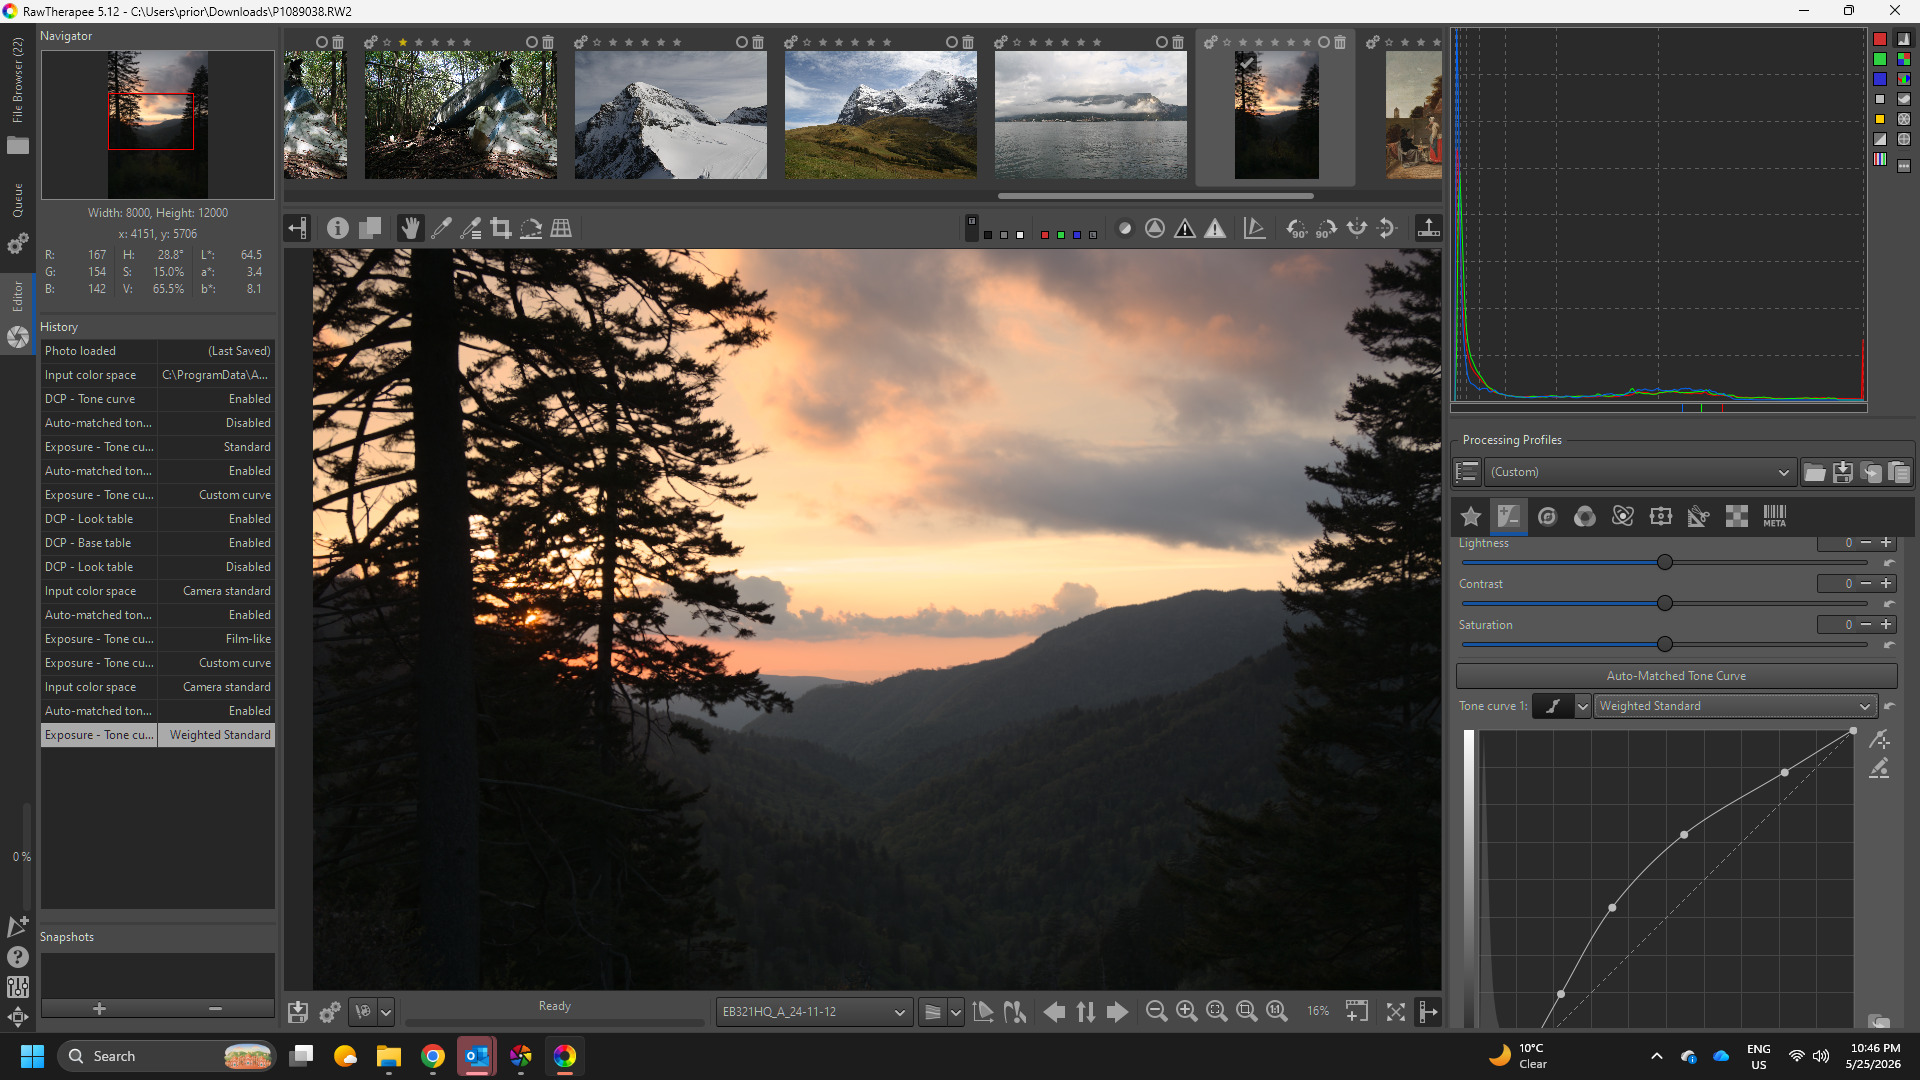
So RT can start out with quite different looks depending on your starting choices…
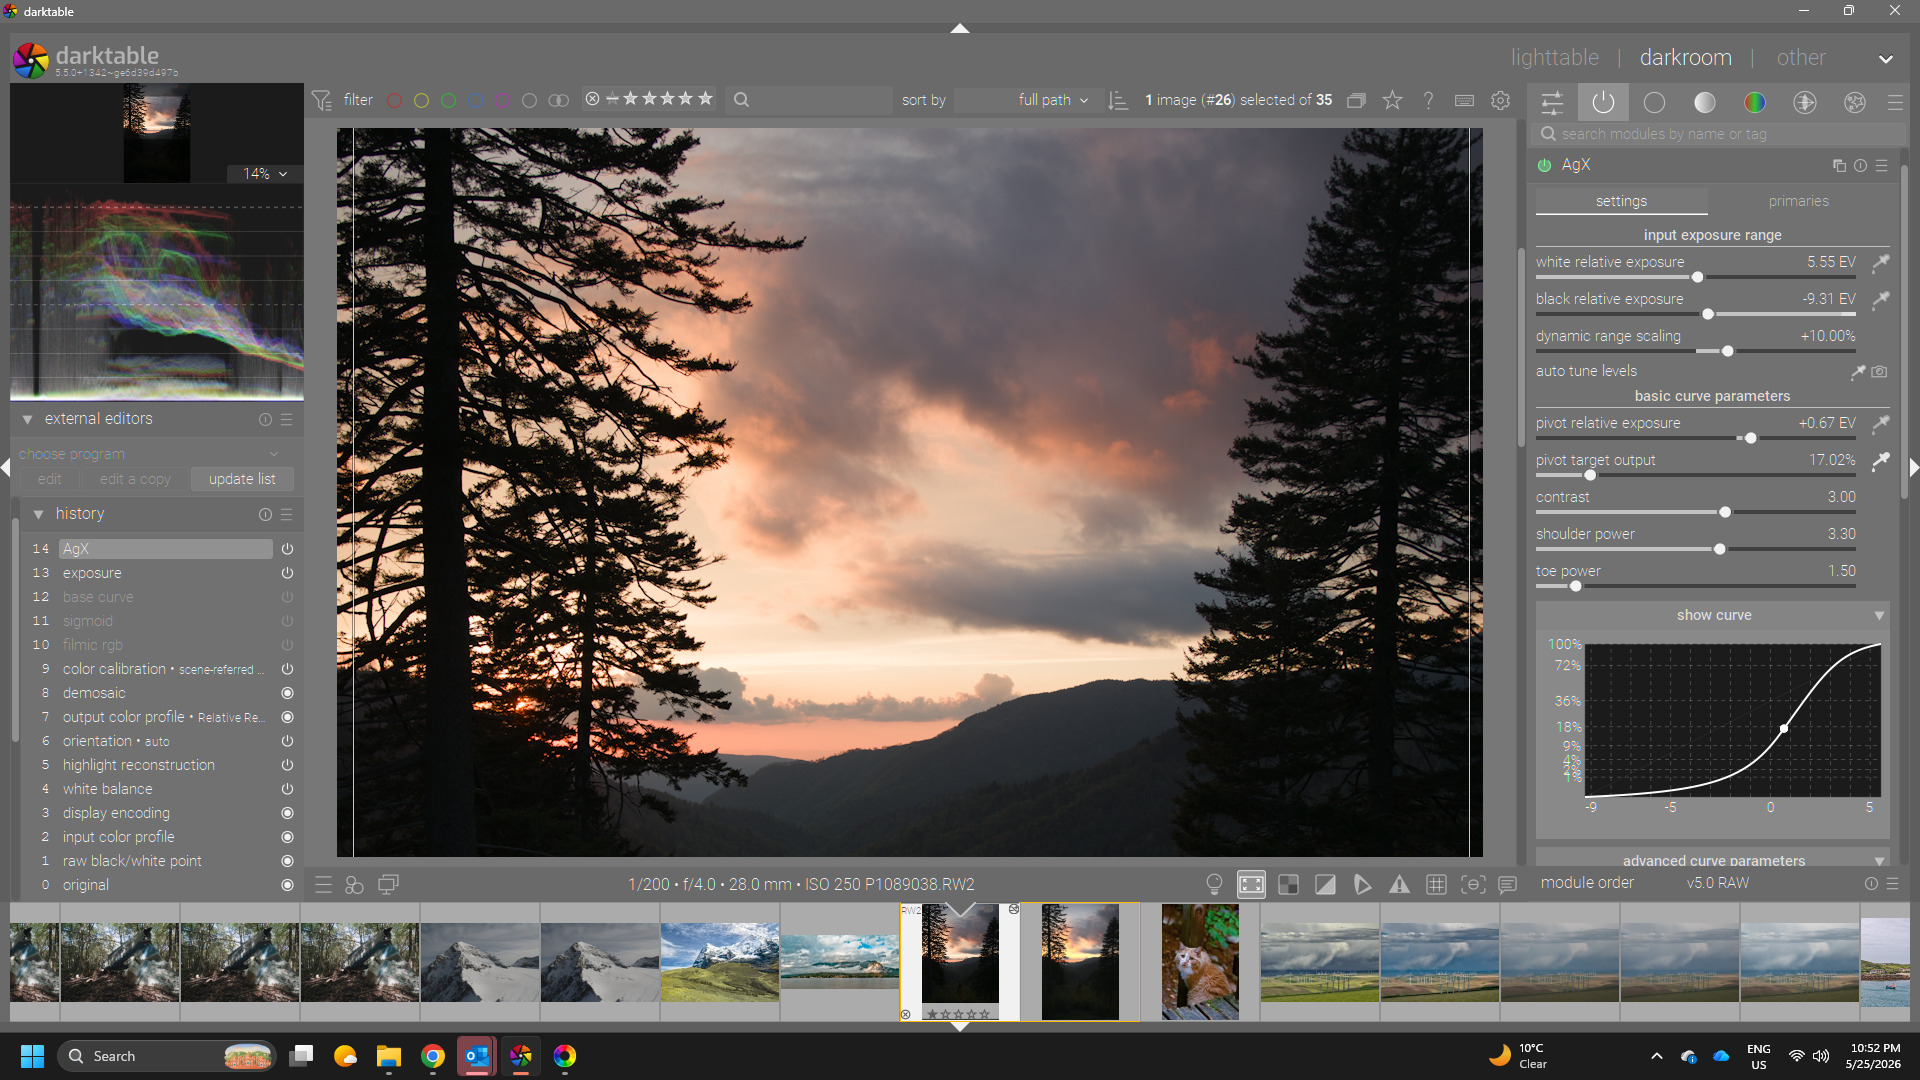
In DT … setting exposure which is a must…here I just auto picked on the image and then used AGX as the tonemapping options I just set the pickers…so auto white and black and auto pivot for the curve…
On my screen looks like the adobe starting point… (screen shots might not work)
Maybe exported jpg would have been better but hopefully the screenshot shows it…
In the end DT is not going to match your jpg or try to out of the gate but there are a lot of things you could do to get a closer starting point… and in addition there are some custom solutions …
Thanks, so there’s no real way to get accurate colors without tweaking them per scenario? It’s going to be an issue with the colors being off, especially when I have no jpg to compare them to. I noticed that red hair also seems to be very greenish yellow when I view it.
I’ll convert the raw to jpg in my camera tomorrow, as that accurately reproduces the colors. In the sunset, there’s basically no red, it was all orange, so any reddish pink was not accurate.
Accurate colors is a term that can be very subjective. Especially with a sunset. Maybe accurate to you means matching the cameras JPG in which case shooting a raw and jpg and then creating a style that closely resembles the camera JPG is what you want.
This is the supplied image just opened to AgX as the tone mapper in DT5.4. No editing has been done. It looks very similar in color to my eyes as your JPG from a similar image.
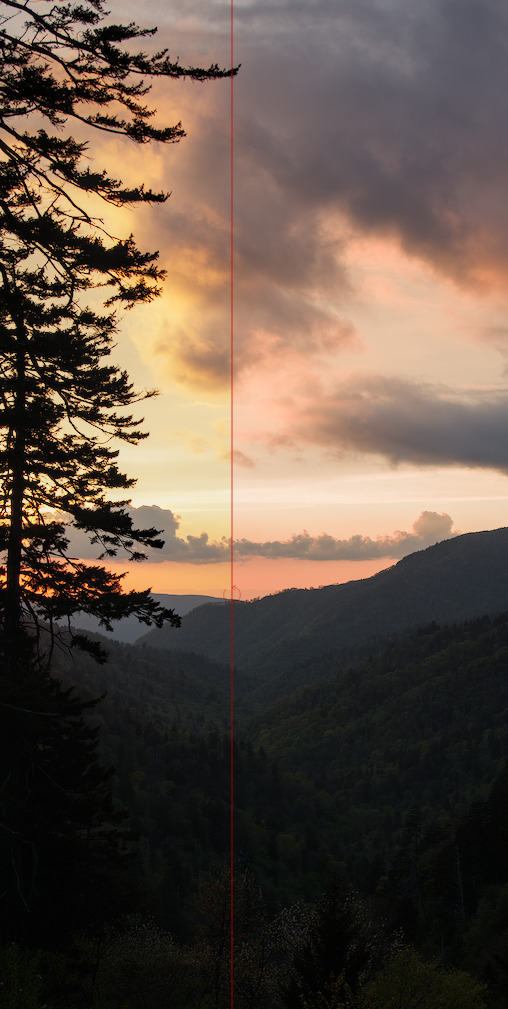
Here is a screenshot of Sigmoid. The difference between the left and right is the position of the preserve hue slider. Moving to the left brings out more yellow in the sky and to the right brings out a salmon color. Somewhere in between my be preferable.