Keyboard shortcuts for Red/Cyan, Green/Magenta, Blue/Yellow

There is a product called the Smartconvert Control Panel, which is a keyboard-panel inspired by the Fuji Frontier film scanners. I stumbled upon this product in a youtube video.

It provides six keys in three opposing pairs:

I thought that’s a really cool idea, and promptly implemented it in darktable, using my numpad as

  • 7/4 for red/cyan
  • 8/5 for green/magenta
  • 9/6 for blue/yellow

I used the color calibration R/inputR, G/inputG, and B/inputB sliders, and mapped the keys to their respective up/down action.

This seems to work really well for quickly canceling a color cast in an image, and is fairly easy to remember: 789->RGB, 456->CMY. For fun, I additionally mapped 123 to reset RGB to 1.

(Doing this I noticed a bug in the color calibration sliders. Their bar colors seem incorrect. A bug report has been filed.)

10 Likes

This is cool! Note that if you have a keyboard with switchable key caps, you can probably nab up those color key caps pretty cheaply.

2 Likes

I am working on that :grin:

2 Likes

Wow, a simple 20-key keyboard for 300€. That’s quite extreme even for someone who looked into the ergonomic-mechanical-keyboards-rabbit hole recently :D. They must have a pretty good margin…

I like your idea with the shortcuts, though. I’ll give it a try as well.

1 Like

Hehe I’ve done exactly the same with the color balance in Negadoctor :D. And I agree, 300€ is, like their auto advancing backlight film support, shamefully too expensive.

1 Like

I should investigate this idea. I used to own photographic printing equipment including one hour printing lab that worked on a keyboard layout like you suggest to tweak the colors. If I can set up the shortcut keys I would adapt to it so easily.

So, I ordered a cheap wireless programmable numpad, and colorful keycaps (they messed up the order, Cyan is missing):

6 Likes

I’ve been playing around with this setup a bit. Previously, I’d mostly have my left hand on the keyboard, right hand on the trackpad or mouse.

Now I find myself leaning back, and having both hands on the external numpad. This is actually very convenient. Not least of all because it’s a different posture and feeling than my day-to-day work that also happens at the same desk.

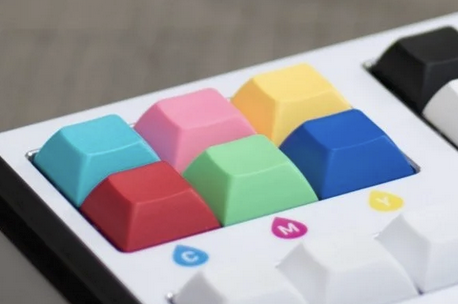
The color correction keys are really useful, even though the leftmost axis (red-cyan) does not work (the “red” slider in color calibration CAT16 operates in magenta-green, like the second axis). It usually just takes a few keystrokes to get any minor color cast equalized.

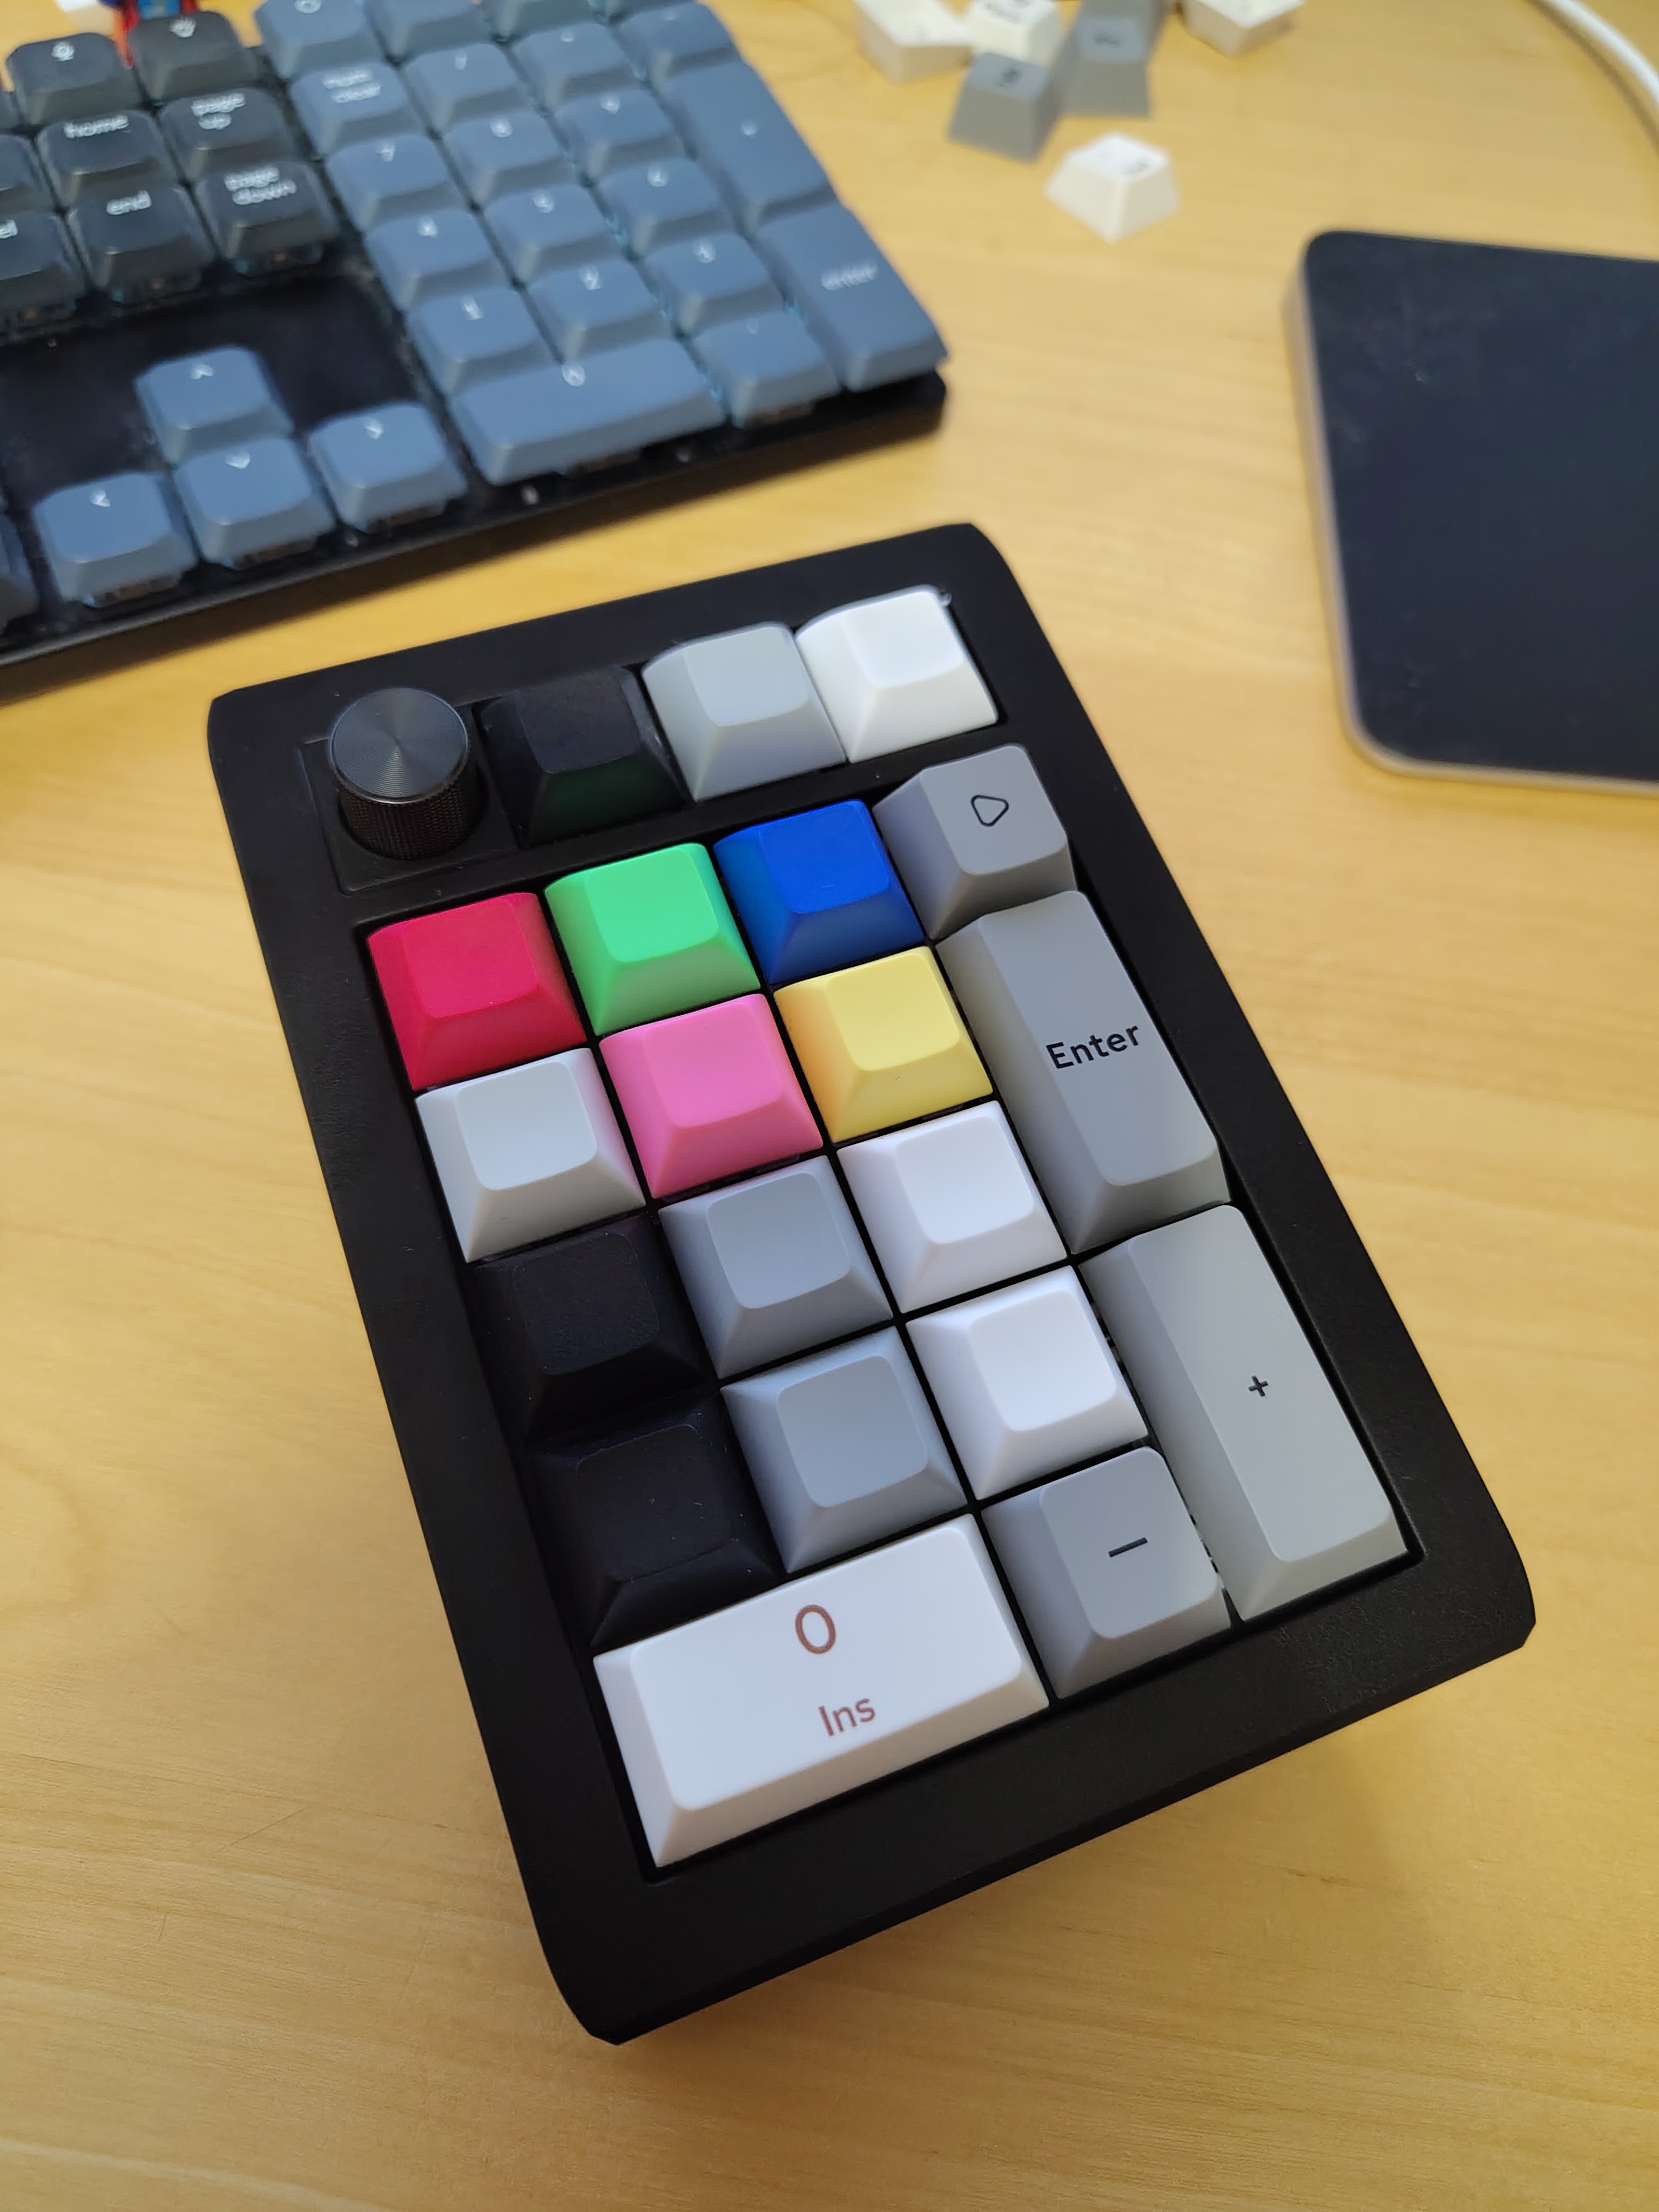
The top row I have assigned to lift, brightness, gain in AgX, together with the rotary dial. In fact, I’ve set the rotary dial to operate as a mouse scroll wheel, which is unexpectedly useful.

The bottom black/grey/white keys, I’ve assigned to AgX toe power, exposure, and shoulder power. These were intended to operate like the colored keys, so as opposing pairs of up/down keys that you hit multiple times for bigger adjustments. But this feels cumbersome, I’ll likely remap them to operate with the scroll wheel instead. This would free the bottom row for Tone EQ shadows, contrast, highlights, which seems better.

Configuration is a bit annoying, since you can change both, the key bindings for the numpad, and the shortcuts in darktable. It’s not always obvious which one is better to change. At least the numpad can be configured through VIA in the browser (with webUSB), which is reasonably simple. Not that the docs would tell you that, it instead misleads you into a procedure that does not work.

Still, overall, this has turned out very useful. Not necessarily faster or better than my old mouse-and-keyboard system, but more tactile and fun.

2 Likes

May I ask, where you got it from? And did you get it assembled or is it a DIY thing? As I mentioned, I recently looked into the ergonomic mechanical keyboard world (which unfortunately is mostly DIY, and I don’t really have the experience and time to solder my own keyboard).
The idea of having a rotary dial on the keyboard sounds very appealing to me, though, especially for photo processing.

This is an Epomaker EK21 (€42), with some custom keycaps from Etsy (€12). The key point is that the numpad is programmable, so you can remap the keys as you like. And it’s using Cherry compatible keys, so you can exchange the keycaps.

1 Like

I’m tempted :smiley:. Since it mentions VIA, I assume it runs QMK, supporting layers and everything?

It does support layers and macros and everything, yes.

1 Like

I got an EK21 today :smiley:. However, I cannot get it connect to VIA (neither via https://usevia.app, nor using the downloadable version mentioned in the manual). What did you do to make it work?

A chromium browser (I used brave), and a USB connection worked for me.

1 Like

Using https://usevia.app? When I open the site and click on “Authorize device +”, a dialog opens where I can select it but then nothing happens (i.e. I still only see the “Authorize device” screen).

Yes, via usevia.app. IIRC, it mostly just worked in the browser. I think I had to click a bit of an unintuitive button on the usevia website, though.

I can check again exactly what I did, tomorrow.

1 Like

If you’re on linux, you might need some udev rules to allow chrome to get to your usb device.

I set this udev rule (found in the Vial docs but explicitly saying it is for VIA):

KERNEL=="hidraw*", SUBSYSTEM=="hidraw", MODE="0666", TAG+="uaccess", TAG+="udev-acl"

I also tried on Windows with the same issue.

The manual says, that I should enable “Use V2 definitions (deprecated)” but I can’t find an option like this anywhere. I’m a bit afraid that this once deprecated option is now gone…

The manual was wrong for me. usevia.app mostly just worked for me. But I ran it on MacOS.

I got it working!

For future readers:

  1. On https://usevia.app, go to the settings and enable “Show Design tab” and then go to this newly appearing tab (or just go directly to https://usevia.app/design).
  2. On the Design tab, Use the “Load Draft Definition” option to load the JSON file provided by Epomaker. Do not enable the “Use V2 definitions” option.
  3. Now go back to the “Configure” tab and the keyboard should appear and be configurable.
2 Likes