This was one of the first times that I have colorized an old B&W picture. This is what I have learned:
-
It is hard to get skin tones right. My solution was to add a picture of myself and to use the color picker tool. Even then, I had to try several places on my face to get the right tone (it seems every pixel is slightly different).
-
Eyes are hard to get right. That is, it is hard to colorize the face and then for the eyes to look right. I wound up putting the original B&W as the bottom layer with the faces on one of the highest layers. And then to make the eyes transparent on the colorized faces.
-
Hair is hard to get right. That is, it is hard to colorize the face and then for the hair to look right. I wound up putting the hair (also eyebrows and moustaches) as the topmost layer. On this layer, I made everything except for the hair to be transparent. I darkened it a little too.
-
In a few places, there was a dark color adjacent to a dark color. I had to use my imagination to determine where one figure ended and another began. In one case, I added a flower pattern dress where one did not exist, to add interest.
-
Each particular color has it’s own layer. For each layer, I spent much time erasing what should not be colored. Later I learned to use Edit->Copy to copy smaller areas from the B&W layer and paste in place to a transparent layer. This is much easier.
-
I wound up with 15 layers. I moved them around many times in an attempt to determine where smudges were coming from. I learned to add numbers in the layer attributes so that I could put them back into the desired order.
-
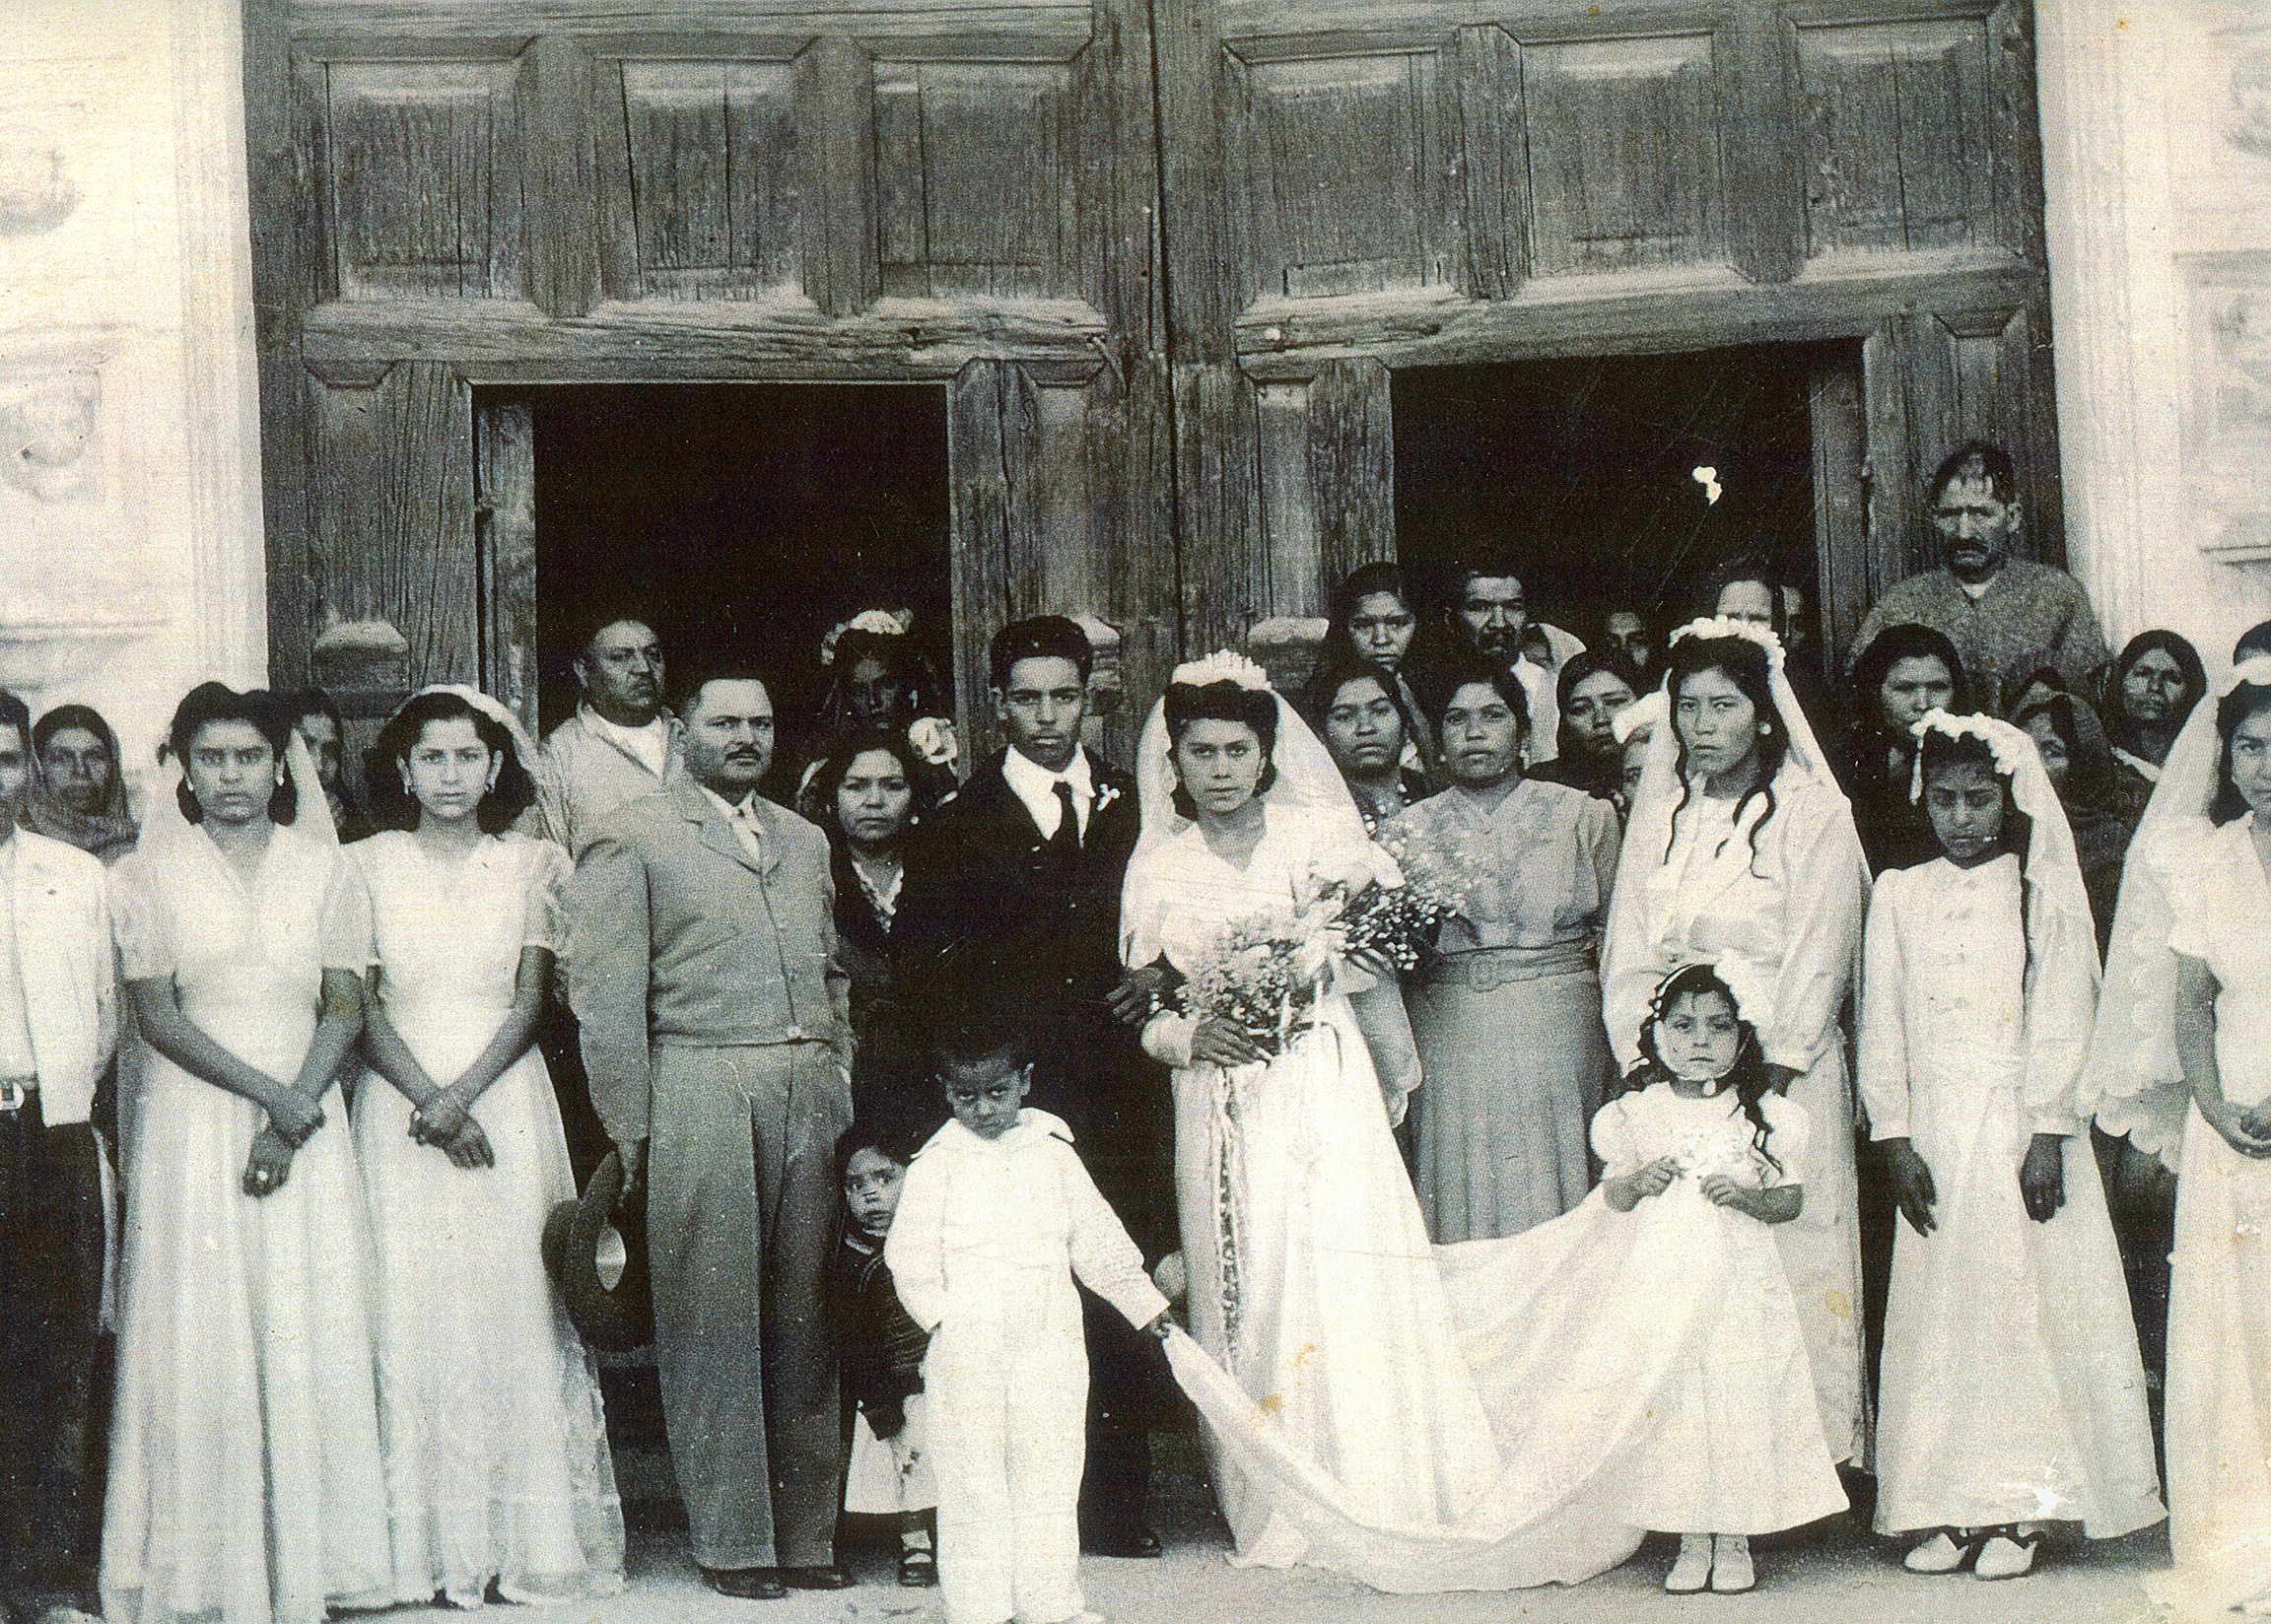
The bride’s bouquet was not especially clear in the pictures. I wound up adding some pictures of flowers from the internet. The bride preferred hydrangeas, so I added some. And for interest I colored the groom’s tie to match the flower.
-
Part of the background was a black void into the church. I did not like that, so I got a picture from a similar church and made it somewhat visible.
-
Its very easy to lose track of which layer has focus. Many, many times, I used the eraser/airbrush on the wrong layer. Ctrl/Z to undo is my best (non-human) friend. I also learned to make duplicates of layers in case I made too many errors and had to revert to an older version.
-
There were a few people in the dark and I just could not get the color right, so I just removed them (sorry).
-
The original picture was not particularly clear, but the result was still surprisingly satisfying.
Here are the before and after pictures.