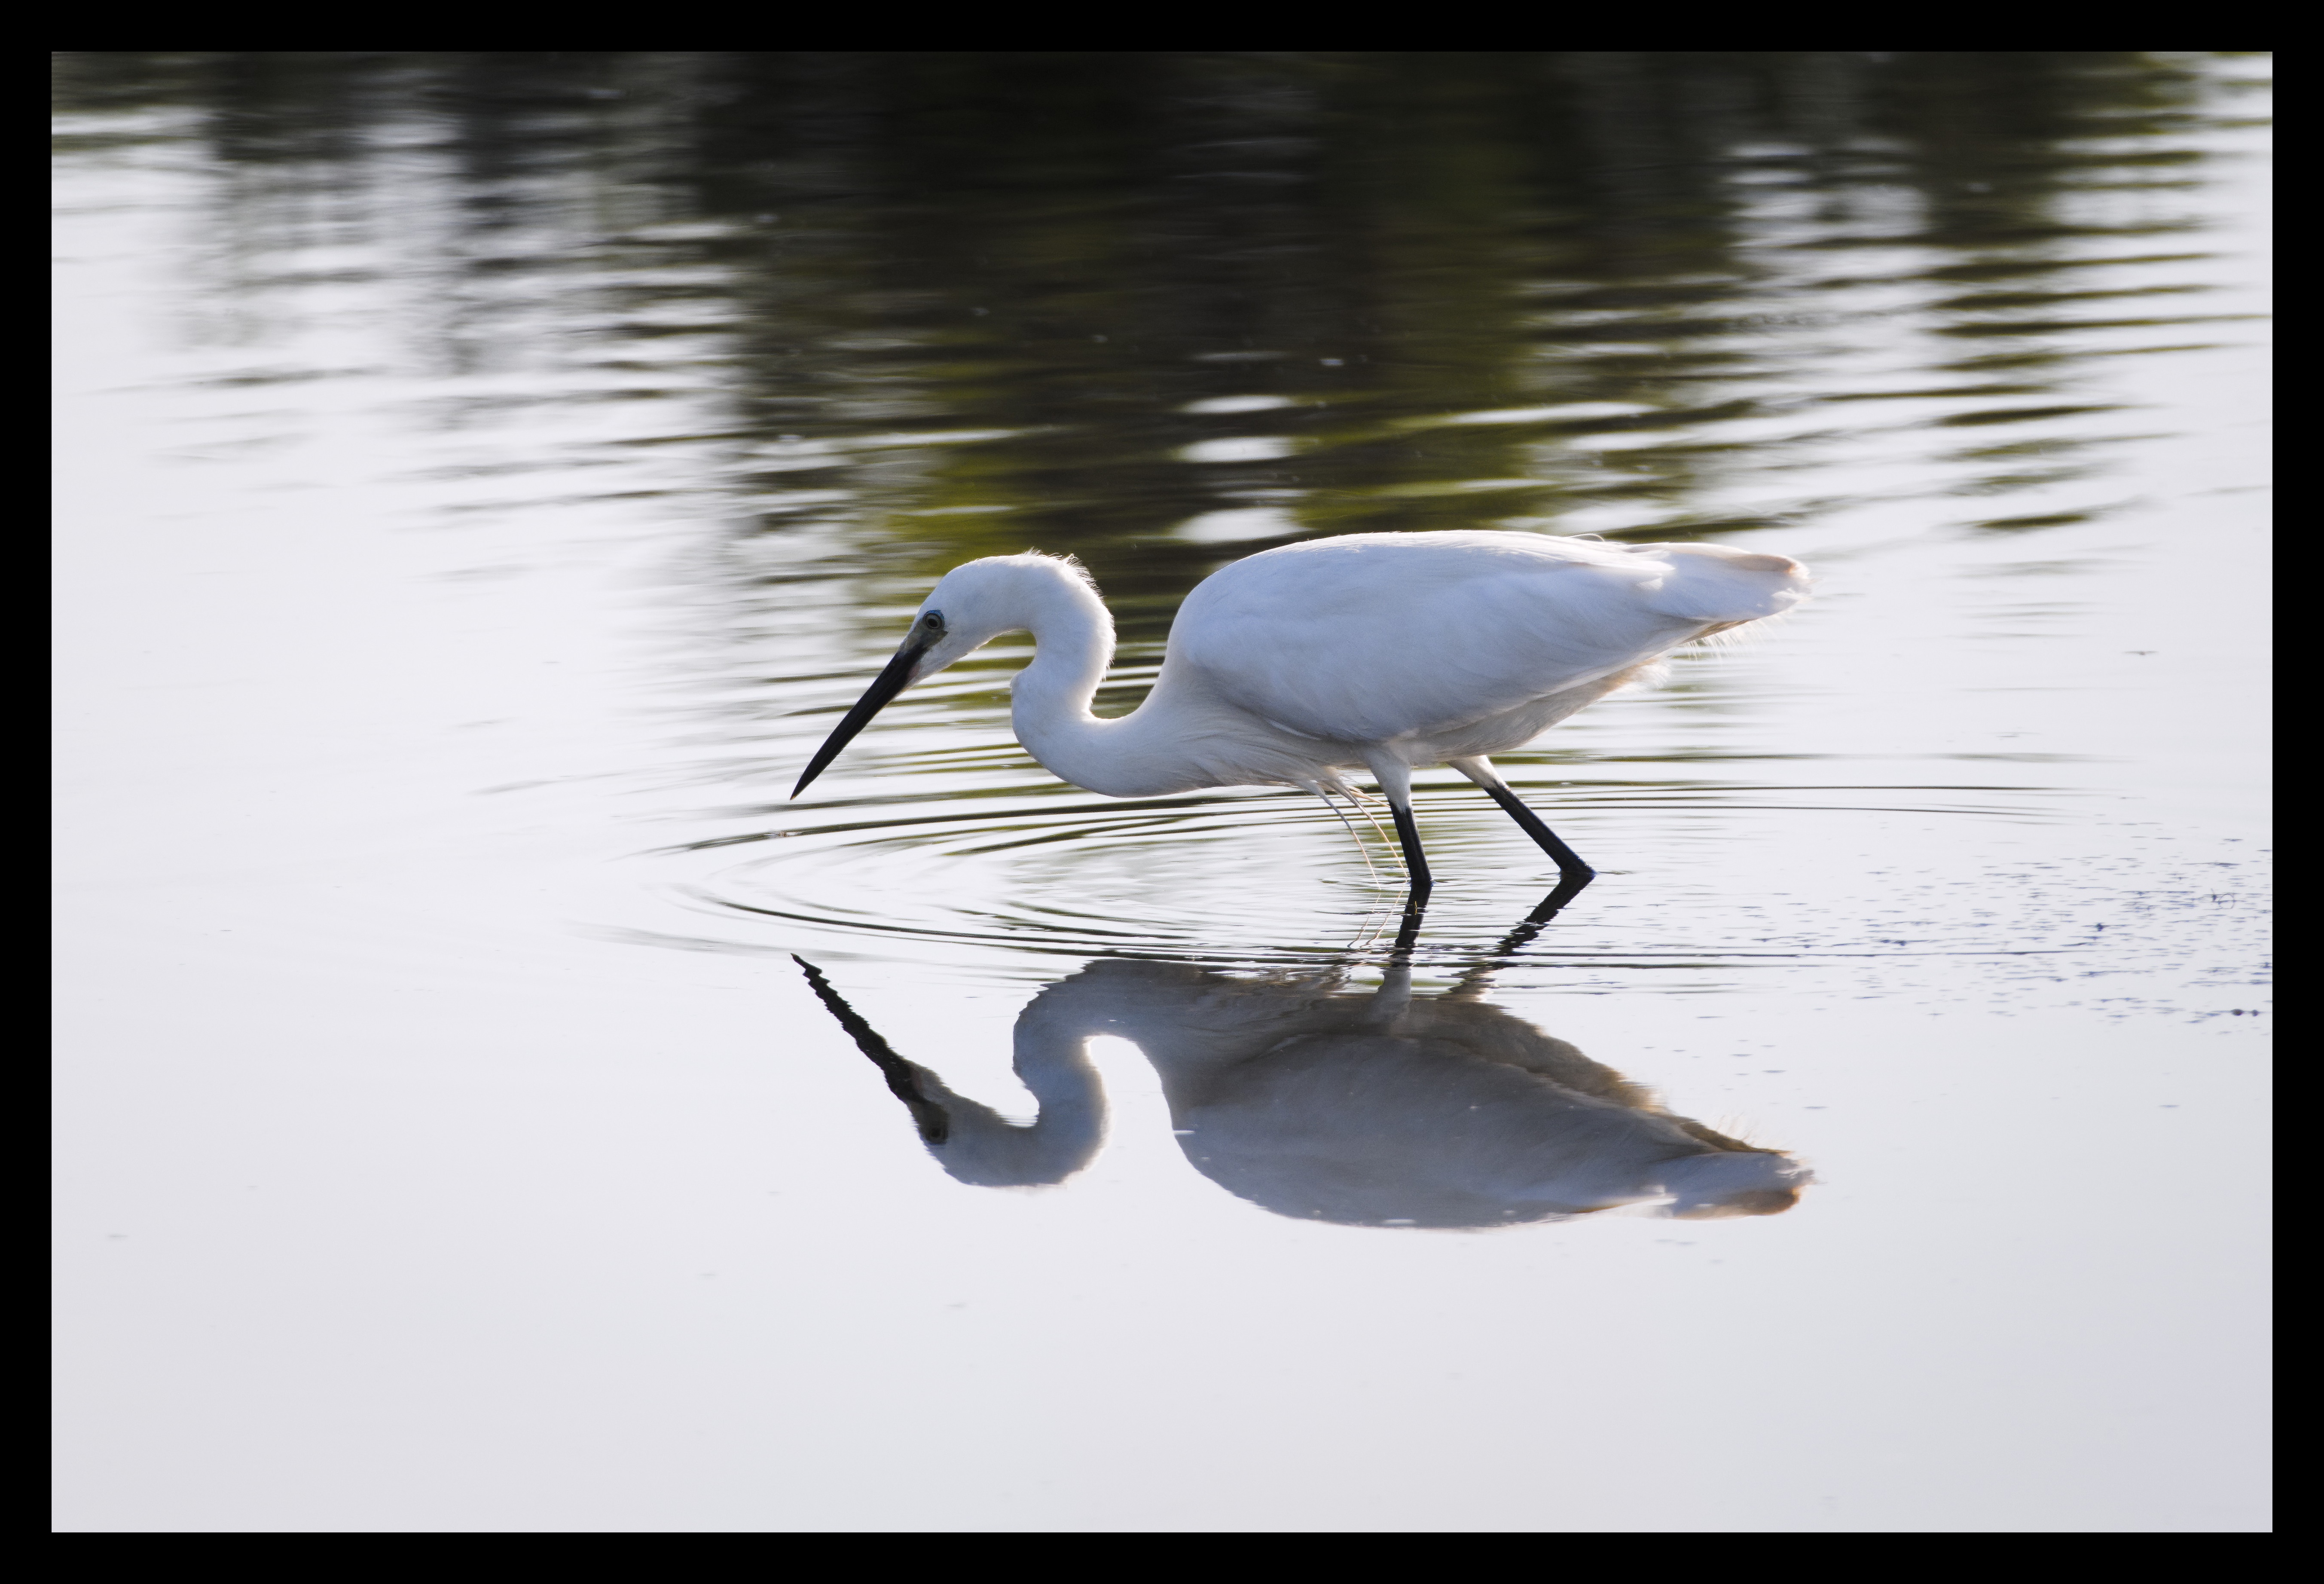
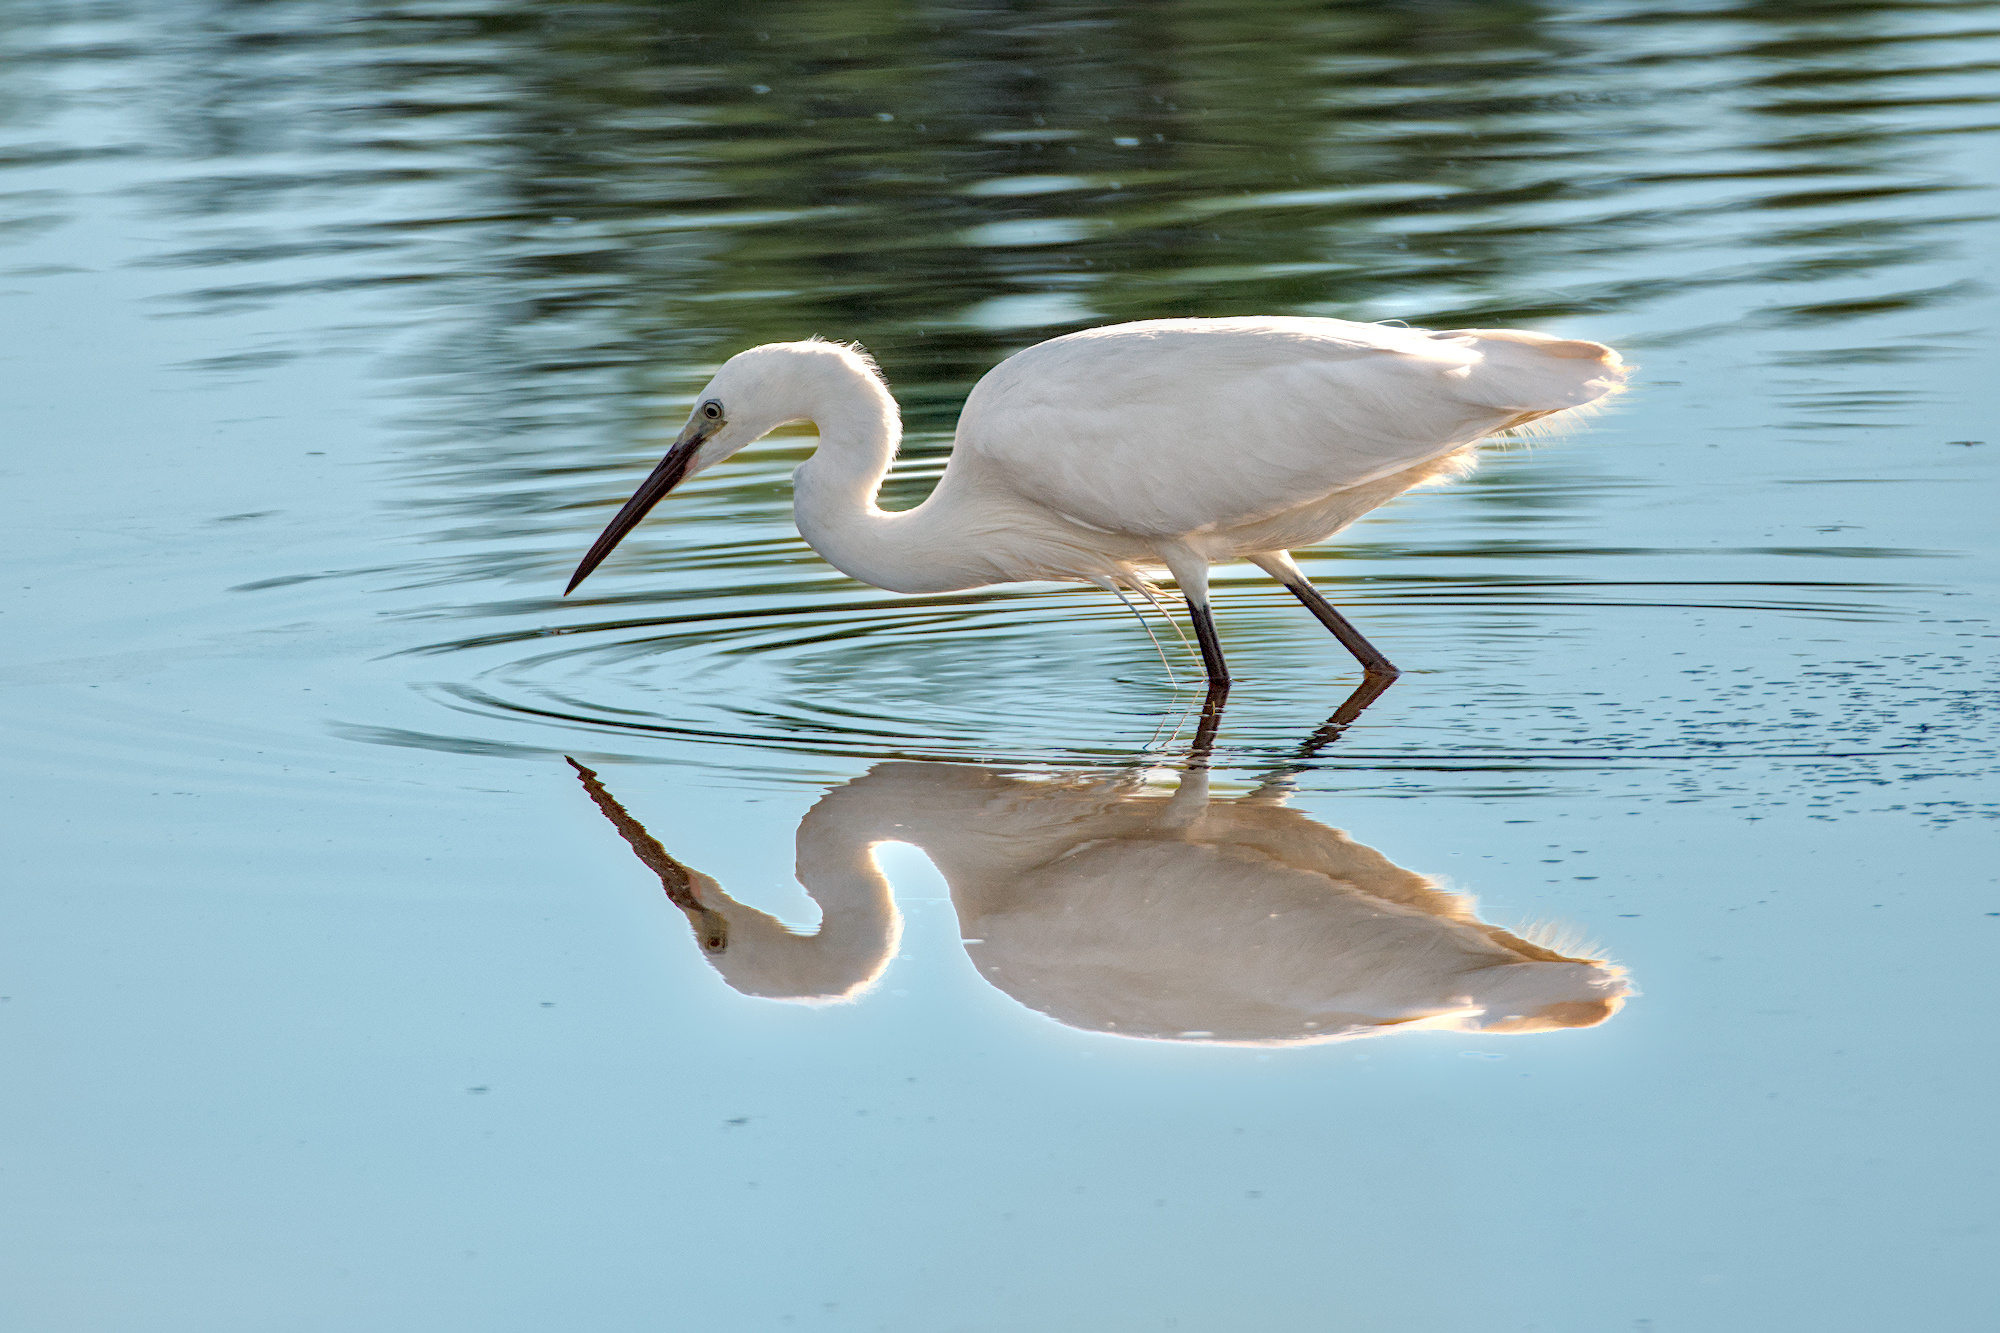
Others thought of bringing out the green in the tree reflections. I hadn’t notice that.
I added a dolop of colour equaliser…
20250601-065927.RAF.xmp (83.4 KB)
Others thought of bringing out the green in the tree reflections. I hadn’t notice that.
I added a dolop of colour equaliser…
20250601-065927.RAF.xmp (83.4 KB)
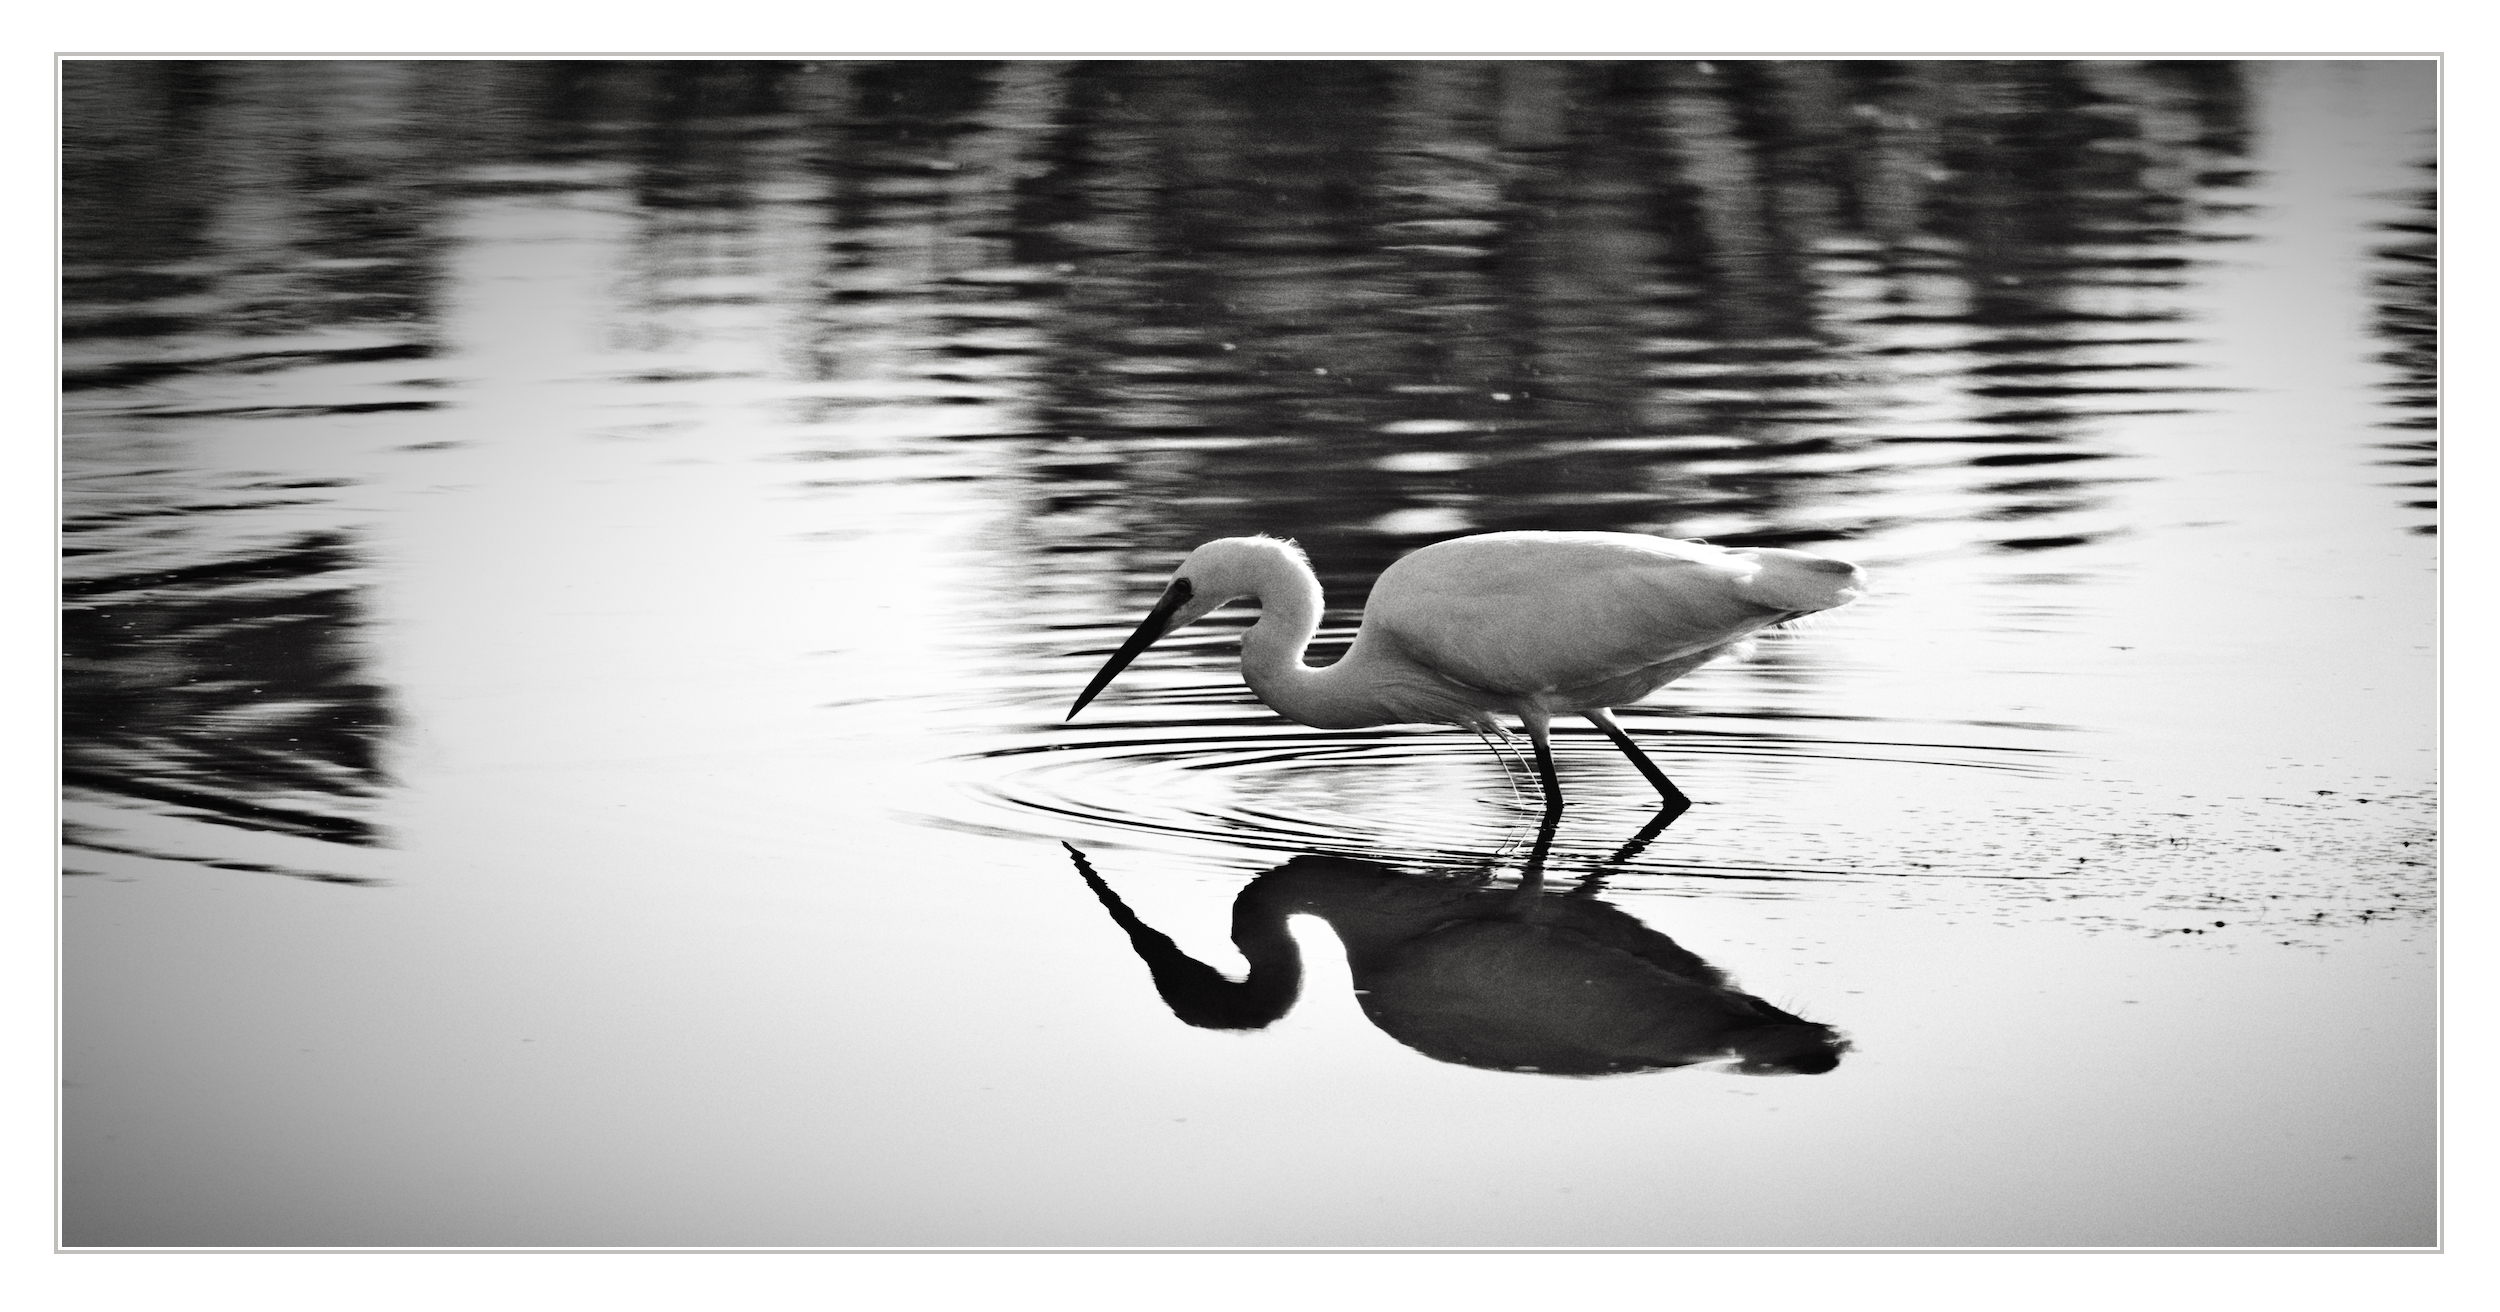
“This has been just a quick intervention, darling. But some day, some day I will show you the real stuff, believe me!”
That’s the very first editing tutorial (of several) in my beginner guide ![]()
20250601-065927.RAF.xmp (23.8 KB)
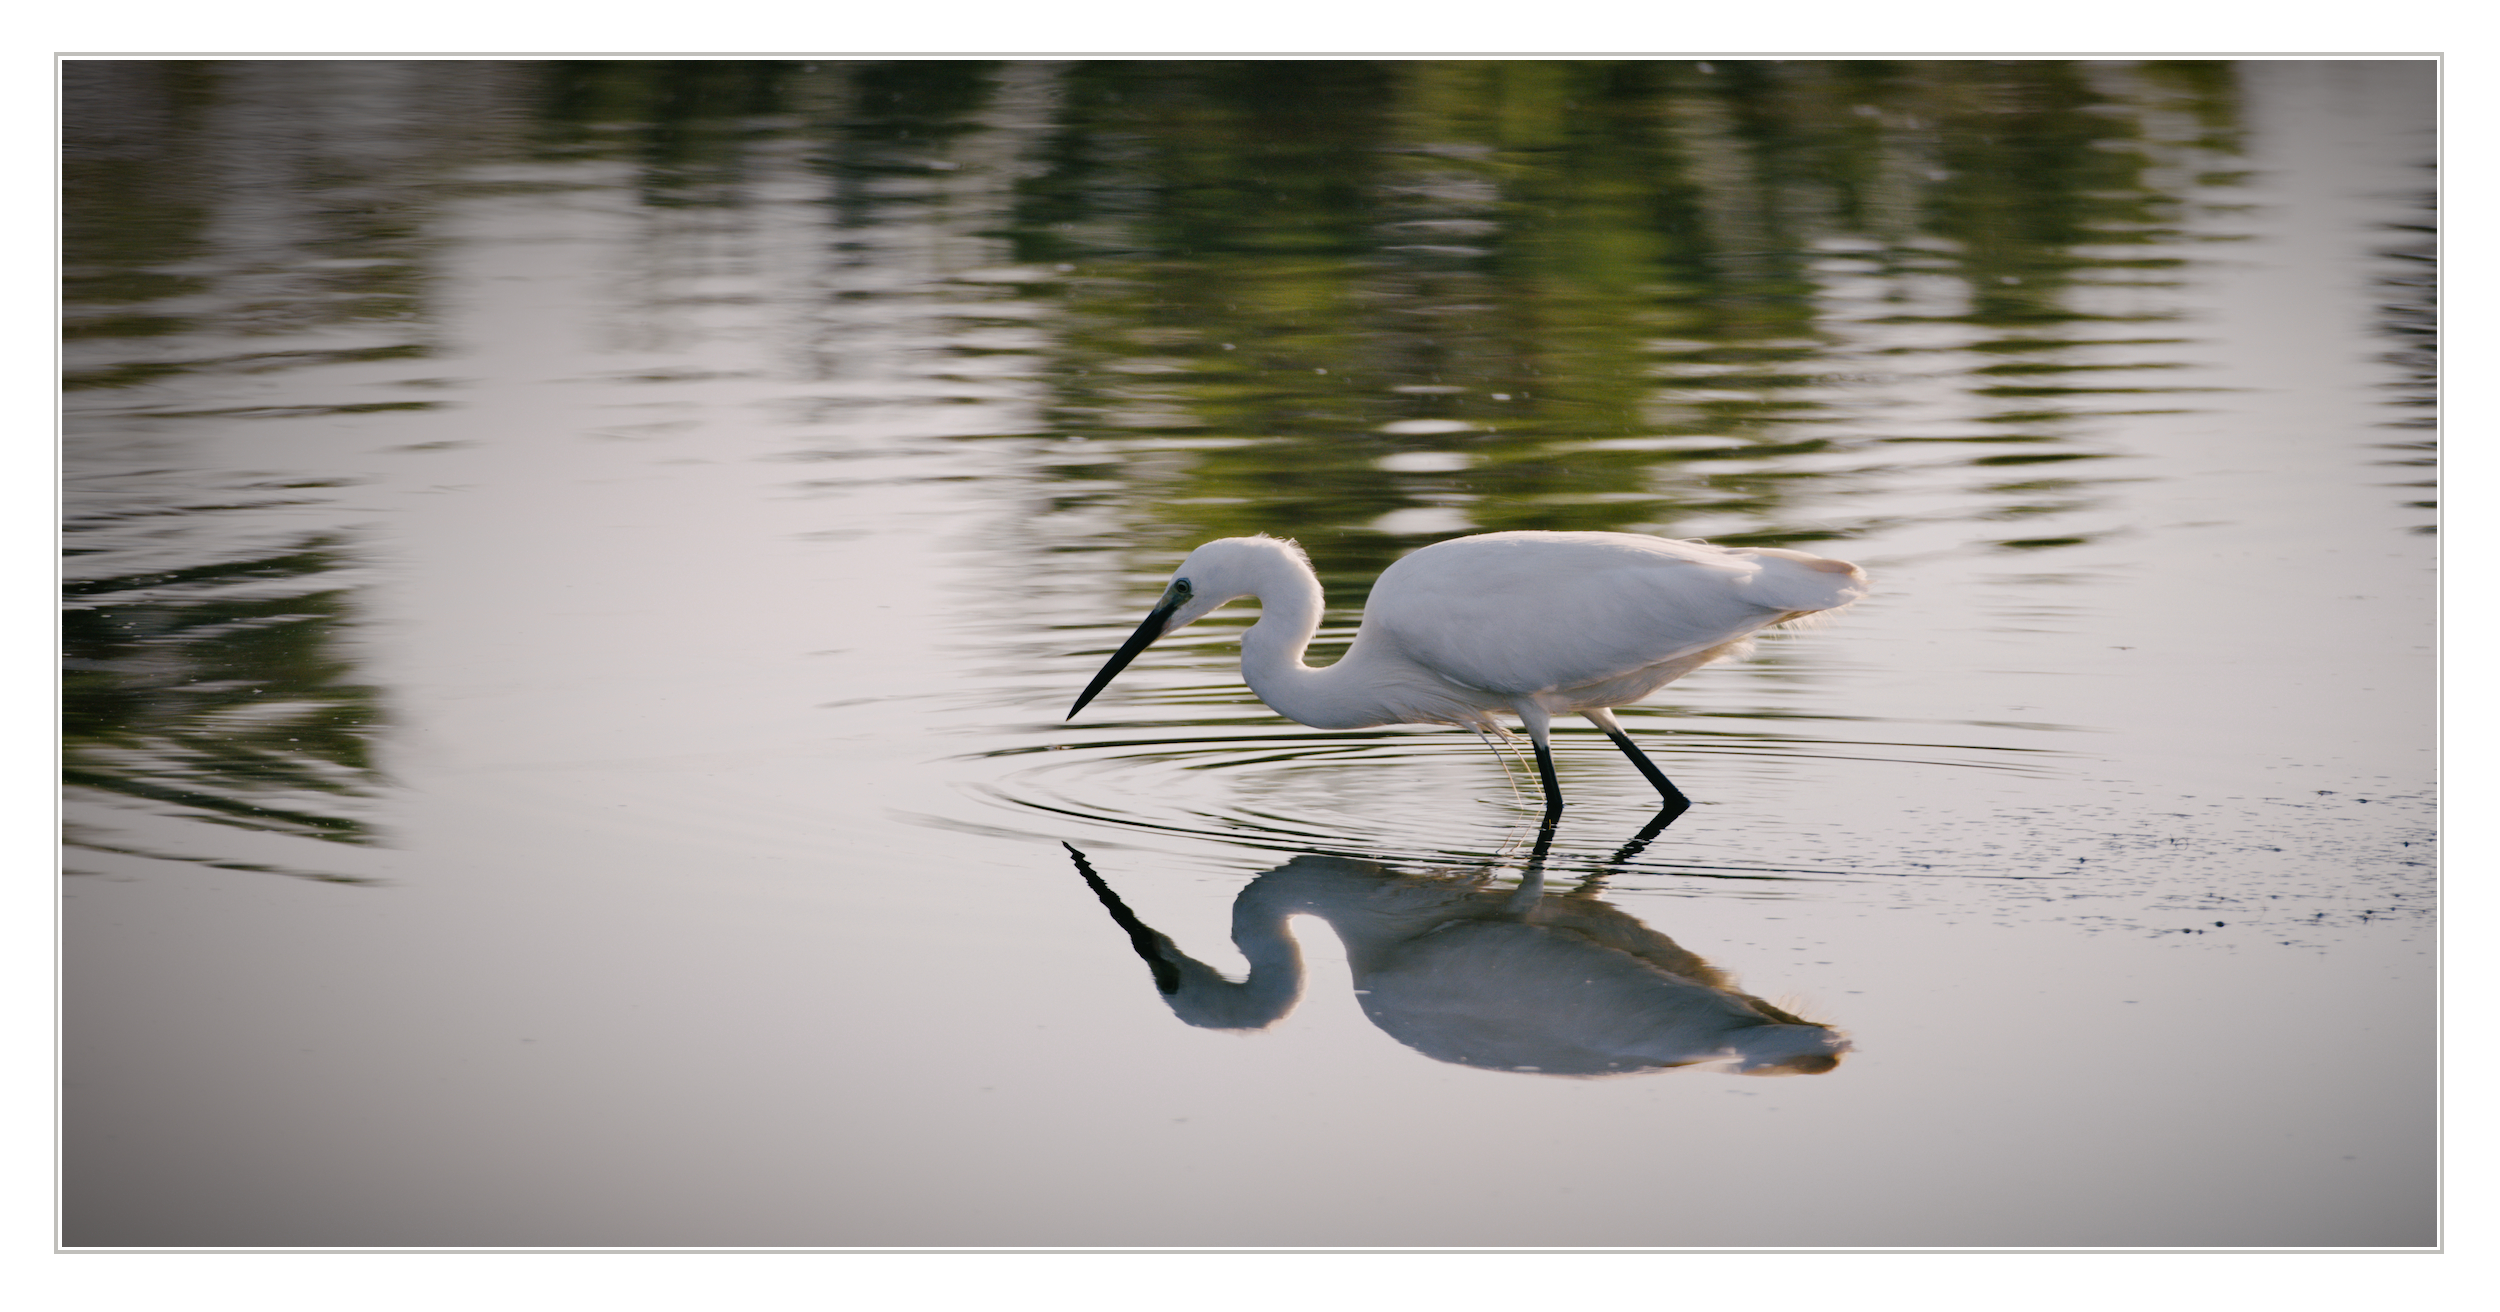
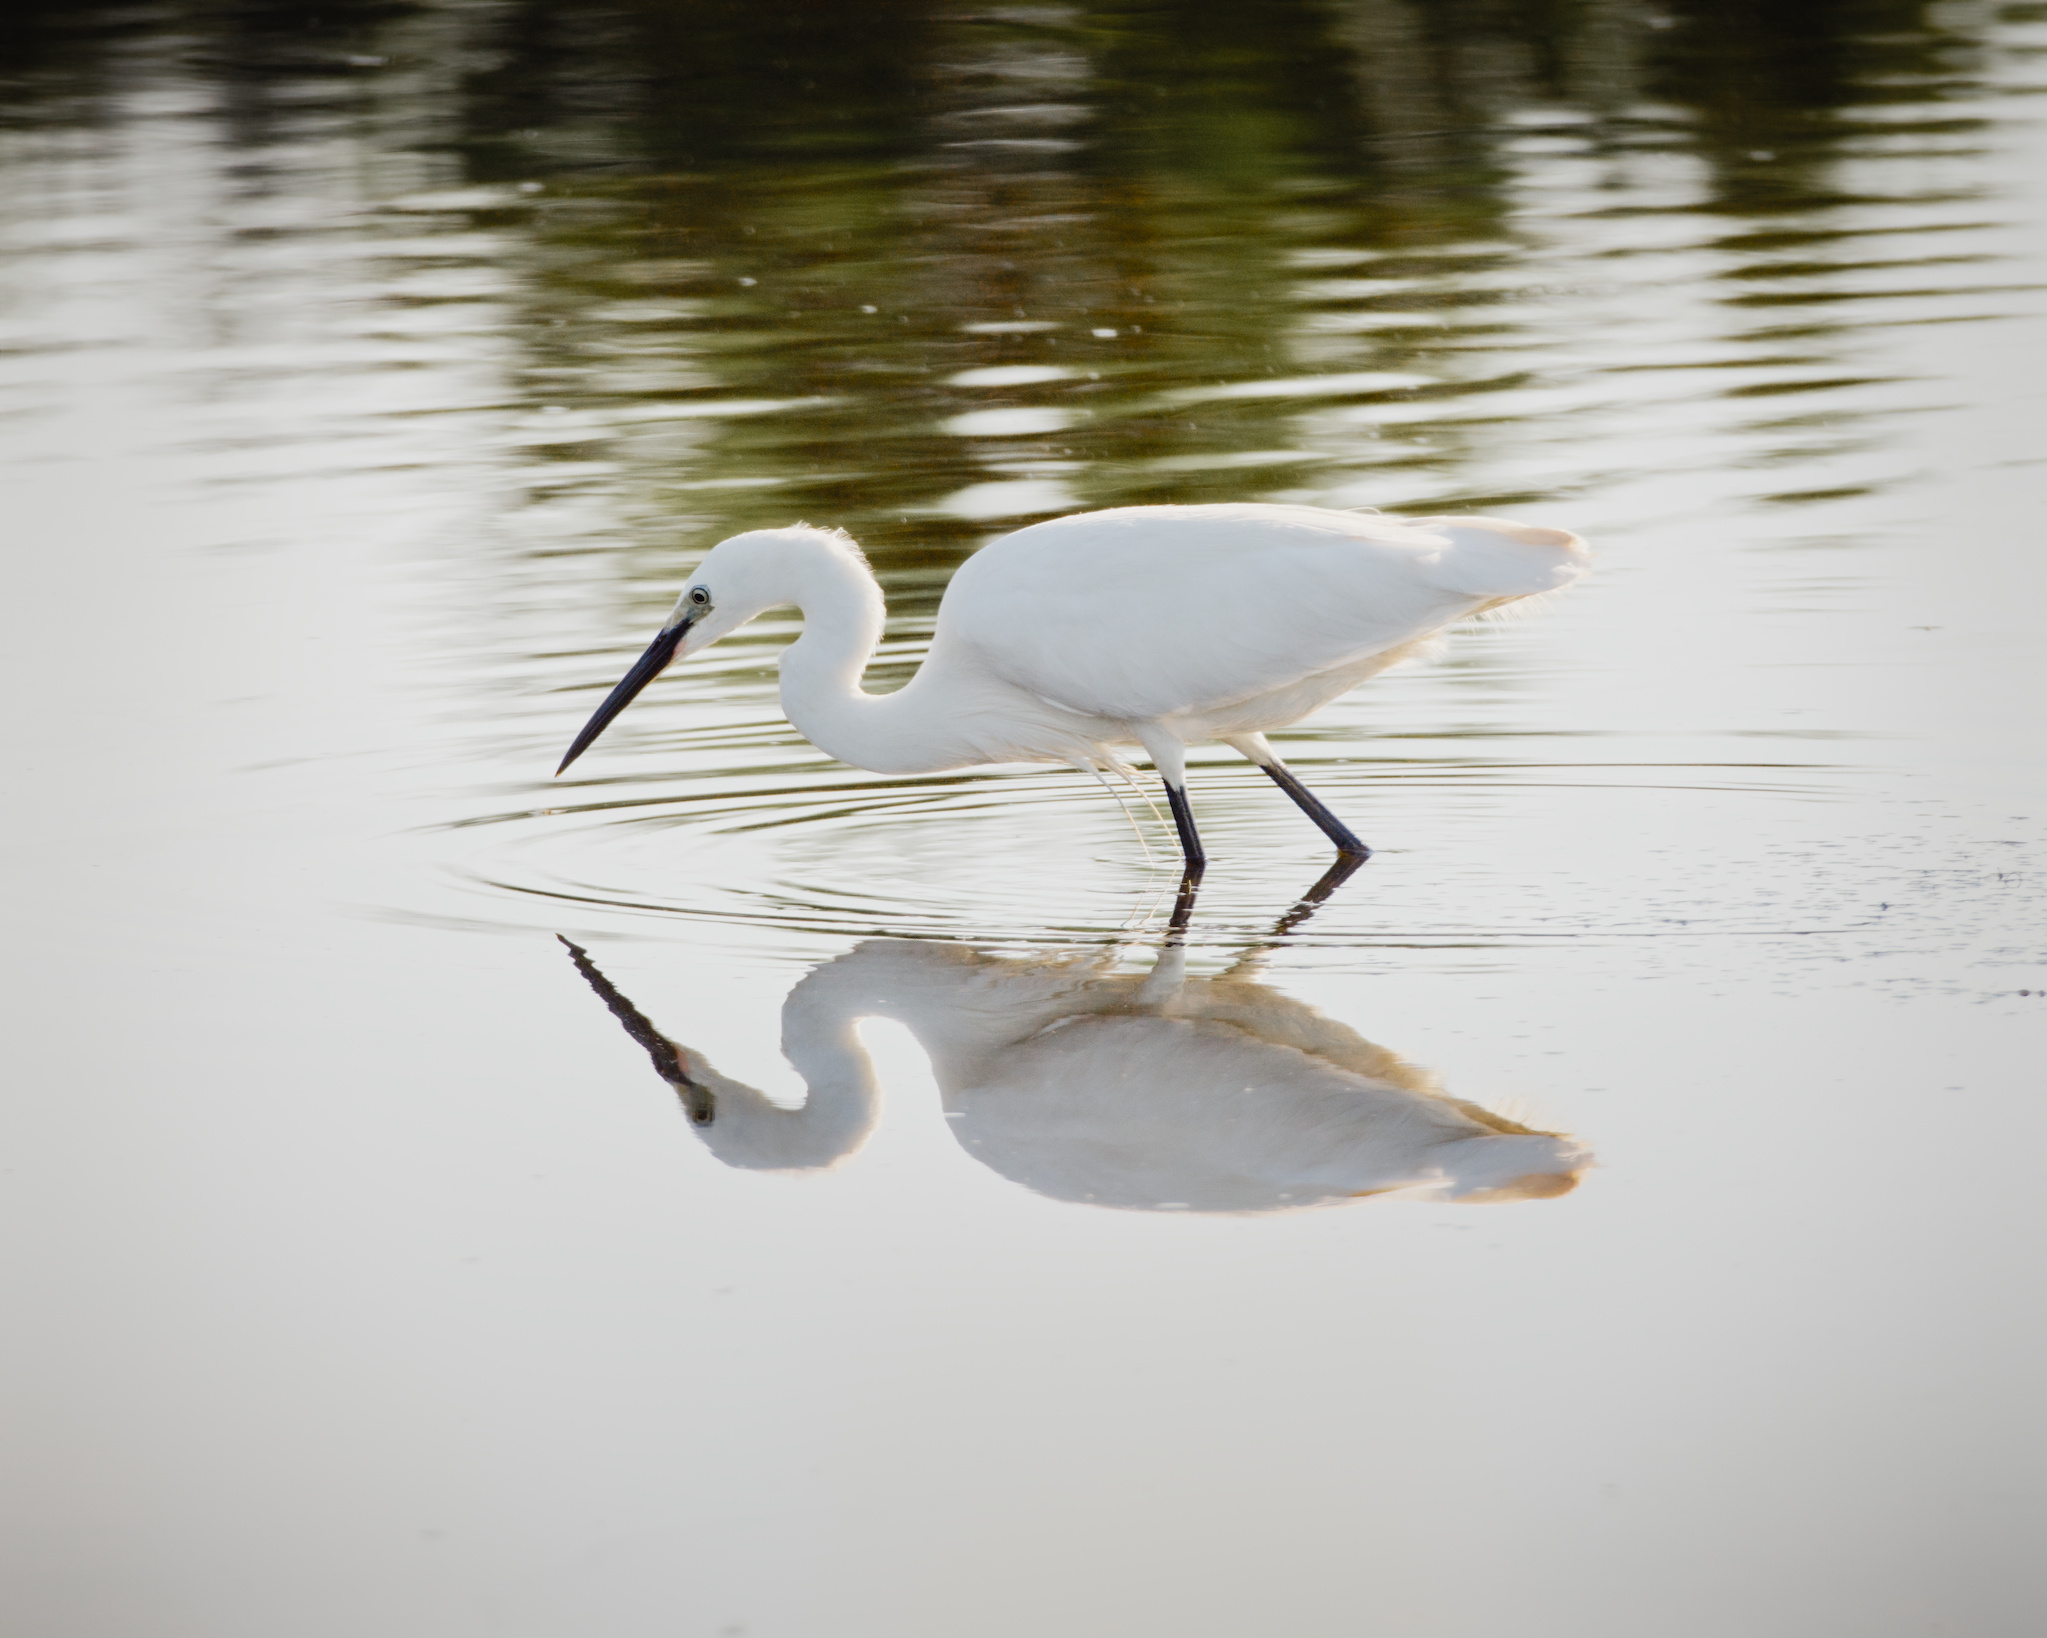
Couple of quick edits…didn’t end up matching the water from the OP…
This is using AI masking on the bird DT 5.5. Separate exposure and color calibration applied to bird. AI masking was a godsend for this image in my view.
20250601-065927.RAF.xmp (44.7 KB)
Thanks for the explanations. Very useful! ![]()
Absolutely!
The first thing I read before even posting something here! Soooo useful! ![]()
I love the first one, but not the pink one
Lovely result with bringing out the feather detail.
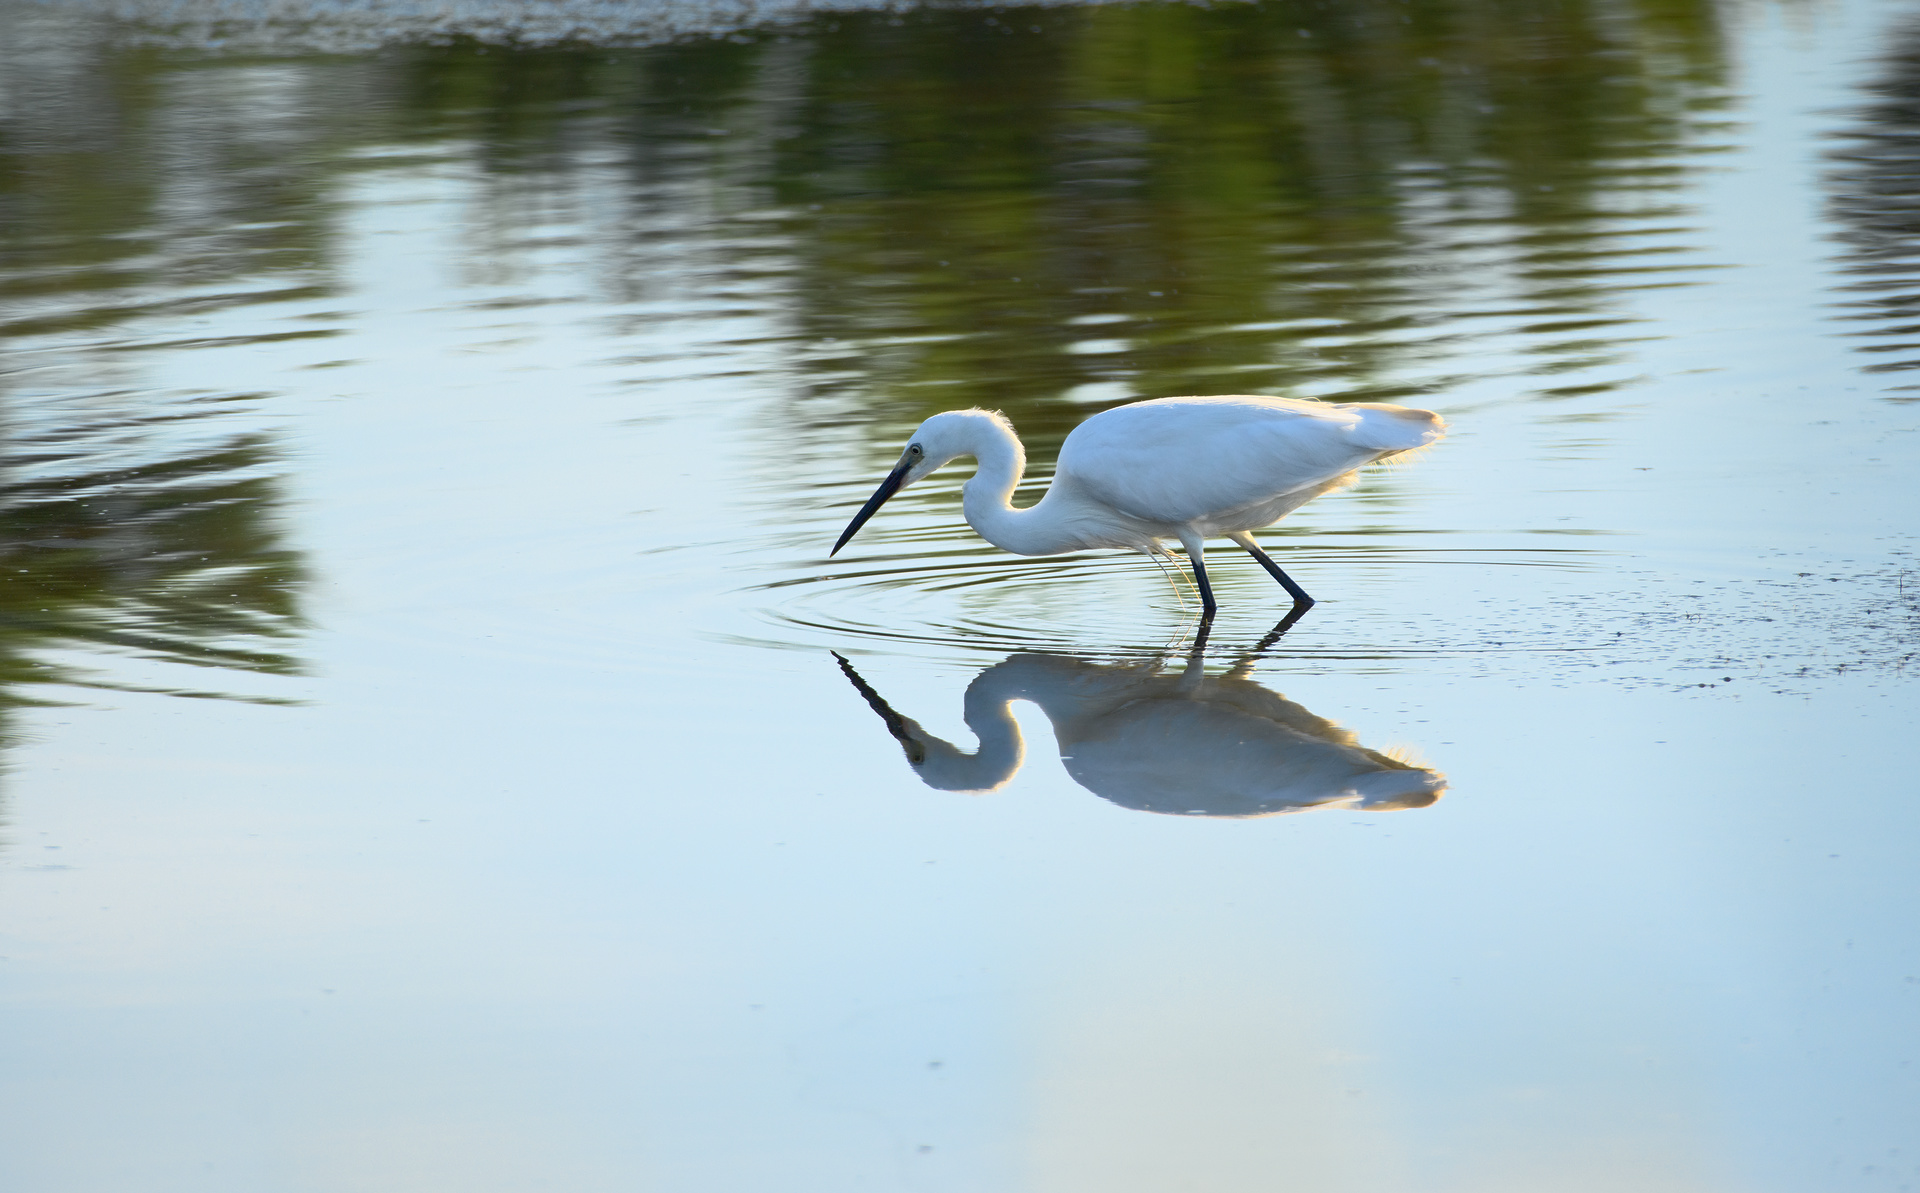
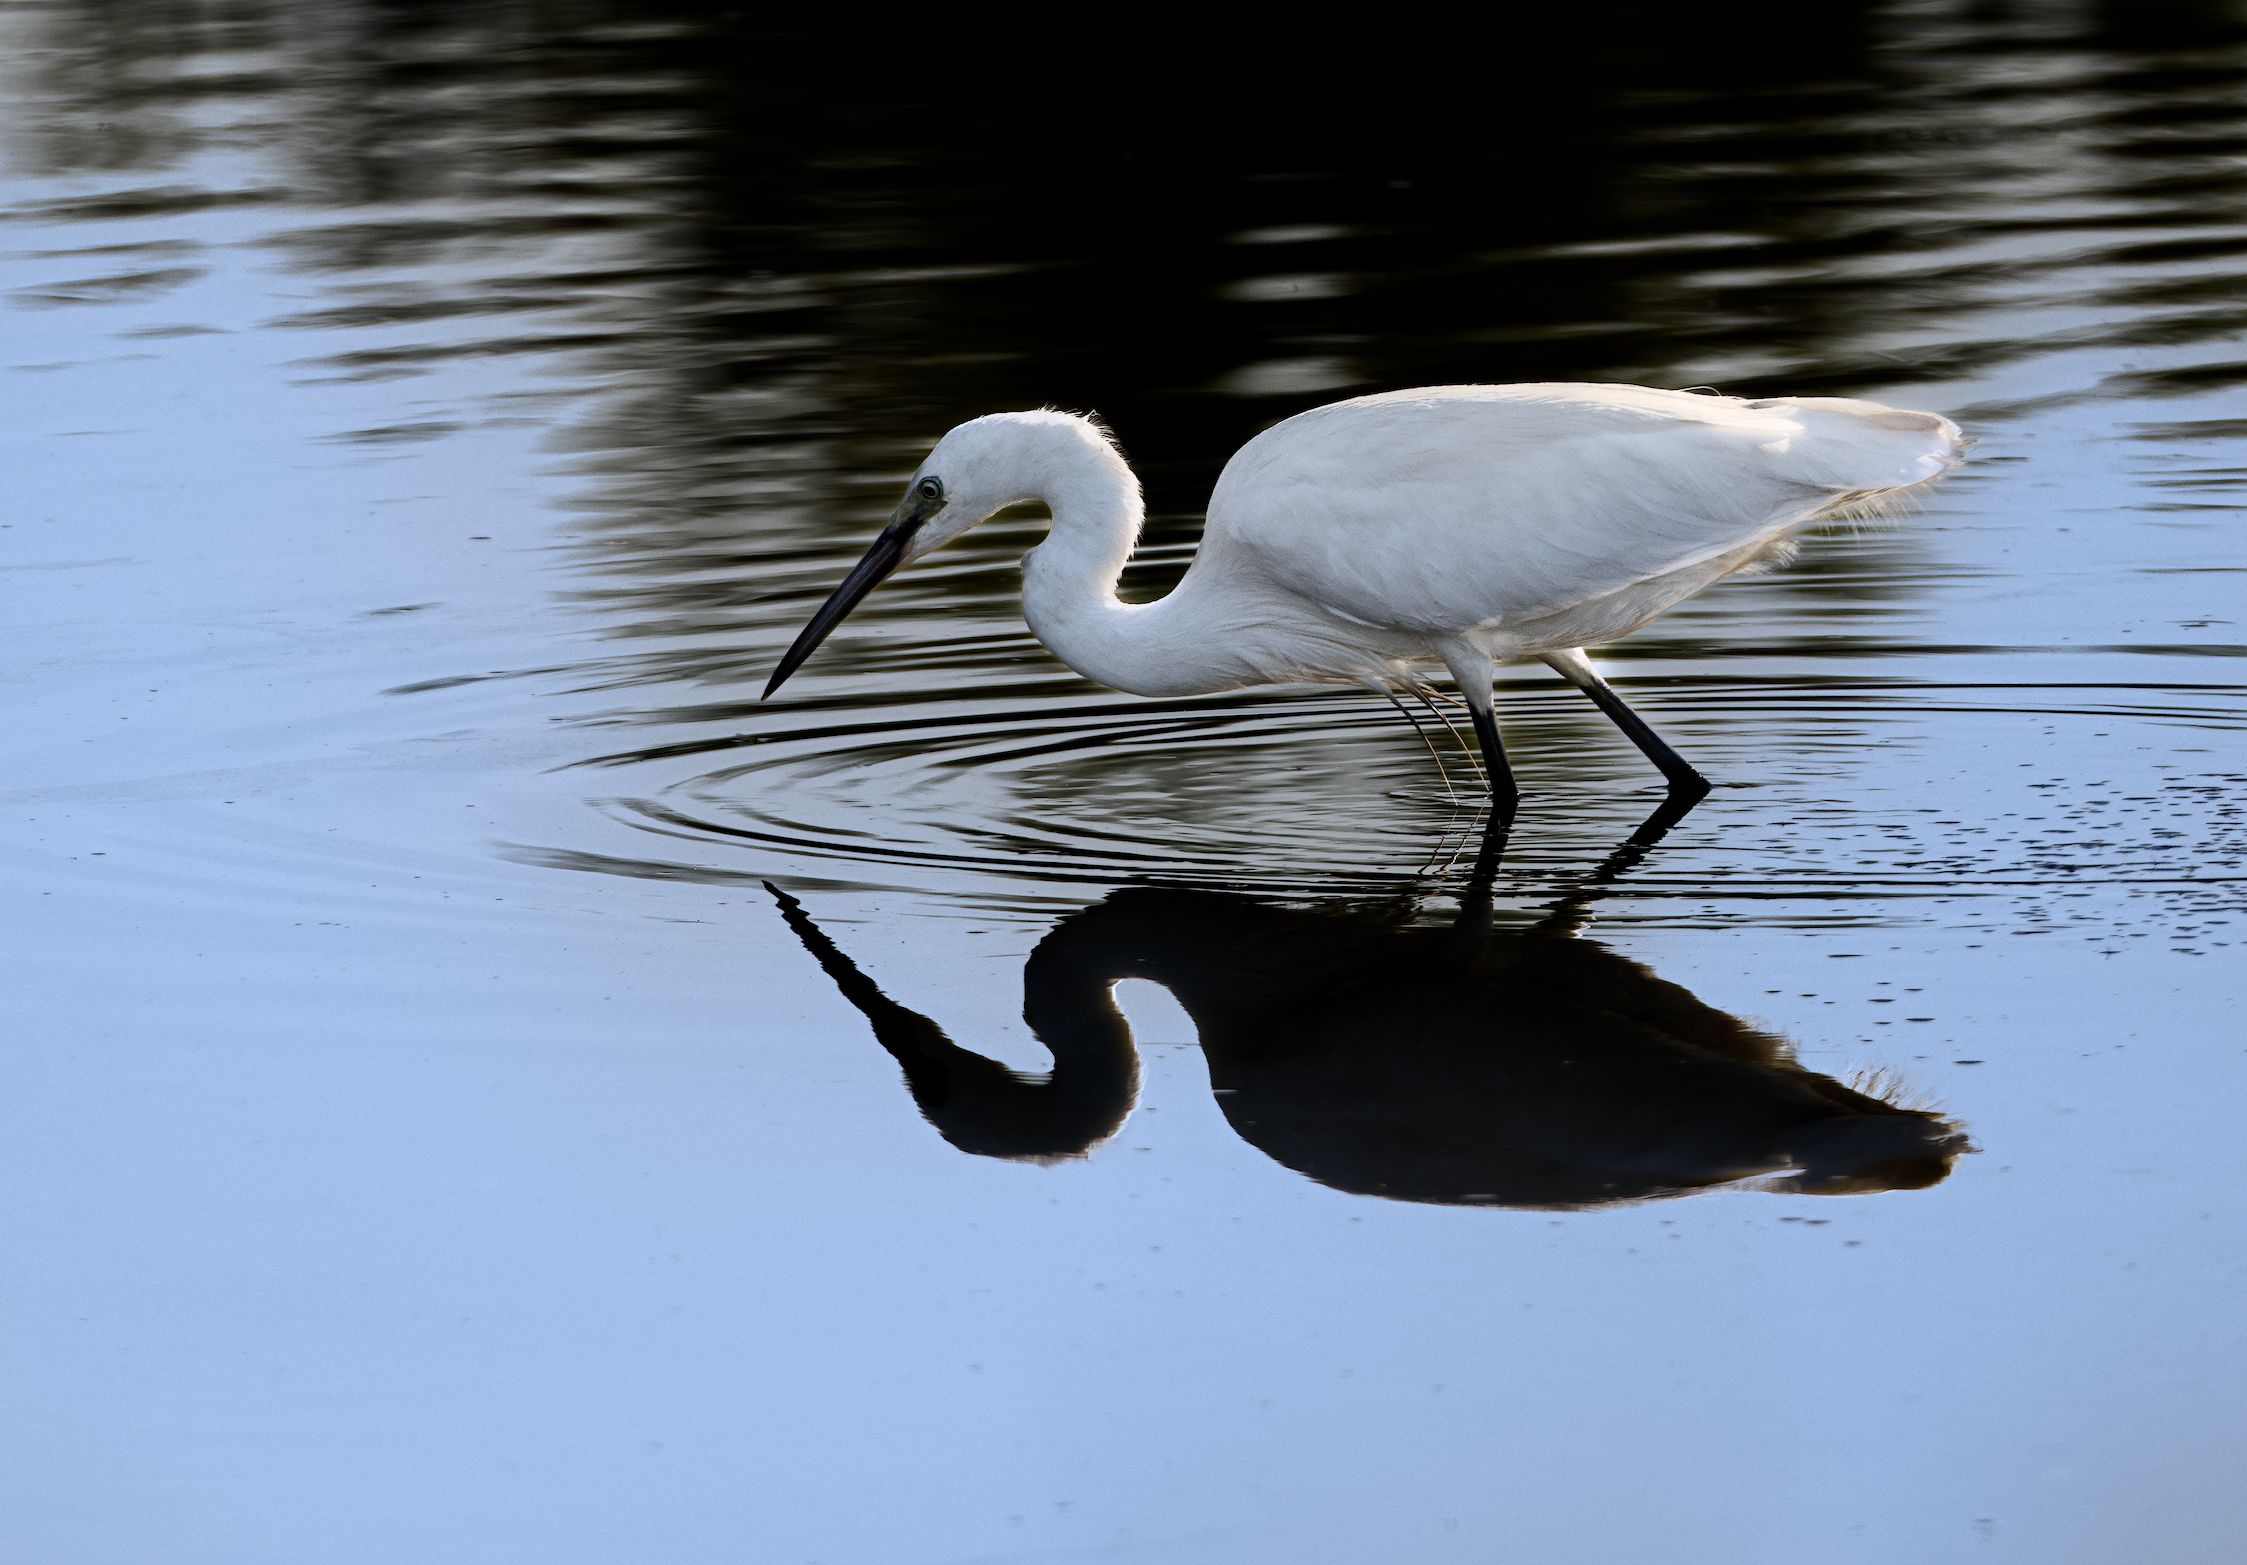
I’m not completely happy about my drawn mask around the bird…
Other than that, I went for some feather detail and decided to also tint the water blue.
Ha Ha… in the morning light I agree … I did that quickly last night before going to bed… When I see those I sometimes will resort to the old color zones module…the autopicker with the shift modifier on a selected area will do a desaturation curve based on the area selected… for me it works well for faces that are too saturated with red or yellow or any other item or surface… Often its good out of the gate or with some slight modification of the curve it does a nice selective edit…
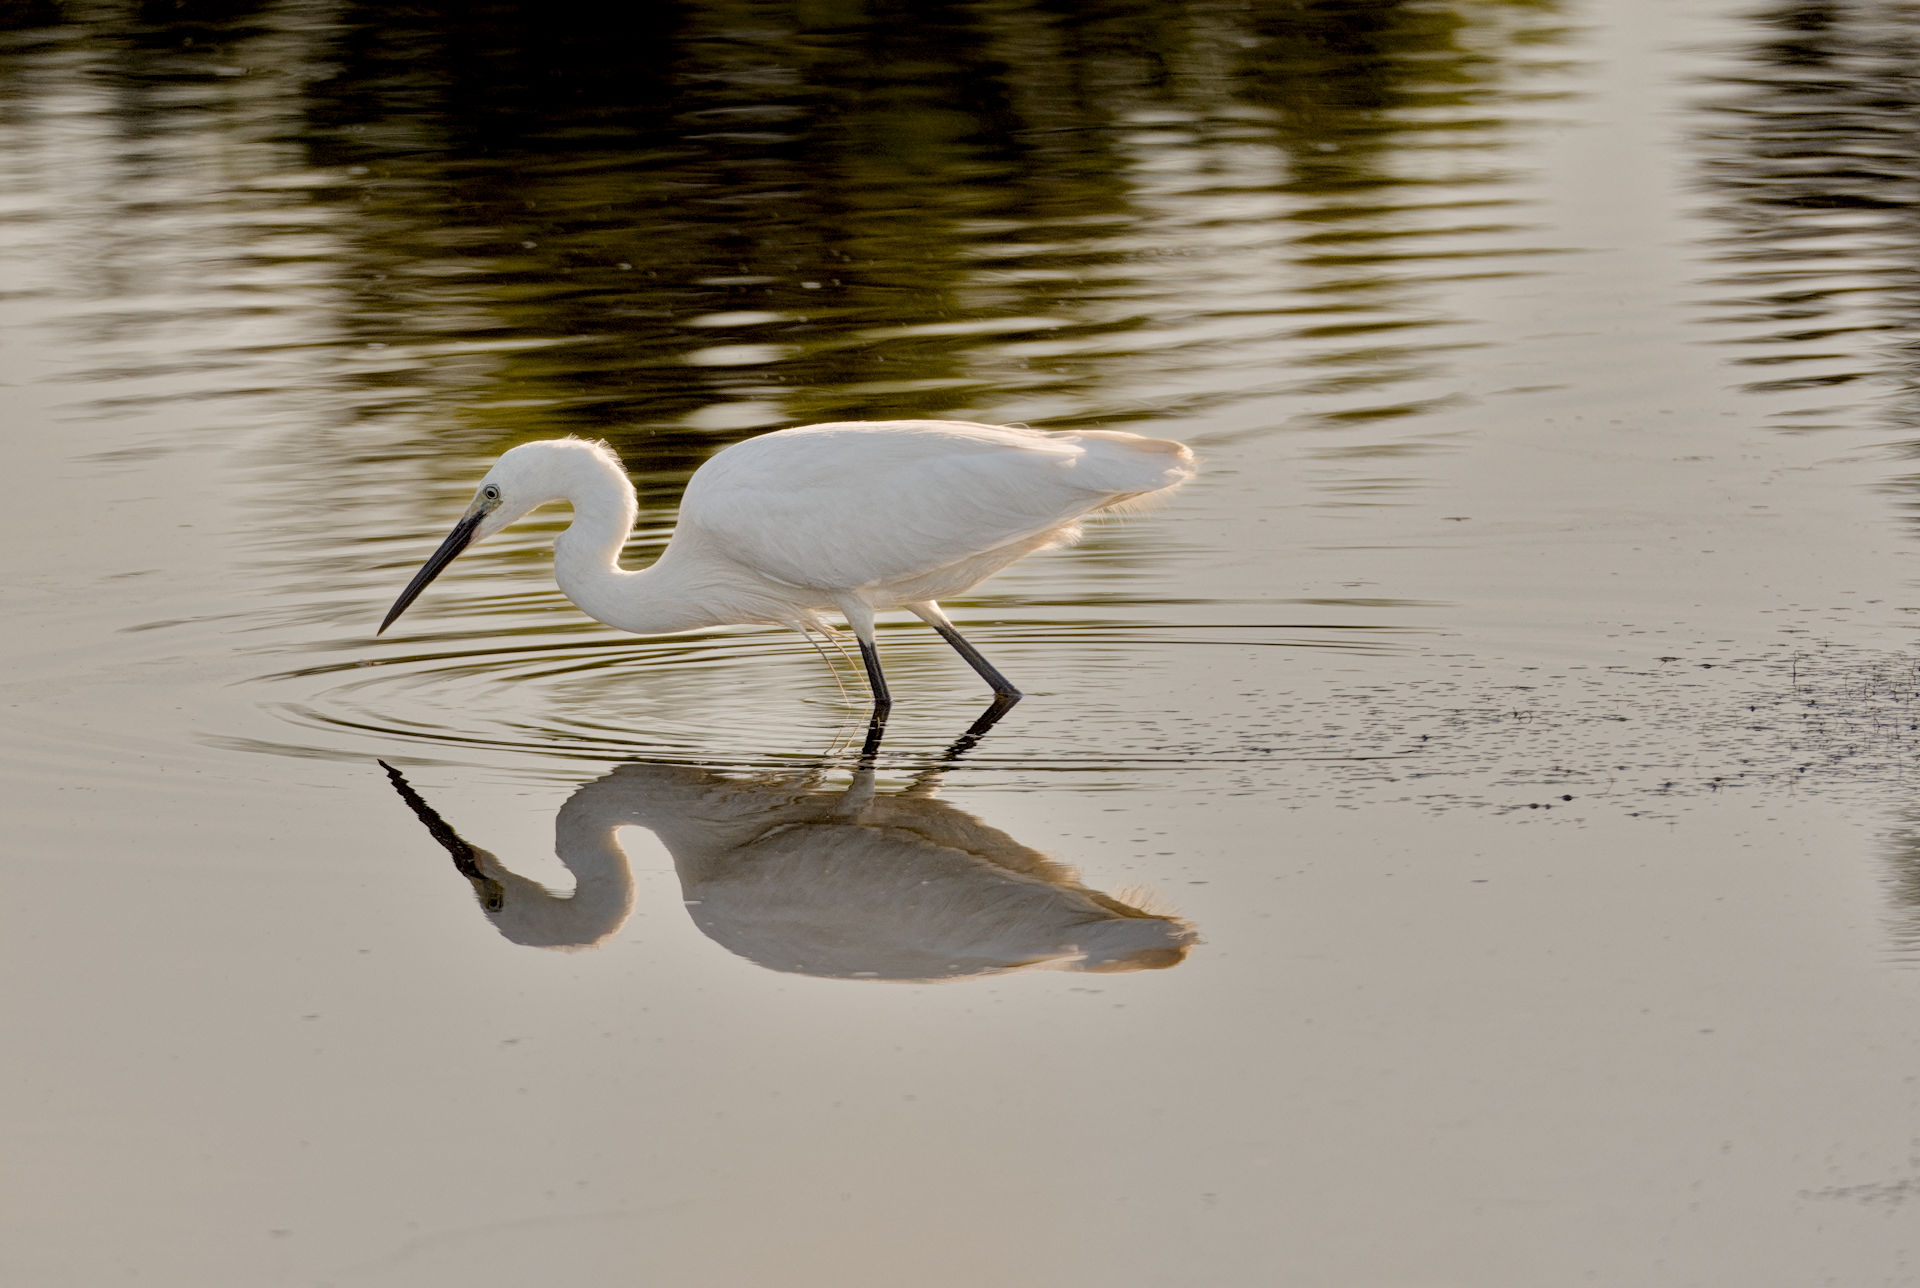
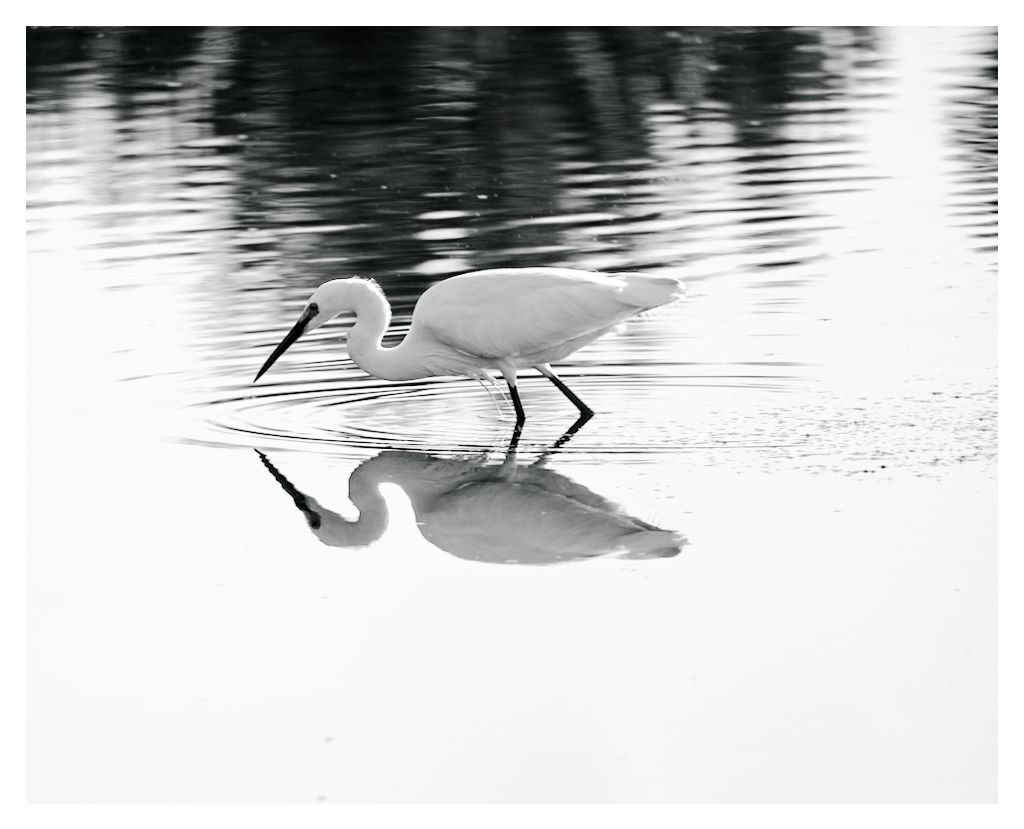
Here my attempt.
I’m not a nature or bird photographer, so I don’t know what factors to take into account. I’ve tried editing it as if I’d taken it with my Pentax 67II.
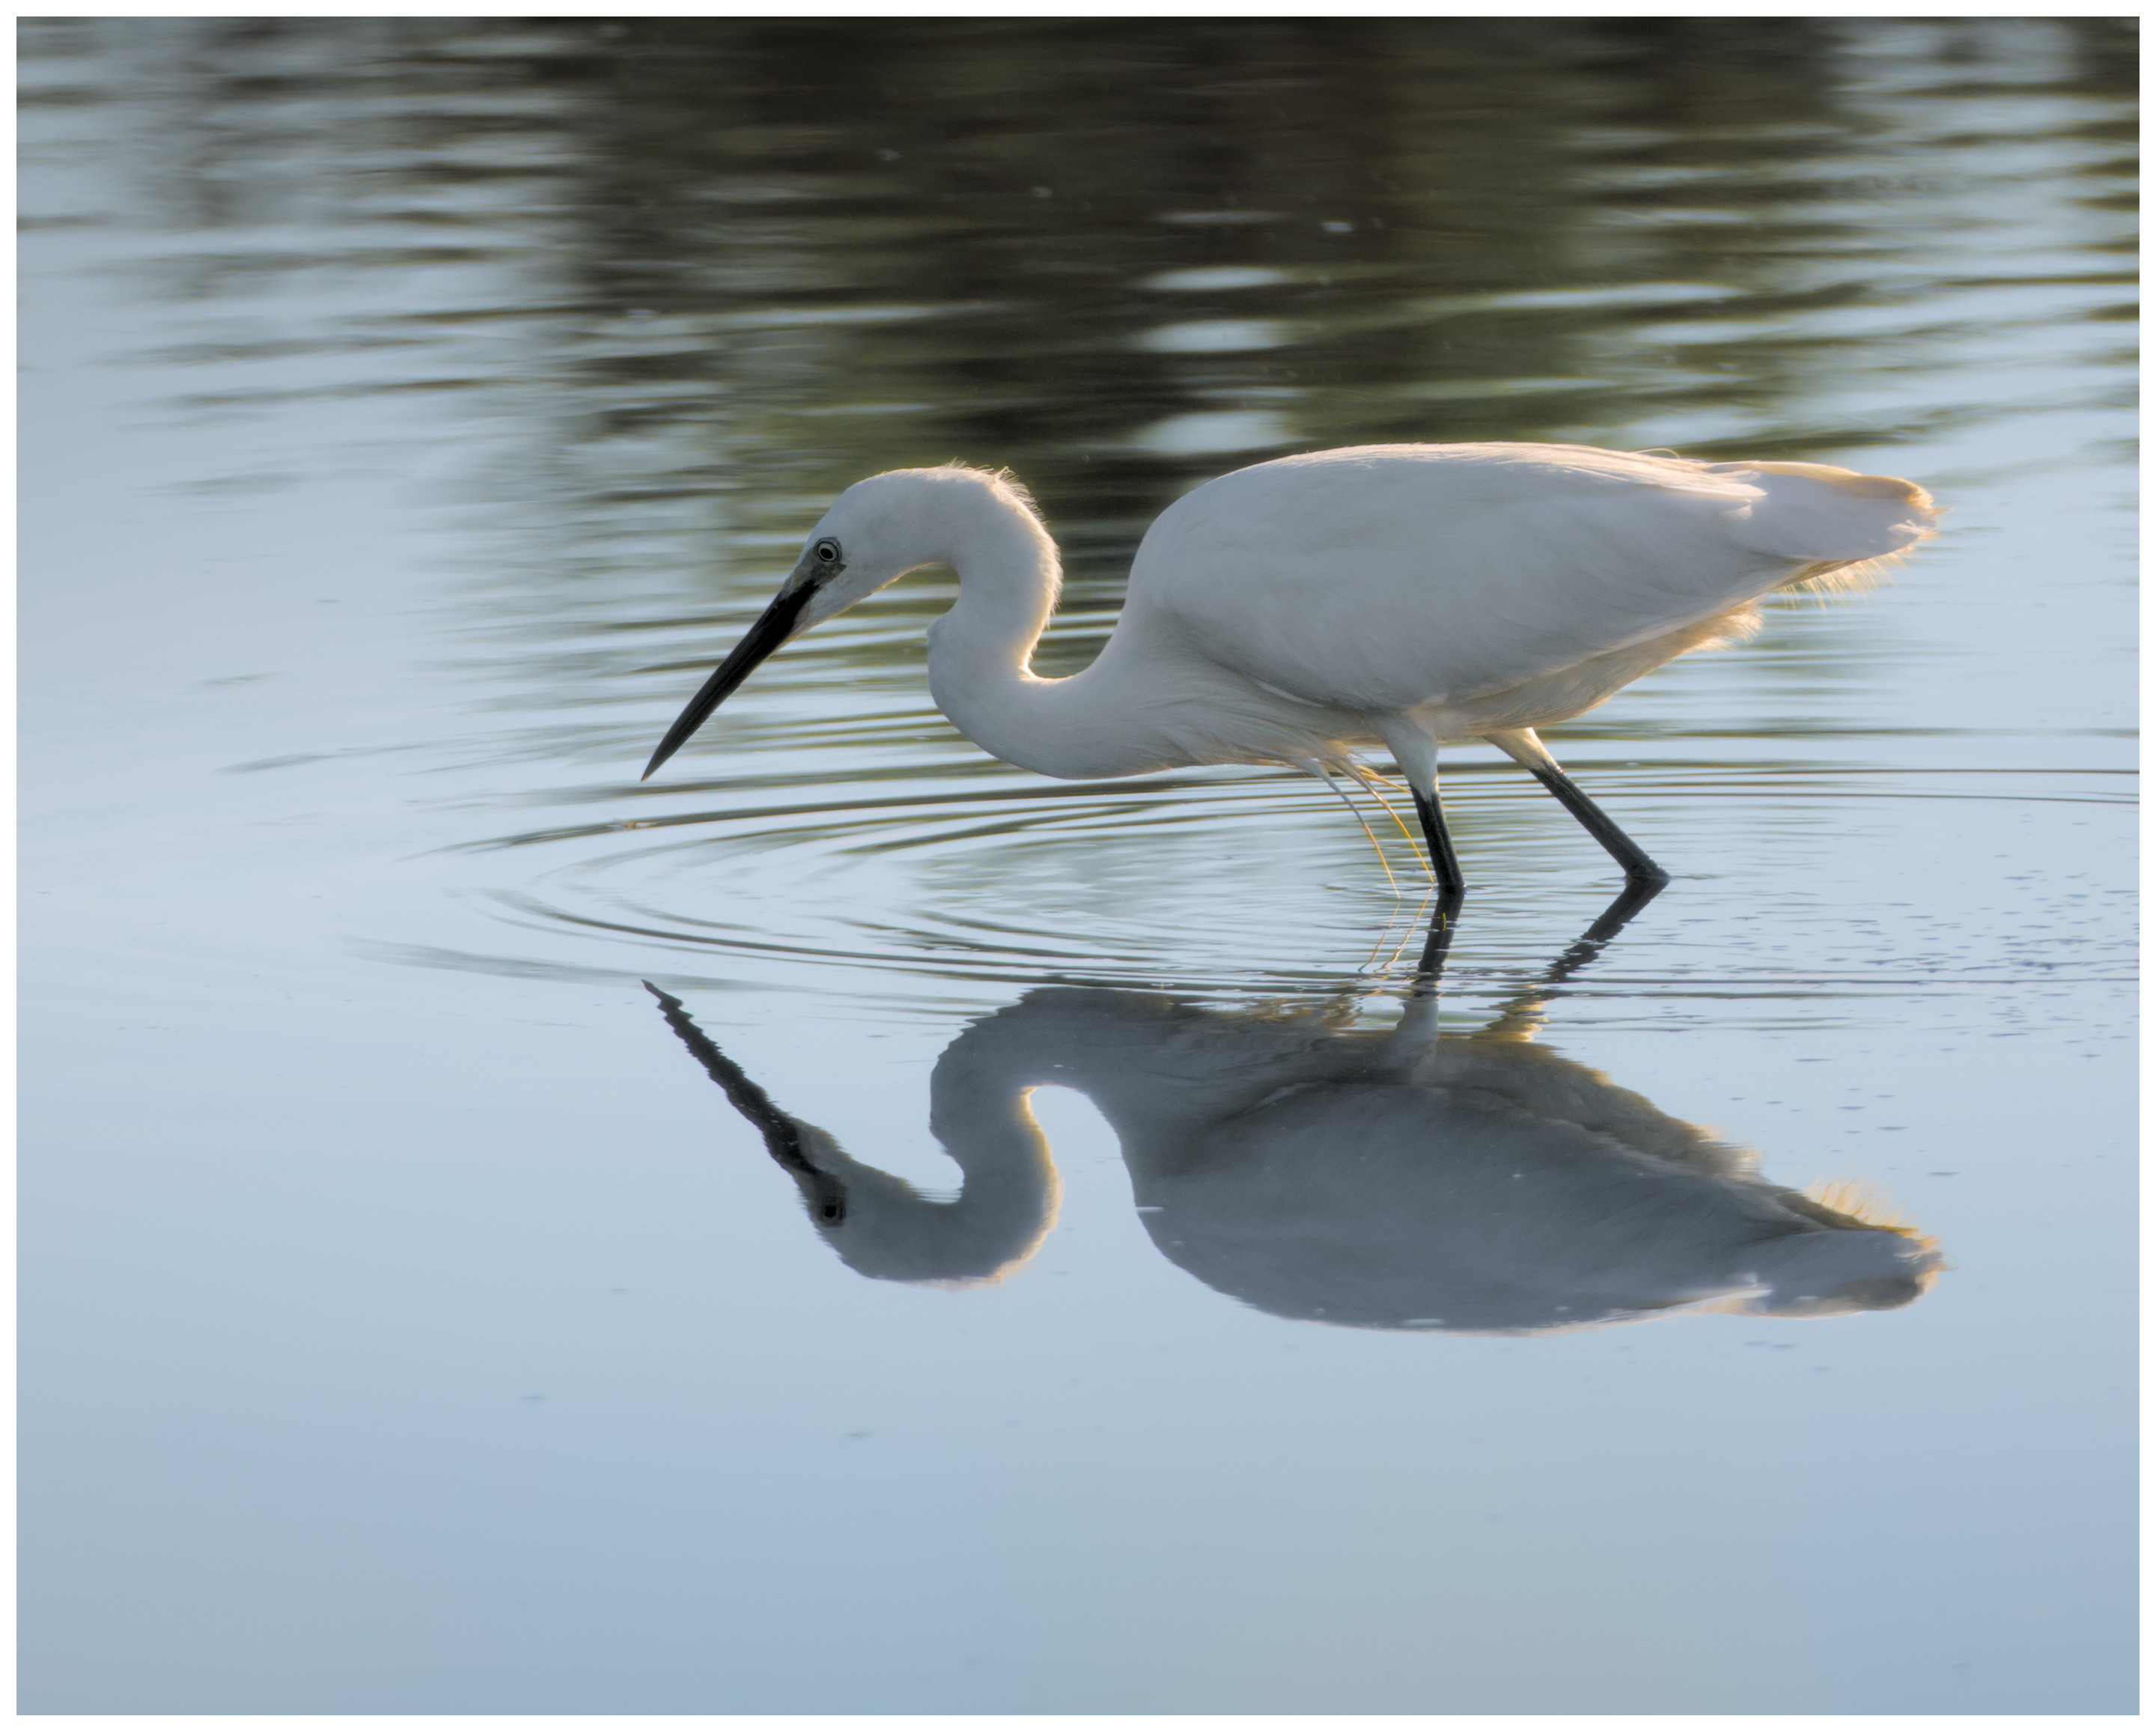
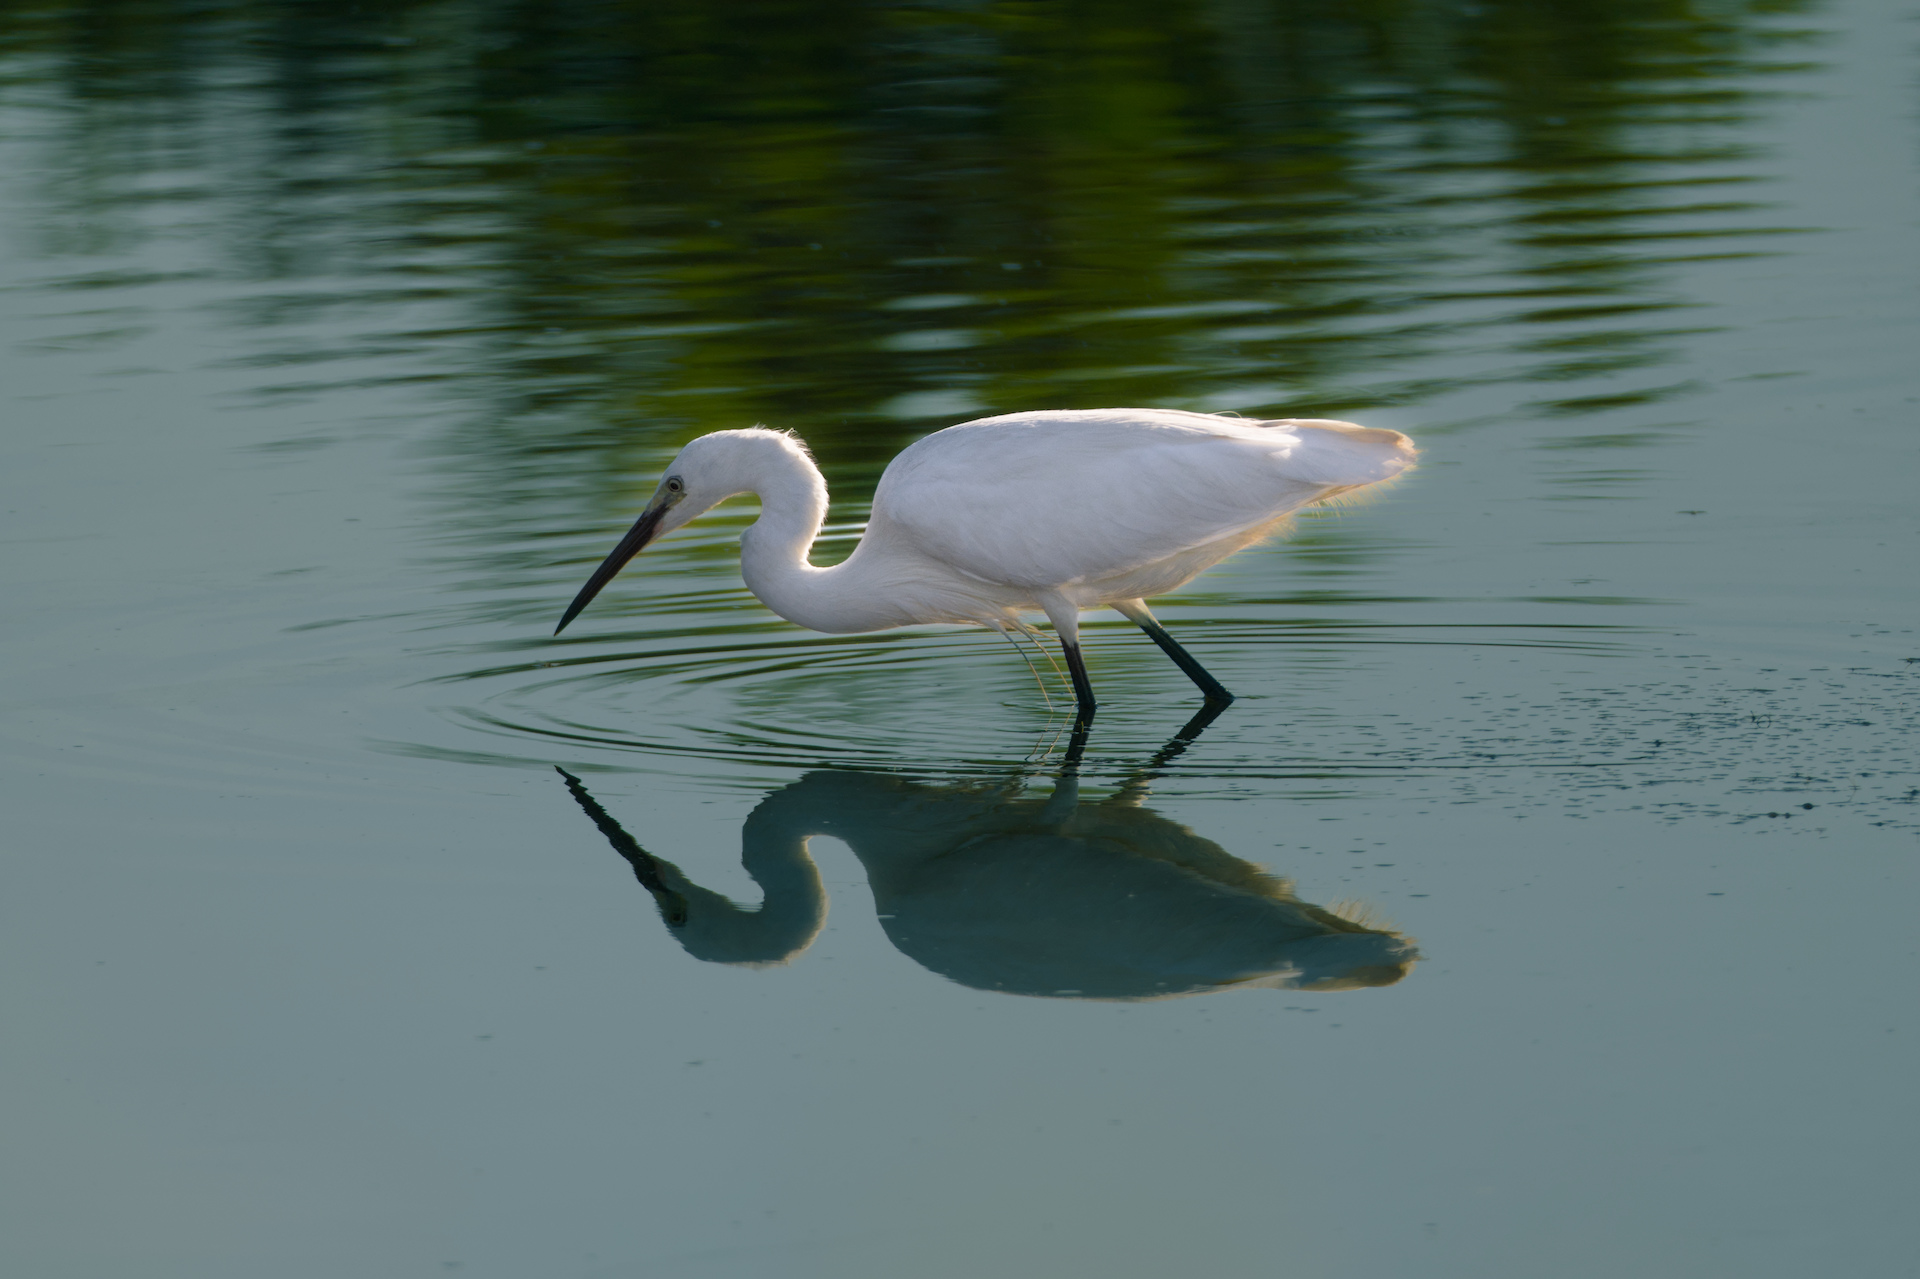
Here is my edit. I did a lot of work to emphasize to the bird (real one, not the reflection). I’m sorry for the really messy XMP. I added descriptive module instance names to make it more useful.
The agx settings are mostly taken from my Ektar 100 DFS preset, but I changed a number of them to be more specific for this image.
AI masking is already in the nightly builds of darktable, but here I used other methods.
Instead of trying to mask the real bird using drawn paths, I used large elipse/circle masks placed over the bird with large feather values. I then used the details threshold slider in the masking section to adjust whether the mask focused on details or non-details. This helps create natural-looking adjustments, since it allows you to almost exclude smooth background areas from your main subject (the main subject usually has some high contrast areas).
You can also target the already semi-smooth areas for further smoothing. For example, in this image, I targeted the image edges with an additional contrast equalizer module to blur the edges of the image. I didn’t want it to look too unnatural, so I used the details threshold slider to target the non-detail areas primarily. This is an easy way to make the transition from masked area to non-masked area pretty invisible.
When the selection you need to make is a pretty distinct color, you can actually use the Color Look Up Table module to perform simple color adjustment. With this image I used it to select the primary color of the real bird and brighten it. This method can be faster (slightly fewer clicks I think) than pulling out color balance rgb and then creating a parametric mask. Once you do it a few times, you can do it very quick.