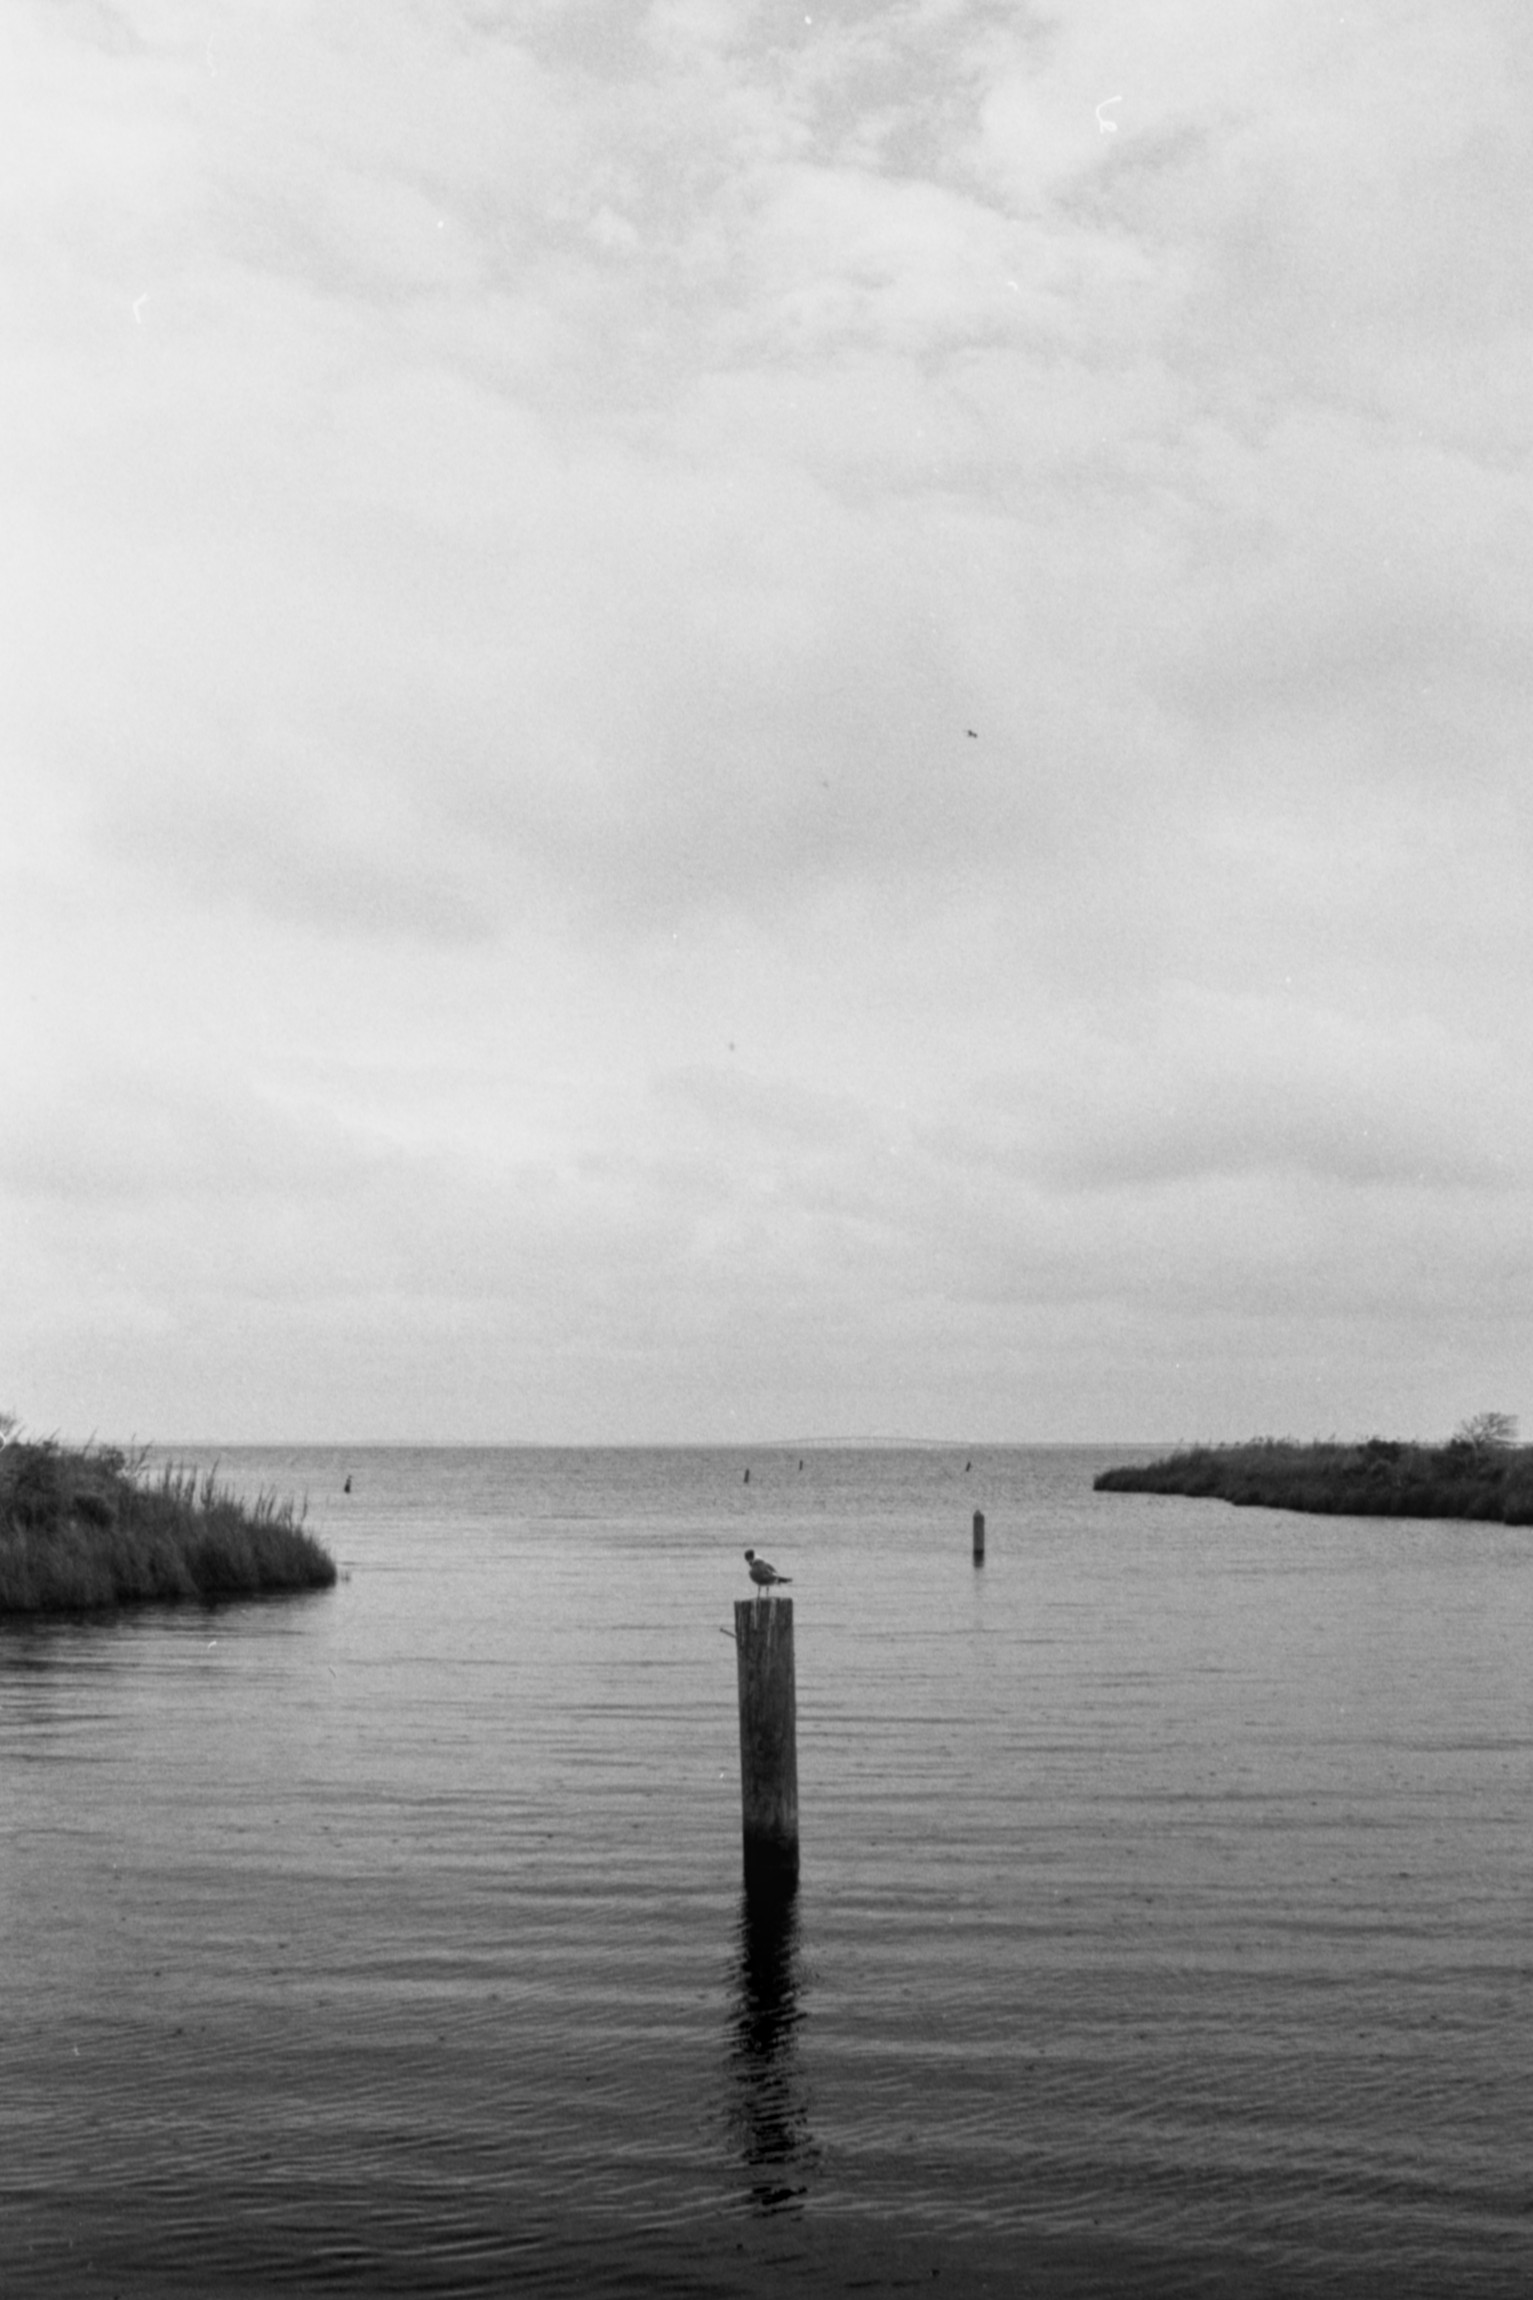
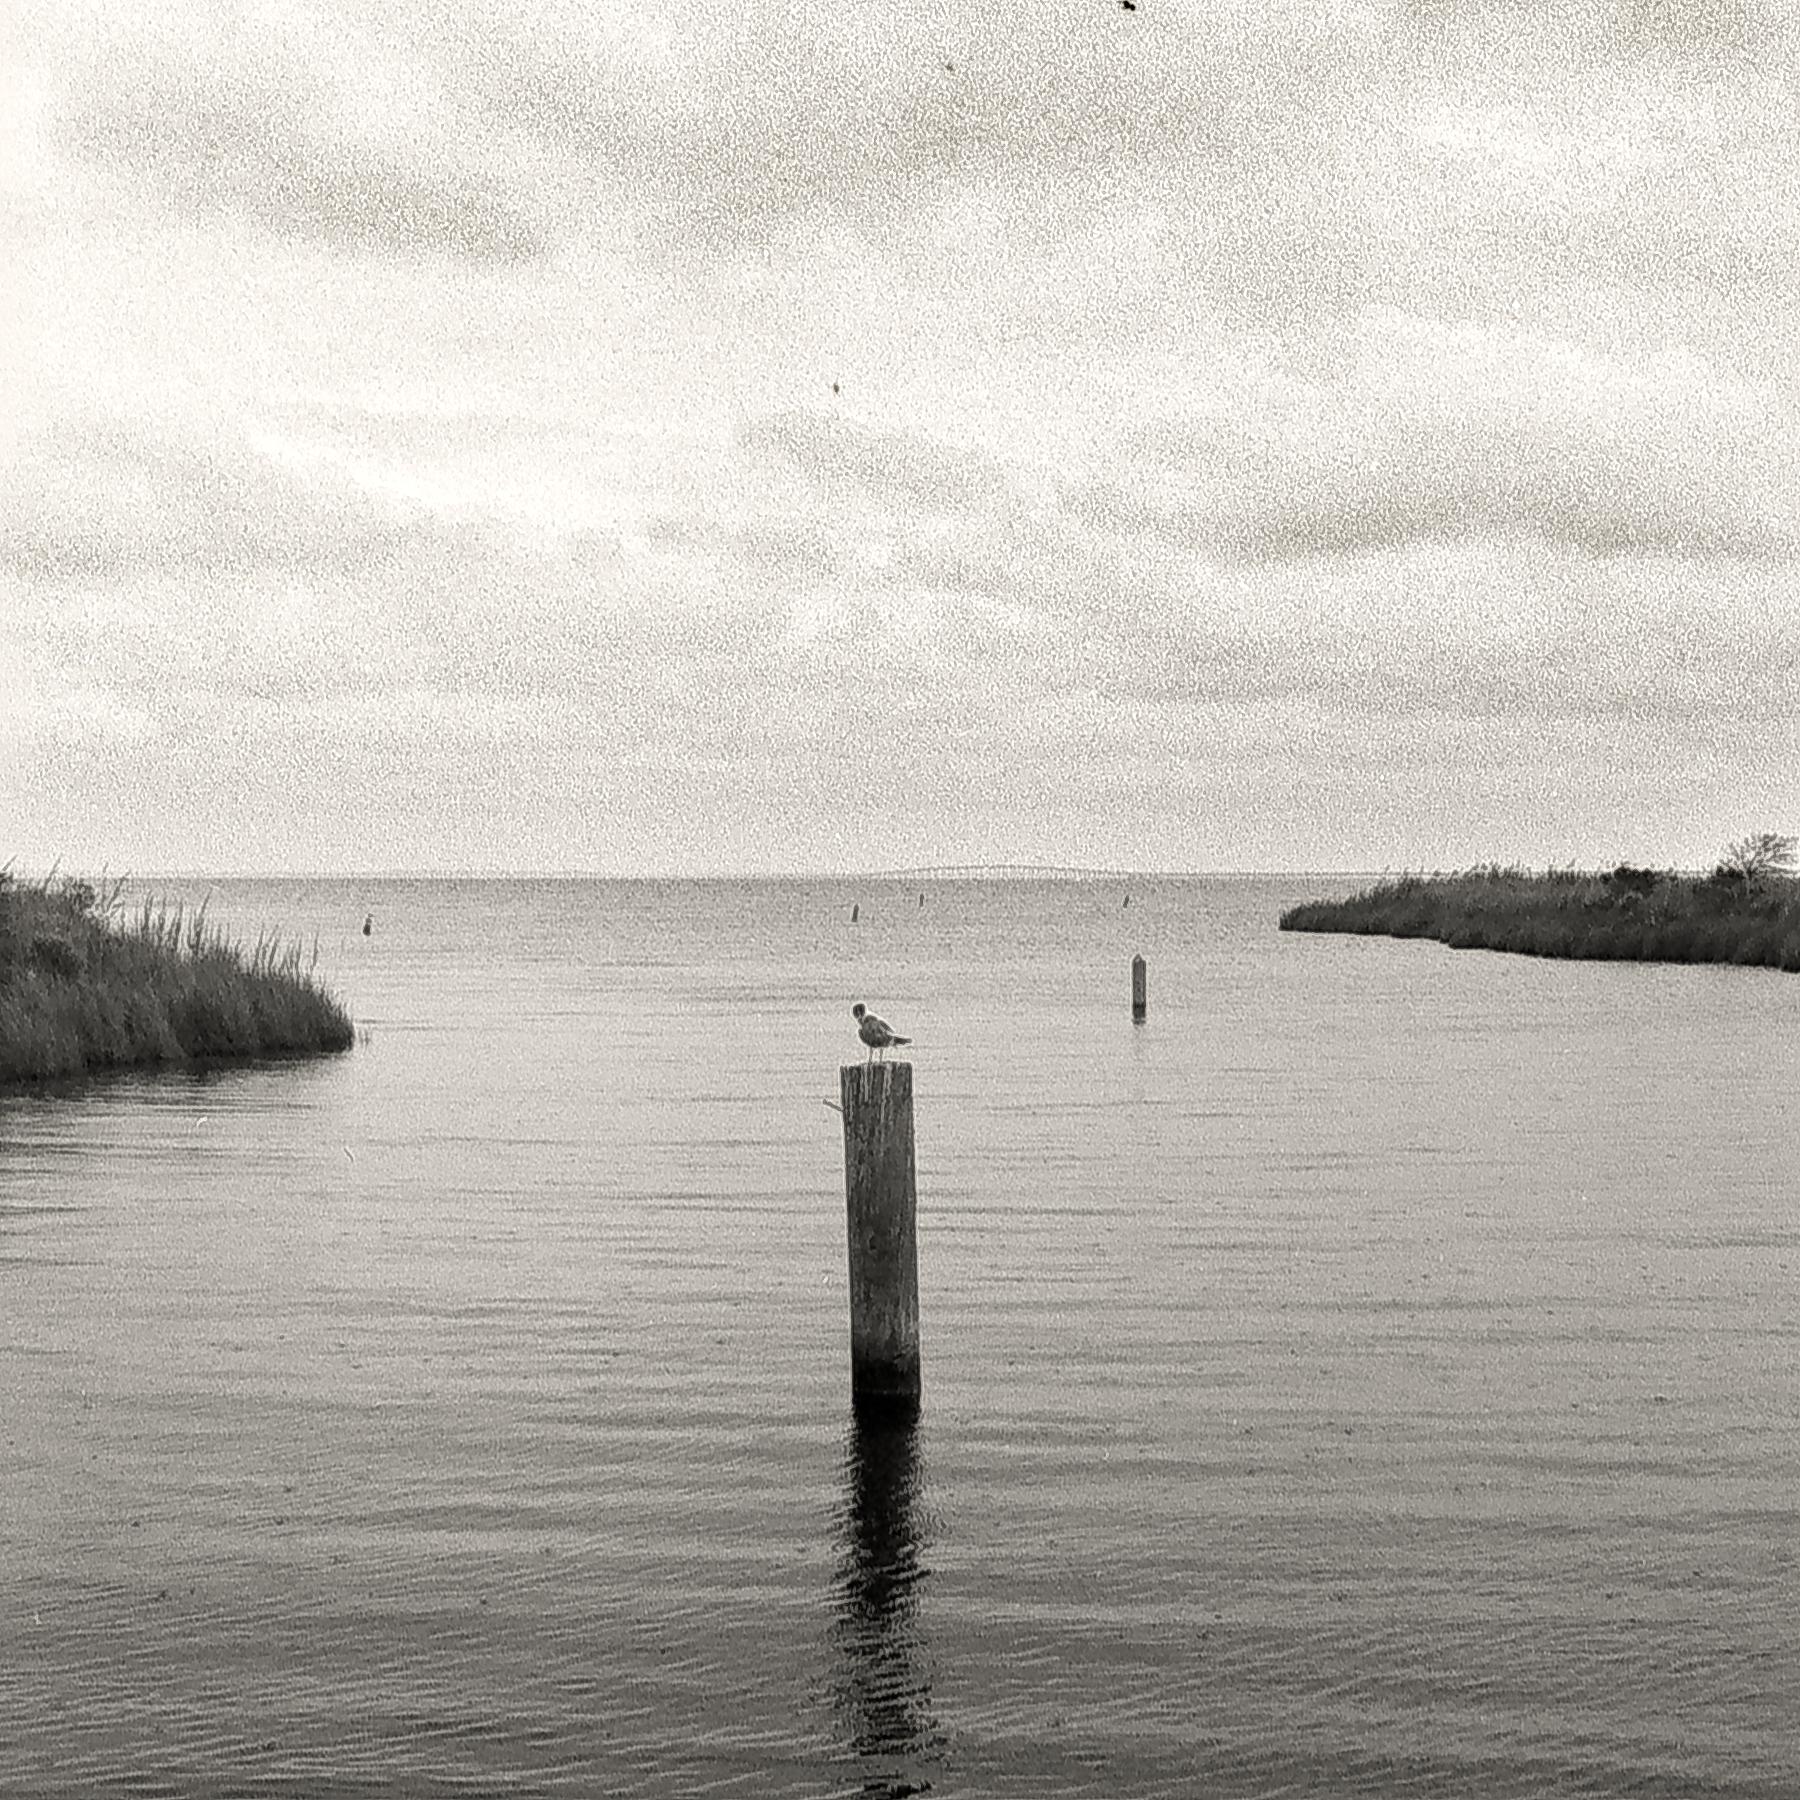
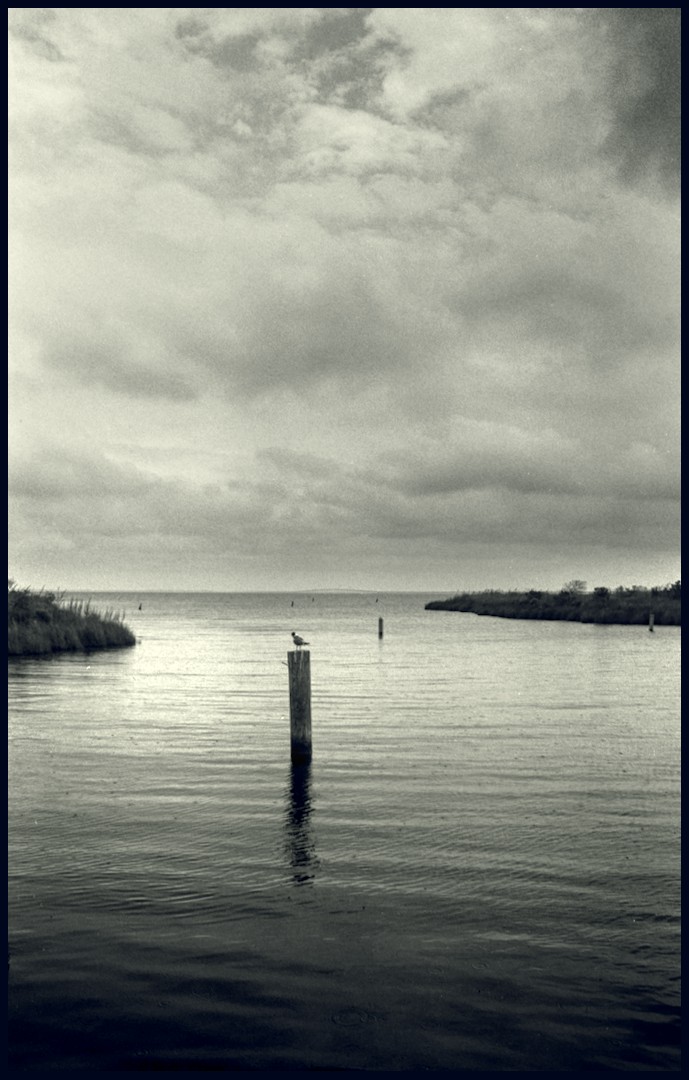
Here is my first pass. Without knowing grain tolerance and preferred display media, its hard to anticipate what you might go for (to me). So my adjustments were smaller than they might have been. I also denoised to try and compesate for the increase via adding contrast.
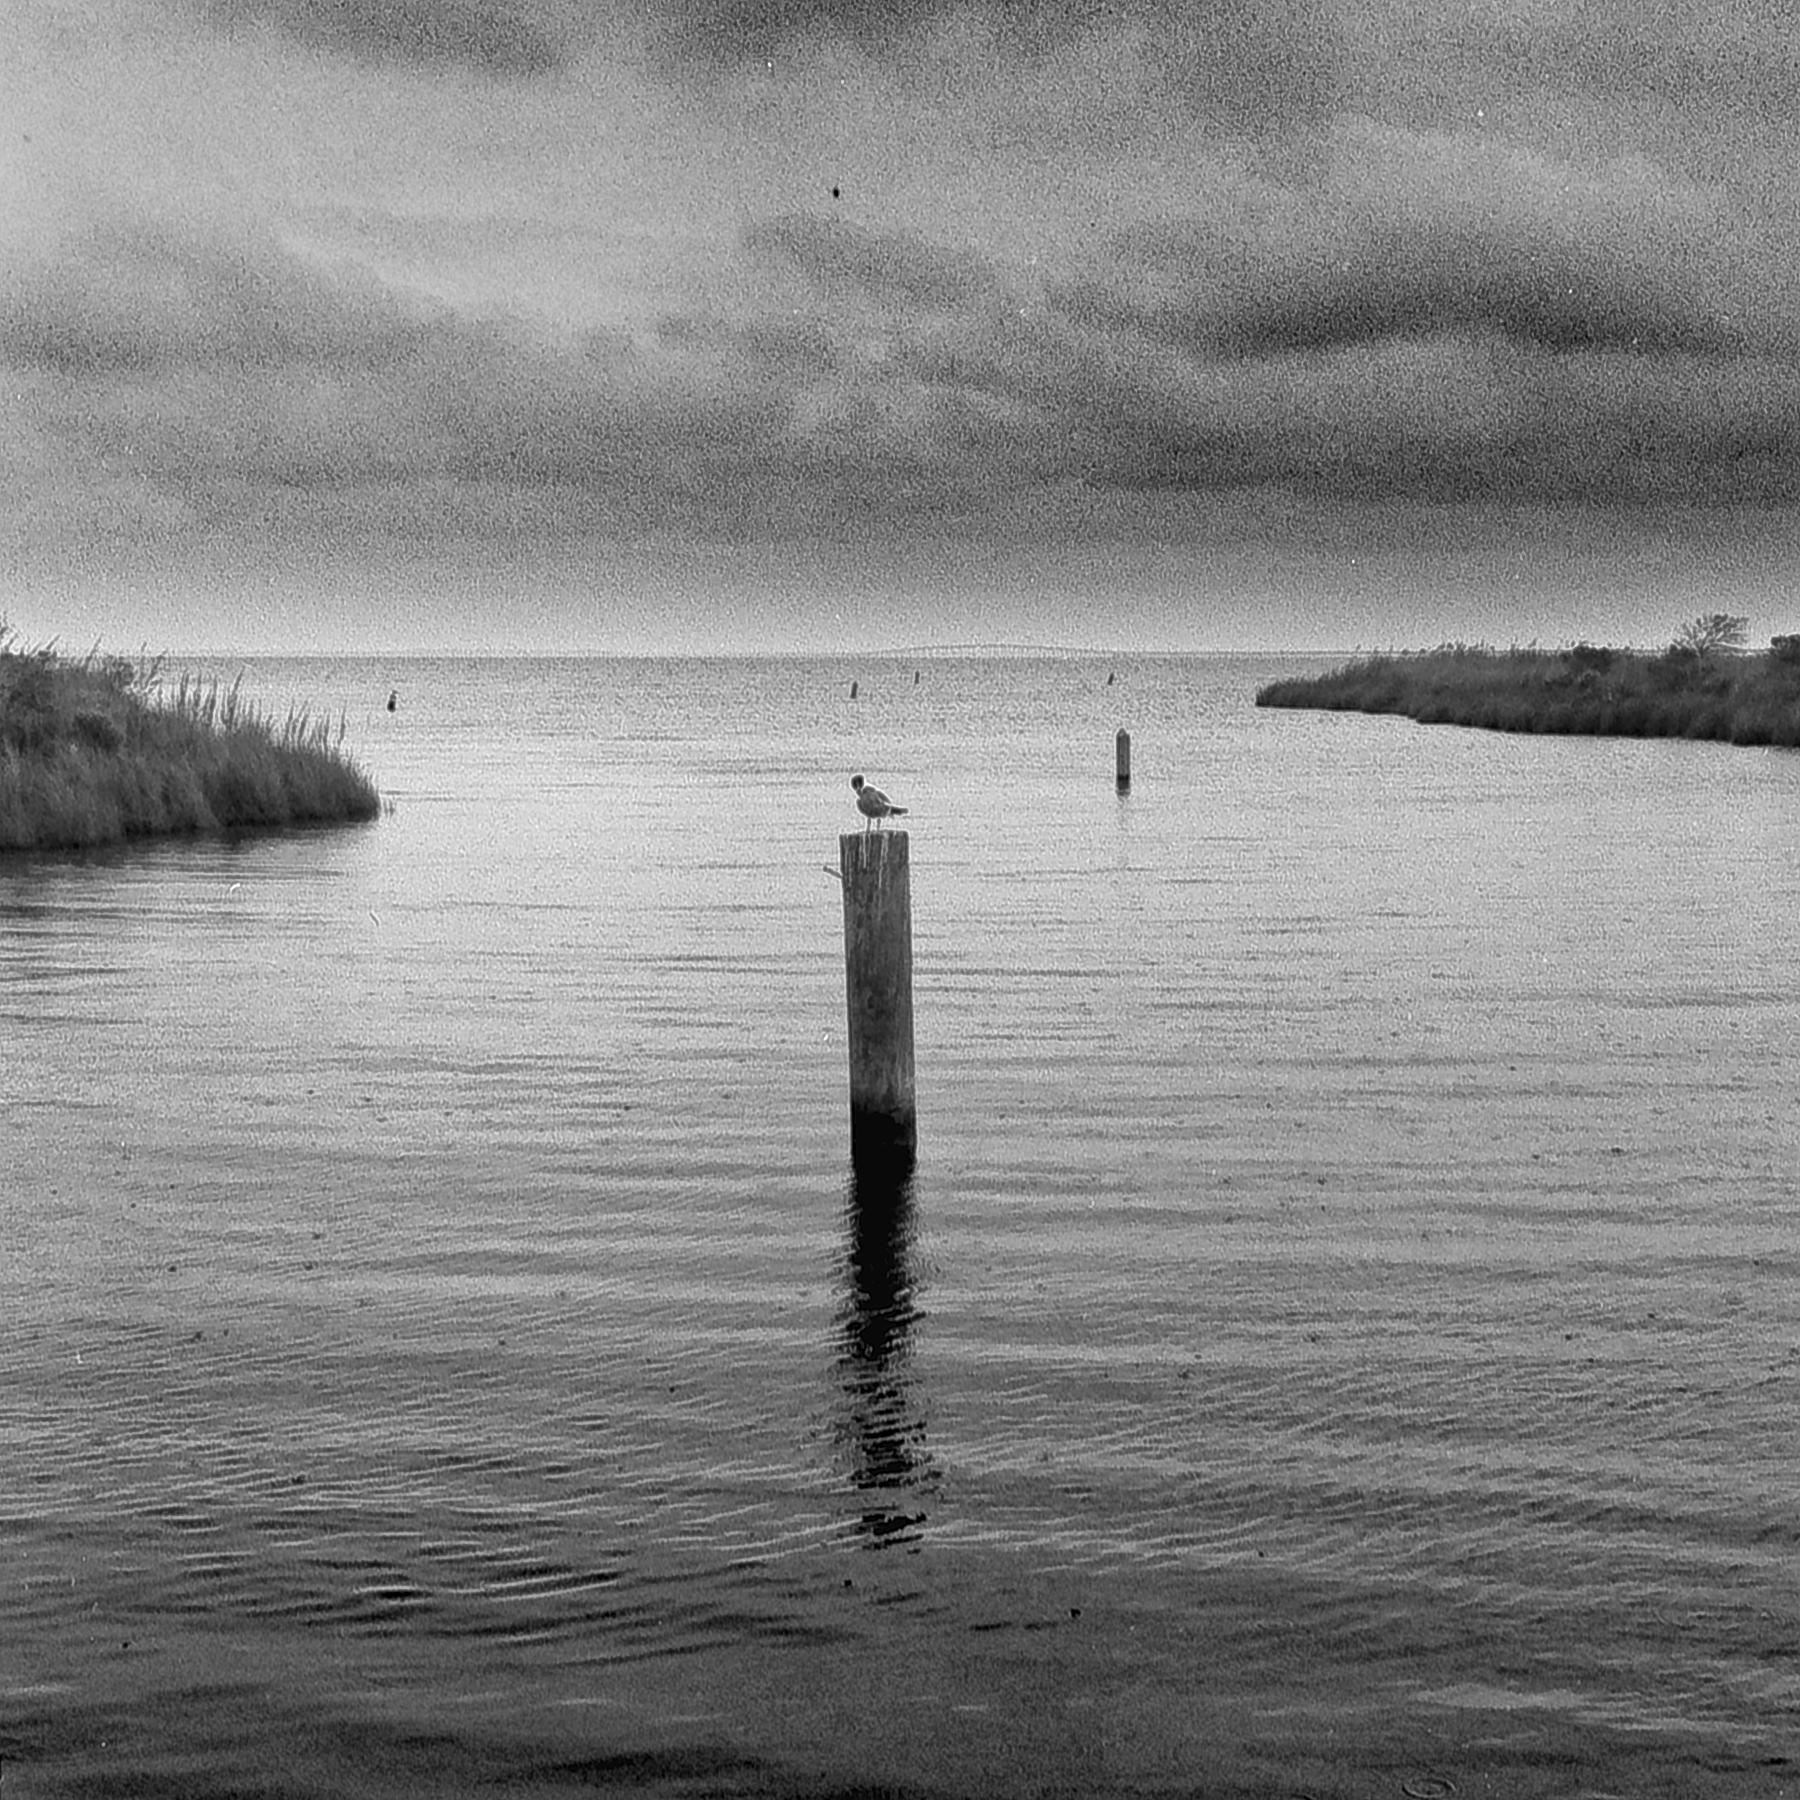
I forgot that I had been messing with the display on my laptop when I made my first edit. Wow it was dark and spooky. Here is another version, with a different methodogy (with no whoopsies in the display)
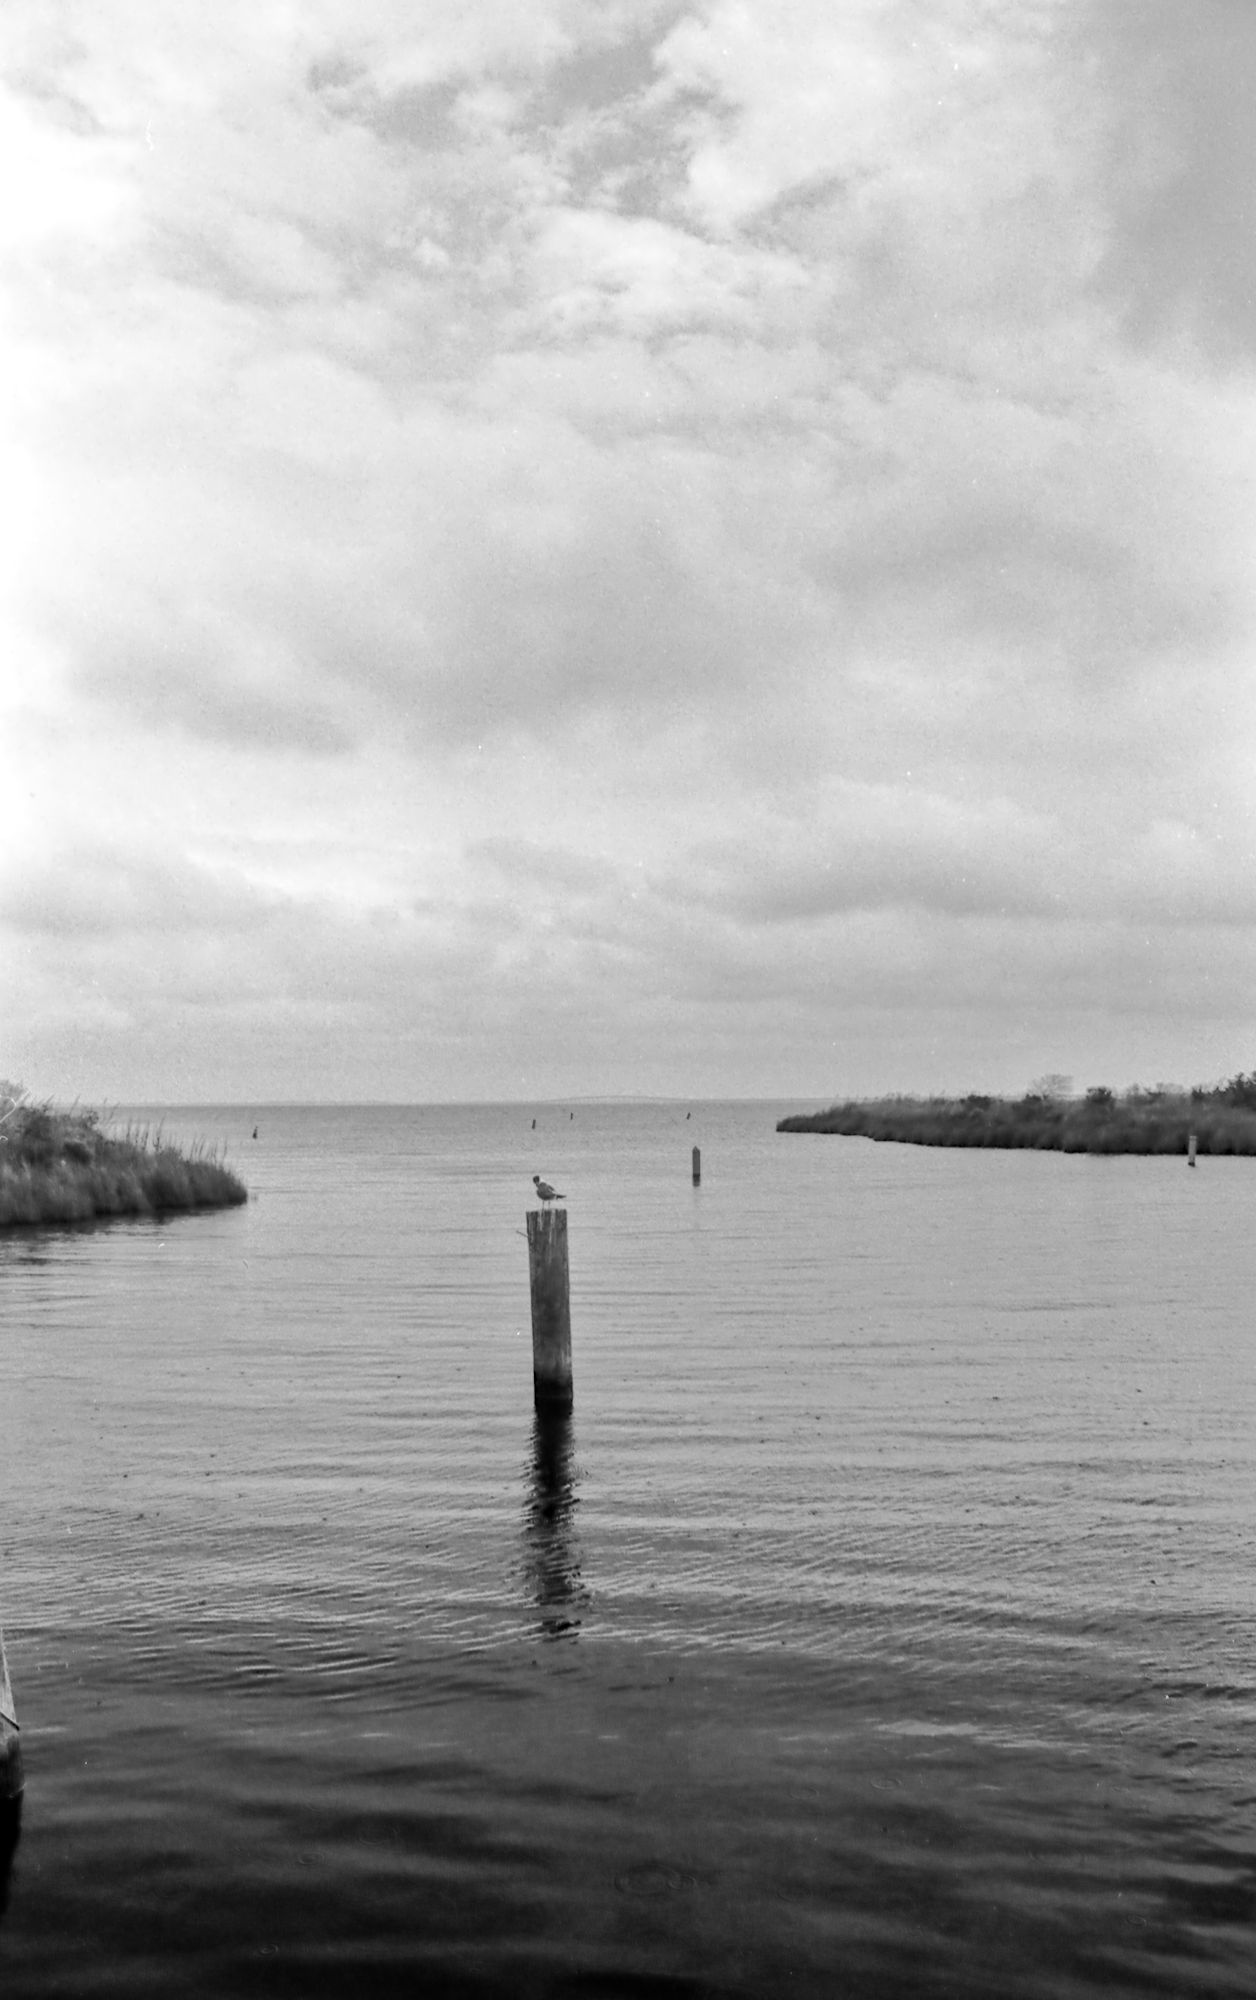
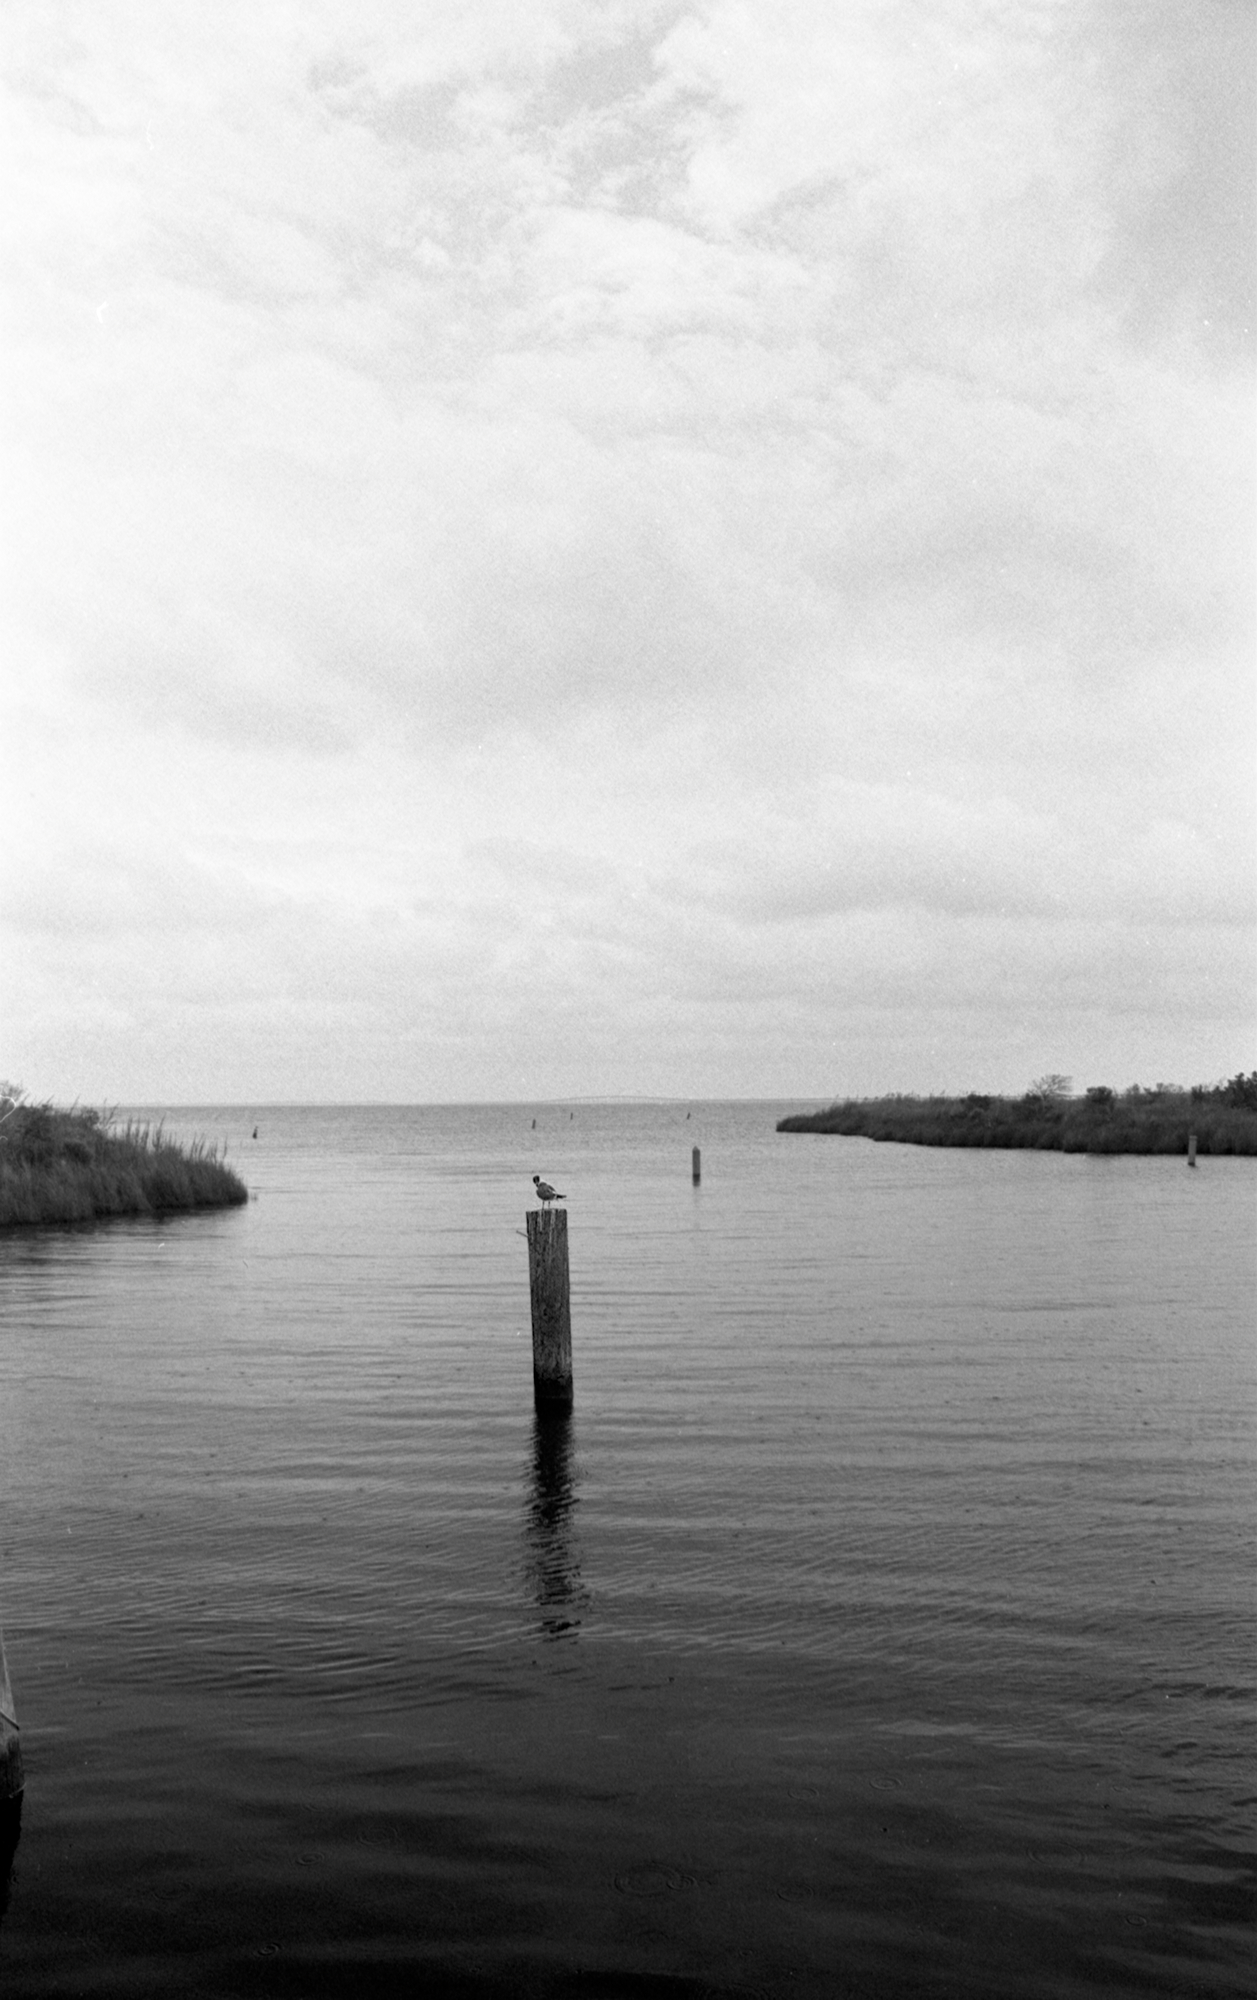
I developed the film, then scanned, so that is the original. My scanner (Epson v600) software transforms the image into a positive image after scanning (it can either leave as a negative or convert it to positive and I have found no difference in the quality of scan, so I let the software save me the extra step). The image was either slightly underexposed or overdeveloped, so I also had the scanner software adjust the exposure (which I have since found out that it’s better to let darktable handle that instead).
I like your edit. Which software did you use? If you used dt, please upload the xmp.
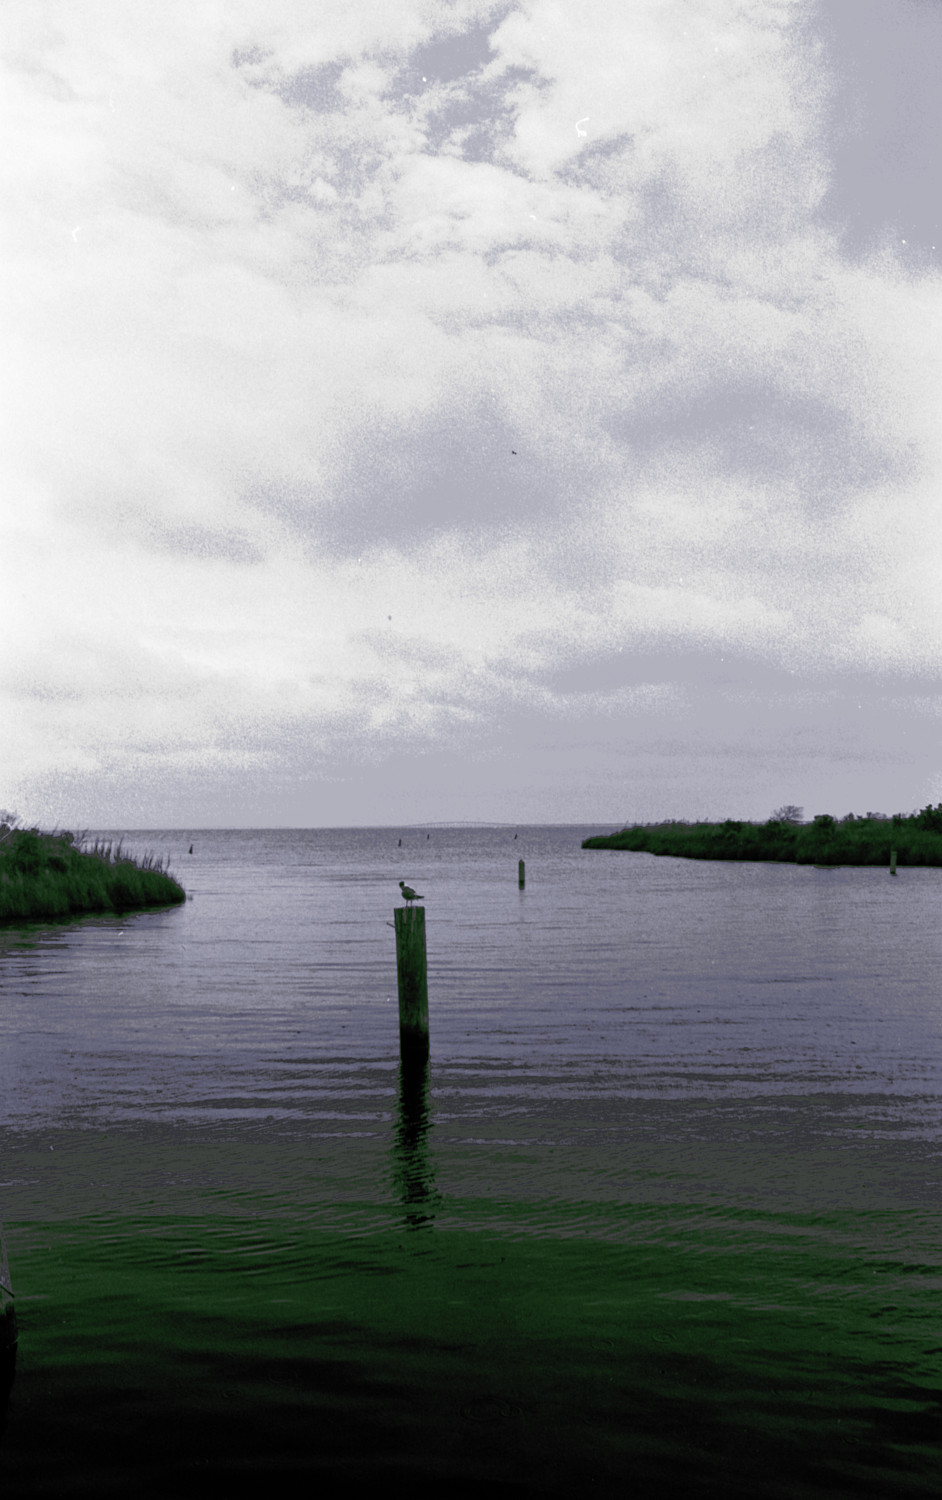
That’s interesting because it was scanned as a 16-bit grayscale image, so no converting necessary, I would think. But you did add color. Thanks for the edit.
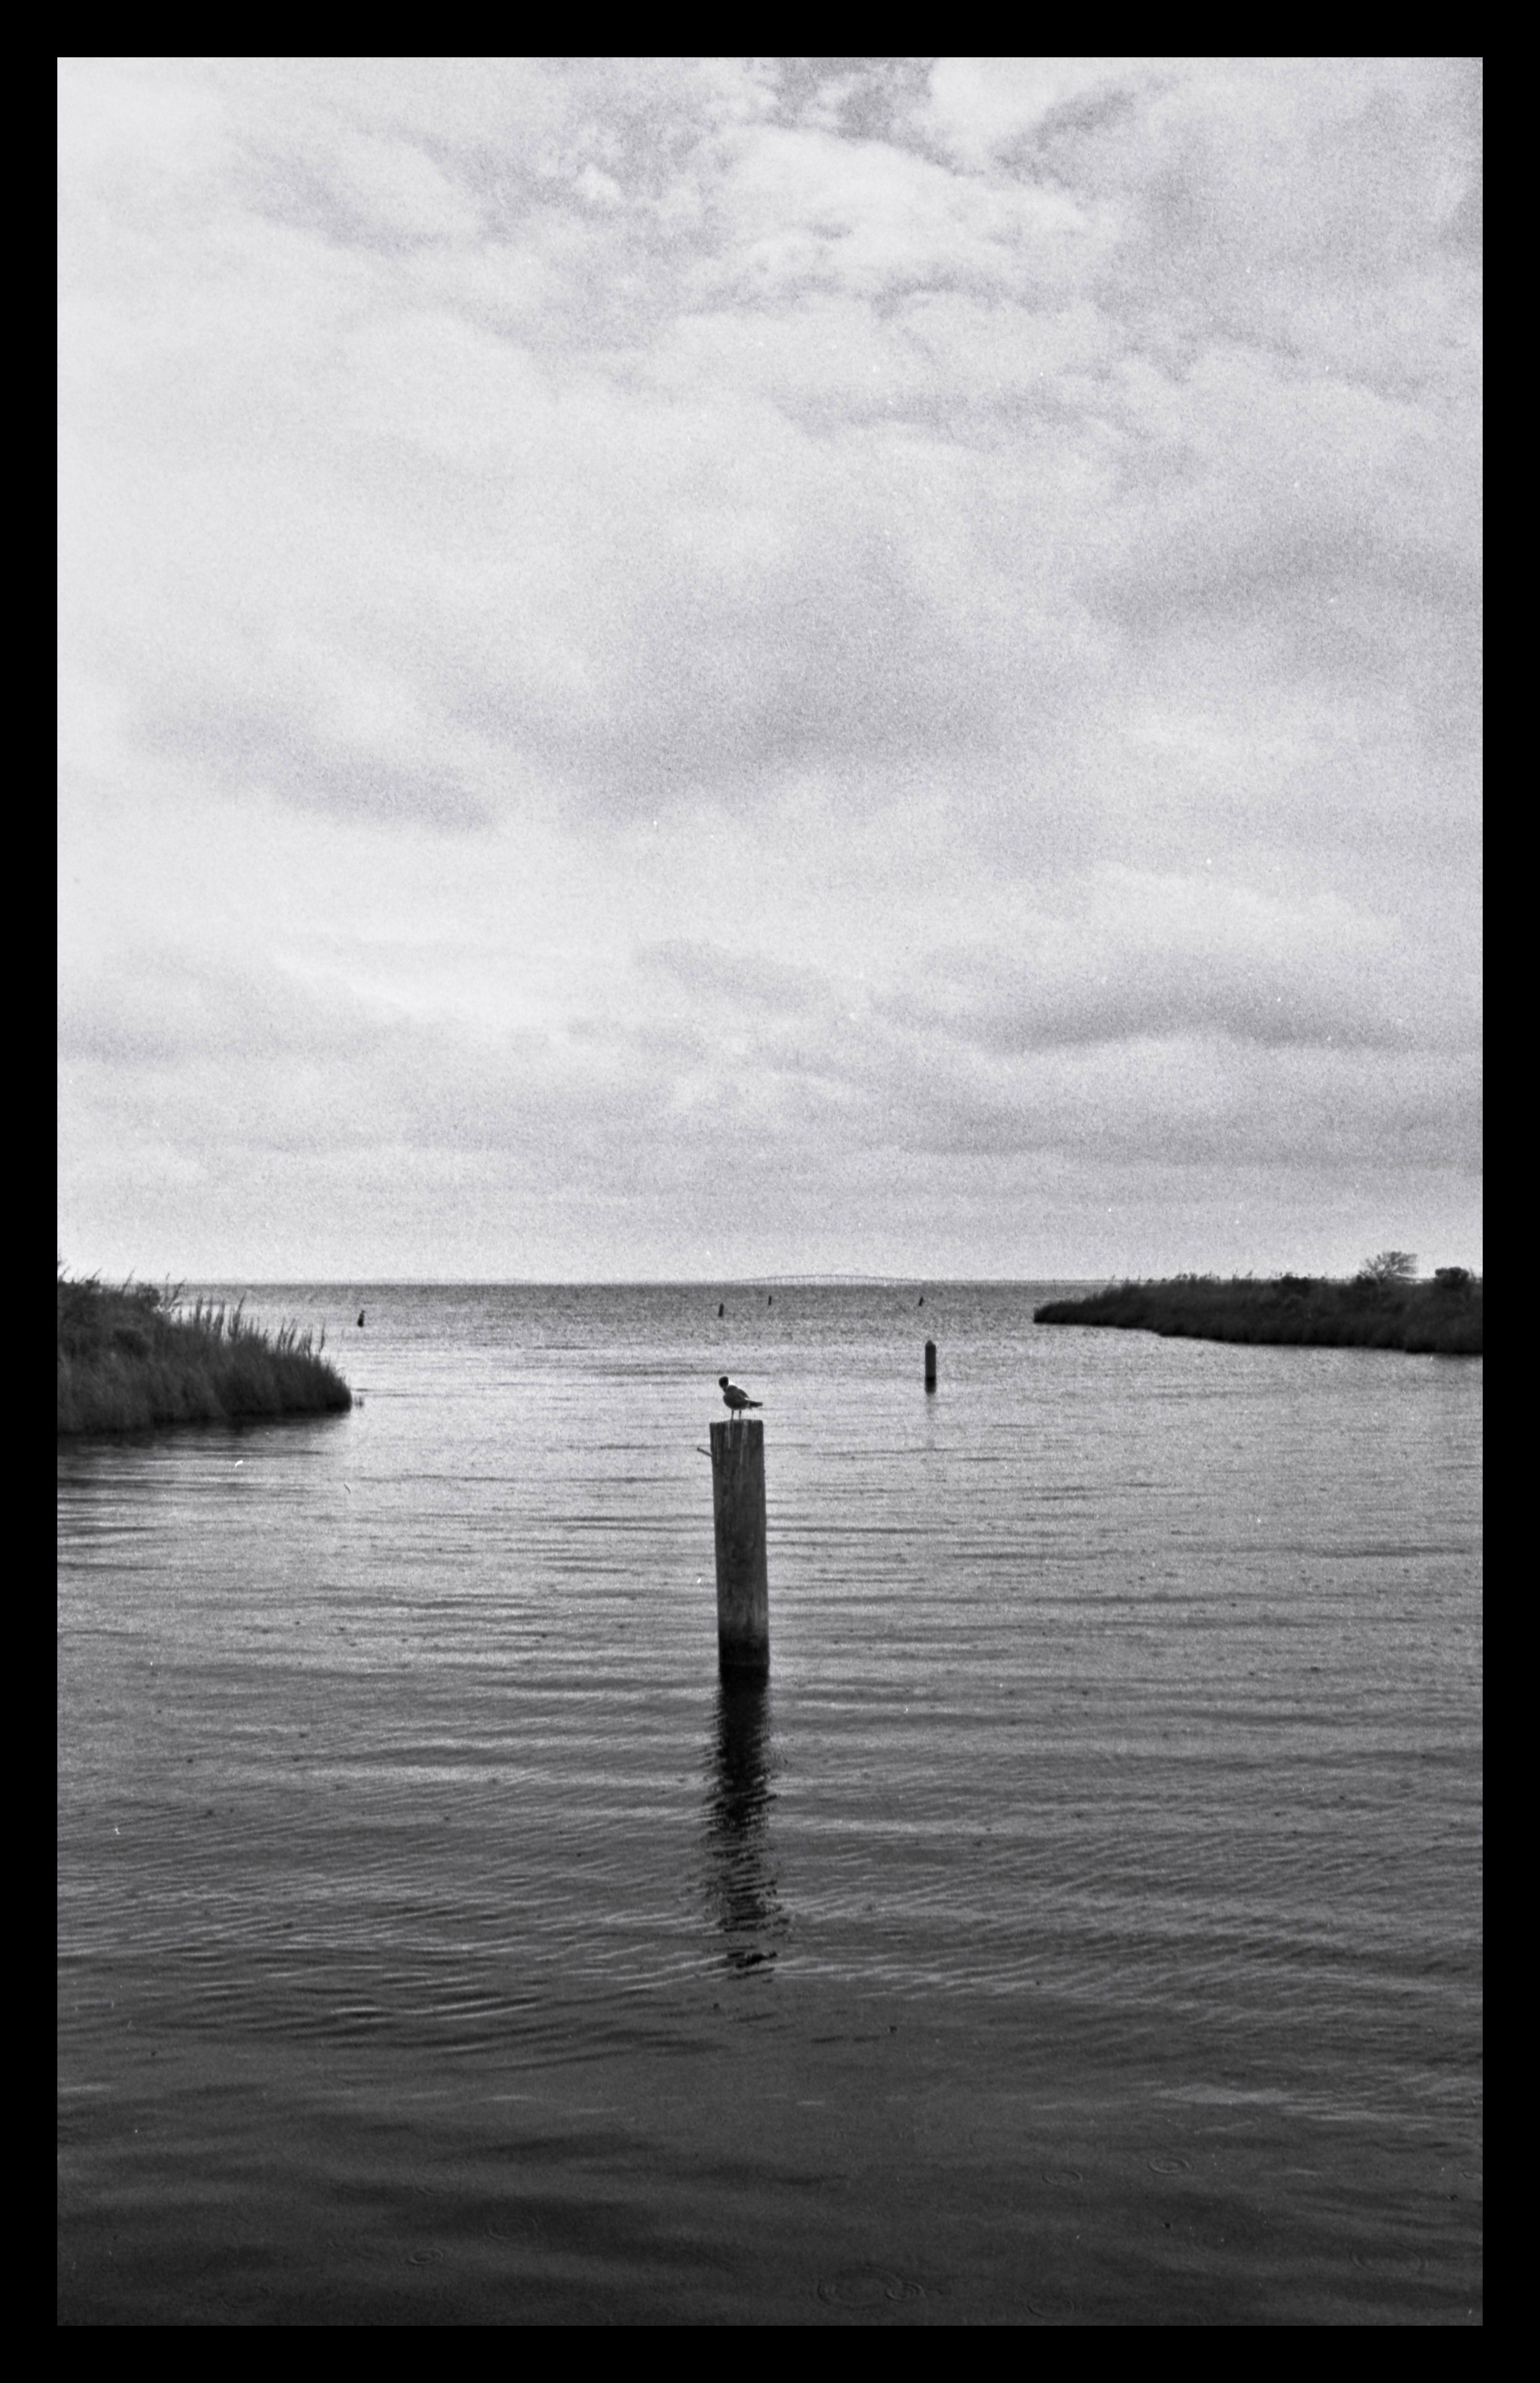
@jonathanBieler You got some good contrast in the clouds without blowing up the grain.
As it is film, the grain is what it is and for my taste it shouldn’t be entirely eradicated—if I didn’t like grain, I wouldn’t shoot film. But on the other hand, unless it really adds to the picture, there is no need to enhance the grain which becomes the struggle when enhancing the contrast overall…the grain really wants to pop.
I do prefer the no-whoppsie-version.
@Terry You achieved some contrast and reduced the grain without entirely removing the grain. I like that!
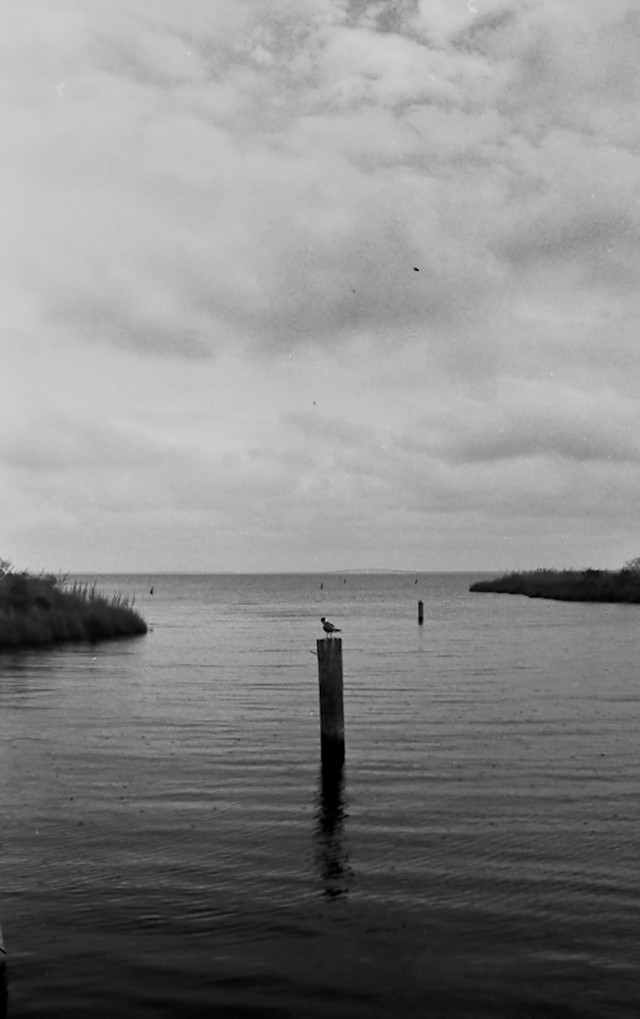
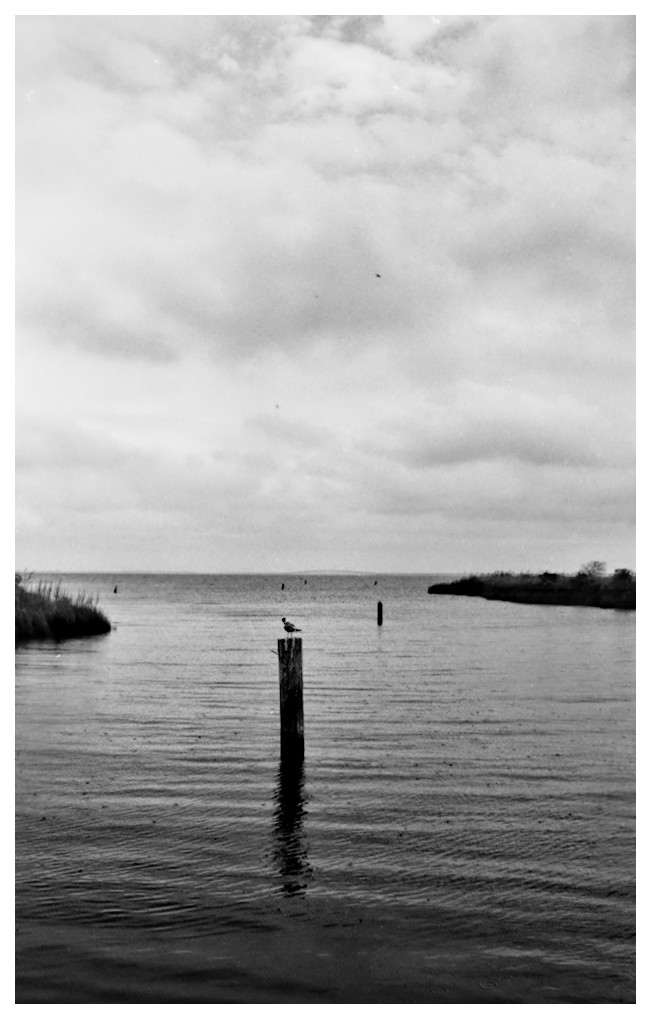
@Zbyma72age I like the contrast on the bird and the landscape crop (one of my other pictures was taken of nearly the same crop you have). I notice the bridge has some interesting artifacts around it…which software did you use?
@paulmatth Thanks for the two edits. I usually like dark and moody, but I think I prefer your lighter edit…it seems to lean into the sepia look…am I seeing that correctly?
Thanks for the feedback.
I convertted the image from grayscale to RGB in GIMP, then added overlays of colour in soft-light mode using luminosity masks to separate different regions. Drawn masks are too difficult on my tiny laptop.
Thank you I used Ansel, but it might be compatible with DT too.
You should be able to import the jpg as an xmp, but I can provide the xmp later if it doesn’t work.
I don’t know how Epson Scan does the inversion (I think it does it in a bad way) but with a positive scan in Darktable with Negadoctor, it does the inversion in the Darktable’s space, and you can adjust the settings to correct exposure issue.
I’ve tested the scanner and software multiple times on multiple occasions with multiple negatives, and the negative vs positive is pretty much identical as far as image data goes. And, being lazy, I’d just as soon deal with the already positive image instead of fiddling with it in dt.