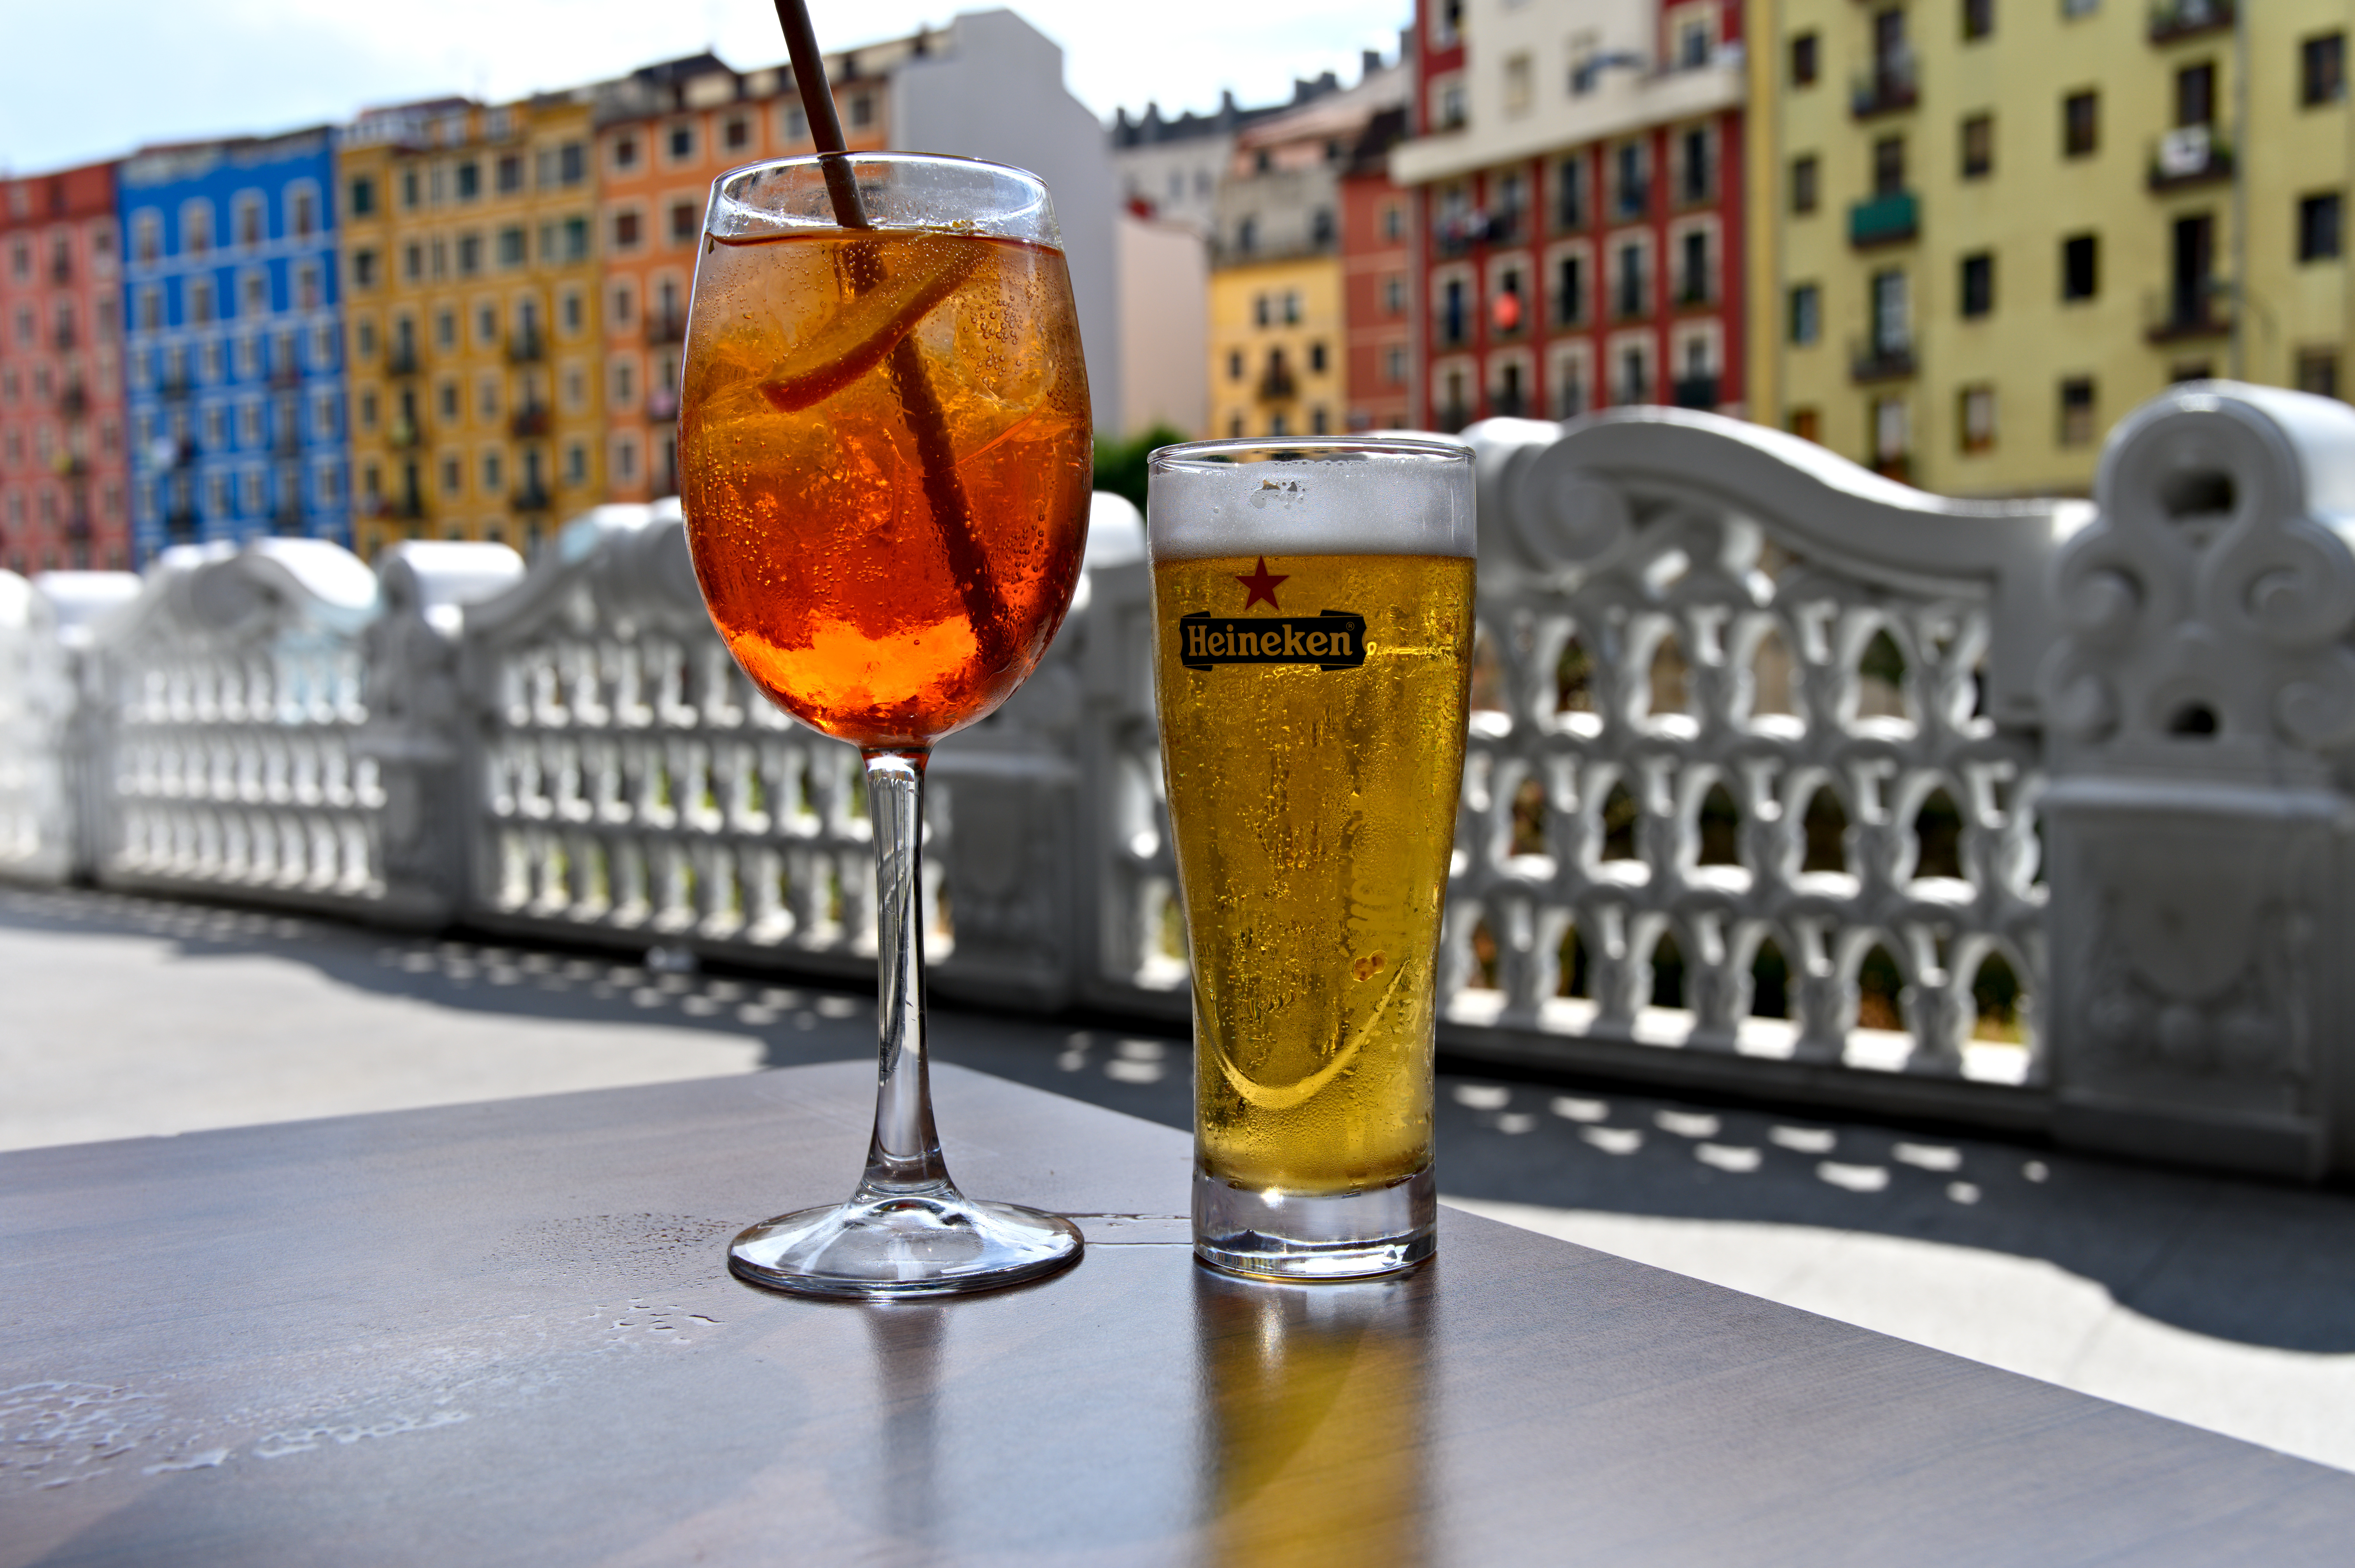
I have a problem with orange colors in DT. I use latest dev built from source code on Fedora 38. Here are 3 files for comparison: OOC, DT and ART. The ART version does not have such an issue, it is quite close to OOC. Maybe it is because I use Adobe .dcp profiles. In DT version colors are not that orange-y and details are lost - look closely at the bottom of the glass on the left. I tried color zones, rgb primaries, color balance rgb with masking but still cannot reproduce the colors and details. The beer color is also off. I had similar problems in DT with the favorite topic here - sunflowers. The middle part of the plant was not as orange as in OOC. Any help would be appreciated.
Simple answer to your problem I hope. I opened your edit of the image. Go to the sigmoid module and experiment with the preserve hue slider and move it towards the left and hopefully this solves the issue for you.
As @Terry just mentioned, if using sigmoid, the dull orange and missing details are easily solved with the preserve hue slider.
I found matching the overall colours rather harder.
I ended up using an instance of colour balance rgb with a parametric mask to affect only the red-yellow hues in the more saturated areas…
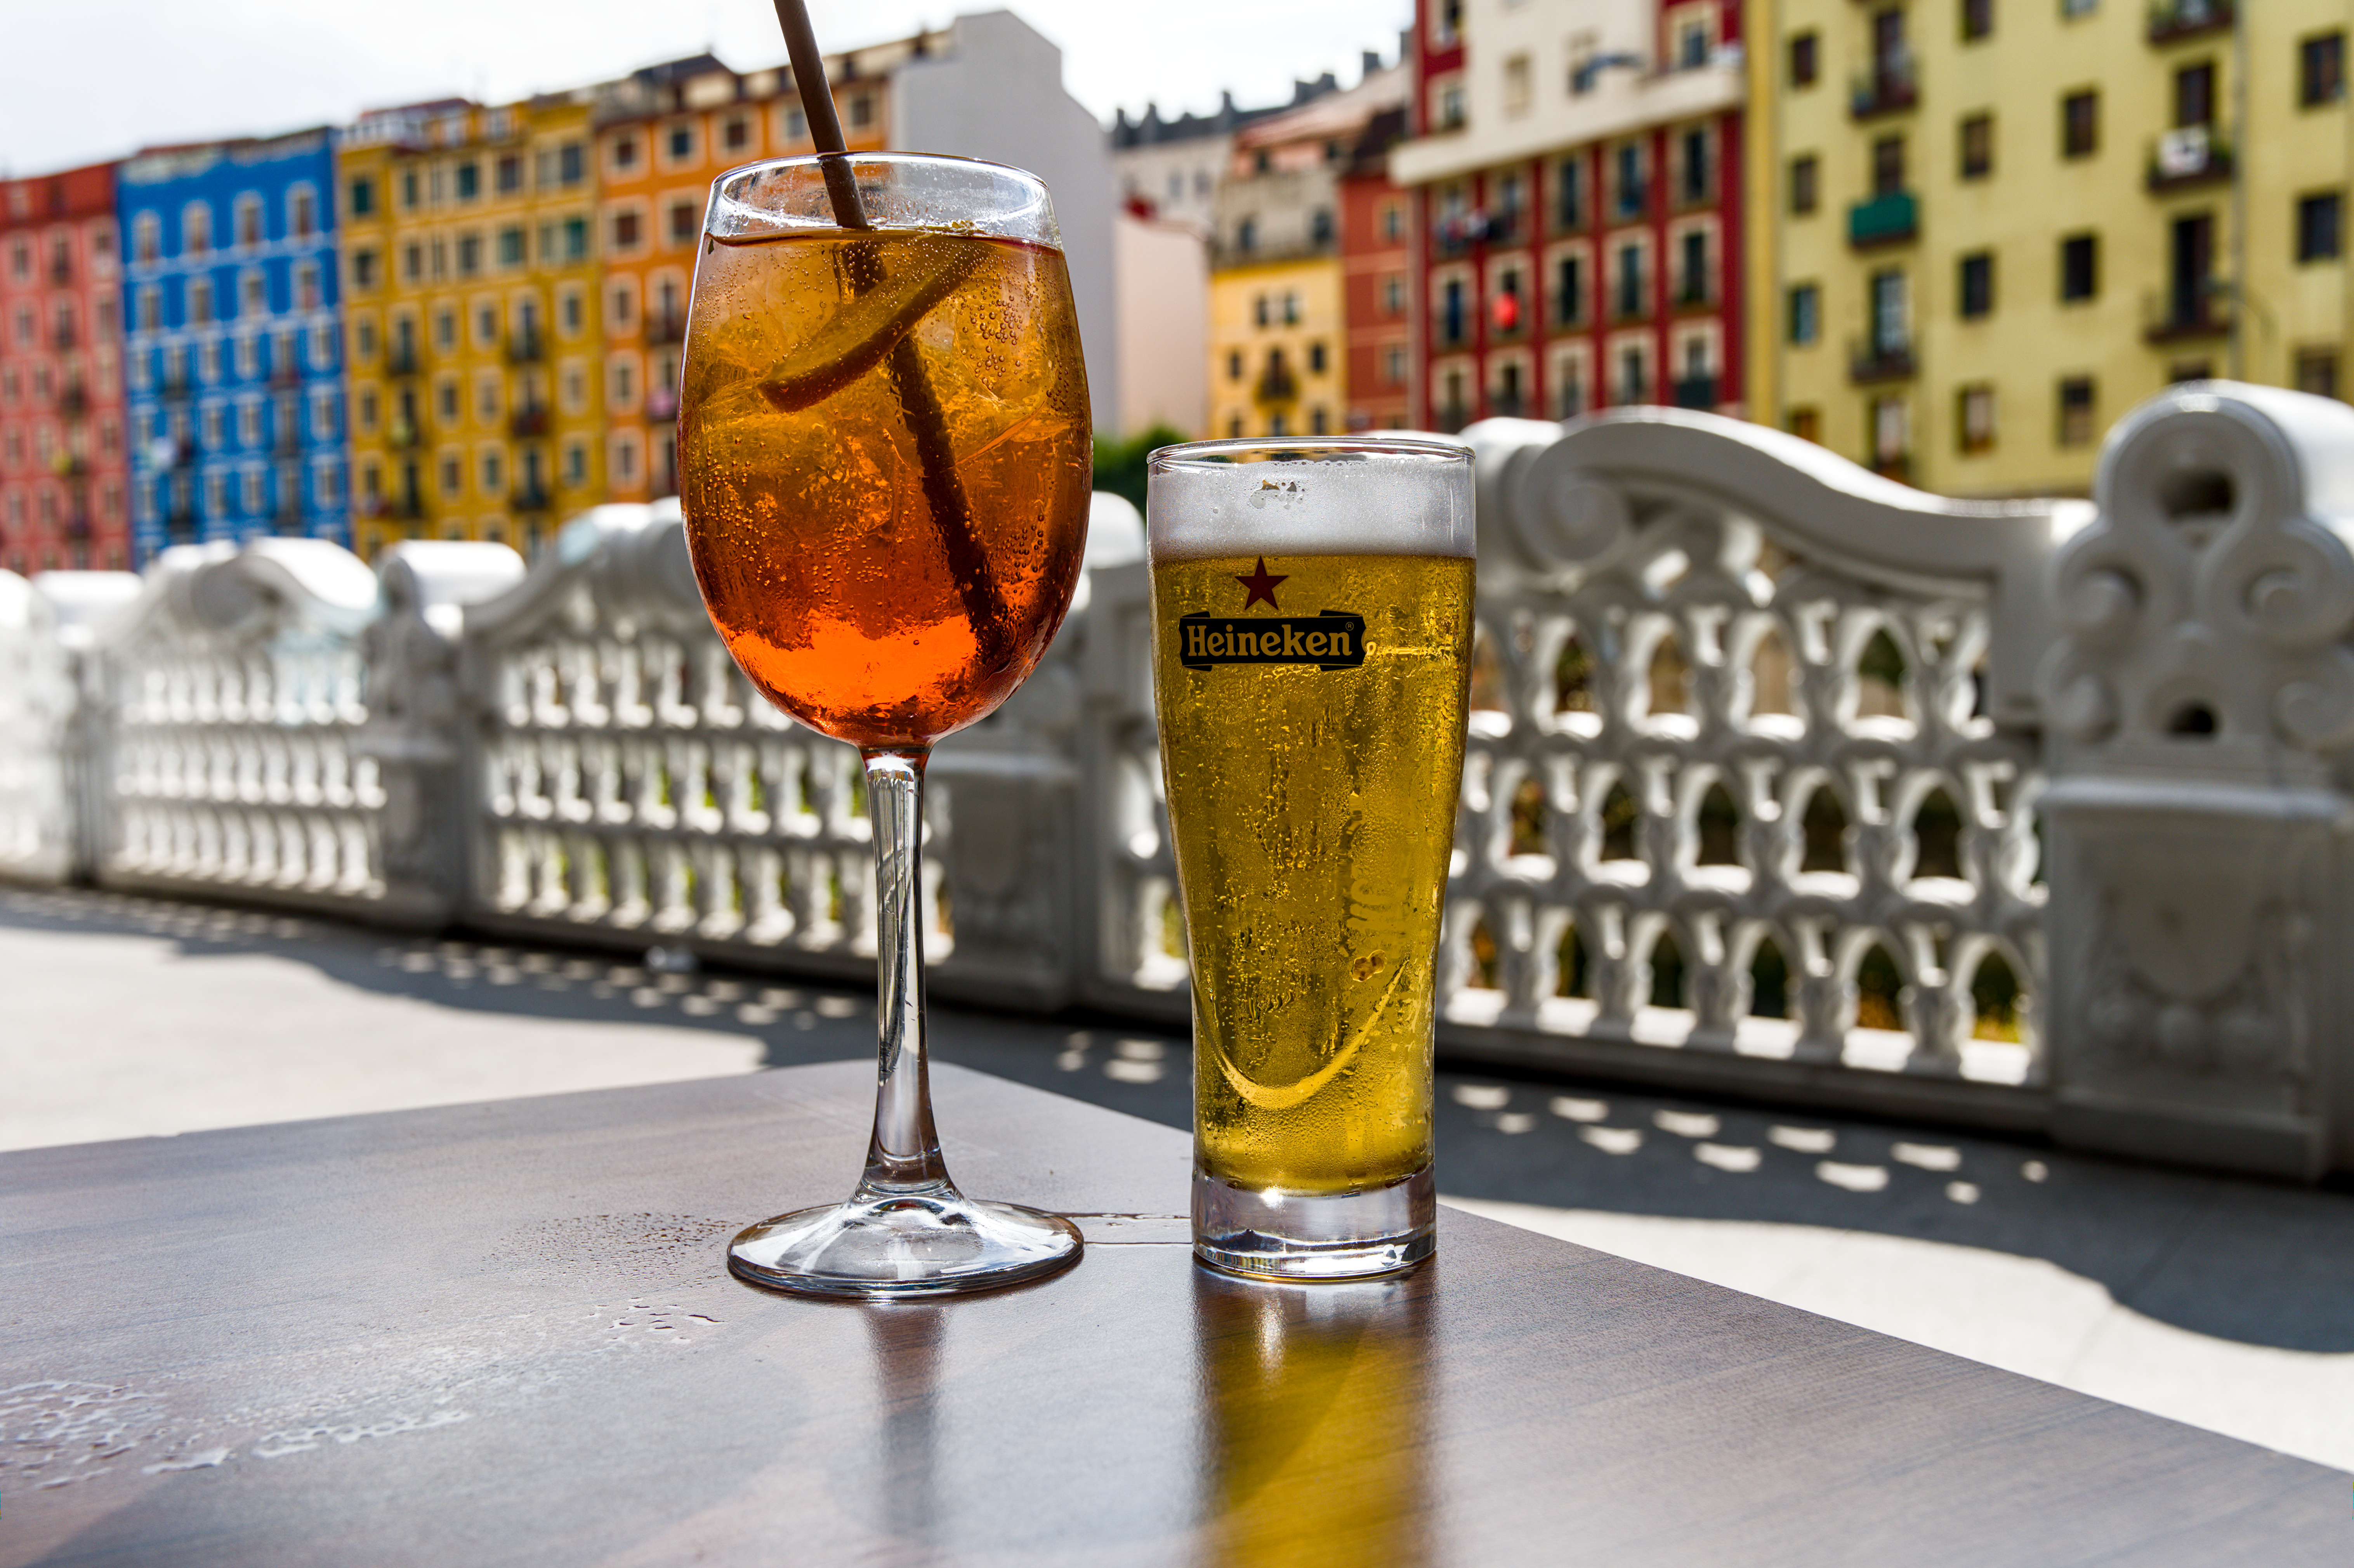
I think the camera did lose details in the highlights, e.g. at the bottom of the drink on the left; it’s overly contrasty to my eyes. Anyway, here is an approximate match using sigmoid, used with the ‘alternative sRGB’ settings. Left: SOOC, right: darktable.
nz6_1370.nef.xmp (12.5 KB)
Used 3 color calibration modules, one for overall white balance, one for the cocktail, the other for beer.
Something tells me it shouldn’t be this complicated.
DT 4.4.2
The camera seems to narrow the spectrum of warm colours a little so that, for example, the yellow in the mid-tones becomes slightly more orange.
This can be imitated relatively easily with colour sliders in Sigmoid.
You only have to rotate the blue channel in Sigmoid in the direction of cyan, which makes the yellow colours in the mid tones and highlights more orange.
Interesting photo, I was playing with input profiles (standard, bundled DCP, and Adobe Standard DCP) in Rawtherapee and they don’t recreate the OOC tones in the beer. Perhaps the camera applied a LUT to the OOC that causes the orangey tone