In the last time and also in the near future I have some editing work to do and have decided to make some edits as video.
If anyone is interested, they can take a look.
These are small episodes with different techniques I use and although these are not tutorials, maybe one or the other technique could be useful for someone.
That’s a nice one, like it when they are based on real life examples.
There are many GIMP tutorials out there, but most aren’t all that concerned with the details, let alone explain what and why they are doing certain things. I know you don’t promote your videos as tutorials, but I do seem to learn a lot from them
I’ve been exploring GIMP for the last couple weeks and made a few big steps in my knowledge level. So these videos are more then welcome.
Thanks for taking the time and effort to make these.
Hi @s7habo and thank you.
Just a question: very close to the beginning,
you use two instances of the local contrast module.
It is a bit difficult to see your settings on the video, so I
wonder what made #2 so special that you could not have
made that already in the first instance?
In the first instance, I wanted the mid-range to be wide, and in the second instance, I made the mid-range lower, so that the greatest effect is limited to medium gray. This would not be possible with only one instance.
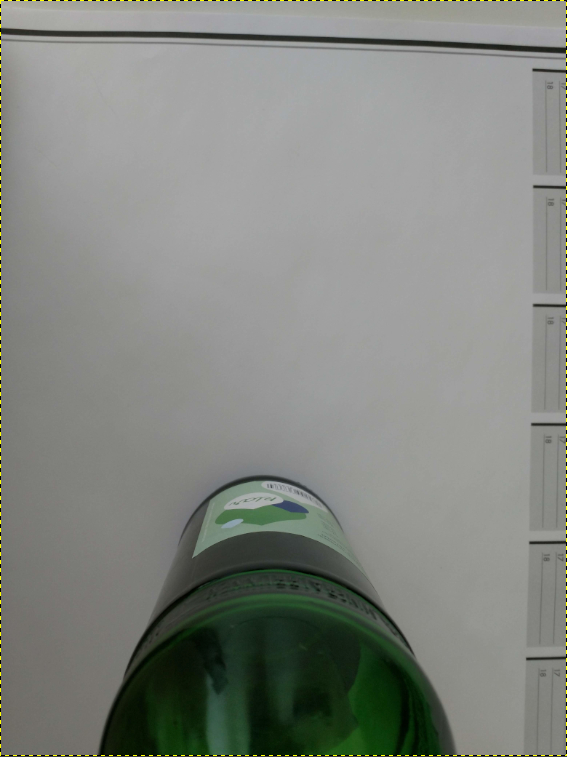
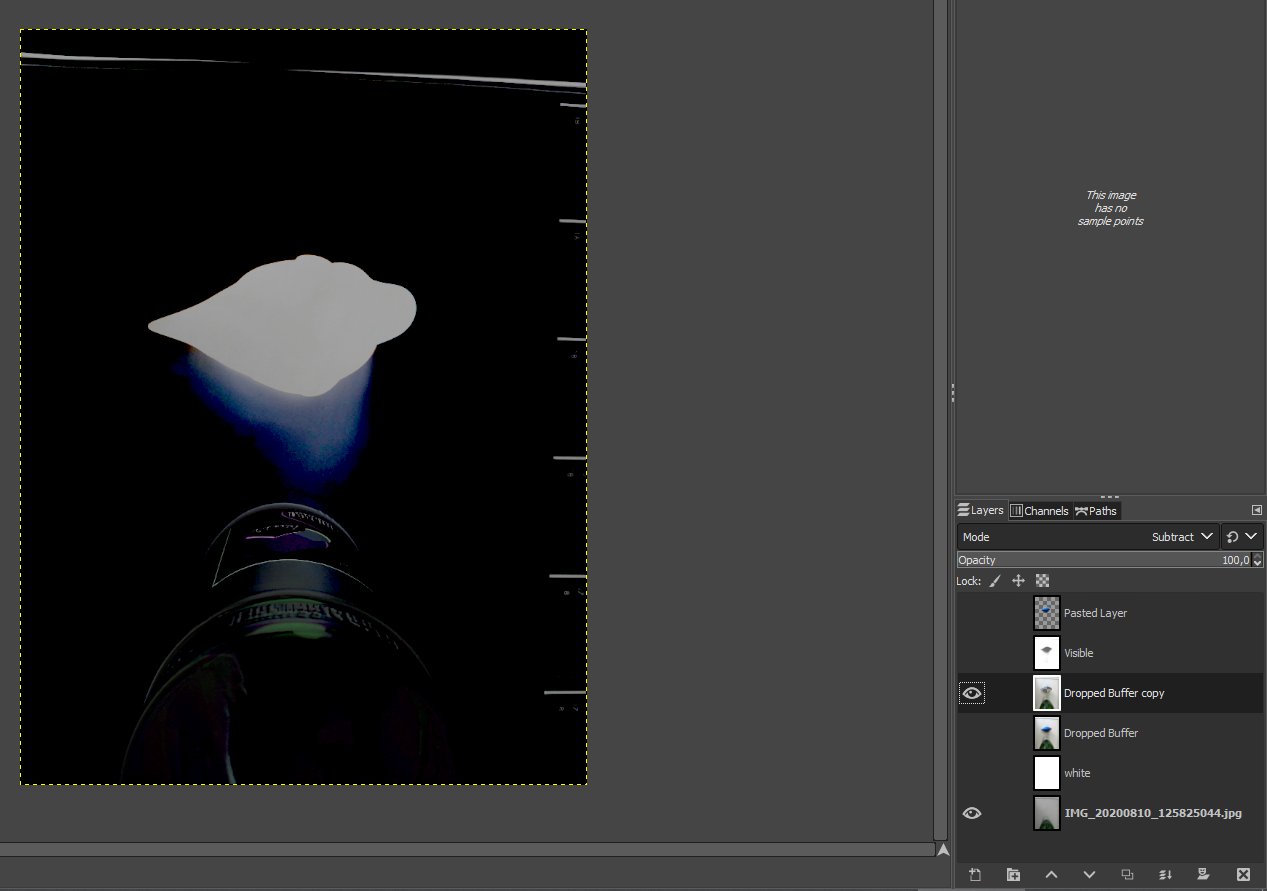
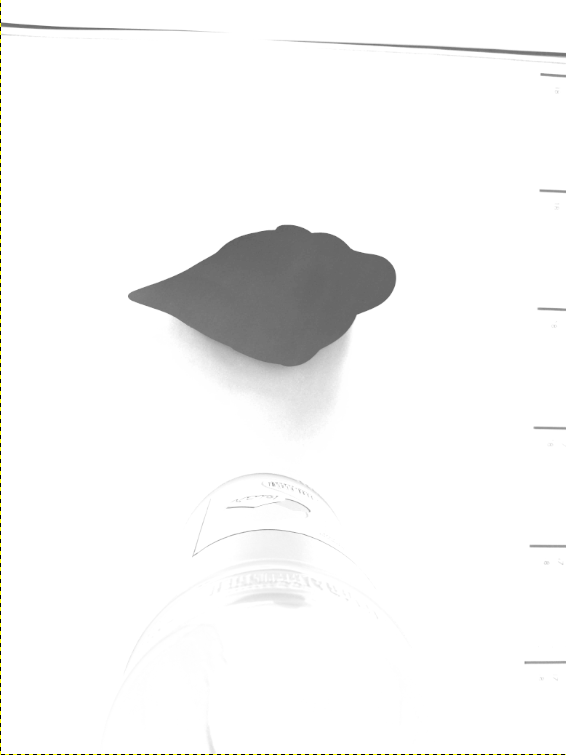
Really nice. I always like to watch real live workflows. I have a few questions:
Wouldn’t it be easier for catching the shadows to make one photo without the object and one with, and then have the empty one as background when removing the object in GIMP?
Is there a reason you use TIFF and not EXR as a exchange file format? (EXR supports 32 bit float linear, TIFF only 16bit float)
Why are you unsing 16bit and not 32 bit? Last time I talked to a GIMP developer I was told that 32bit float is faster in GIMP then 16bit float, because its the internal format. But that my have change since then.
Here is the shadow that object produces very important. Empty background has no shadow and apart from the effort, I don’t understand what would be the advantage? Beside that, the crumpled cloth itself needs to be smoothed out.
Tiff is good enough for this task. 32 bit tiff or, as you suggested, exr is of course better, but unnecessary for this task. The files are much bigger and if you have multiple layers you will notice that when you edit with GIMP. The xcf files are then sometimes over 2 Gigabyte in size. 16 bit tiff is enough to have reasonable dynamic range for a catalog.

")

")


")