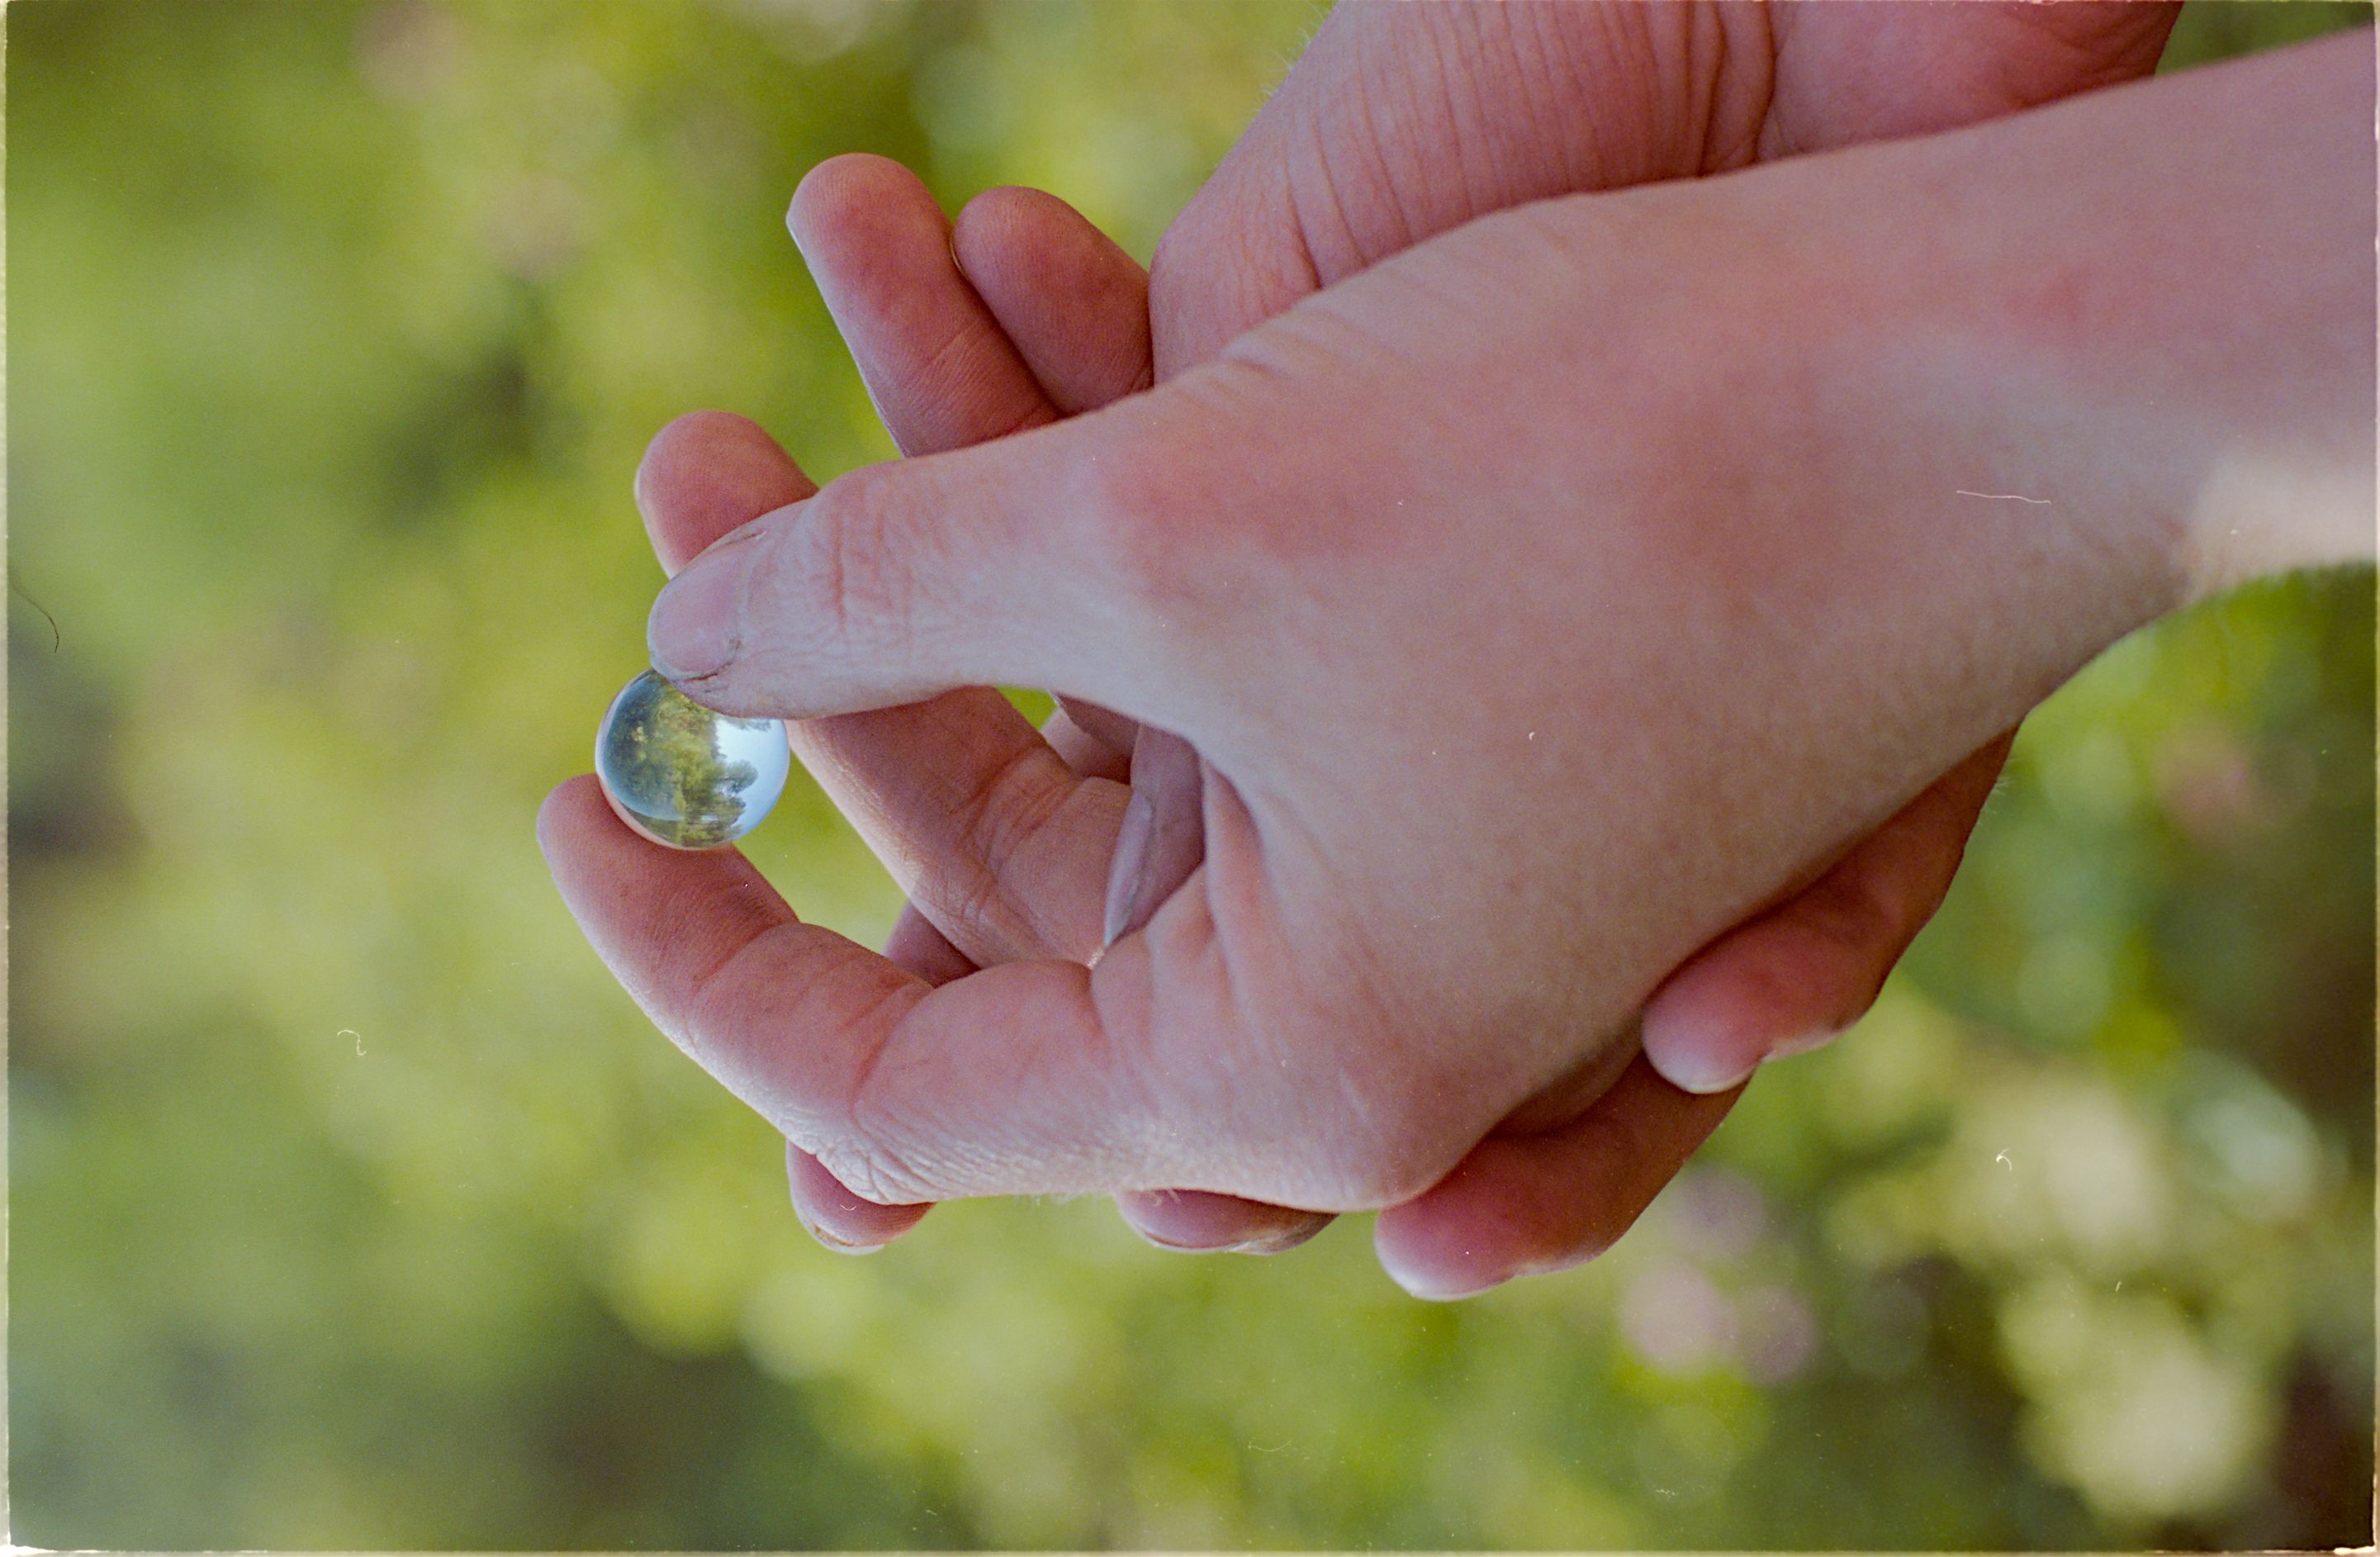
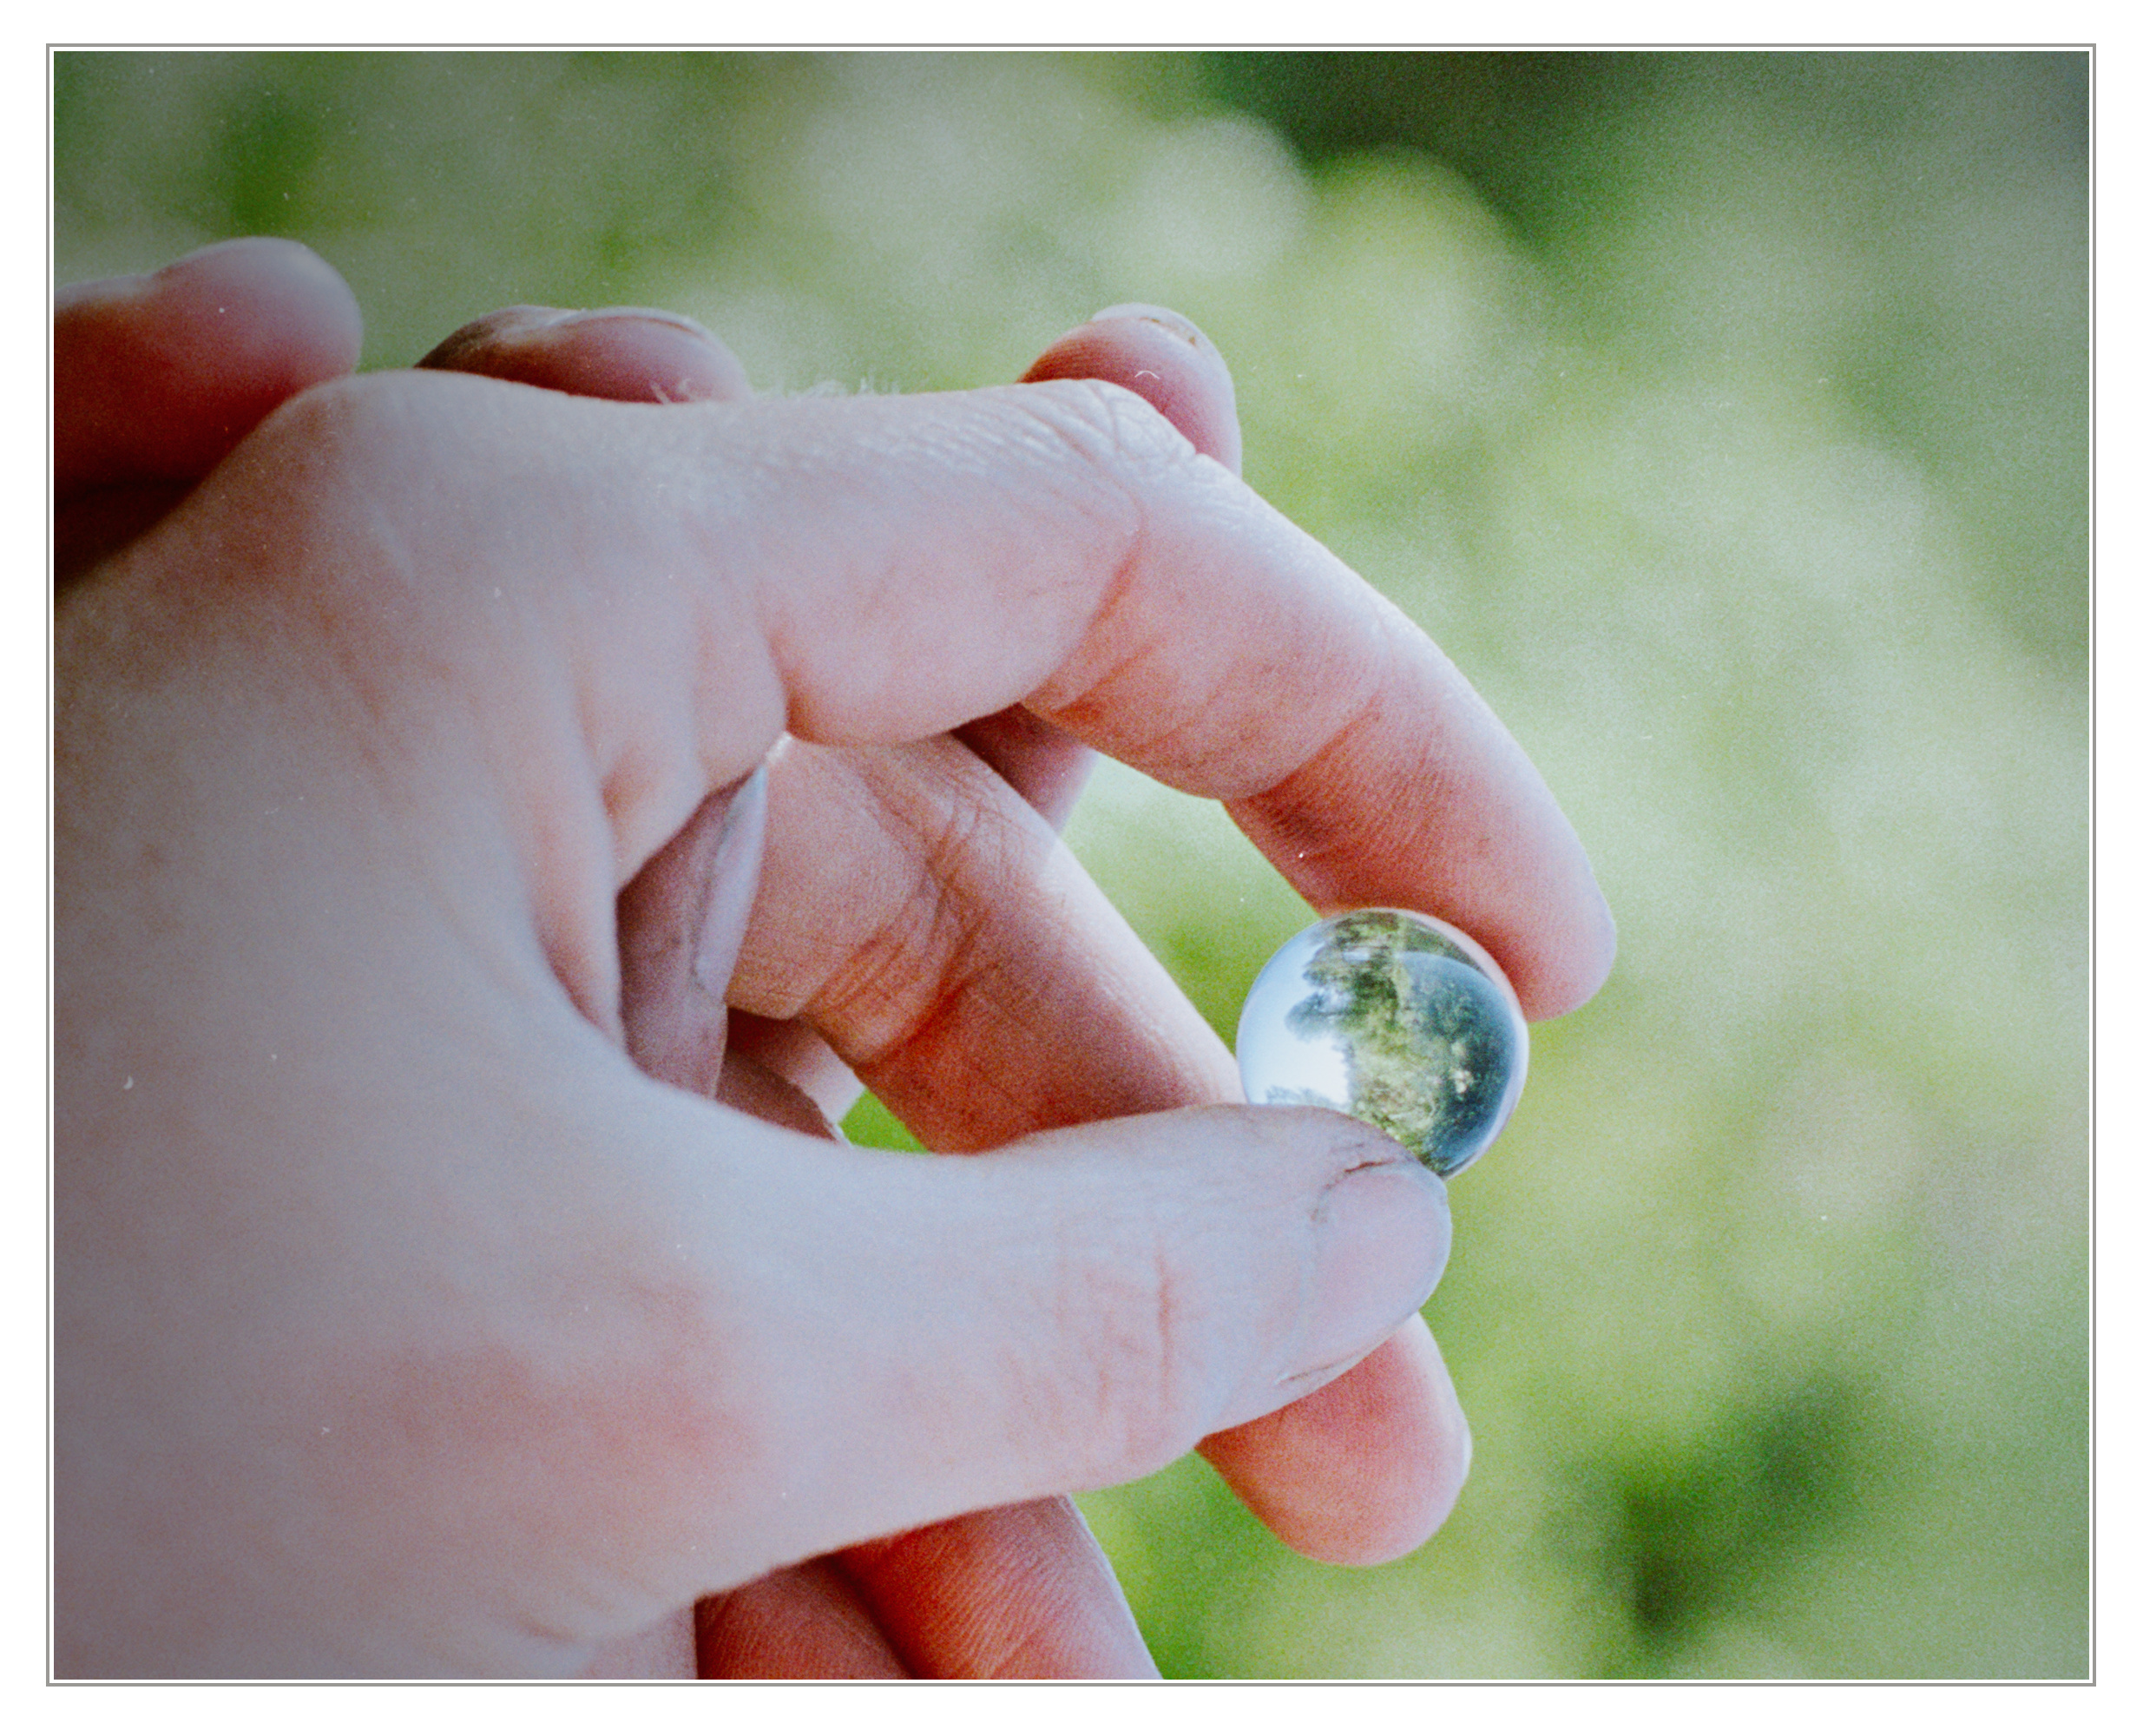
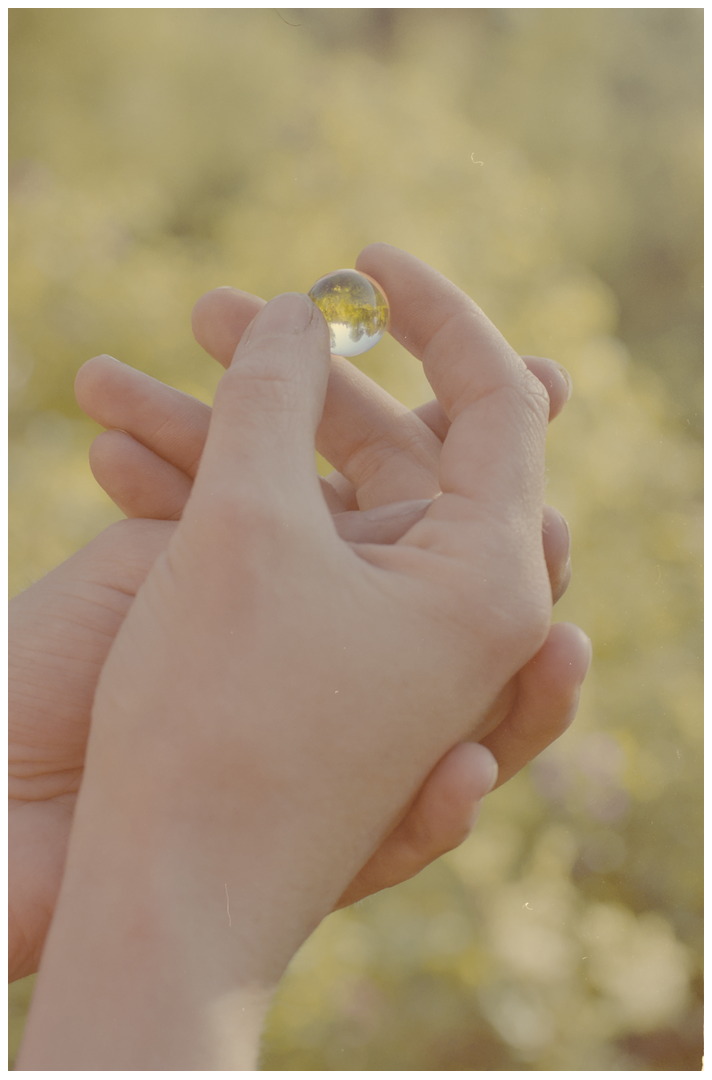
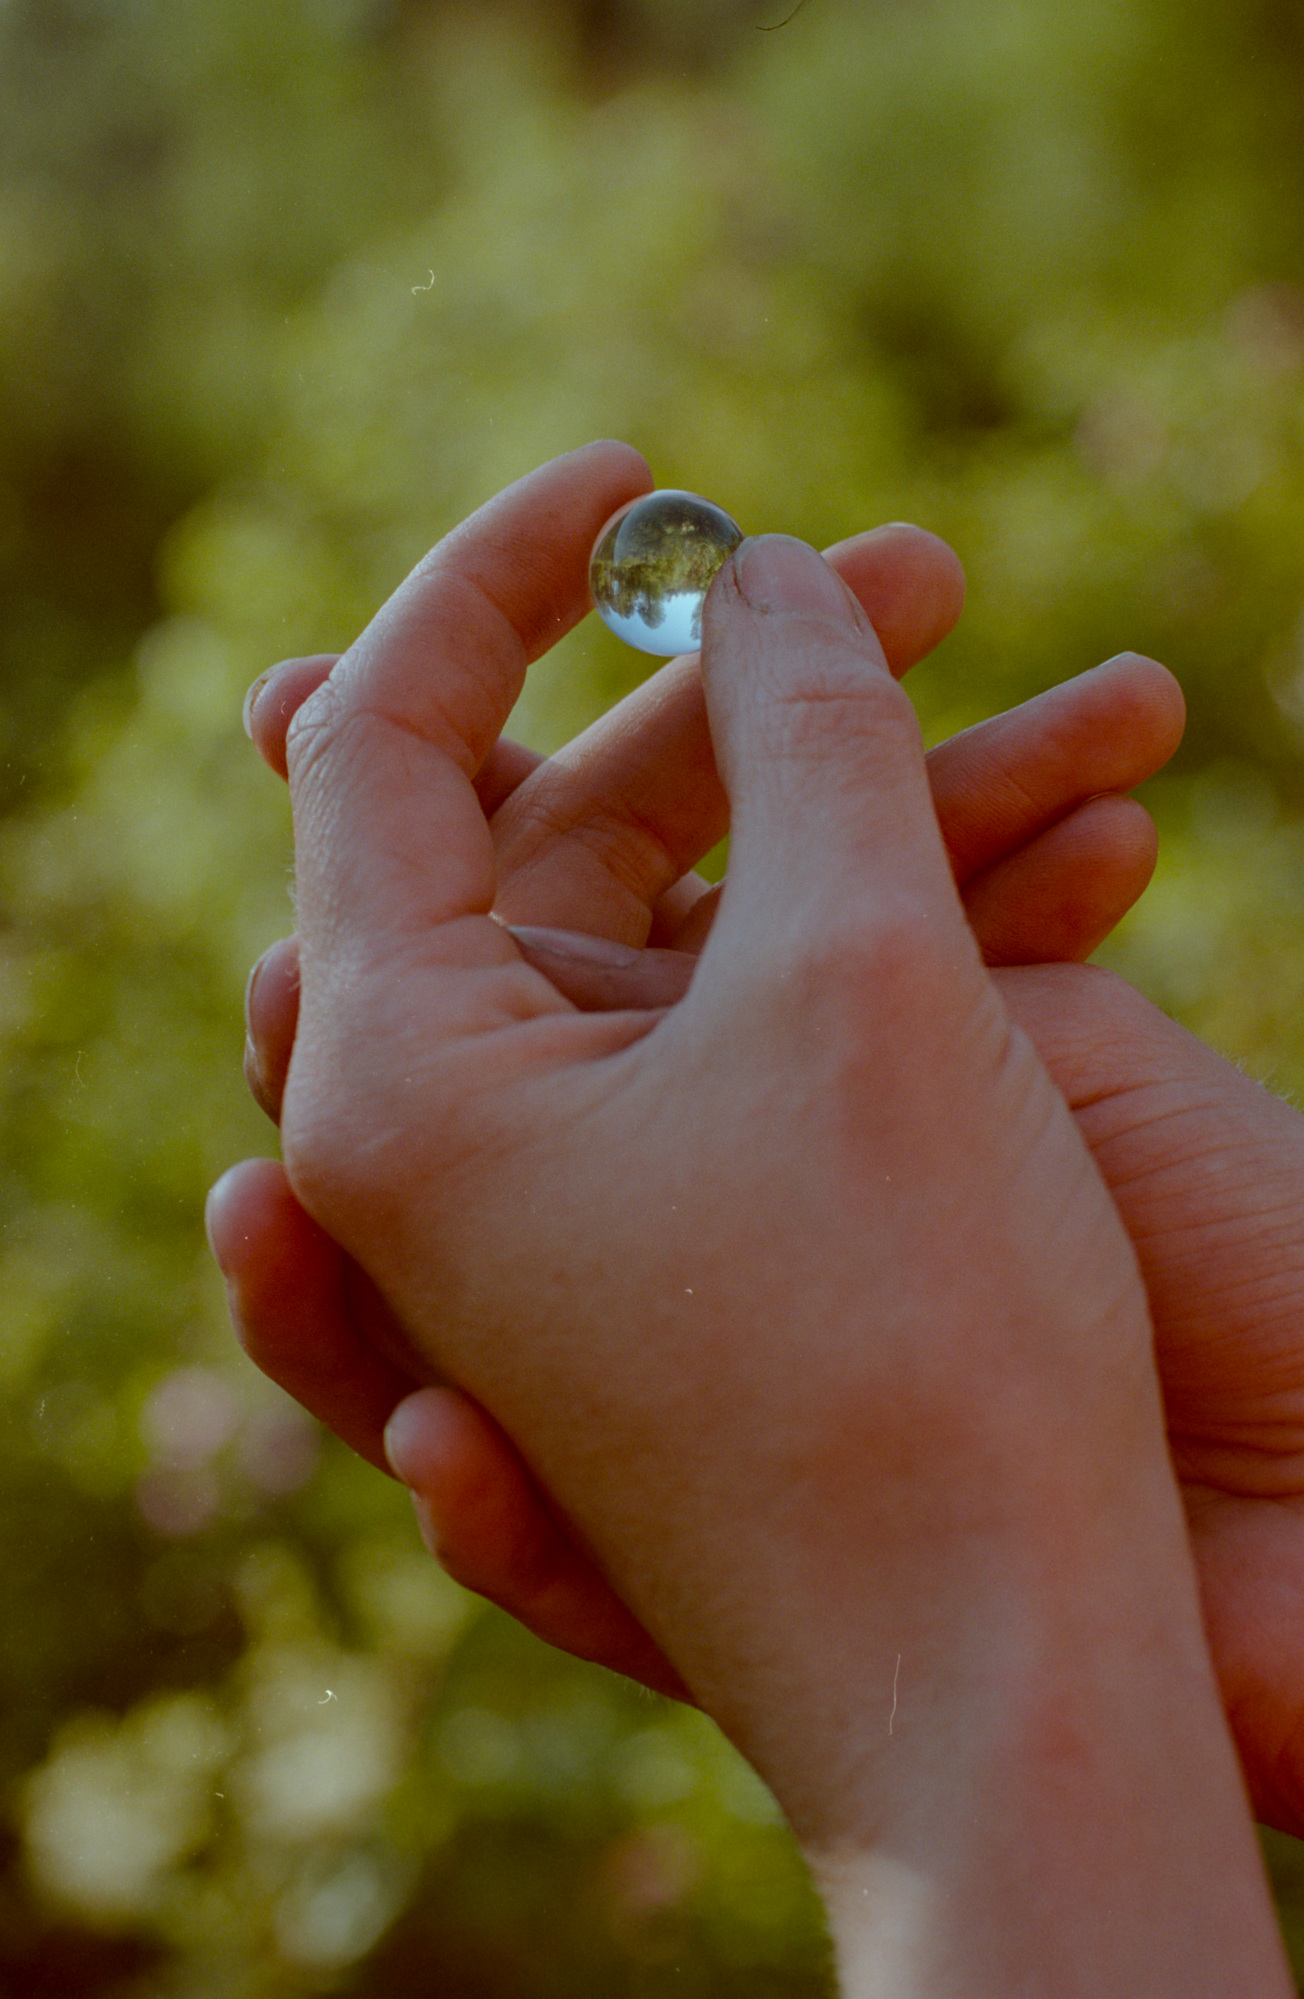
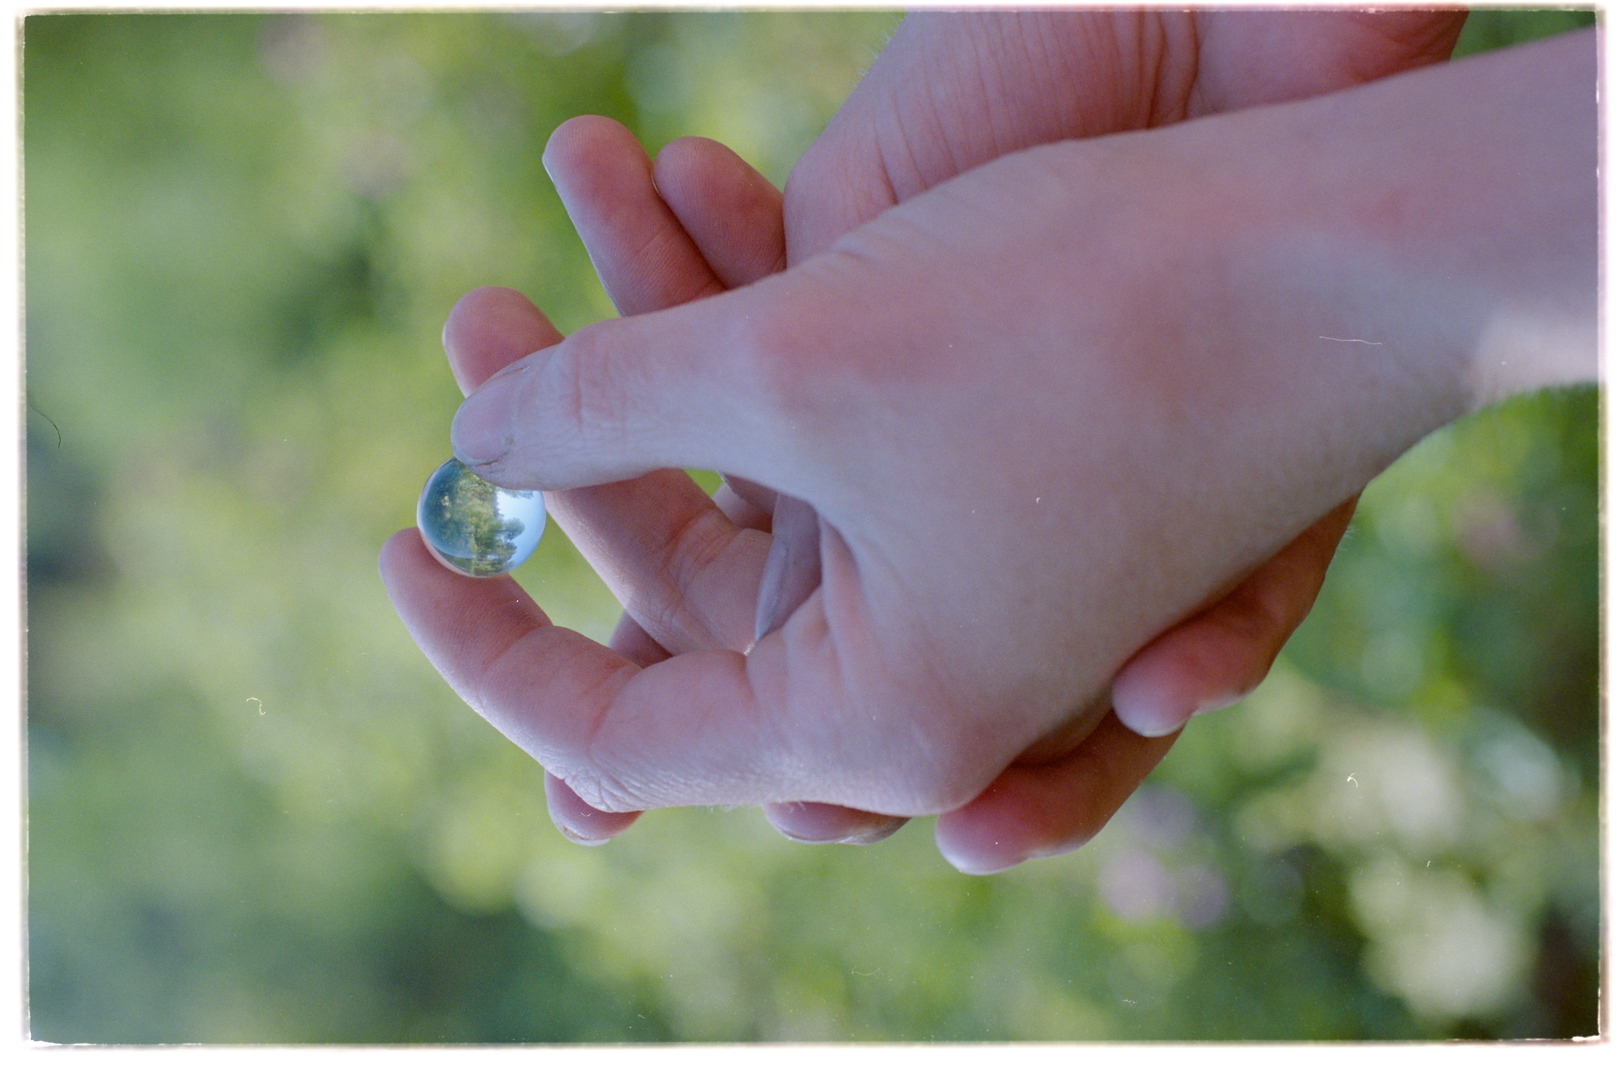
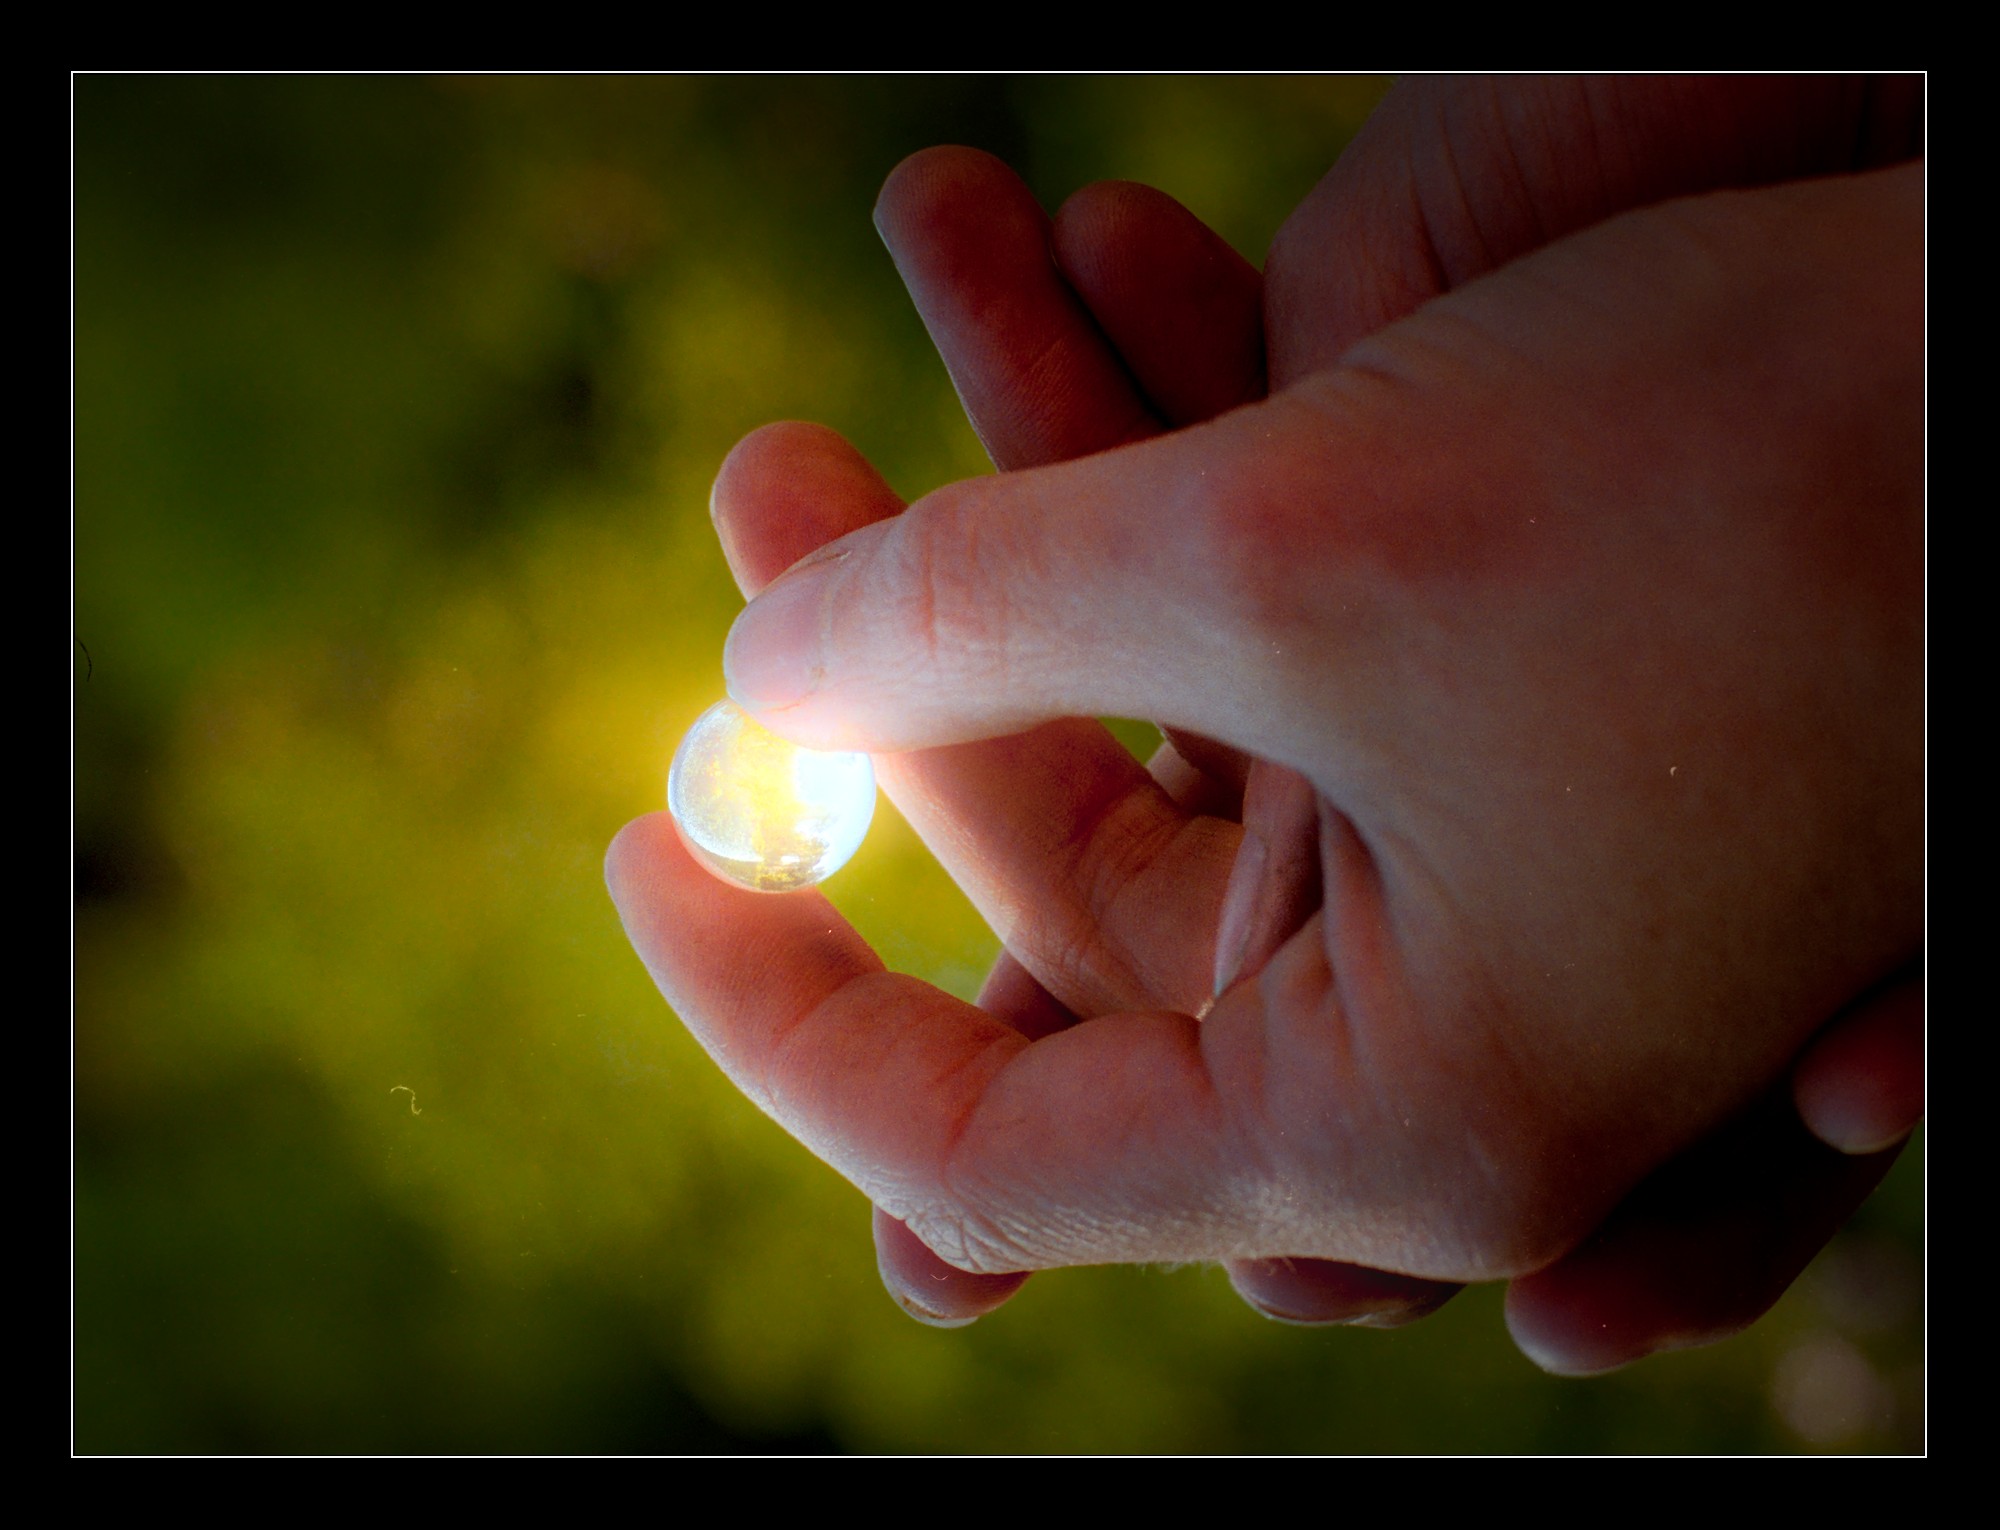
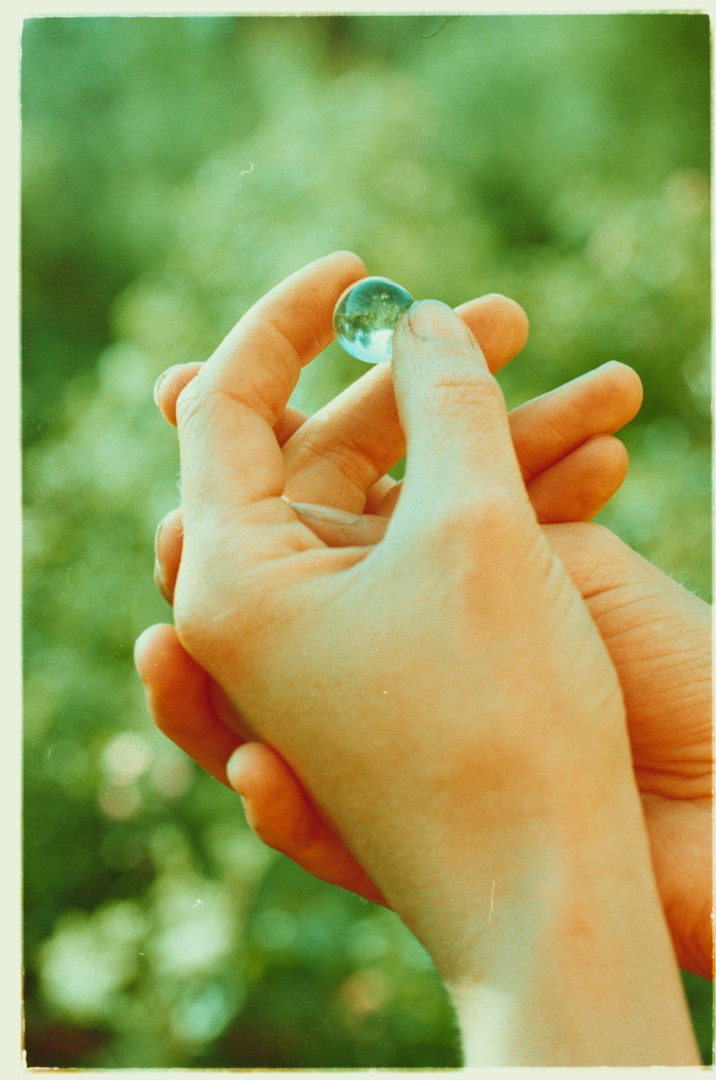
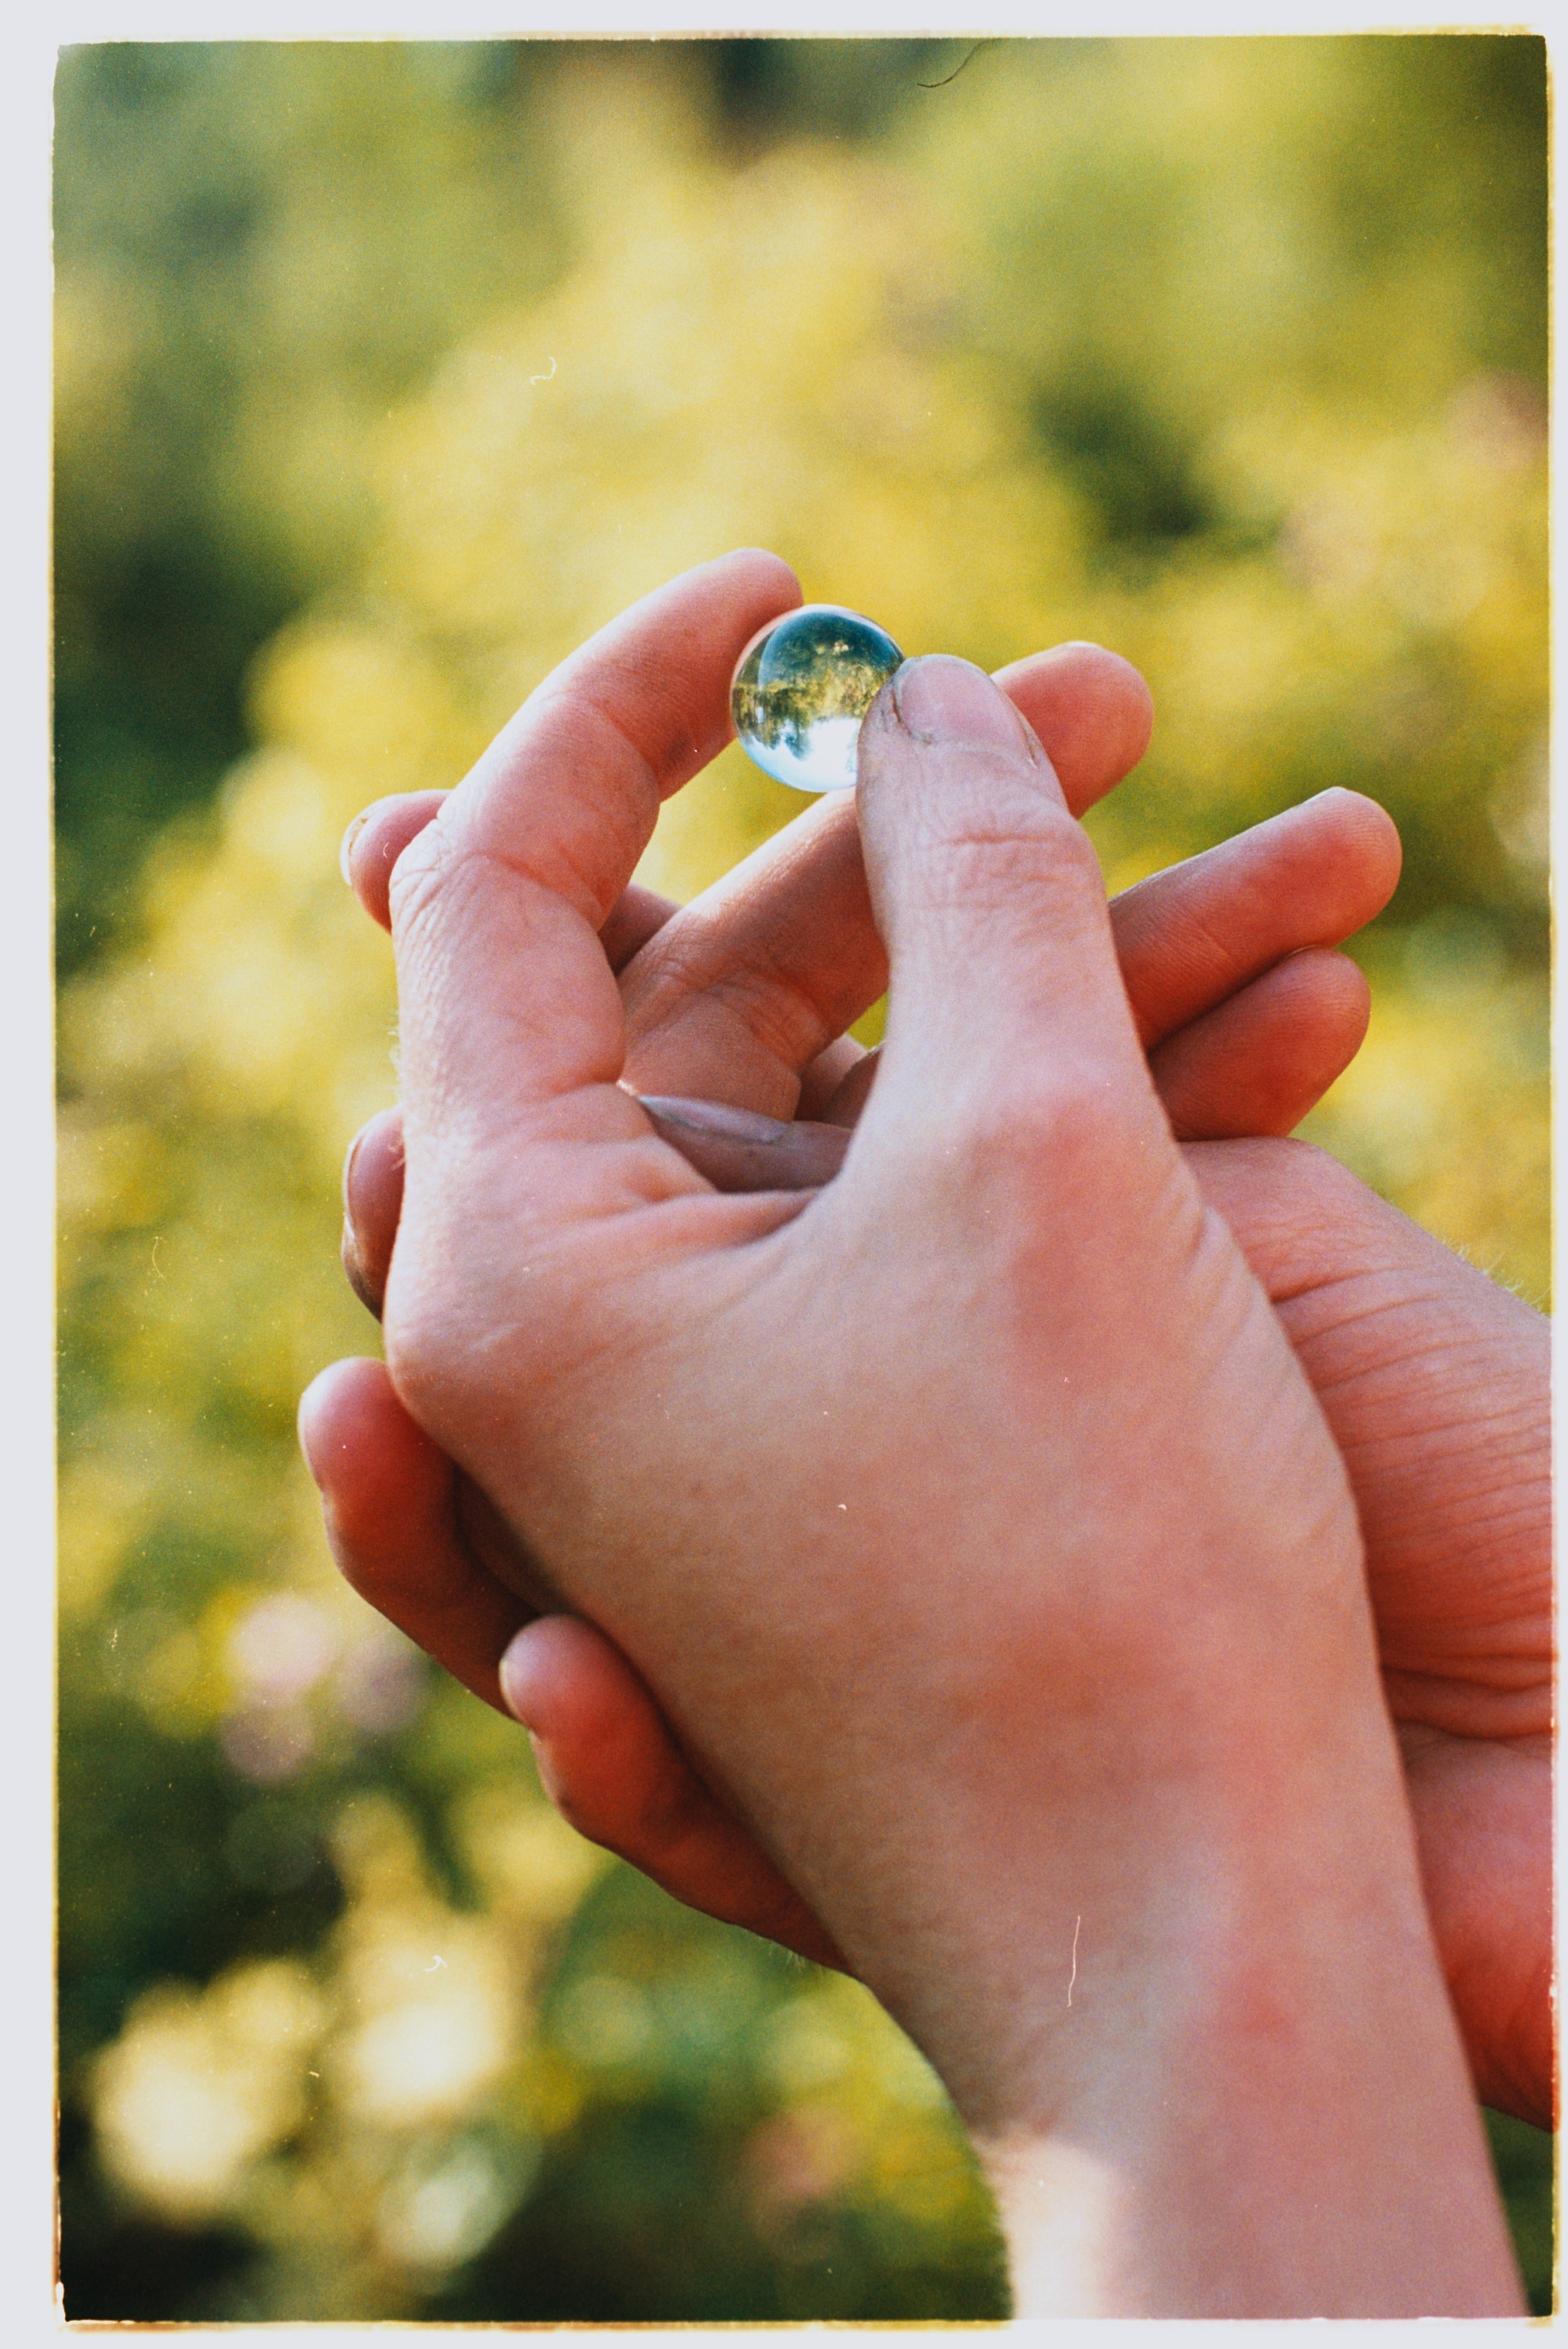
Hello! first time poster! I usually use darktable for editing dslr scanned negatives, and I’m curious to pick up some techniques from others! I’m especially curious about sharpening. I’ve mostly just used the d & s lens deblur presets, and wonder how i can get better more fine tuned sharpening while avoiding crunchy grain.
The negative is scanned with a dichroic head as light source, with filtration applied to compensate for the orange mask before the image hits the sensor – so if you’re used to inverting negatives, the usual orange mask compensation should not be necessary.
Thank you! I’ve not used narrow band rgb leds before specifically, so i can’t really say I’ve actually chosen one over the other. My experience is that when compensating for the orange mask before it hits the sensor, i have more headroom for pushing the colors where i want. Without the compensation, the red and green channel get squished way higher than the blue channel. It probably doesn’t matter that much in the end, given the dynamic range of modern cameras vs film, but i feel like i get a more sane starting point at least. There’s also this article (although it seems to be a at least a bit AI-formatted) that claims that dichroic light sources often is preferred by museum archivists:
After tripping up multiple times trying to get Negadoctor settings right, I have something normal. Maybe I should use something other than ‘camera reference’ for the white balance module here?
I was focussed on the skin. Had to nudge it towards orange with colour calibration. Did capture sharpening adjustment, then did the ‘sharpen demosaicing, no AA’ preset on DorS with a mask for details only. Then did a custom DorS setting to get some more local contrast in the skin. 4th order speed counteracts noise accentuated in the smooth areas by 3rd order speed. I didn’t try any more creative things.
exactly the kind of tip i was looking for, thank you!
DorS is hard to wrap my brain around, and it being so slow to render makes messing with the sliders to try to understand how they work, just really confusing
The details slider is secret sauce I got from @Popanz
I should add, I make the 4th order ‘direction’ positive to target smoother areas (reducing noise), and 3rd order ‘direction’ negative to target the edges.
Oh, and it took a while before I read that 1st and 2nd order are actually the same size scale, and 3rd and 4th order are the same size!
I am not really happy with my edit. I felt removing the orange mask made the job more difficult. When I was trained as a photographic printer by a photographic chemist he explained the orange mask has an important role in balancing the colors in the films emulsion. Negadoctor in Darktable is expecting this orange mask and the lack of it made it more challenging to invert. I suspect the dichroic head would be a fine light source for the task, but I wouldn’t dial any filters in for the next attempt.
Also film scanners with an infrared channel can remove much of the dust and spots on negative scans. When using a camera you get a lot of unwanted spots that need removing. I wonder if anyone here who can suggest a FOSS approach to fix this problem. I certainly know some AI models would tackle this issue easily, but since this forum is strictly FOSS is there any solutions on offer? img-c324e07afb5a749e479ebab661bc15fd_01.nef.xmp (9.9 KB)
Re Orange substrate: I think, given the filter, we set negadoctor film base to the whitest point on the negative (the darkest after you turn it on module). But I am not a negadoctor expert. Maybe someone who does this a lot can chime in.
One issue I cant resolve in negadoctor is the purple-tinged thumb and fingers on the back hand. Every image in the thread has it so some extent. Maybe the person was shelling peas (or has a medical condition)? I cant recall ever seeing that on other film conversions. It could be the white balance, or it could be that the filters are good ballparks on RA4 but do weird things on Bayer sensors?
Here is a more straight edit using negadoctor but not adding AgX or lots of color controls. I did add a touch of contrast, saturation, and sharpening.
printed on kadak ultra endura using vkdt’s spektrafilm module. played with magenta and yellow enlarger filters to taste (mostly making the edges some eyeballed D50 warm white). leaves some greenish indirect bounce on the skin which i think is plausible. did not attempt to sharpen the beautiful actual film grain.
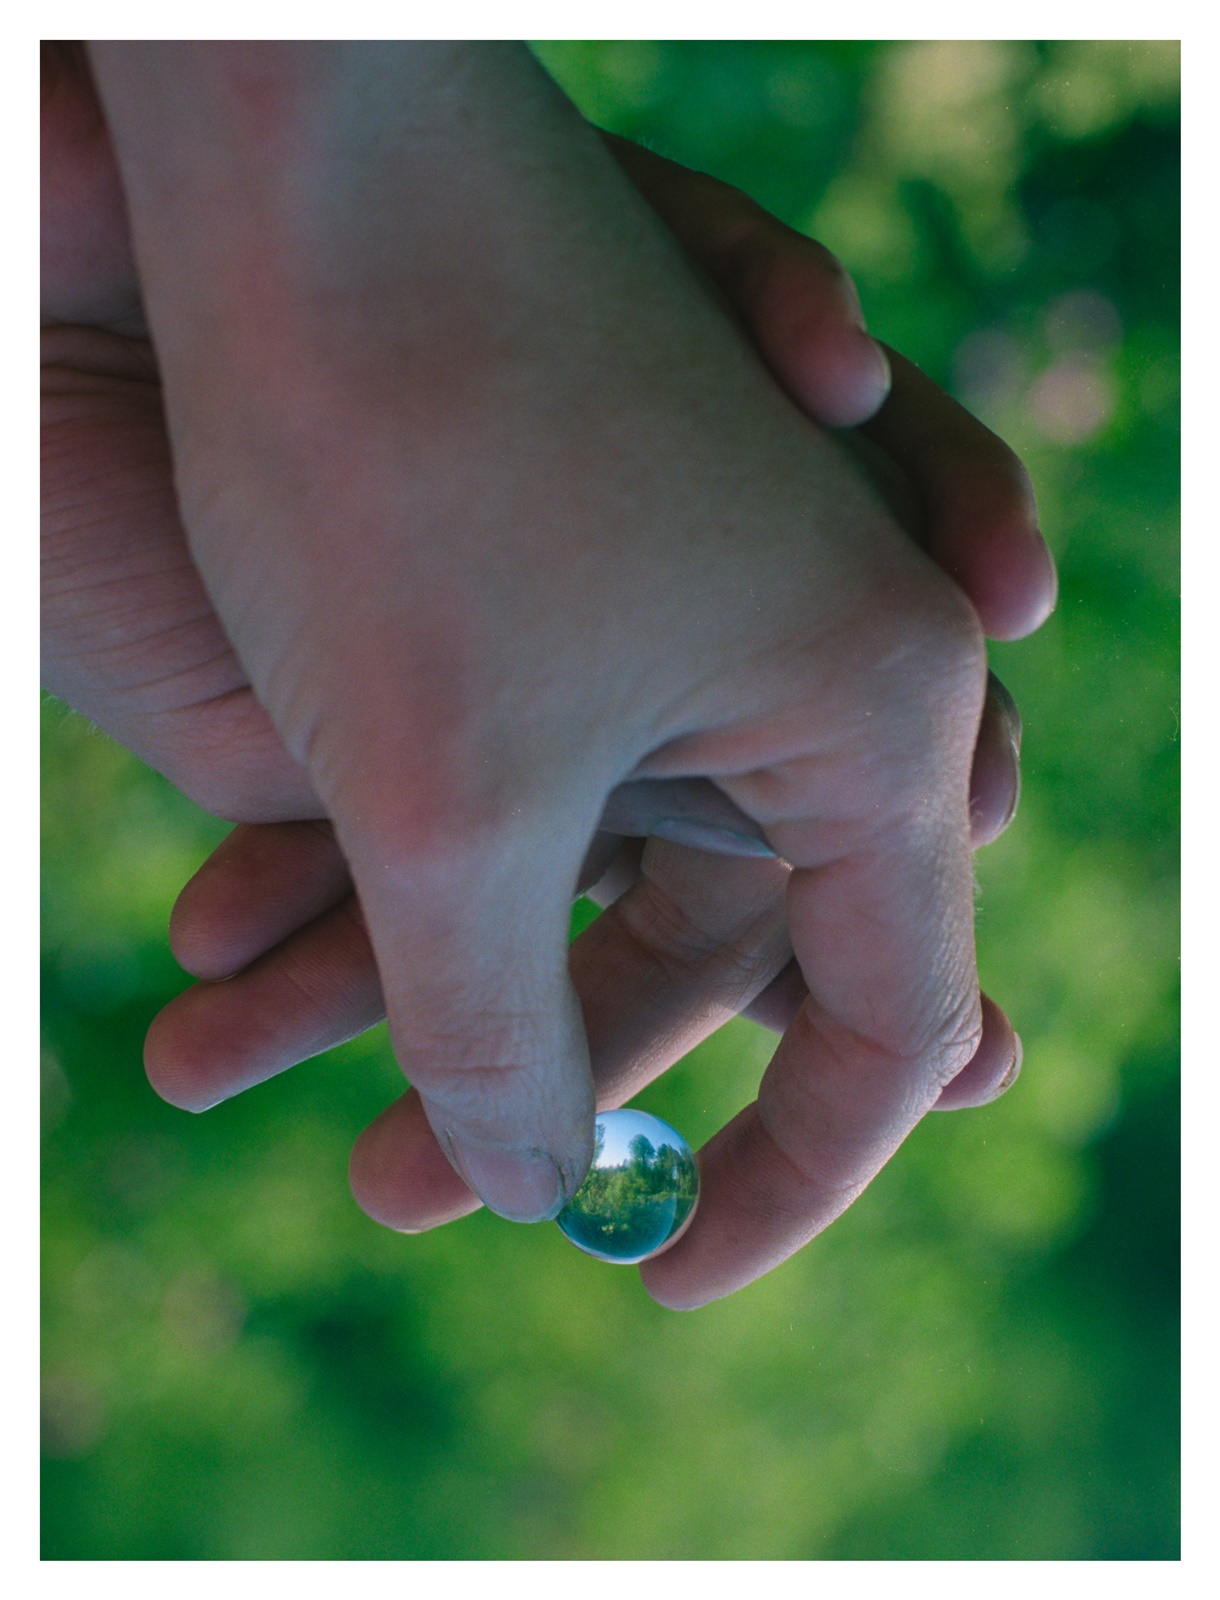
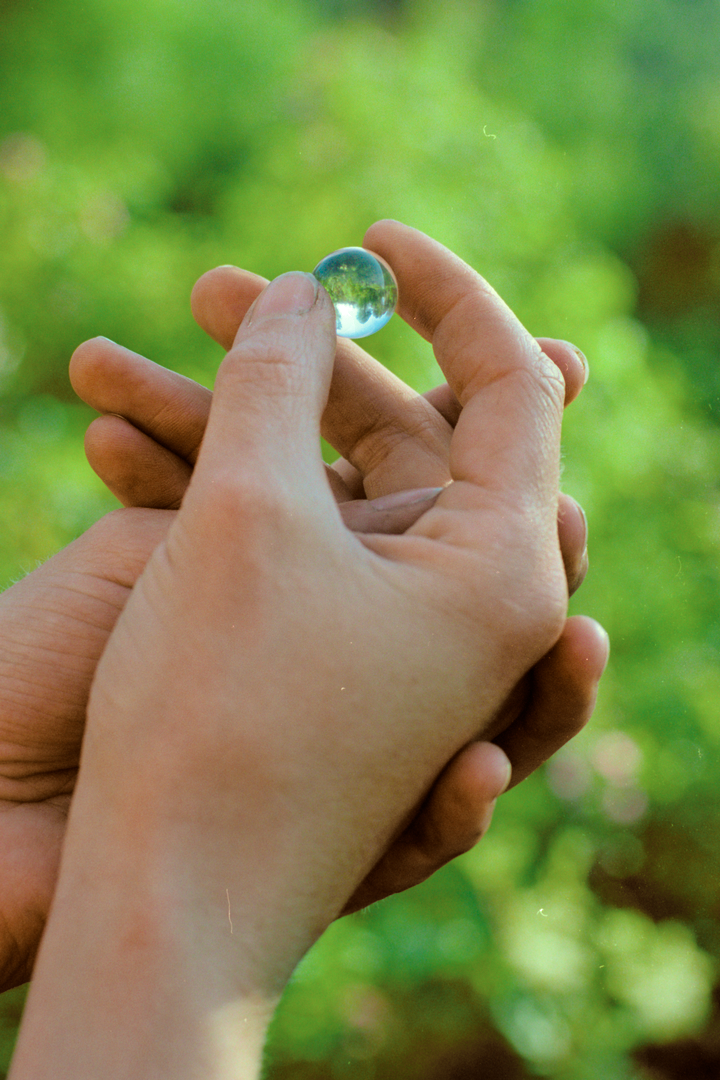
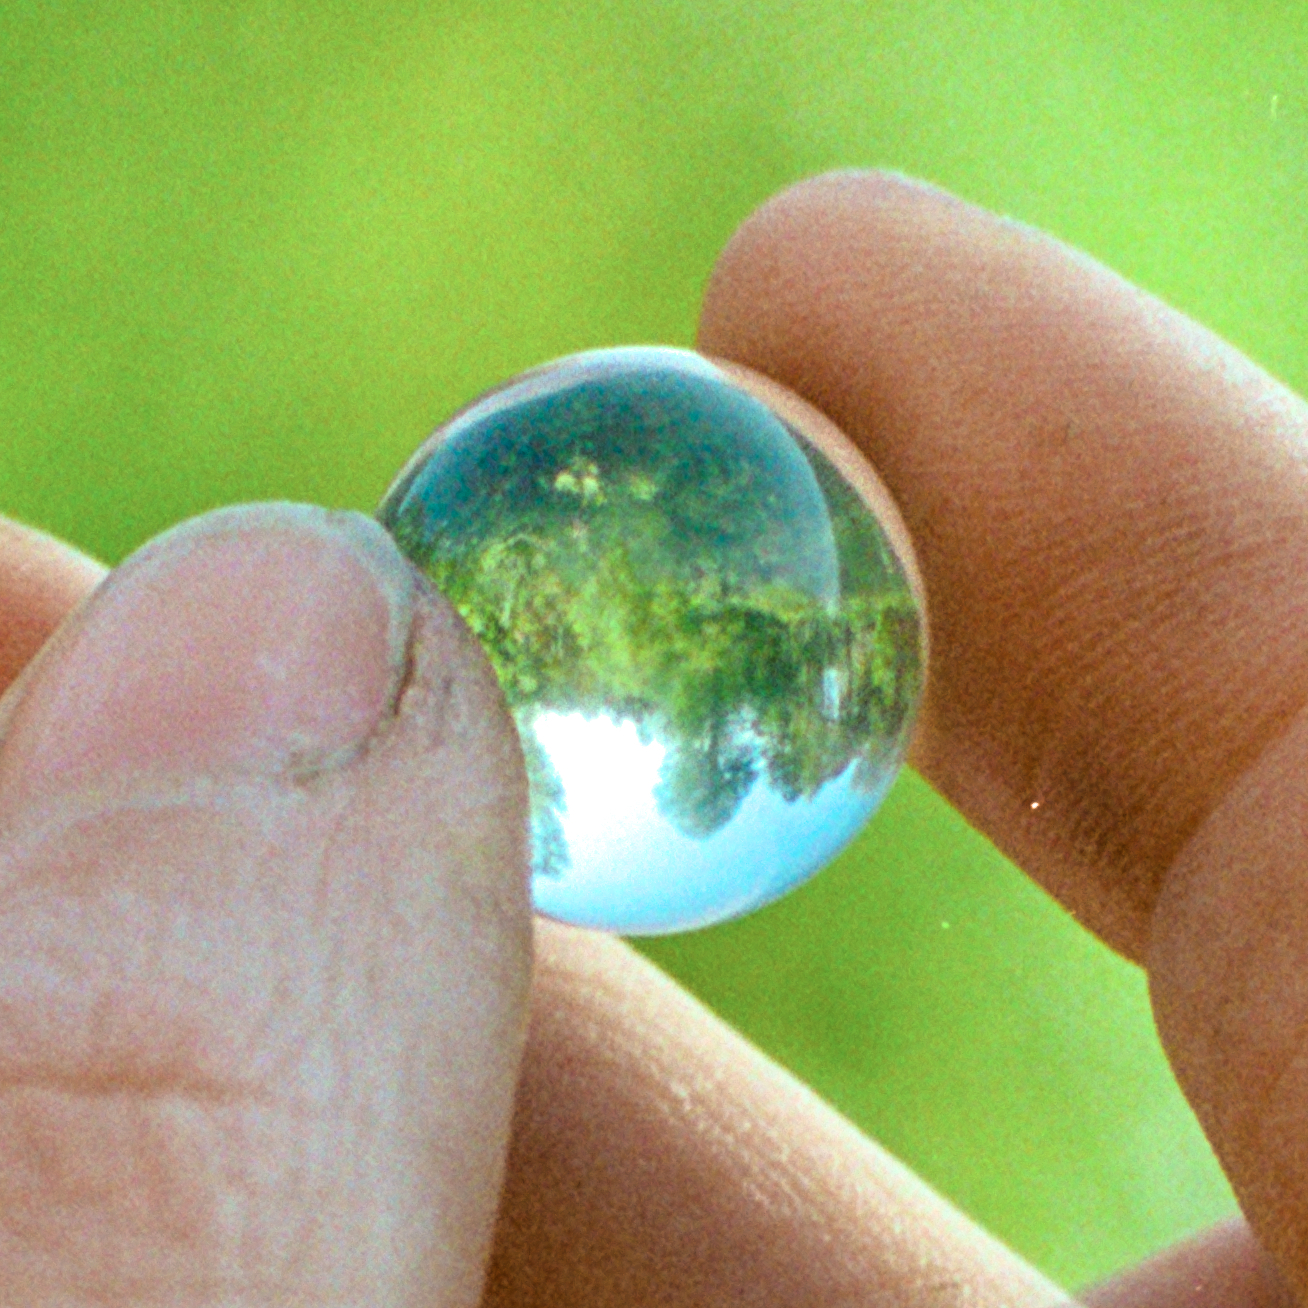
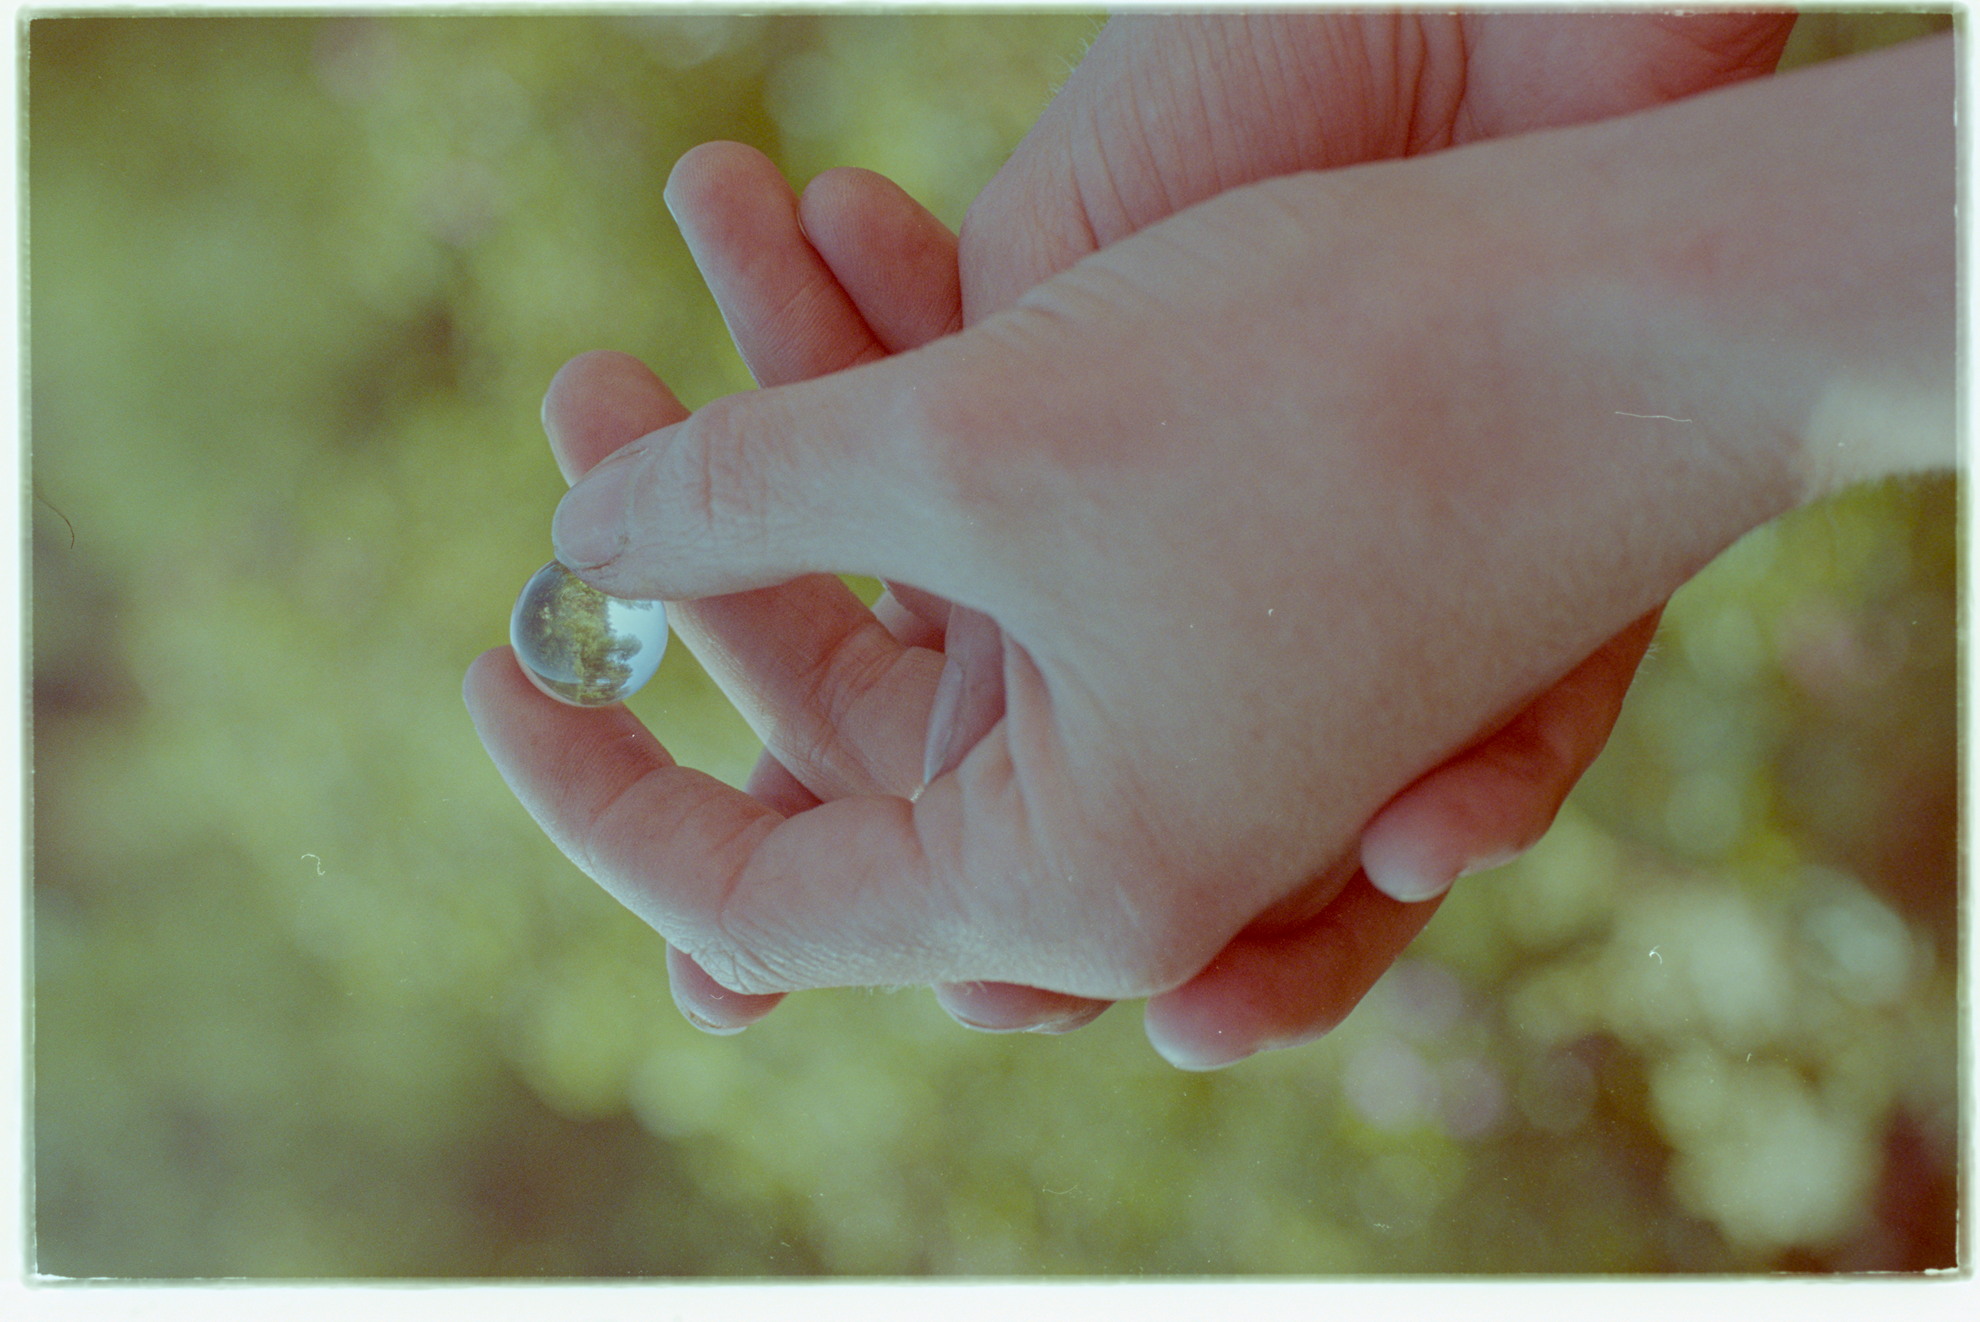
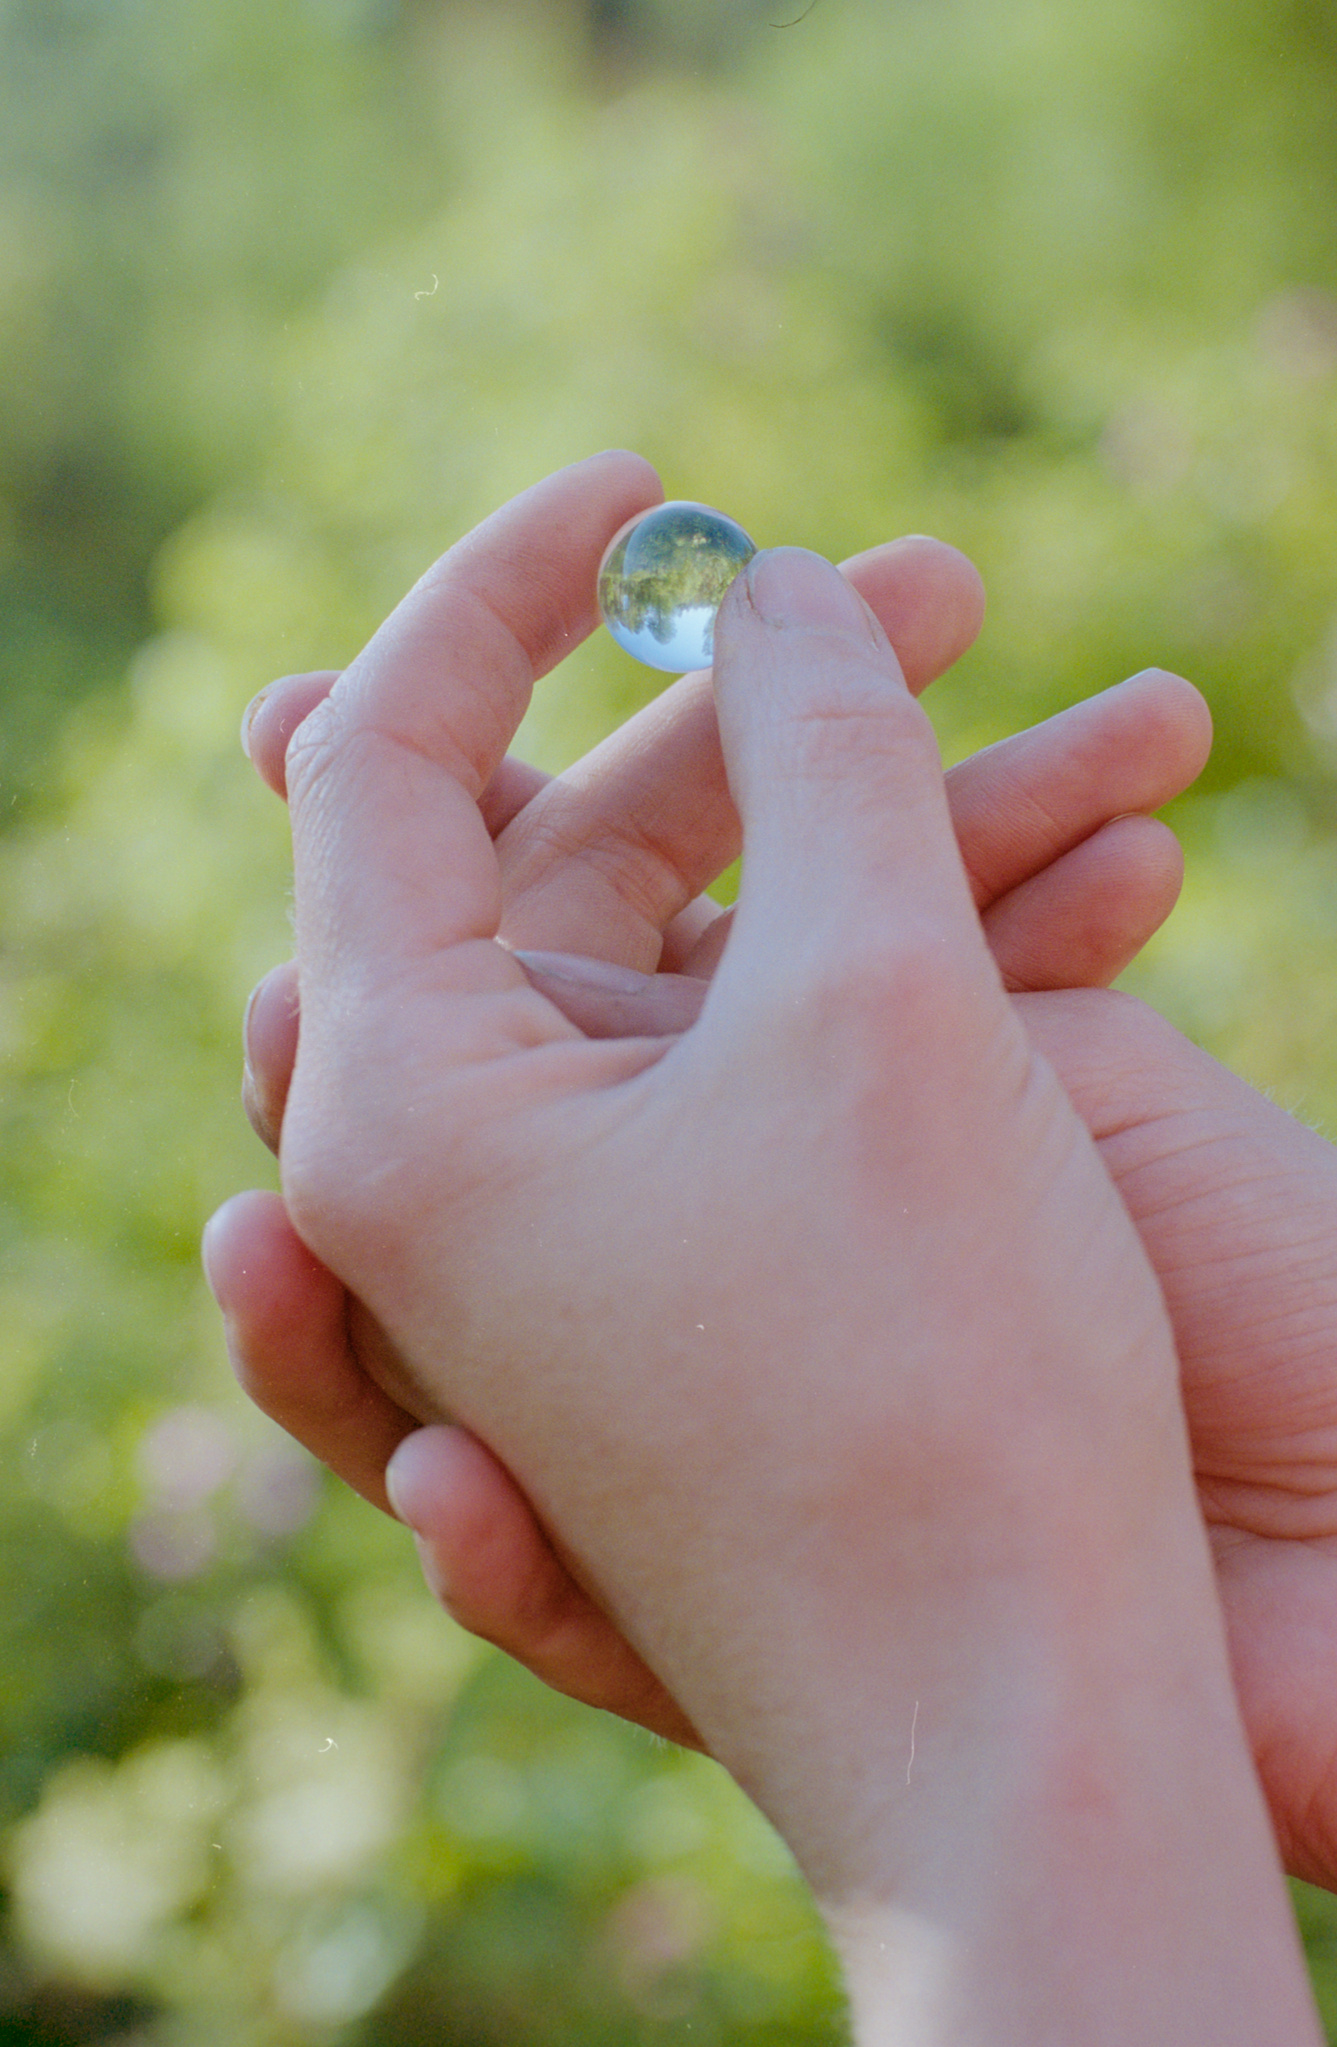
 Careful with the sky in the marble it’s a bit clipped in yours I think.