Pretty good, thanks! Noisy, but I guess that’s intentional. The green light, about halfway between the word ‘Auzelg’ and the Yamaha sign looks strange, though.
My humble attempt, I used RawTherapee 5.8
Focused on retrieving the tram number, crop is also used in order to eliminate other distraction from the main object of the photo.
P1050600-1.jpg.out.pp3 (12.1 KB)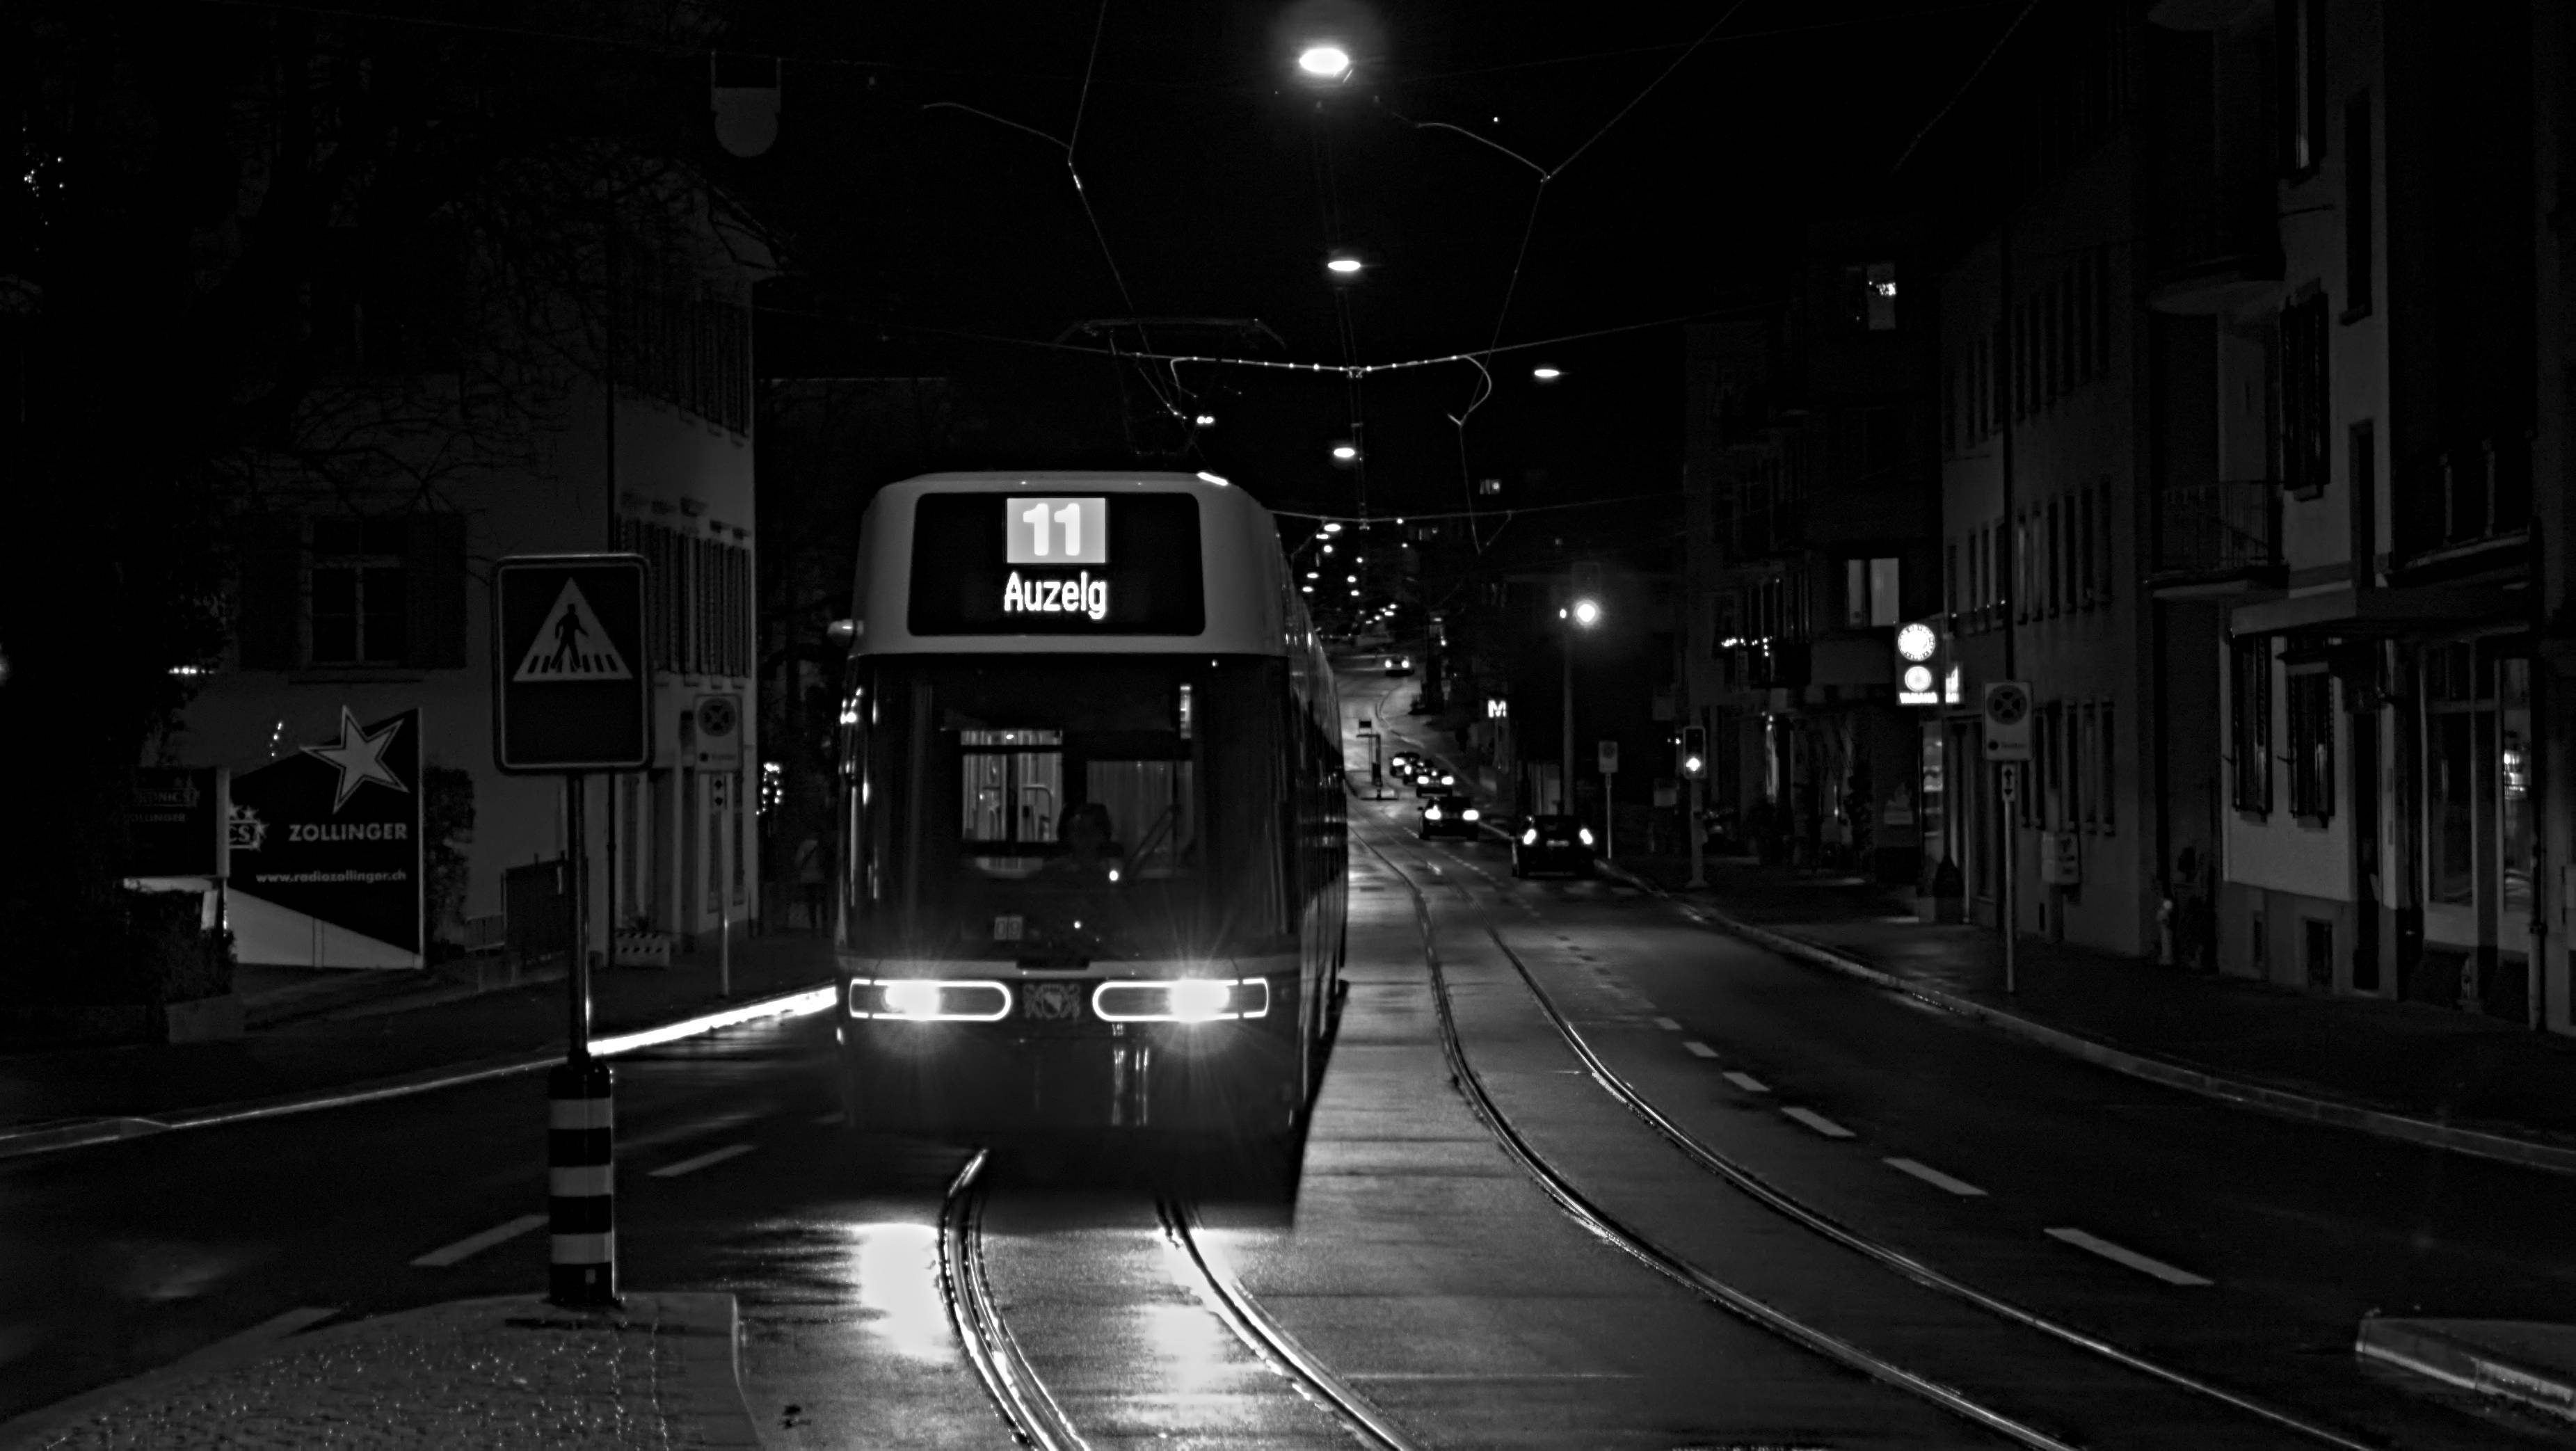
1 Like
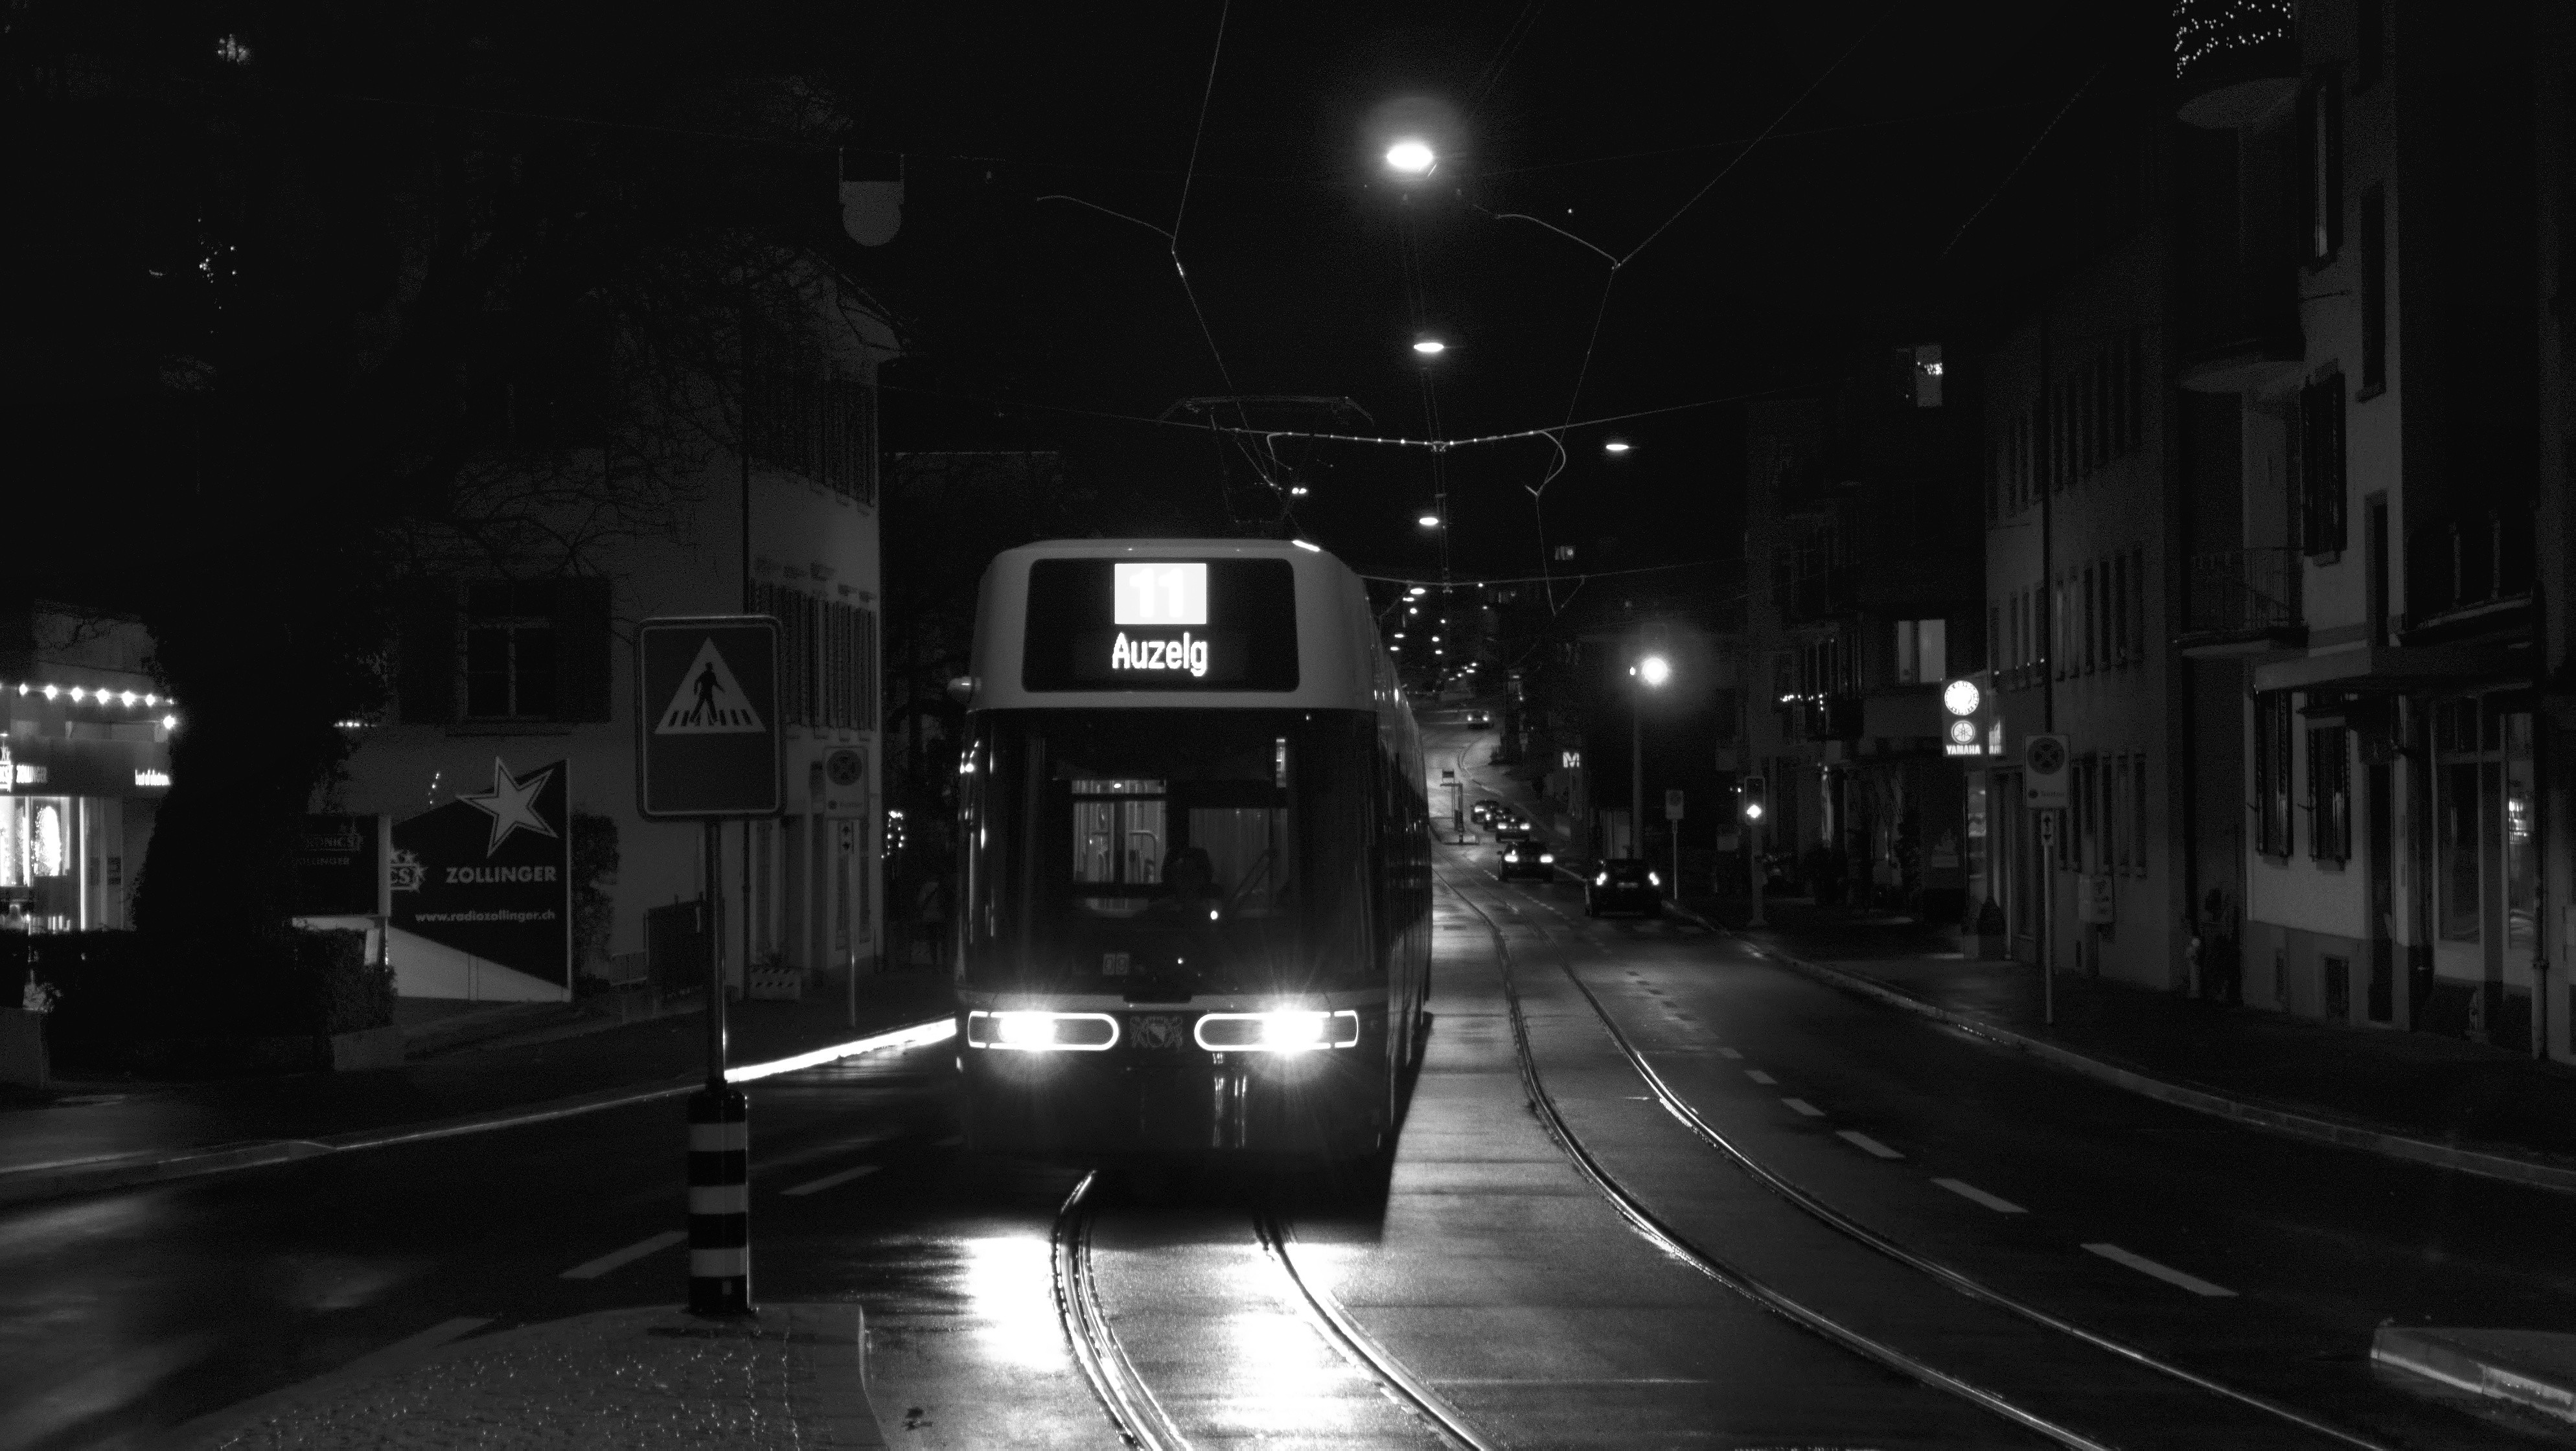
Very nice, clean rendering, thanks!
P1050600.RW2.jpg.out.pp3 (12.0 KB)
@kofa Mask it with color calibration and turn down equally the brightness of the green and blue…color picker shows 170 260 255 so dropping them equally you can get something like this …just need to mask it… 
1 Like
Nice work figuring that out.
I am sure you can do much better by also playing with the colorfulness or using the channel mixer…so I am not sure if this is anywhere near the correct color but you could bring it out using those tools for sure…

2 Likes
I actually ended up going less blue darkening so as not to lose the color in the road sign so a little more green and less blue darkening seemed to work …but not having been there I am sure its not authentic but the sign on the bus does standout…
I was following through your xmp, but when I got to the change in demosaic, I got these six magenta artifacts:

So I started with a clean raw and discovered it’s the use of match greens local average; using full average alone doesn’t do it. Local alone or full and local do. Since it would seem you didn’t get them, I am very puzzled.
I’ll check just set at default on my end I believe
@Underexposed: I’ve noticed this behaviour before, repeatedly.
When you have very dark (almost black) areas (think night/overall dark images) and use full and local average for match greens there’s a reasonable big chance that you end up with artefacts. As far as I can tell it is independent of the colour smoothing setting.
The new RCD method is the only one that does not seem to create them, but that is based on just a very small amount of tests I did, it being rather new in darktable.
? Sorry, not up-to-date on the lingo.
Sorry about that. If I use darktable I use the latest development version and that one has a demosaic method called RCD. Just checked and it is new and not yet part of 3.4…
The methods available in 3.4 (AMaZE, PPG and VNG4) all show the behaviour you described. The new one does not.
I will have to download your file again I think I deleted it…for my files this is the default and I have only changed it a few times ever…
I get the same results with your xmp as @Underexposed: A handful of artefacts. As mentioned before: full and local average for match greens and very dark/black don’t go well together.
Not sure what the defaults are supposed to be but that is what I get with 3.4 as a default when I open a raw file…even though if I reset the module I get this…
EDIT: Interesting…at some point I have this setting with amaze as an auto applied setting…I don’t recall ever doing that unless it was when I was setting filmic to use Amaze as that was suggested early on when filmic came out…the things you are unaware of??
The out-of-the-box defaults are what’s shown in your post: PPG (fast) etc.
Which method to use depends on a few factors, but for the best results and assuming you are going to produces large(r) images (or prints!) you can use the following rule of thumb (with darktable in mind):
- AMaZE should be used for images that have high frequency details. Grass, rusty surface, feathers. Stuff like that.
- VNG4 is best for large smoother areas. A blue sky would be an example.
The best method would be a mix of the two, but darktable doesn’t have that possibility. The new RCD method, not yet in 3.4 though, might be a very good alternative.
If one is producing small(er) images for the web then PPG fast will do.
@Andy_Astbury1 made a very informative video about this: Demosaicing Algorithms & Capture Sharpening. It is a RawTherpee specific video but definitely worth the watch to give you a better understanding about how, why and when.
Are you sure the ‘match greens’ is needed? Whenever I tried it, it always just made the images worse. darktable 3.4 user manual - demosaic says ‘In some cameras the green filters have slightly varying properties. This parameter adds an additional equalization step to suppress artifacts’, and I seem to recall that I read somewhere this was an option for early digital cameras.
My (starting) preset for darktable is AMaZE / 2 times / disabled.
When I work on landscape (read: lots of different greens) images I do test out the match greens options, but never the full and local average. You do need to pixel-peep…
My experience: Most of the time you do not see a difference and it isn’t needed. And as the above example shows, it can cause artefacts when wrongly used.