Hello everyone, first post here 
I am a keen DarkTable user, I have been using it for over 5 years. Recently, however, I bought a Panasonic G9 and ever since I struggled with DarkTable.
Firstly, images look very dark and I need to apply between 1 and 2 EV almost always to get to a decent starting point. I know this has been discussed countless times, and I don’t want to start another lengthy discussion about filmic, scene-referred workflow, etc. I can live with this issue.
However, when it comes to white balance and colour rendition, I really struggle to get decent pictures. I’m going to show an example below.
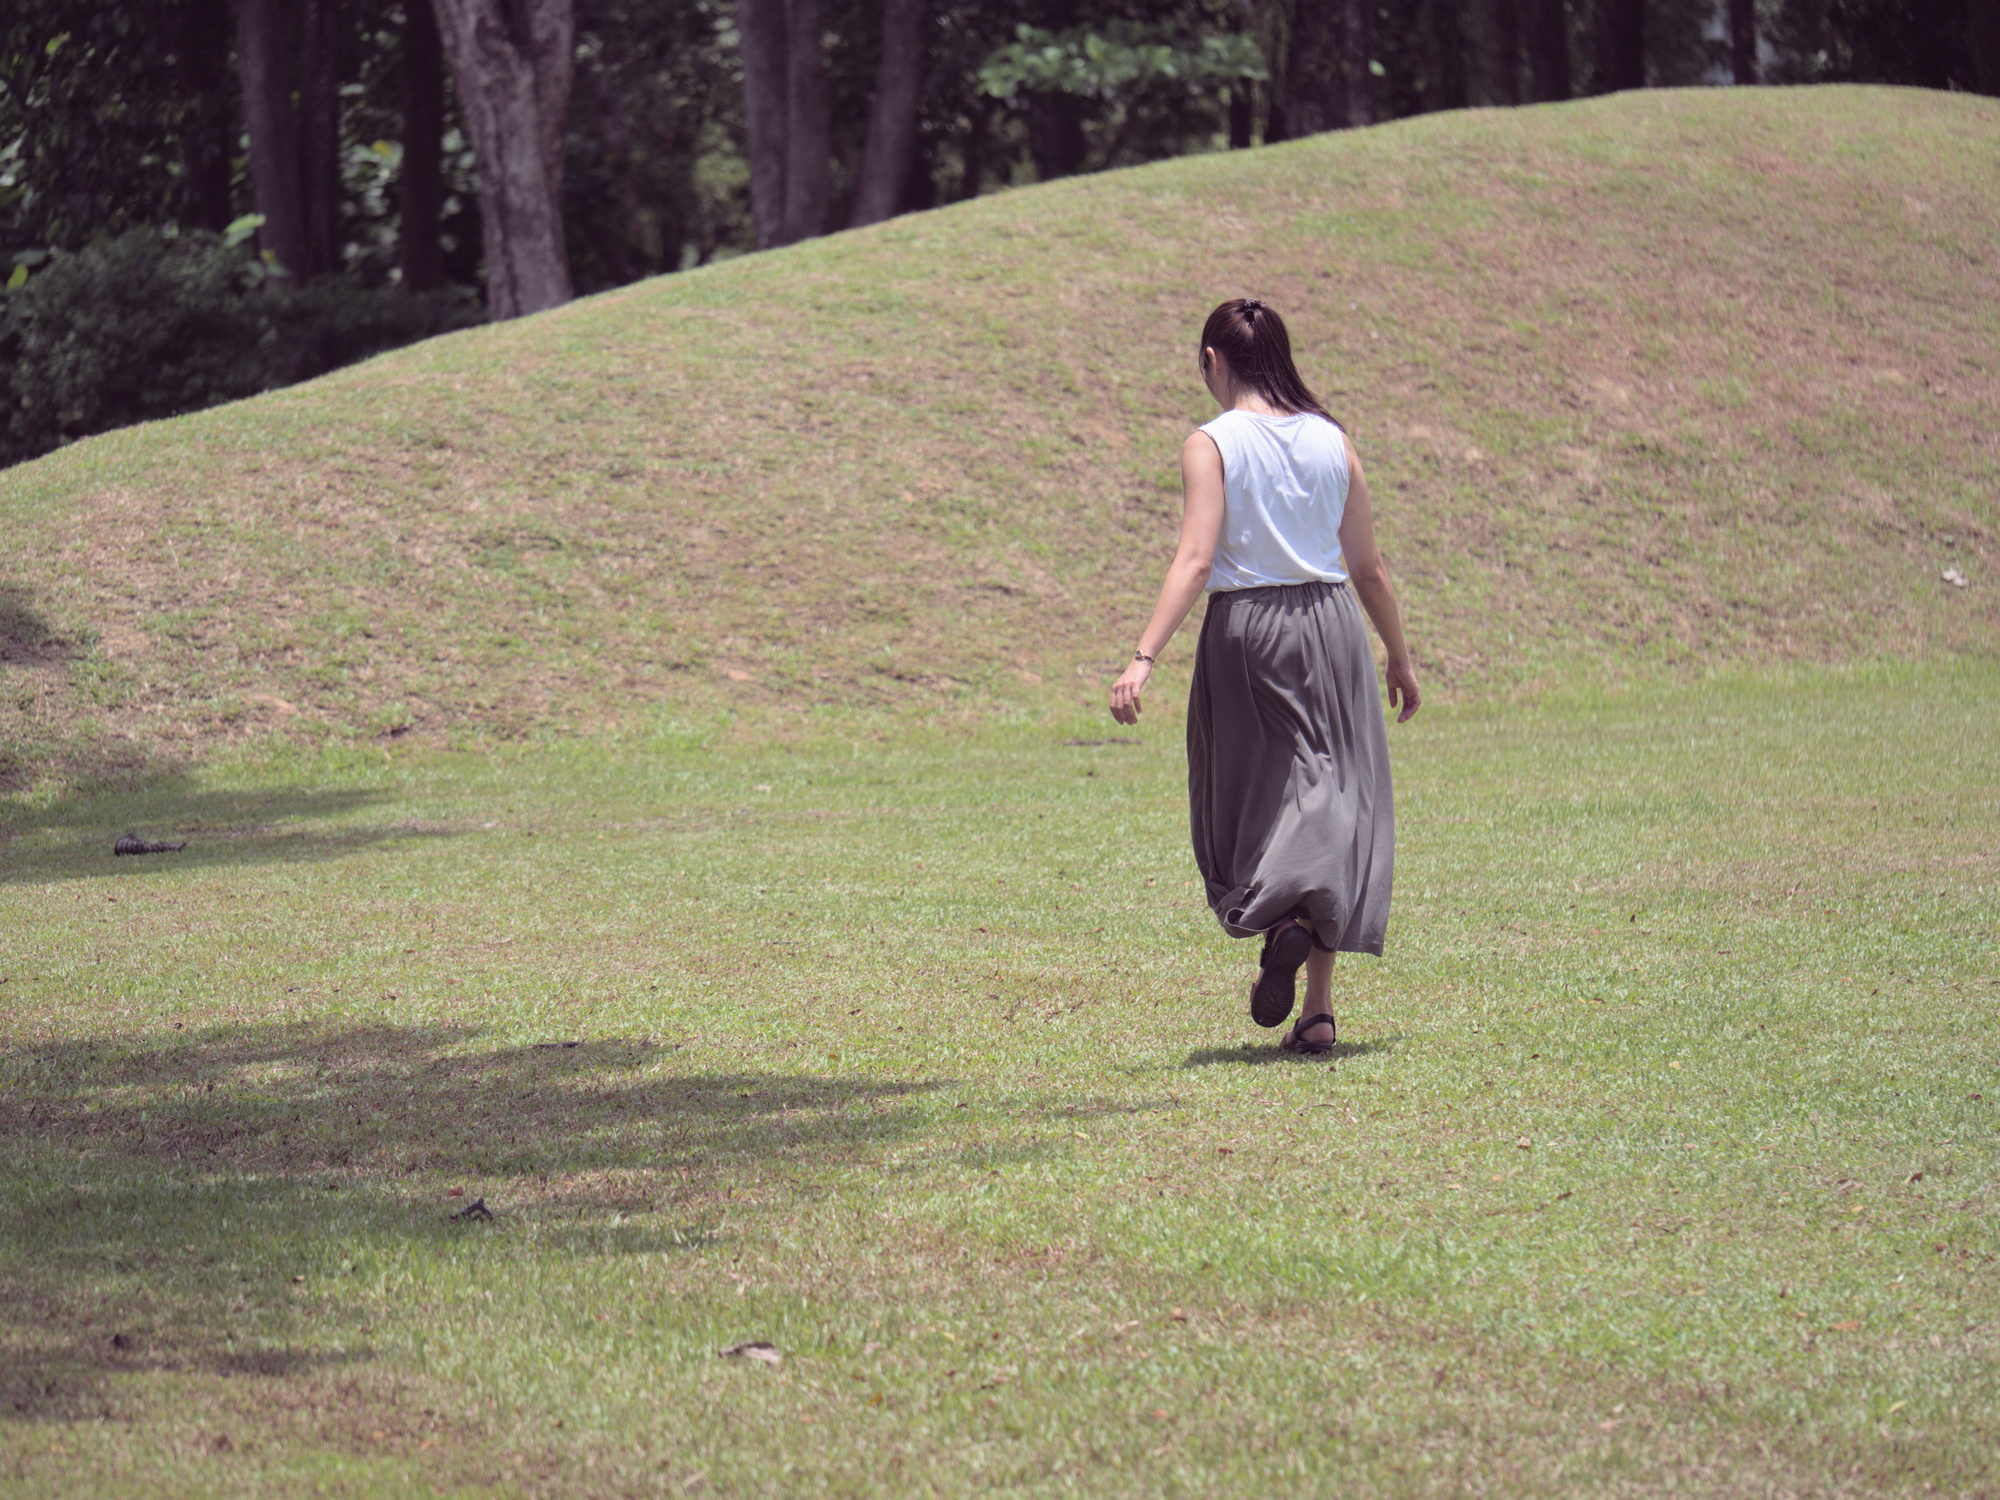
DarkTable output
Unedited

This is how the picture comes after the standard pre-processing applied by default with the scene-referred workflow. Very dull, let’s fix exposure and black/white points with filmic now.
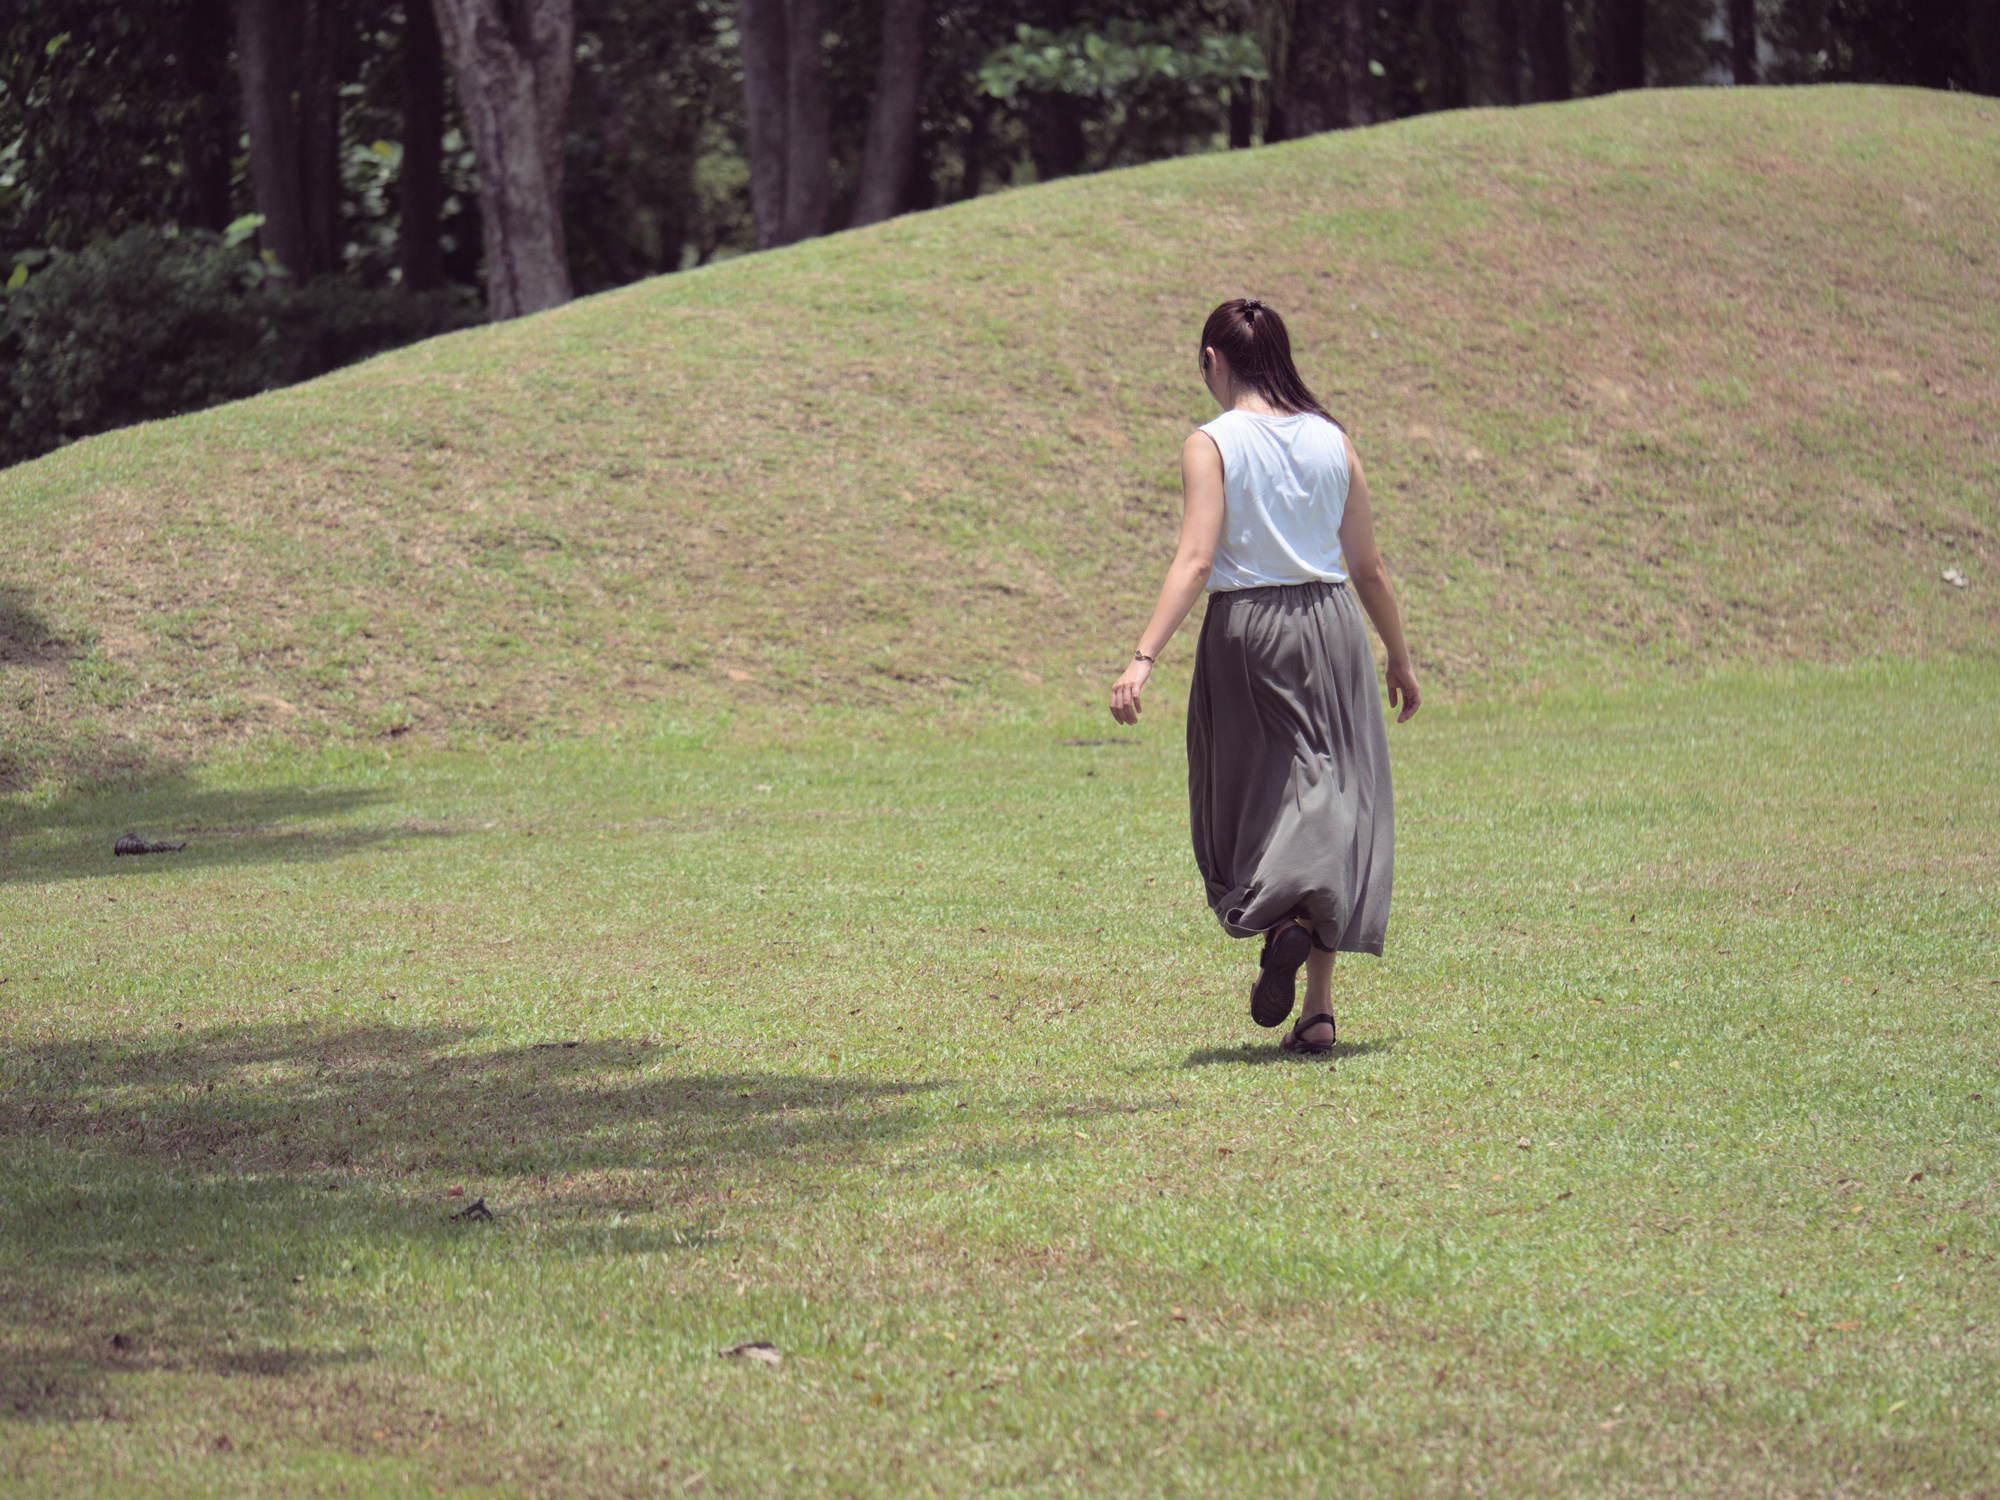
Tone adjustments, default white balance, colour calibration (invalid illuminant)
This was a quick edit where I only touched the exposure and filmic module. White balance and colour calibration were not touched. White balance was set to camera reference, whereas colour calibration’s illuminant was invalid. This is probably why colours are so off, with a sort of magenta cast.
It’s odd that DarkTable didn’t manage to get the right illuminant, but let’s fix that. Let’s set the illuminant to daylight
Tone adjustments, default white balance, colour calibration (daylight illuminant)
It looks a bit better now, but still not good in my opinion. Let’s now try to use the camera’s white balances
Tone adjustments, white balance as shot, colour calibration (same as pipeline, D50)
(can’t upload more than 4 pictures since I’m a new user, imagine a similar picture here )
Here I set the colour calibration illuminant to same as pipeline d50) and white balance as shot. This looks a tiny bit better, but in general I’m not pleased with the results. Finally, for a reference, here is how RawTherapee processes the image by default (I only applied the dynamic range compression, with default values)
RawTherapee default output (with dynamic range compression)

I would still tweak the image a bit, but I’m very pleased with RawTherapee’s default processing, it is much closer to the original scene and the camera’s JPEG.
Discussion
Now, I’m aware RawTherapee does a lot more than DarkTable by default. I know DarkTable’s philosophy is different in that it lets the user be in control. I like that, but the problem is that more often than not the starting point for me is abysmal. Sure, I can calibrate the white balance and do the necessary edits to make DarkTable’s colours look the way I want, but imagine having to adjust the white balance for every single image. It just makes editing not fun for me.
To me, there’s clearly something wrong between Panasonic and Darktable. Before the G9, I had a Canon 5D classic and I didn’t have such big issues with colours. I also tried to tweak input colours, demosaic algorithms and whatnot, I almost always get bad colours at the start.
Does anybody have the same problem? I played a little bit with RawTherapee re-editing a few pictures. I was blown away by how different the outputs are. RawTherapee’s default are pretty much spot-on, whereas DarkTable gives me a hard time even with a lot of processing.
Important note. I face this problem especially in daylight scenes or scenes with a warm light source. Colder scenes suffer much less from this issue.
Thanks for reading!


