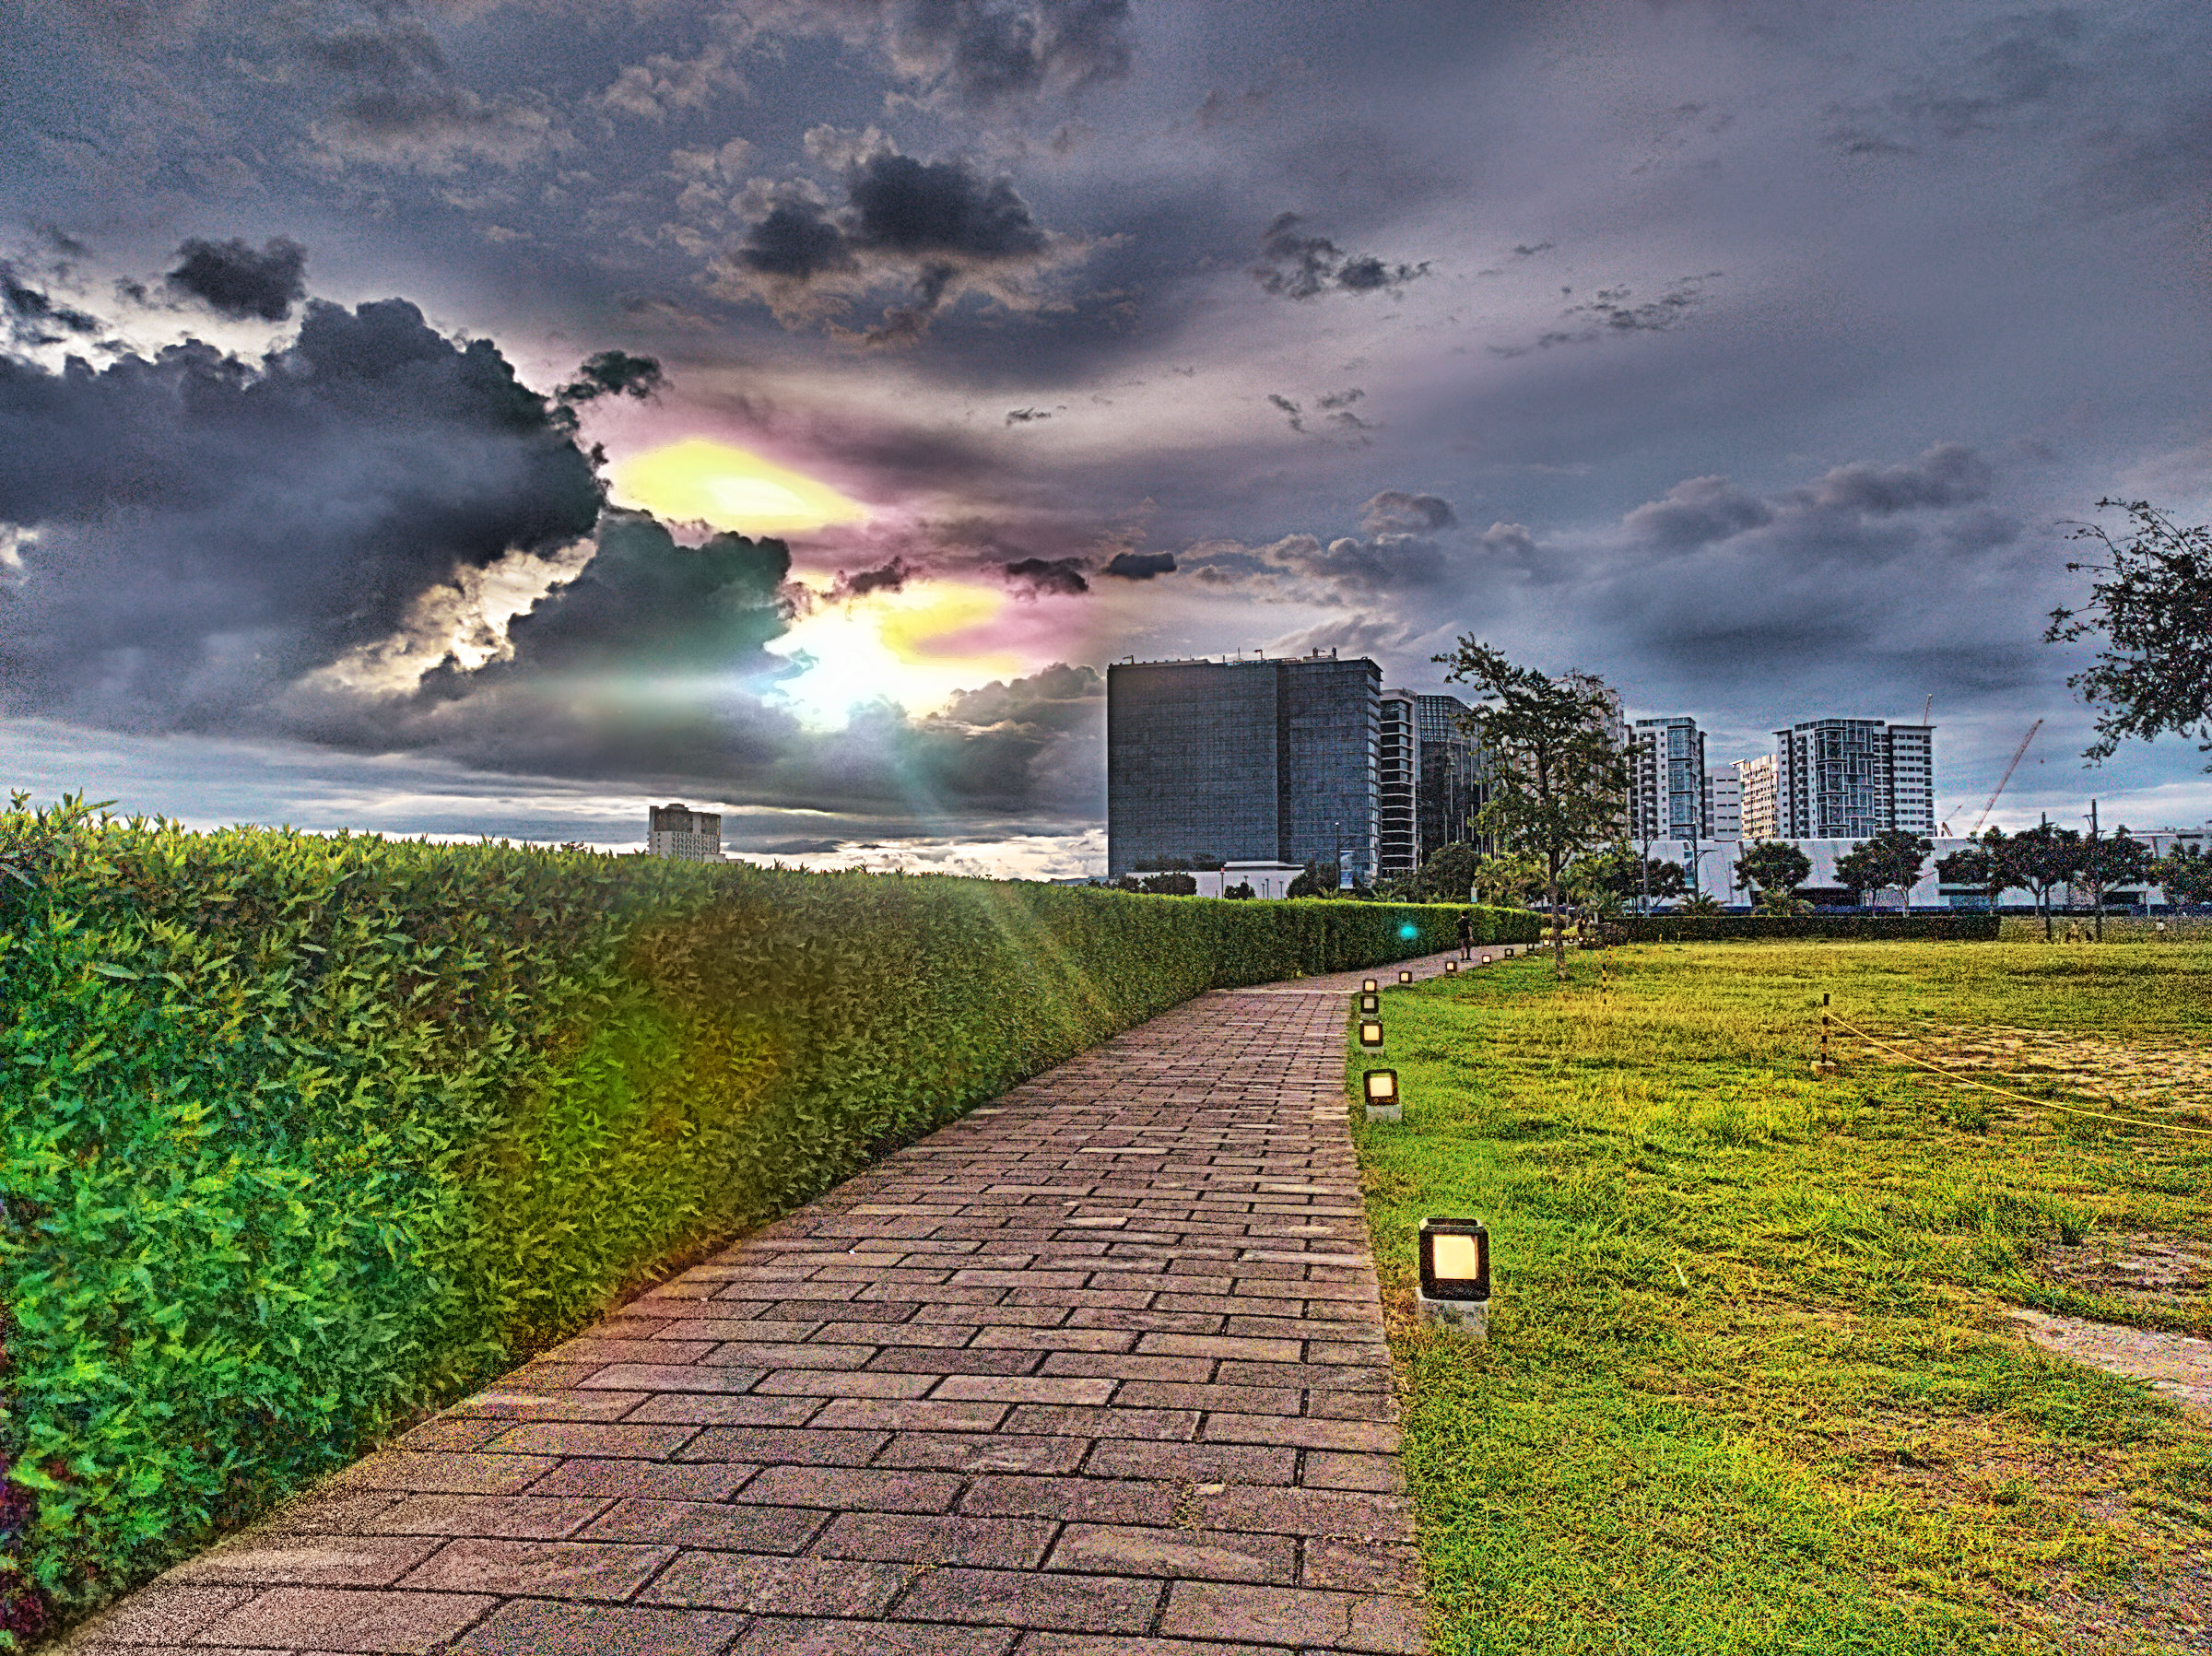
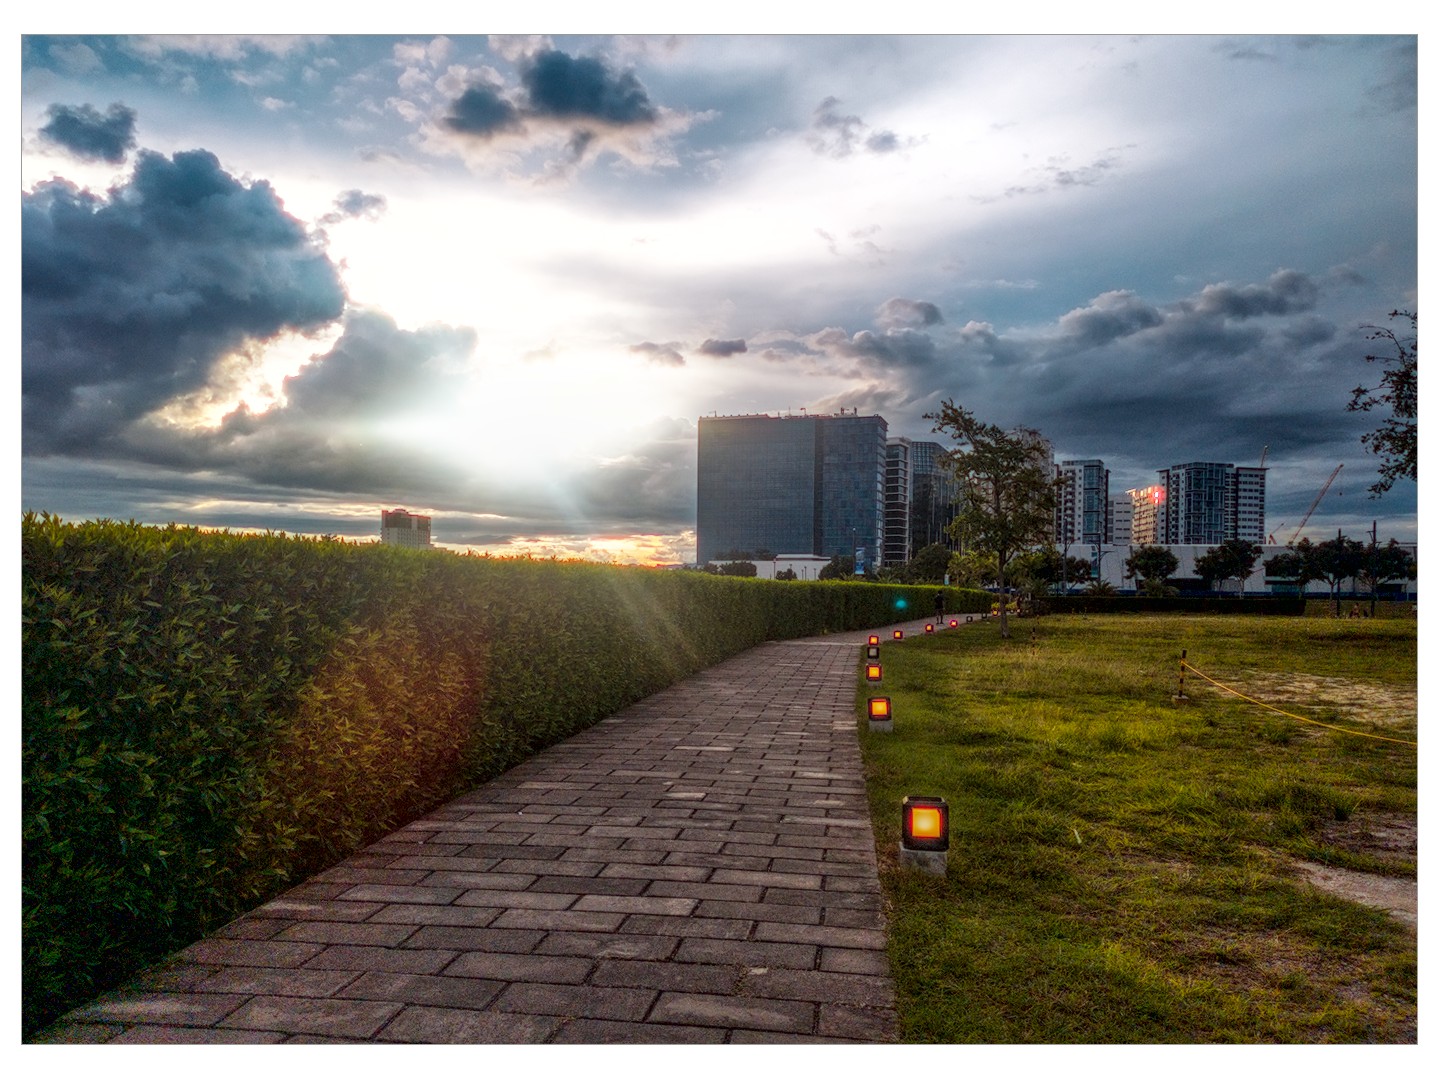
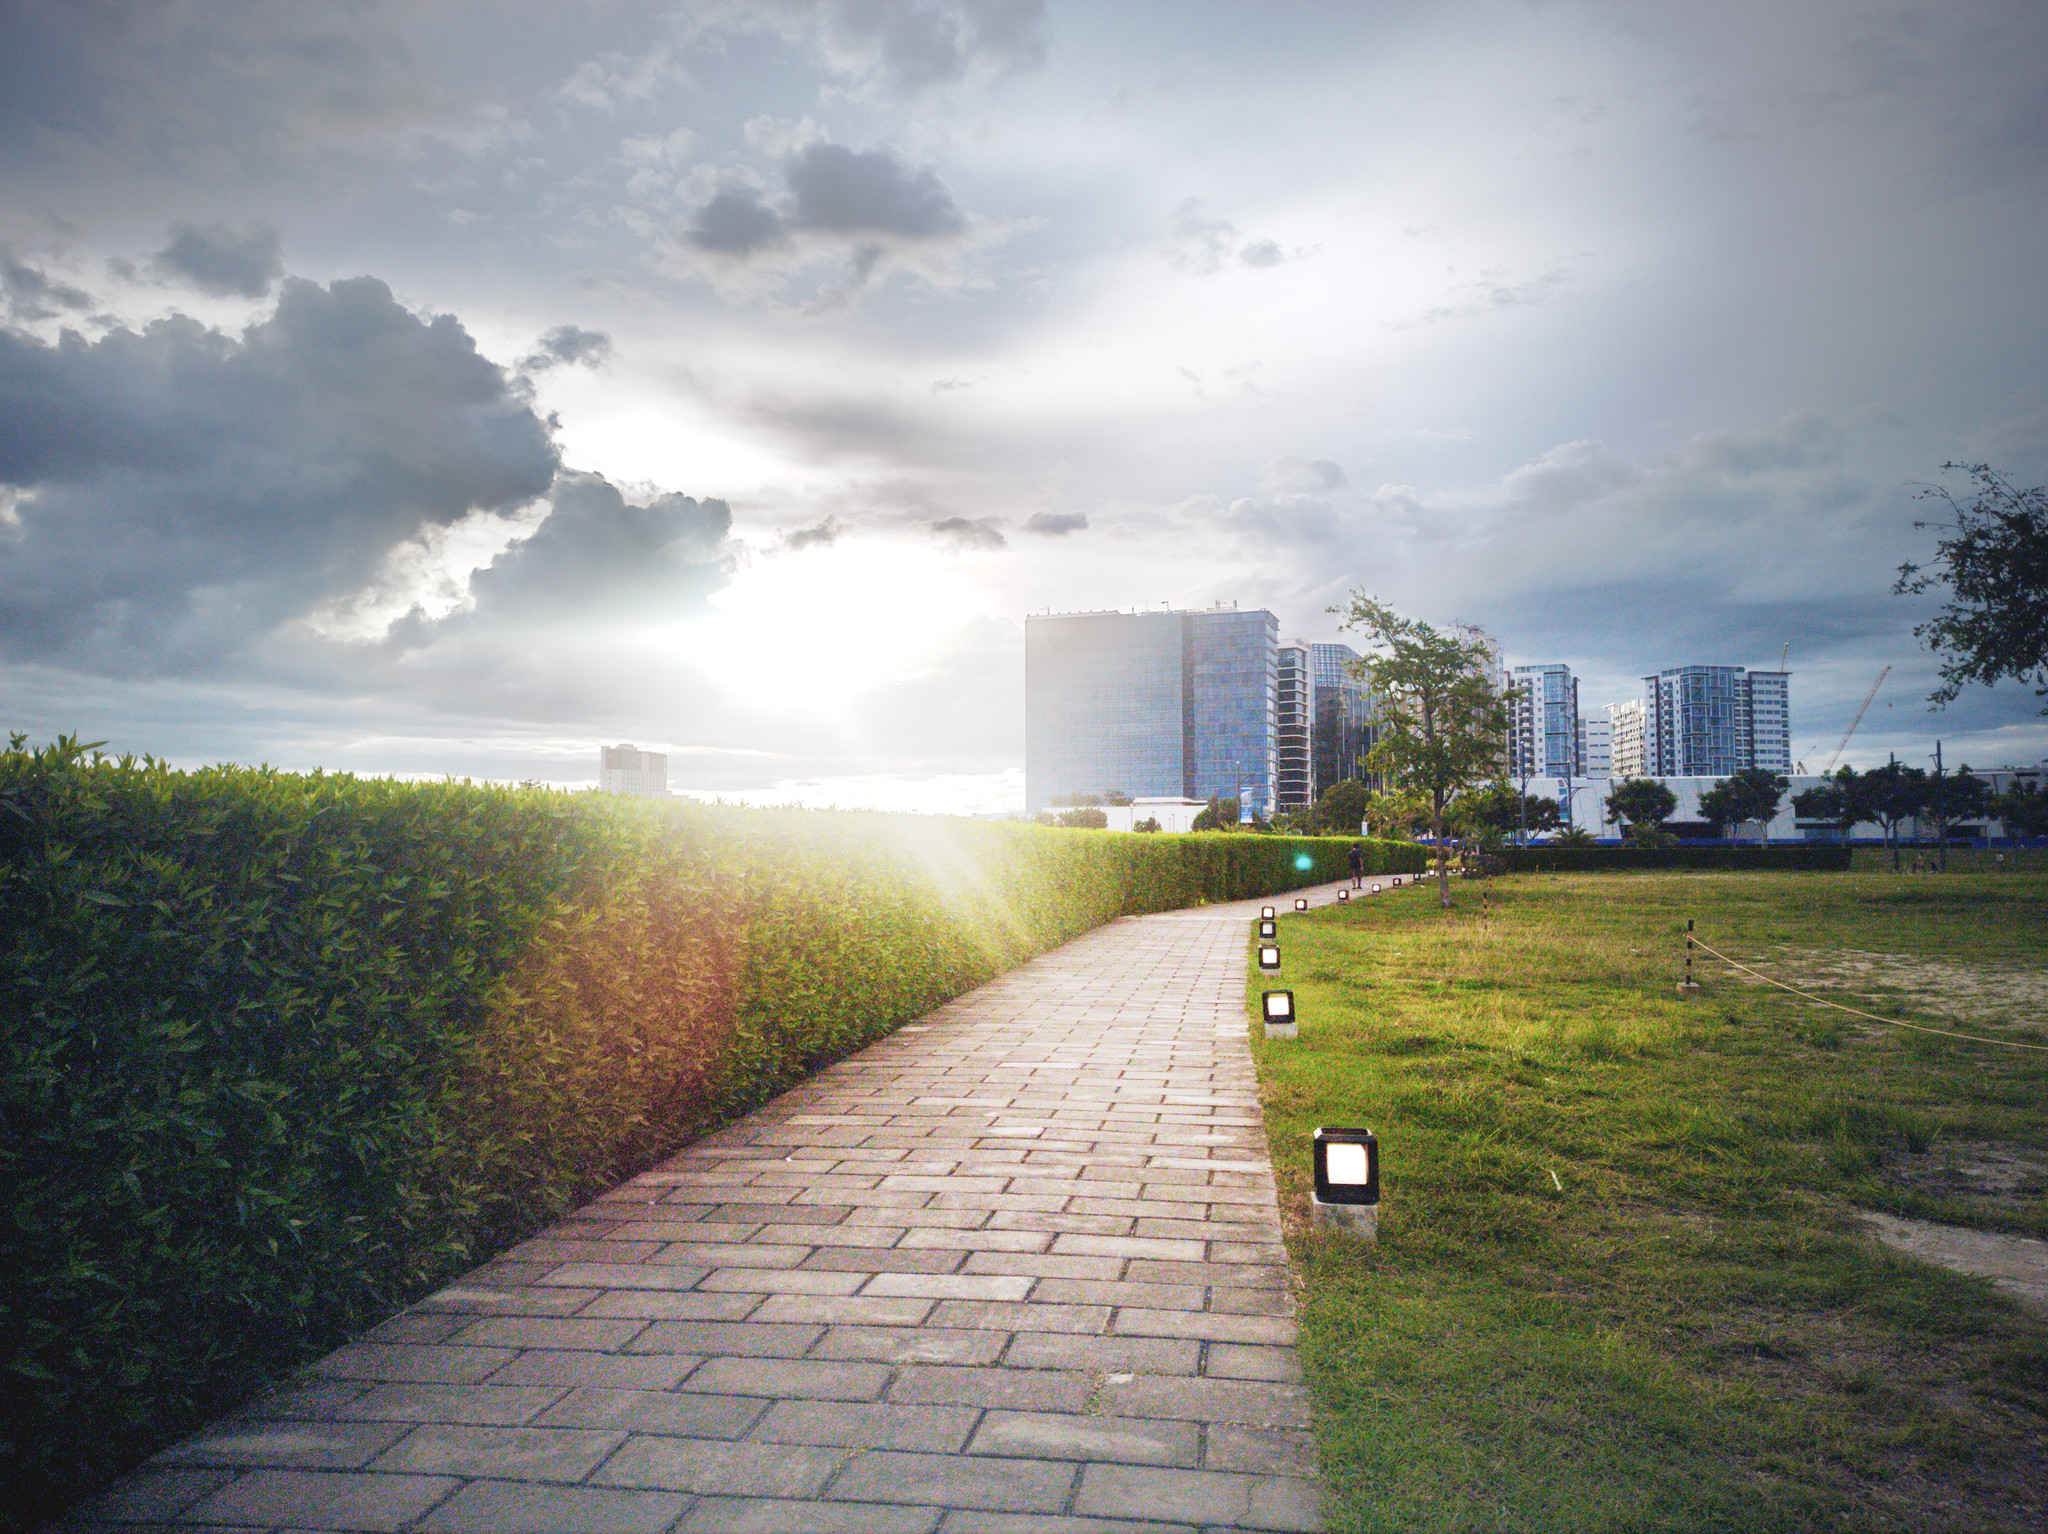
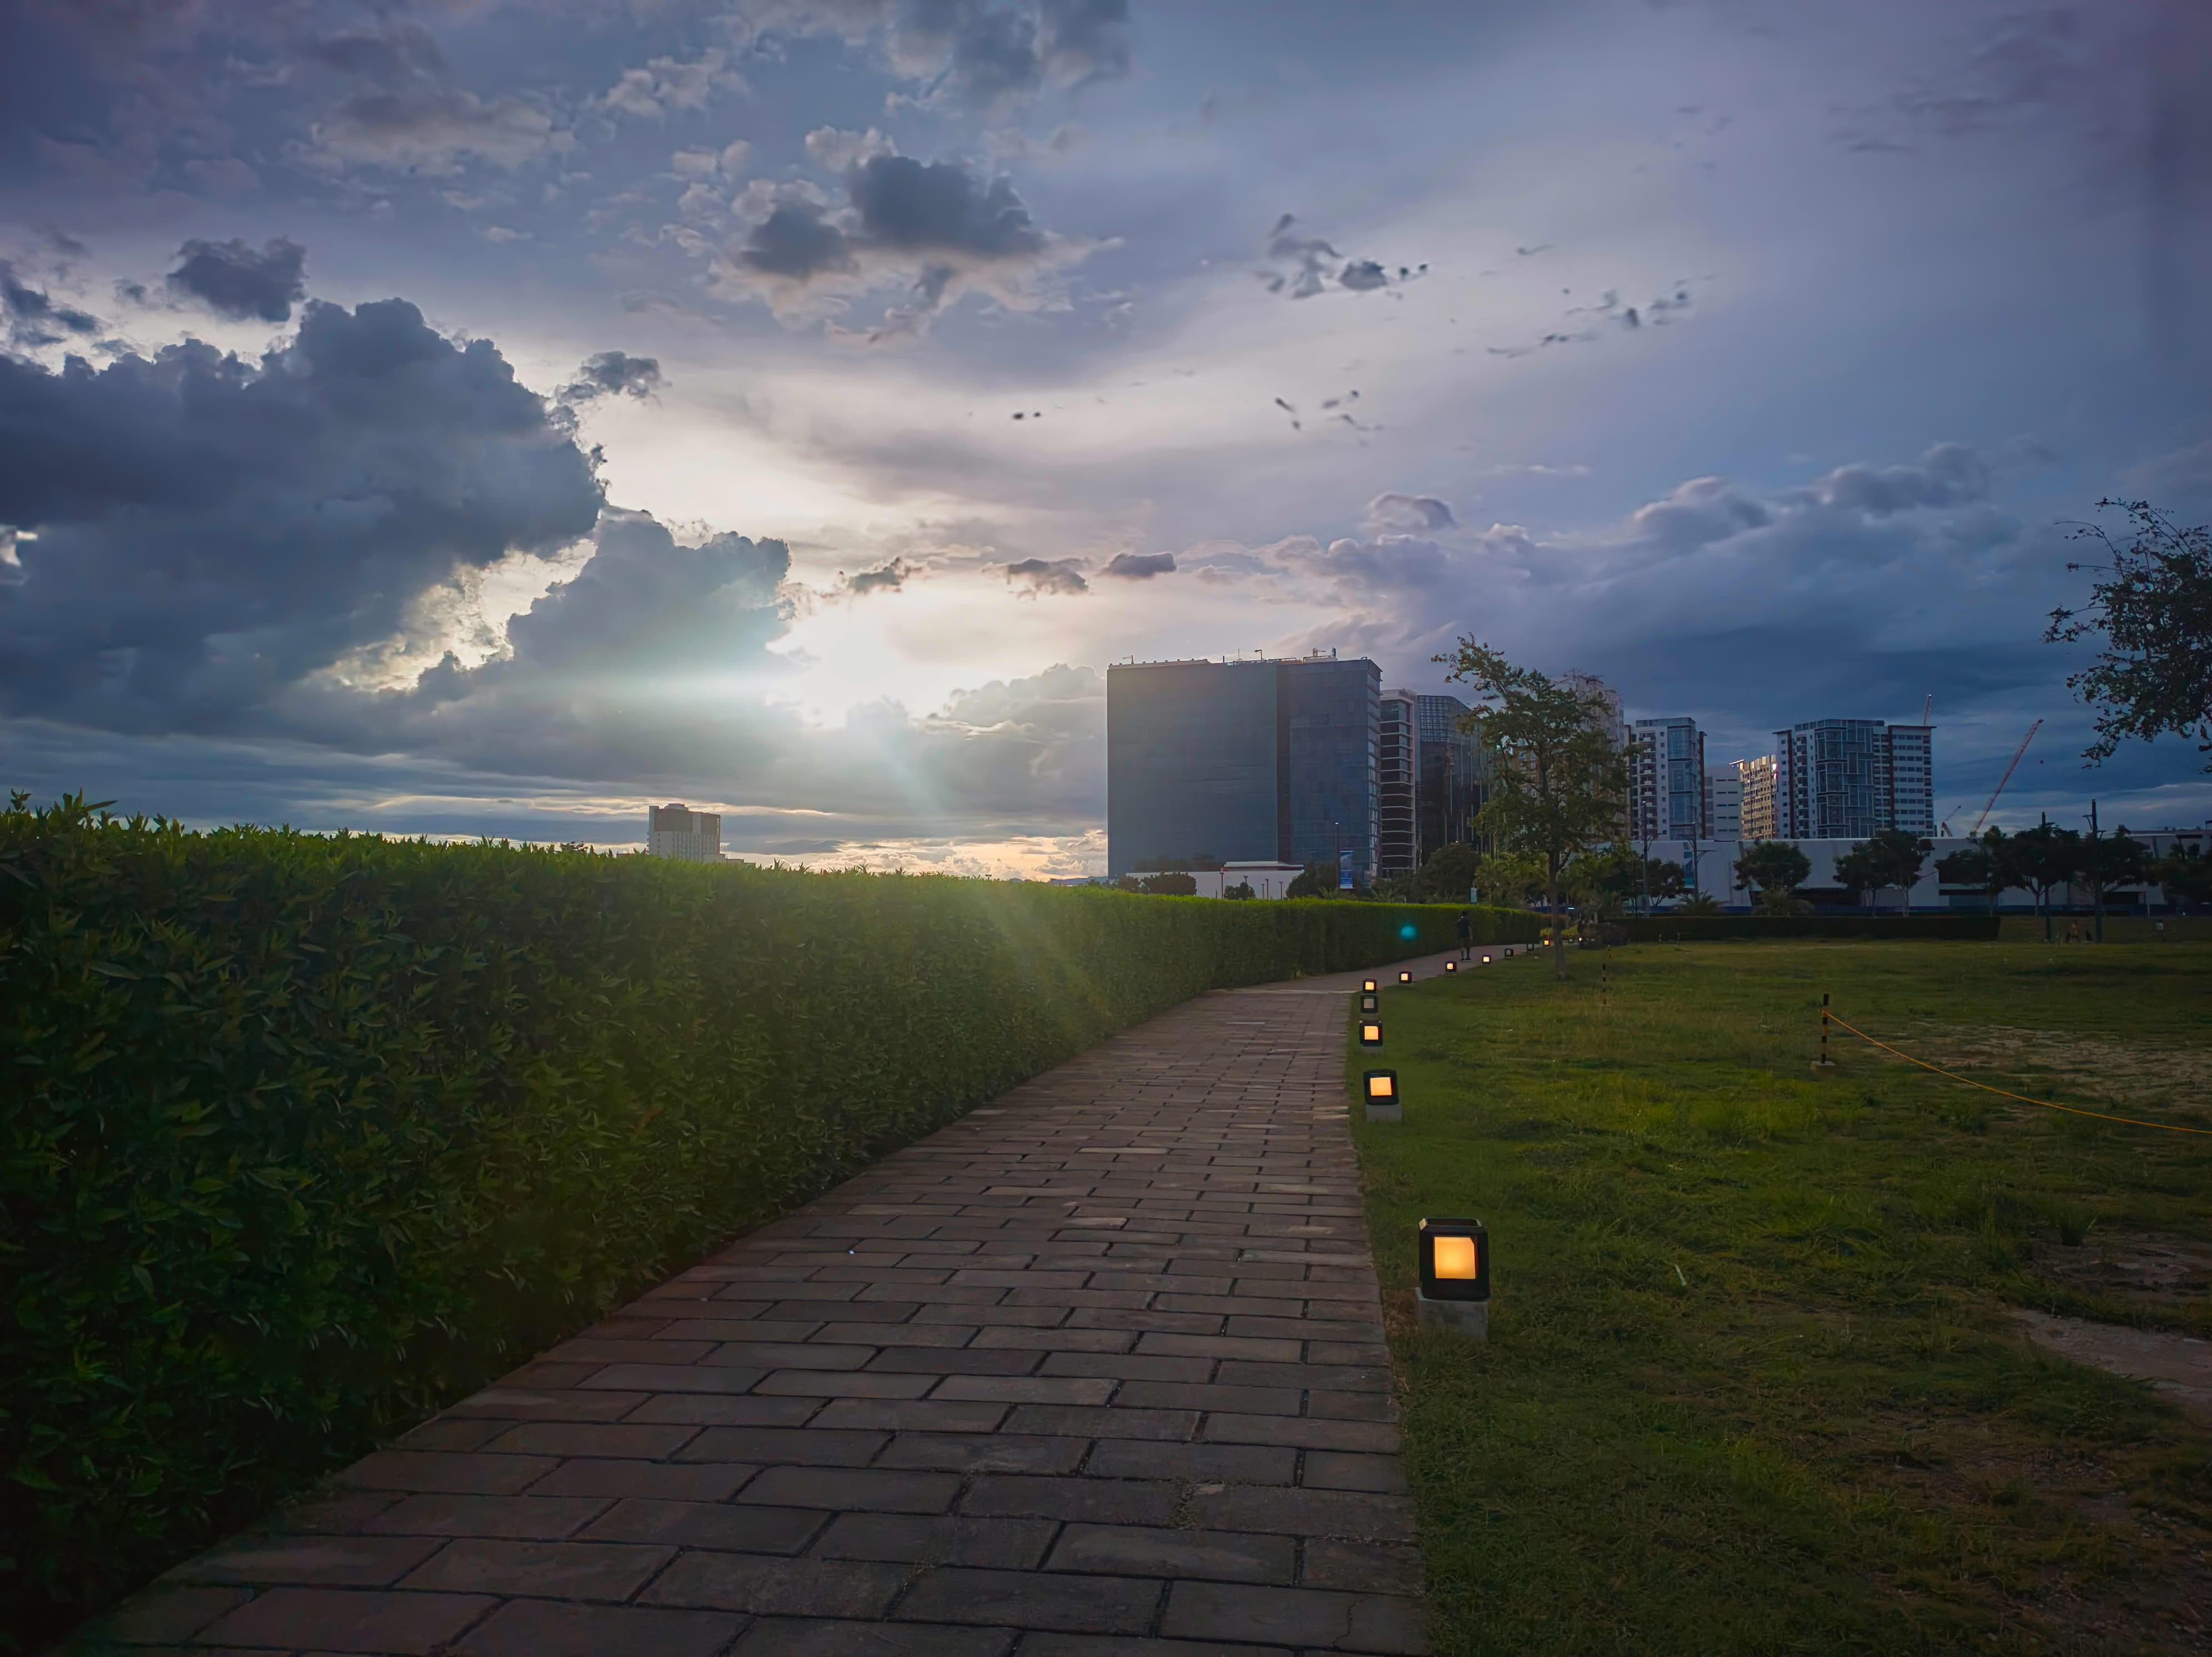
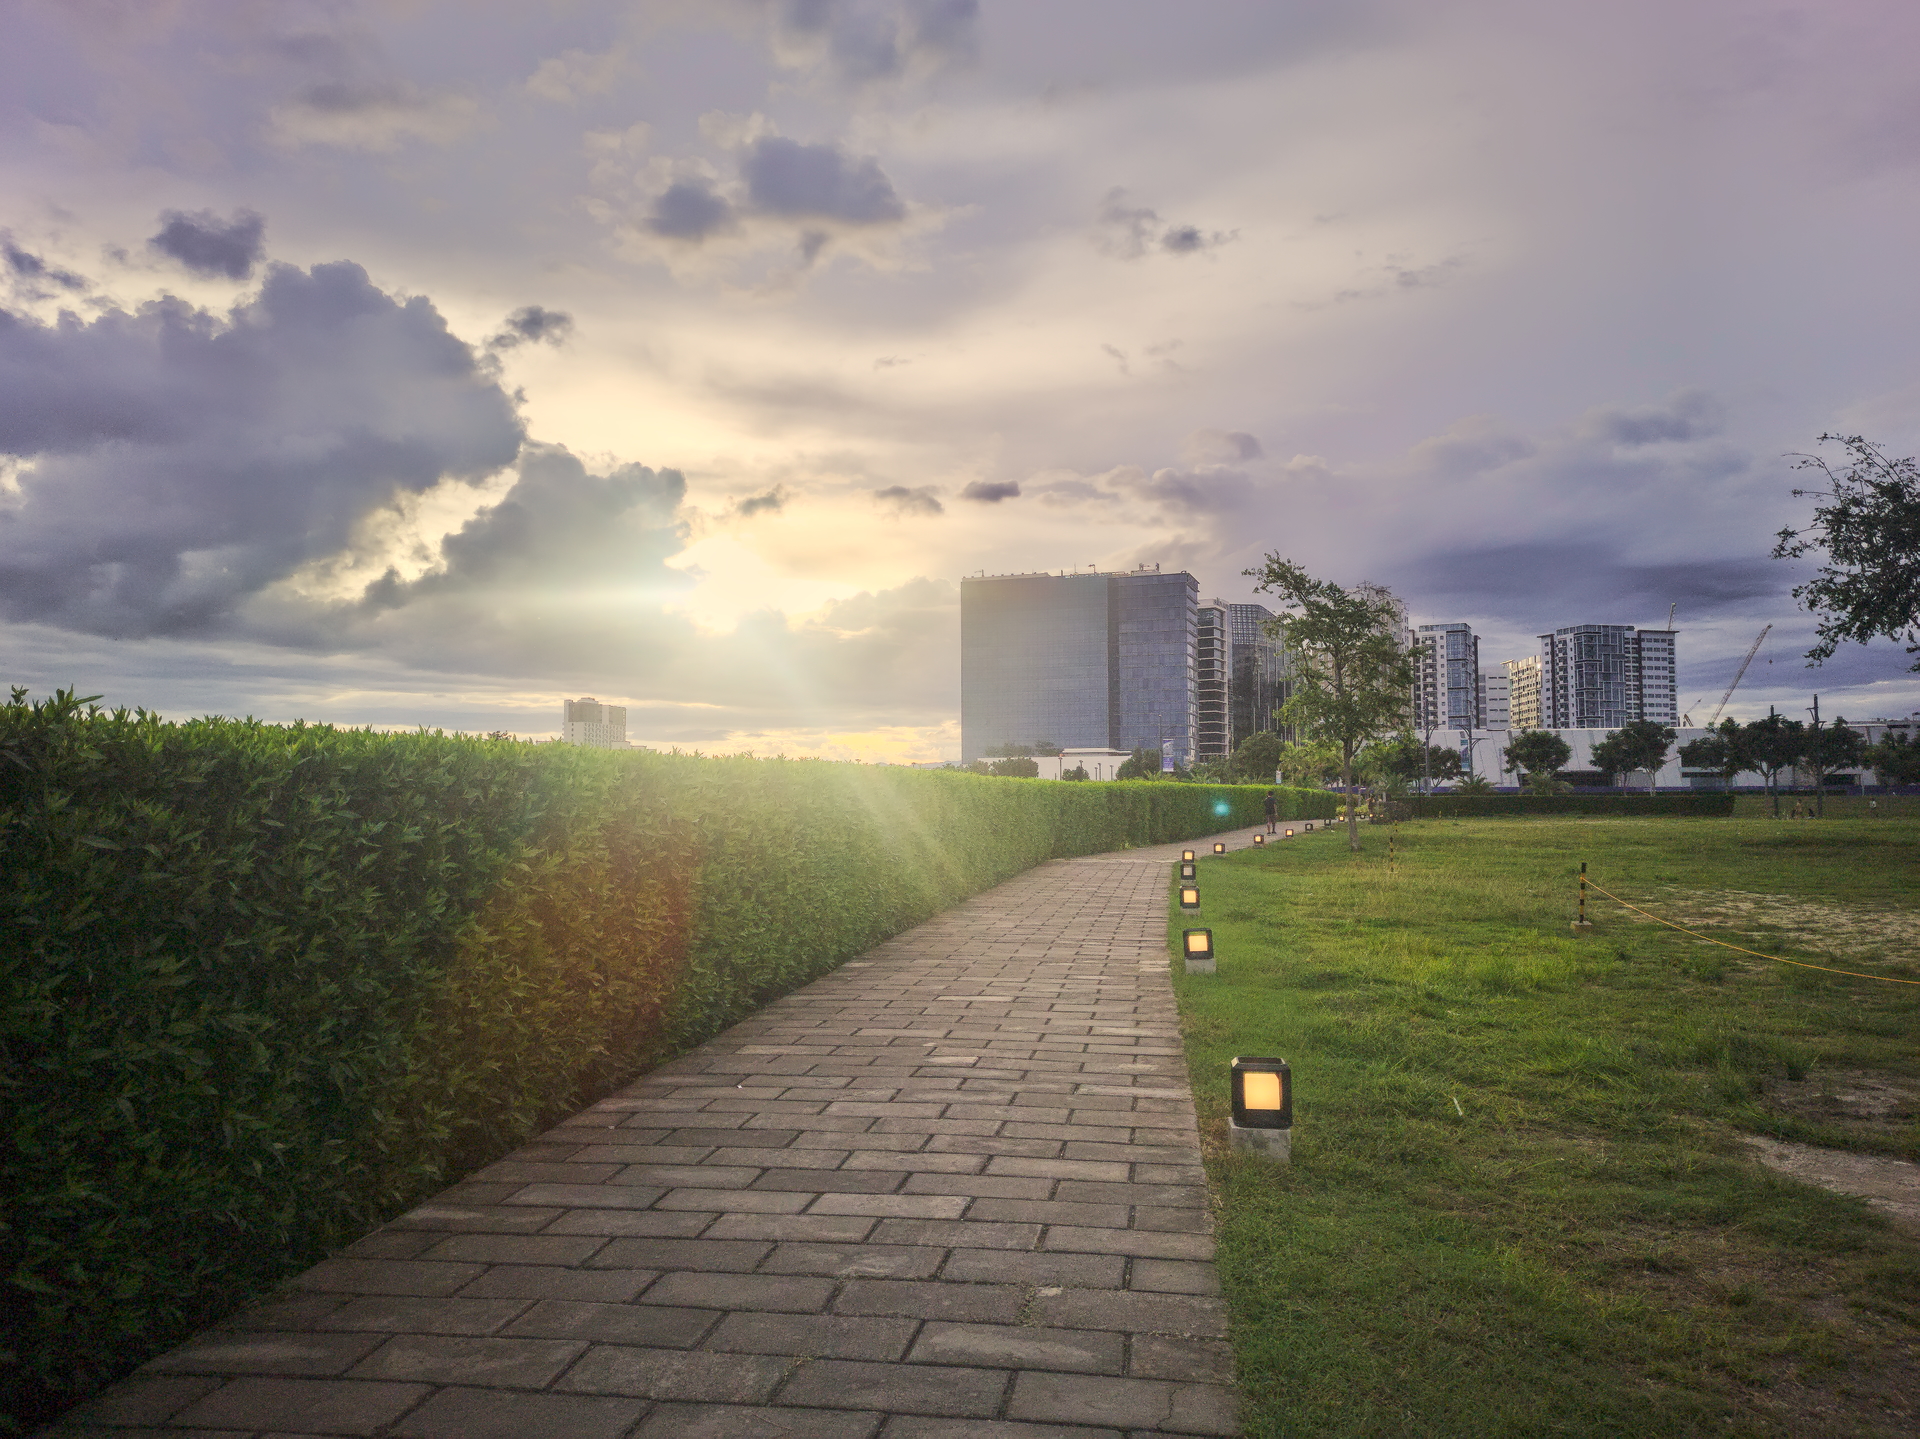
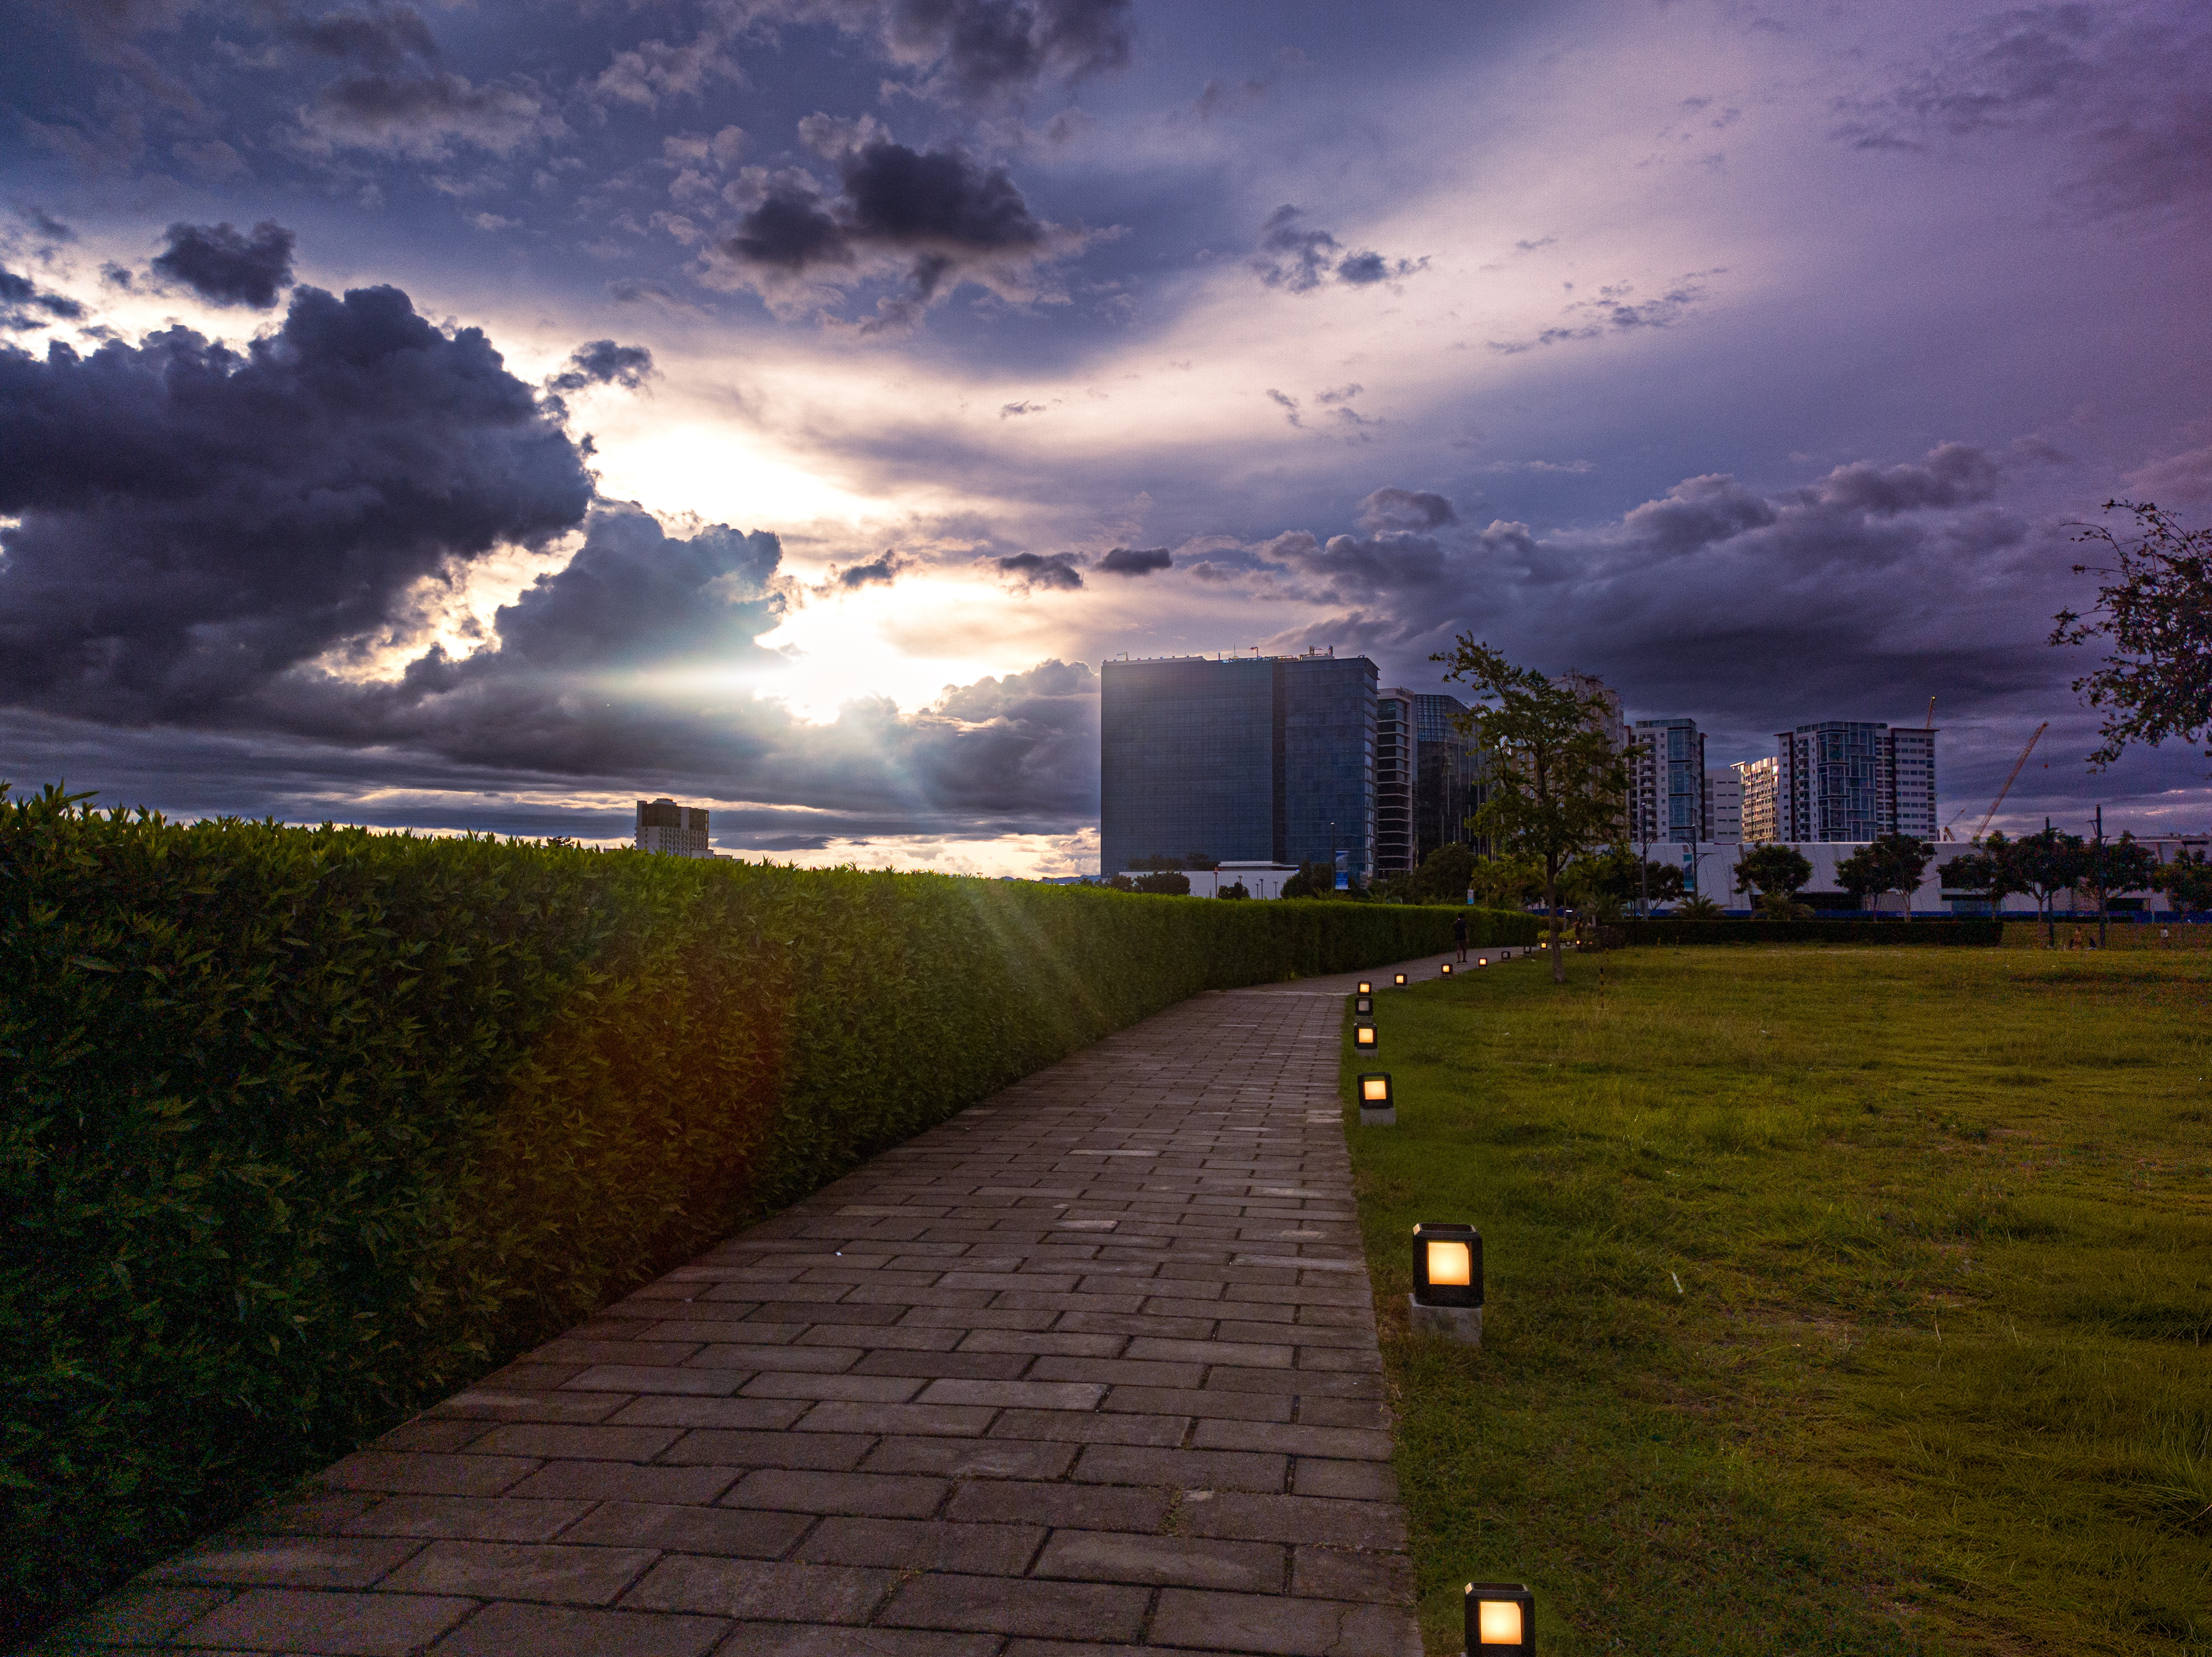
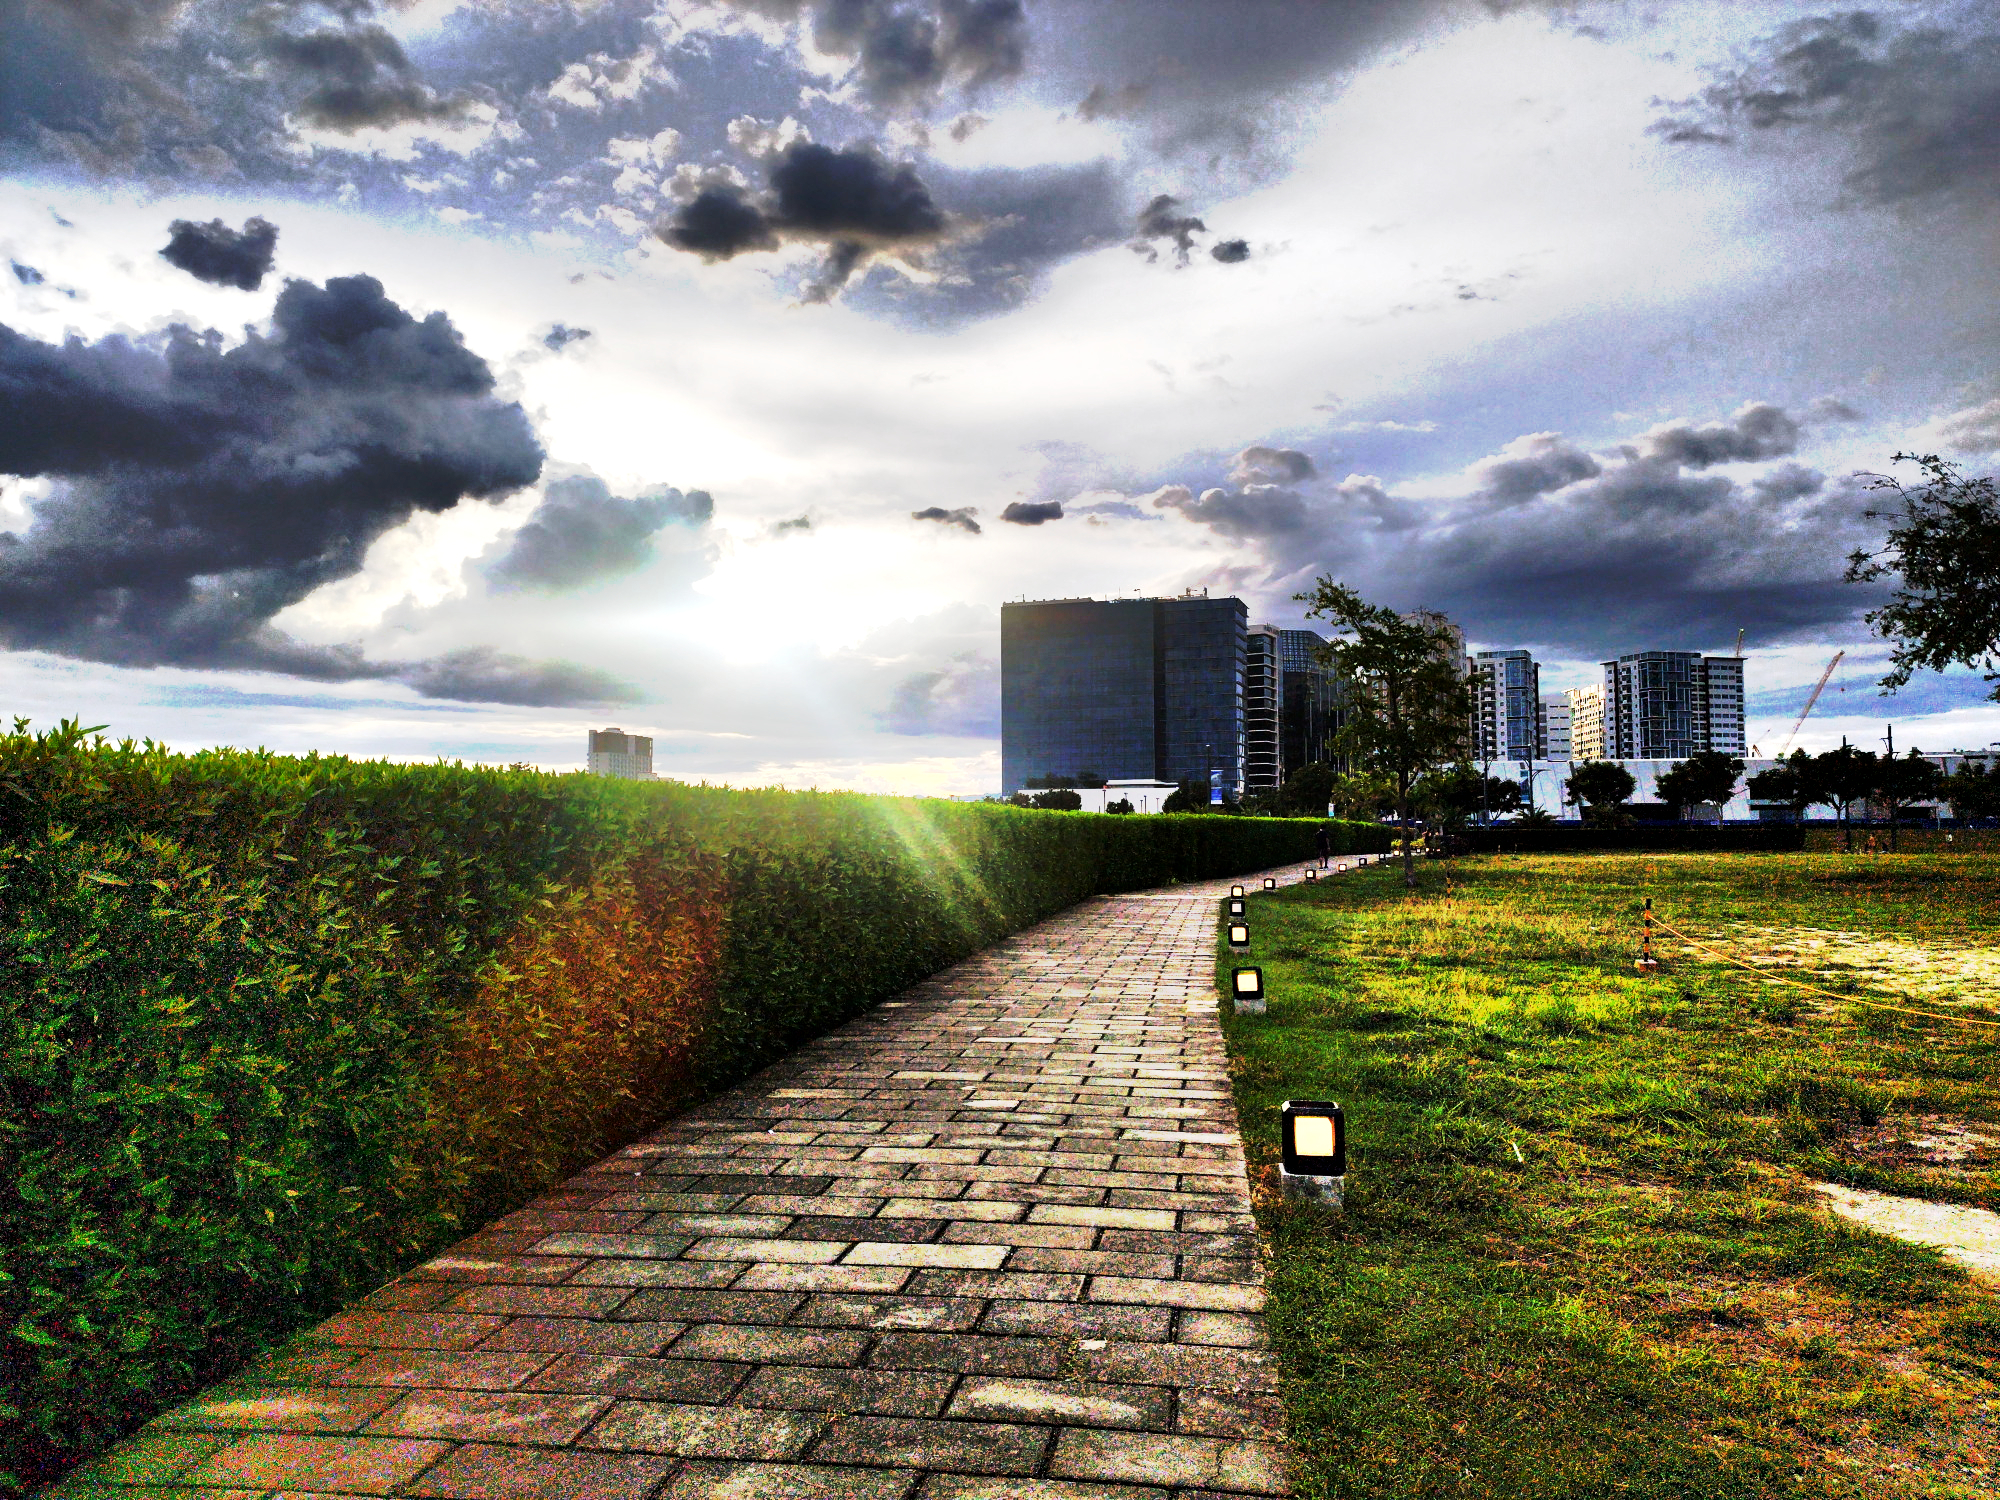
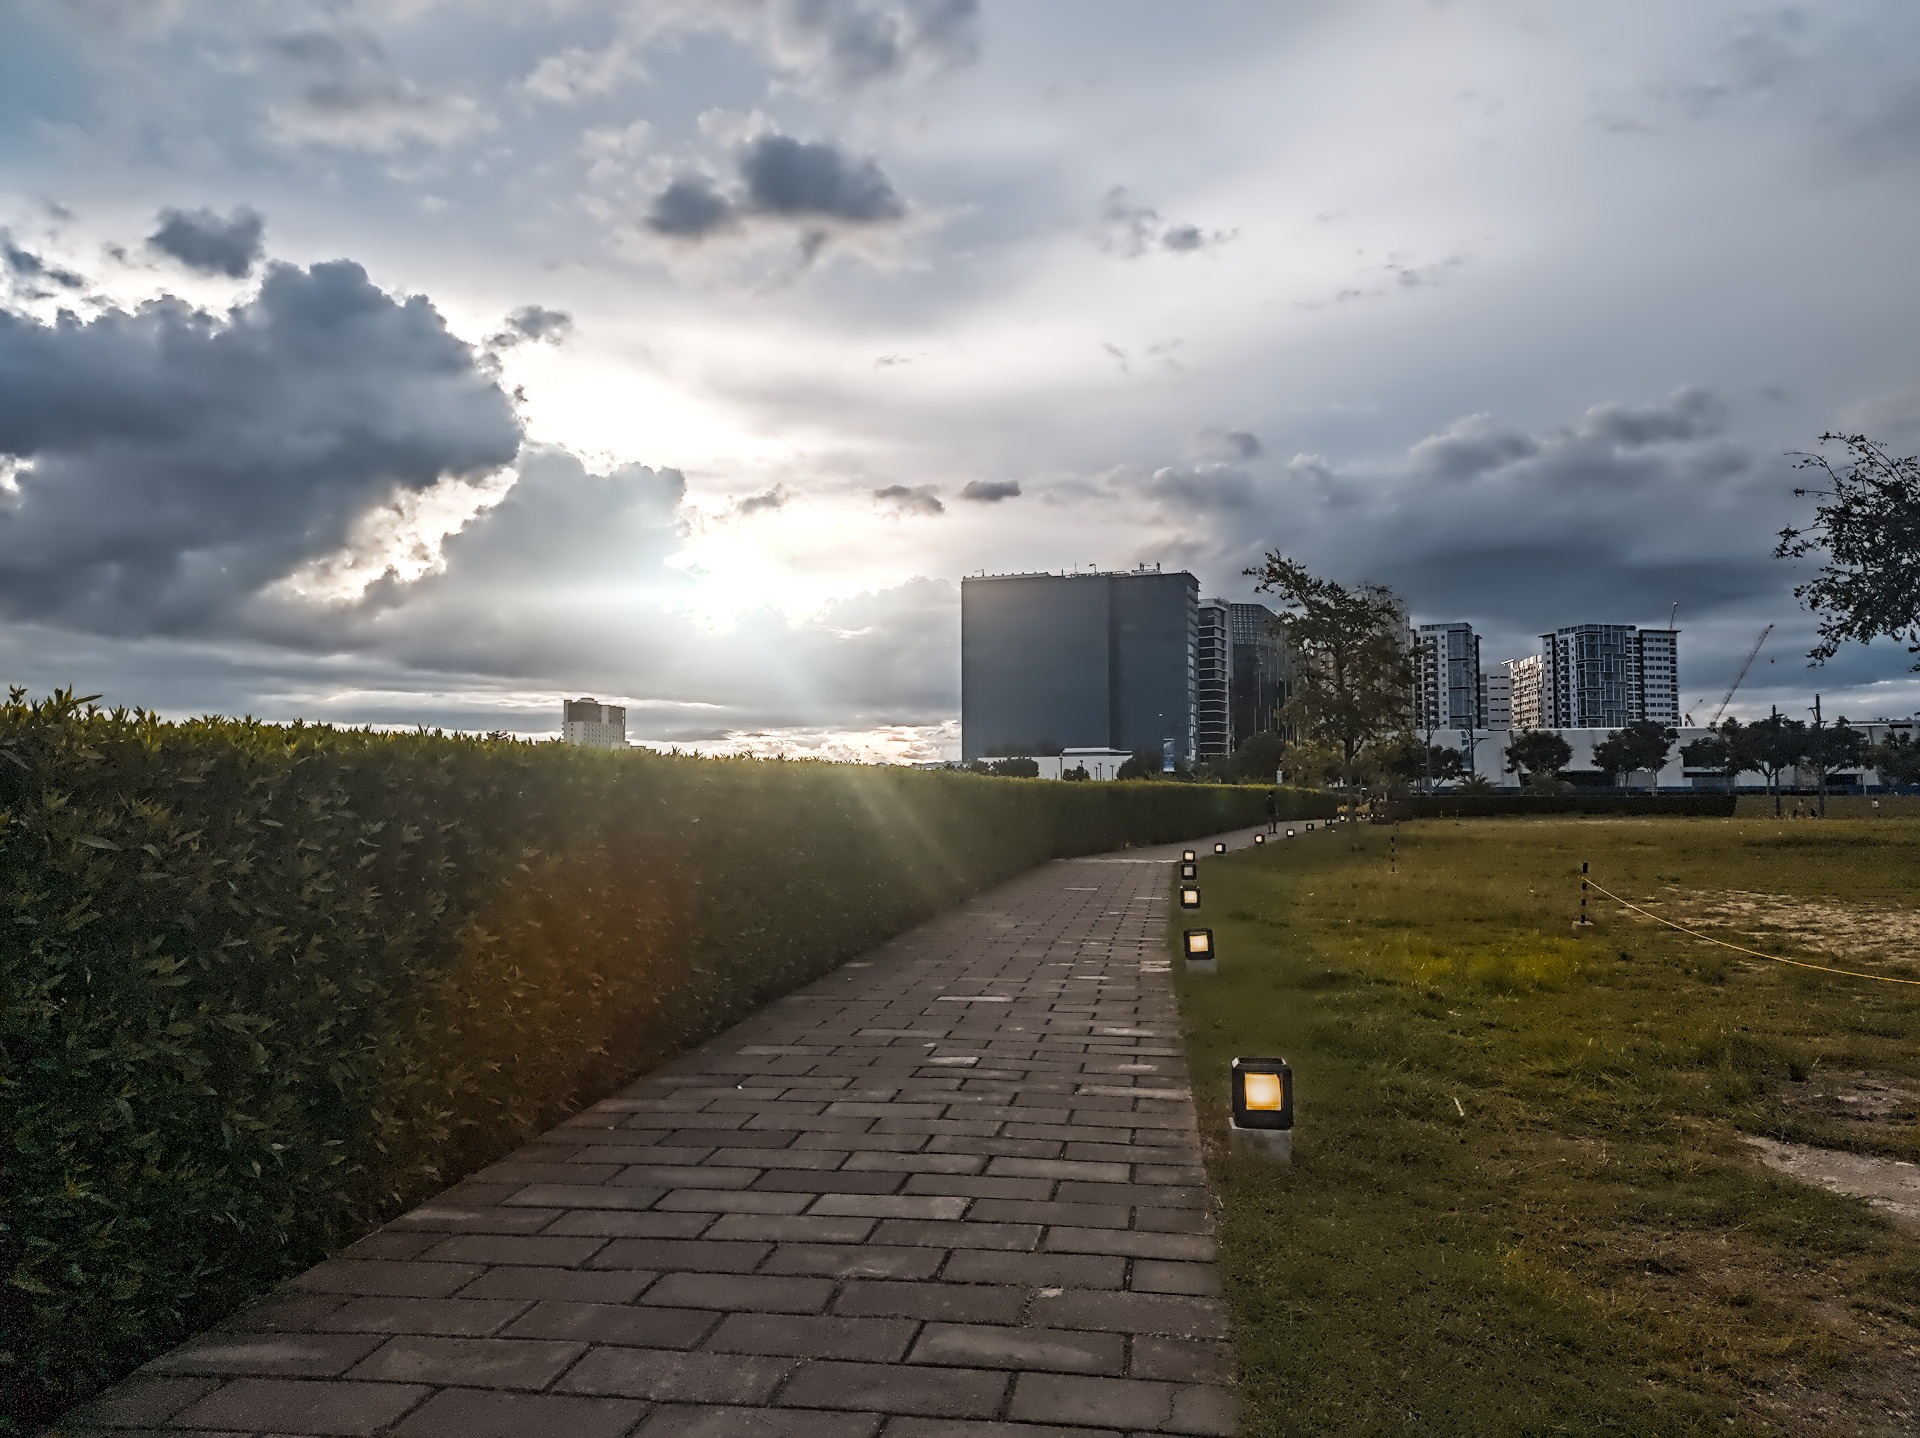
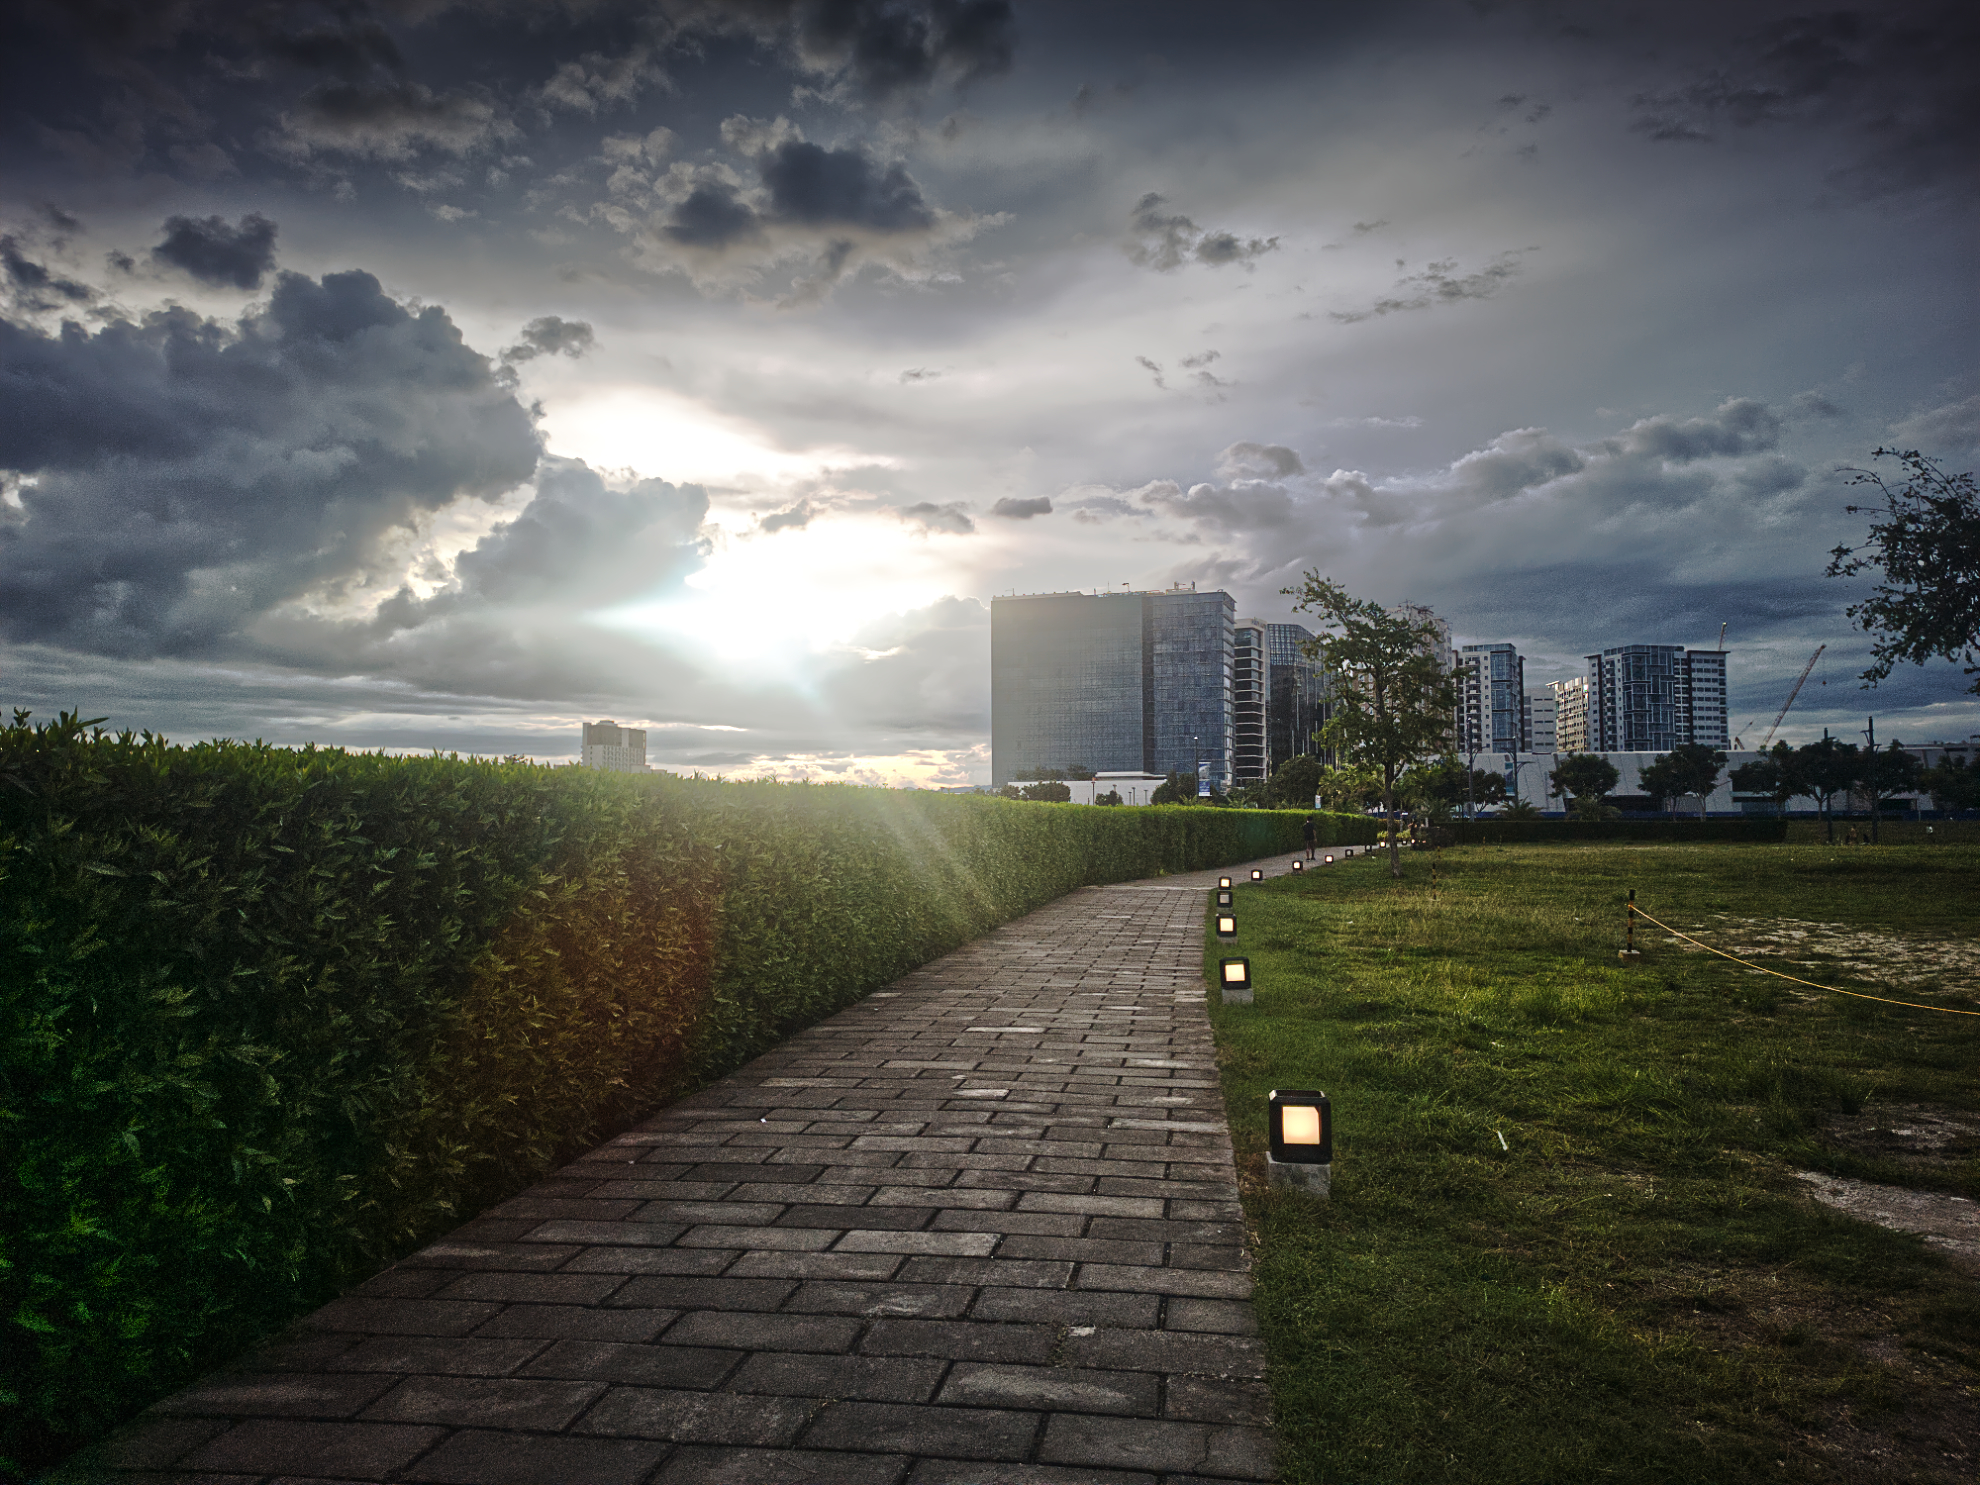
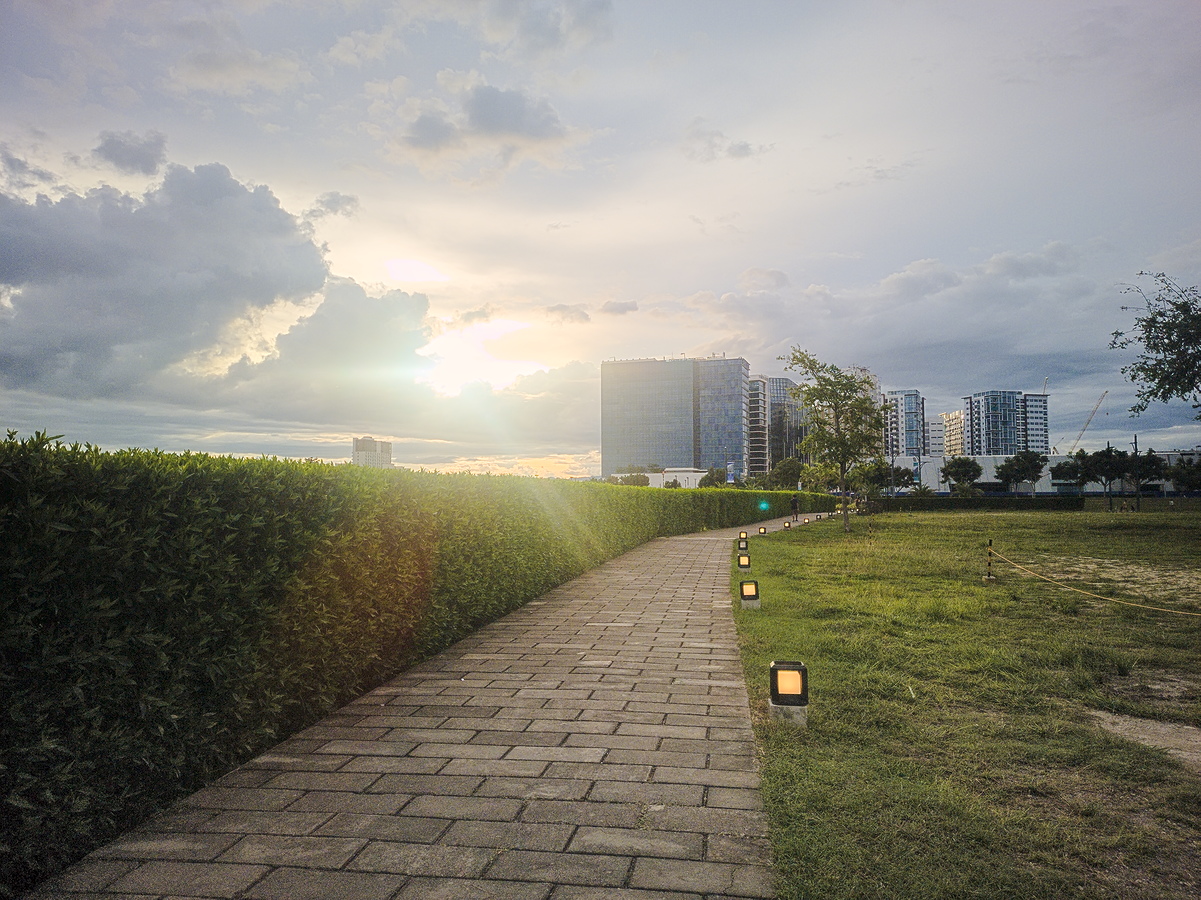
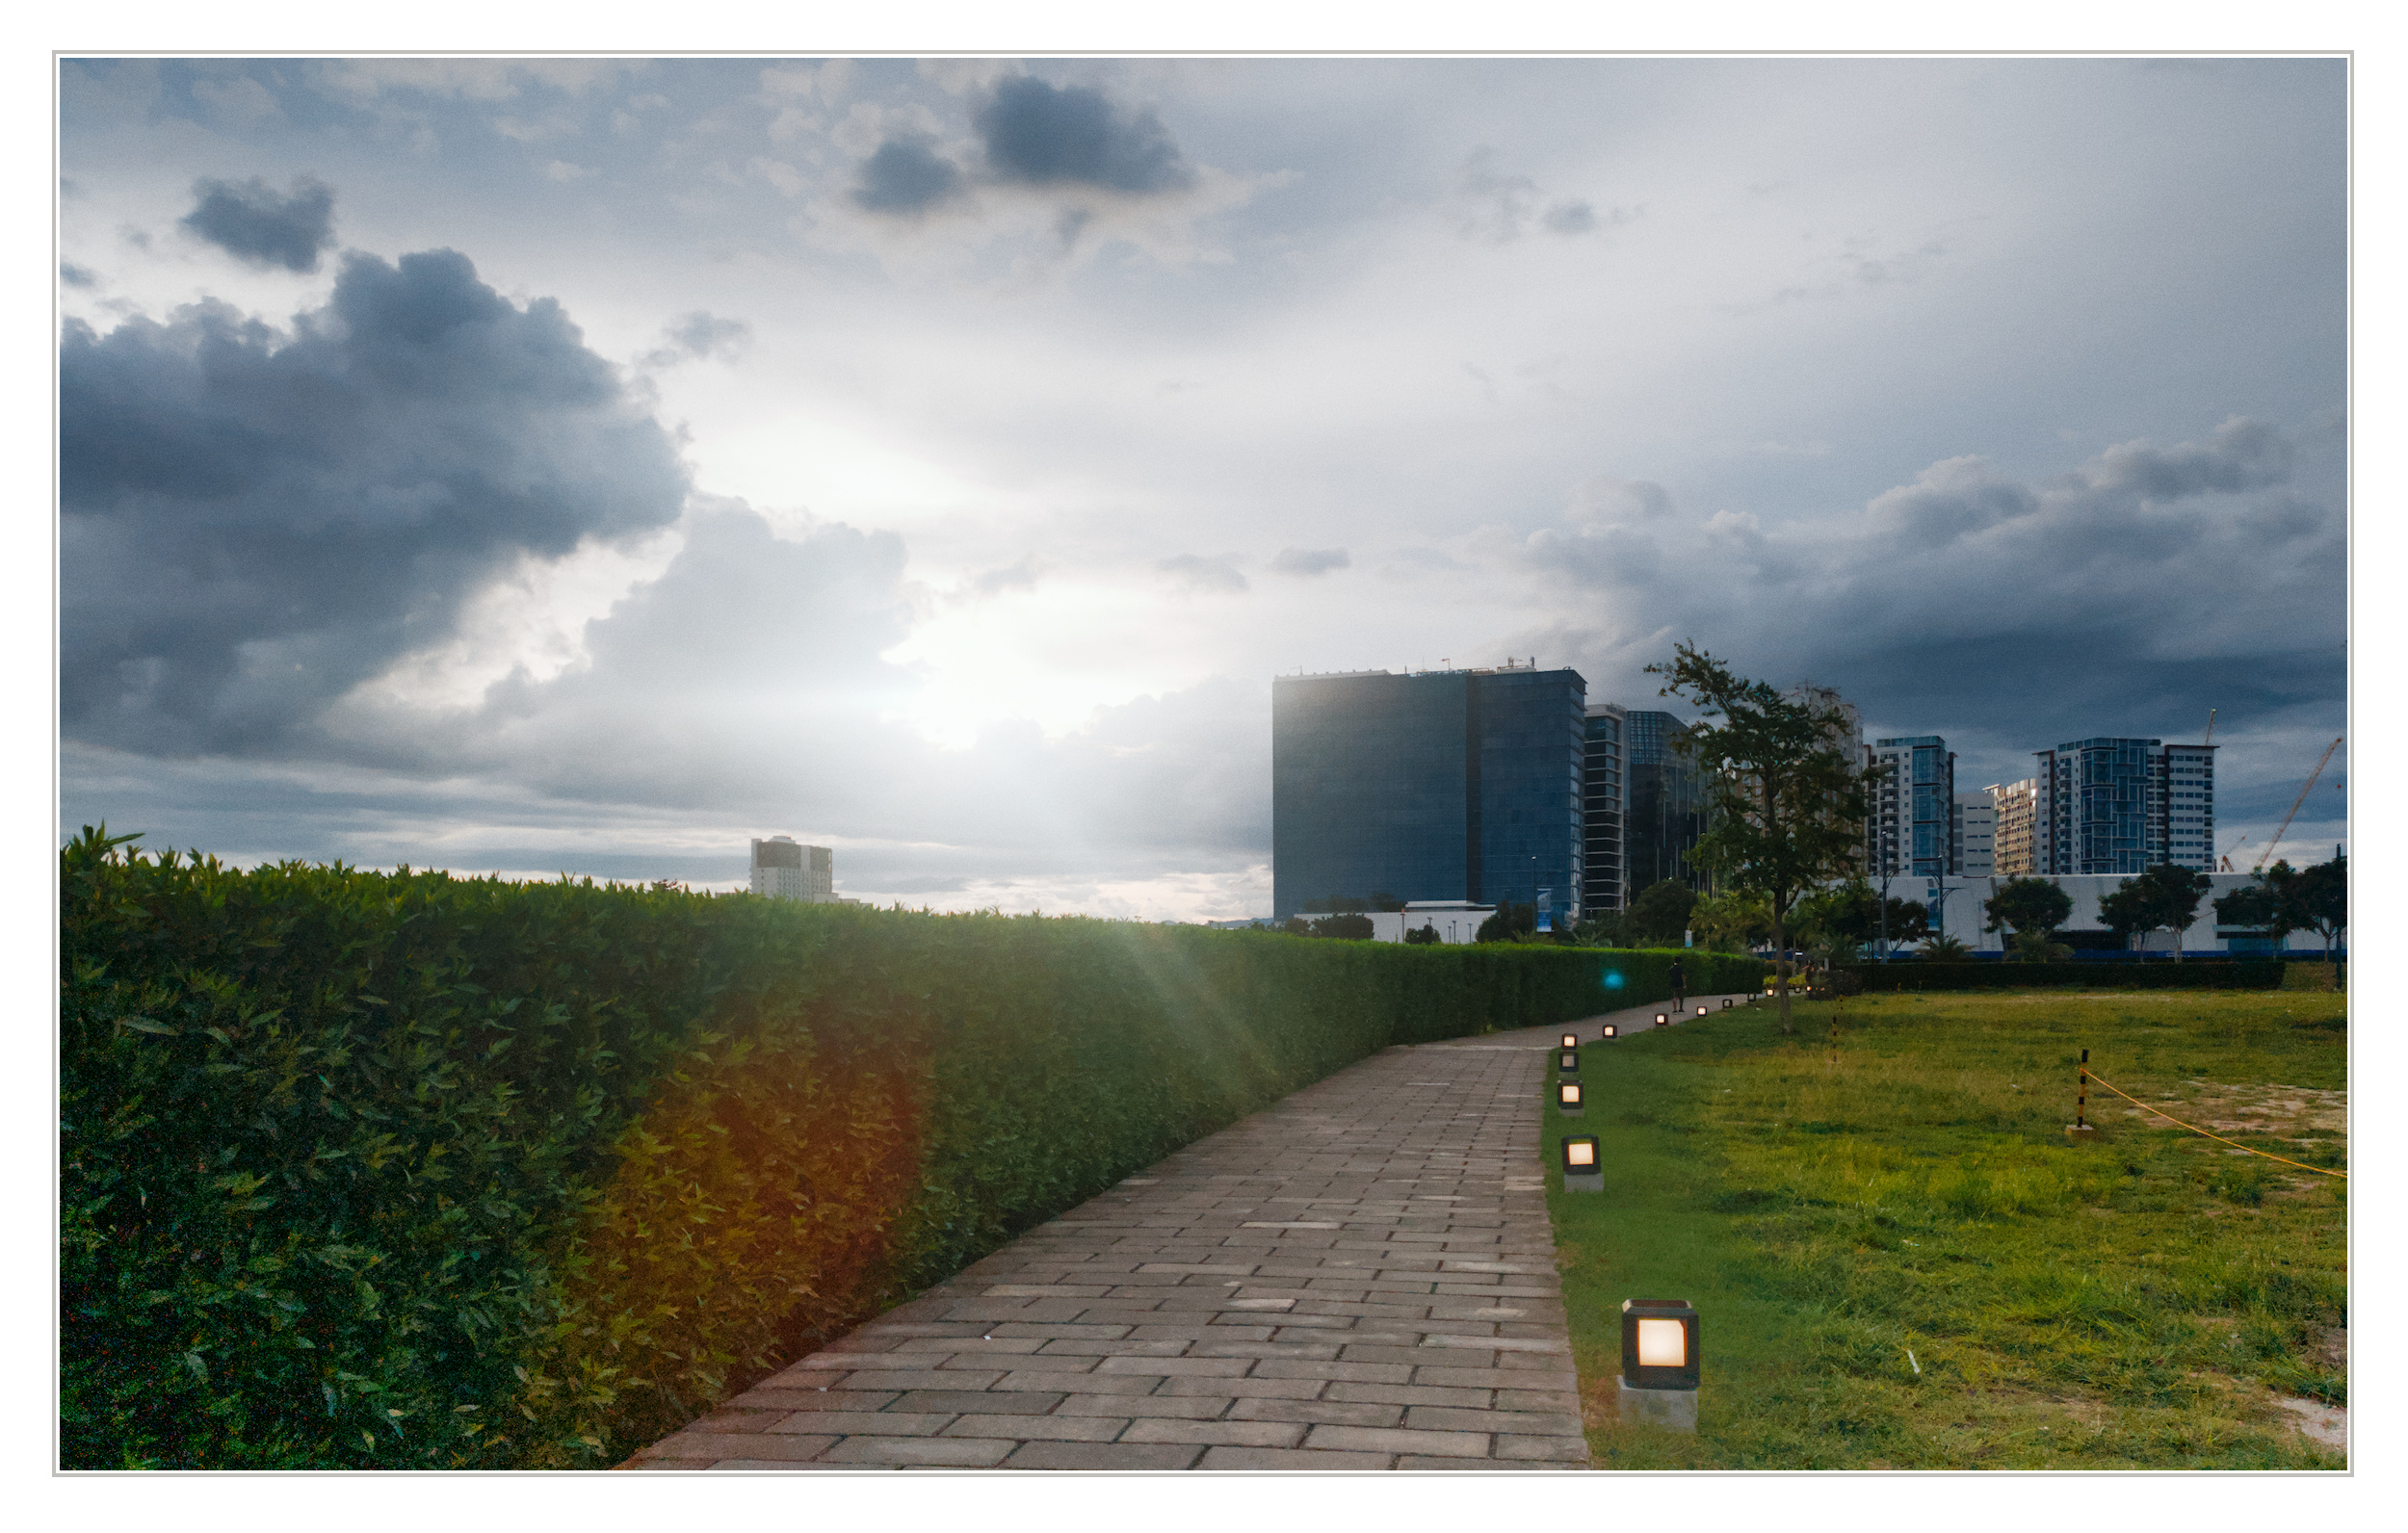
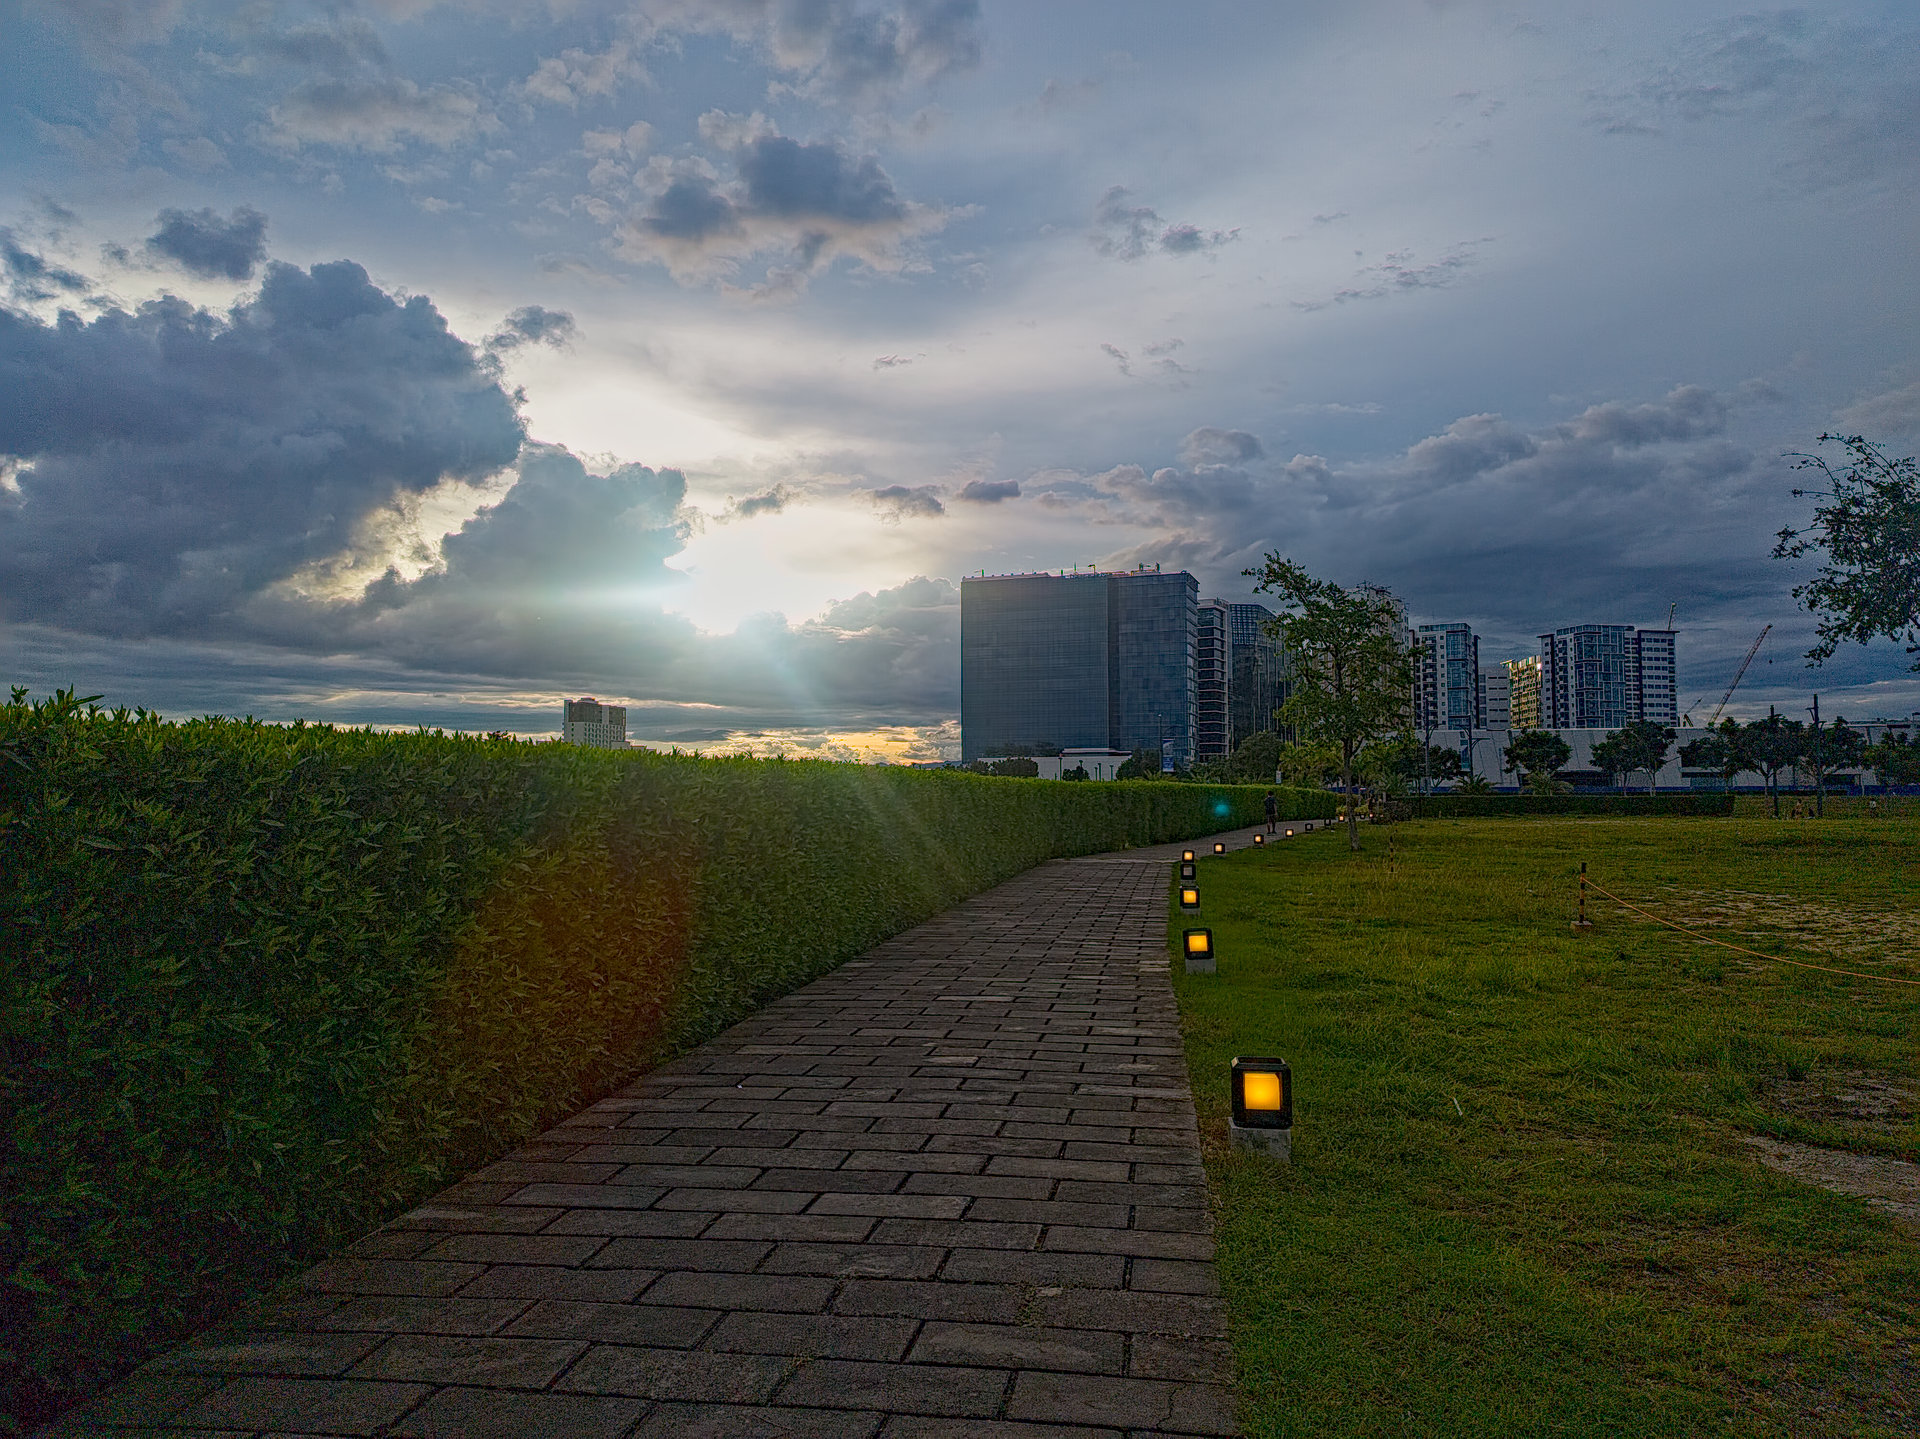
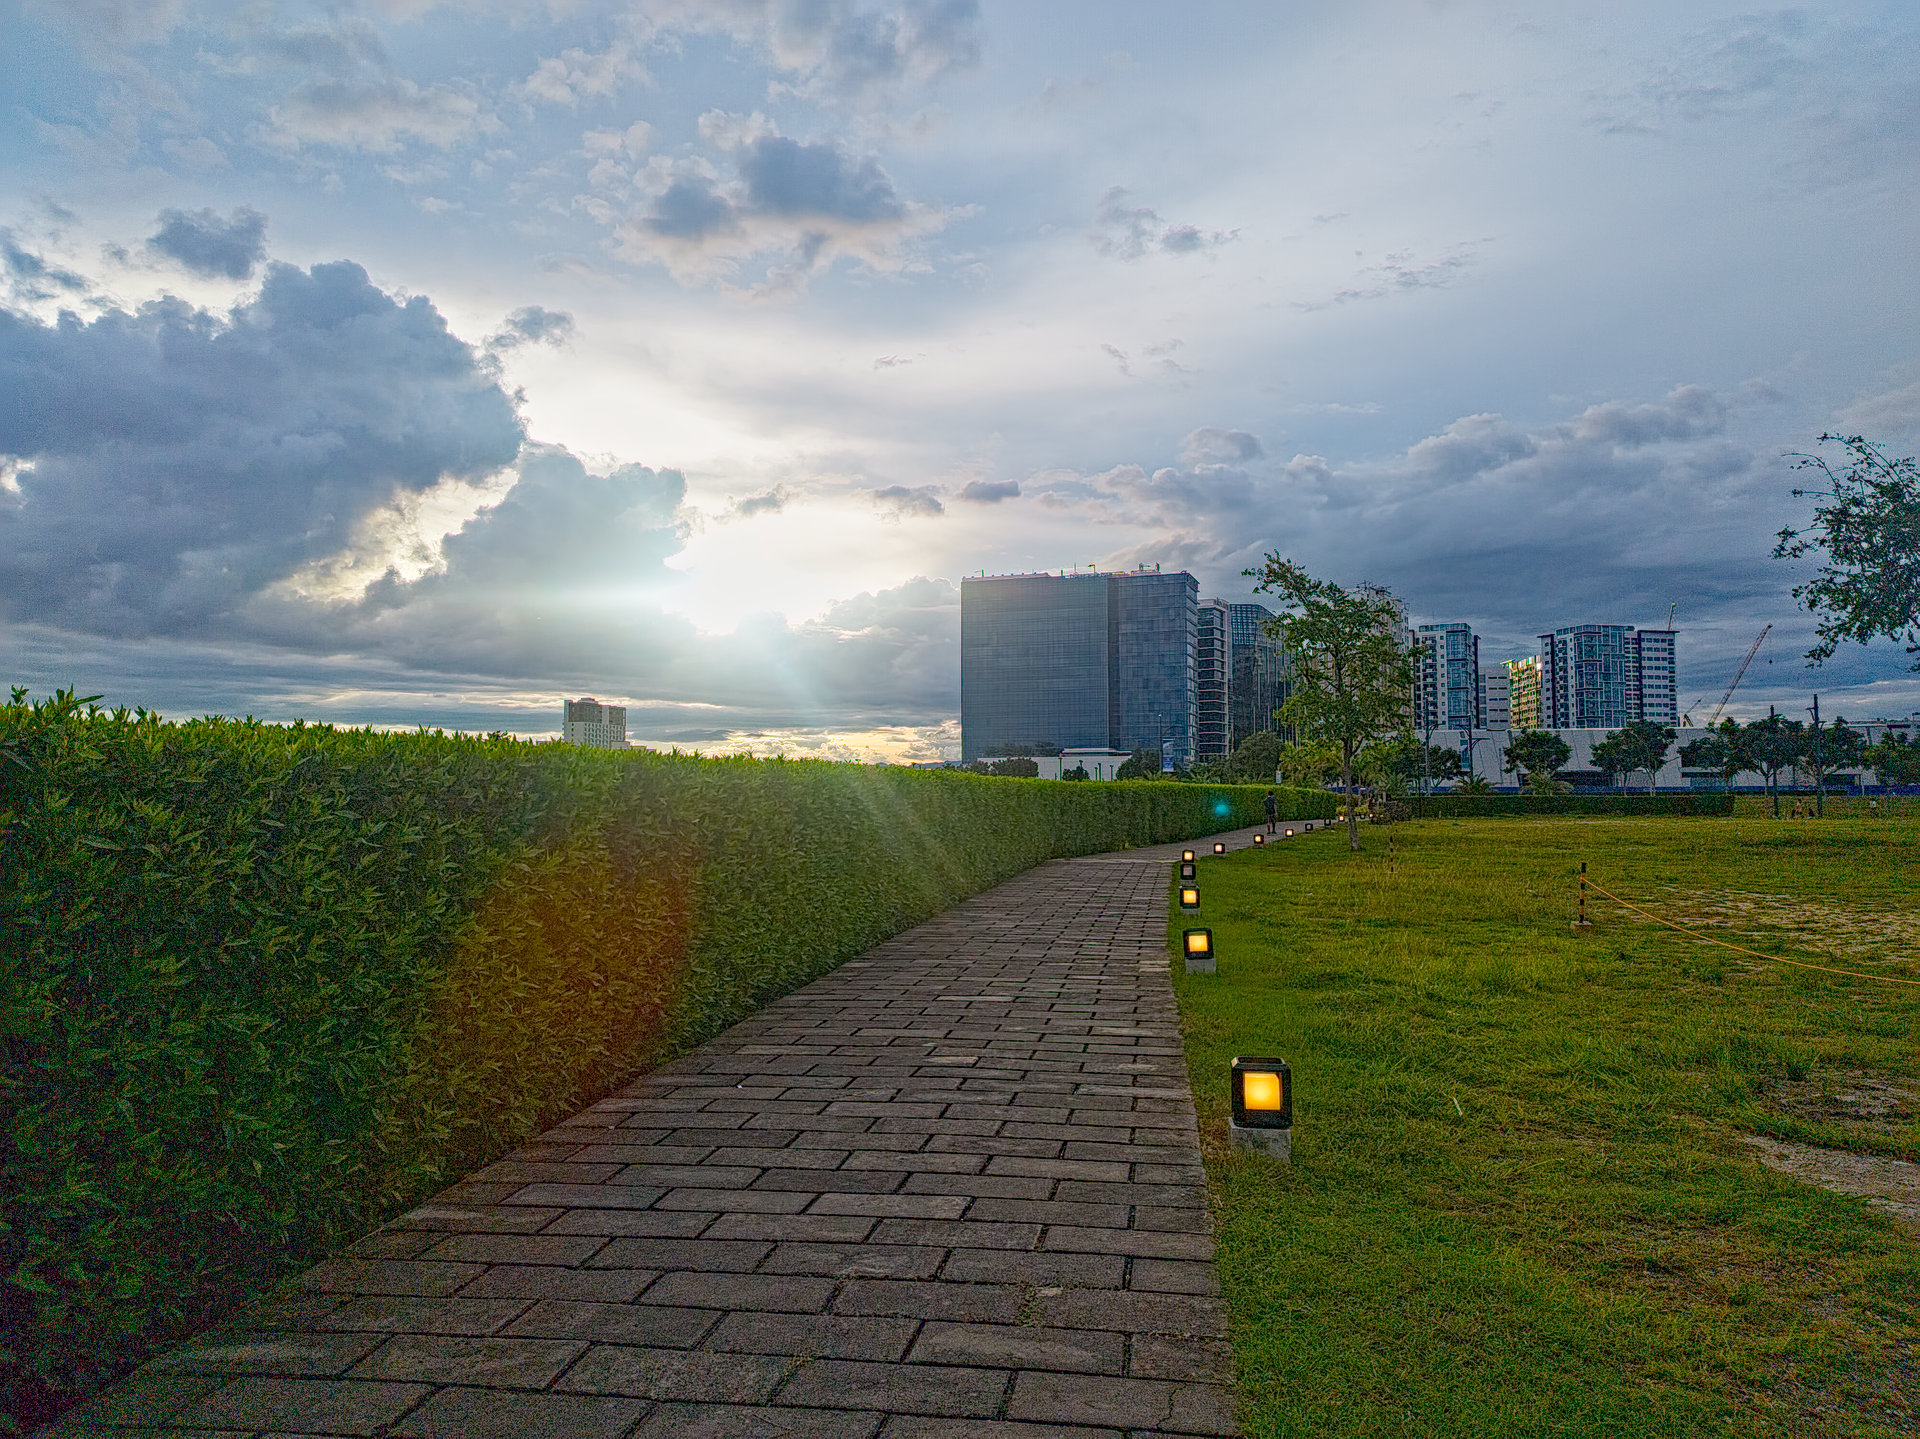
A further version with for me maximum brightness. I definitely wouldn’t go brighter. No cyan in the highlights, no expanding of burned out areas:
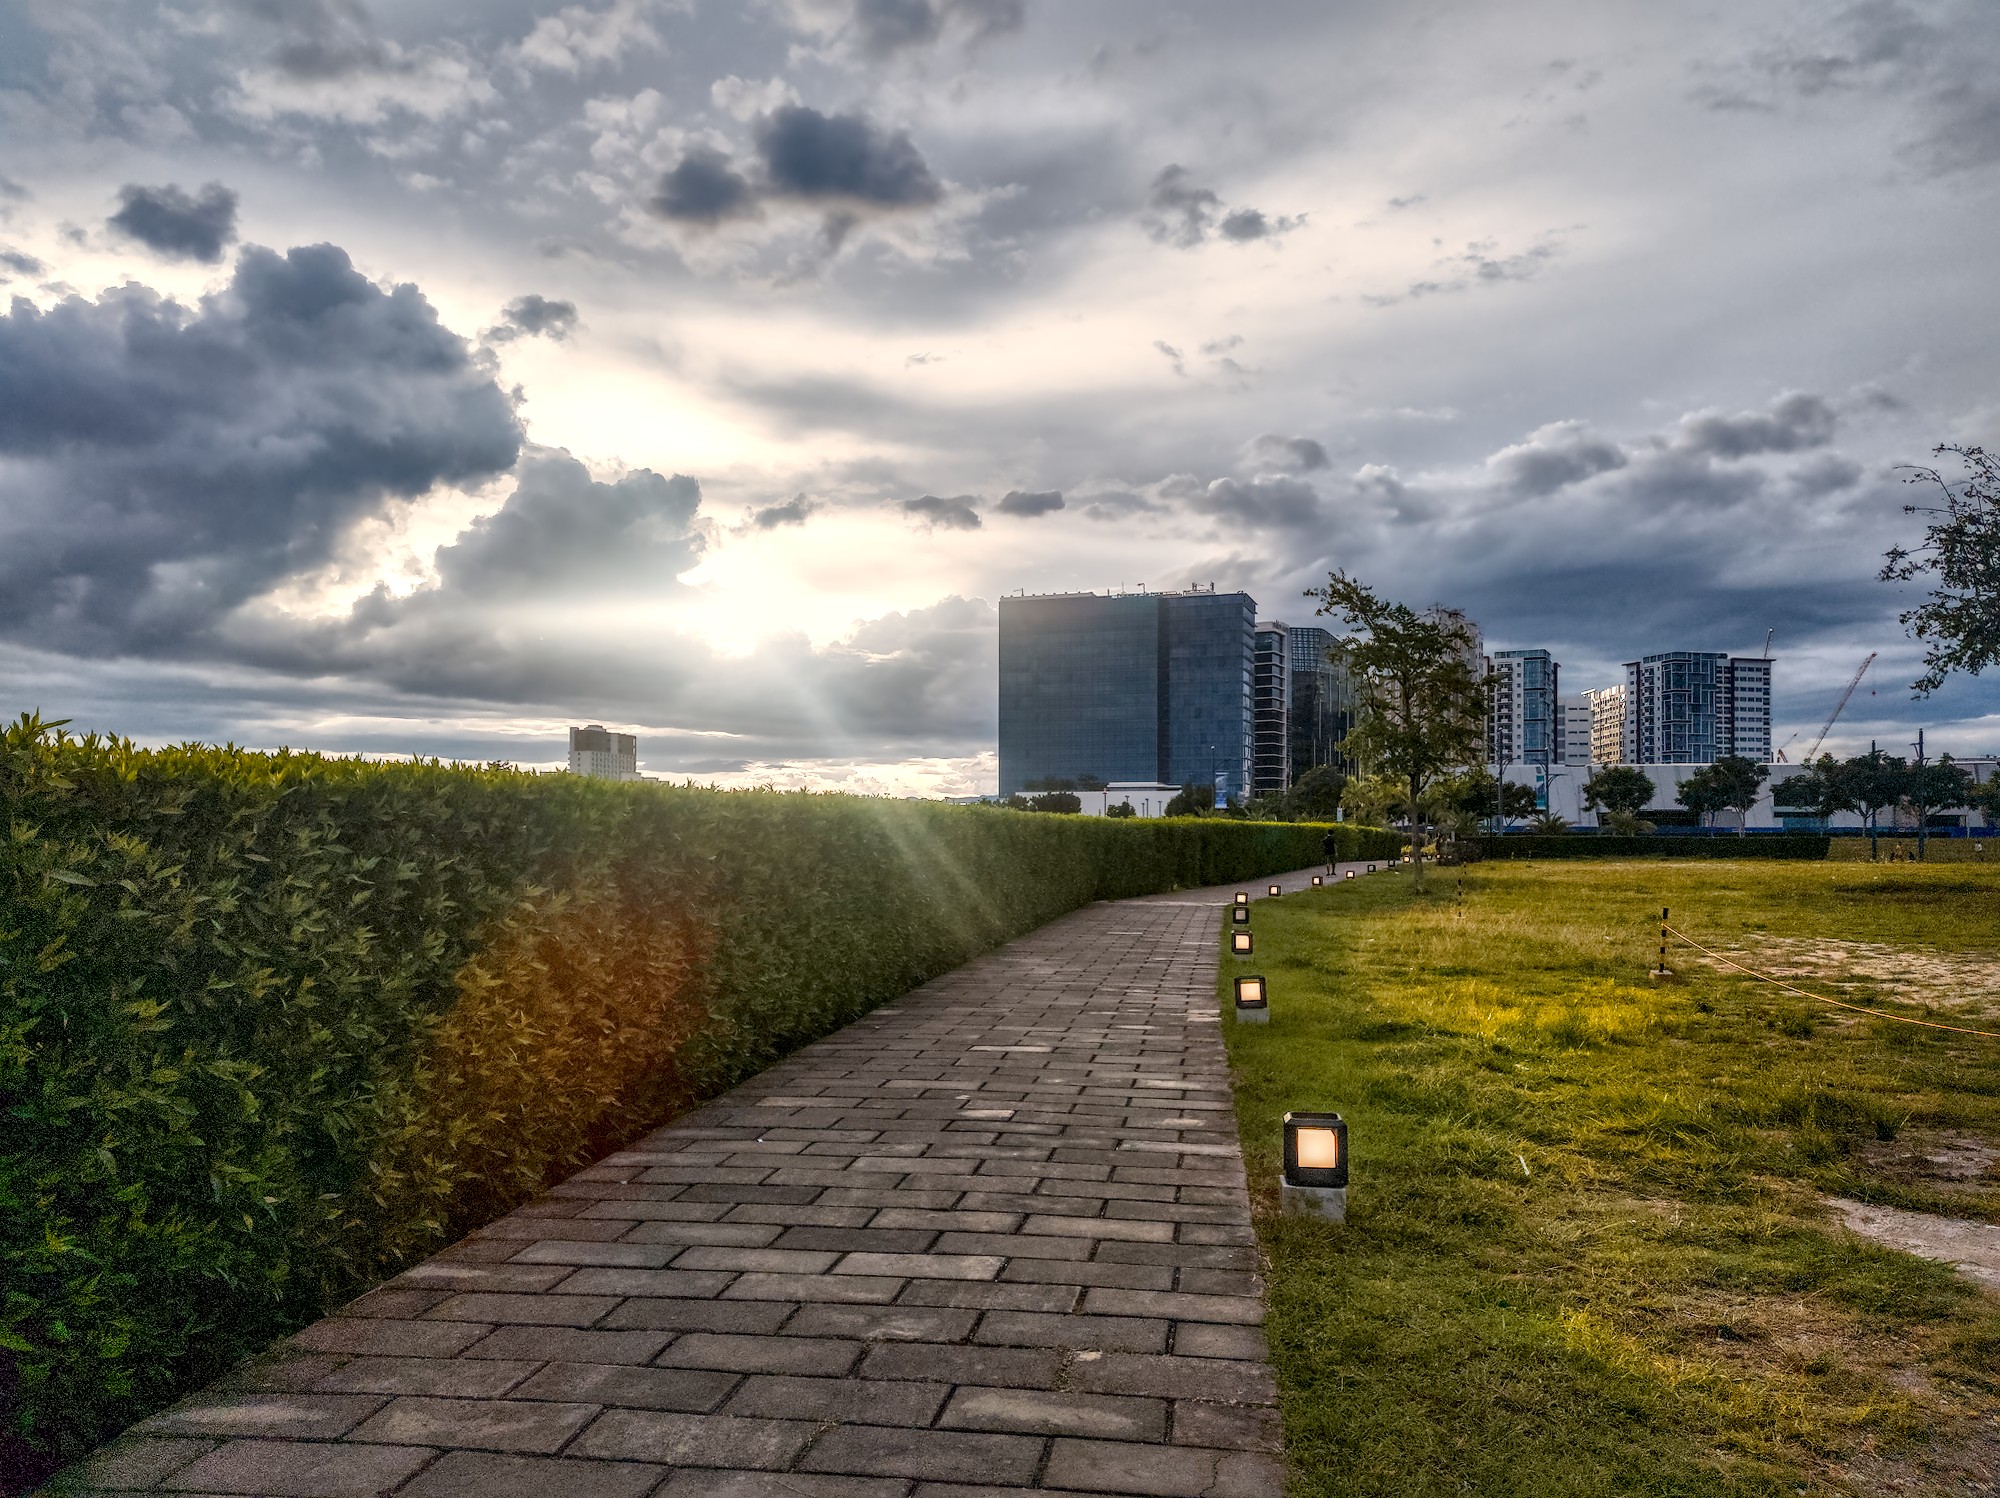
IMG_20250907_171053.dng.xmp (22,9 KB)
A further version with for me maximum brightness. I definitely wouldn’t go brighter. No cyan in the highlights, no expanding of burned out areas:
Kept it colorful and brightened, but did try to get rid of the red lens flare in the hedge (I know; lousy job). Thought about getting rid of the green light in the rear part of the hedge, but said, I did way too much already. lol

Actually, the red lens flare was an intentional part of the composition. The cyan dot wasn’t.
P.S. You didn’t say which editor you used.
GIMP w/ G/MIC.
I like the soft transitions of your highlights. Something I often find difficult with such scenes.
Relatively quick edit with current darktable nighly build (using agx), trying to keep some details in the sky without making it look too unnatural.
Hi @patrakov
I agree that RapidRAW struggled more than usual in this case and required additional tweaking - most notably, switching to AgX. That said, this is what I ended up with:
Tried to create some sort of dramatic / cinematic edit.
Timon
Thanks for the play, @patrakov
Here is another effort with RawTherapee (dev version 5.12-164-g874c8c5ec) using a completely different workflow. The aim was to control the dynamic range without dimming the overall brightness, i.e., to avoid that ‘not-quite-failed’ look.
IMG_20250907_171053.rt_tlb.pp3 (22.6 KB)
I hope I’m welcome to play too.
I’m just guy with a camera that likes to find the beauty in this world.
When I first started I really struggled and hated editing, but now I find myself wanting to edit for others. I really like your photo, and I hope I did it justice. I tried to keep a warm tone, and really show off the sky (I believe that is what you saw, the sun peaking out through the clouds and you knew you had to have that photo.
I love the lens flare, and so I tried to really lean into it.
I’d love to know what you think, any feedback would be greatly appreciated.
I’m not a professional. I just have become comfortable with Lightroom.
Hey, welcome to the forum! We are dedicated to Free and Open Source Software, and Lightroom doesn’t meet that standard.
You’re welcome to hang around, maybe we can show you some options that preserve your freedom!
Using Gimp and GMIc with your jpeg I decided to give it a vivid look
Of late, I am experimenting with DT doing the technical part of the development, meaning doing the heavy lifting, with Affinity doing the finishing and polish. Here is my output at the end of my tinkering with Affinity. Of course with some tinkering, I could have got similar results with DT, but I find it a little more intuitive with Affinity. What are your views on this approach?
Hello Timon,
Thanks for the edit. Let me try to deconstruct and understand it.
As you already mentioned, the main ingredient is AgX. And that’s the place where the required 3+ stop exposure compensation happens. The brightness adjustment at the top is minor.
Importantly, this 3+ stop exposure compensation is what allows the Blacks/Shadows/Highlights/Whites sliders to work as intended, without degrading into the “everything is classified as Blacks” thinking.
That’s the main thing I learned from your edit. Thanks again!
Quick one in Art with the Art ODT tone mapper…
Bumped up the gain in the TM…brighter version…