No. Me, too! ![]()
I used Lab… [Pardon, @anon41087856! ]
lol… since you haven’t uploaded a jpg, I ended up forgetting about you… my bad
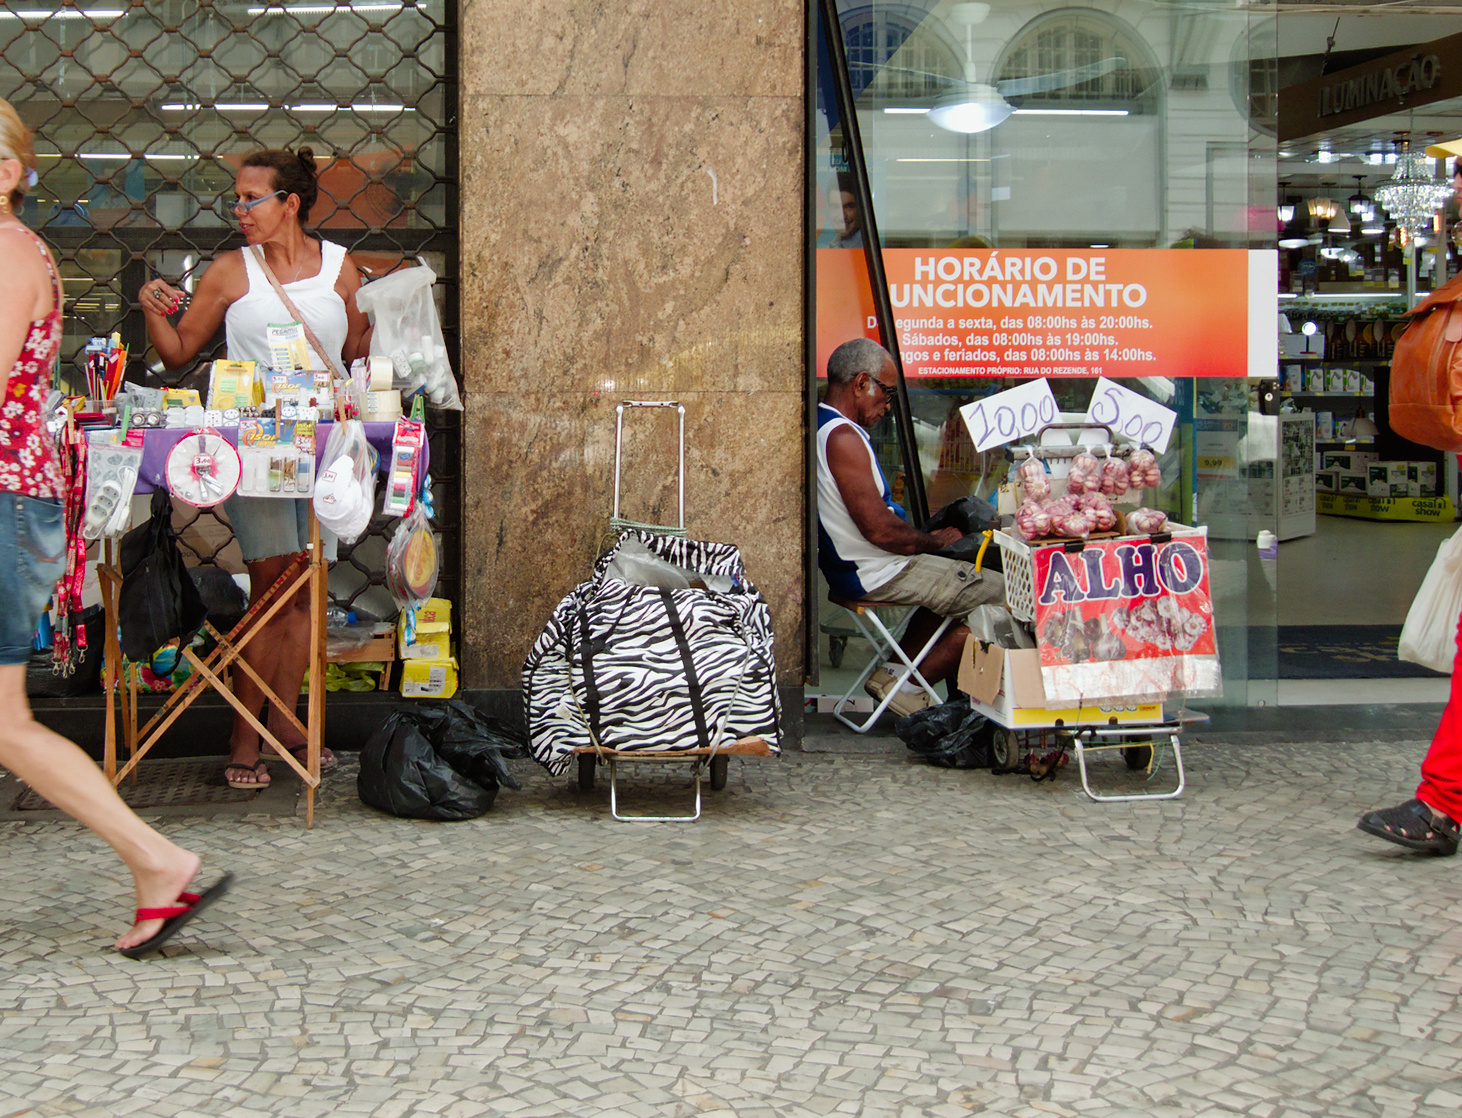
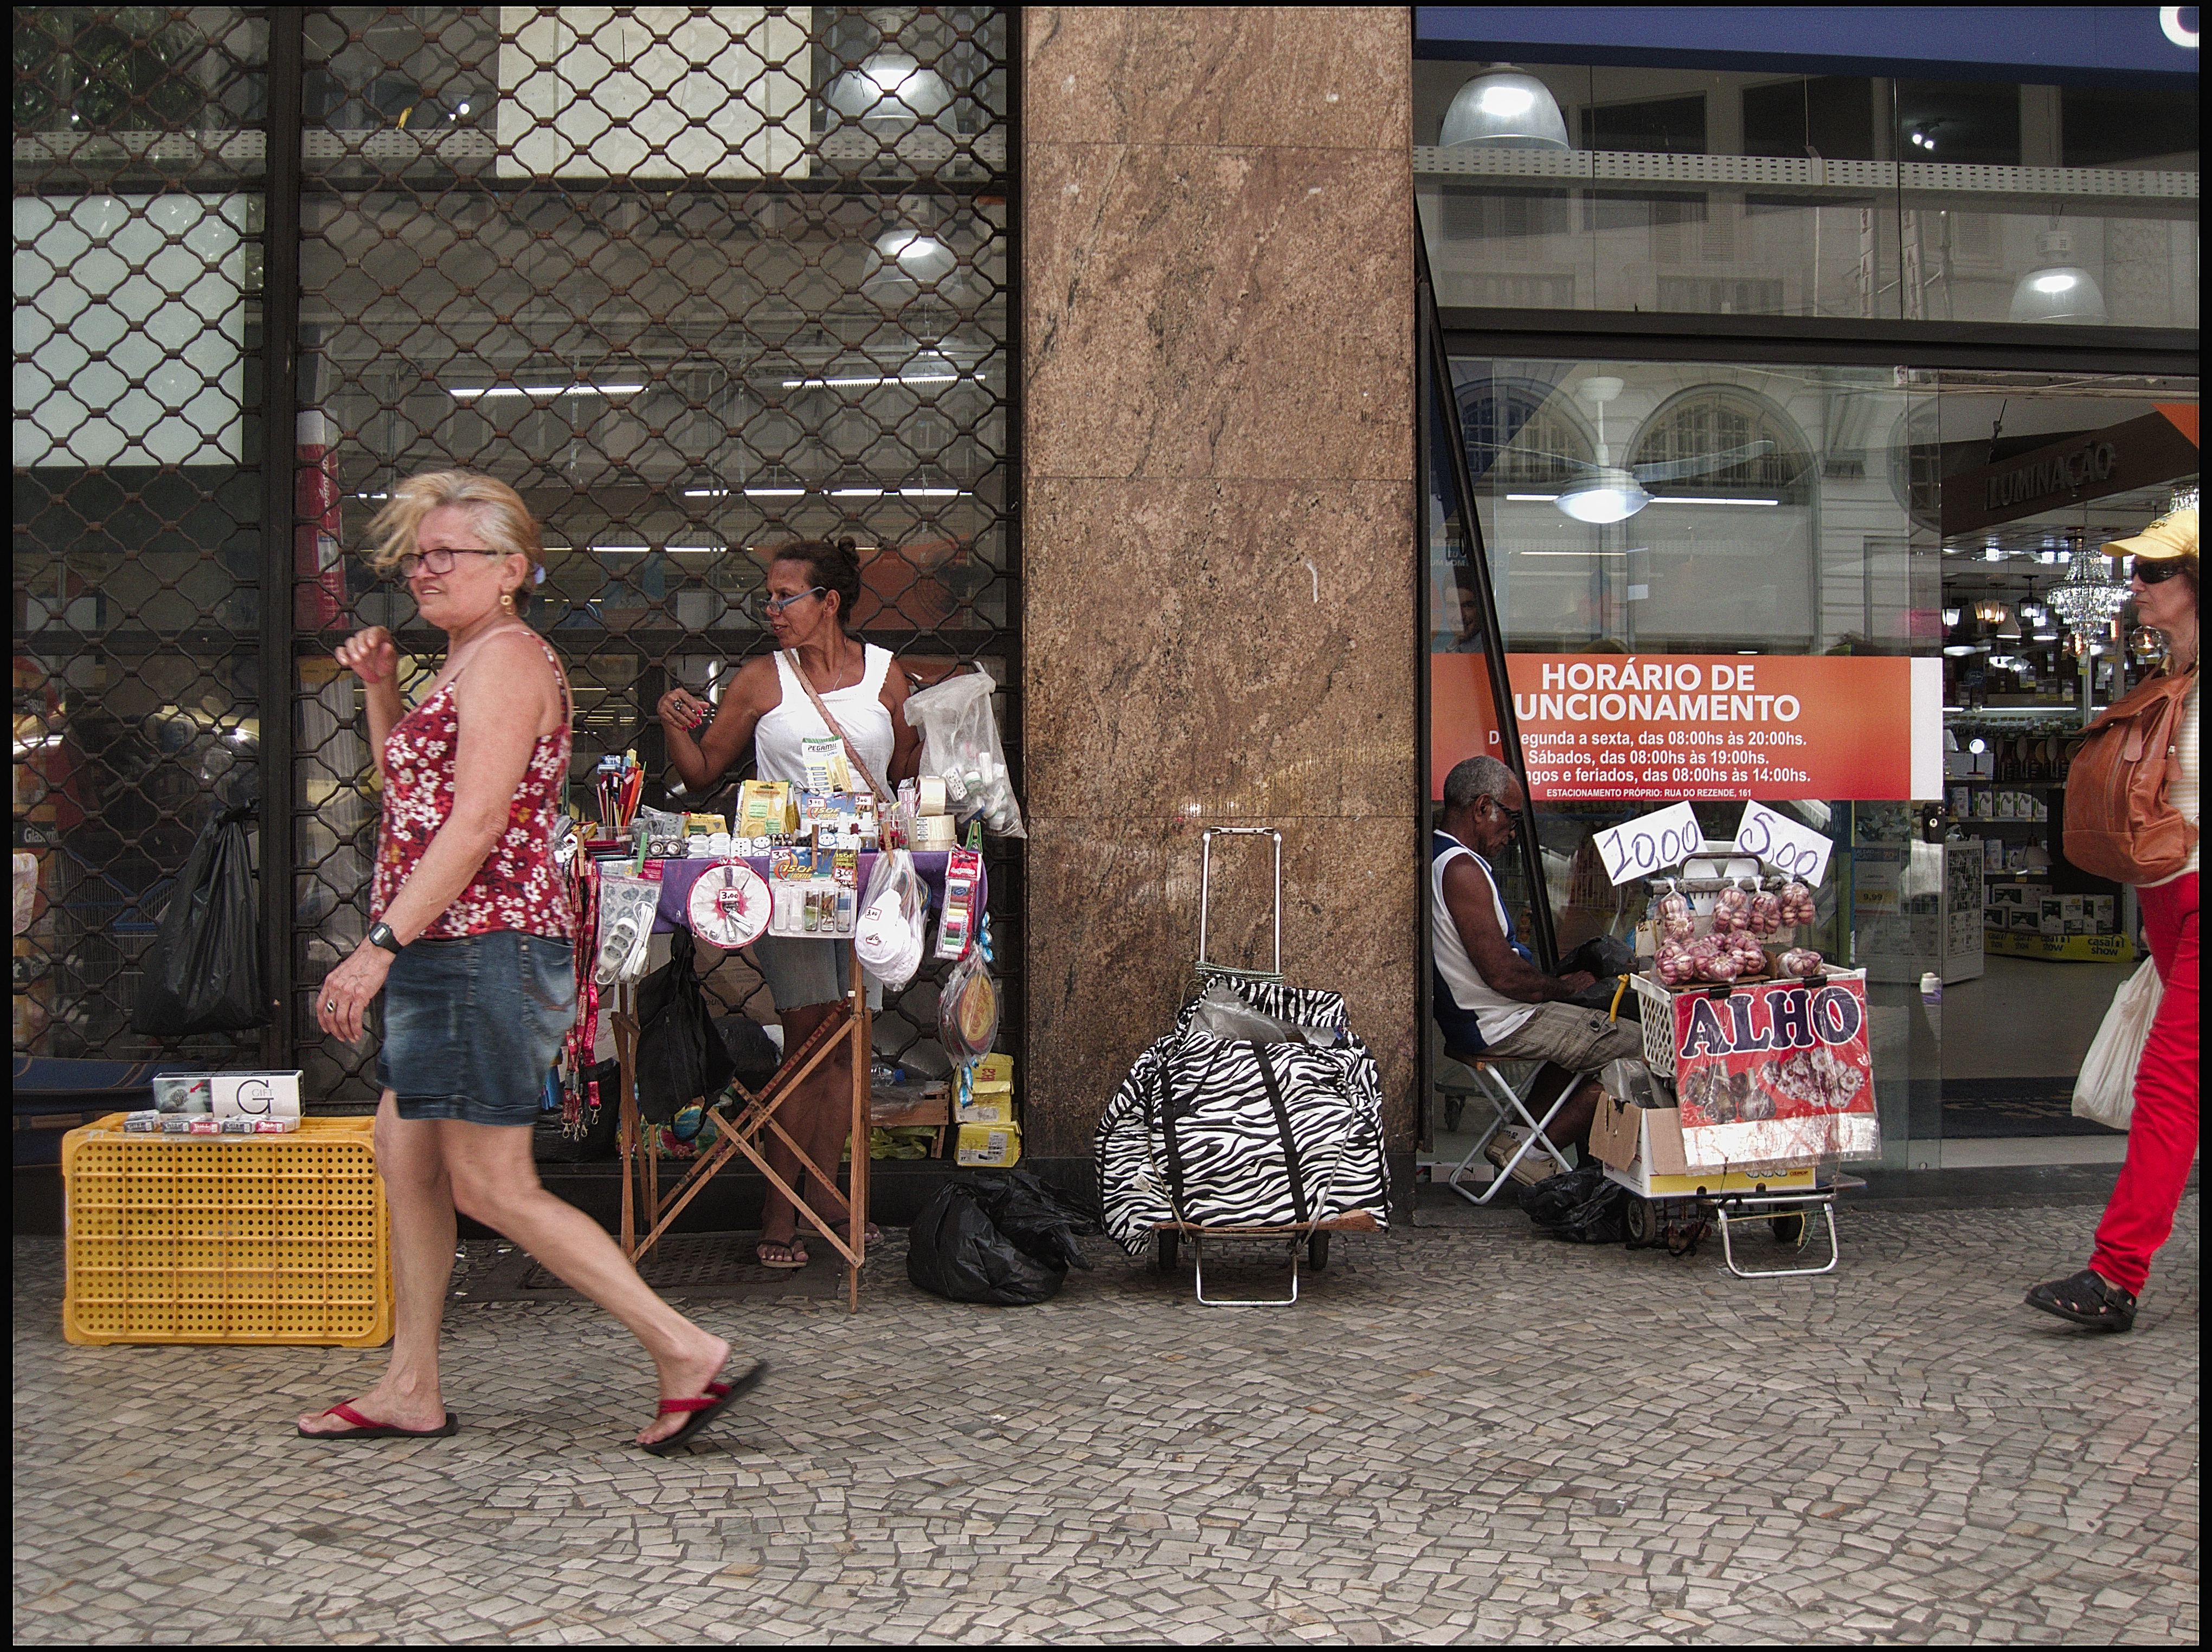
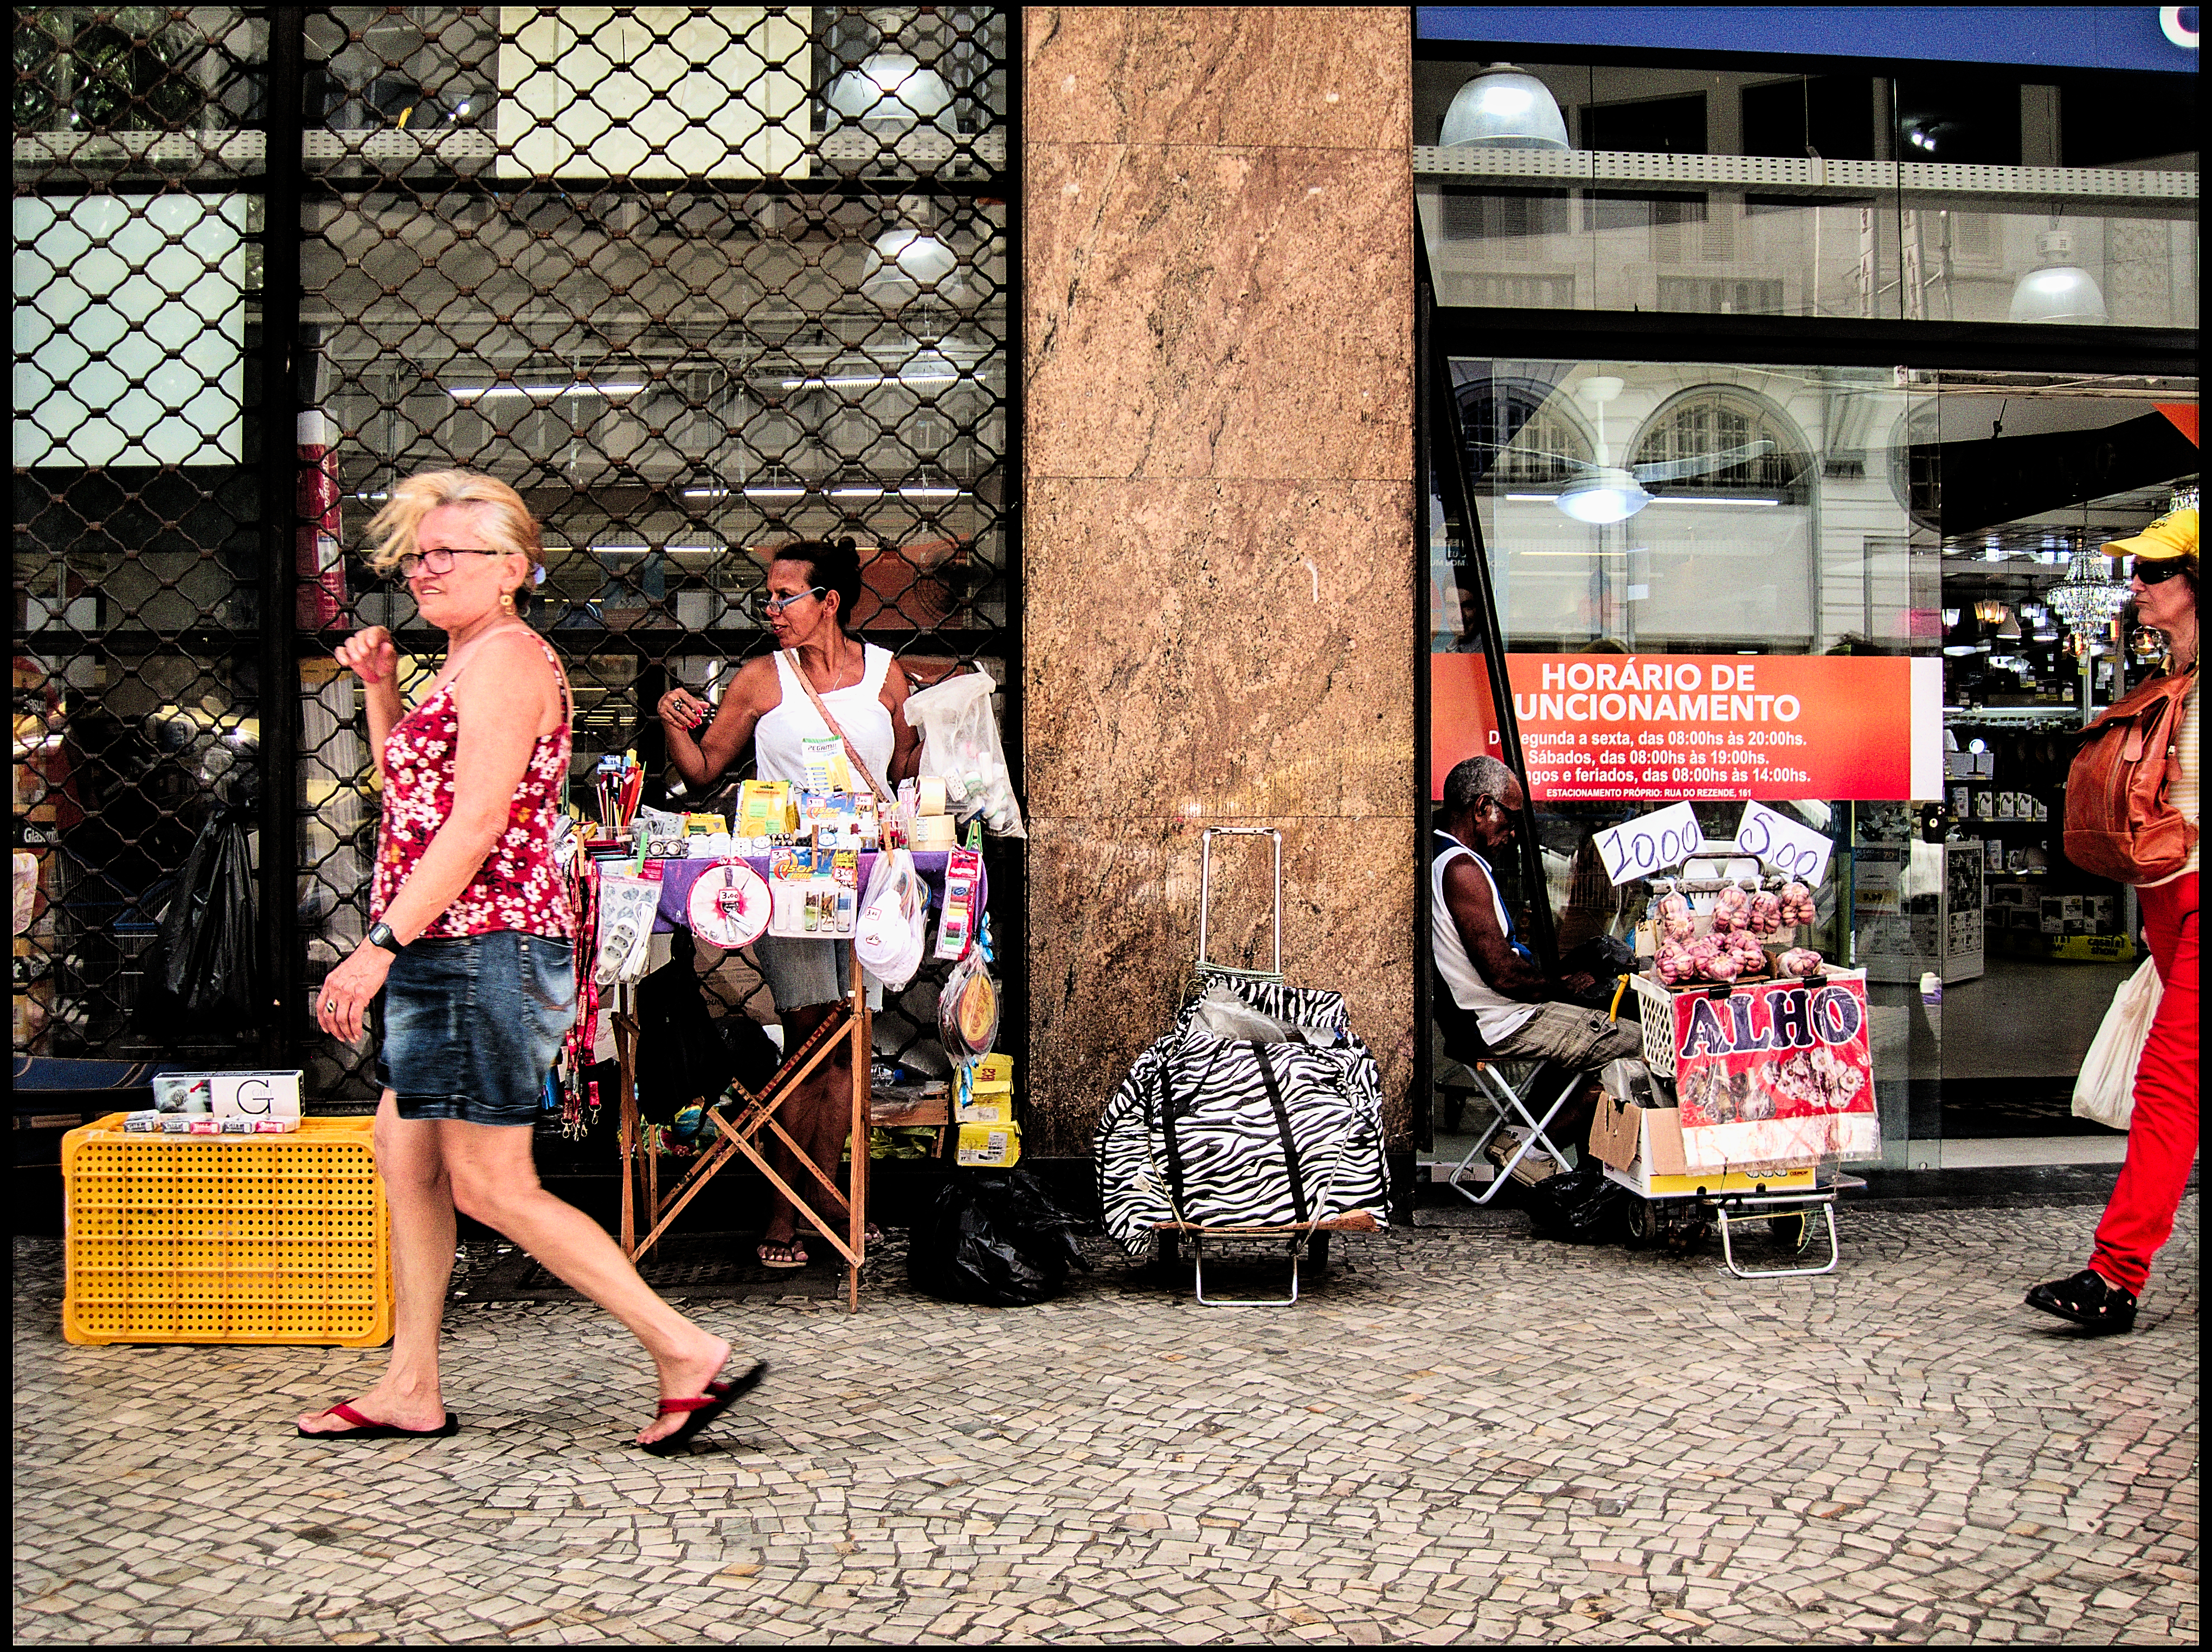
Yes, it looks better, but I would have crop it so as not to lose the symmetry (the separating column in the middle):
However, each viewer sees the picture differently. Very important is that you don’t let yourself be influenced too much by the opinions of others. ![]()
1 Like
GUI isn’t G’MIC’s strong suit, although it has been improving. I think your question is less of a problem in a raster editor than a raw processor. I have seen your work and know that you are proficient in GIMP. ![]()
1 Like
Ok, I have watched that :
https://www.youtube.com/watch?v=4cLAudm5yXg
It seems very likely that they use a guided filter around the coordinates of the point, then sample the color of said point to define at once all the parameters you need to manually input in dt. That is something that could be done in dt too. But, for the correction itself, they use masks the same way Capture One does : define a zone first, then load corrections. dt’s logic is the inverse : define a correction first, then escape areas outside of the masks. That part will not be possible anytime soon in dt.
So, in dt, control point would translate in a vector storing coordinates, radius, hue, saturation, … and feeding this values as settings for a regular parametric mask with feathering. I could try it but… man this becomes a full-time job for real.
3 Likes
I do not know how color look up table module in dt works, but I have used it in a way that resembles the use of conrol points in Viveza video.
Do you have any experience with the color look up table module as control point selector?
1 Like
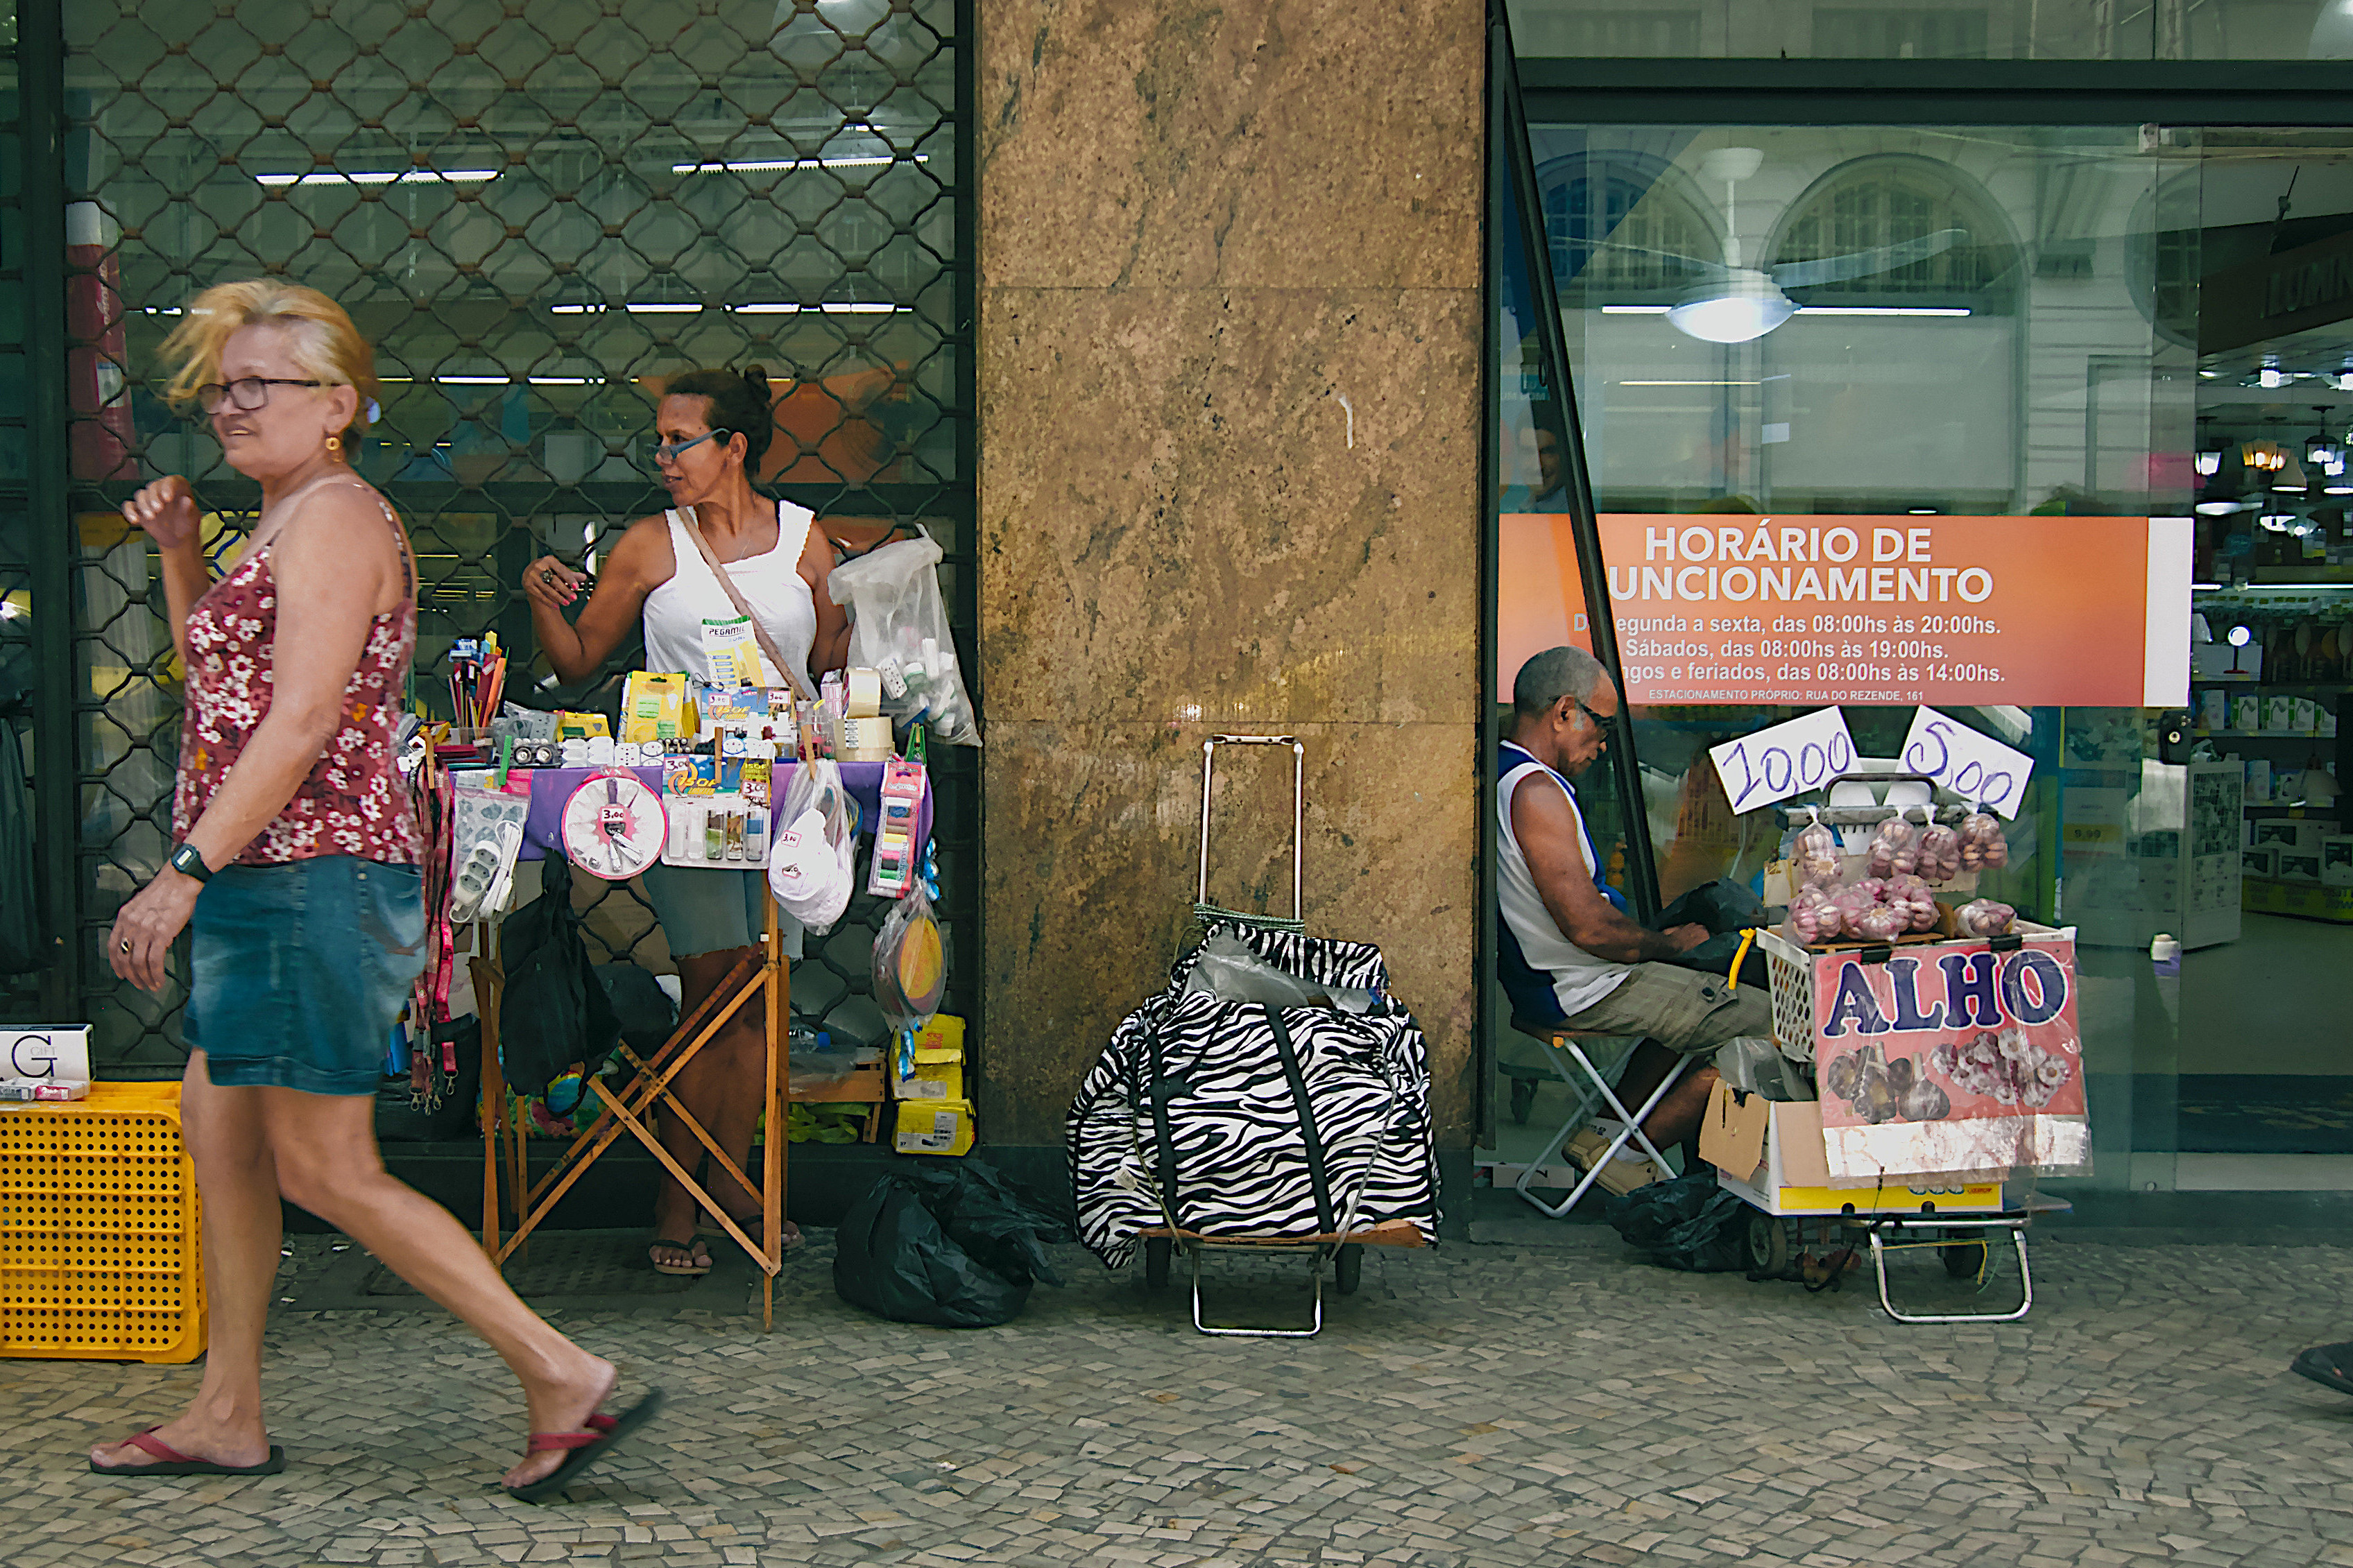
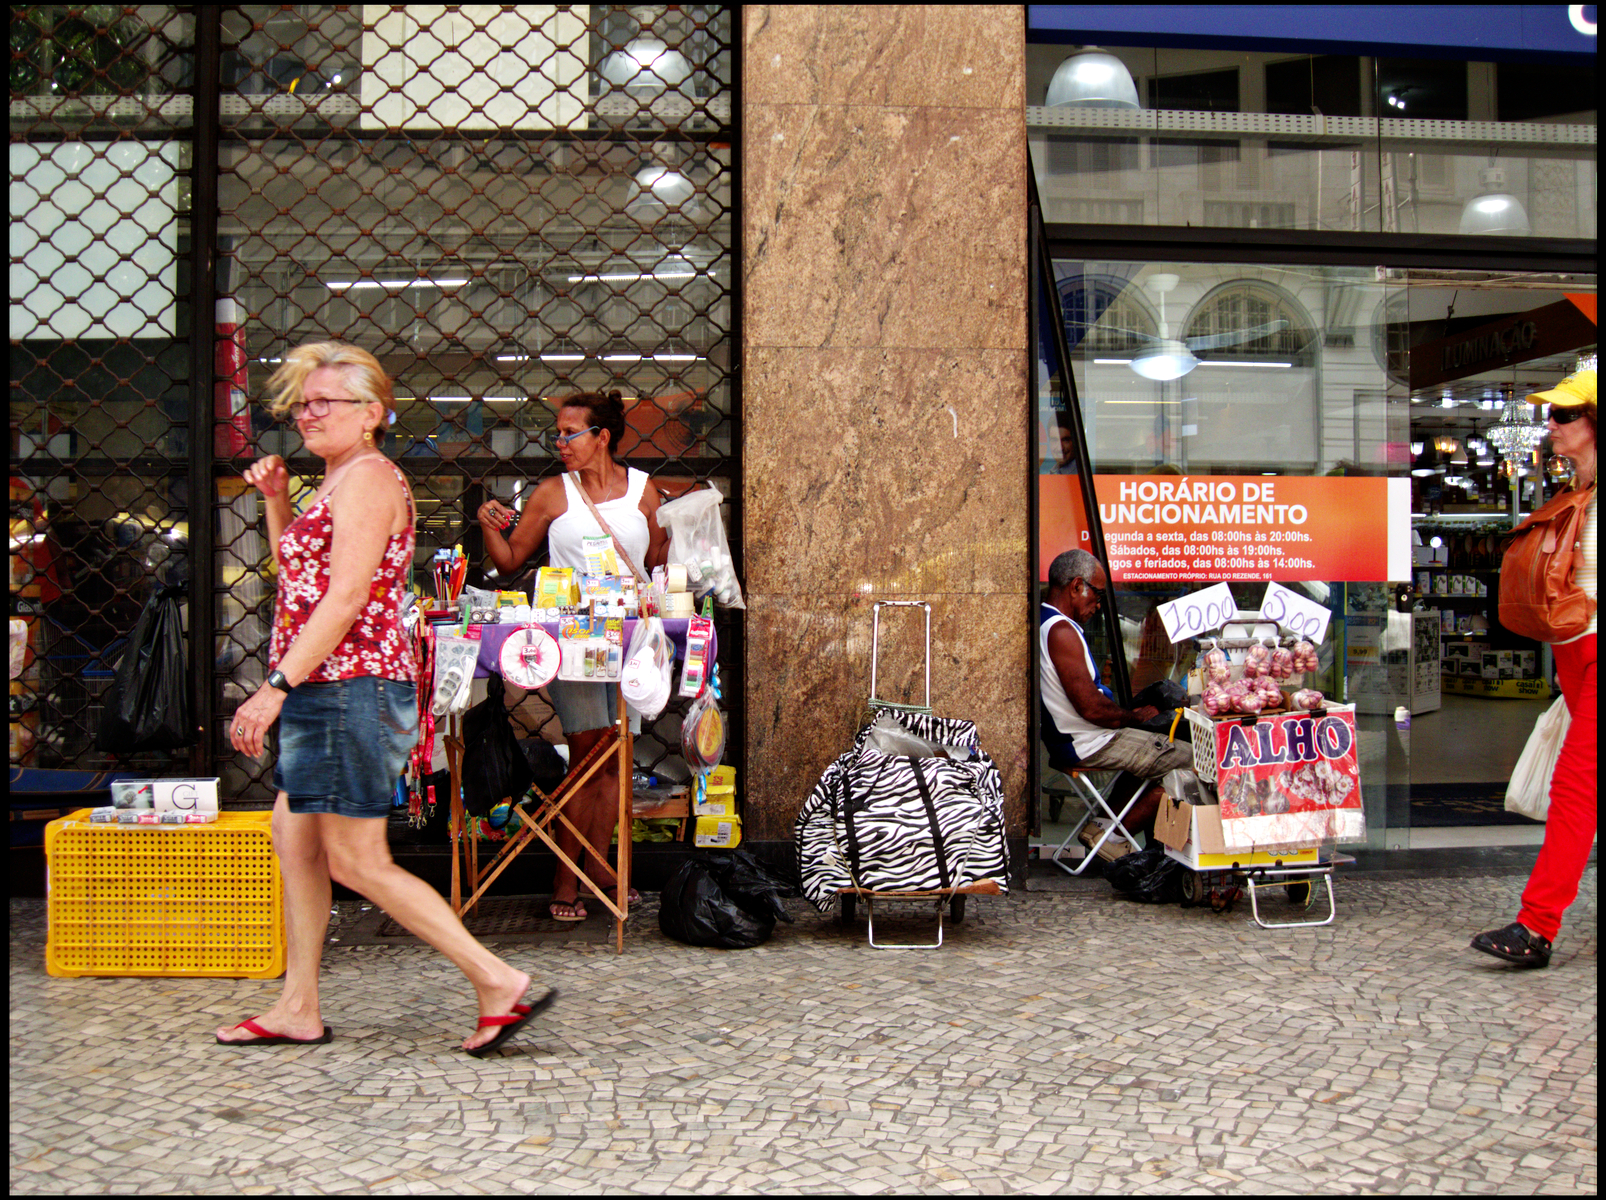
An alternative crop that puts the focus more on the sellers and relegates the passers-by to background. I’ve been lazy and used someone elses JPEG attempt…
2 Likes
Great idea!
Especially it can be interesting if you can choose an area in the color picker instead of a point as a reference for parametric mask.
This would be even more superior than Viveza’s control points since you can combine parametric mask with different drawn masks in darktable, which could make selection of a certain area even more precise.
Me too. That is great module. Also the color zones module can be used in a similar way.
1 Like
My try:
- Modify exposure a bit
- Filmic
- Another instance of sharpen
- Equalizer
- Local contrast (default value)
- Color balance (output saturation 95%)
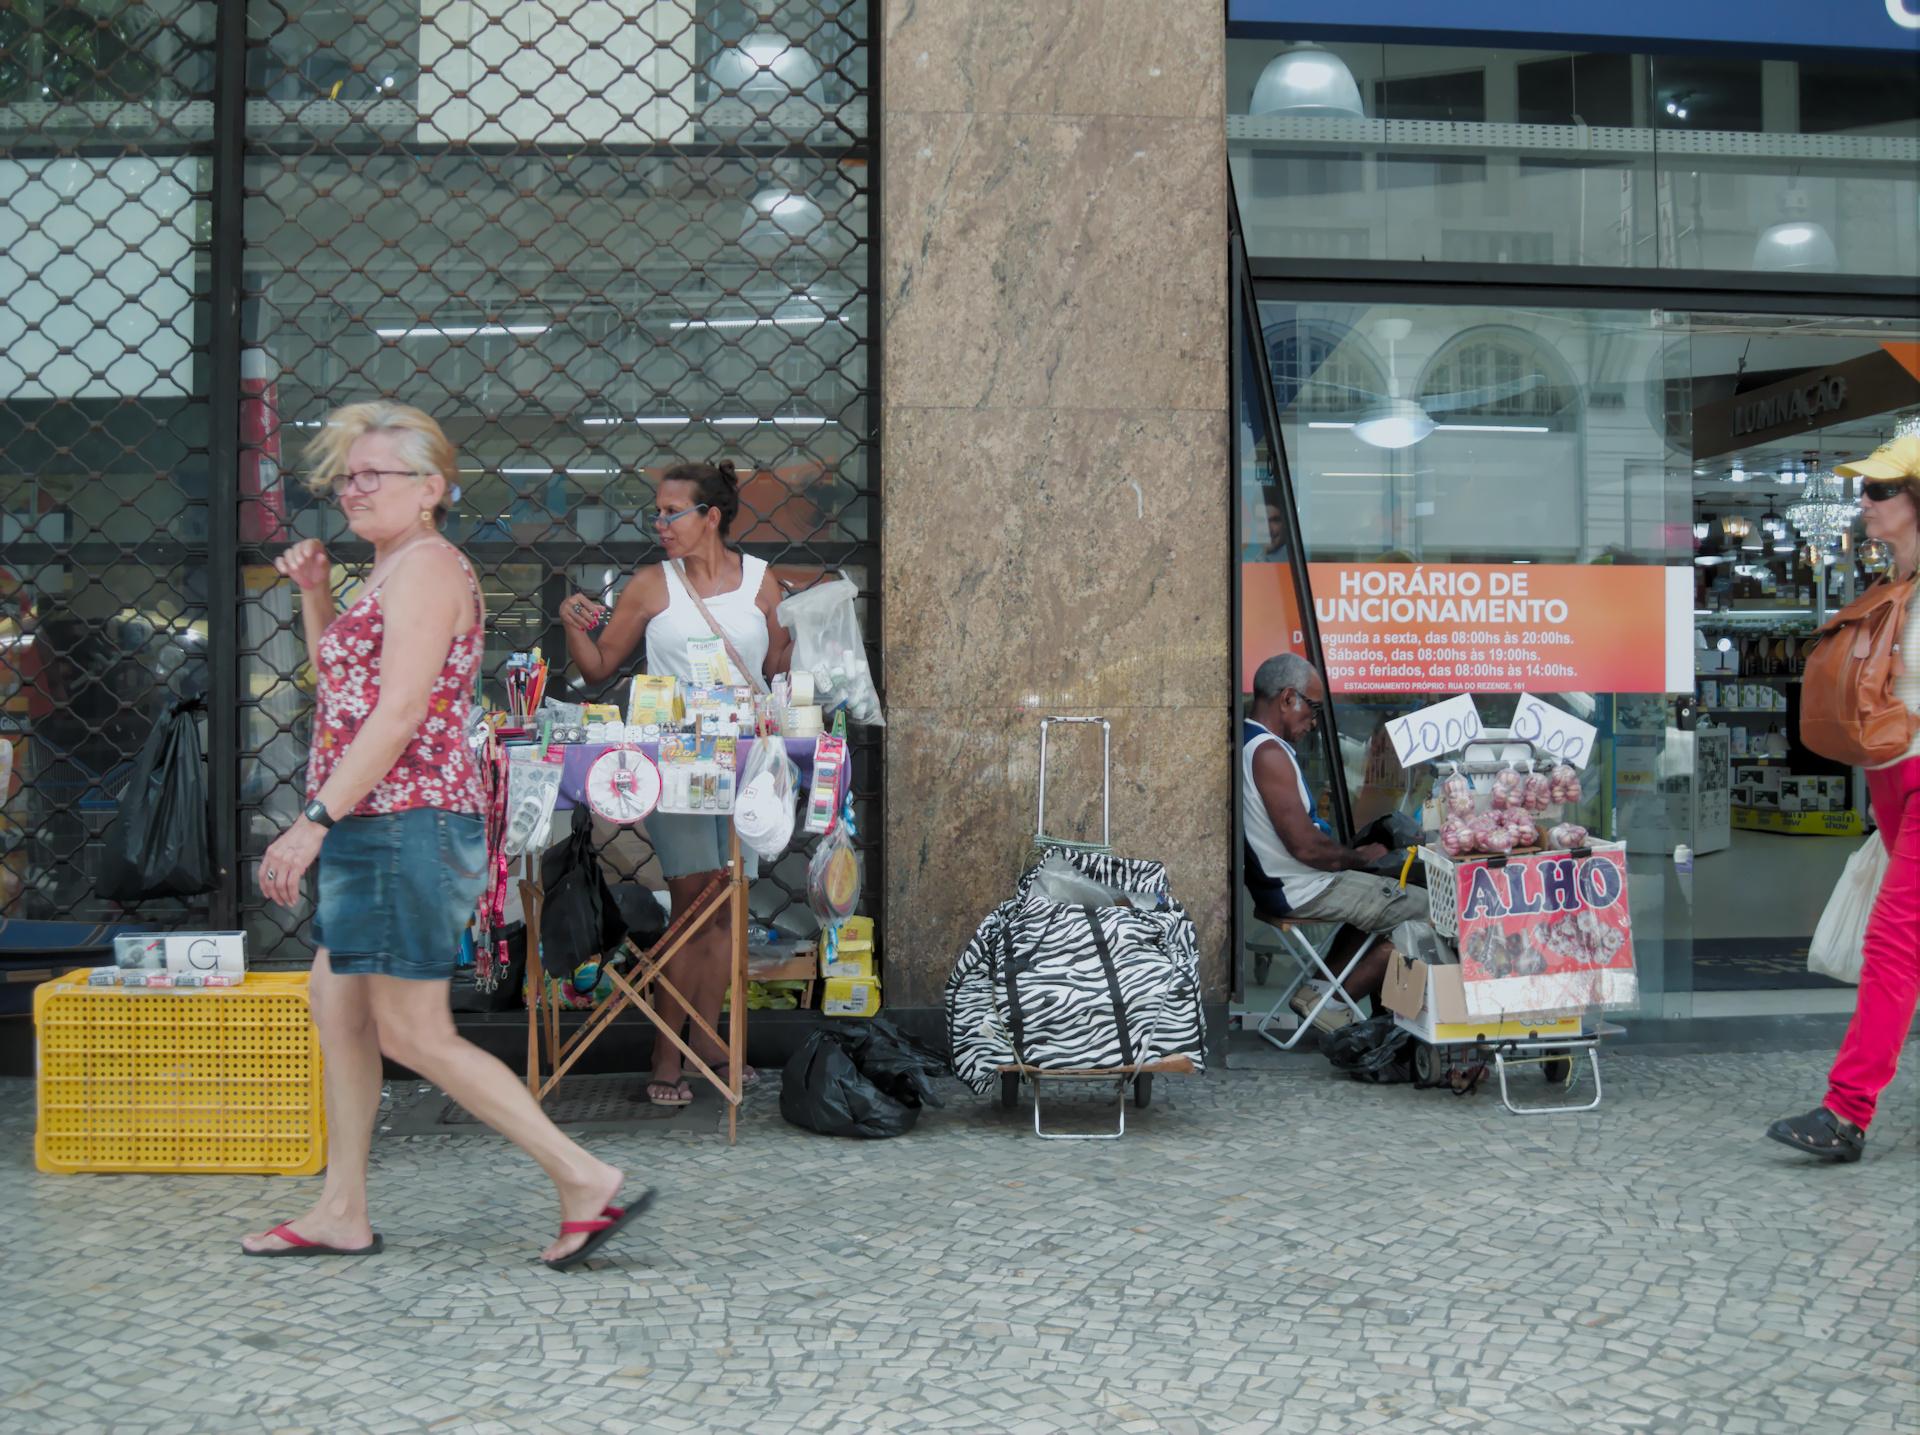
Uncropped version:
Cropped version:

Thanks!
3 Likes
It looks like you have not been using “negative control point”/“protect area at all”. So the adjustment is actually affecting the whole image …
In this case there is no need for it. it was just a quick and dirty demonstration.
Ok that’s fine.
I was asking because not everyone is aware of this.
Hi @anon41087856 and @s7habo,
some time ago I read that the control point part of the software is under US and/or CAN patent. So this could be a source for finding out, how it works. But it also requires to find a way around this patent, when similar should be implemented in darktable.
Unfortunately I cannot find the page anymore, where I read about it…
I wouldn’t be surprised if it was patented. Although Europe doesn’t recognize software patents (the source code is protected, not the feature).
DxO bought Nik Collection ( Viveza - Color effecs pro + more ) from Google.
Control point is now a part of DxO Photo Line ( that’s one of the reason I like it so much)
I think they have licenced it to Nikon Capture
It’s a bit ironic that this awesome tech comes from a so limited and camera-centric software…

Filmic Test by gadolf CC BY-NC-SA.DNG.xmp (5.6 KB)
Here’s my version, as edited on my live stream! (Although I used more than just the filmic module for this) You can still see the process for the next two weeks at twitch.tv/chicagocameraslinger
Thank you for sharing!!
3 Likes
My take. First time using a raw processor by itself. Usually, I use at least two apps and use the raw processor very sparingly. Goes to show how much PhotoFlow has grown. Thanks @Carmelo_DrRaw (and others) for the underlying code. It’s the power of FLOSS and the strength of our community!


1. PhotoFlow → CRW_4221.pfi[1] (26.6 KB) → no post-resize sharpening.
– No long list of processing steps this time! 
– Well, it is still quite bare bones processing but filmic is quite powerful. 
Zoom 100% and enjoy.
PS [1]
- Used the latest commit dated 20190210. See: Release Continuous build · aferrero2707/PhotoFlow · GitHub.
- When opening the PFI, remember to change the path here:
<property name="file_name" value="path\to\CRW_4221.DNG">
</property>
2 Likes
The last few days I have come up with quite a simple darktable workflow that works surprisingly well on my kind of shots. I tested it on this image as well:
CRW_4221.DNG.xmp (5.7 KB)
Have fun!
Claes in Lund, Sweden
1 Like