I came across this because it was referenced in another thread…
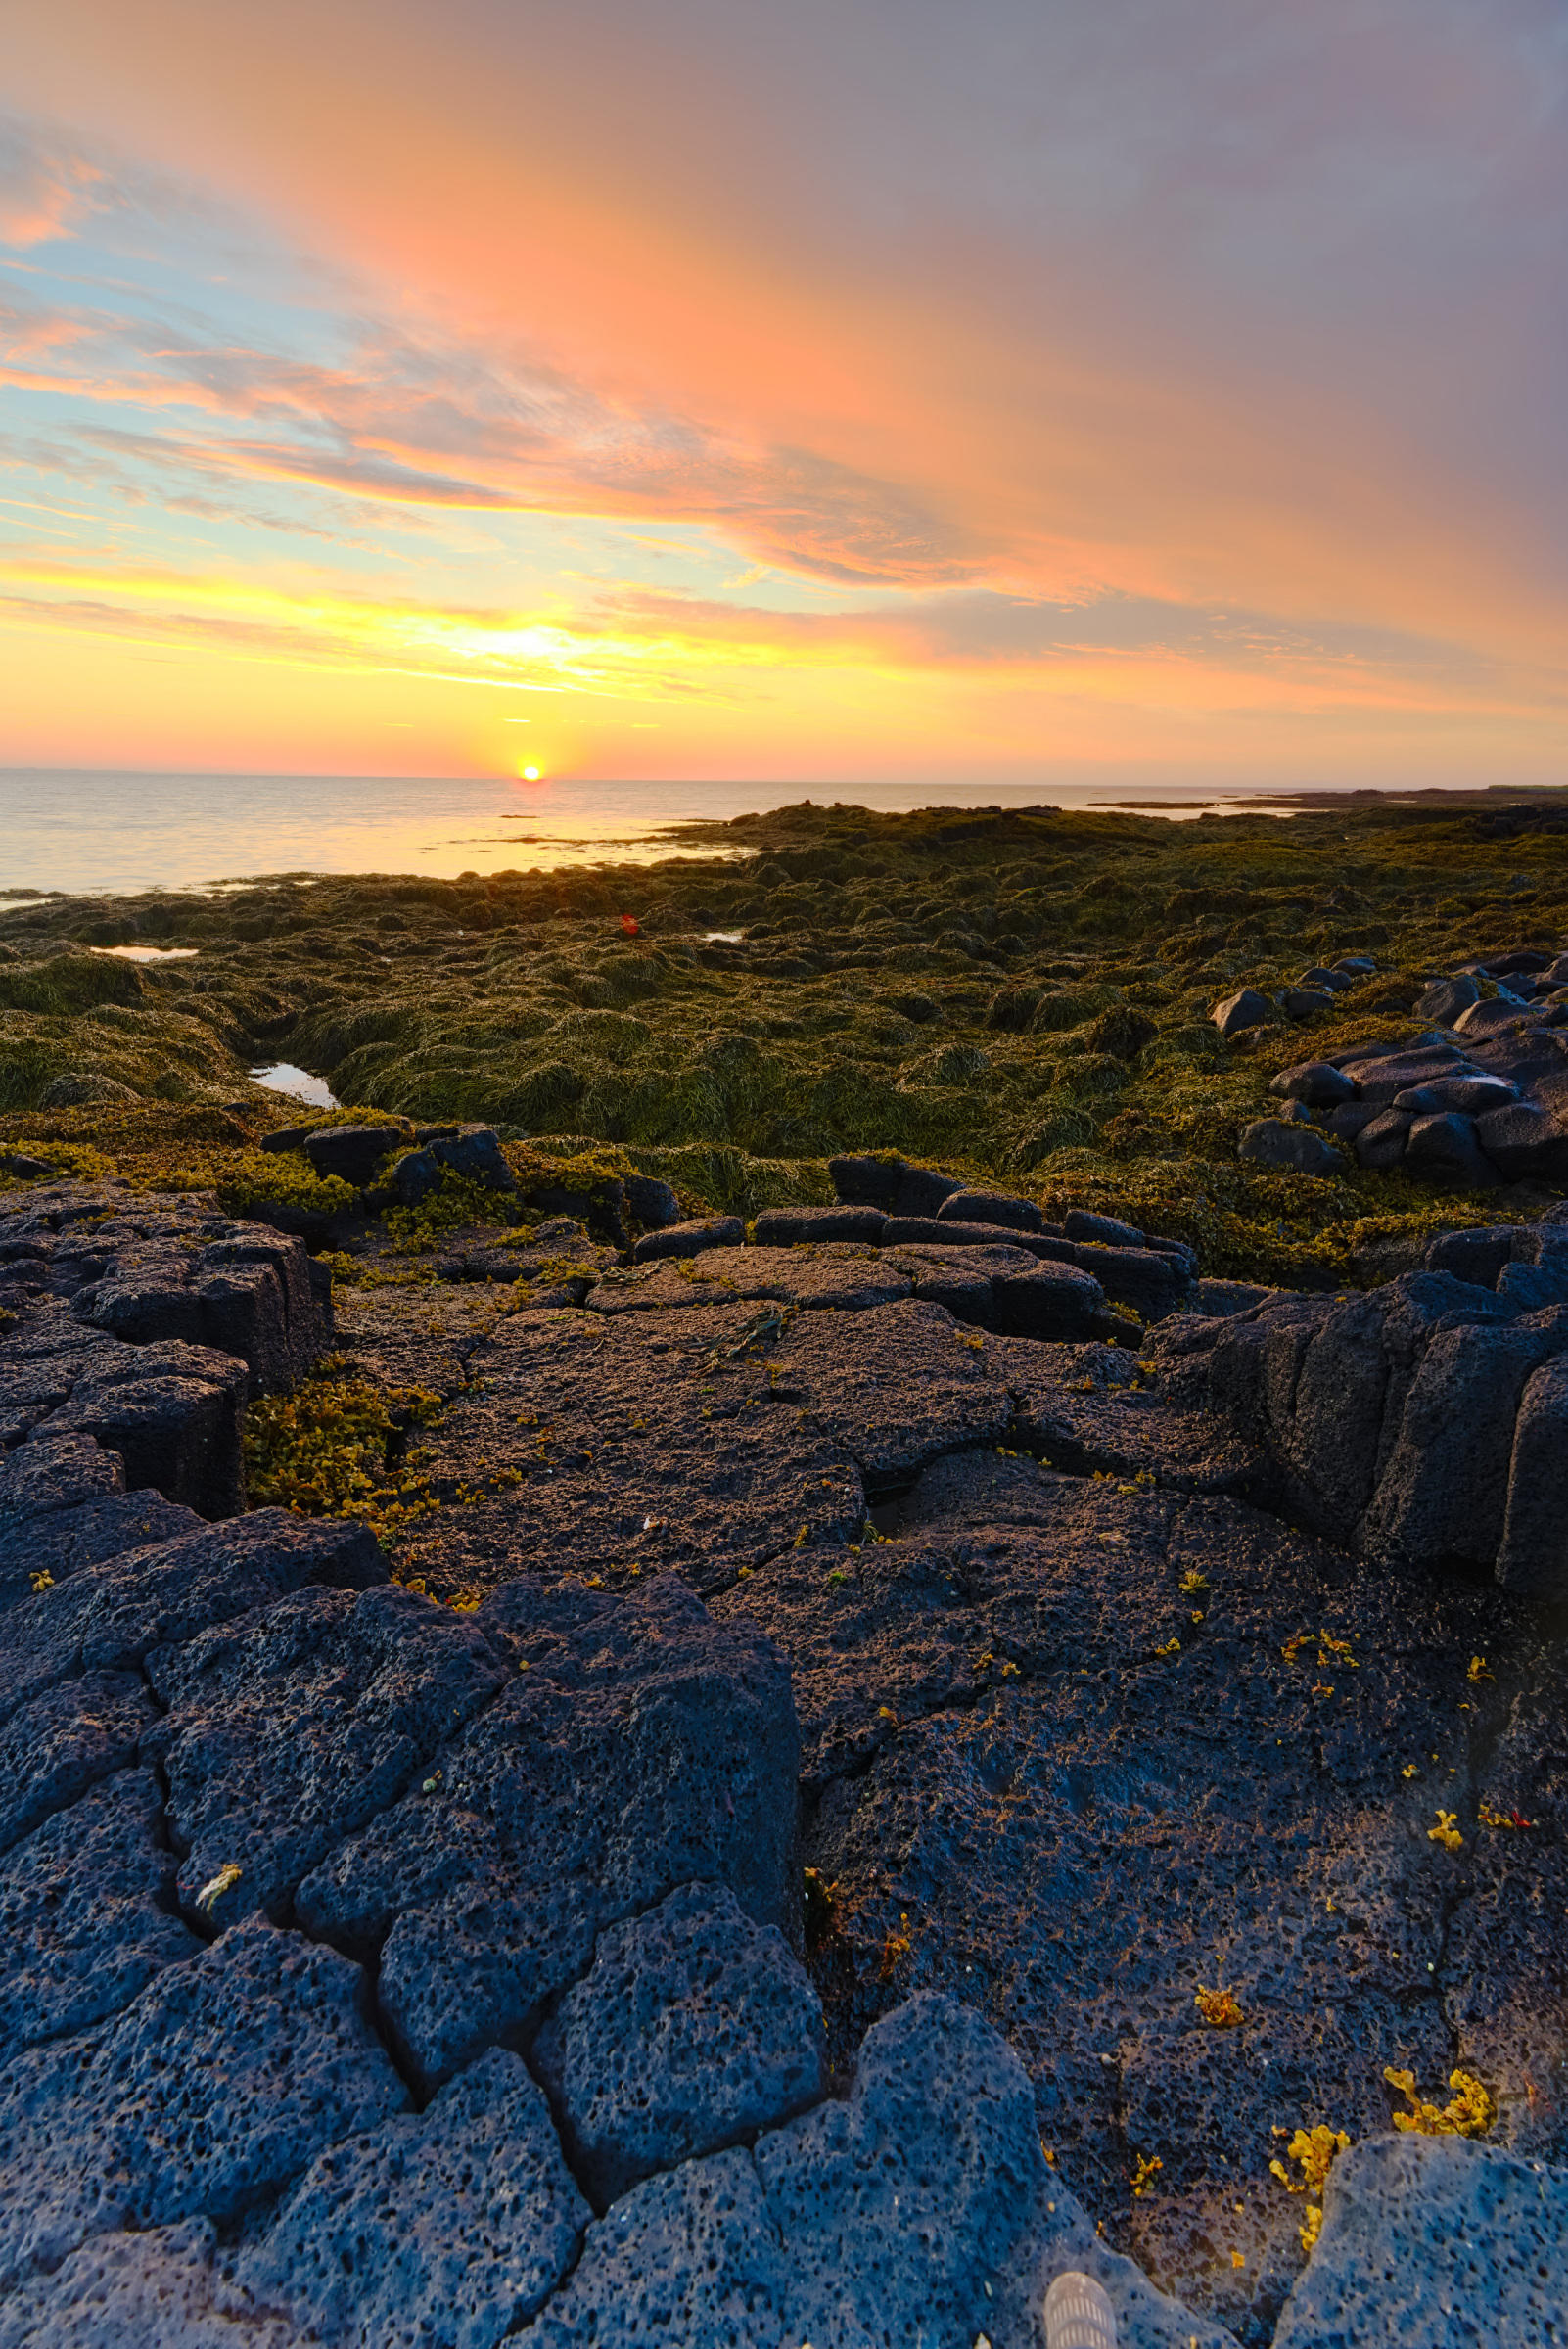
I see that this was taken by a Sony A7M3, and based on the file size of 24 MB, it was done with the camera set to compressed RAW mode.
Quantization artifacts like this are a well known potential risk of Sony’s lossy compression algorithm - KARWY may be of use - The Aggregate: KARWY
While the linked page says “horizontal” - that is only true if the camera is in landscape orientation. If in portrait like this shot, the artifacts will be vertical.
The quantization artifacts only appeared on extreme contrast edges, and they’re only noticeable due to their blockiness: the compression is on 1x8 horizontal blocks. And it would be for every line.
It looked to me like it was on high-contrast edges - such as the edges of the sun and brightly lit clouds.
Last I remember from looking at the source code of an ARW2 decompressor, it was 2x16 or 2x32 - not 1x8.
But yeah it could also be the PDAF sensel issue… While it’s present in most Sonys with OSPDAF, there was a lot of discussion of the phenomenon back when the A7M3 was announced because it seems to be more pronounced on that body, or it was just bad luck that one of DPR’s reviewers caught it happening during their review. (I recall their review/preview involved a lot of shooting in extremely high-contrast lighting)
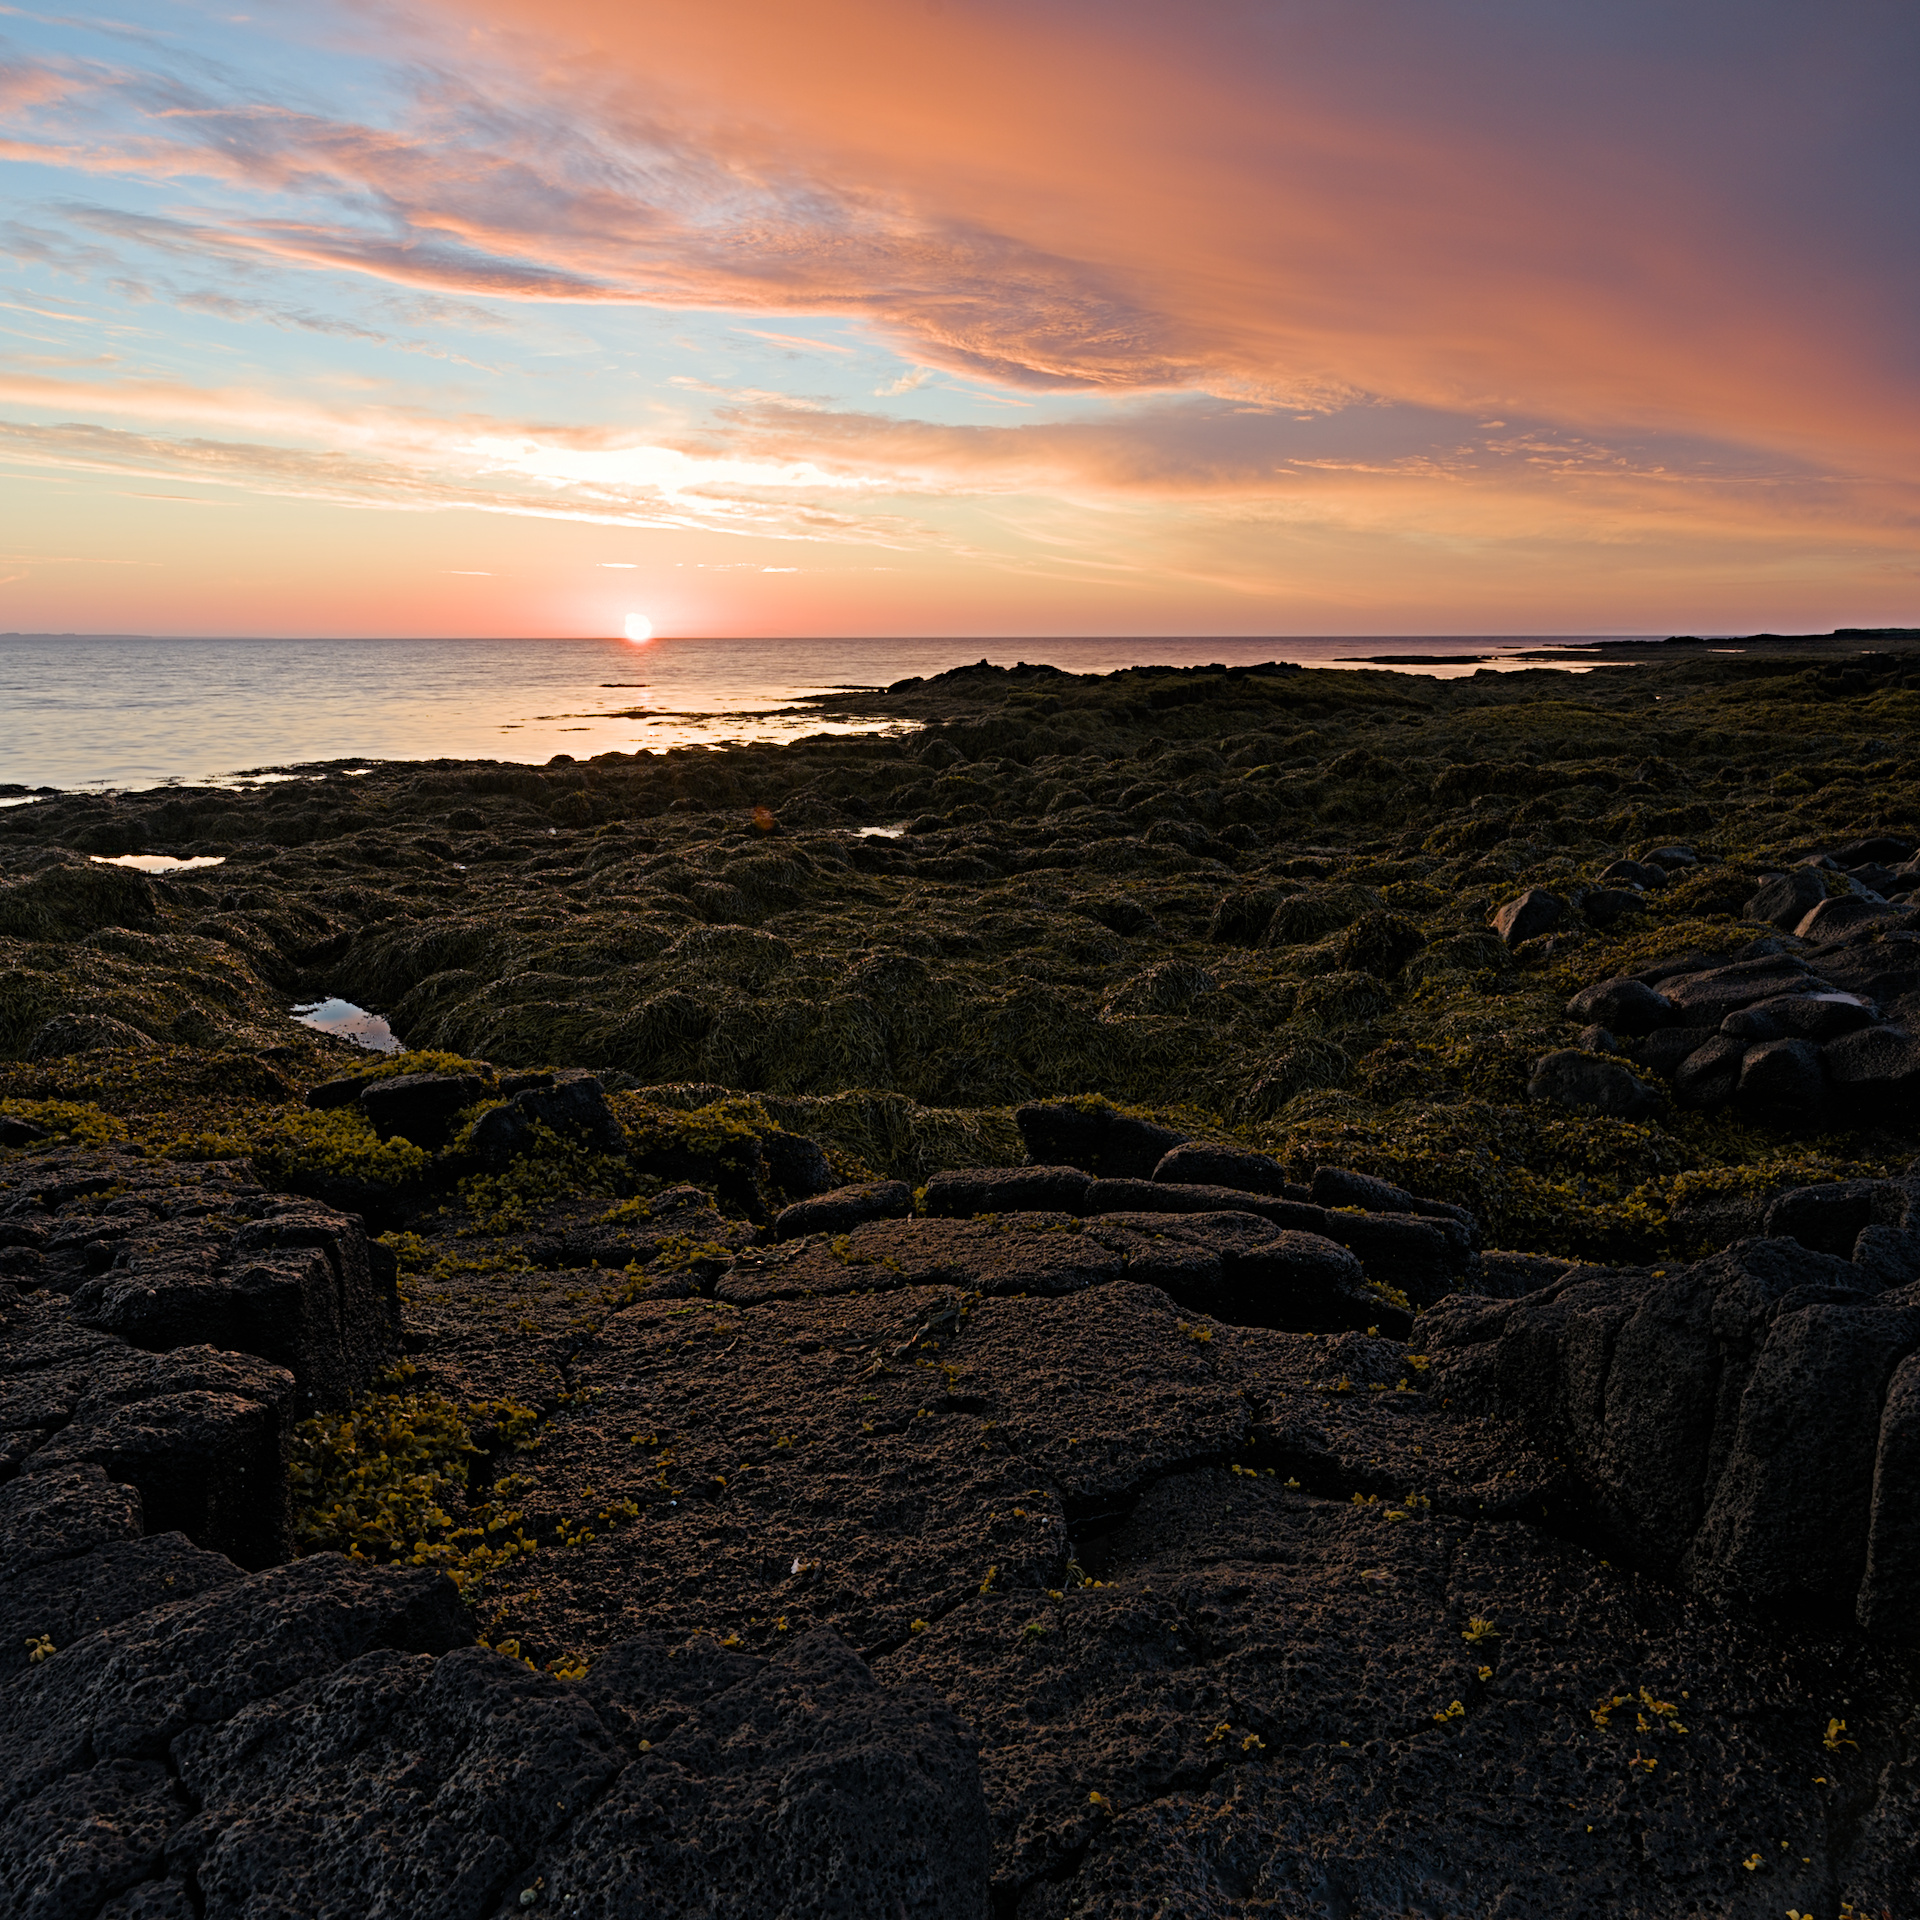
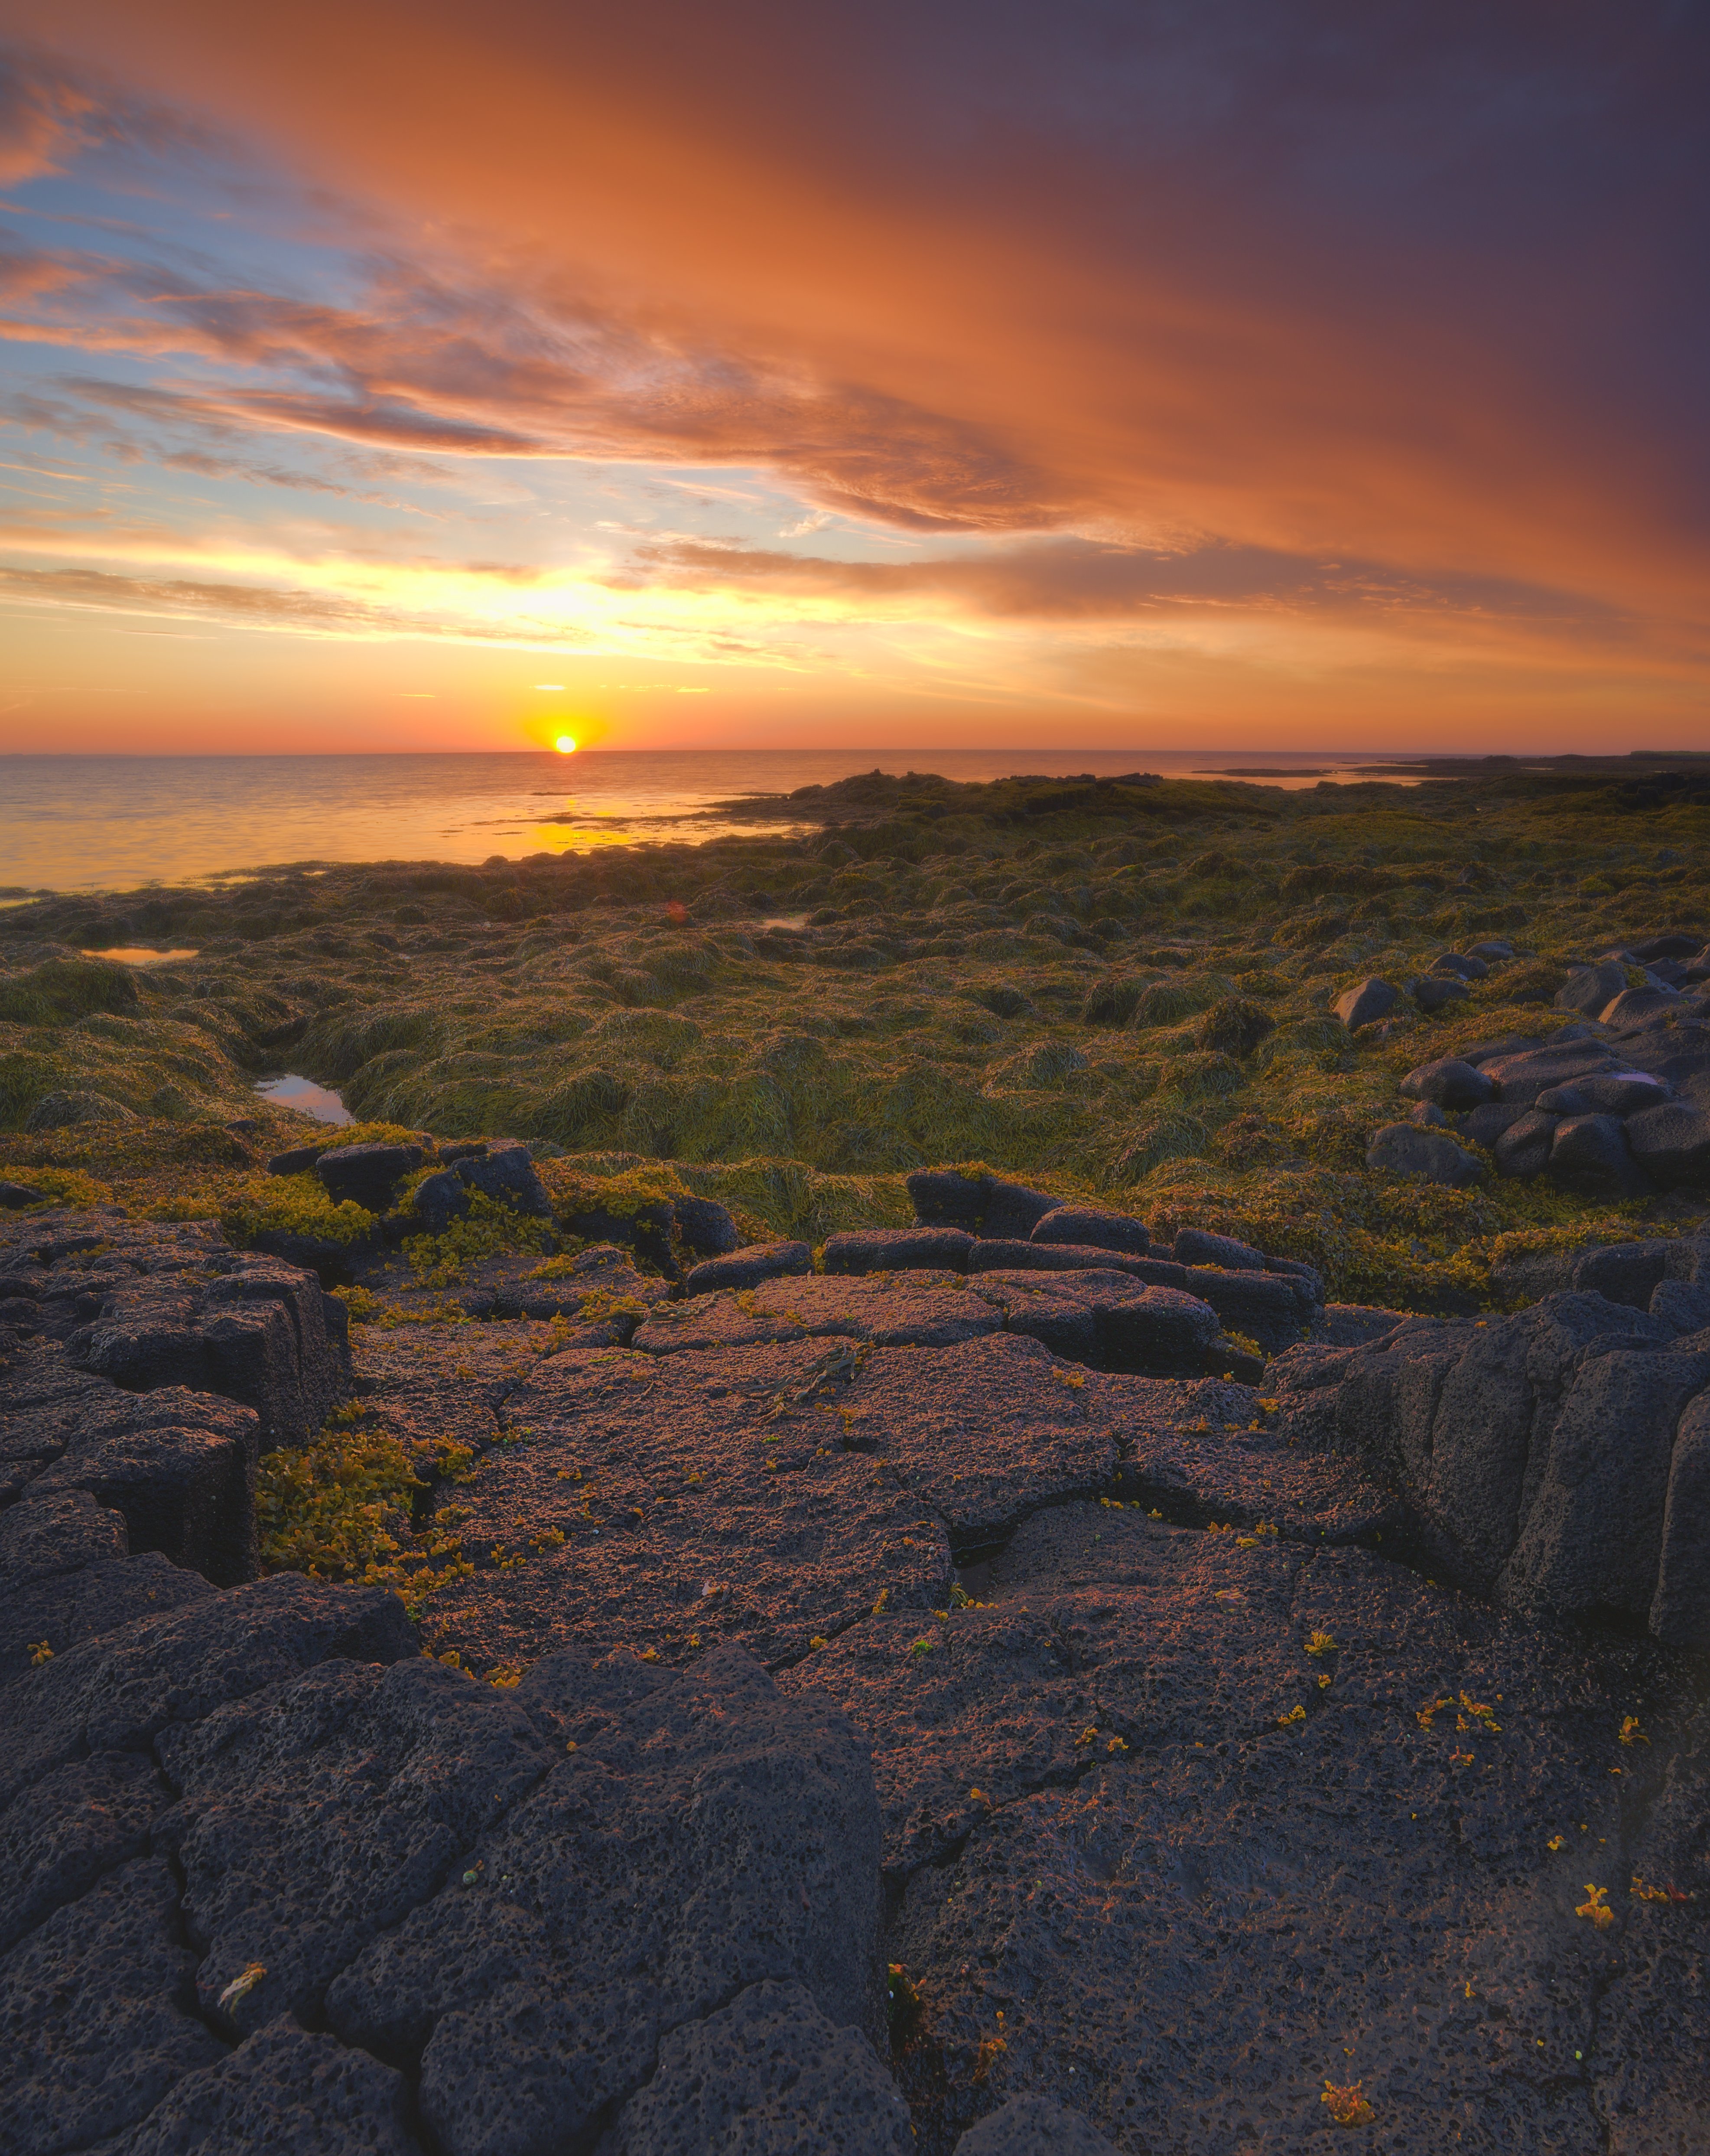
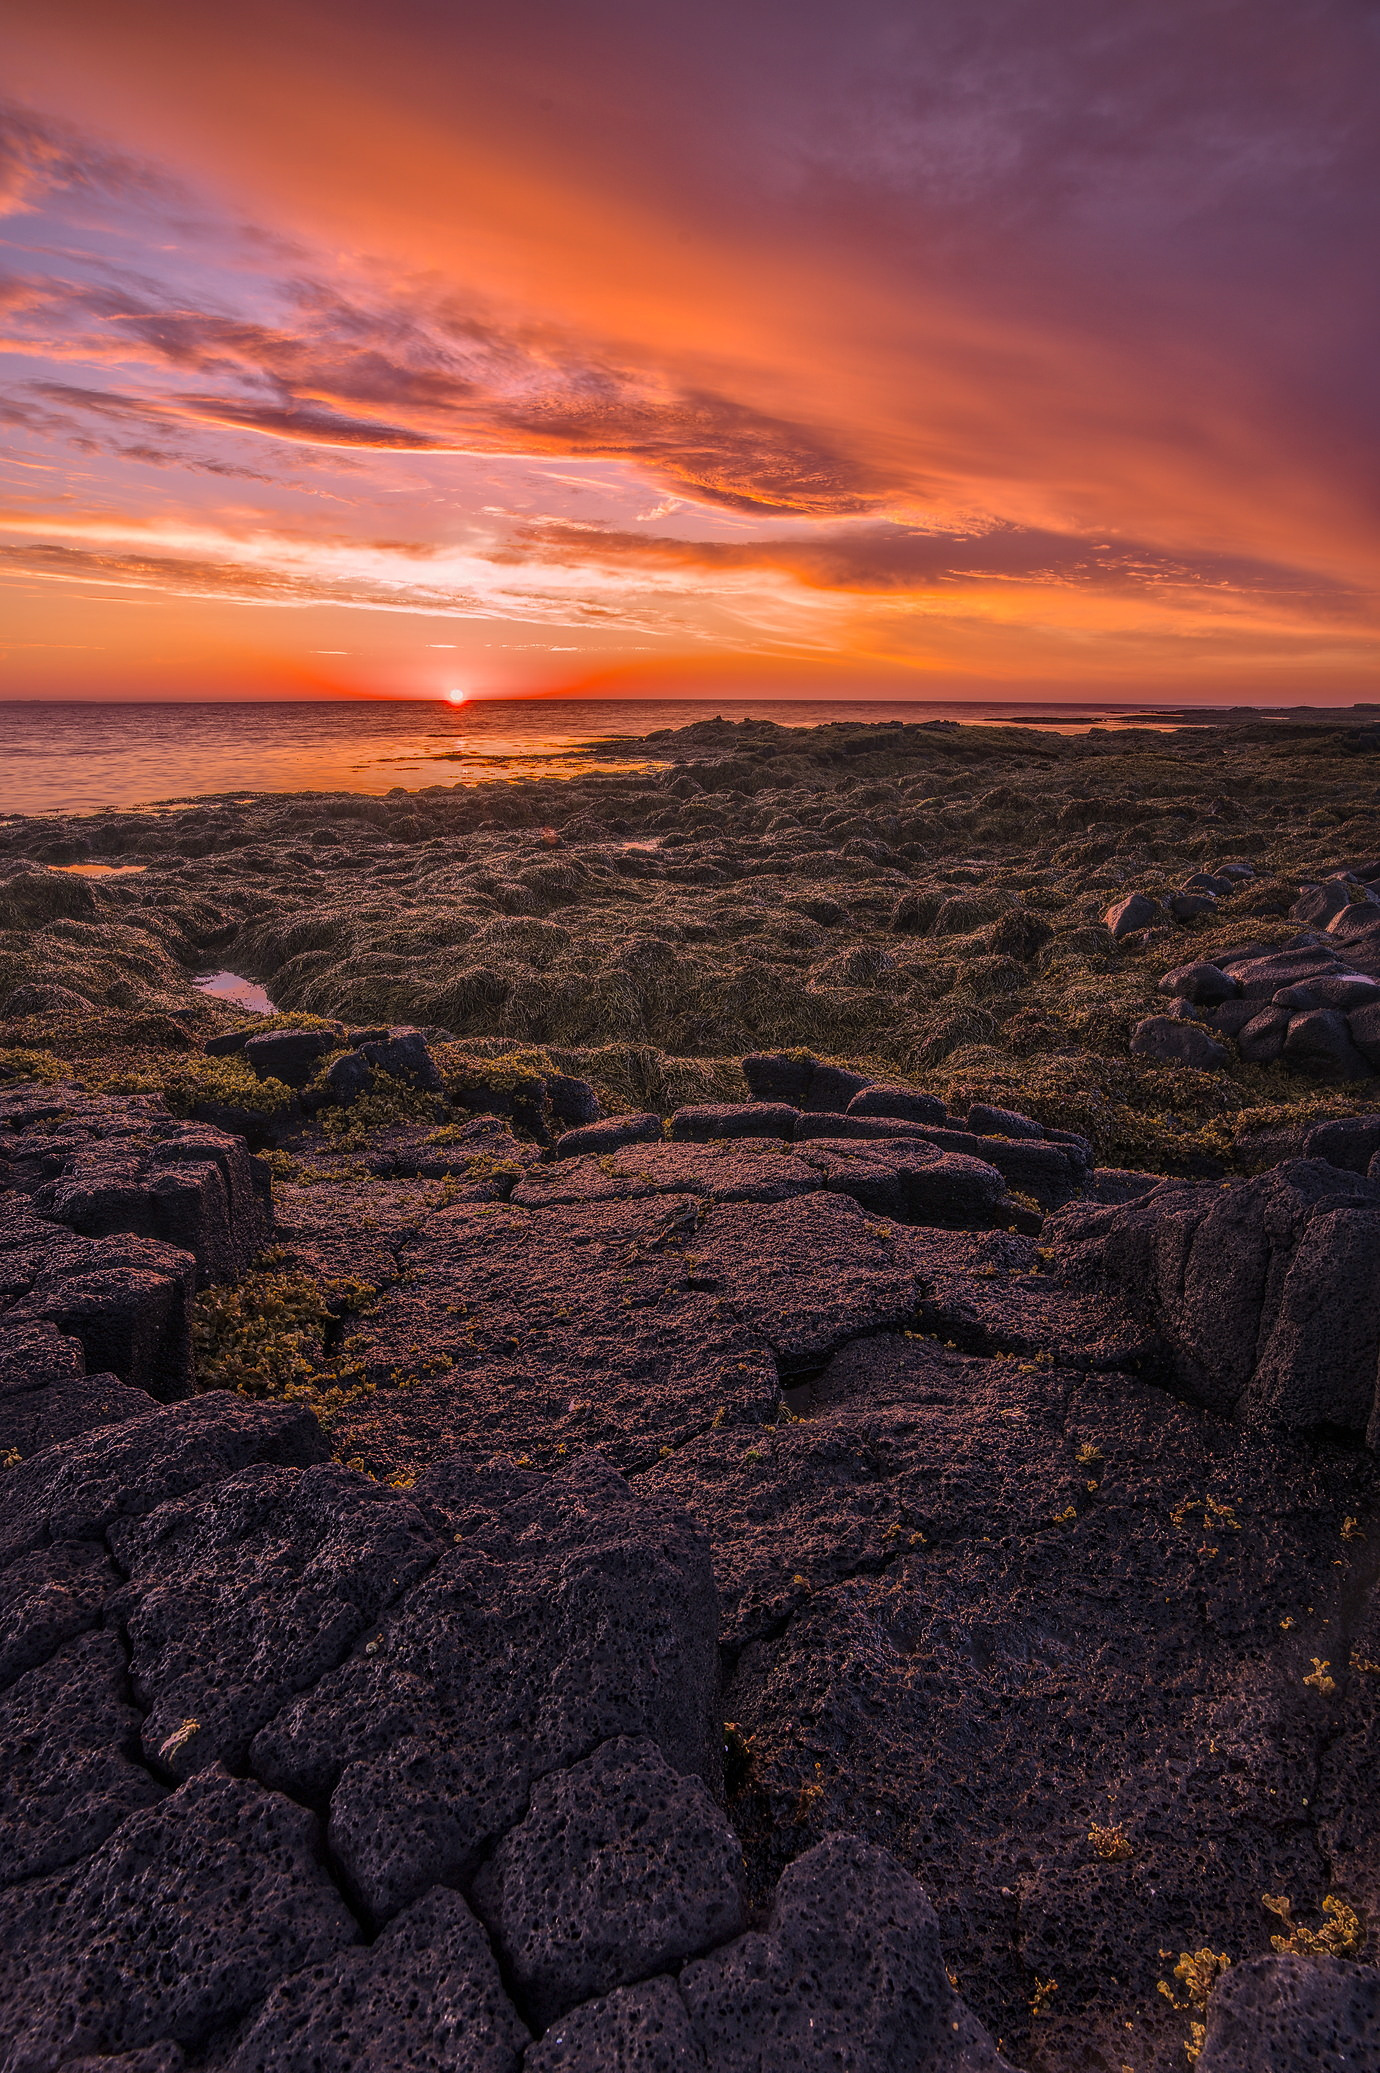
Digging up more awesome old PlayRAWs. This one really makes me wish we had some form of HDR support on Linux. Just couldn’t quite compress the dynamic range the way I wanted to to keep the volcanic rock dark but with enough visible detail.
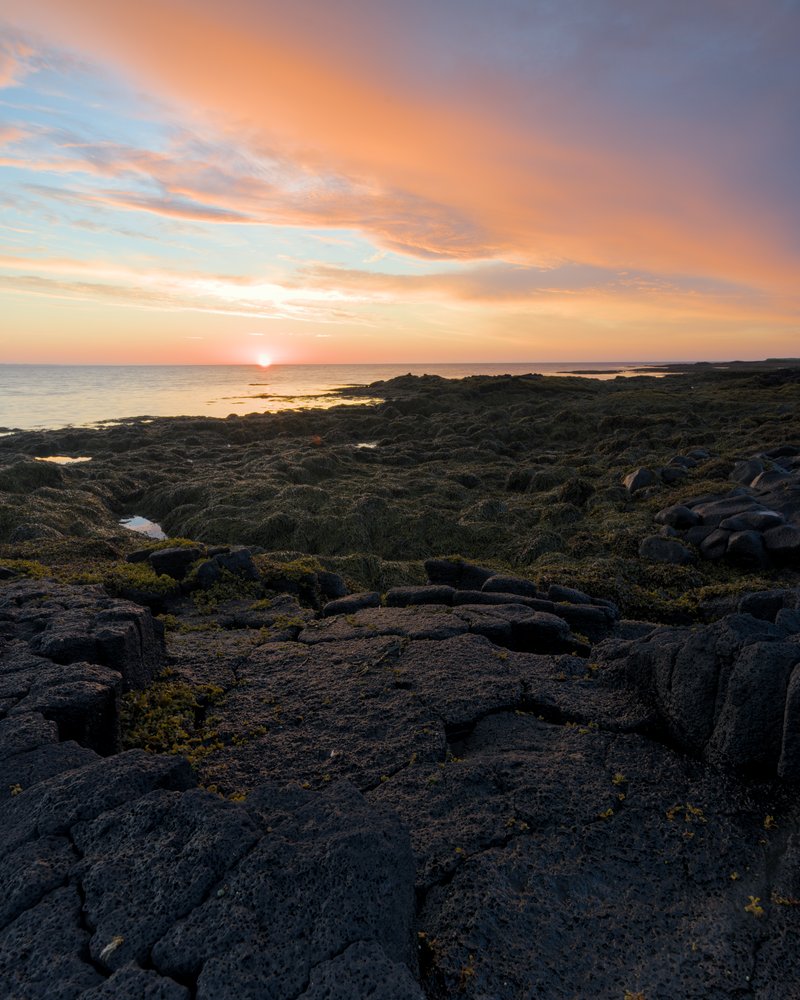
As an exercise, I tried to replicate (more or less) the result of @paperdigits using darktable 3.4.1 and its modern workflow.
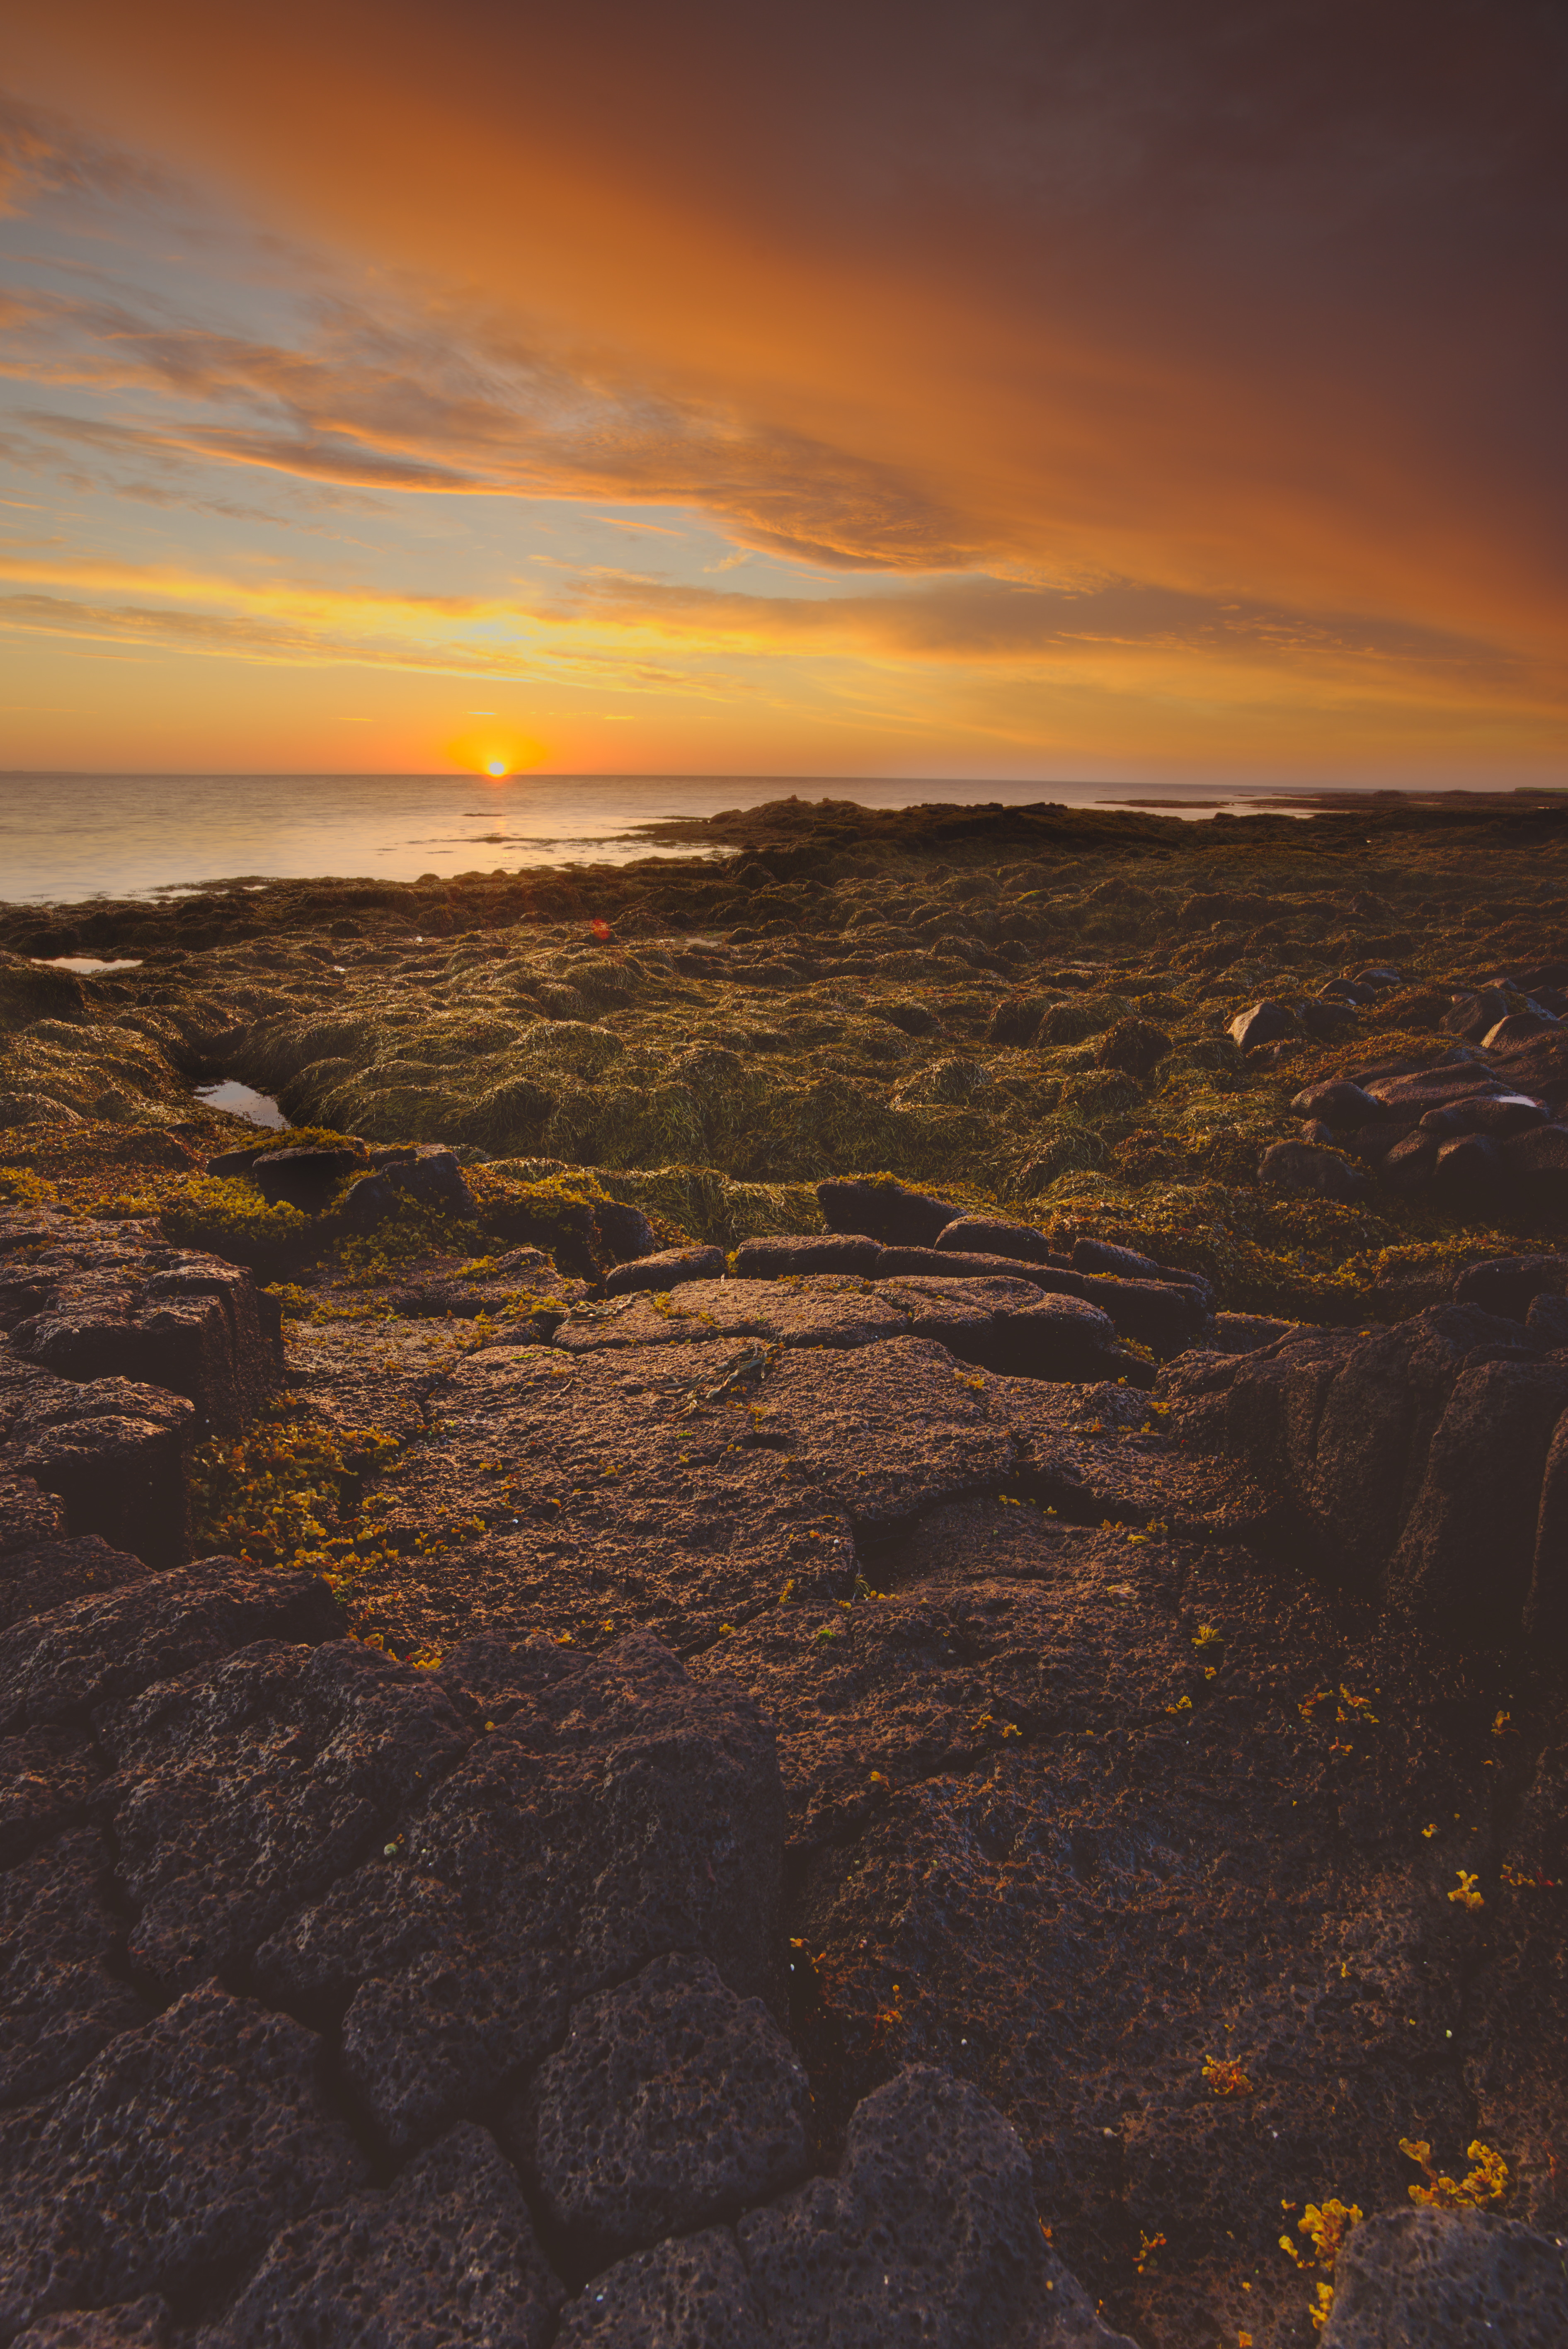
I find it difficult to fight against the desaturation in the hightlights. And indeed Aurelien’s article makes the same observation and recommends the use of masks in order to arrive at a pleasing result (=variant 3).
The edit of @paperdigits is - in his own words - a “quick take”, and does not use any masks. Is it still true that in order to replicate a similar result using the recommended workflow in modern darktable the use of masks is required? And if it is so, is this good or bad?
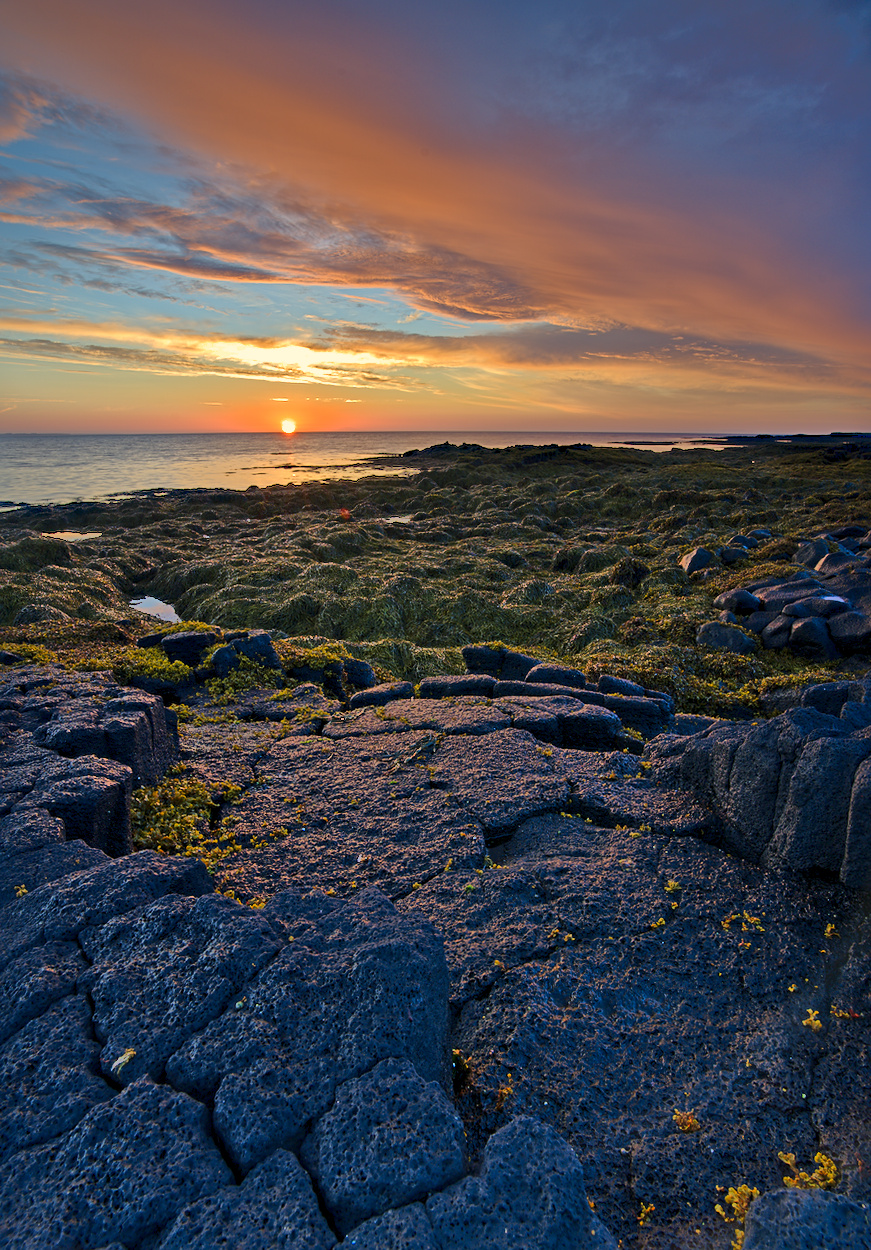
I see now that this is an “ancient” thread, but it was such an awesome image I couldn’t help myself editing it. As much as I smiled when I discovered the tripod-leg, it also made me crop the image. I went for a square crop, because, well. I love square crops It’s also a very calm and centered format, and I thought it suited the subject well.
Edited in darktable.
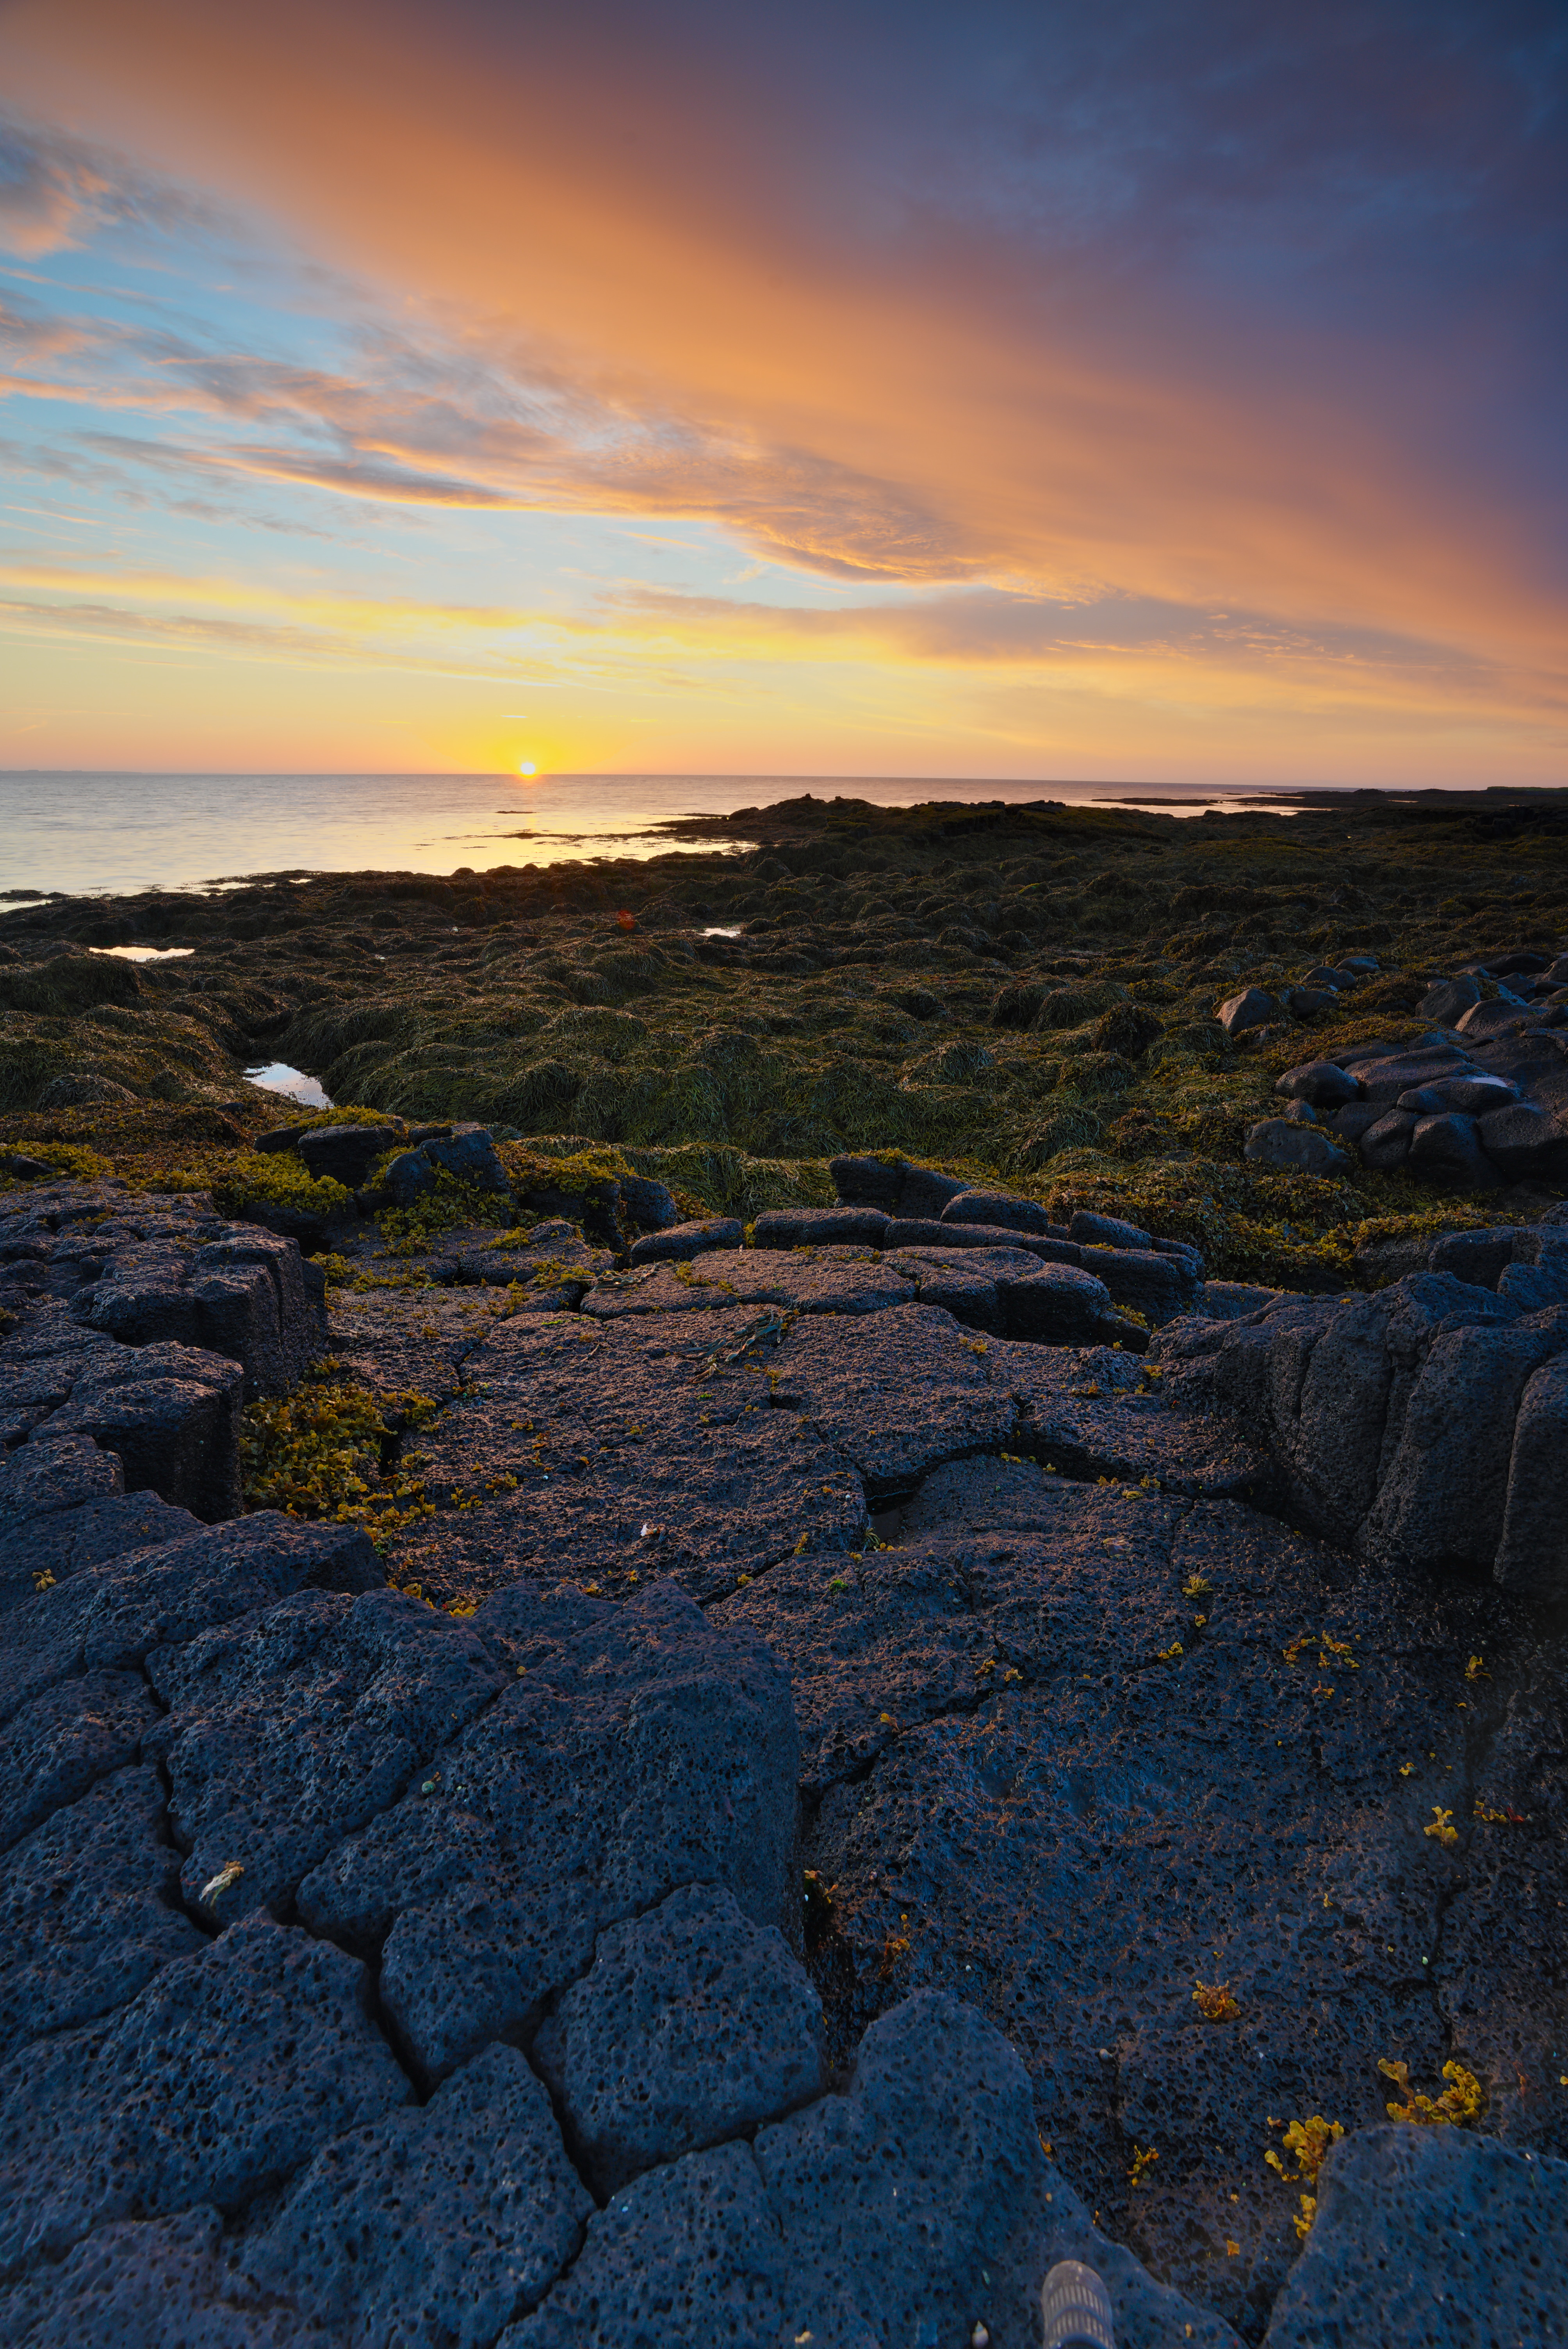
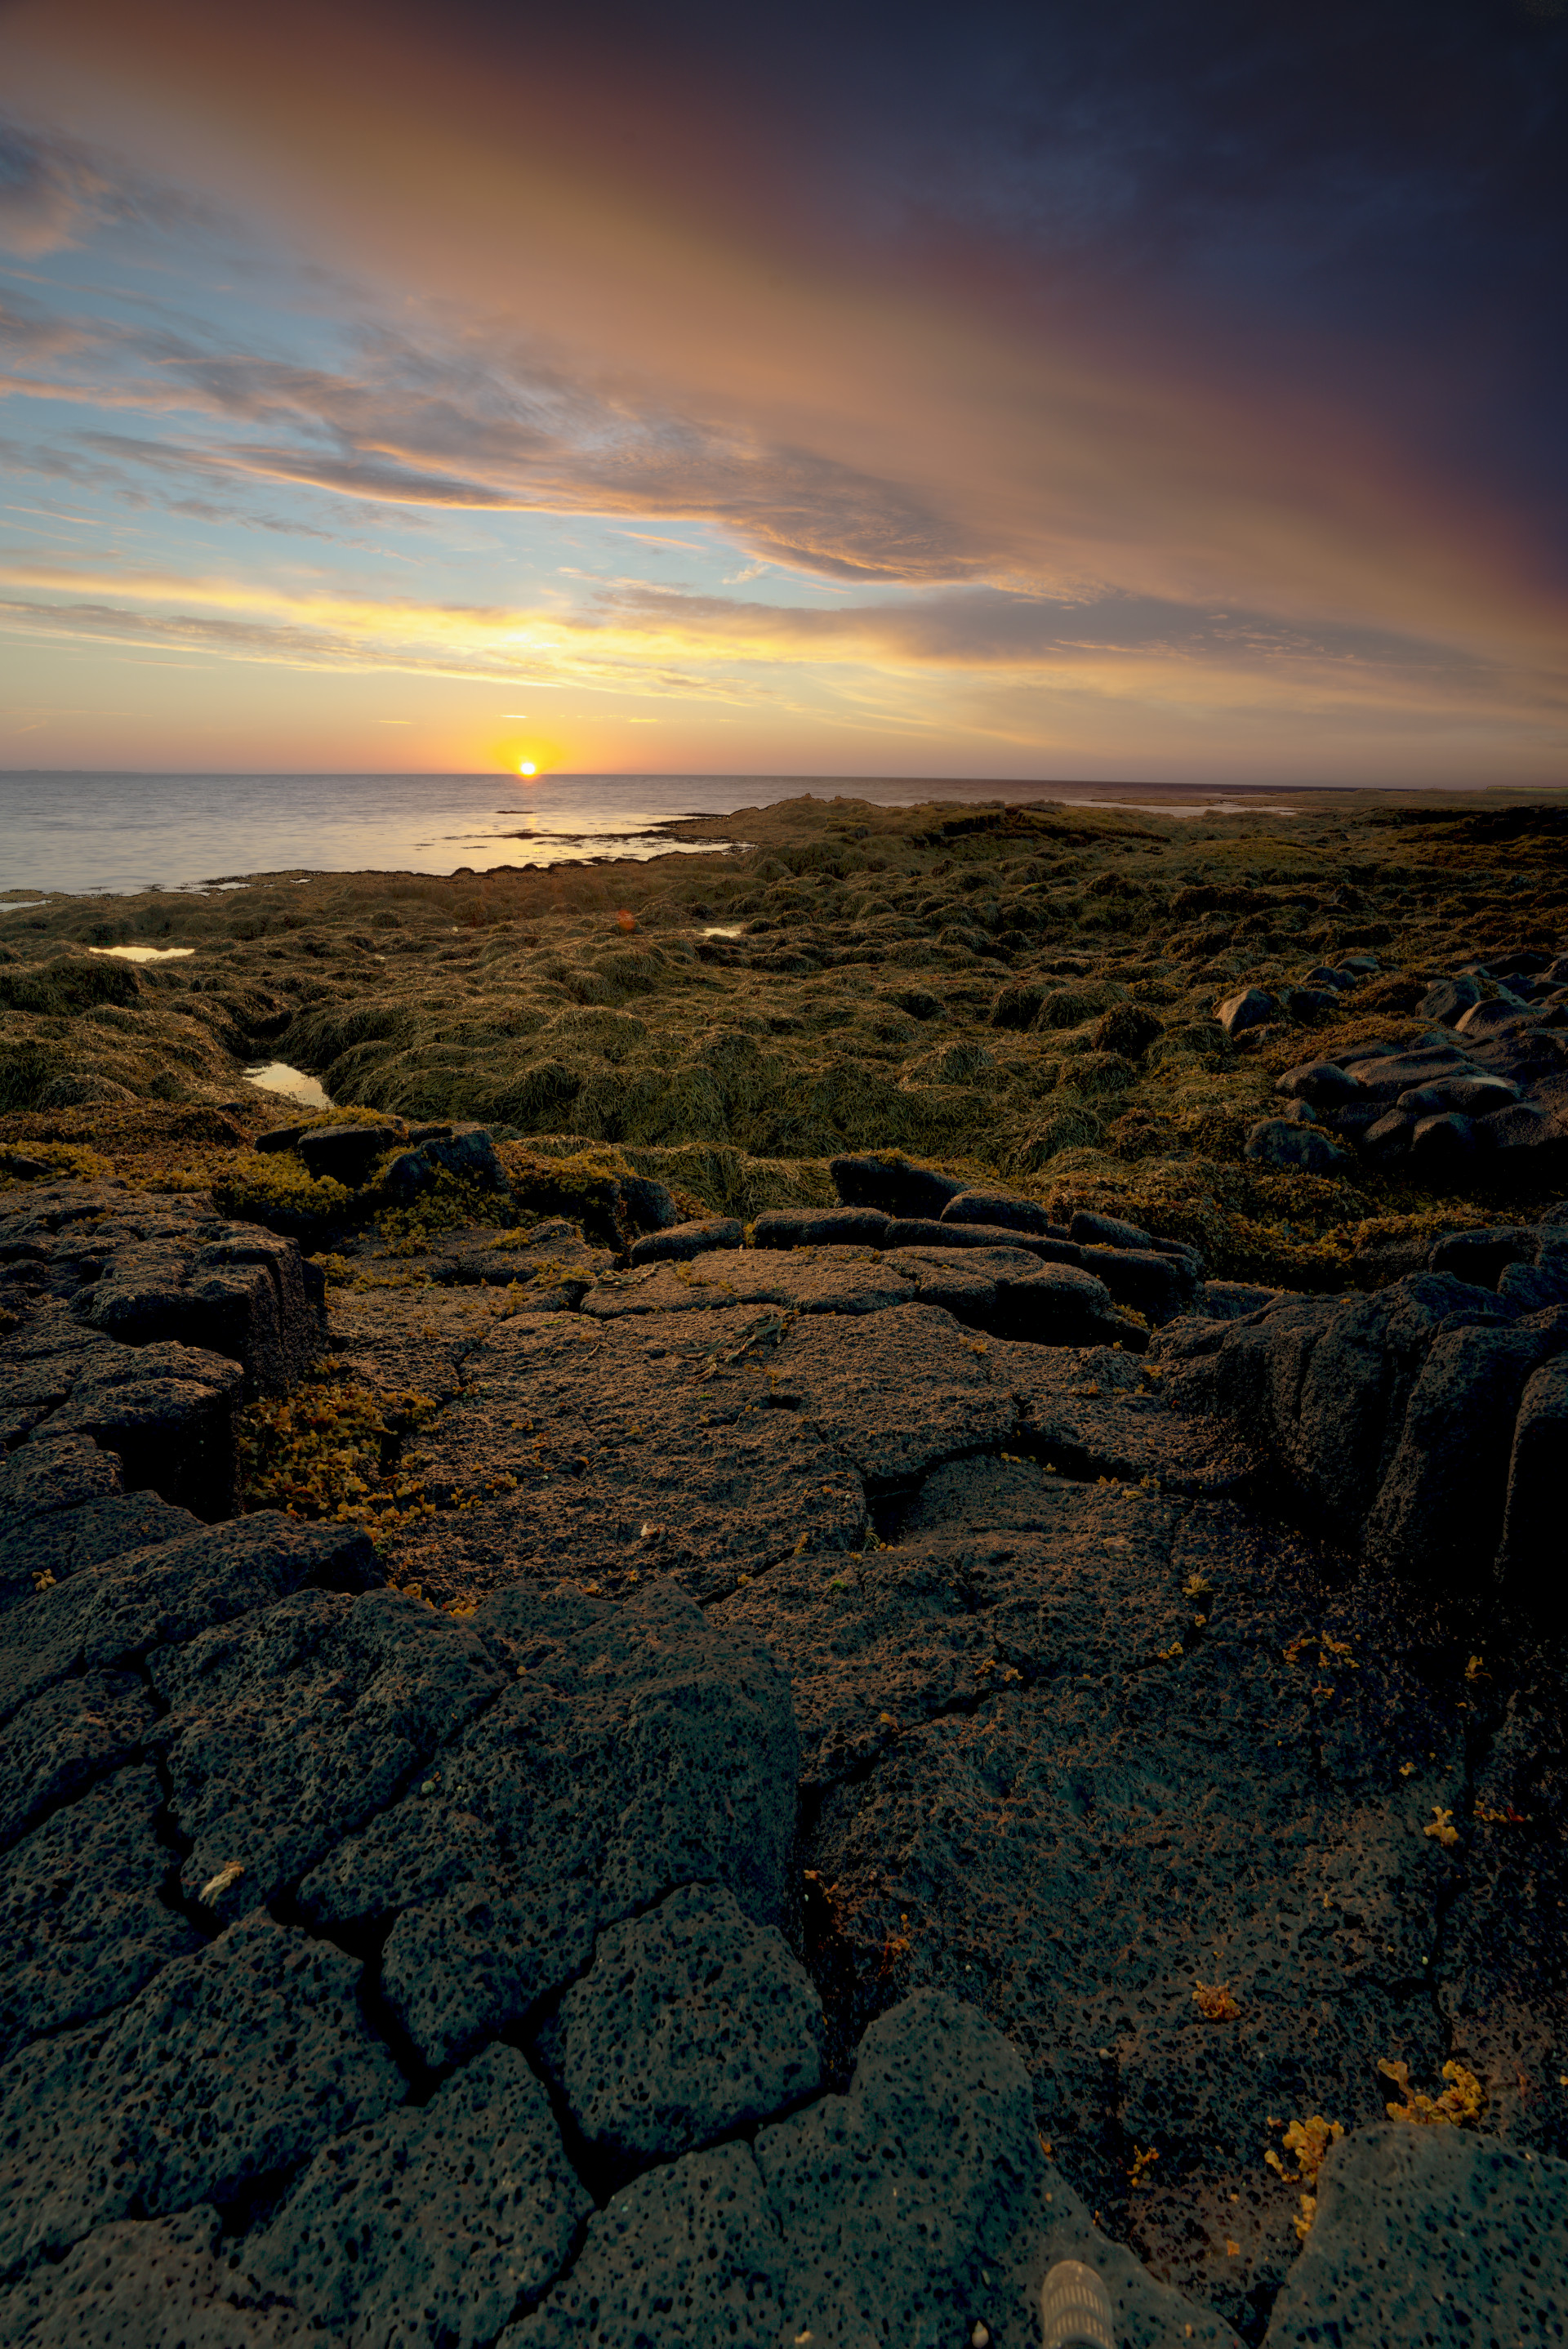
I had another go at this, this time using a recent-ish build of darktable master.
I didn’t really find this to be true. What area do you consider the highlights?
The yellow color in my last edit comes from leaving highlight reconstruction set to “clip.” It acts the same way here, but I disabled the module this time to see what I could do with filmic’s highlight reconstruction, that’s why the sun and sky aren’t yellow.
The only mask I’m using is in Tone Equalizer, and that is just for a slight boot to the over all contrast, and doesn’t effect the blown highlights.
Edit: wow the difference between my laptop screen and phone is… A lot.
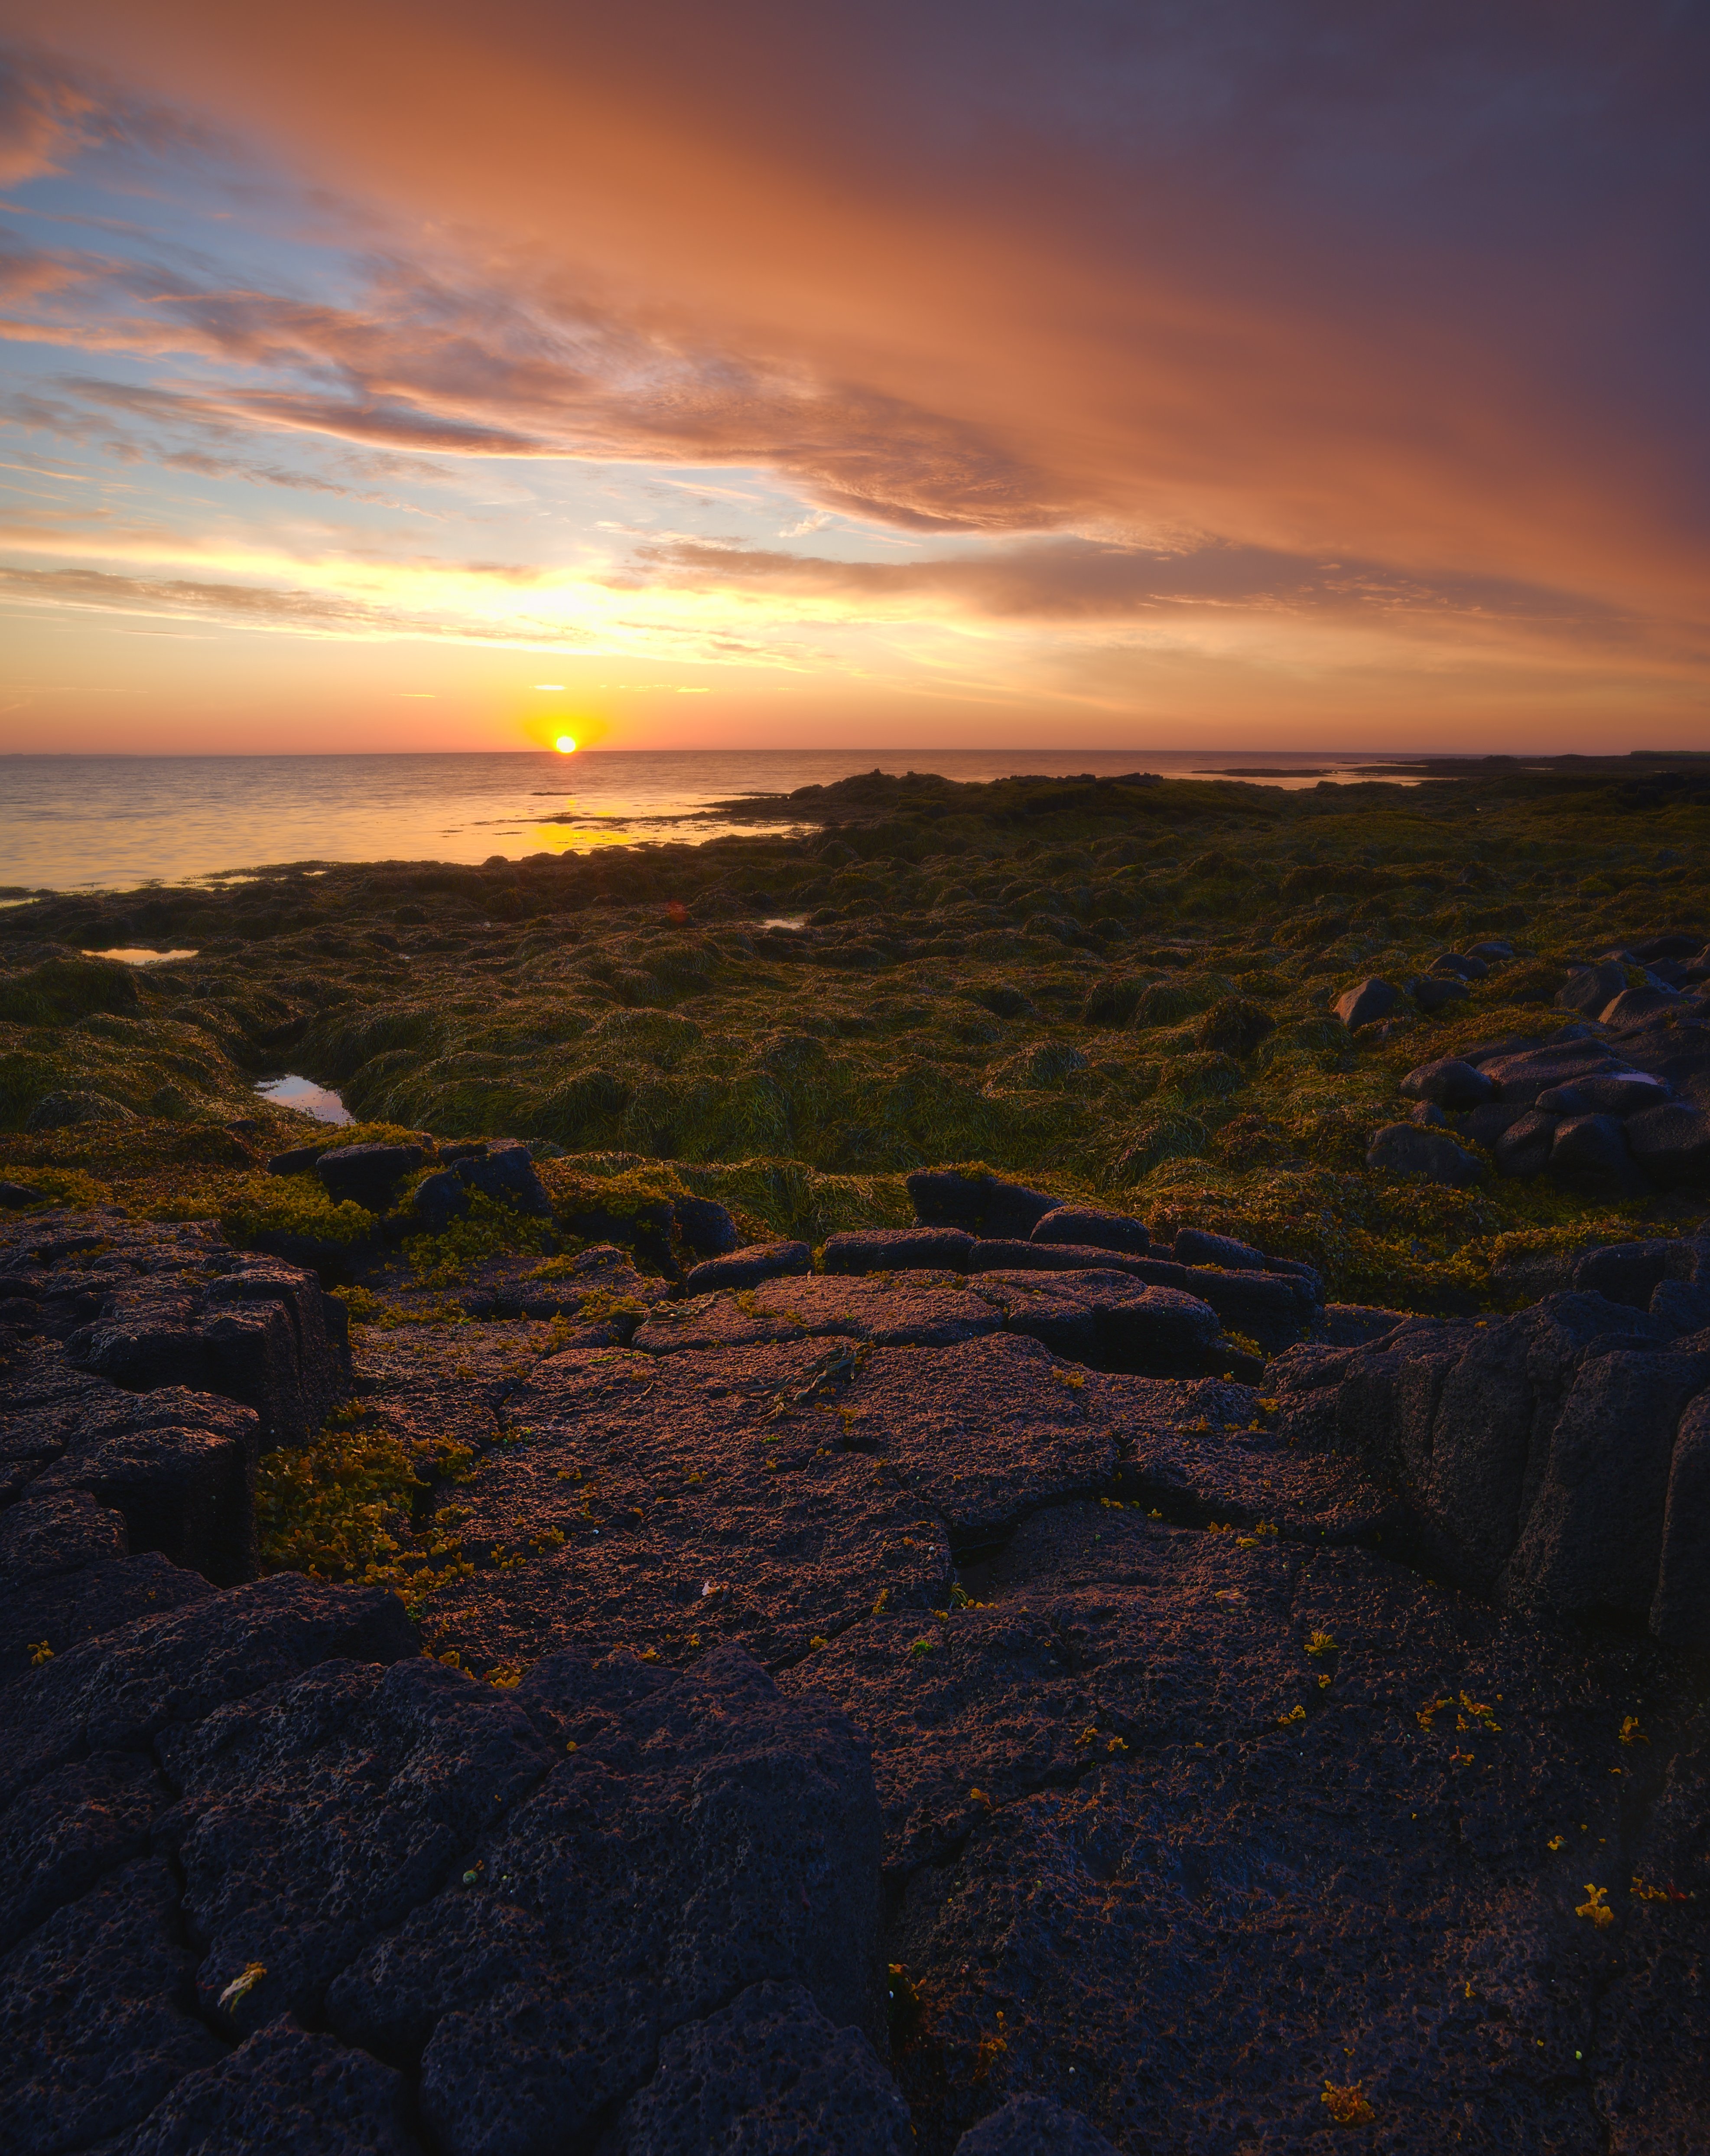
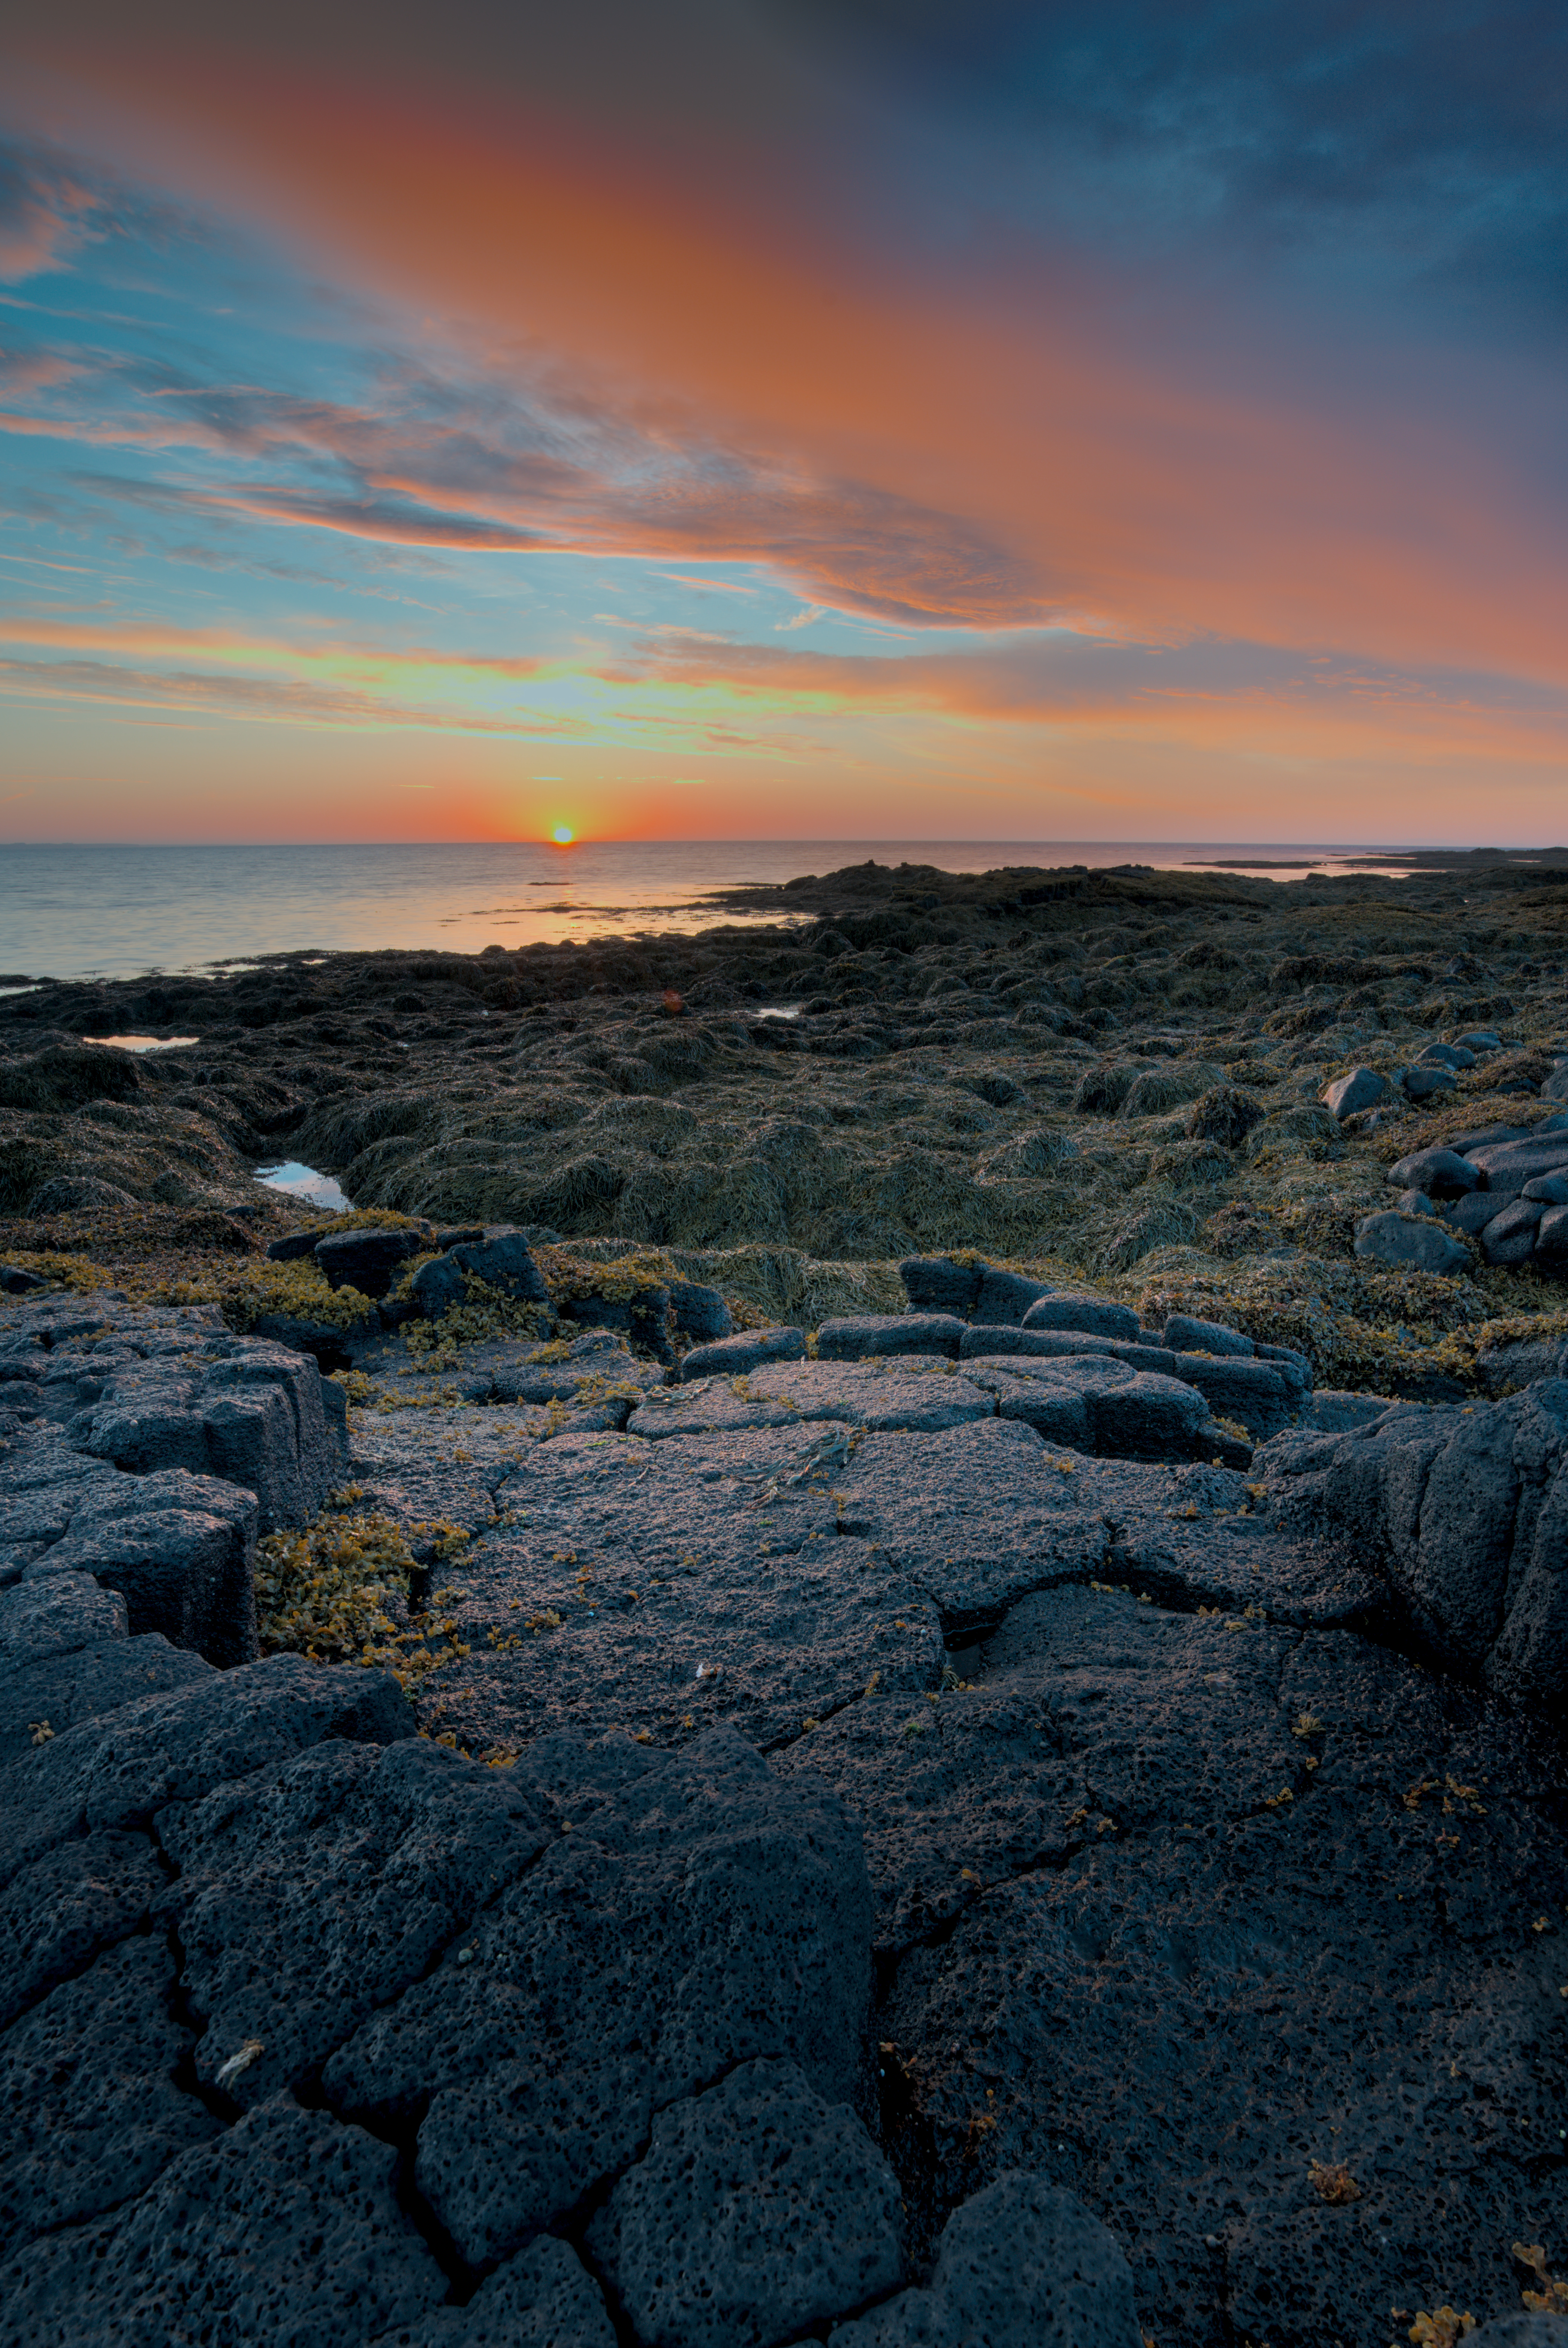
I was just about to edit this with the latest RT build but I ran into a problem with highlight recovery when I added a local spot for the sky. As soon as you add any tool to your spot your highlights go to shit.
I suspect this has something to do with the global adjustments being applied after the local ones?
Did it the ‘old’ way now and merged 2 separate edits in GIMP. Unfortunately one of the edits got lost since I didn’t save the pp3 (I really like the ART functionality where it saves every snapshot within the pp3). I don’t know if there’s a point in posting it anyway since I did some additional minor editing after merging in GIMP. Anyway, I’ve added the edit for the sky.


 It’s also a very calm and centered format, and I thought it suited the subject well.