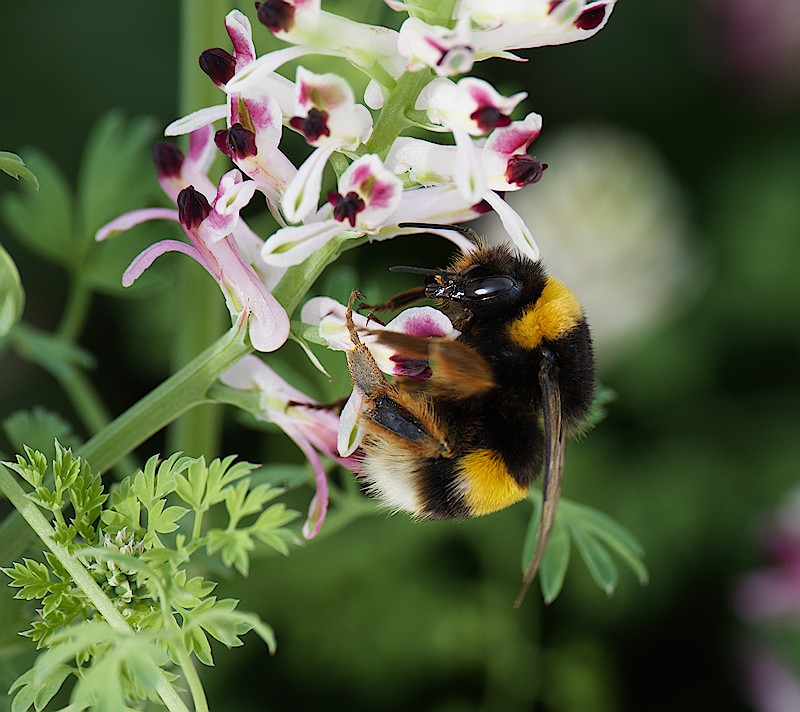
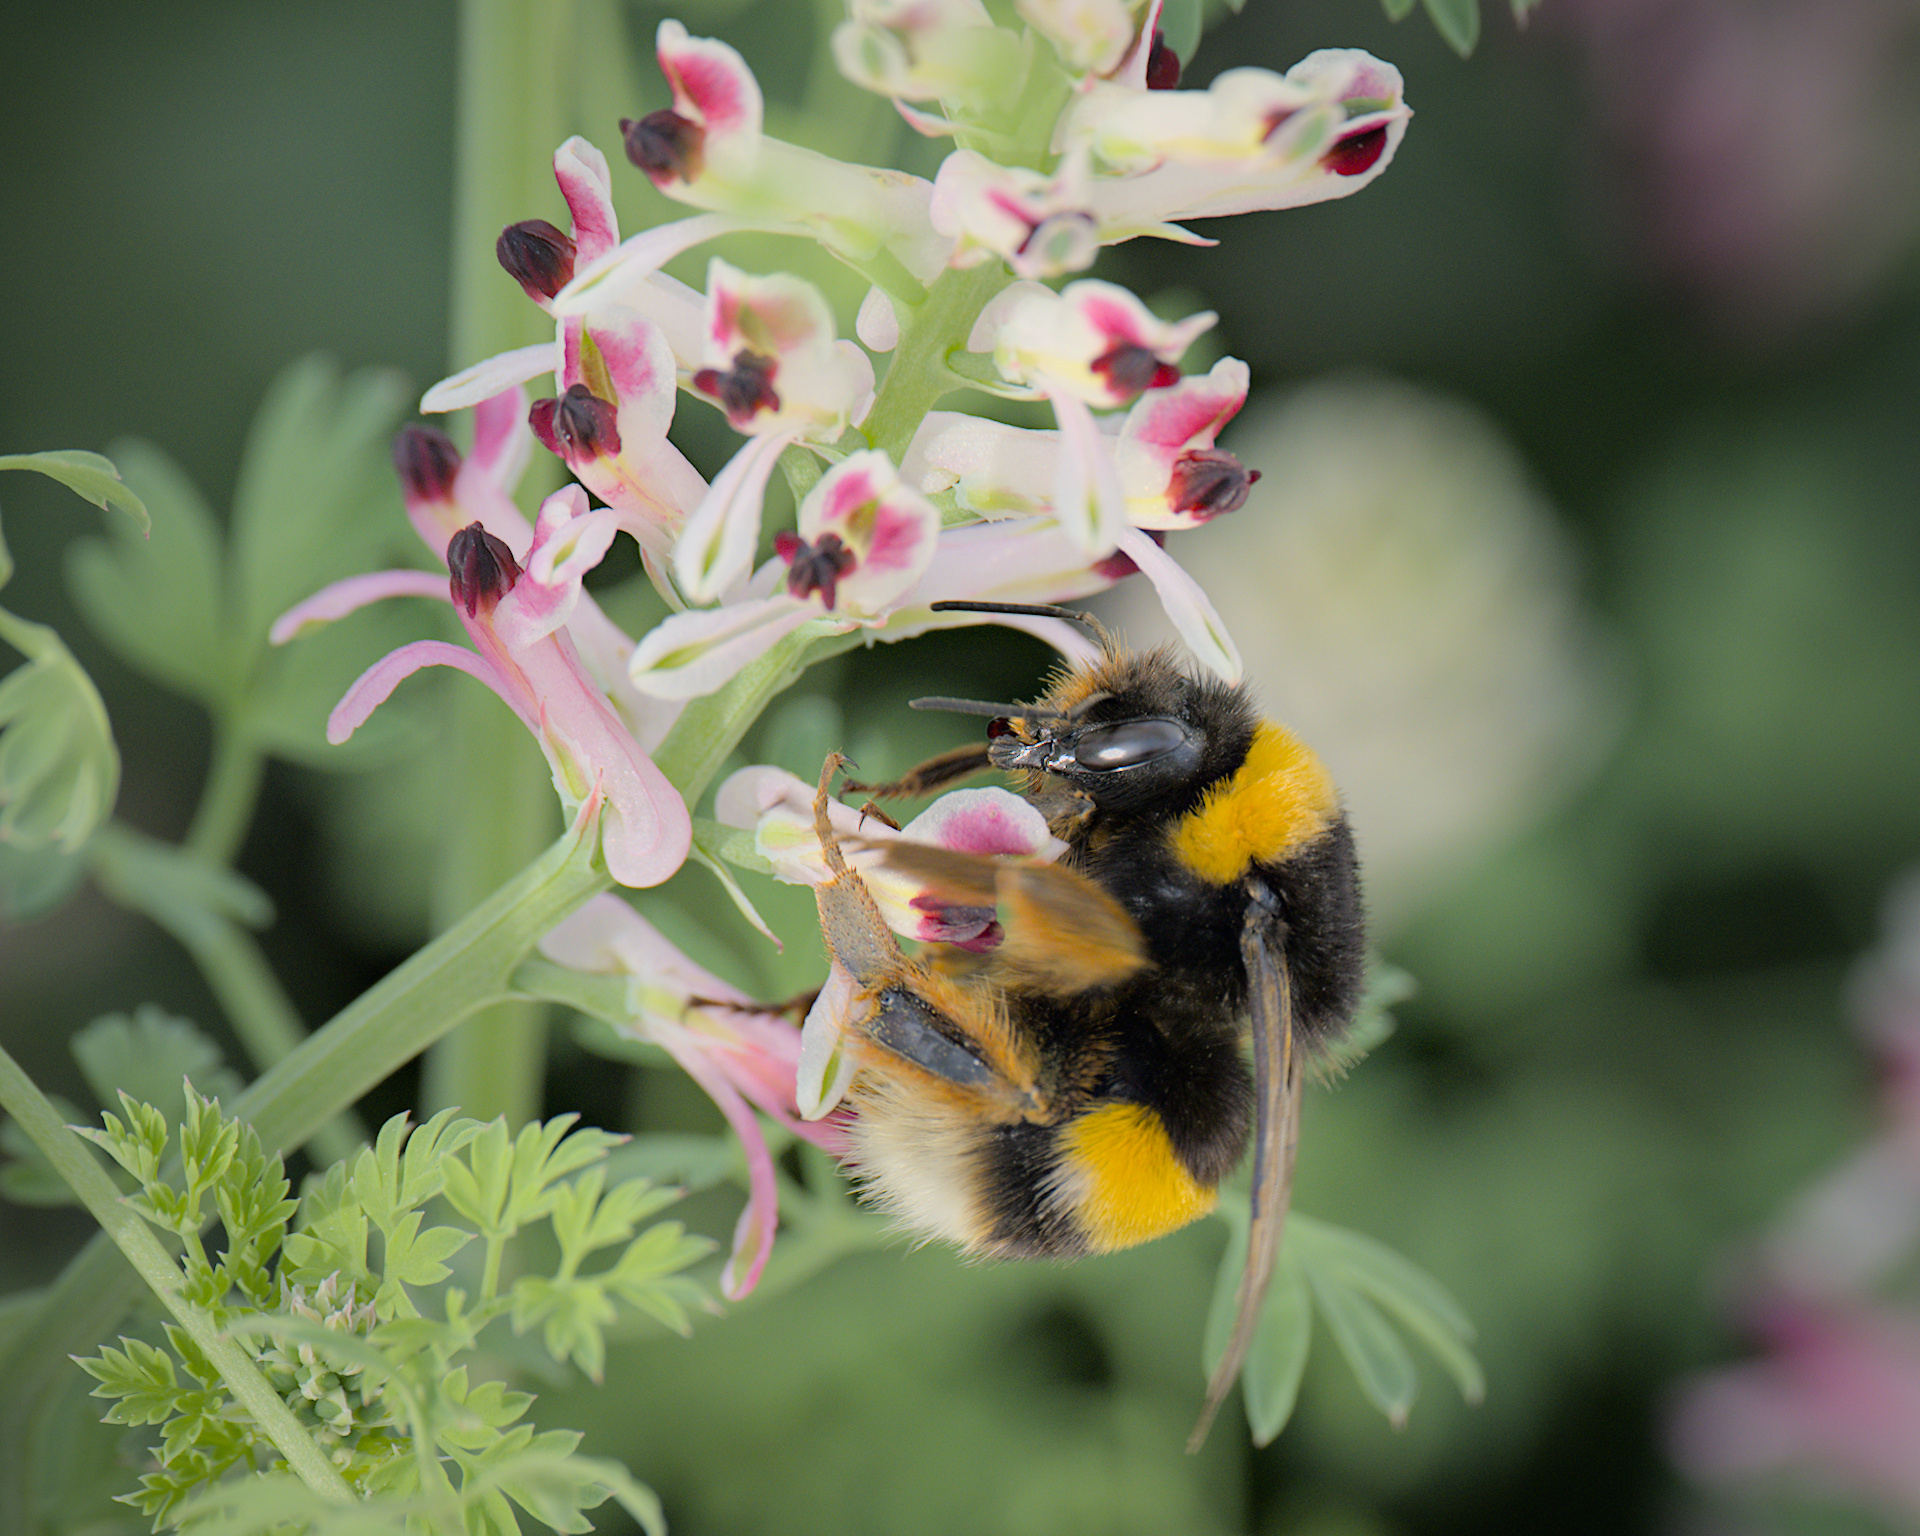
A bumblebee I stumbled upon on my last walk. Unfortunately the focus is a bit off but I think it’s still a decent shot. I had some difficulty getting the color calibration correct, so I just left it at default.
One trick I use and its really setting the color by eye is to just do a spot or an average using the pipet or even just the as shot wb setting in the color calibration module then hit the dropdown and set it to custom…this will reveal a hue and chroma slider.
I find sometimes the color calibration done one of the above methods can be a bit over corrected and so a bit too neutral. I often find you just need to slowly drop the chroma slider to bring back the lighting to a level that is pleasing to the eye. So in this case…i have not tried your image but maybe CC would take too much of that wonderful yellow out of the bee. So then with the custom sliders you could just slowly reintroduce it…you can change the selected hue as well but I find just tweaking it with the chroma slider usually lands you on a visually pleasing solution…
You can also bump chroma but that is only if you need more correction and i find it is usually the other way around…
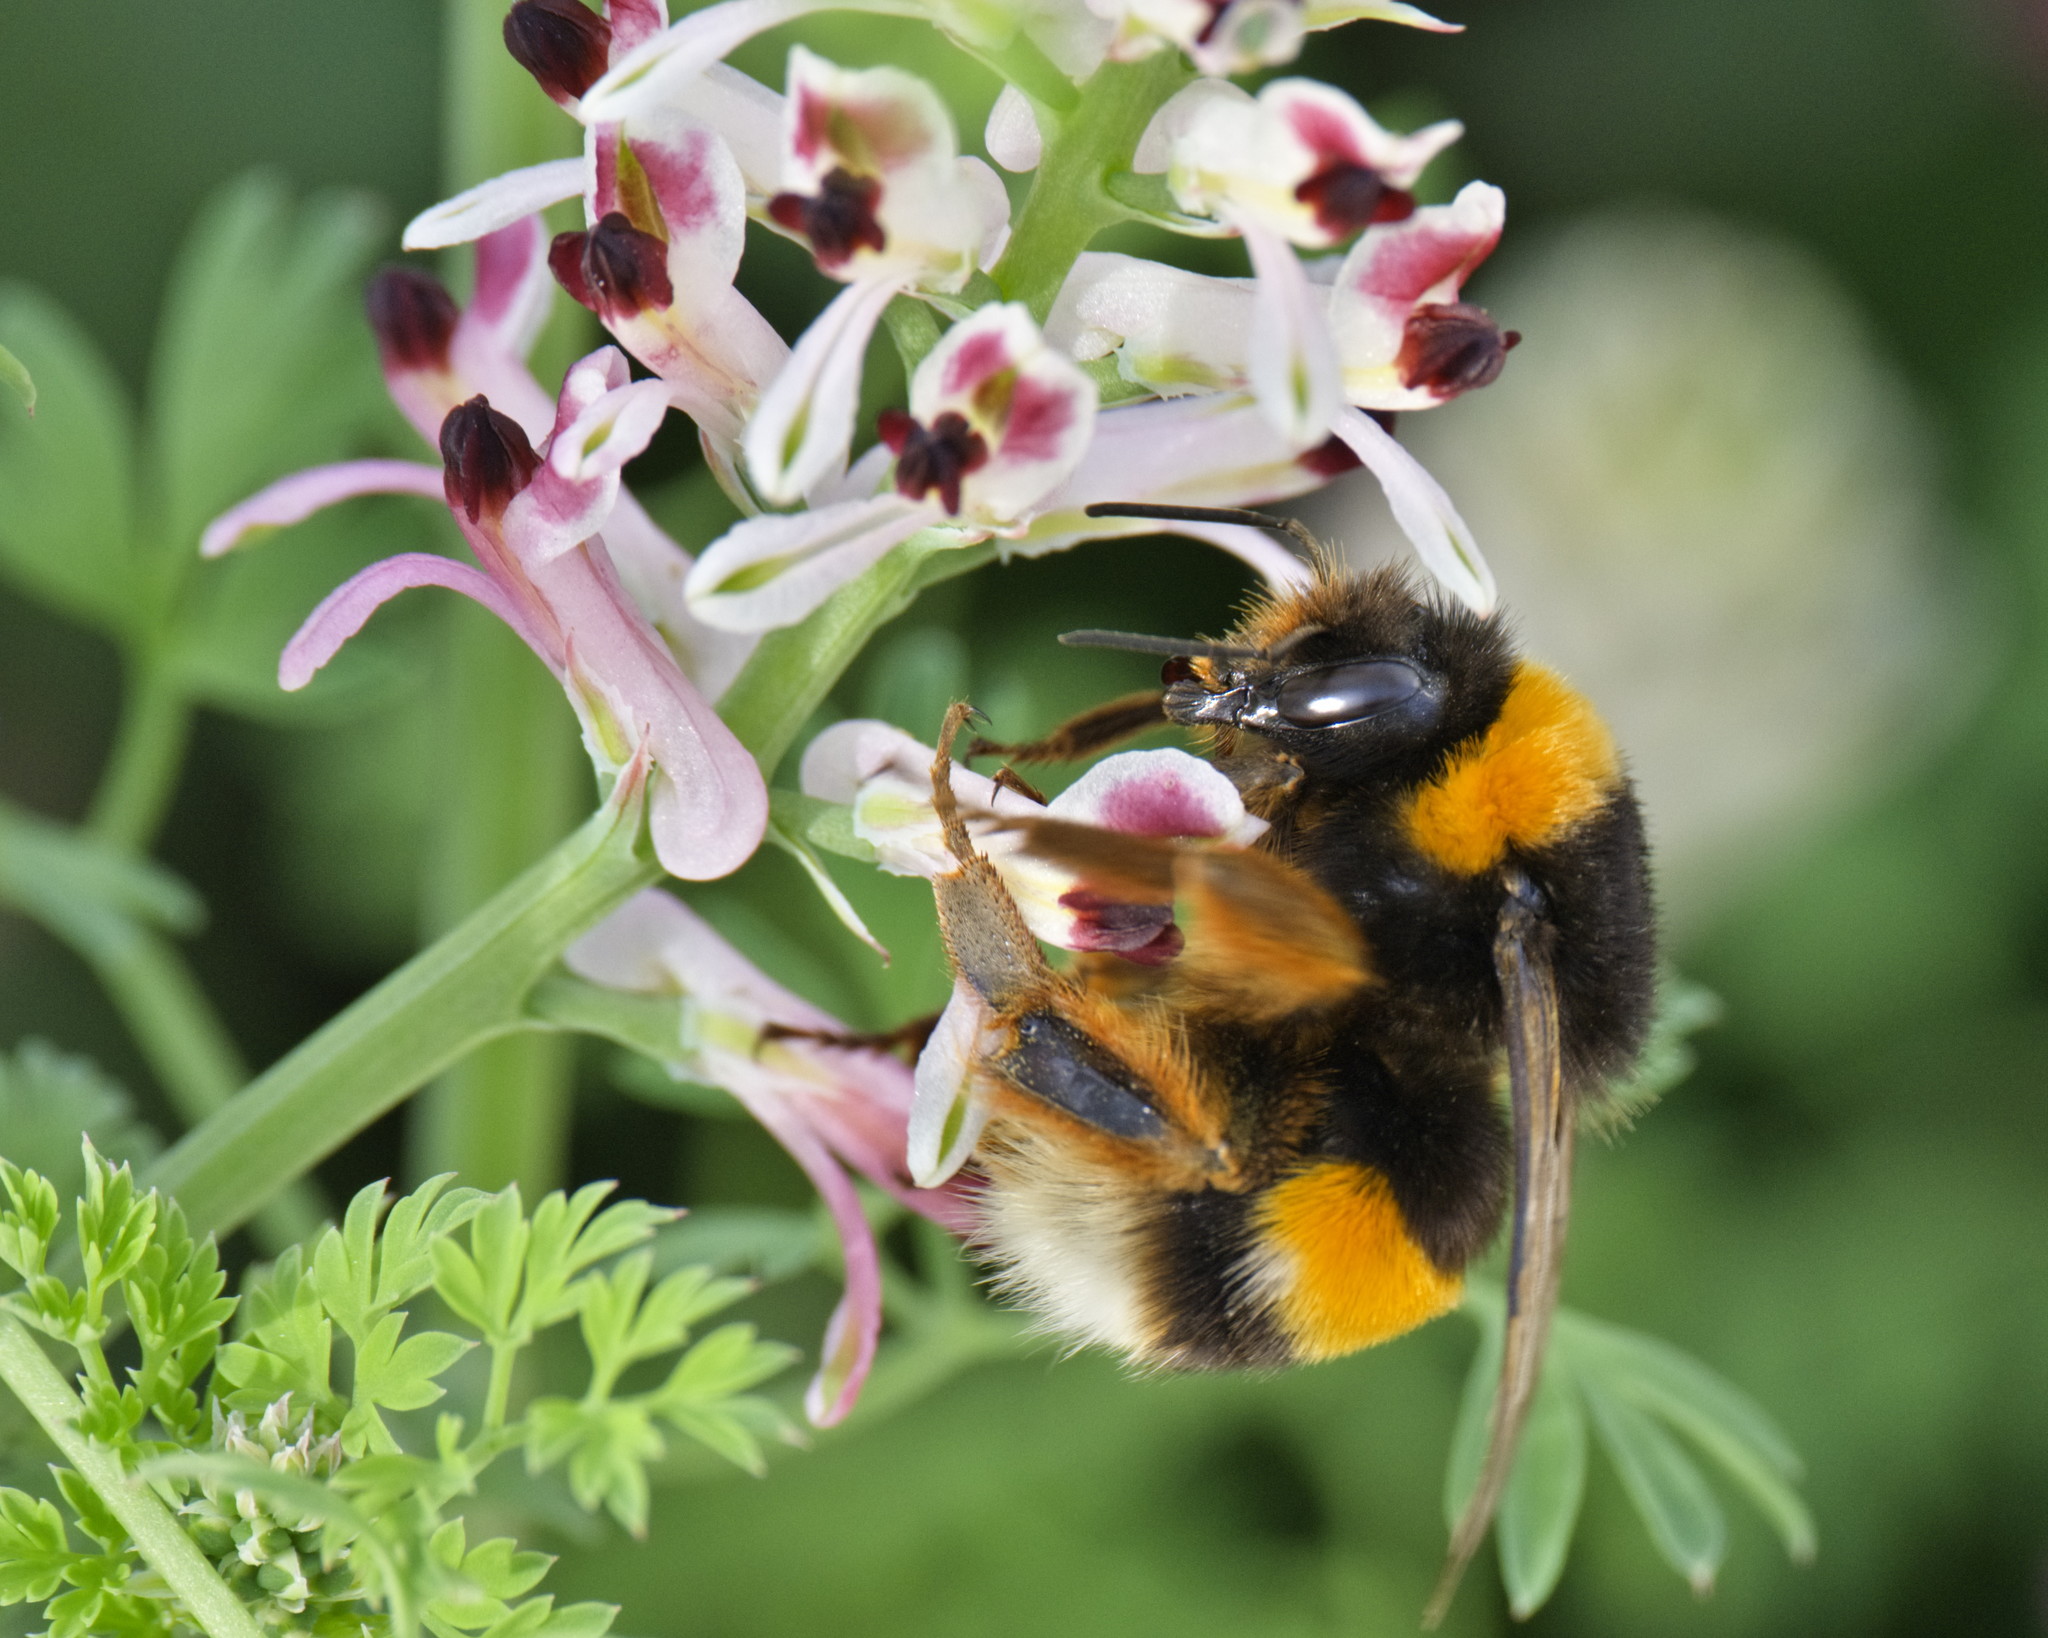
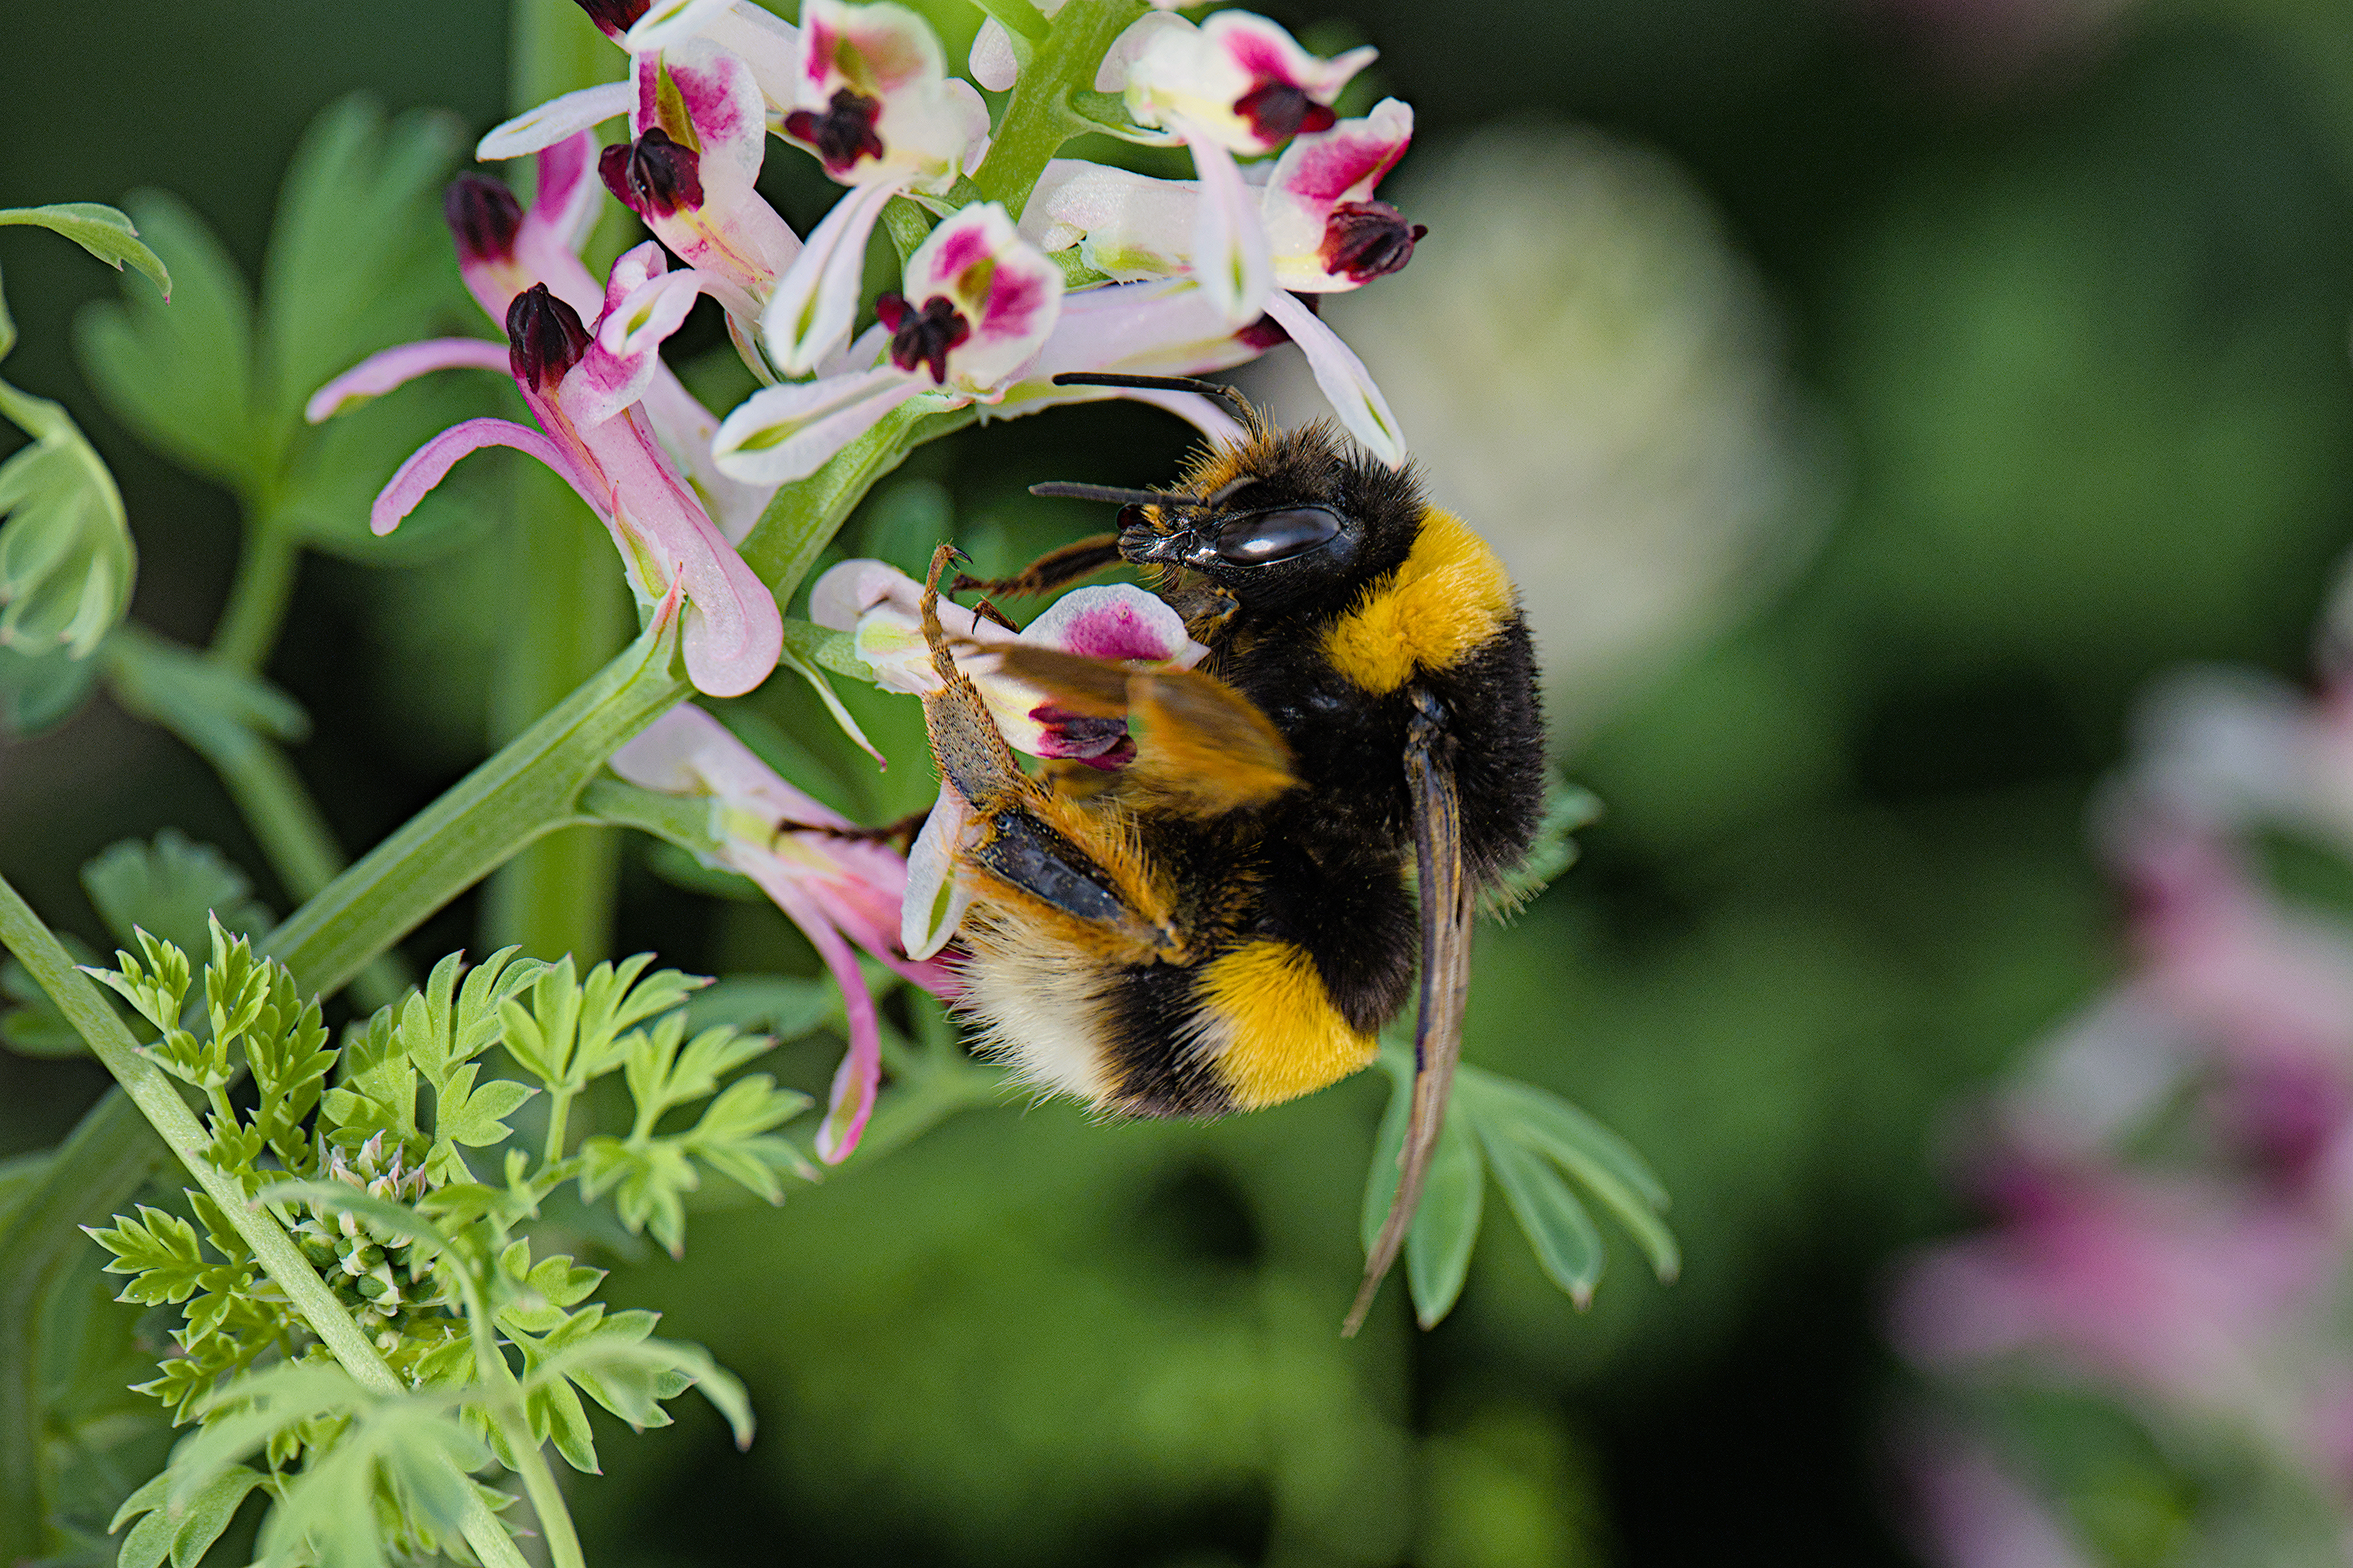
It looks great, has a very natural look to it. Zooming in it seems that RawTherapee’s demosaic of x-trans is a little better compared to darktable, even if they both use Markesteijn. I’m not sure where the difference lies or how to match them (if possible).
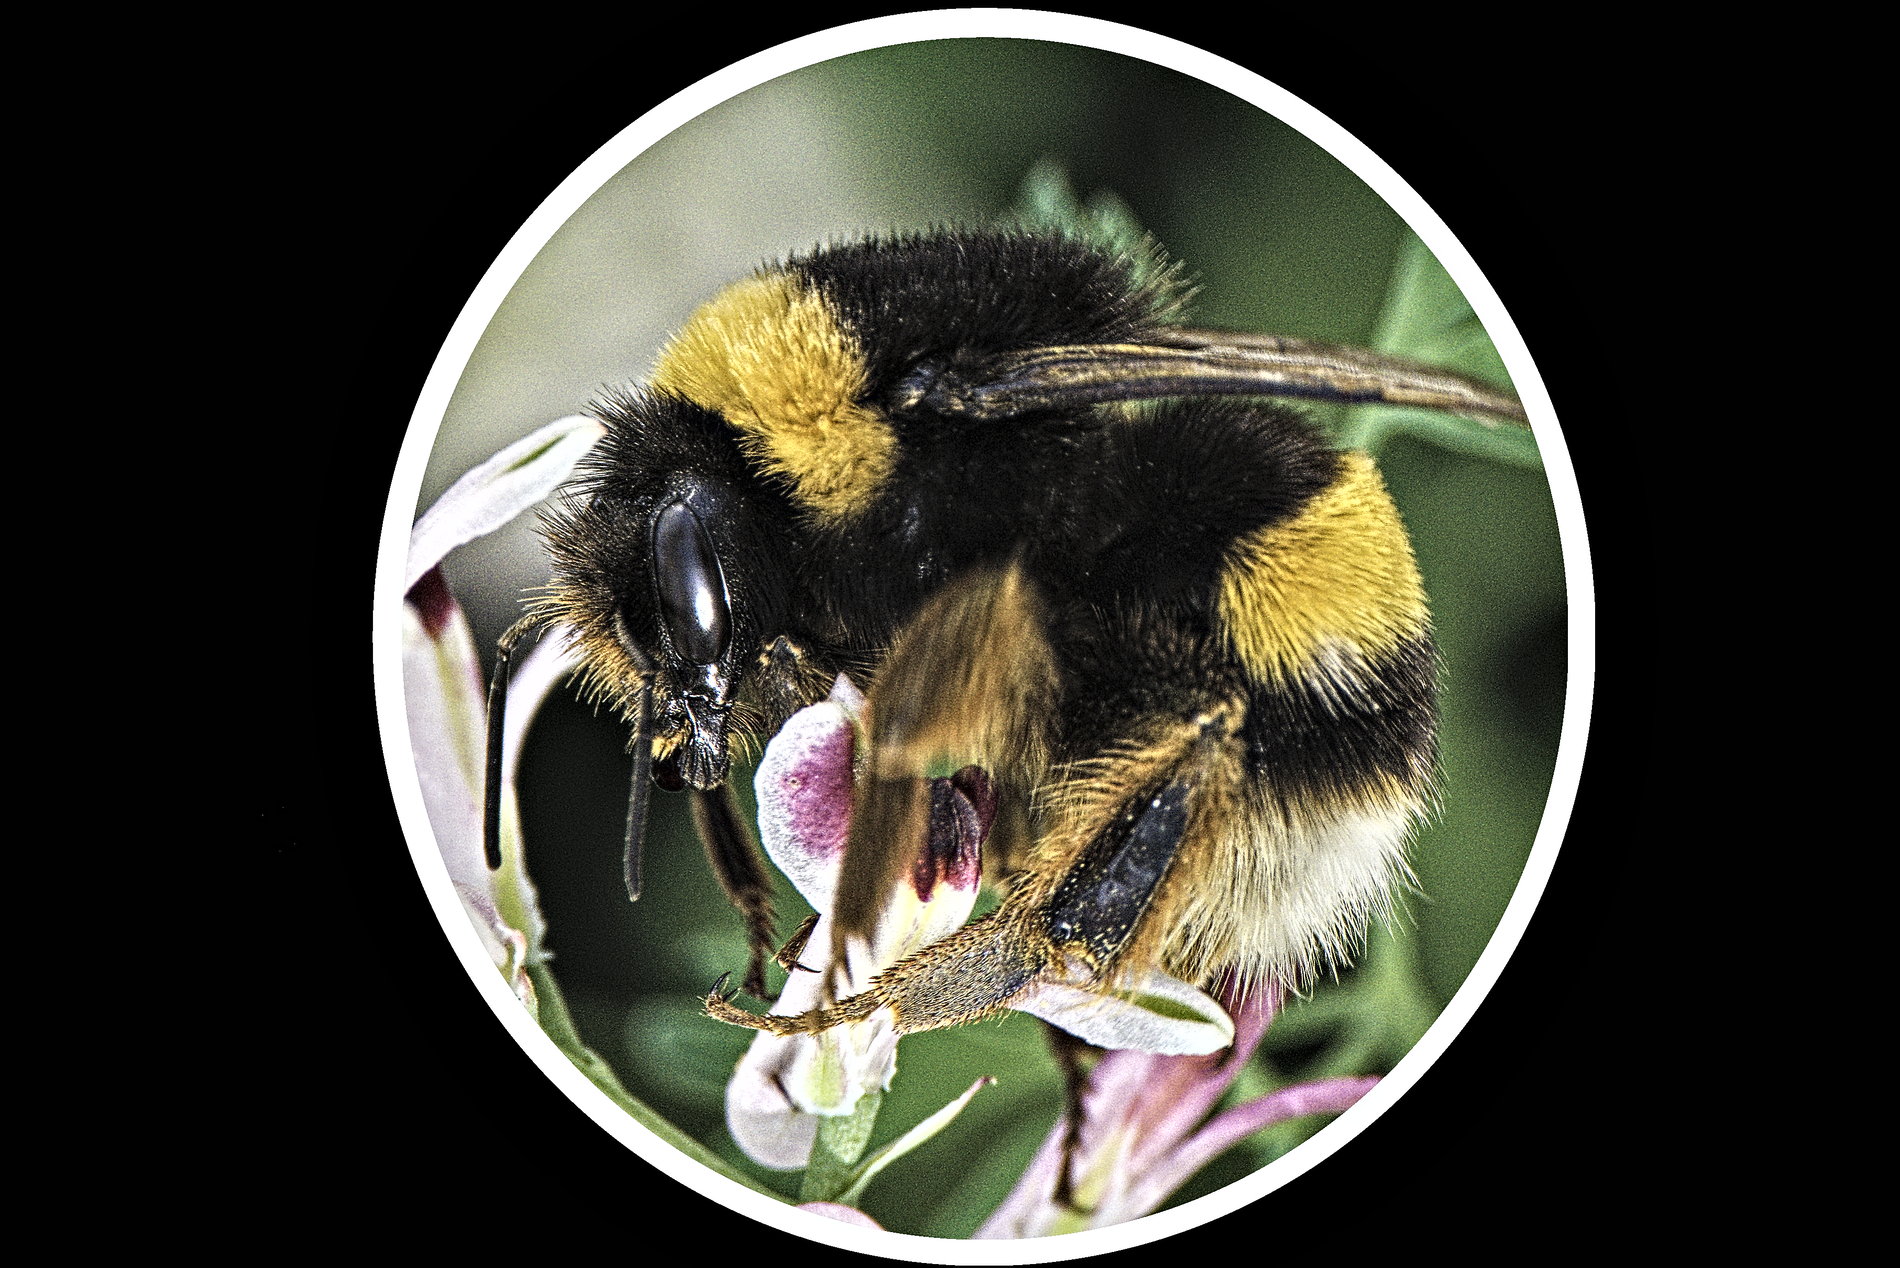
I didn’t even spend any time on demosaicing with this one, I just wanted a 16bit tiff to work with in Krita this time. So, just my default applied base profile. In this case that would include the 3-pass Markesteijn and auto capture sharpening. This base profile doesn’t do any editing, it just sets some sane defaults: Correct colour profiles, size, lens, defringe. Stuff like that.
I do agree with you that, even though there’s been some great work done by Jens-Hanno Schwalm to get darktable on par, RawTherapee is still the better tool when it comes to demosaicing and the accompanying capture sharpening.
I’m not sure you can really compare them when doing a normal edit. On their own they might have the same result, but I think that the very different way both programs work and how modules are applied in the pipeline also play a big roll. One example: darktable doesn’t have capture sharpening, which is applied immediately after demosacing in RawTherapee. Closest thing that darktable has would be one of the diffuse or sharpen presets, but this is done much later in the darktable pipeline.
Anyway: Thanks for posting your bumblebee, had fun playing with this one in Krita!
That makes sense, I guess it ends up being due to capture sharpening that one appears different than the other whilst using the same underlying demosaicing(ignoring all other defaults). In this regard, RawTherapee ends up looking much closer to the camera jpeg than darktable. I’ve been using diffuse or sharpen with the lens deblur presets for this 70-300 lens with great success.
I have not really tested it but I think there is a suggestion to move an instance of diffuse much earlier in the pipeline …not sure how that workflow would compare to the capture sharpening
Yeah, I also read about that a while back and even though it is a nice feature that you can move modules up and down darktable’s pipeline, I do see this as a hack that might imitate RawTherape’s capture sharpness.
But then again:
Is copying how another program works wanted/needed? Why not switch to that one if that is the case and/or certain features are liked that much. darktable has enough tools to get a rather good end-result in and of its own.
Pipelines have a certain order for a very good reason and that order should be left intact.
The exception to the second point being everything between exposure and filmic can be moved (or in some cases a second copy of that module) in between exposure and filmic. I wouldn’t advise to move (copies of a) module outside, especially before, the exposure-filmic chain unless you really know how it influence everything that comes after it.
I’m not at all sure that a capture sharpness equivalent module is needed for darktable, but if that is the case one should be made specifically for that job in my opinion.