@afre very quick grab as didn’t want to disturb the guy’s sweating; gonna write it down before you ask, je je: red lentils, 4 flowers (2 kinds of weat, rye and carob), walnuts, cummin seeds and just a hair of virgin olive oil and soy souce. No smoke 'cause still very hot here, this bread can go 2 weeks and does no get spoilt, also is good to improvise barricades =)
Sorry @jacal for the detour, but if I don’t answer the good afre he will chase me yhrough my dreams
Tshirt is not annoying, me like red. Mosses live in everybody’s rooftop, some hide it, some use it as a wig, je eje. All good bro
Exercising new filmic / color balance tools in Darktable.
Going for the same approach as others to darken the background turned out to be very straightforward in filmic.
Thanks for posting. I find Play Raw a great way to test out presets that I have created. I love to see how the image loads without any further tweaks.
Here is a recent one I created and named Black & White Portrait. I actually use a color film LUT (Stuart Sowerby’s Velvia) in addition to the black and white tool with a red-yellow filter as well as pushing the exposure. This combo seems to give very light skin tones but retains deep blacks elsewhere. I also used the Contrast Level by Details tool to smooth out skin blemishes. Black & White portrait.jpg.out.pp3 (14.2 KB)
After loading my preset, I changed the film sim to Acros, lowered the exposure, and turned off Contrast Level by details. This accentuated the skin and skin ‘blemishes’ Black & White portrait 2.jpg.out.pp3 (14.2 KB)
I am working my way through your edit and at a loss to understand the cc setting:
Manually adjusting to that setting produces a blue image:
I finally copied the module into my edit from yours, which works fine to match you edit, but altering it the slightest amount turns the image blue again.
Of course.
I will try…
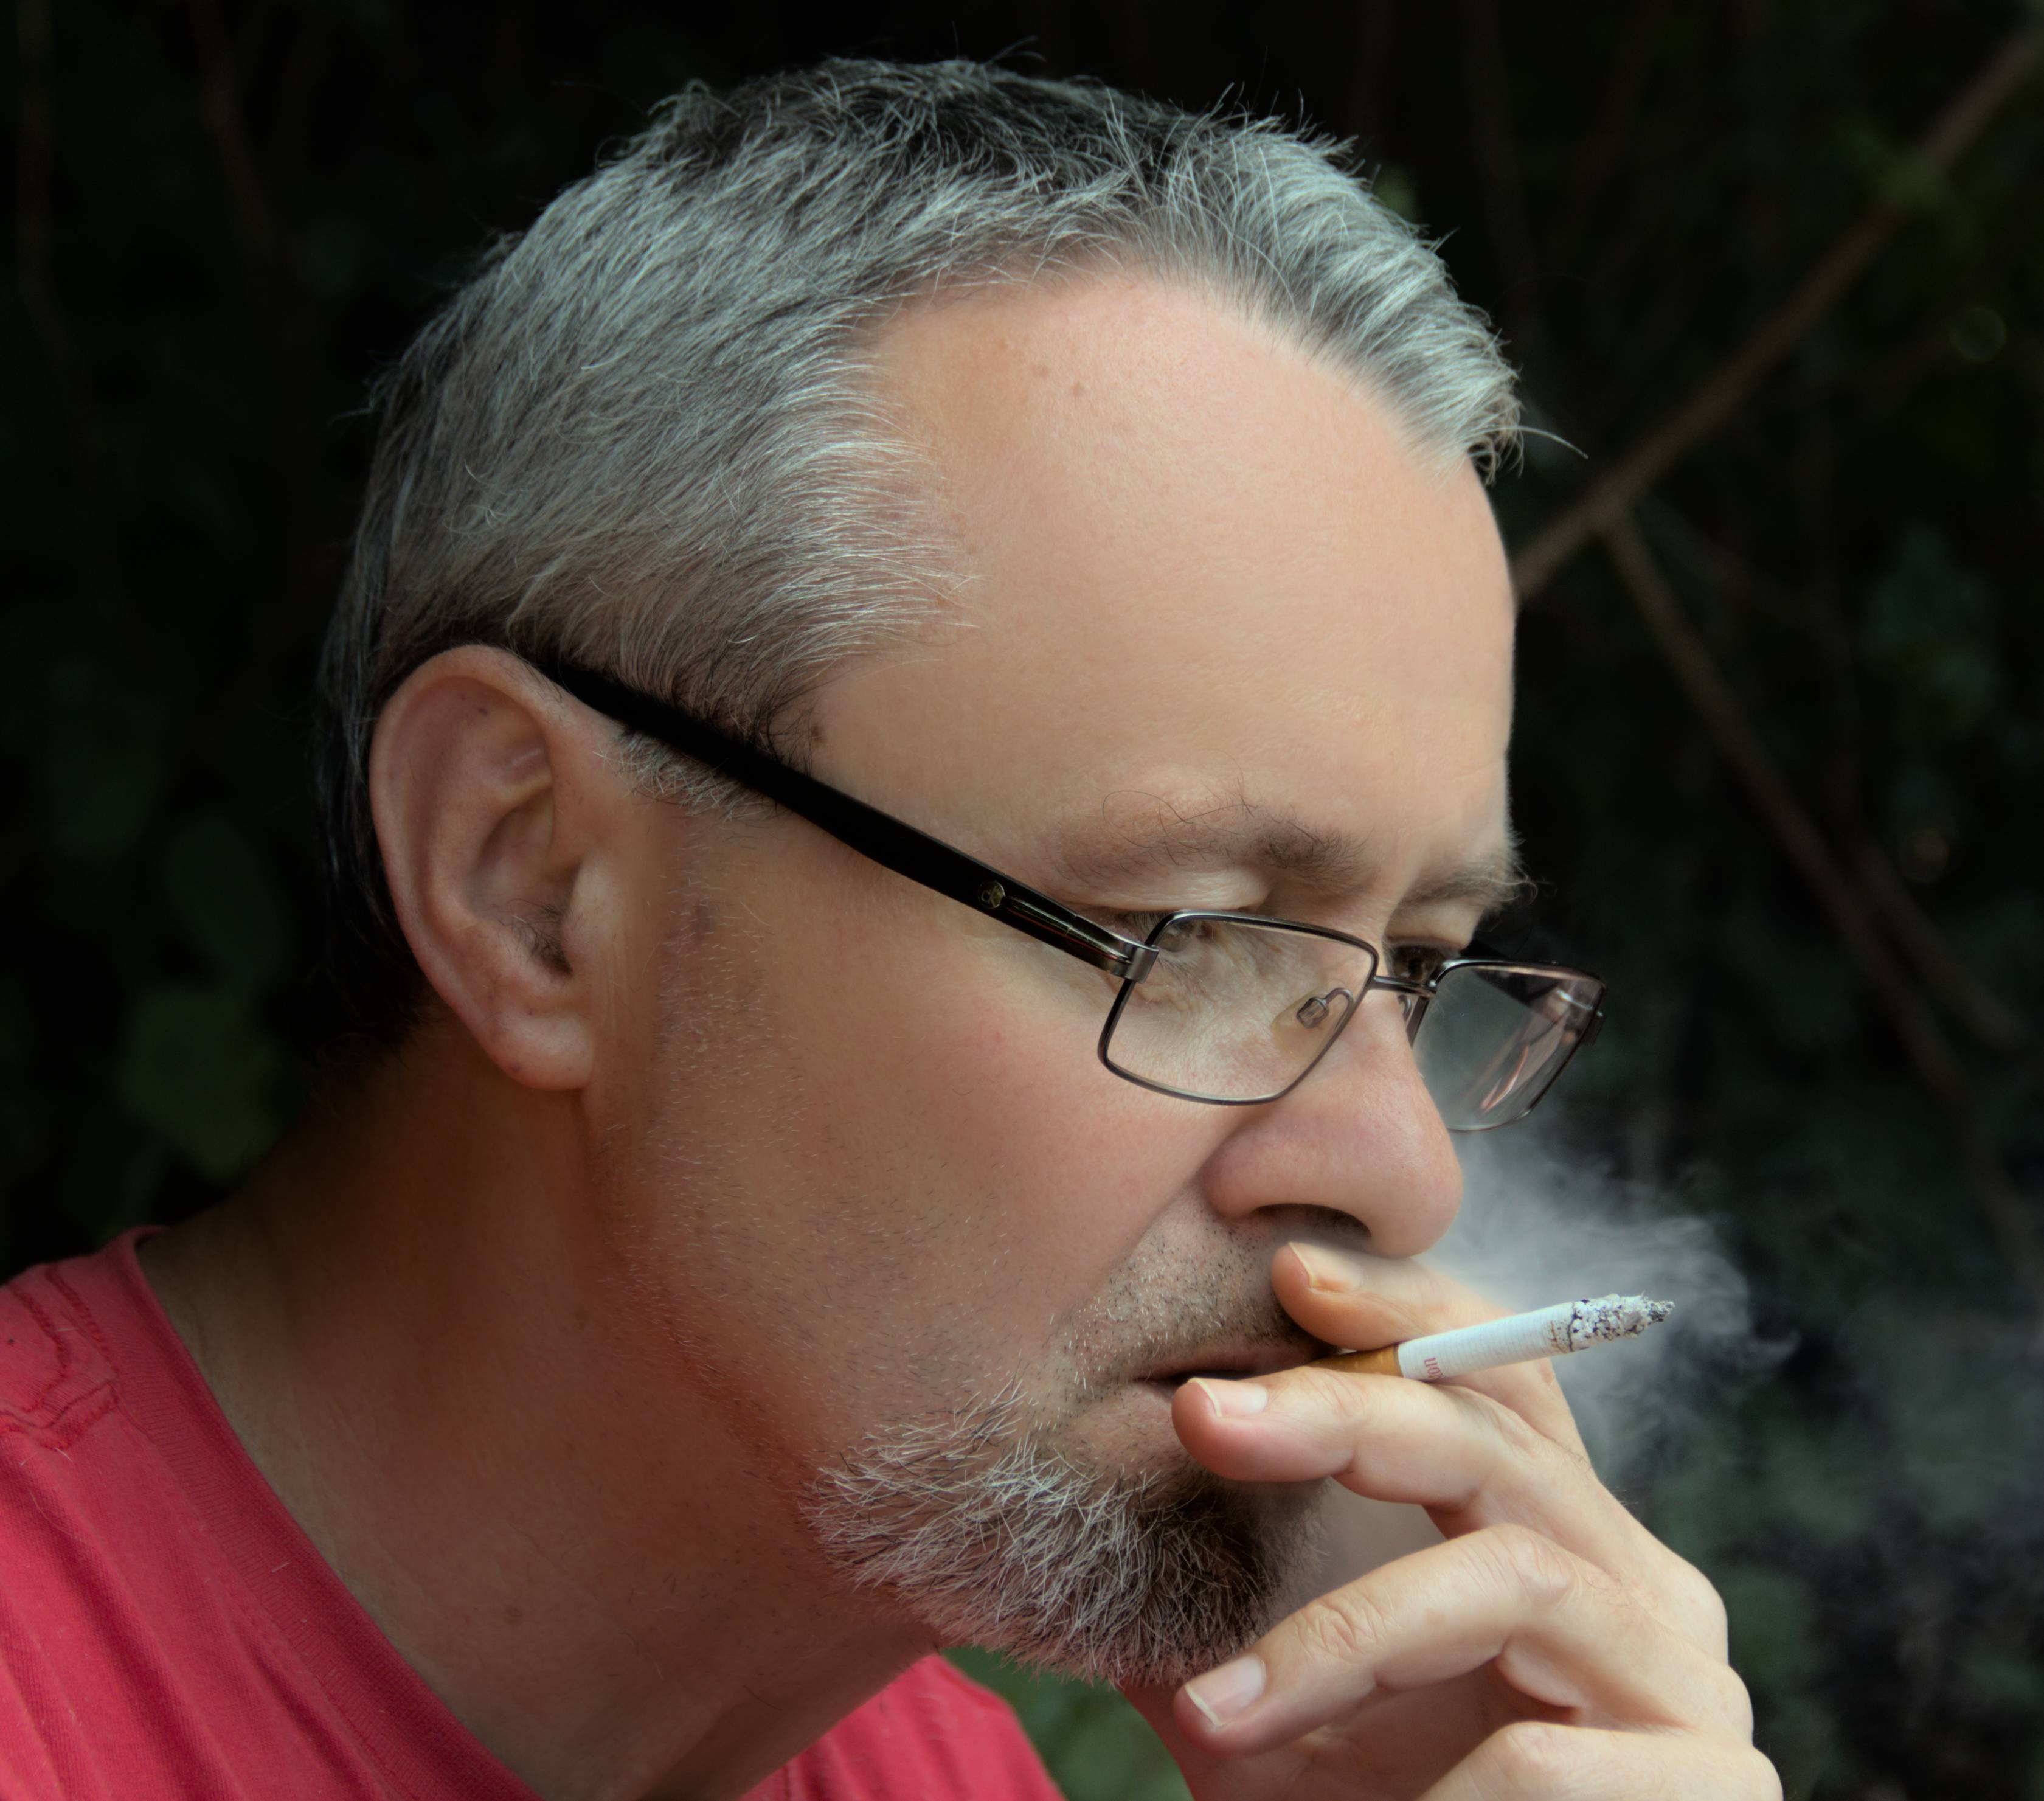
In this image, I have 3 instances of color calibration:
The first one, which is the one you posted the image of, corresponds to the instance I used to find the blank in this image. To achieve this I used the pipette and marked a small square on the cigarette, and then in illuminant, I used the D (daylight) option.
The second instance I used to play with the colors a bit.
To do this, I took advantage of the tabs of RGB and also brightness.
And finally, the third instance, I used it to make the black and white.
I hope I explained myself correctly. Saúdos
I used a color pick from the cigarette and switched to daylight, but I had to use color pick in both images set at the same point. Then I first adjusted the temperature until the color pick RGB was close to yours. Then I adjusted RGB to finally match what you have. I checked it with color picks from several other locations, and they matched.