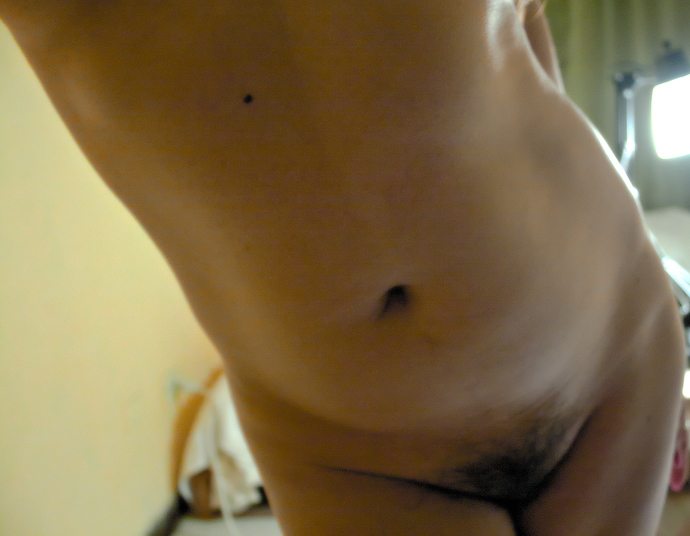
[PlayRaw] Natural body with poor light

I’m a beginner. We’ve been shooting some photos in a set with little light, however, I feel with good editing the final result can be improved a lot.
I’m learning to use darktable, so I ask -please!- to attach the xmp file of your edit.
I hope natural bodies don’t infringe site’s terms of service. In this case just delete my post.

This is the first picture:


raw: IMG_3848.CR2 (9.2 MB)
I just love this photo! however, there’s a yellow-green shade on the left of the belly of the model that I would like to get rid, and general hilight-shadow contrast I feel it’s not optimal.

and this is the second:


raw: IMG_3836.CR2 (9.3 MB)
I had the same problem with the whole set: at left the camera preview (the jpg embedded into the raw file, looks good), at right the picture just opened before editing, it looks ugly! I try to set white balance and exposition but it still doesn’t look good. after getting some natural color balance, all artistic edit of the photo is welcome! (black and white too)

thank you!!

I applied a white balance using the white blanket in the lower right. Then I increased expsure and discovered the green curtain.
I think that the poor light and the green curtain cause the yellow-green shade.

IMG_3836.CR2.xmp (19.3 KB)

1 Like

Can we go 100% natural? I ask this to both author and mods.
I personally find it more offensive to hide some parts of the body…

5 Likes

Thanks for sharing.

My 90% take with a lowpass bikini.


IMG_3848_01.CR2.xmp (37.2 KB)

EDIT:


IMG_3836.CR2.xmp (6.7 KB)

1 Like

As to odd skin tone/color shifts not seen “straight out of camera” - there are known issues with the basecurve module in the released version of darktable. The curve is applied on a per-channel basis which shifts color around.

There has been work done in the past month or so to make the default behavior not shift colors around, however this is only available right now if self-compiled or someone provides a very recent development build.

Try turning the basecurve module off for the time being. If you really want to use it, you really should be operating a recent git build.

Thanks @gadolf for your upload. I couldn’t load the sidecar file: I could load the one by @pphoto , but with yours I get an error and darktable freezes. Which version are you using? which OS? I’m on linux mint, and darktable is version 1:2.6.2-0pmjdebruijn1~bionic from PPA.
Thank you! Attilio

Thanks @pphoto for your sidecar file… there’s so much work in it!! I’ve loaded it, then went back to first step and advancing step by step… I’ve learnt so much! there were modules I’ve never used before, or some others that you used in a different way than I used to do. Thank you so much!

The first one is difficult. I think, there is just not enough light on the body (and to much at the lamp).


IMG_3848.CR2.xmp (7.2 KB)

When you omt the last (monochrome) step in the sidecar file you get my color version.

development master branch 2.7 over Ubuntu 18.04

oww… perhaps this is the reason why I can’t use your sidecar files… :sob:
I will then have to wait untin 2.7 is released

It certainly is.

I think when a new version comes it will be 2.8, afaik. It seems to be a versioning standard like Canonical’s: ubuntu 19.10 is the intermediary unstable version between stable versions 18.04 and 20.04.
You can always install 2.7, it’s pretty stable (rarely does it hang and you just have to end DT and restart it and it’s all good) and you can help devs by opening tickets (maybe after checking it is really a bug. Before adding an issue, I try to bring it here in the forum). Just be aware that once you go 2.7 there’s no way back, so it’s highly advisable to backup xmp files and some other stuff.

1 Like

Umm, maybe my post is NSFW? If so, I can bowdlerize it.

I want to discover what the light is doing to the skin. I use dcraw (slightly hacked by me) and ImageMagick.

First, a simple conversion, using camera white balance:

%DCRAW% -v -w -B0 -6 -T -O x.tiff IMG_3848.CR2

Loading Canon EOS 400D DIGITAL image from IMG_3848.CR2 ...
Multipliers pre-norm:  1789.000000 1059.000000 2234.000000
Scaling with darkness 257, saturation 3726, and
multipliers 1.689330 1.000000 2.109537
AHD interpolation...
rgb_cam:  1.6052 -0.673273 0.0680688 -0.00404173 1.34798 -0.343938 0.0175099 -0.
281704 1.26419
out_cam:  1.6052 -0.673273 0.0680688 -0.00404173 1.34798 -0.343938 0.0175099 -0.
281704 1.26419
Converting to sRGB colorspace...
Writing data to x.tiff ...
bright=1.000000, gamma_curve imax=65528

Make a small JPEG for the web:

%IMG7%magick x.tiff -resize 600 3848_x.jpg


I dislike like the skin colours.

Now, set the white balance to neutralise an area of skin, with dcraw’s “-A” option:

%DCRAW% -v -A 1618 740 400 500 -B0 -6 -T -O x1.tiff IMG_3848.CR2

Loading Canon EOS 400D DIGITAL image from IMG_3848.CR2 ...
Multipliers pre-norm:  0.012309 0.016714 0.088770
Scaling with darkness 257, saturation 3726, and
multipliers 1.000000 1.357919 7.211955
AHD interpolation...
rgb_cam:  1.6052 -0.673273 0.0680688 -0.00404173 1.34798 -0.343938 0.0175099 -0.
281704 1.26419
out_cam:  1.6052 -0.673273 0.0680688 -0.00404173 1.34798 -0.343938 0.0175099 -0.
281704 1.26419
Converting to sRGB colorspace...
Writing data to x1.tiff ...
bright=1.000000, gamma_curve imax=65528

Note the “multpliers” line is very different to the camera WB.

Crank up the colour chroma so we can clearly see how the colour varies across the skin:

magick x1.tiff -colorspace HCL -channel 1 -evaluate Pow 0.5 +channel -colorspace sRGB -resize 60 x2.jpg

Ignoring the background, look carefully at the skin colours: neutral in the center, green at the left and blue at the right.

The RGB multipliers were: 1.000000 1.357919 7.211955. If we crank up the red a bit, the green and blue will slide towards yellow and magenta. We do this with dcraw’s “-r” option:

%DCRAW% -v -r 1.2 1.357919 7.211955 1.357919 -B0 -6 -T -O xr.tiff IMG_3848.CR2

Yeah, that looks good. By luck, the wall on the left is fairly neutral. If we crank up the chroma as before to give it some punch:

Maybe that’s too punchy for my taste.

It’s a useful colour-evaluation trick: make an area neutral, and crank up the chroma (or saturation).

1 Like

Just realize no mod/admin commented on this. Its fine by me and doesn’t infringe on any of out site rules.

2 Likes

Interesting play raw @attilio. I had a go with RawTherapee.

RT-28Jul-IMG_3848-RawConvert.jpg.out.pp3 (12.3 KB)

1 Like