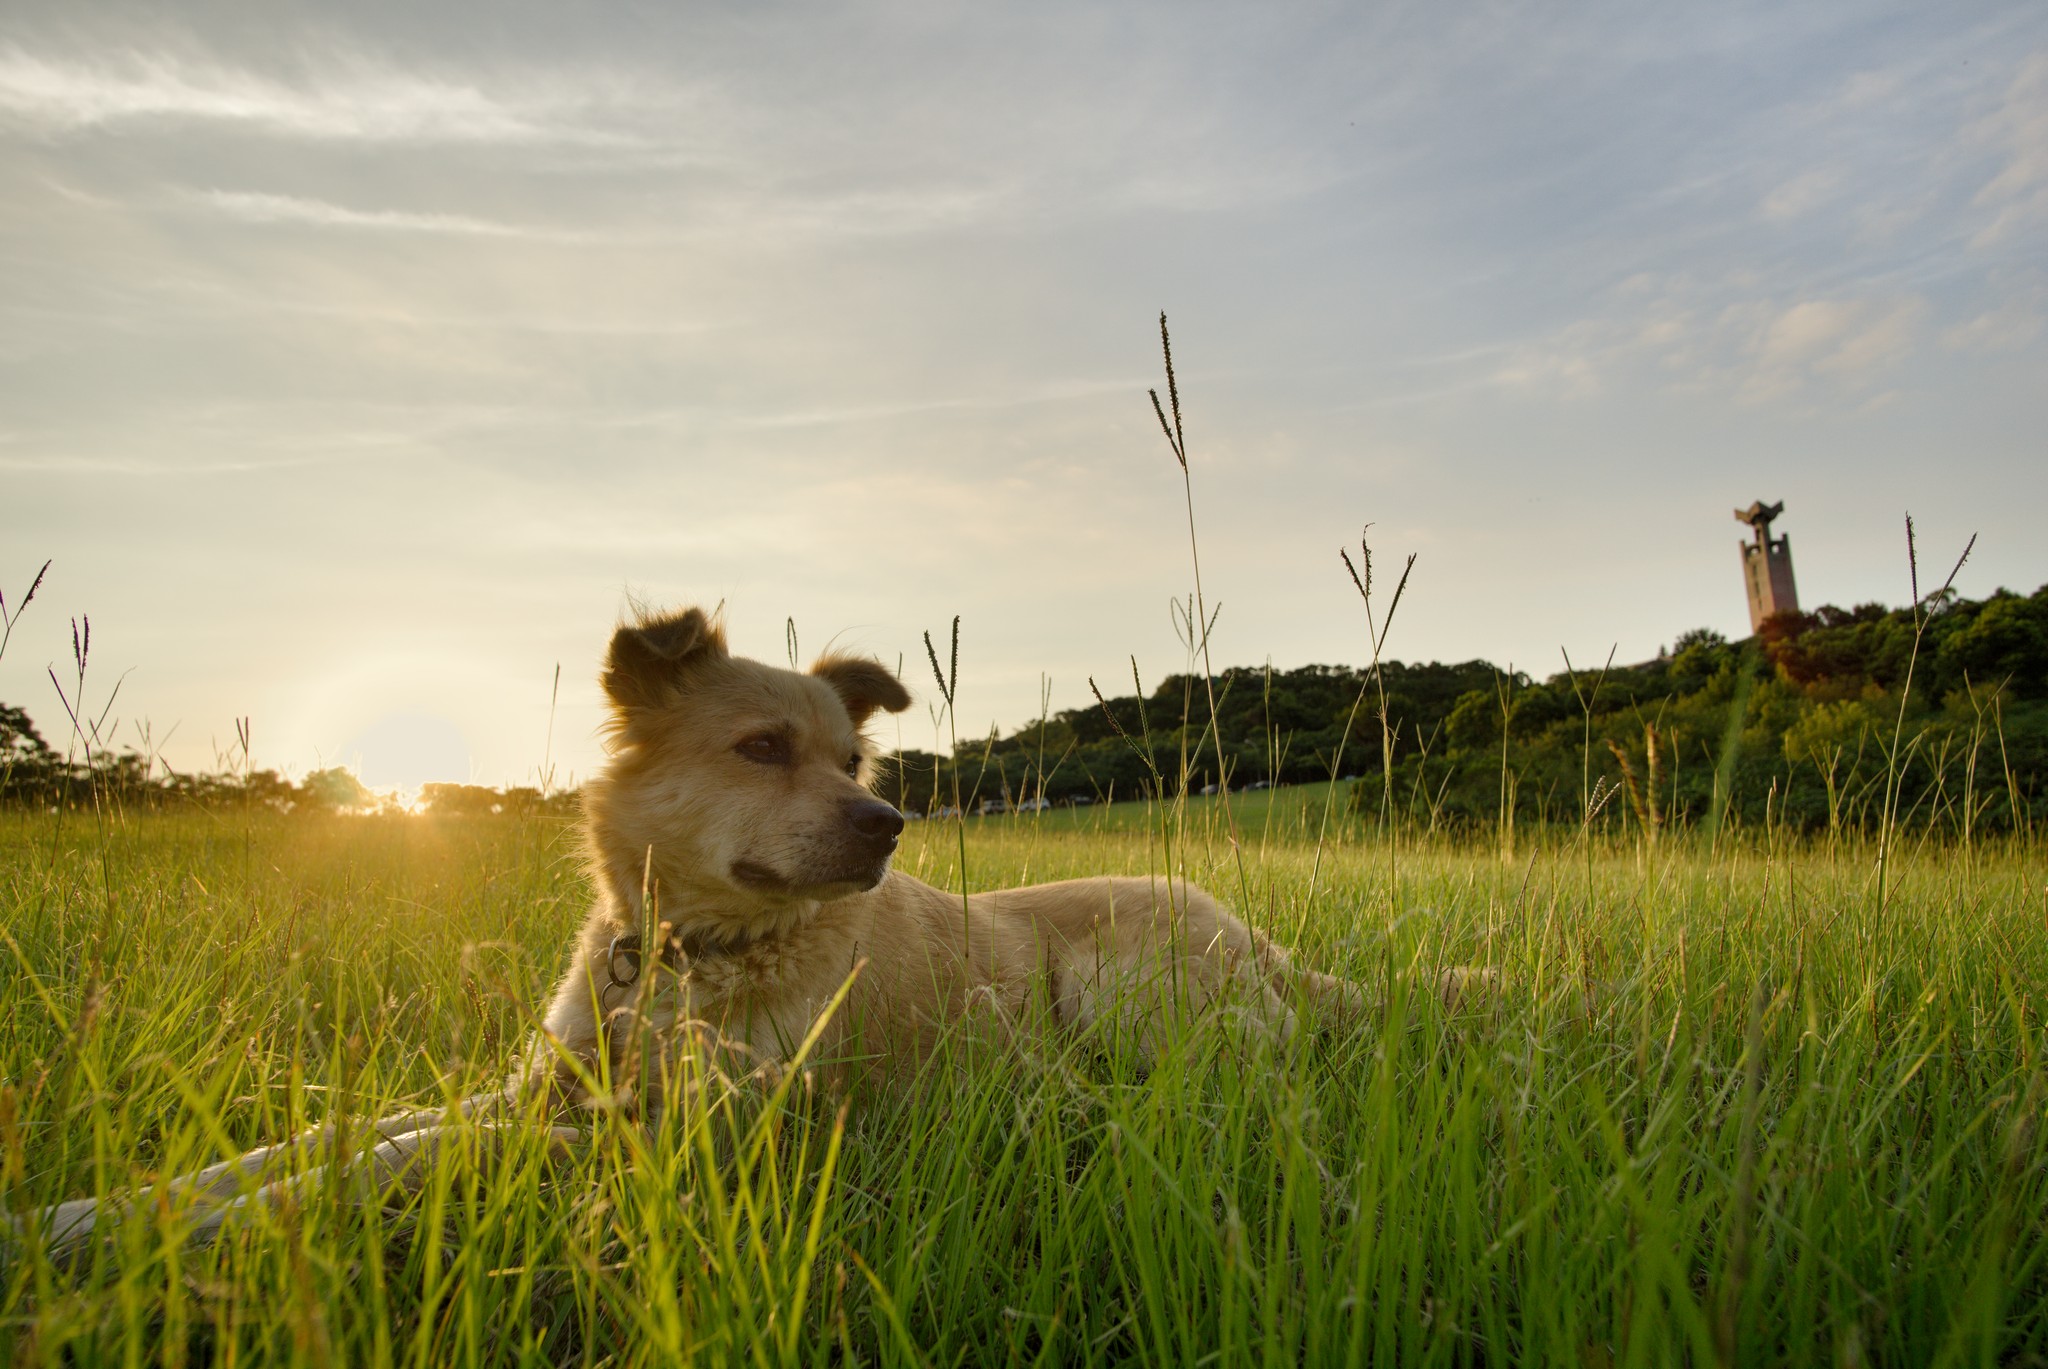
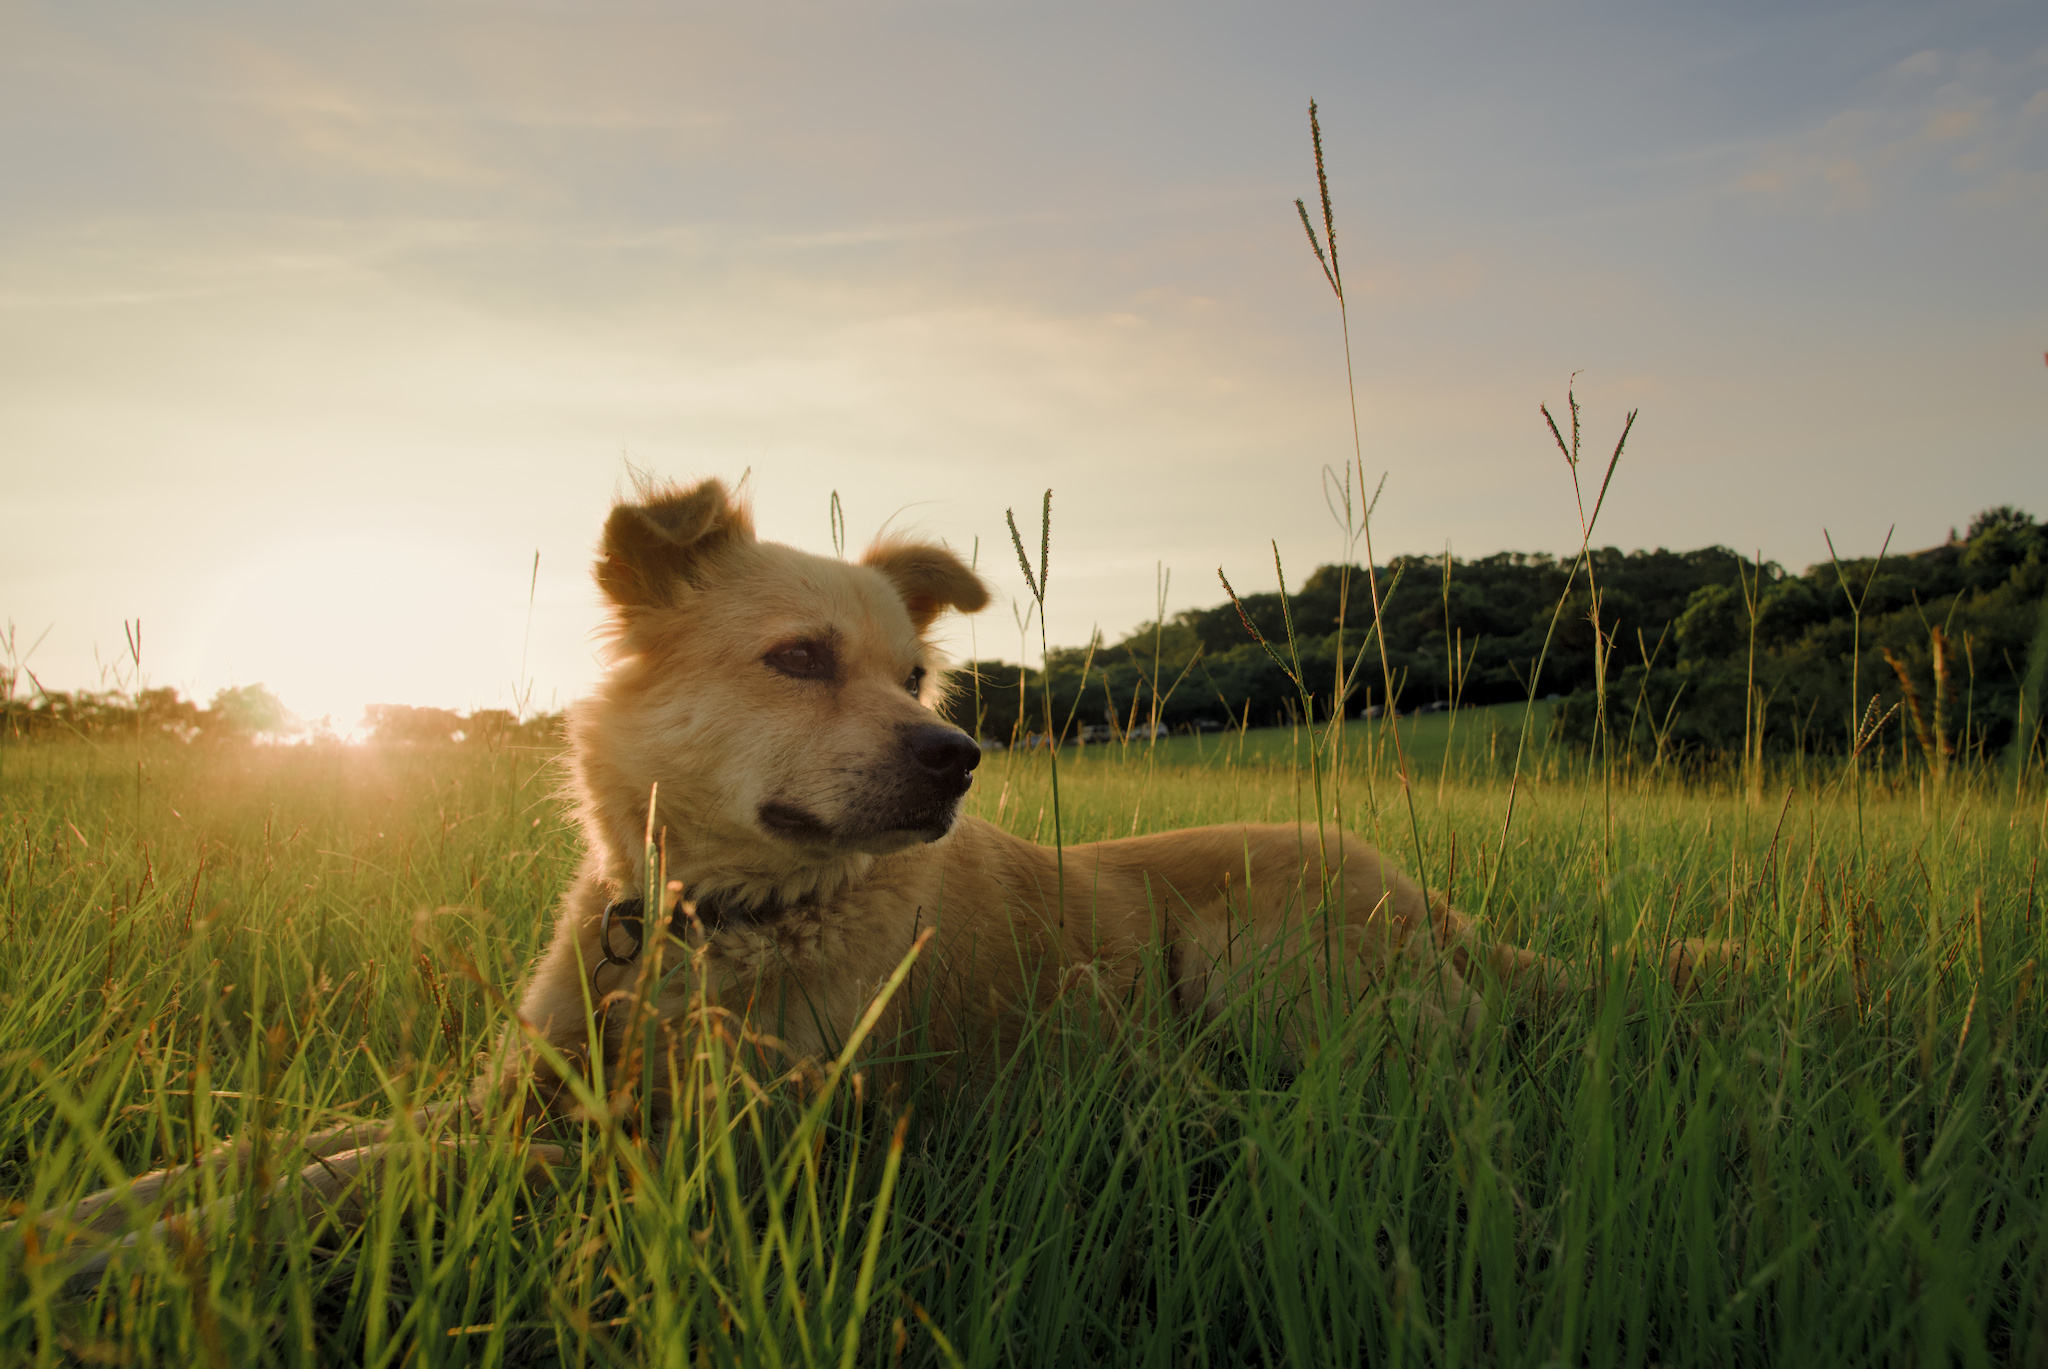
I think I am going to share my edit of this lovely photo 

darktable: DSC03922.ARW.xmp (6.3 KB)
Thought I would give this a try. Liked the challenge of taming the sun and fur. Suits my appetite for developing new techniques and trying new features from our lovely [px] devs.
1. PhotoFlow → WB (daylight) → HL mode (blend) → CA correction → Lin Rec.2020 (no clipping) → DR correction → Tone mapping (Reinhard).
2. gmic → fill negatives → darken backlight → brighten (copy) → average → darken sky.
3. pnmclahe → increase local contrast.
4. gmic → decrease global contrast.
5. GIMP → G’MIC inpaint filter (multi-scale) → smudge → healing.
6. gmic → resize → crop → sharpen (edge).
Enjoy!
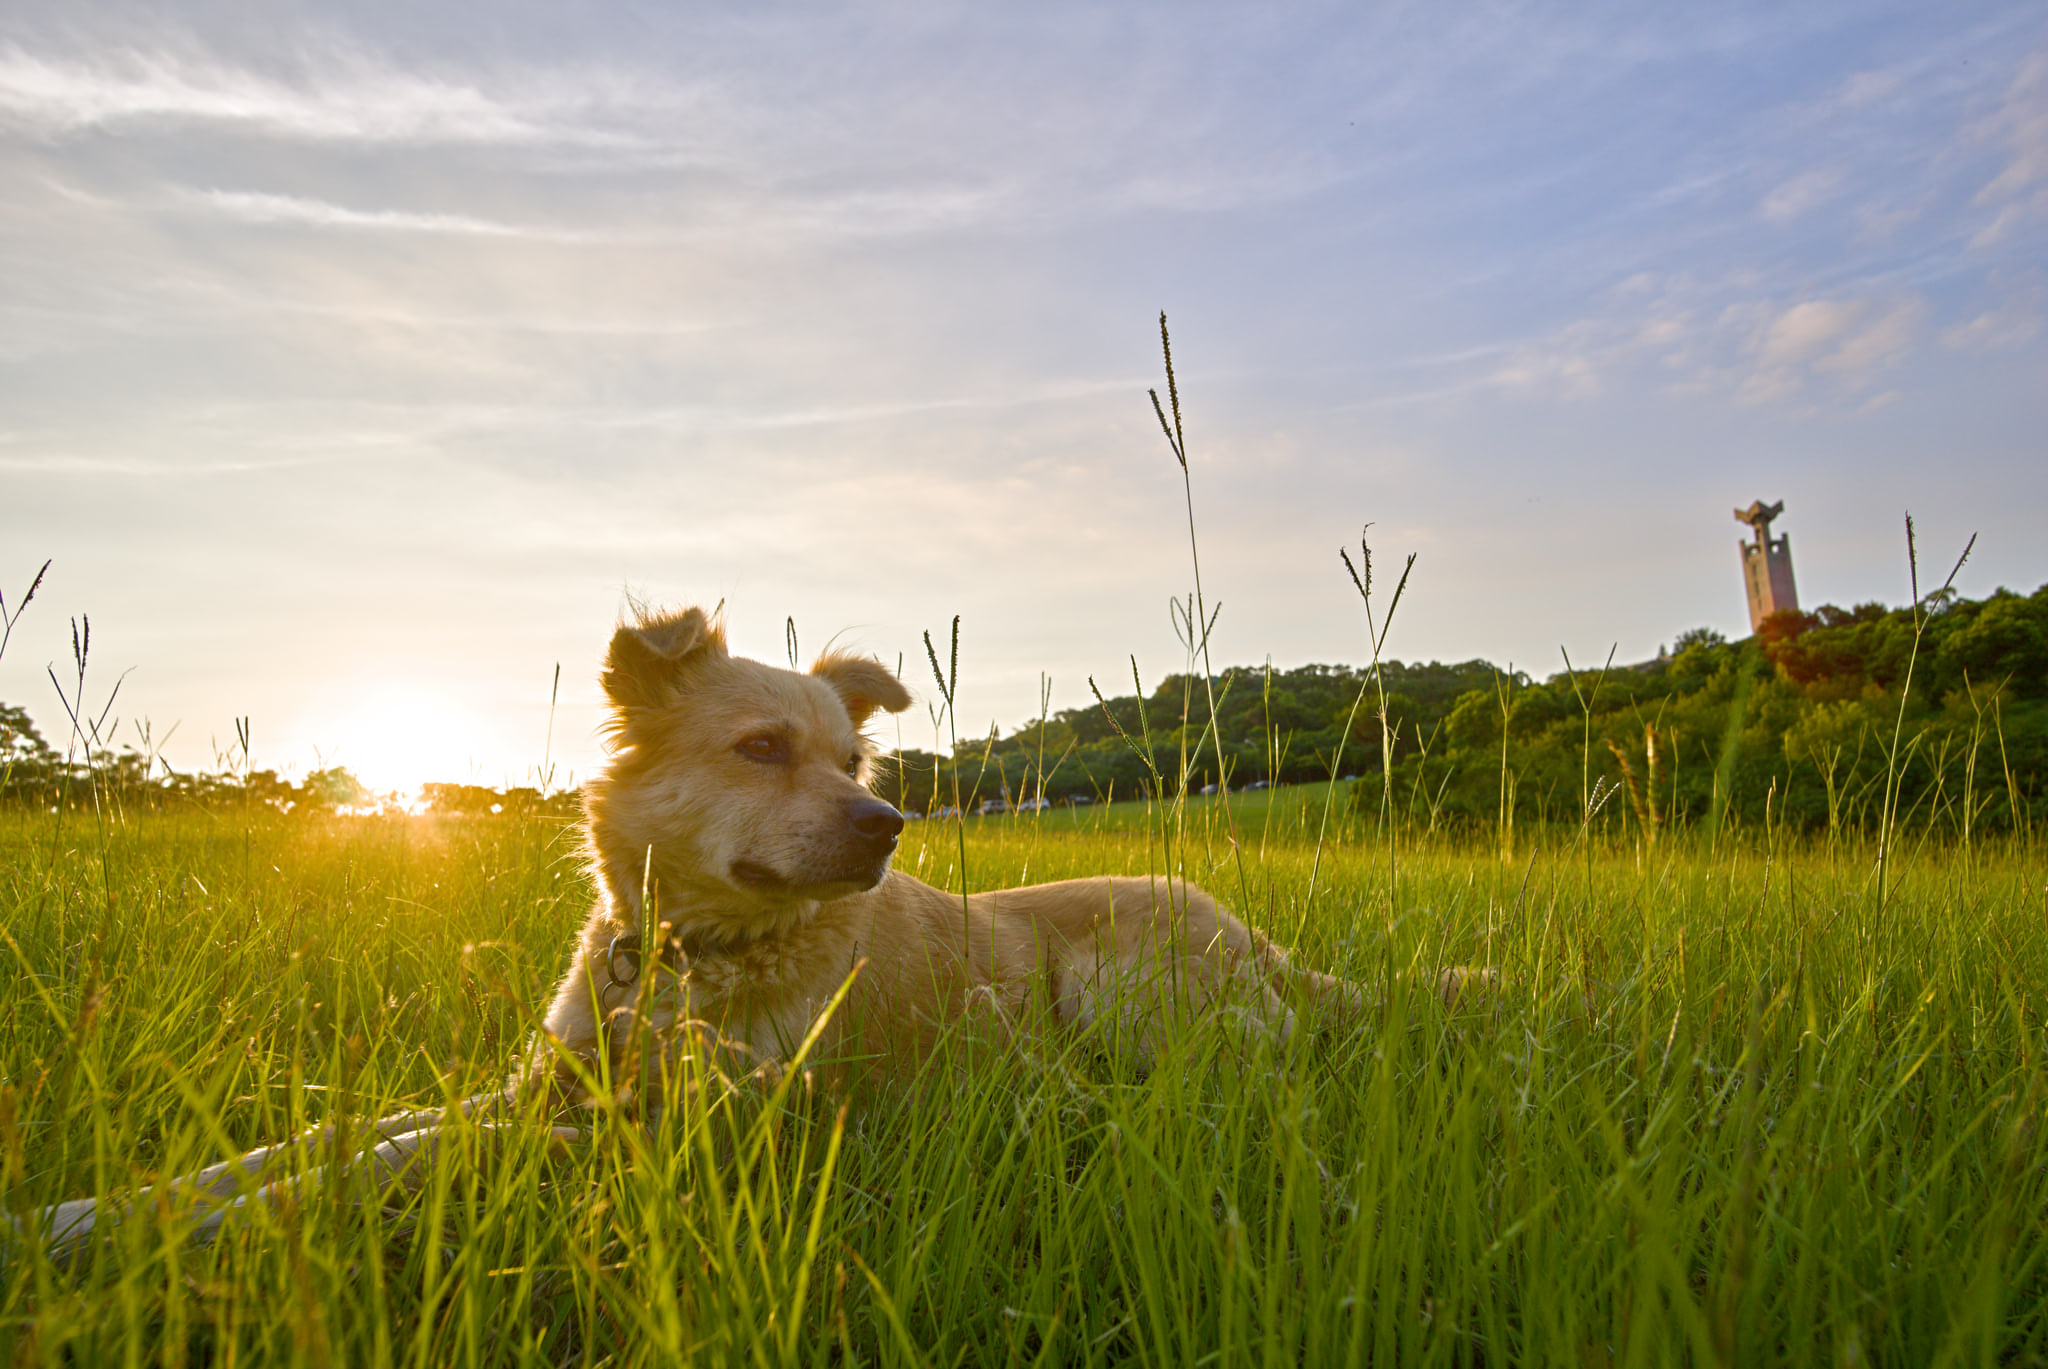
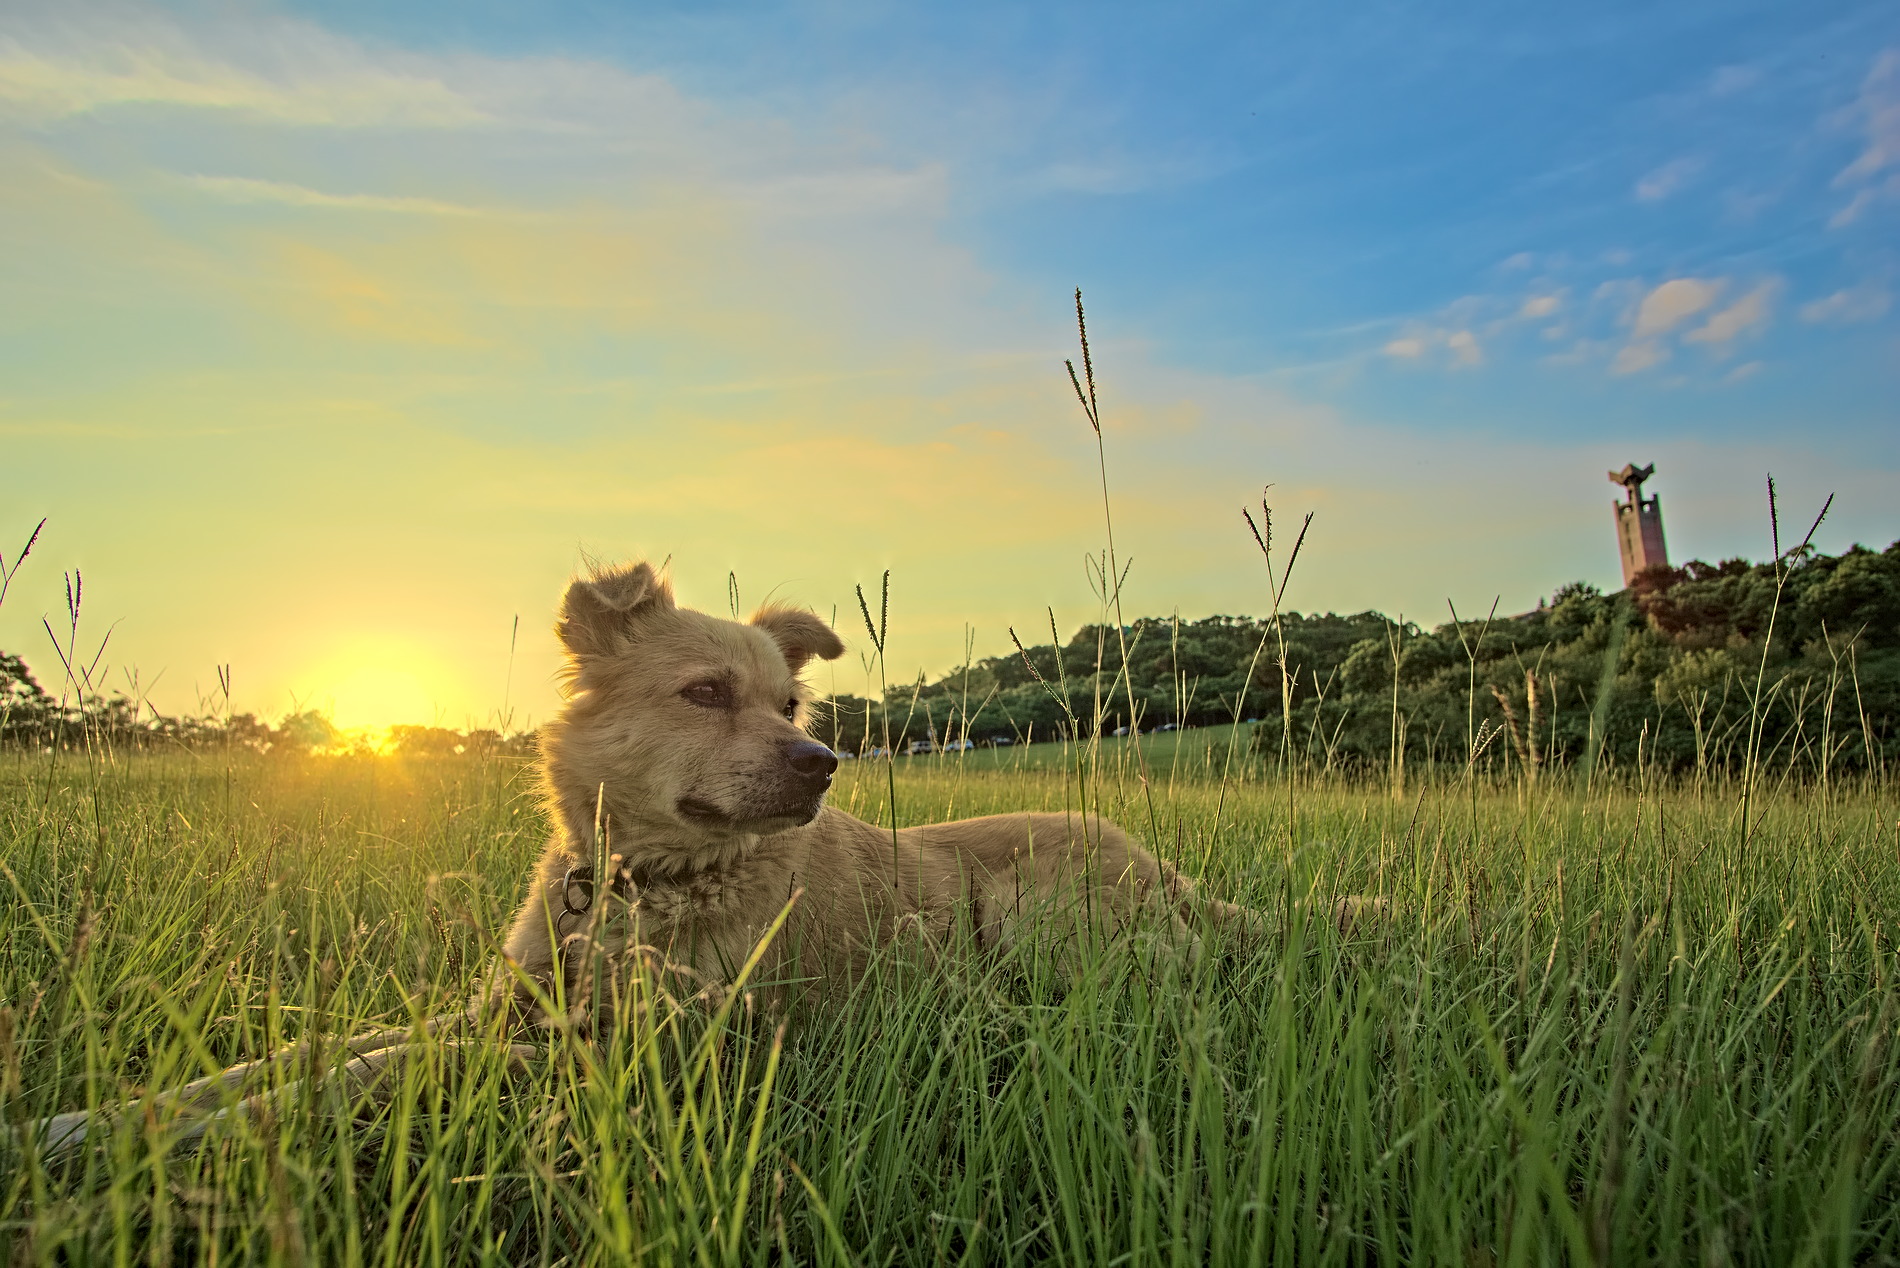
 Does my submission above appear washed out to you? It does in my image viewer but not in my browser… Here is v2, which I saved as a
 PNG instead of a JPG. It also has much more sky.
v2
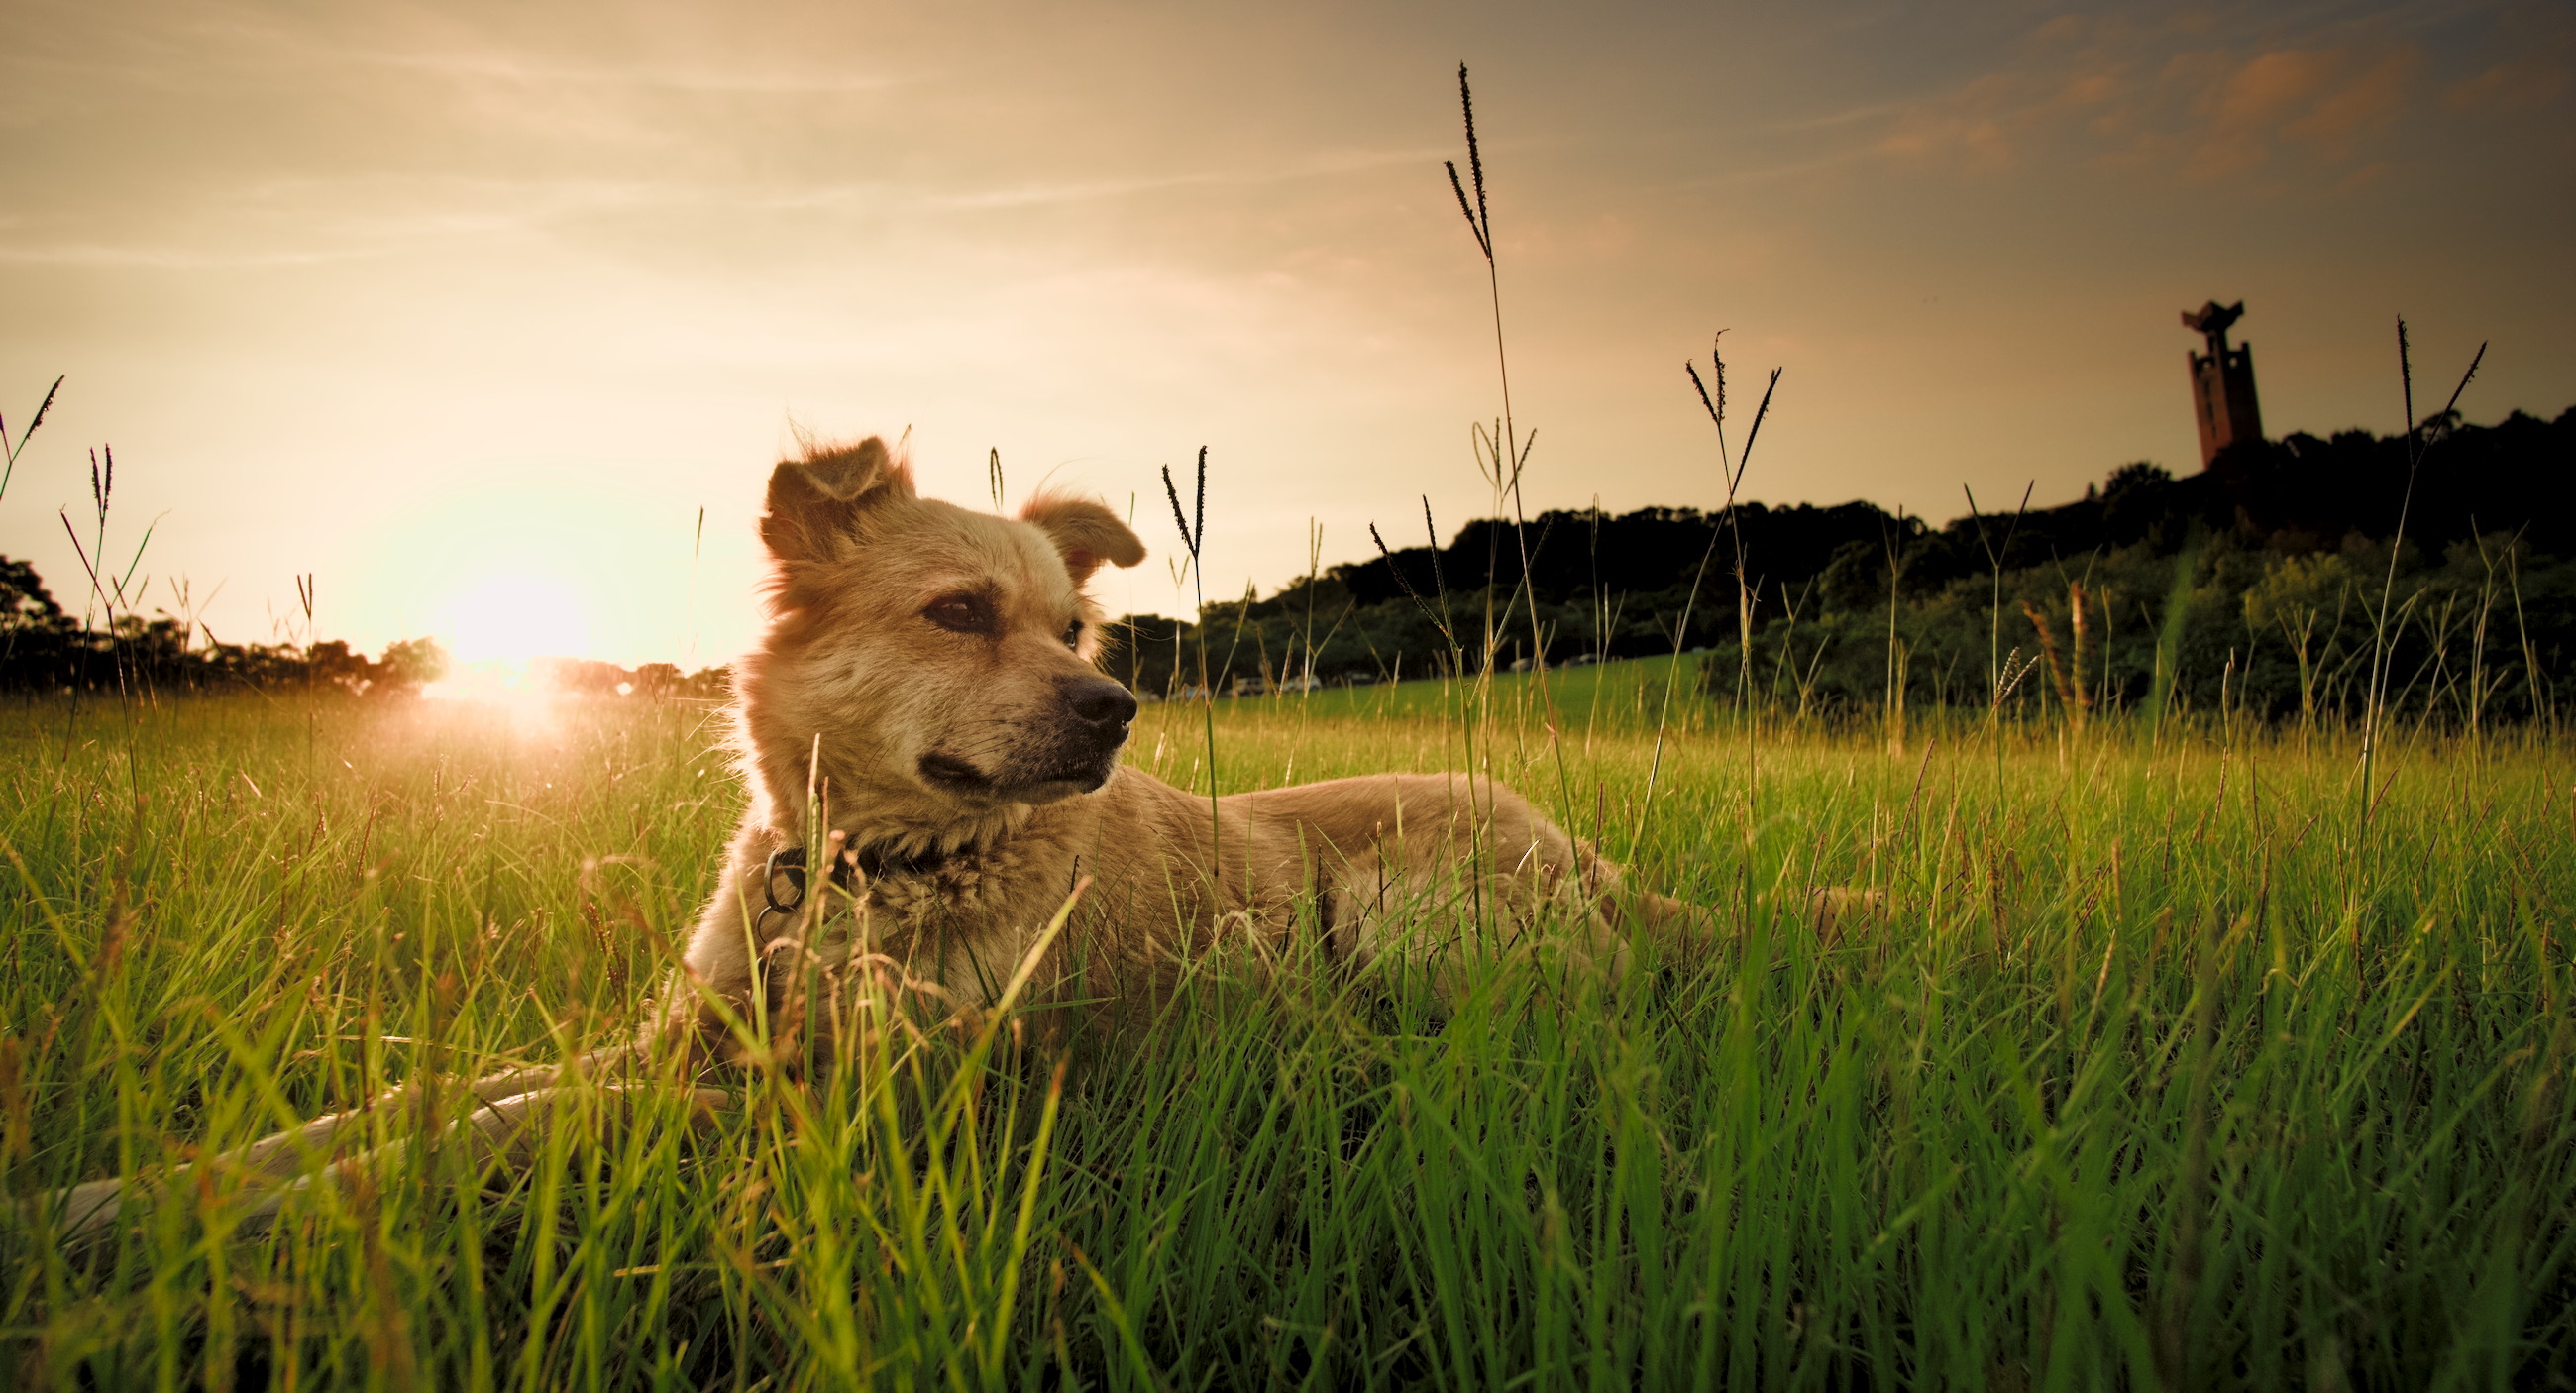
This play raw is a very good image for testing the new “dynamic range correction” module in PhF. Here is what I could obtain with a combination of dynamic compression and filmic tone-mapping, plus some final local tweaks.
By the way, I have modified the “filmic new” tone mapping method such that is preserves the brightness of mid-tones. Previously one was obliged to re-adjust the exposure after any change to the parameters…
To open the attached .pfi you will need a PhF version from today:
DSC02168-phf2.pfi (49.0 KB)
DR correction was fun to use. Might give this PlayRaw another try to see the fruit of your code improvements.
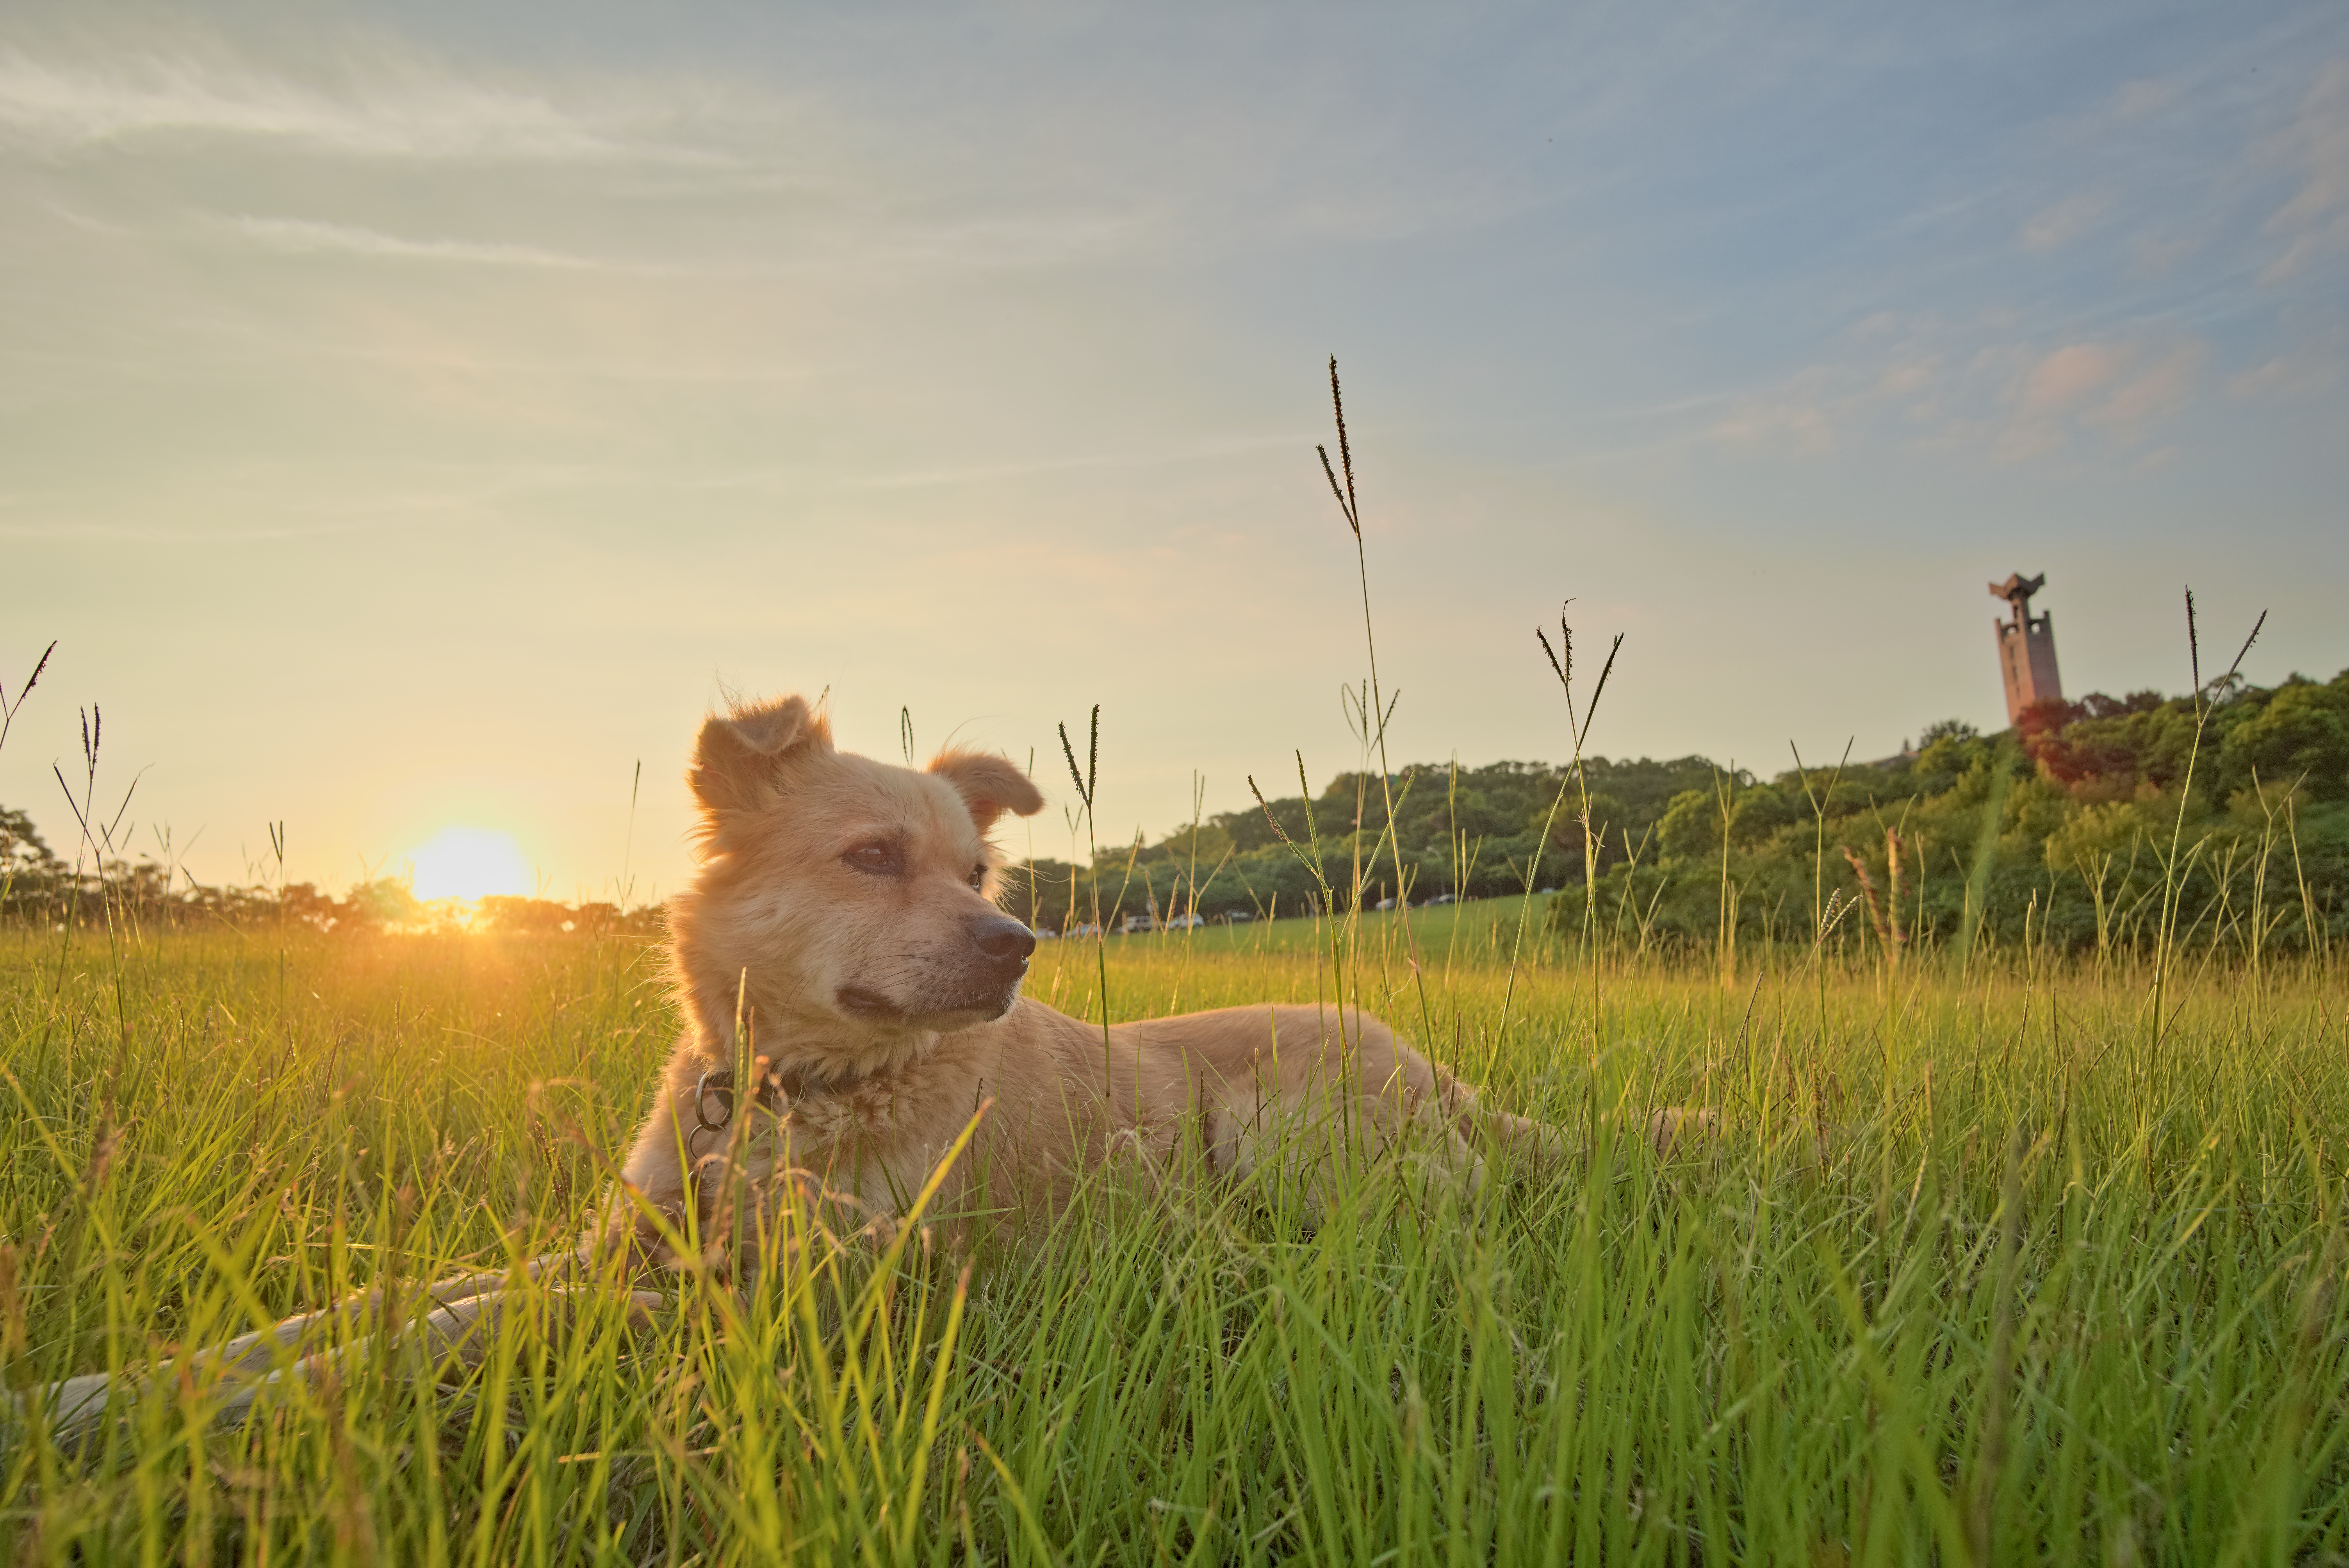
The recent activity made me want to try again. The picture is very good and also quite challenging I think. If I look at my old attempt now, it really hurts my eyes, it’s waay overdone and totally fake. So, this time I tried to get it as natural as possible, and this is the best I could do 
Interesting photo. And interesting to see the many different versions.
So I did try.
I don’t much use sharpening tools in RT. I mean just simple things like adjust exposure value, shadow/highlight value and white balance. And this time strong light from sky so I did use Graduated filter though.
And then lens corrections in RT. Lastly, use film simulation–Fuji Superia 1600.

darktable 2.7 with tone equalizer, filmic, colour balance, equalizer, local contrast and highlights reconstruction.
Its great to see how the processing tools in the various software are progressing.
This is with Photoflow.
Shadows/highlights + colour correction x 2 + curves + colourspace conversion.
I had to add the second colour correction layer to desaturate the extreme light tones otherwise the transition from sky to overexposed sun looked very bad.
Once again - my try. It’s the same story with me as with @agriggio. When I’m looking at my last attempt it’s really bad  Hopefully, this one is a bit better.
New try after two years.
DT modules: levels, local contrast, highlight reconstruction, color zones, lowpass, higpass, equalizer
Time to enter my first Play RAW game. I’m gonna place my bet that it’s because the Dog and not the complicated back light the main reason why this thread keeps hitting my email
I did all my edit with darktable to not over-complicate things.
Dog is what got me to this point. So I added a mask to add some sharpening, color correction and lights/shadows edits to the dog. If the Doggo remains on the same tonal range as the highlights/grass, then the magic of him will get lost.
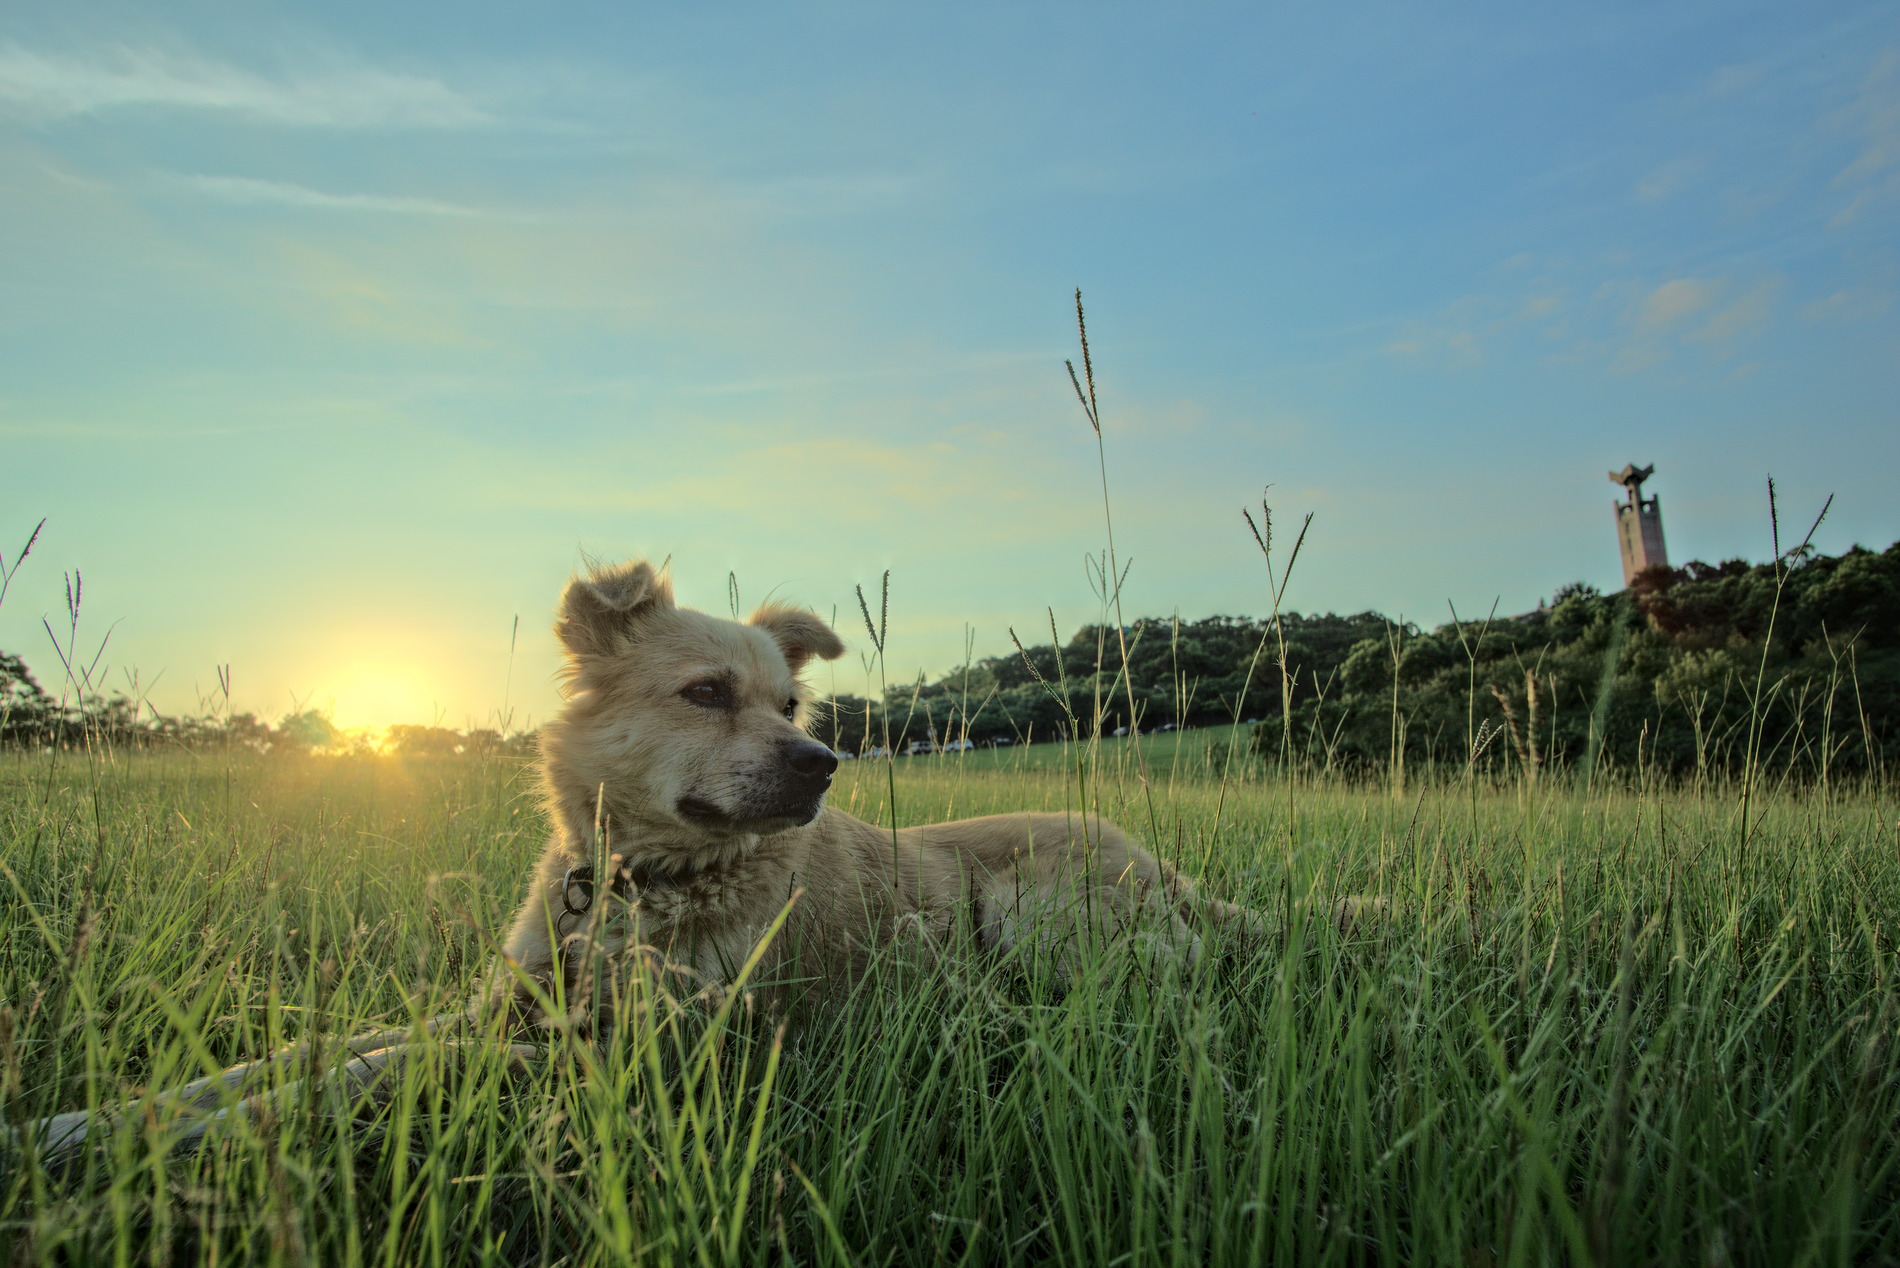
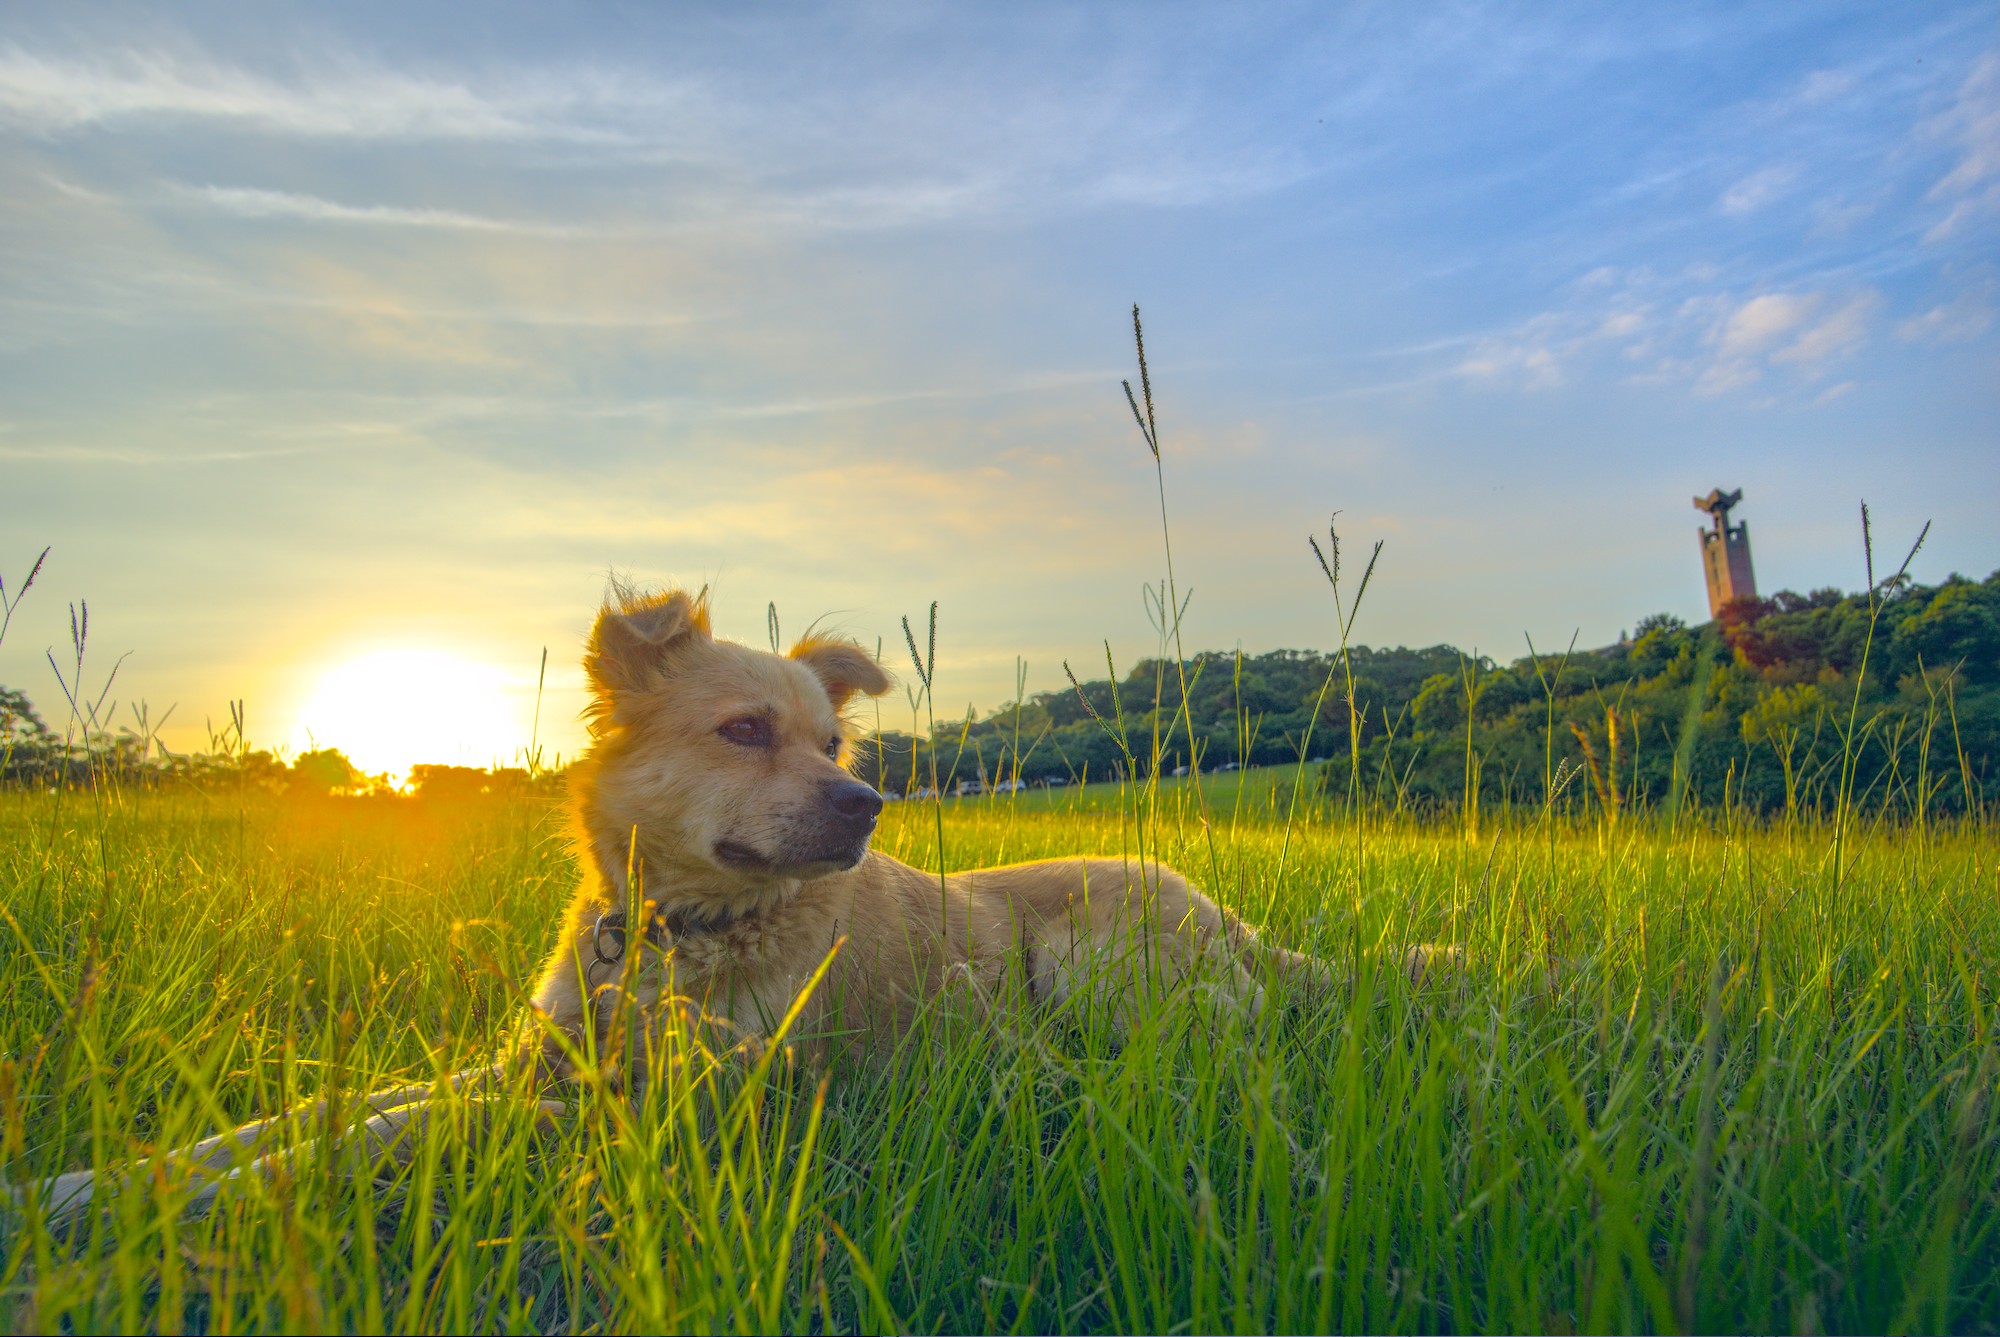
Here is a trial with darktable 2.7 + Aurélien’s toneequalizer pull request.
My aim was to get warm tones on the dog and the field, and try to get nice contrast.
I used toneequalizer to handle the wide dynamic range, and then I used colorbalance to saturate more the colors, and to color grade a little the sky and shadows with blue, and middle tones with yellow, and I used 3 instances of local contrast: one for the shadows, one for the mid-tones, and one for the highlights.