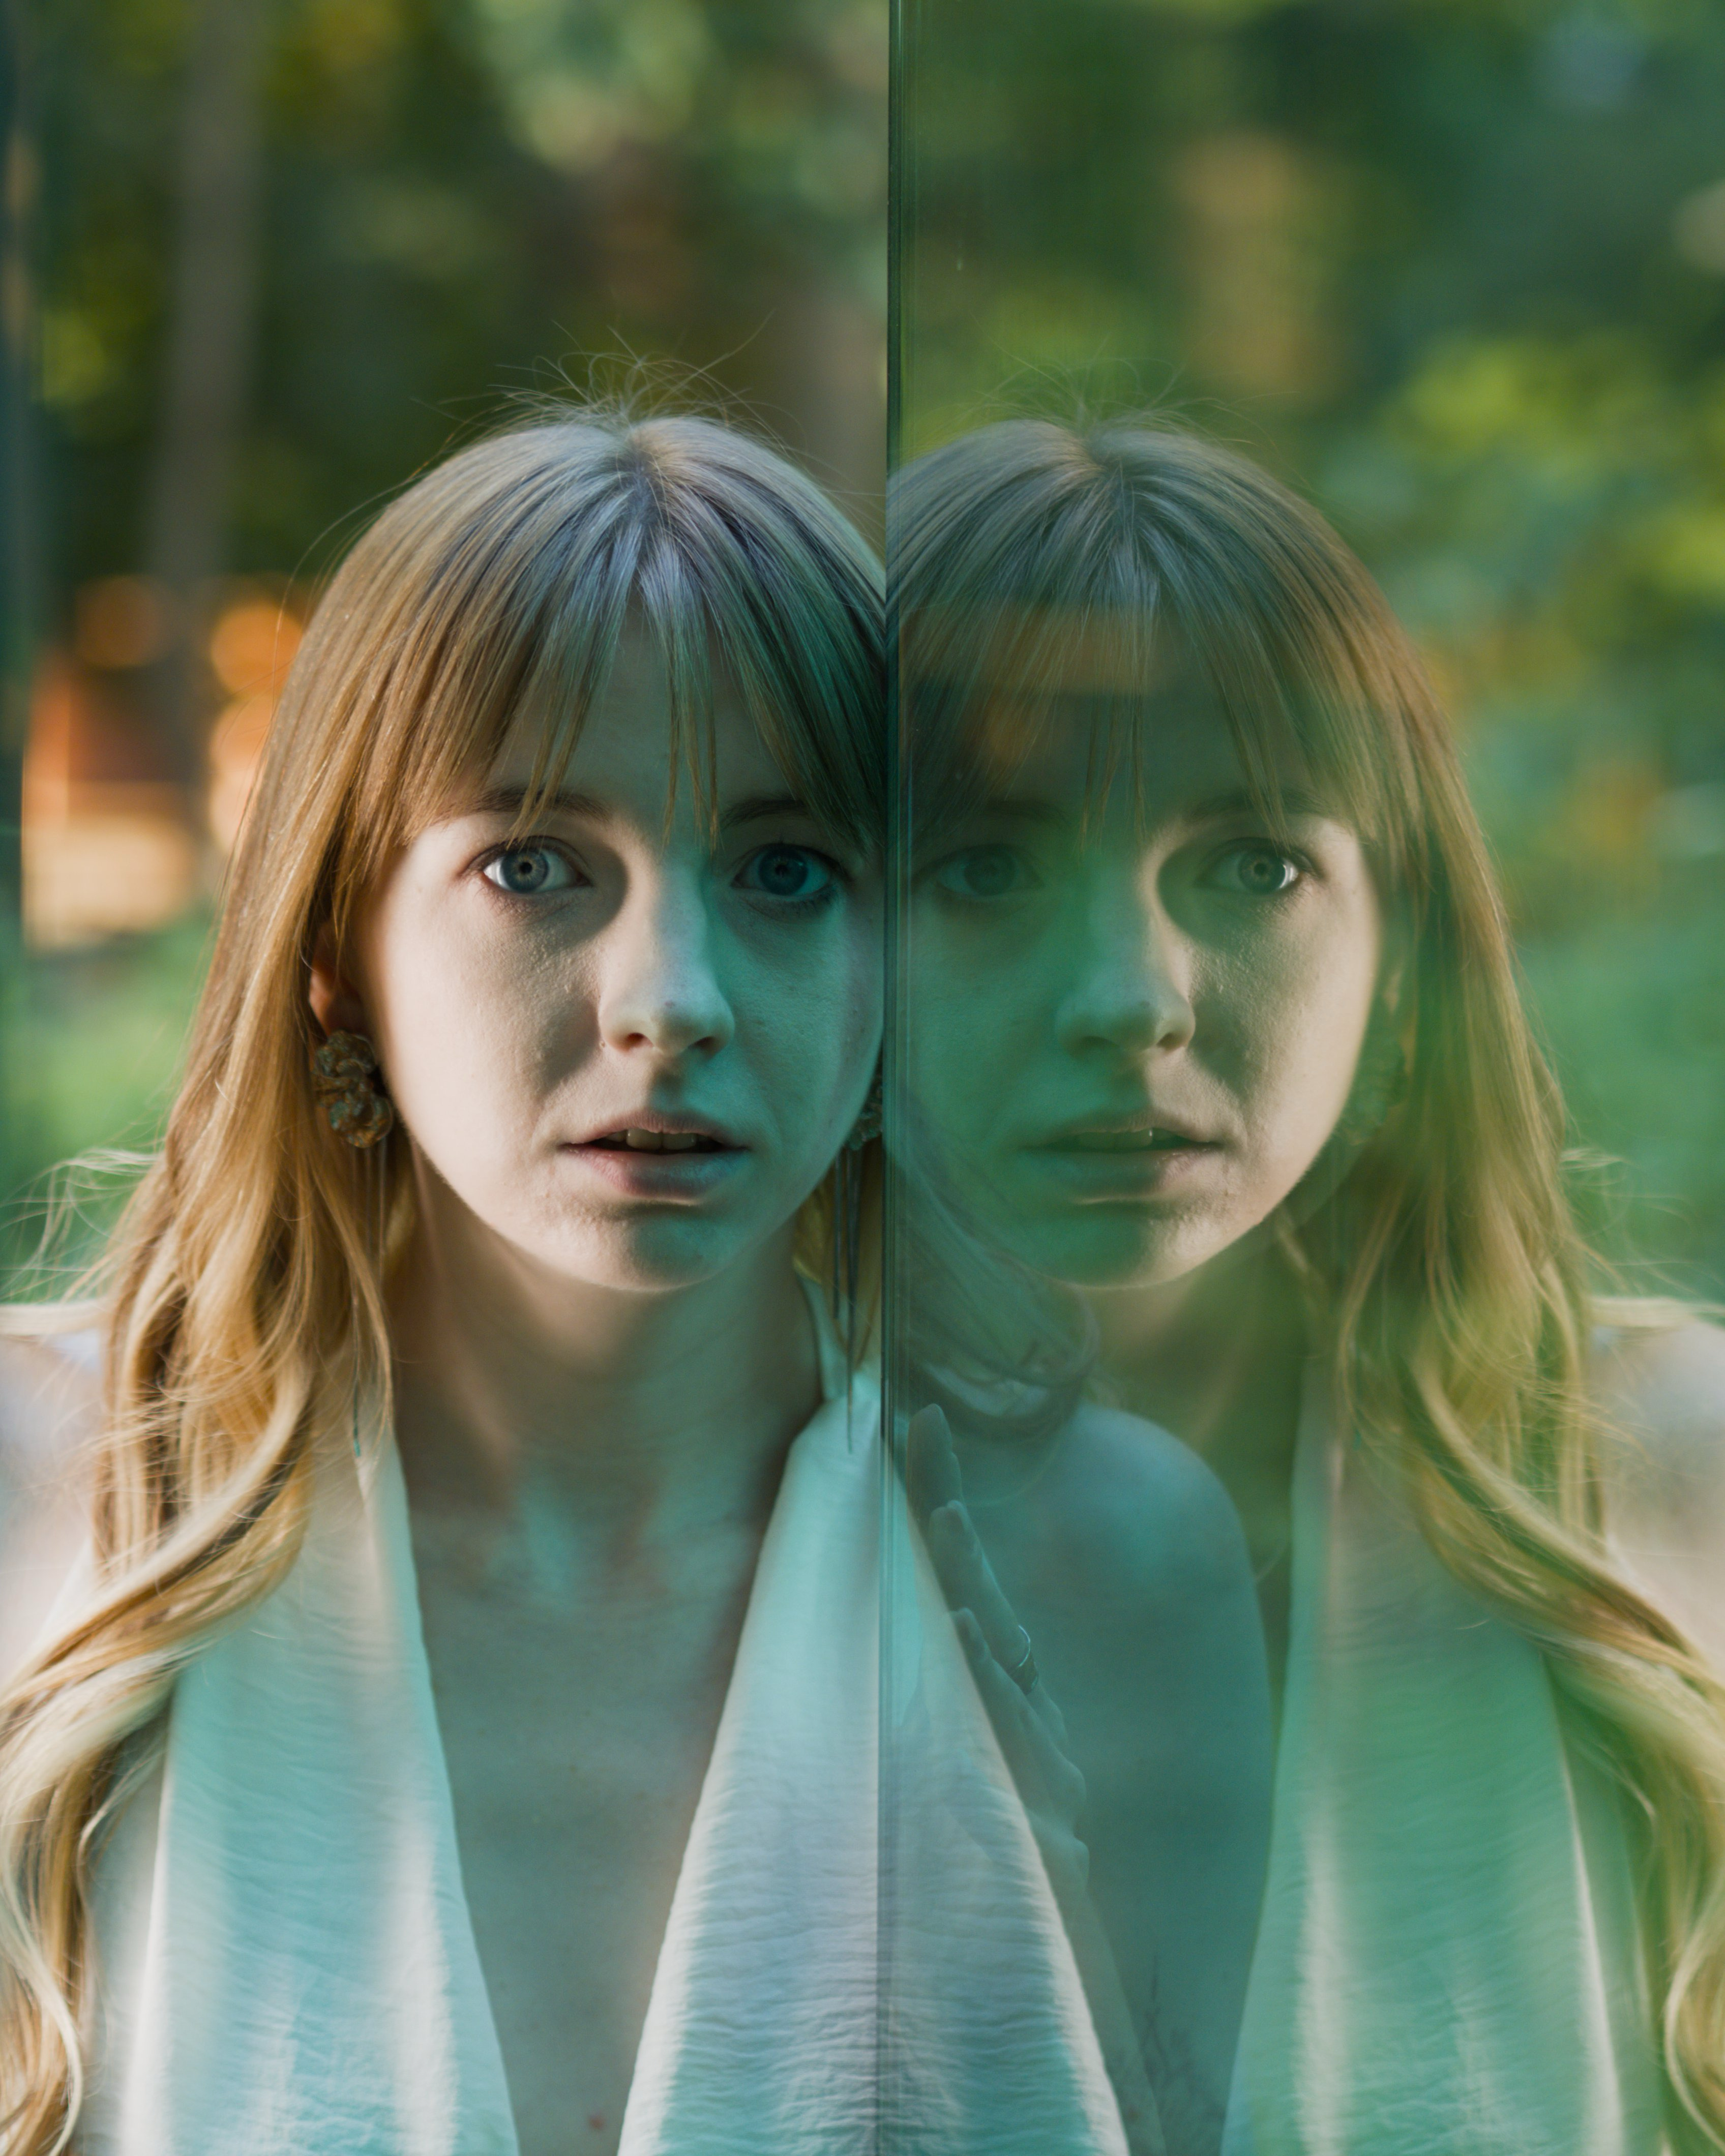
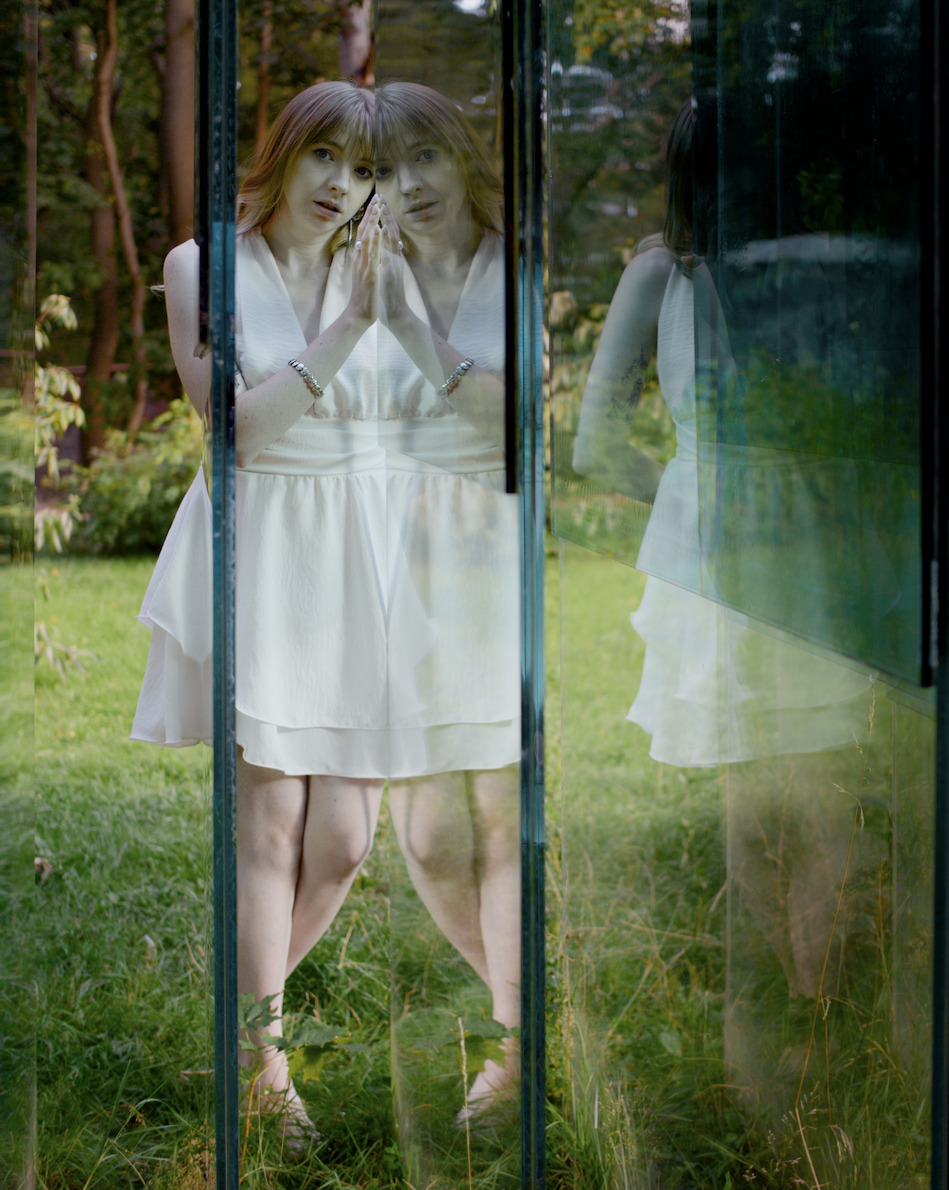
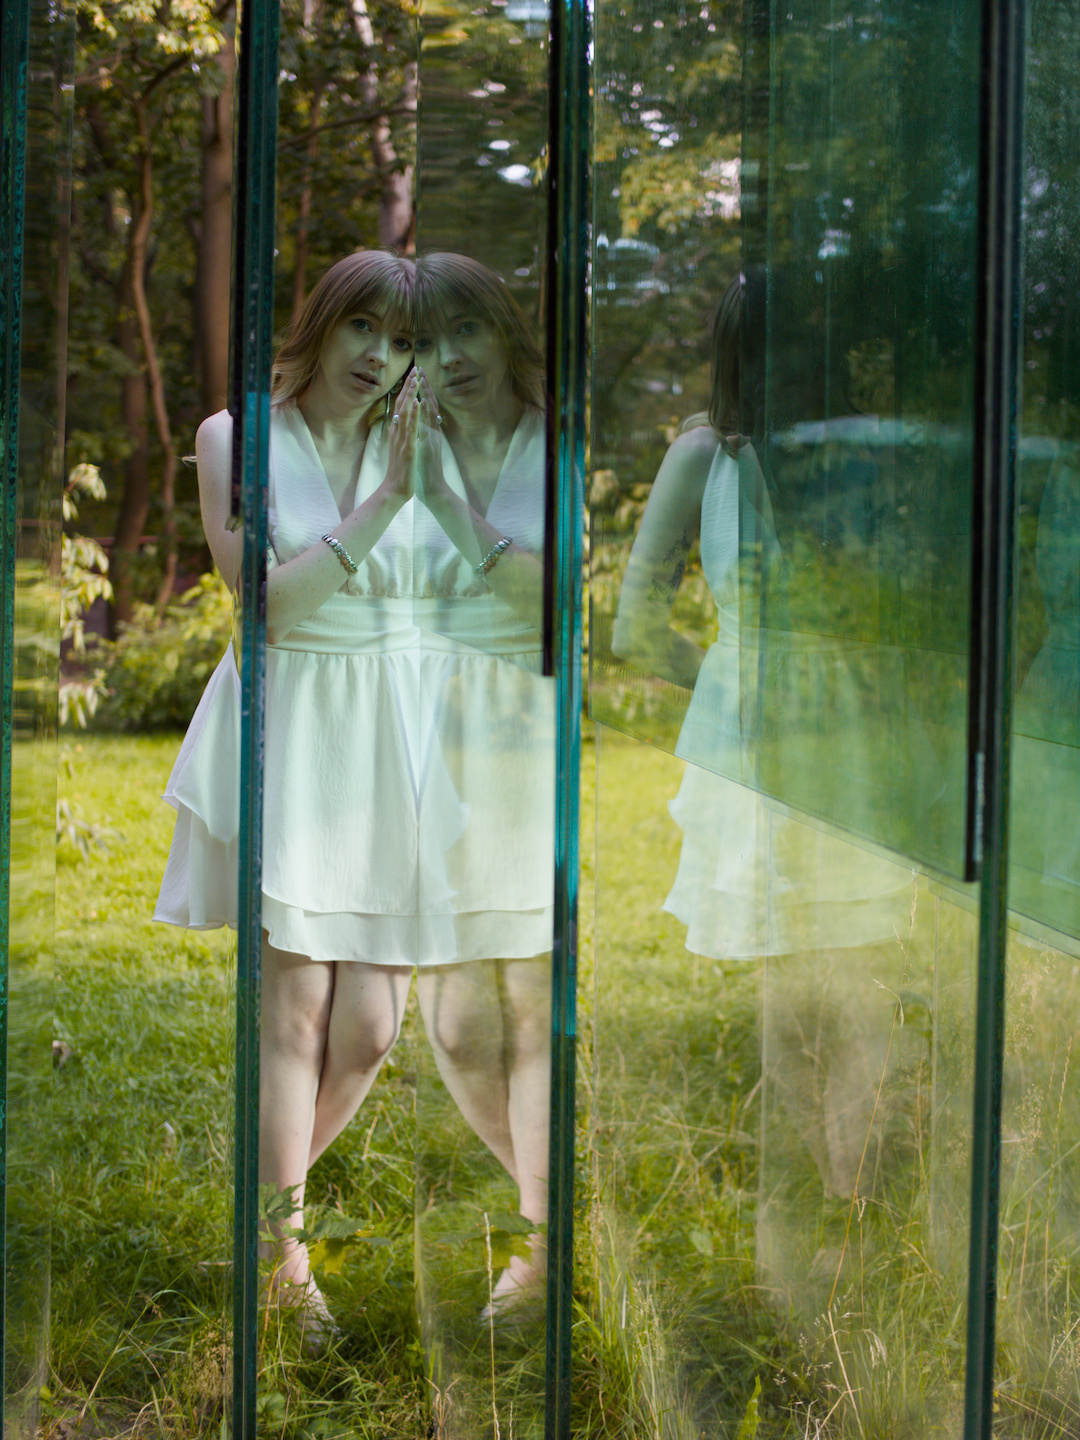
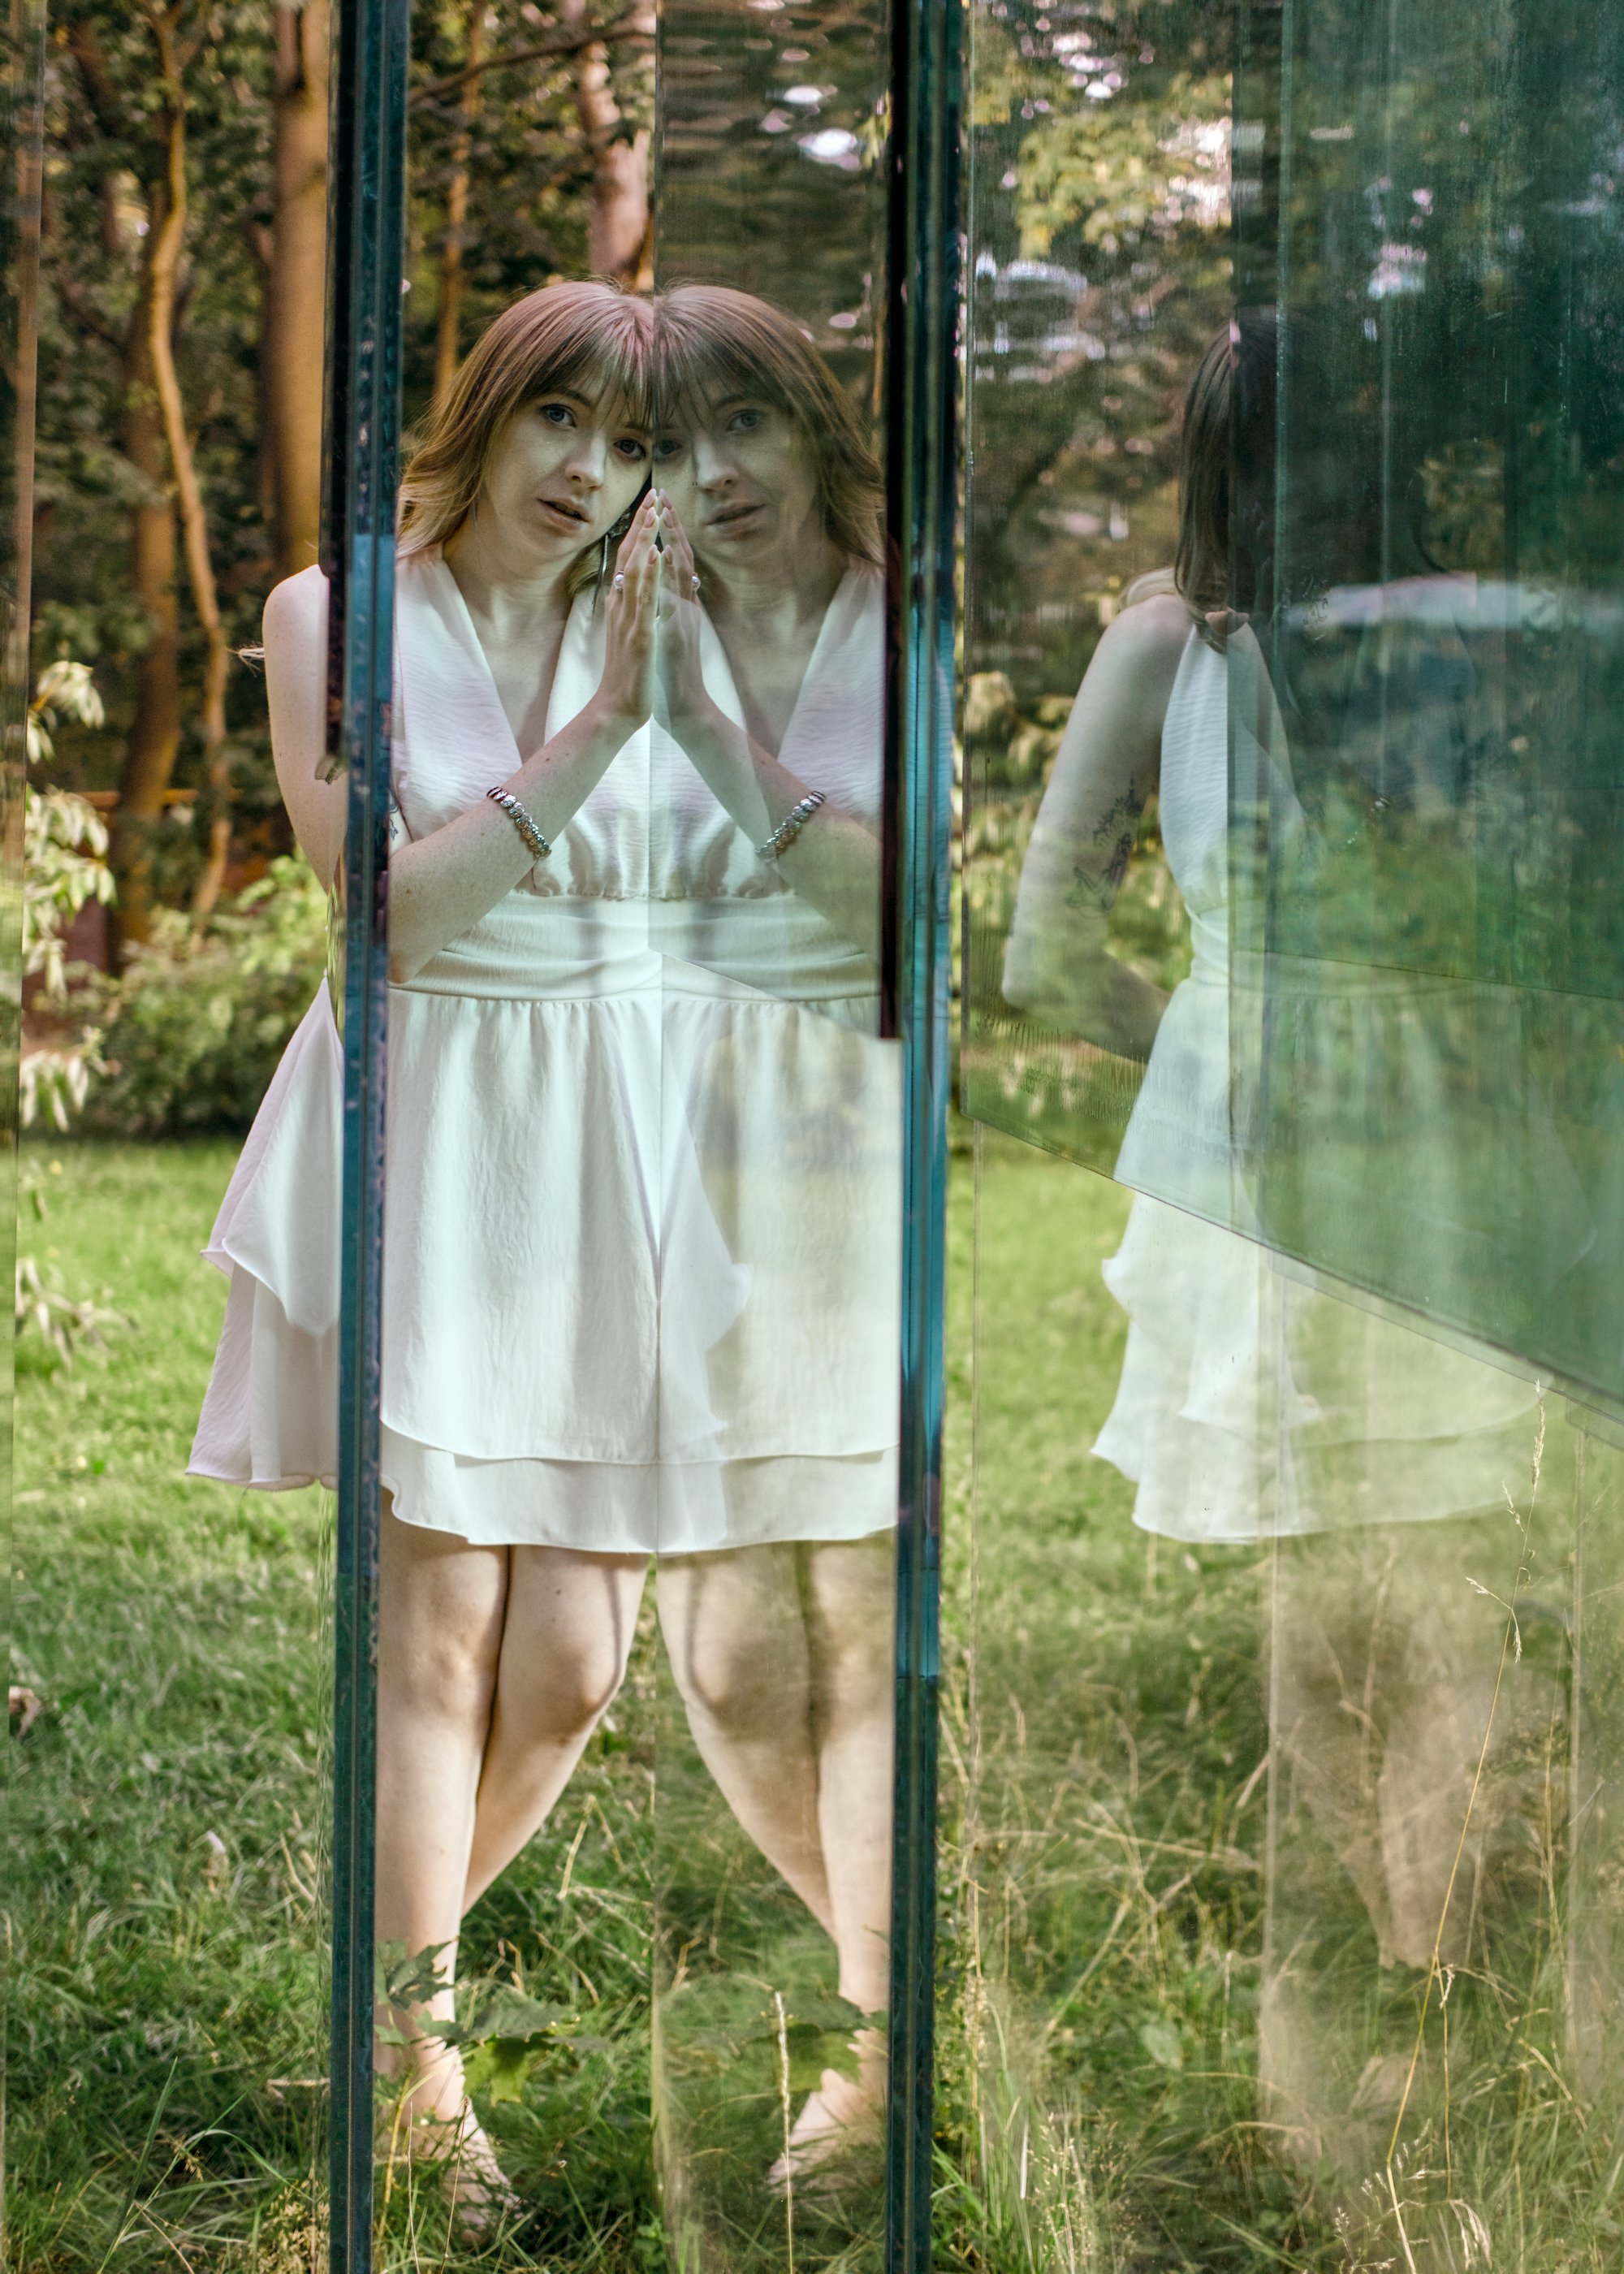
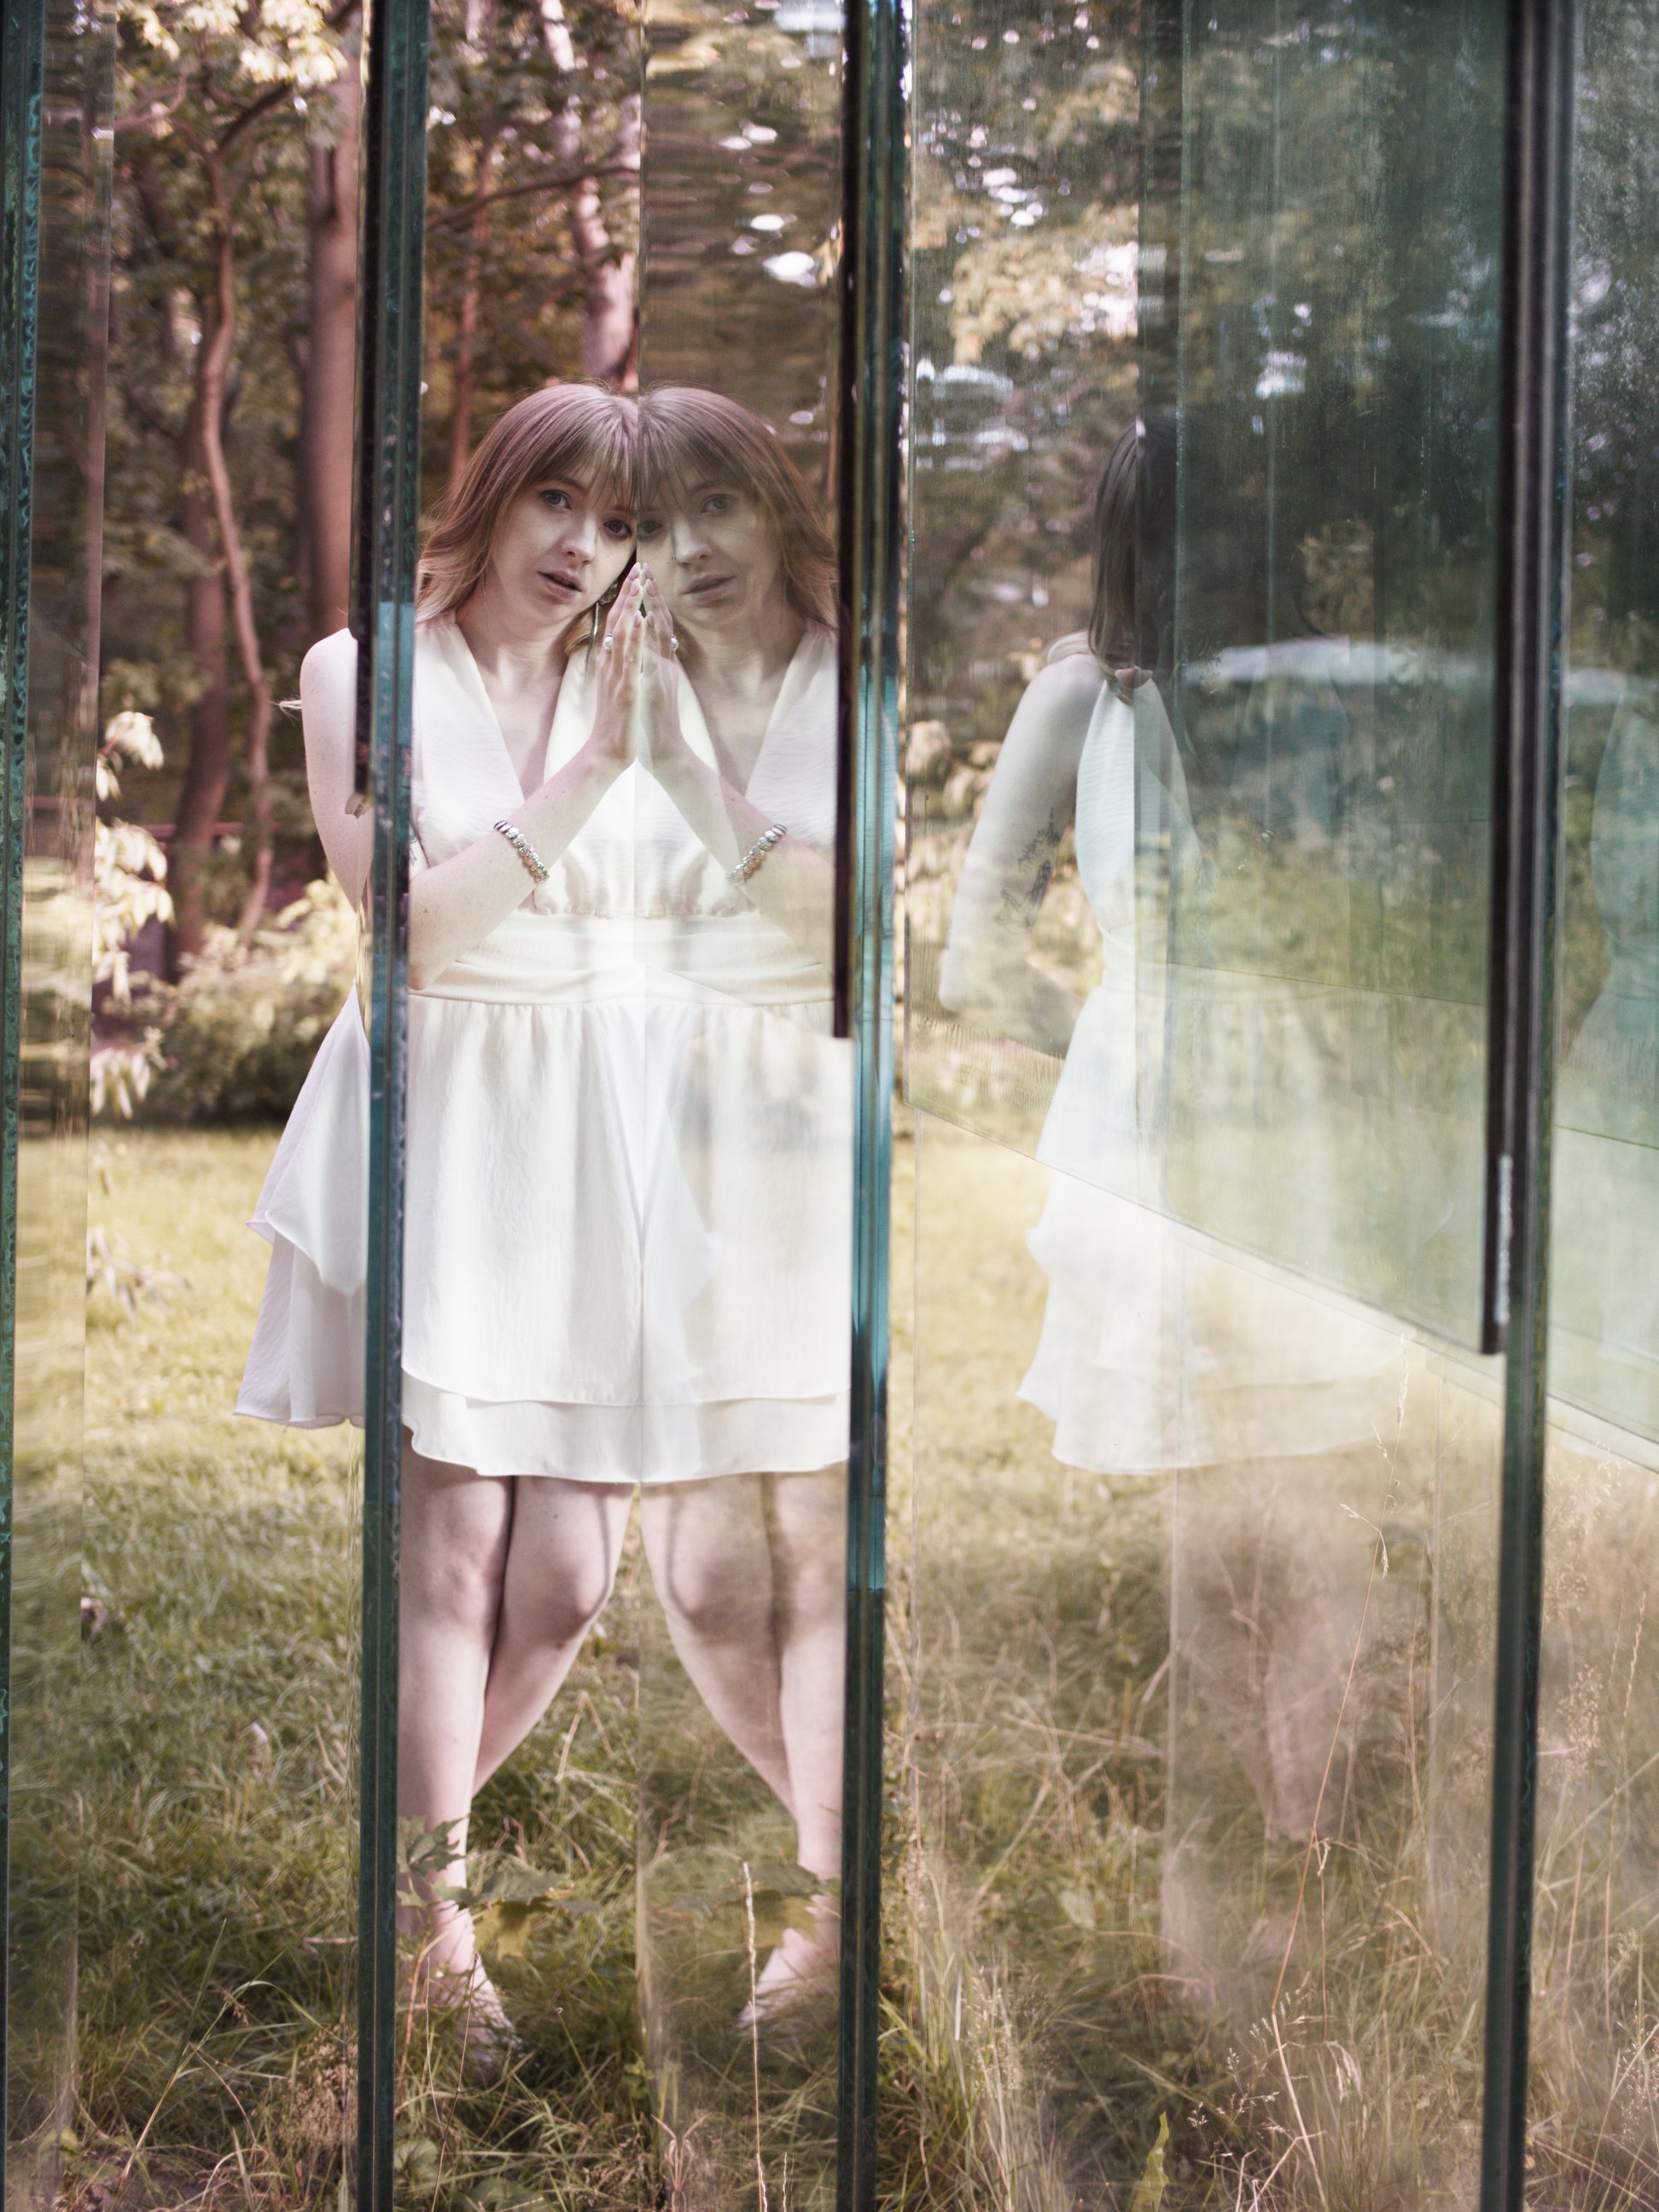
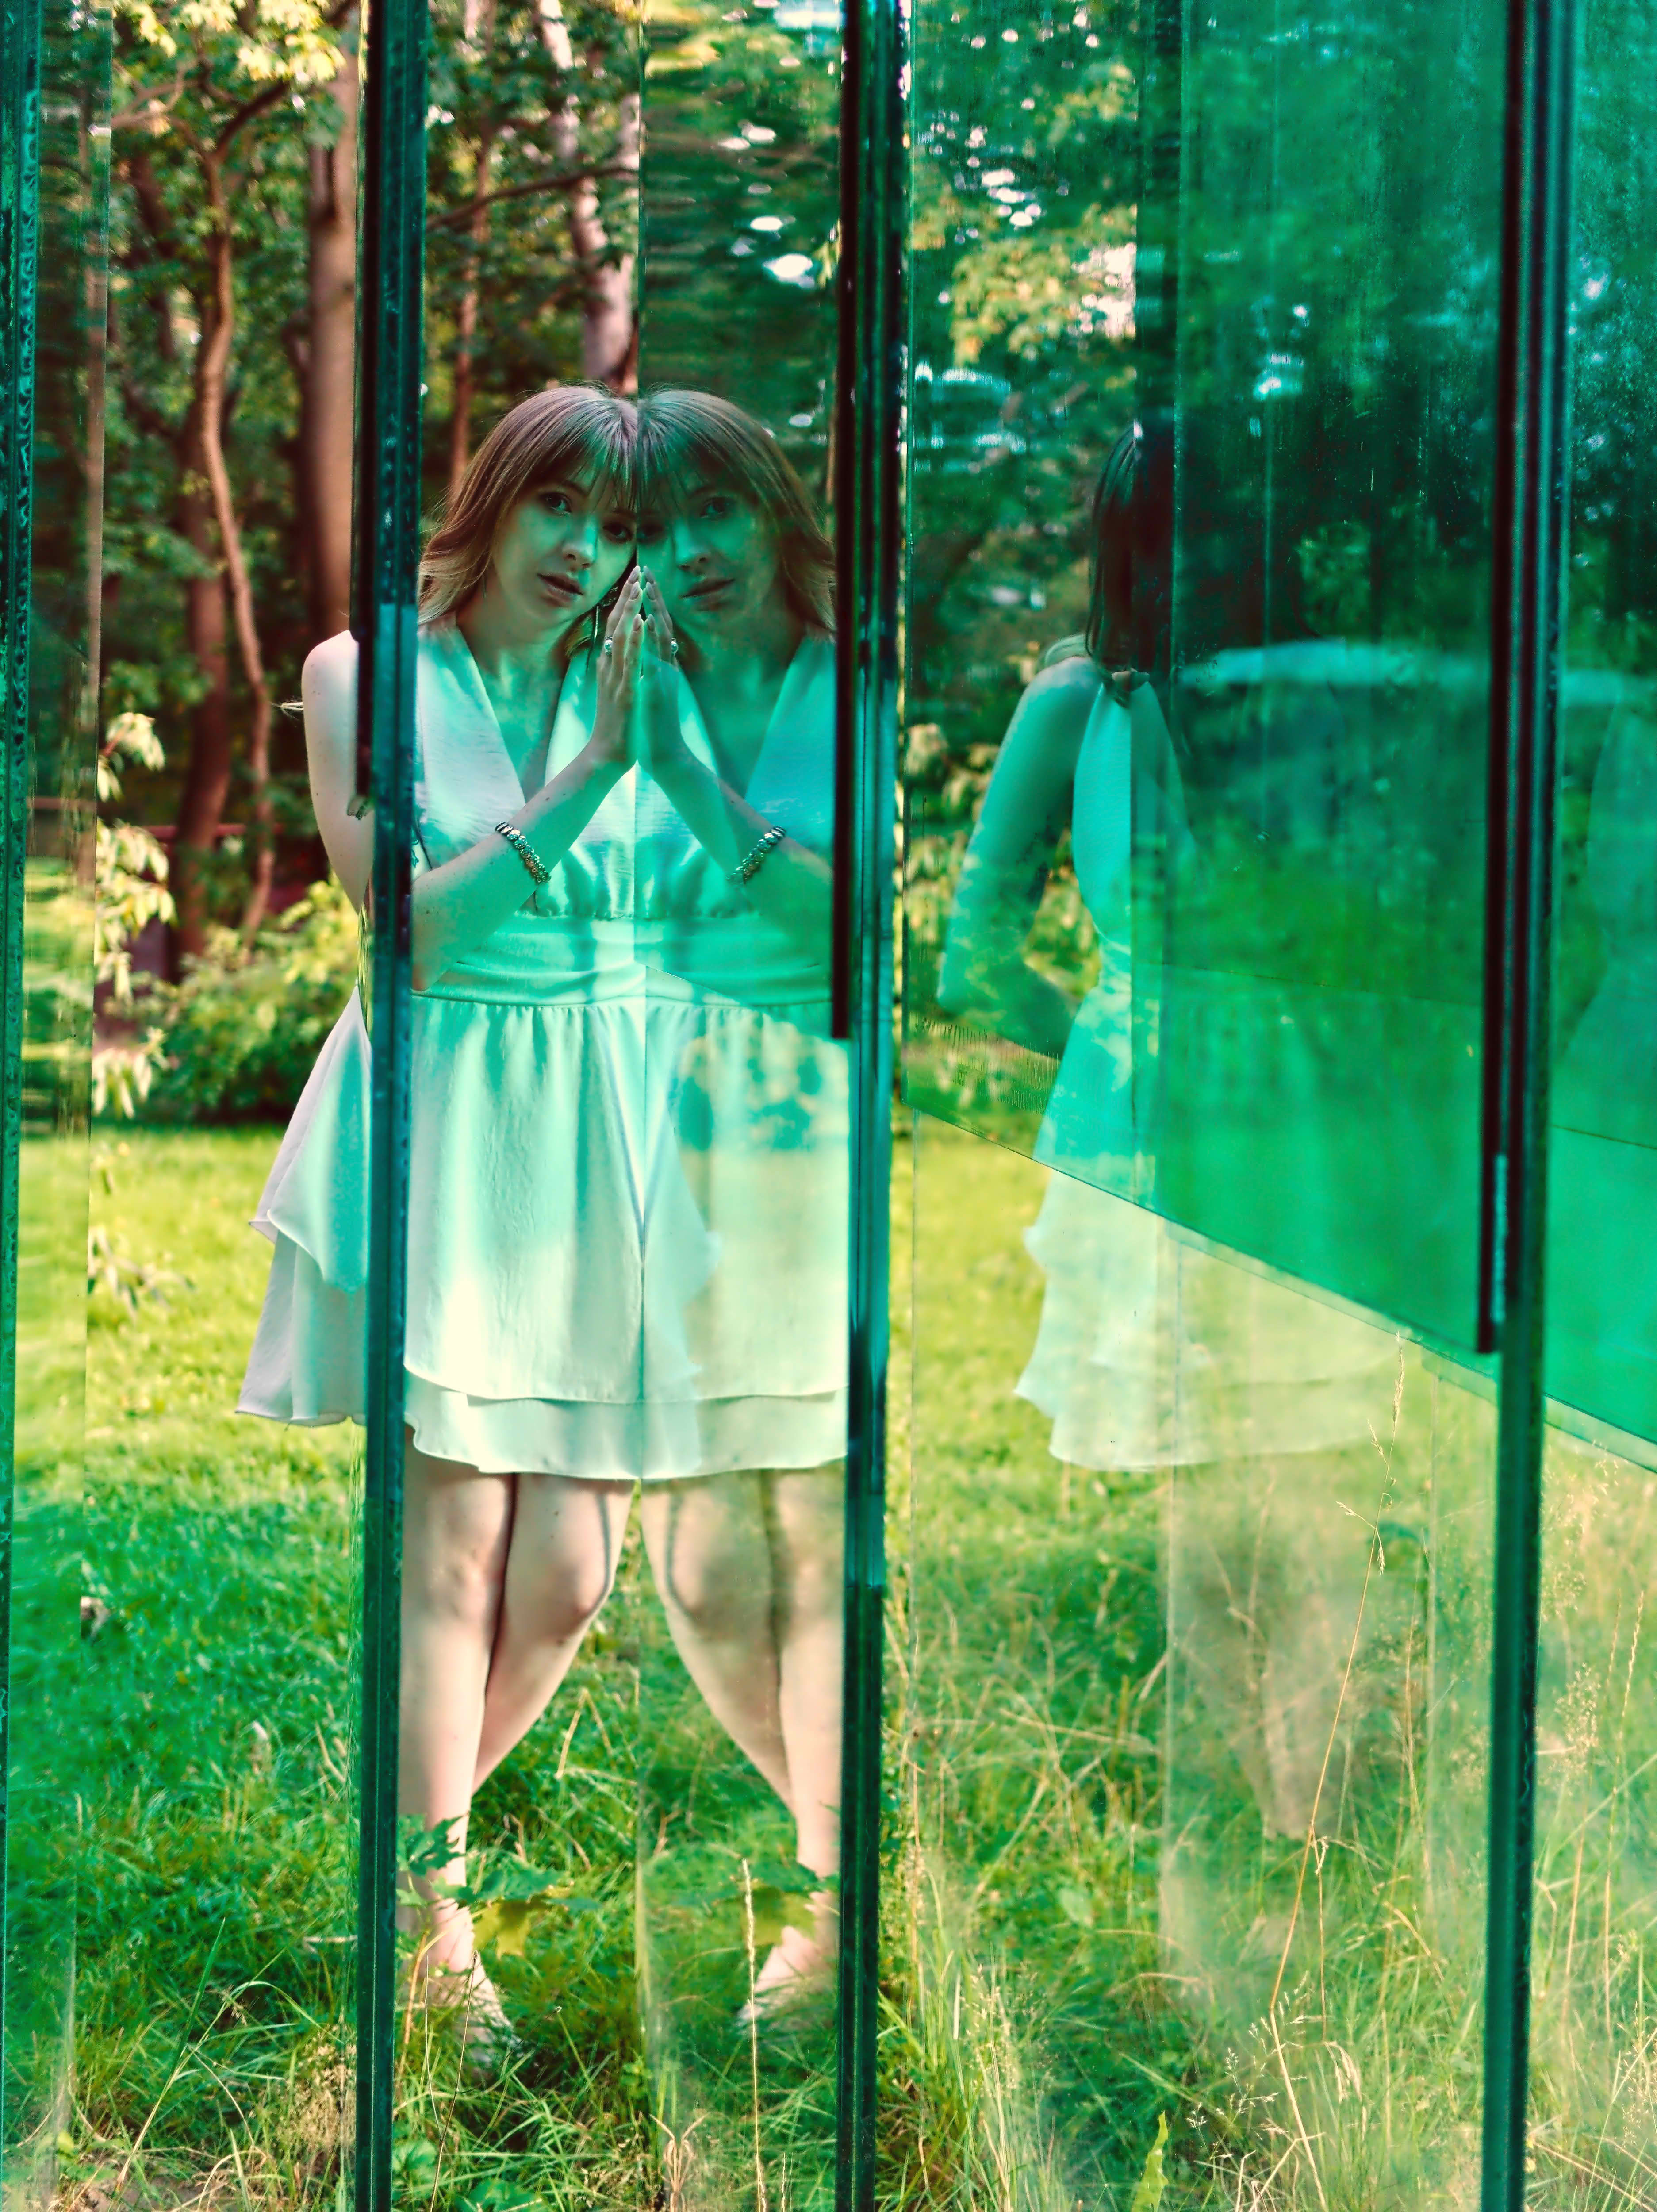
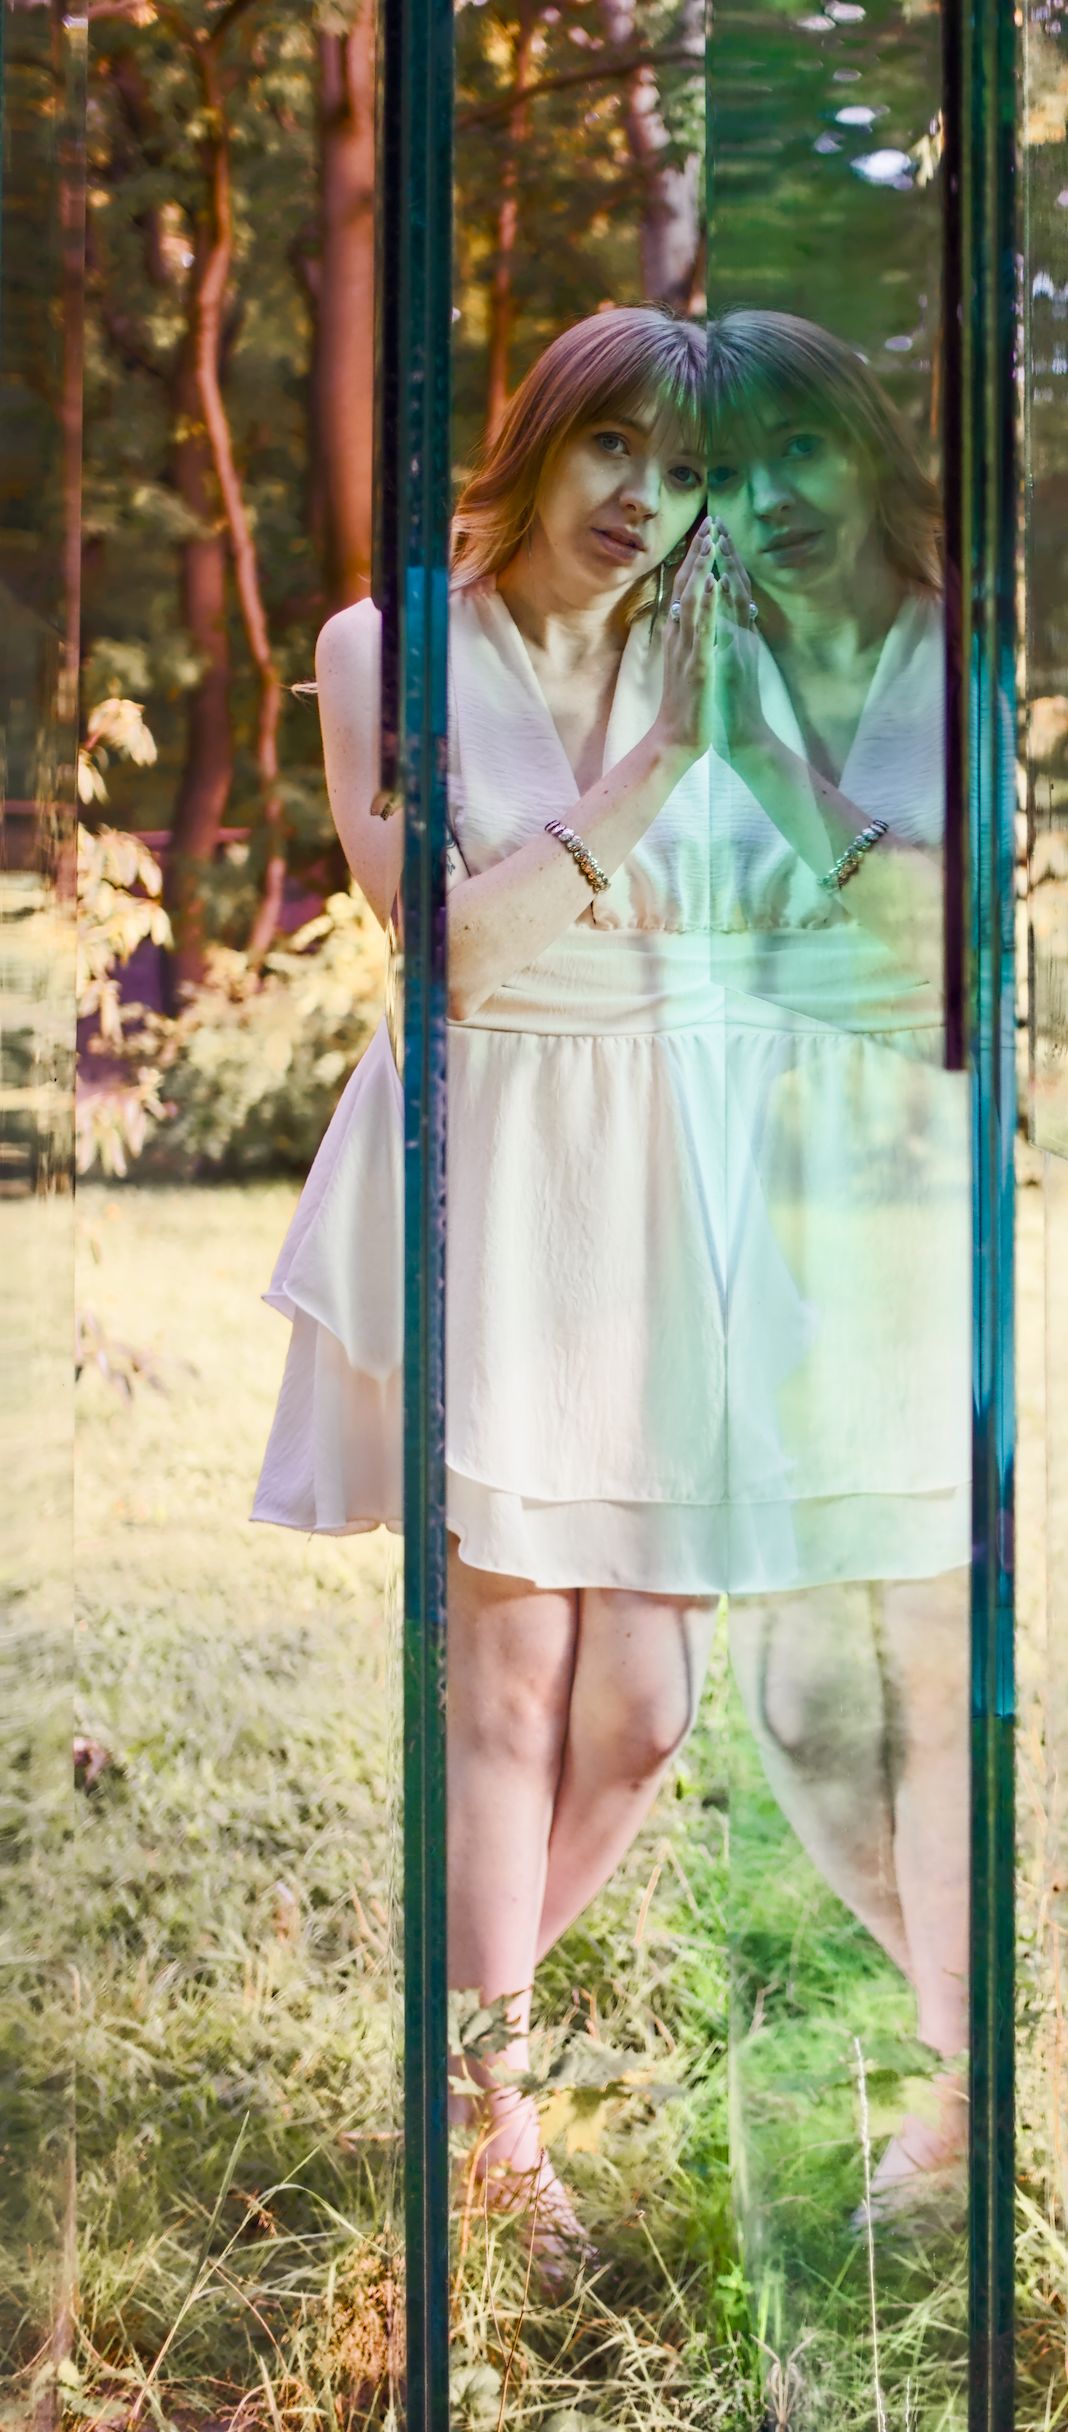
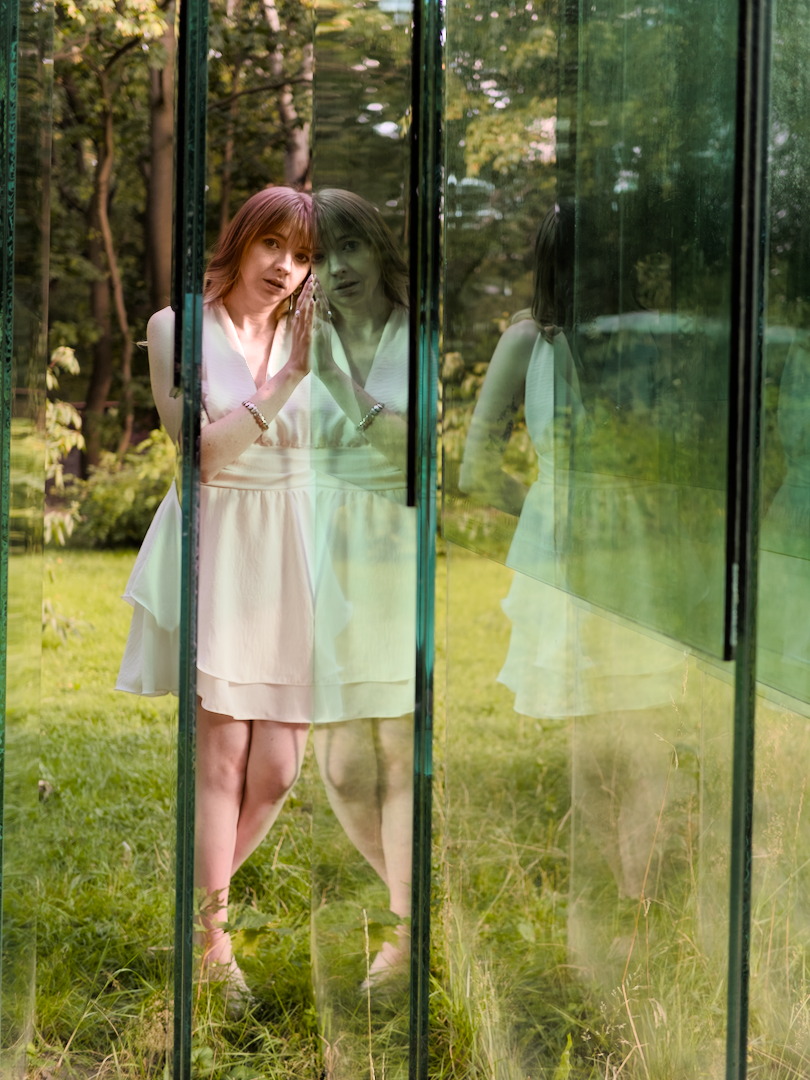
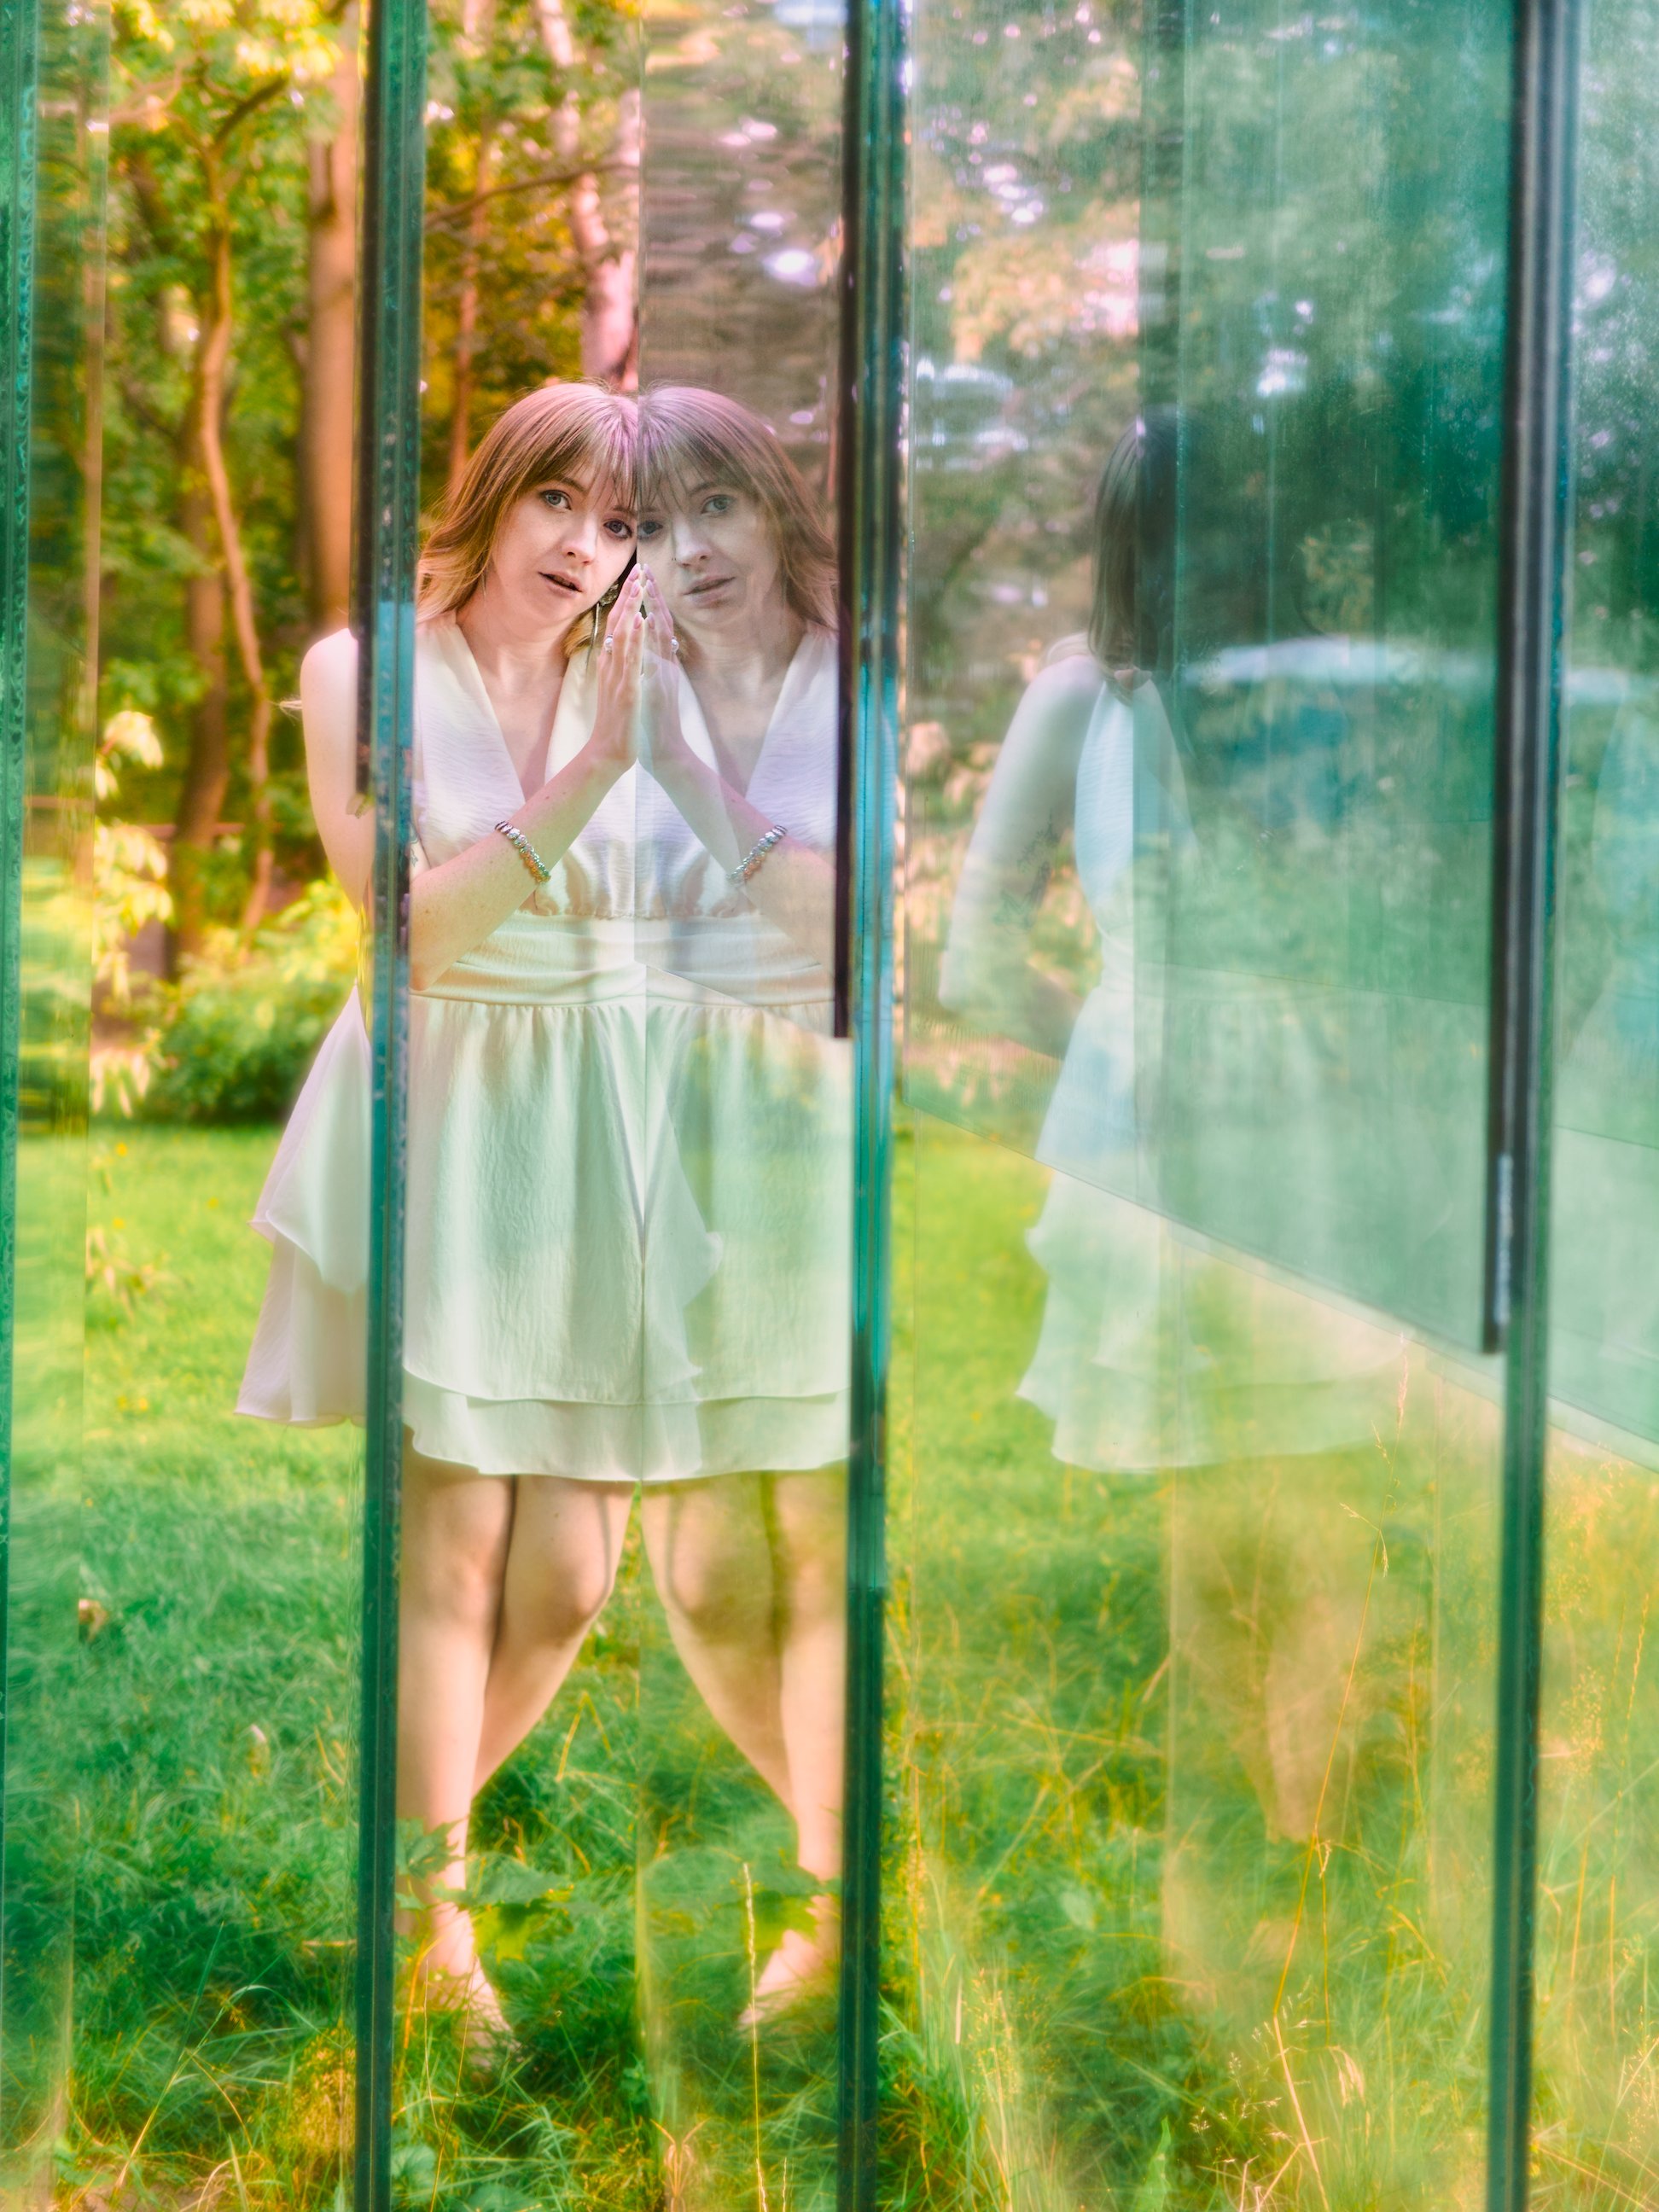
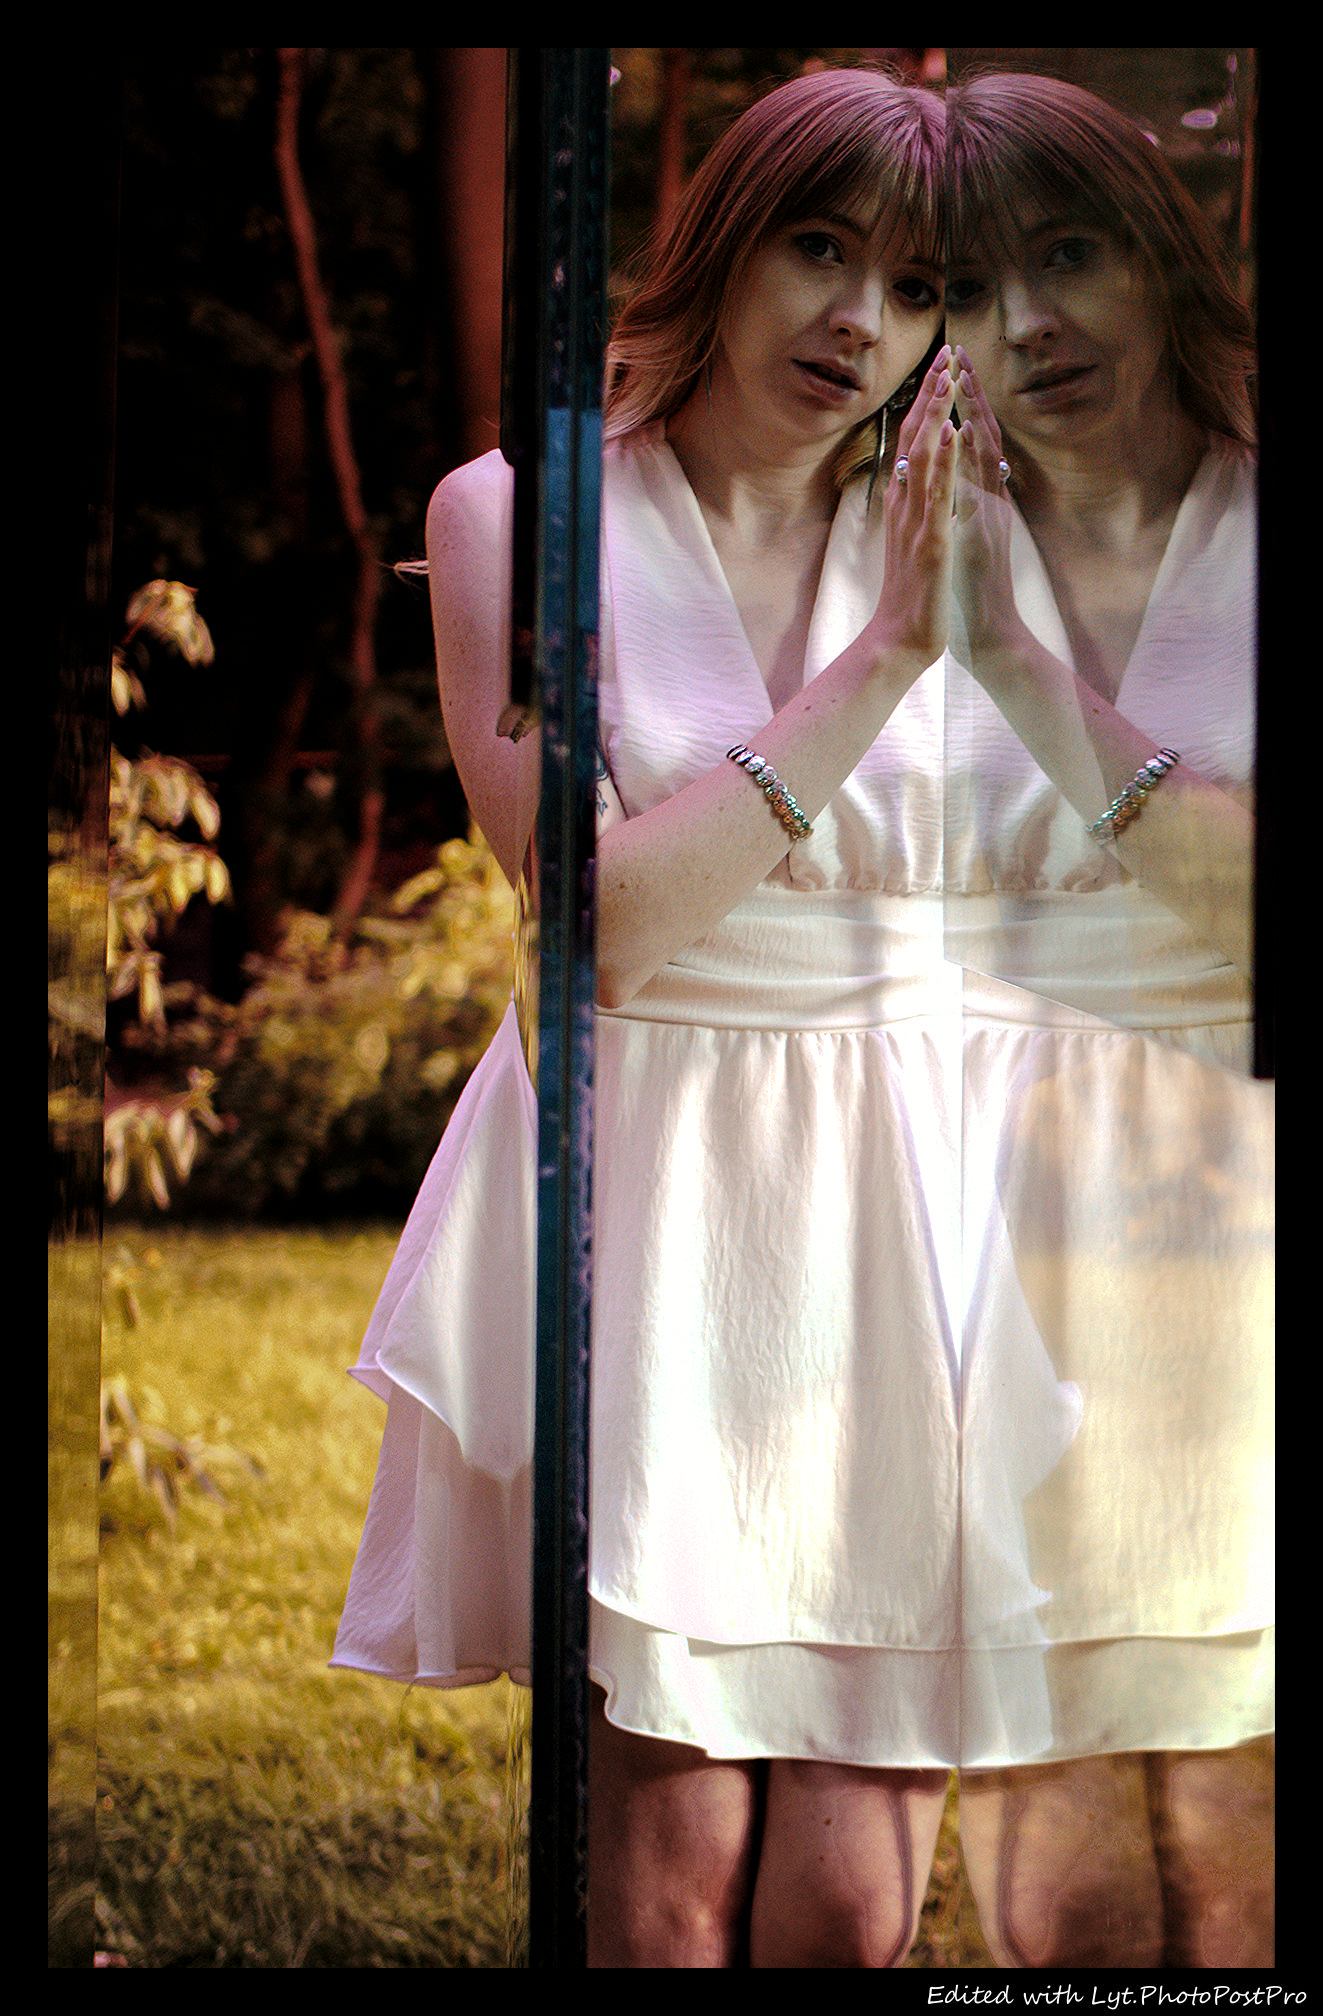
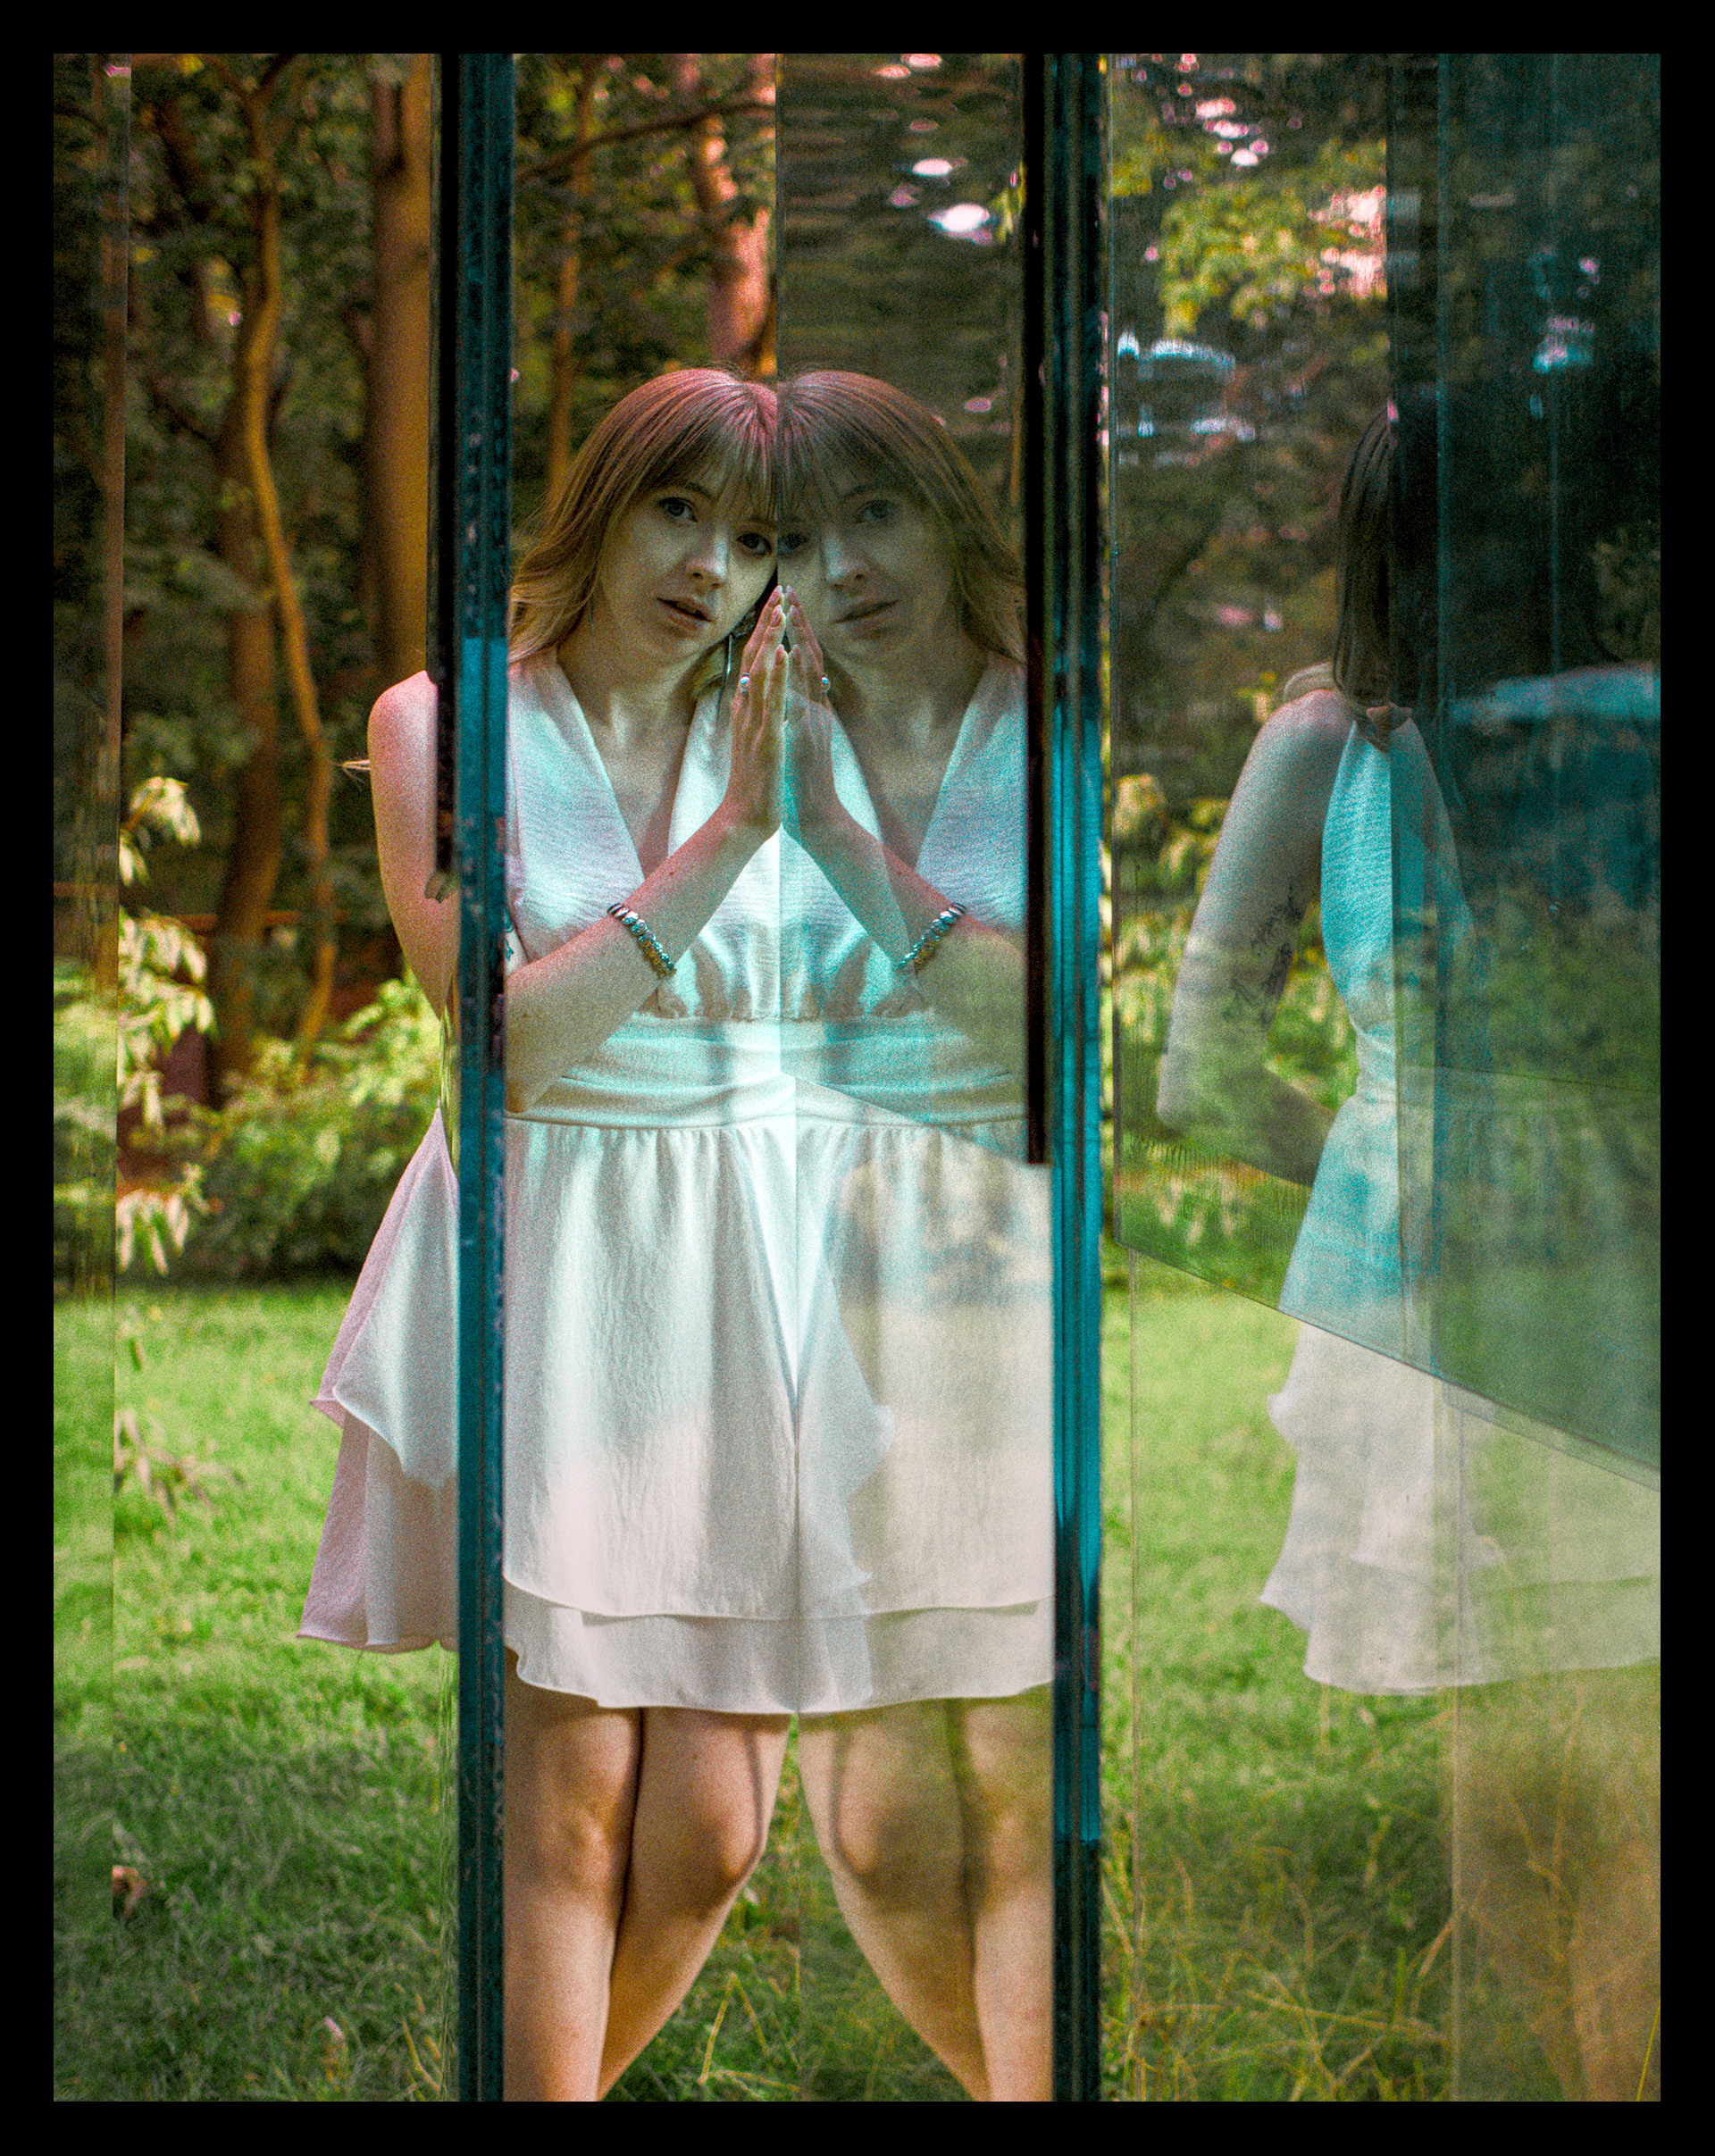
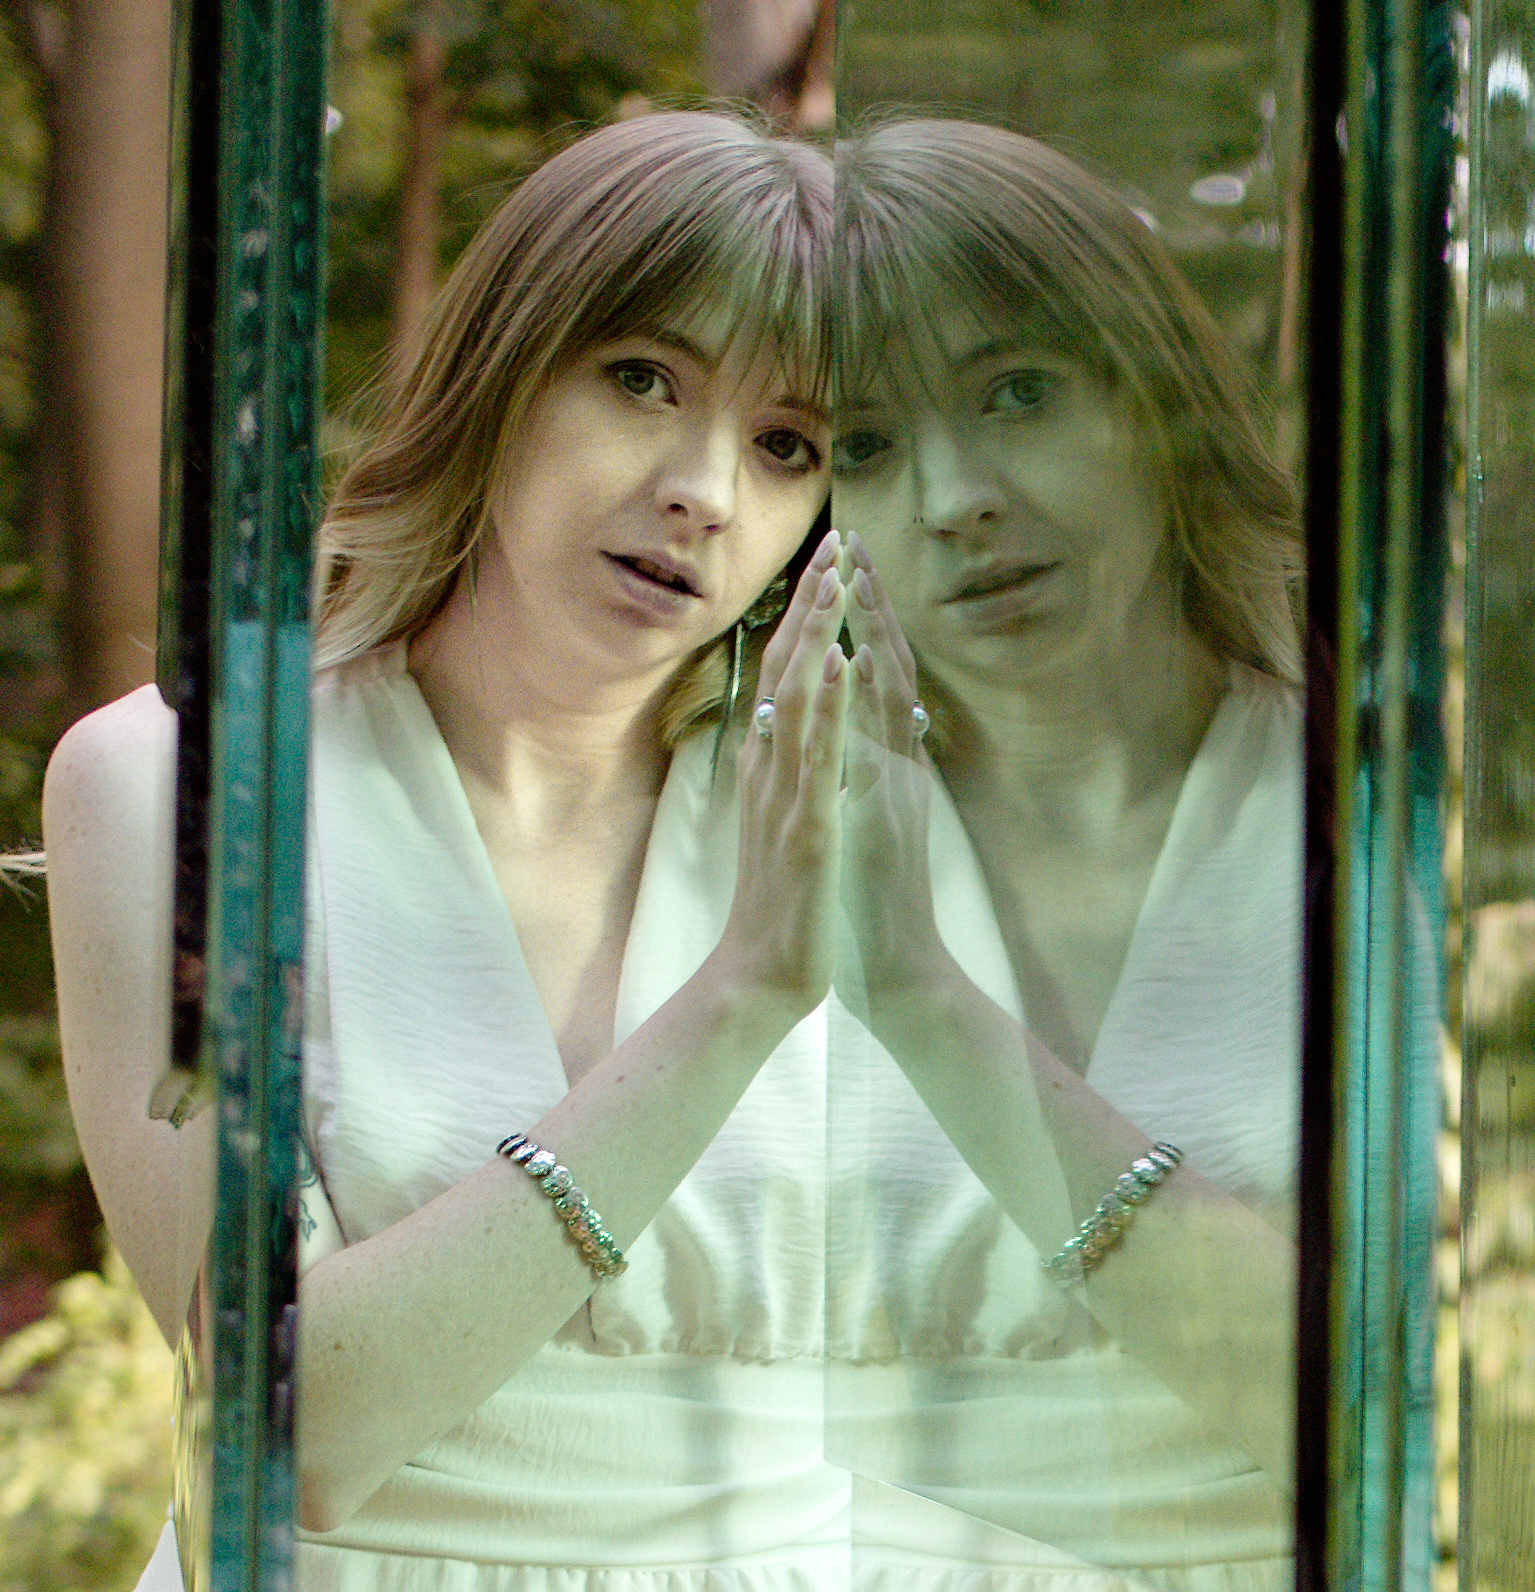
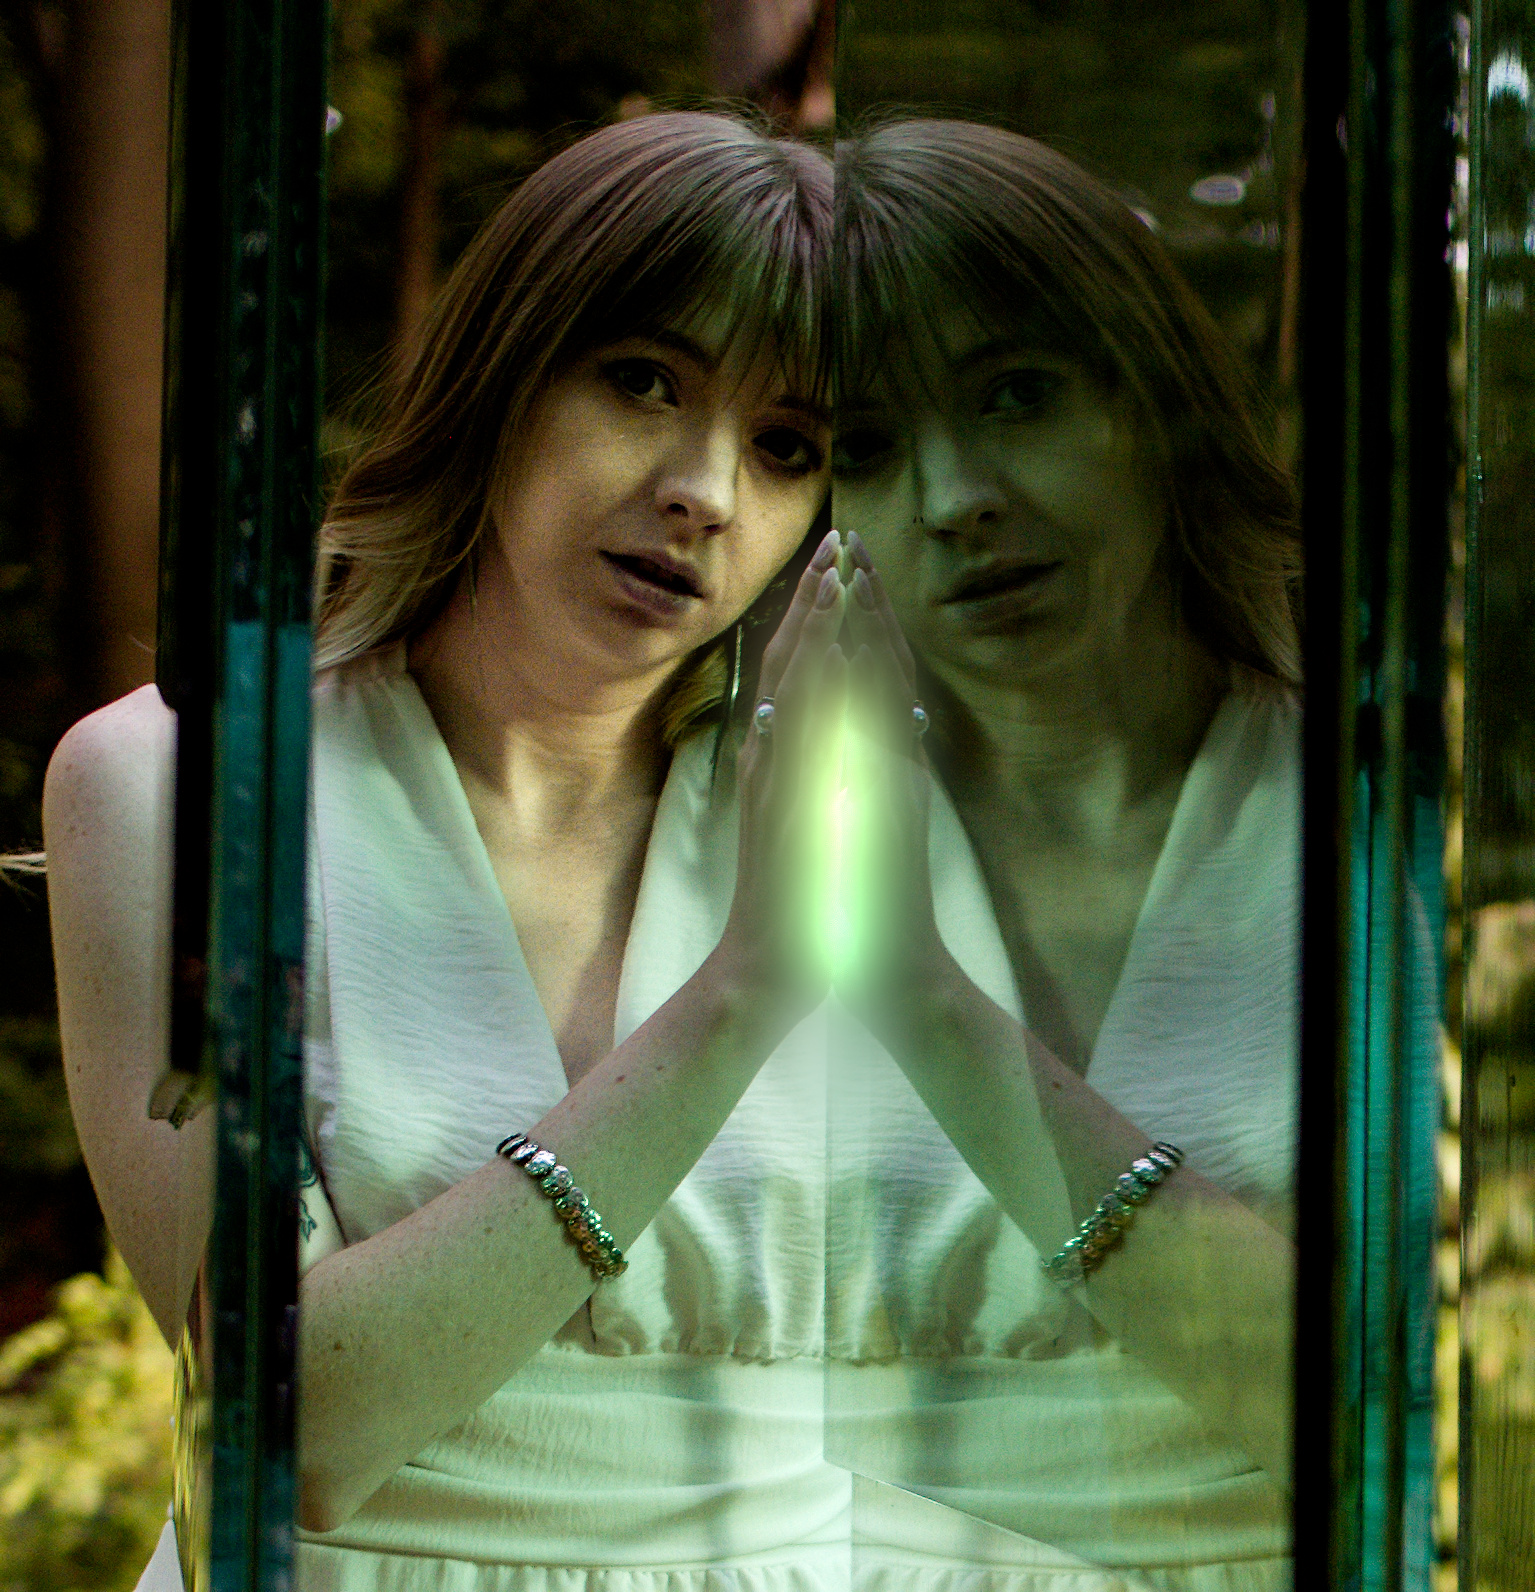
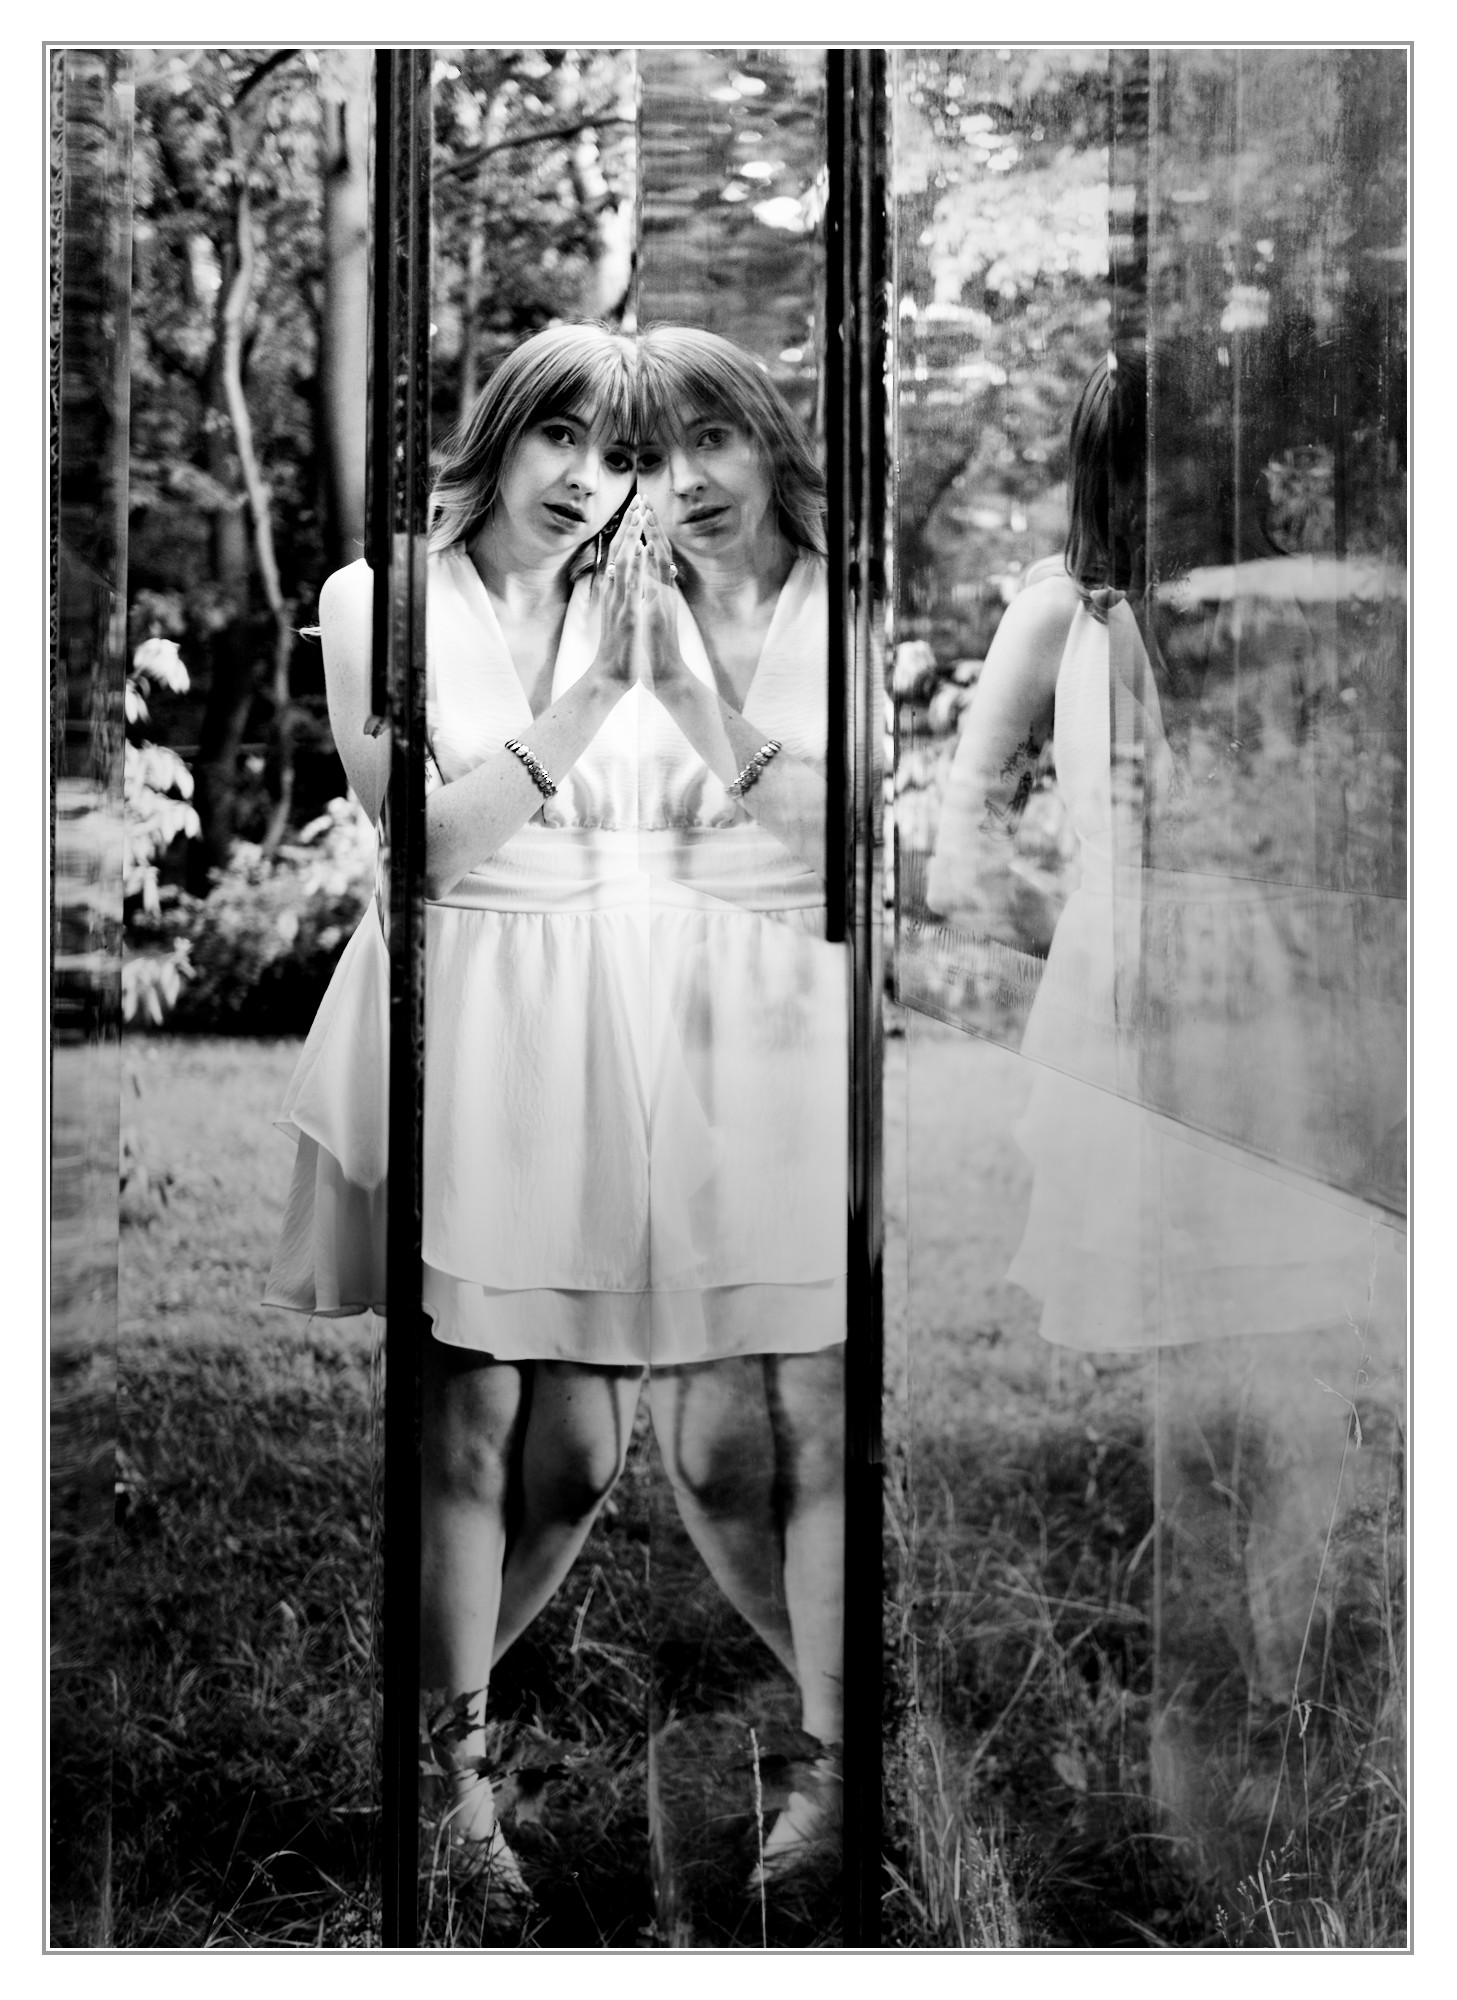
I am trying to make the second photo look as close to the other, but I fail at every attempt. For me, everything about this photo is problematic, starting with white balance, up to changing colors, so that subject’s skin is looking natural and so on.
I think that this is very hard challenge, is anyone willing to try this?
Nice and maybe it is wise to give us the first picture with it’s .xmp as well. For reference of how you achieved the first result. Maybe also describe possible differences between pictures regarding the place, glass usage and light…
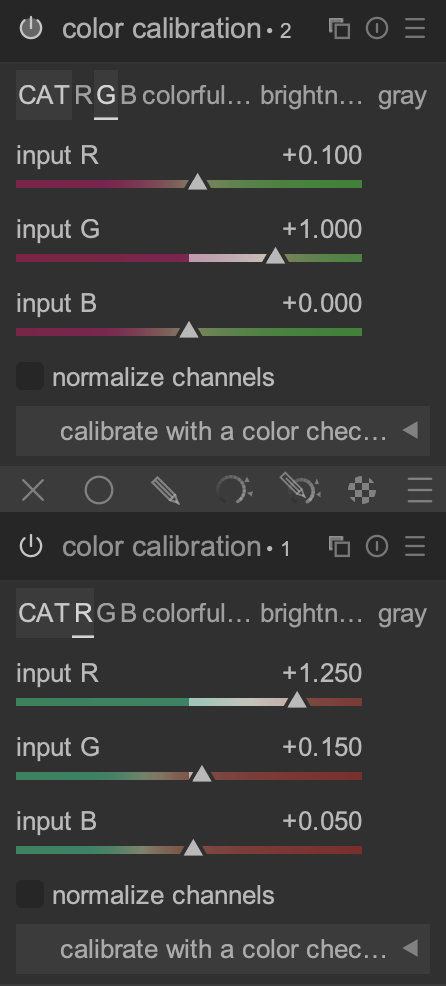
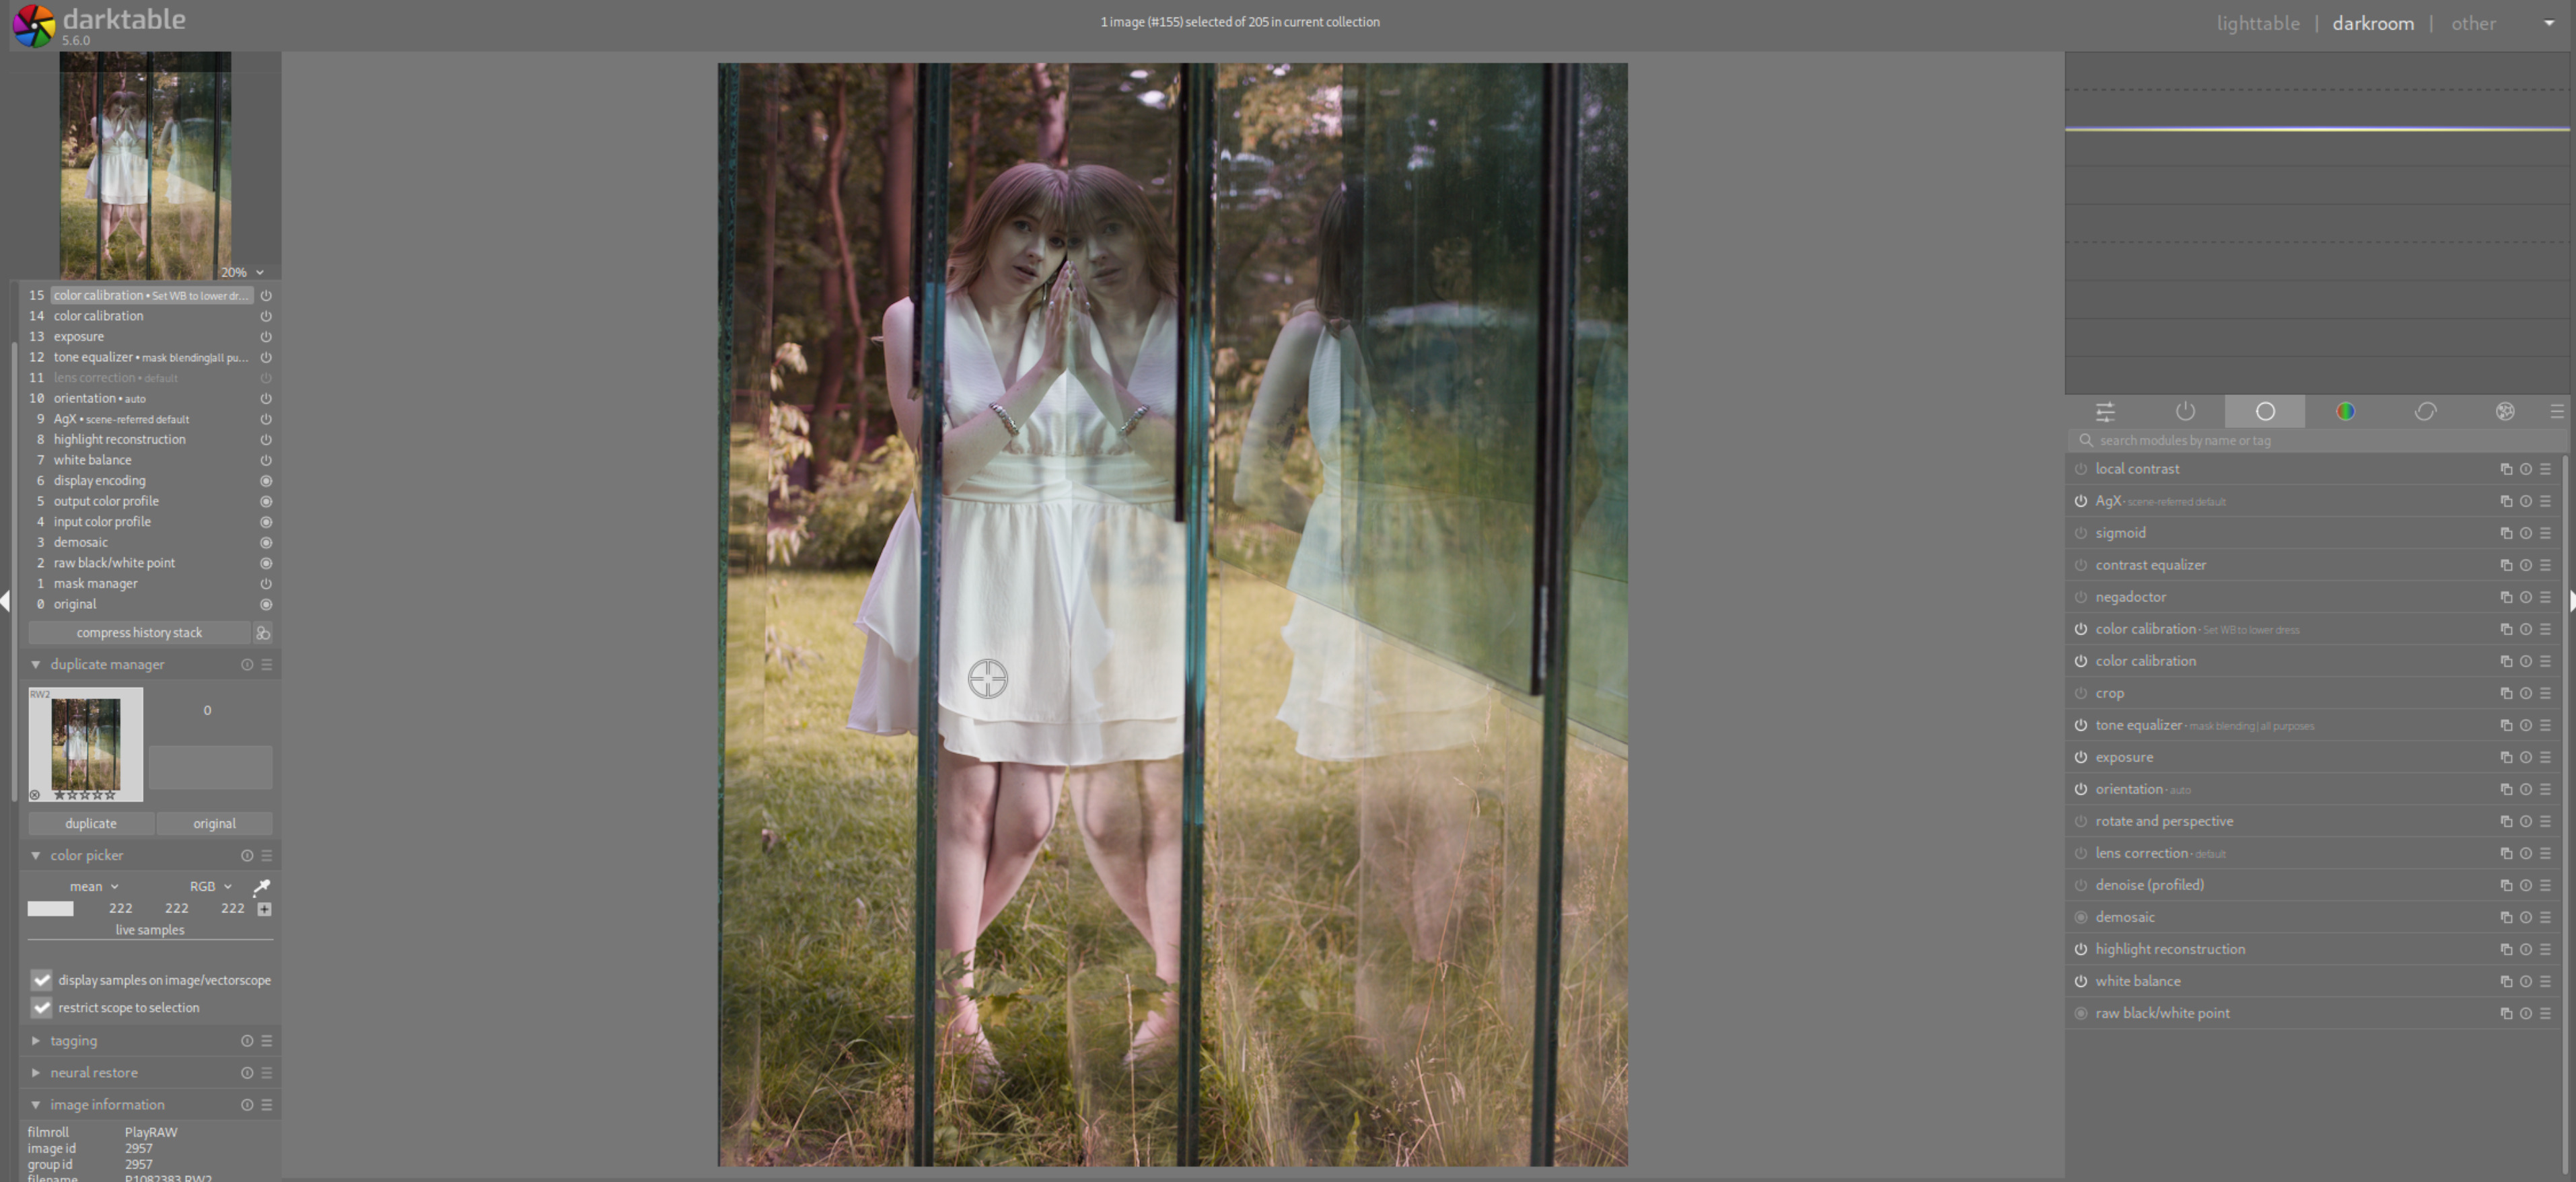
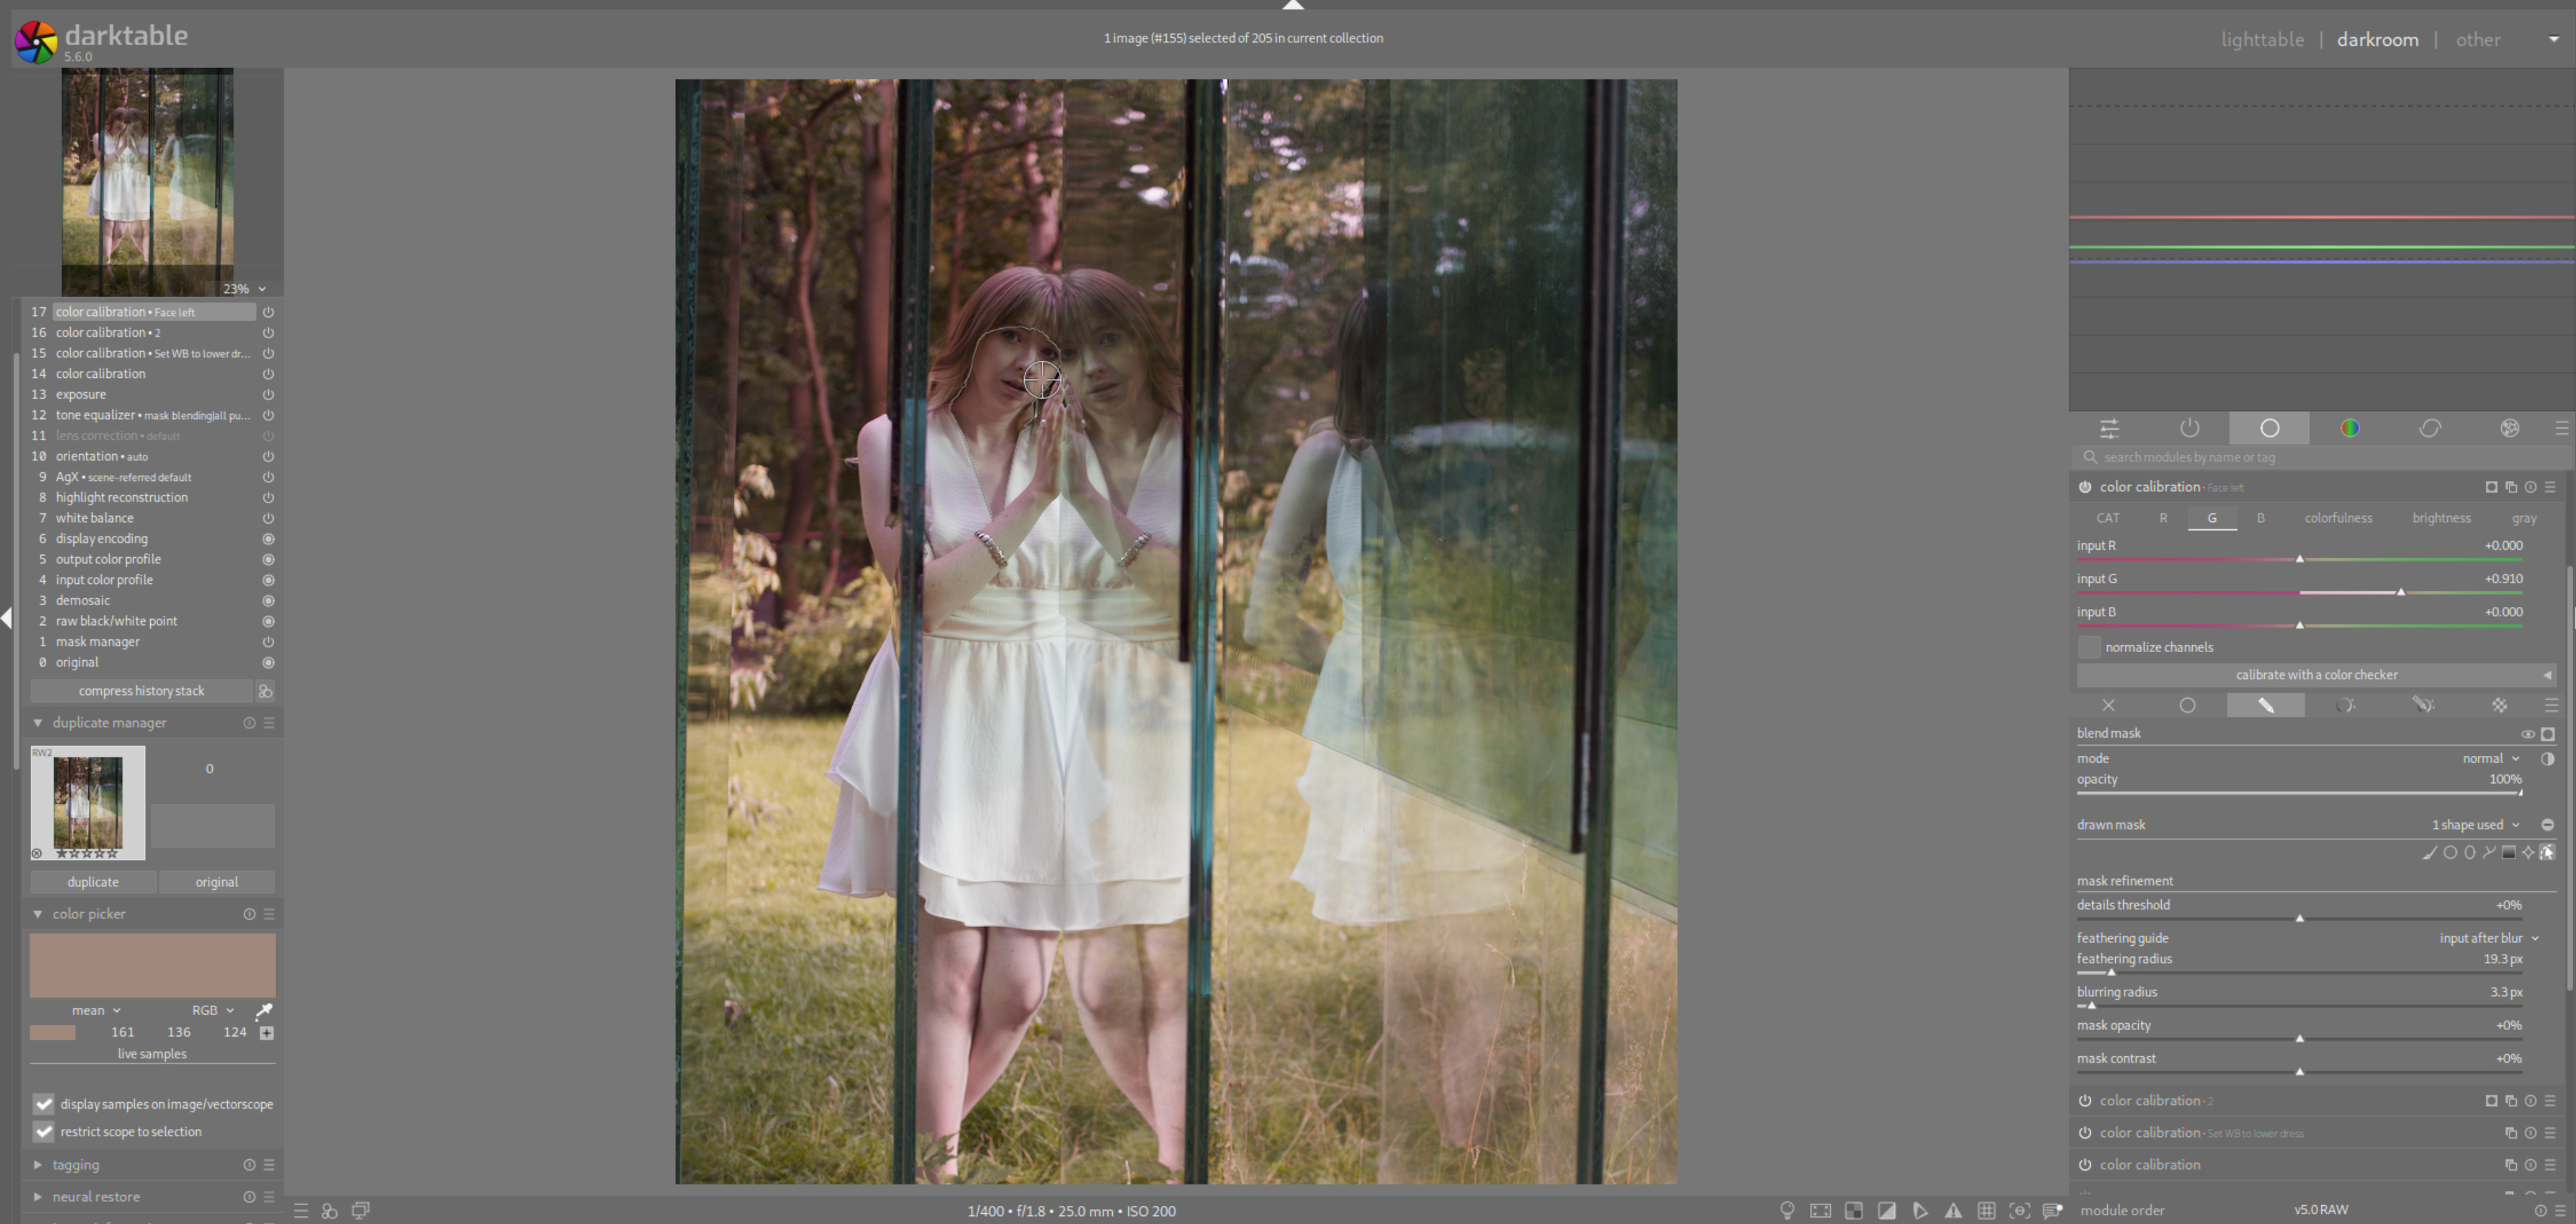
This is a good use case for a channel mixer. Create a new instance of Color Calibration with the “basic channel mixer” built-in preset.
My thinking here would be to restore the red channel first. This can be done either by reducing the green and blue channels, or by simply boosting the red channel. Then you would need to restore the greens in the image, because while we want to get rid of the green cast, there’s still green grass behind the model, as well as trees and other things.
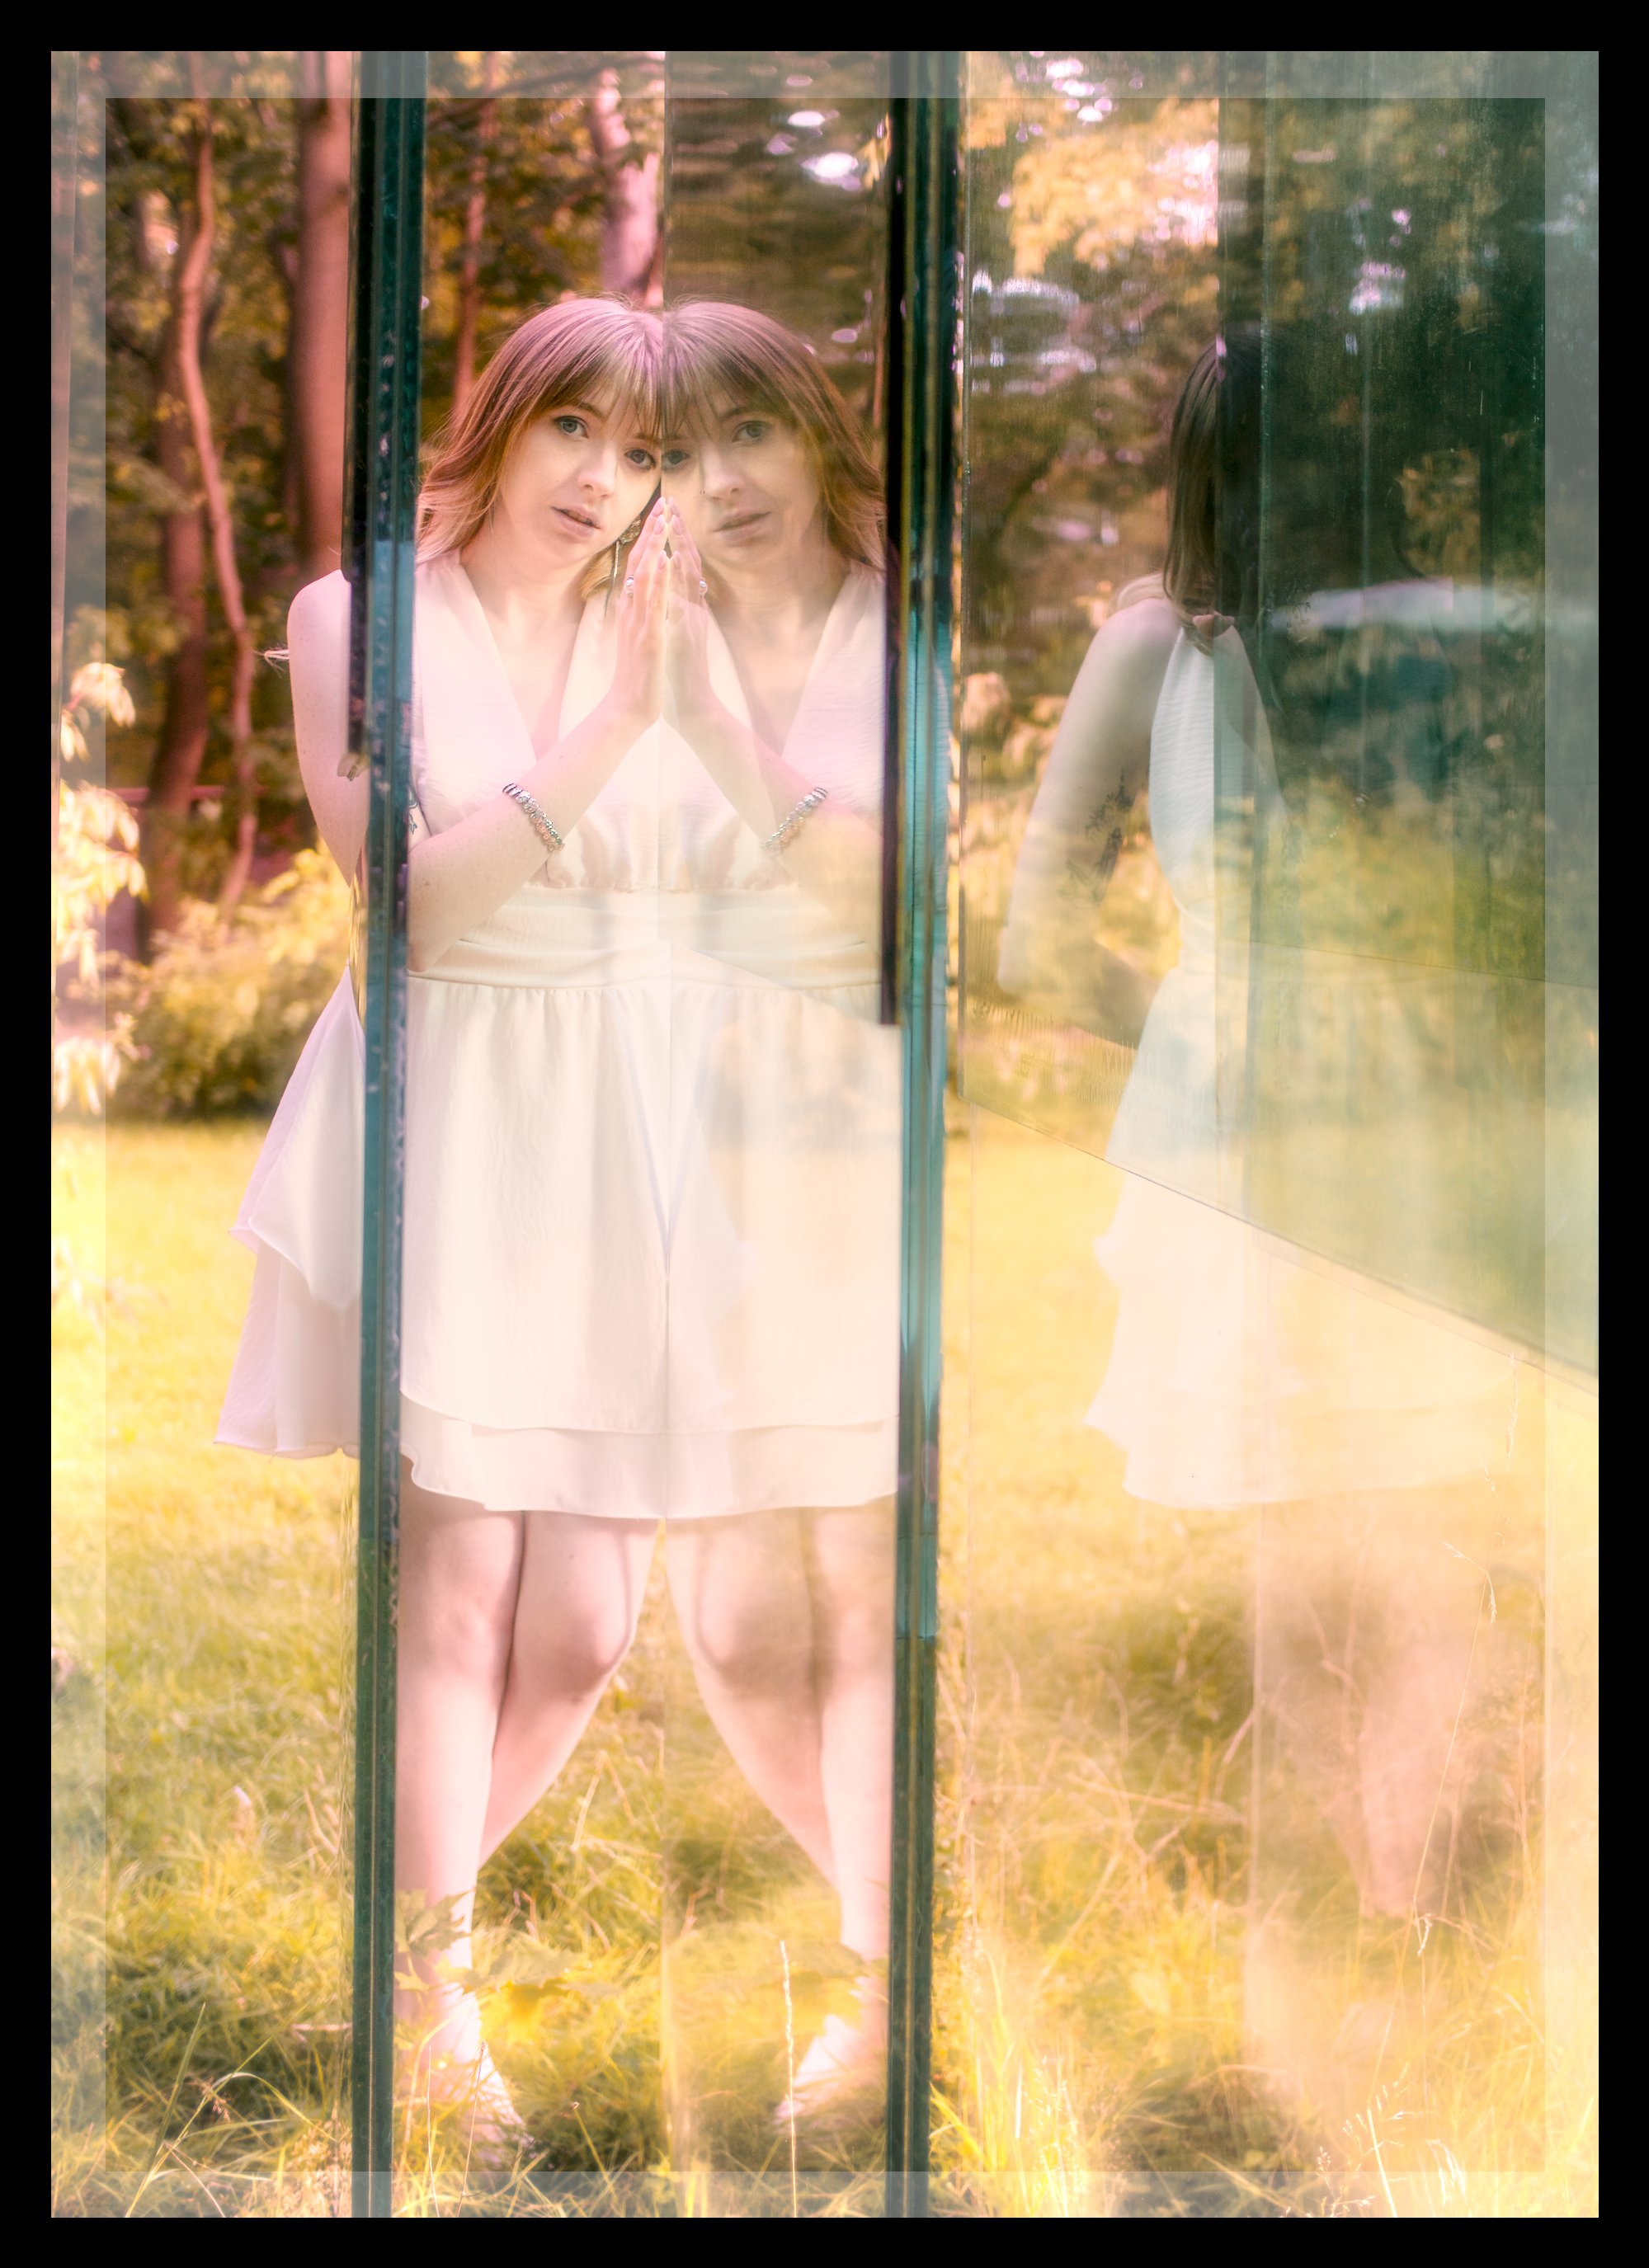
I’ve done it like so. It can be done in the same instance of the channel mixer, I just did it in 2 steps for the purposes of demonstration.
My version still has some green cast on the face, which I think is inevitable because the glass itself is green, but the rough idea should be the same. The legs seem to be exposed to less of the cast so you’d need to make a masked adjustment for the face specifically to get rid of it.
The results are approximate but this should be a starting point with this kind of light in my opinion.
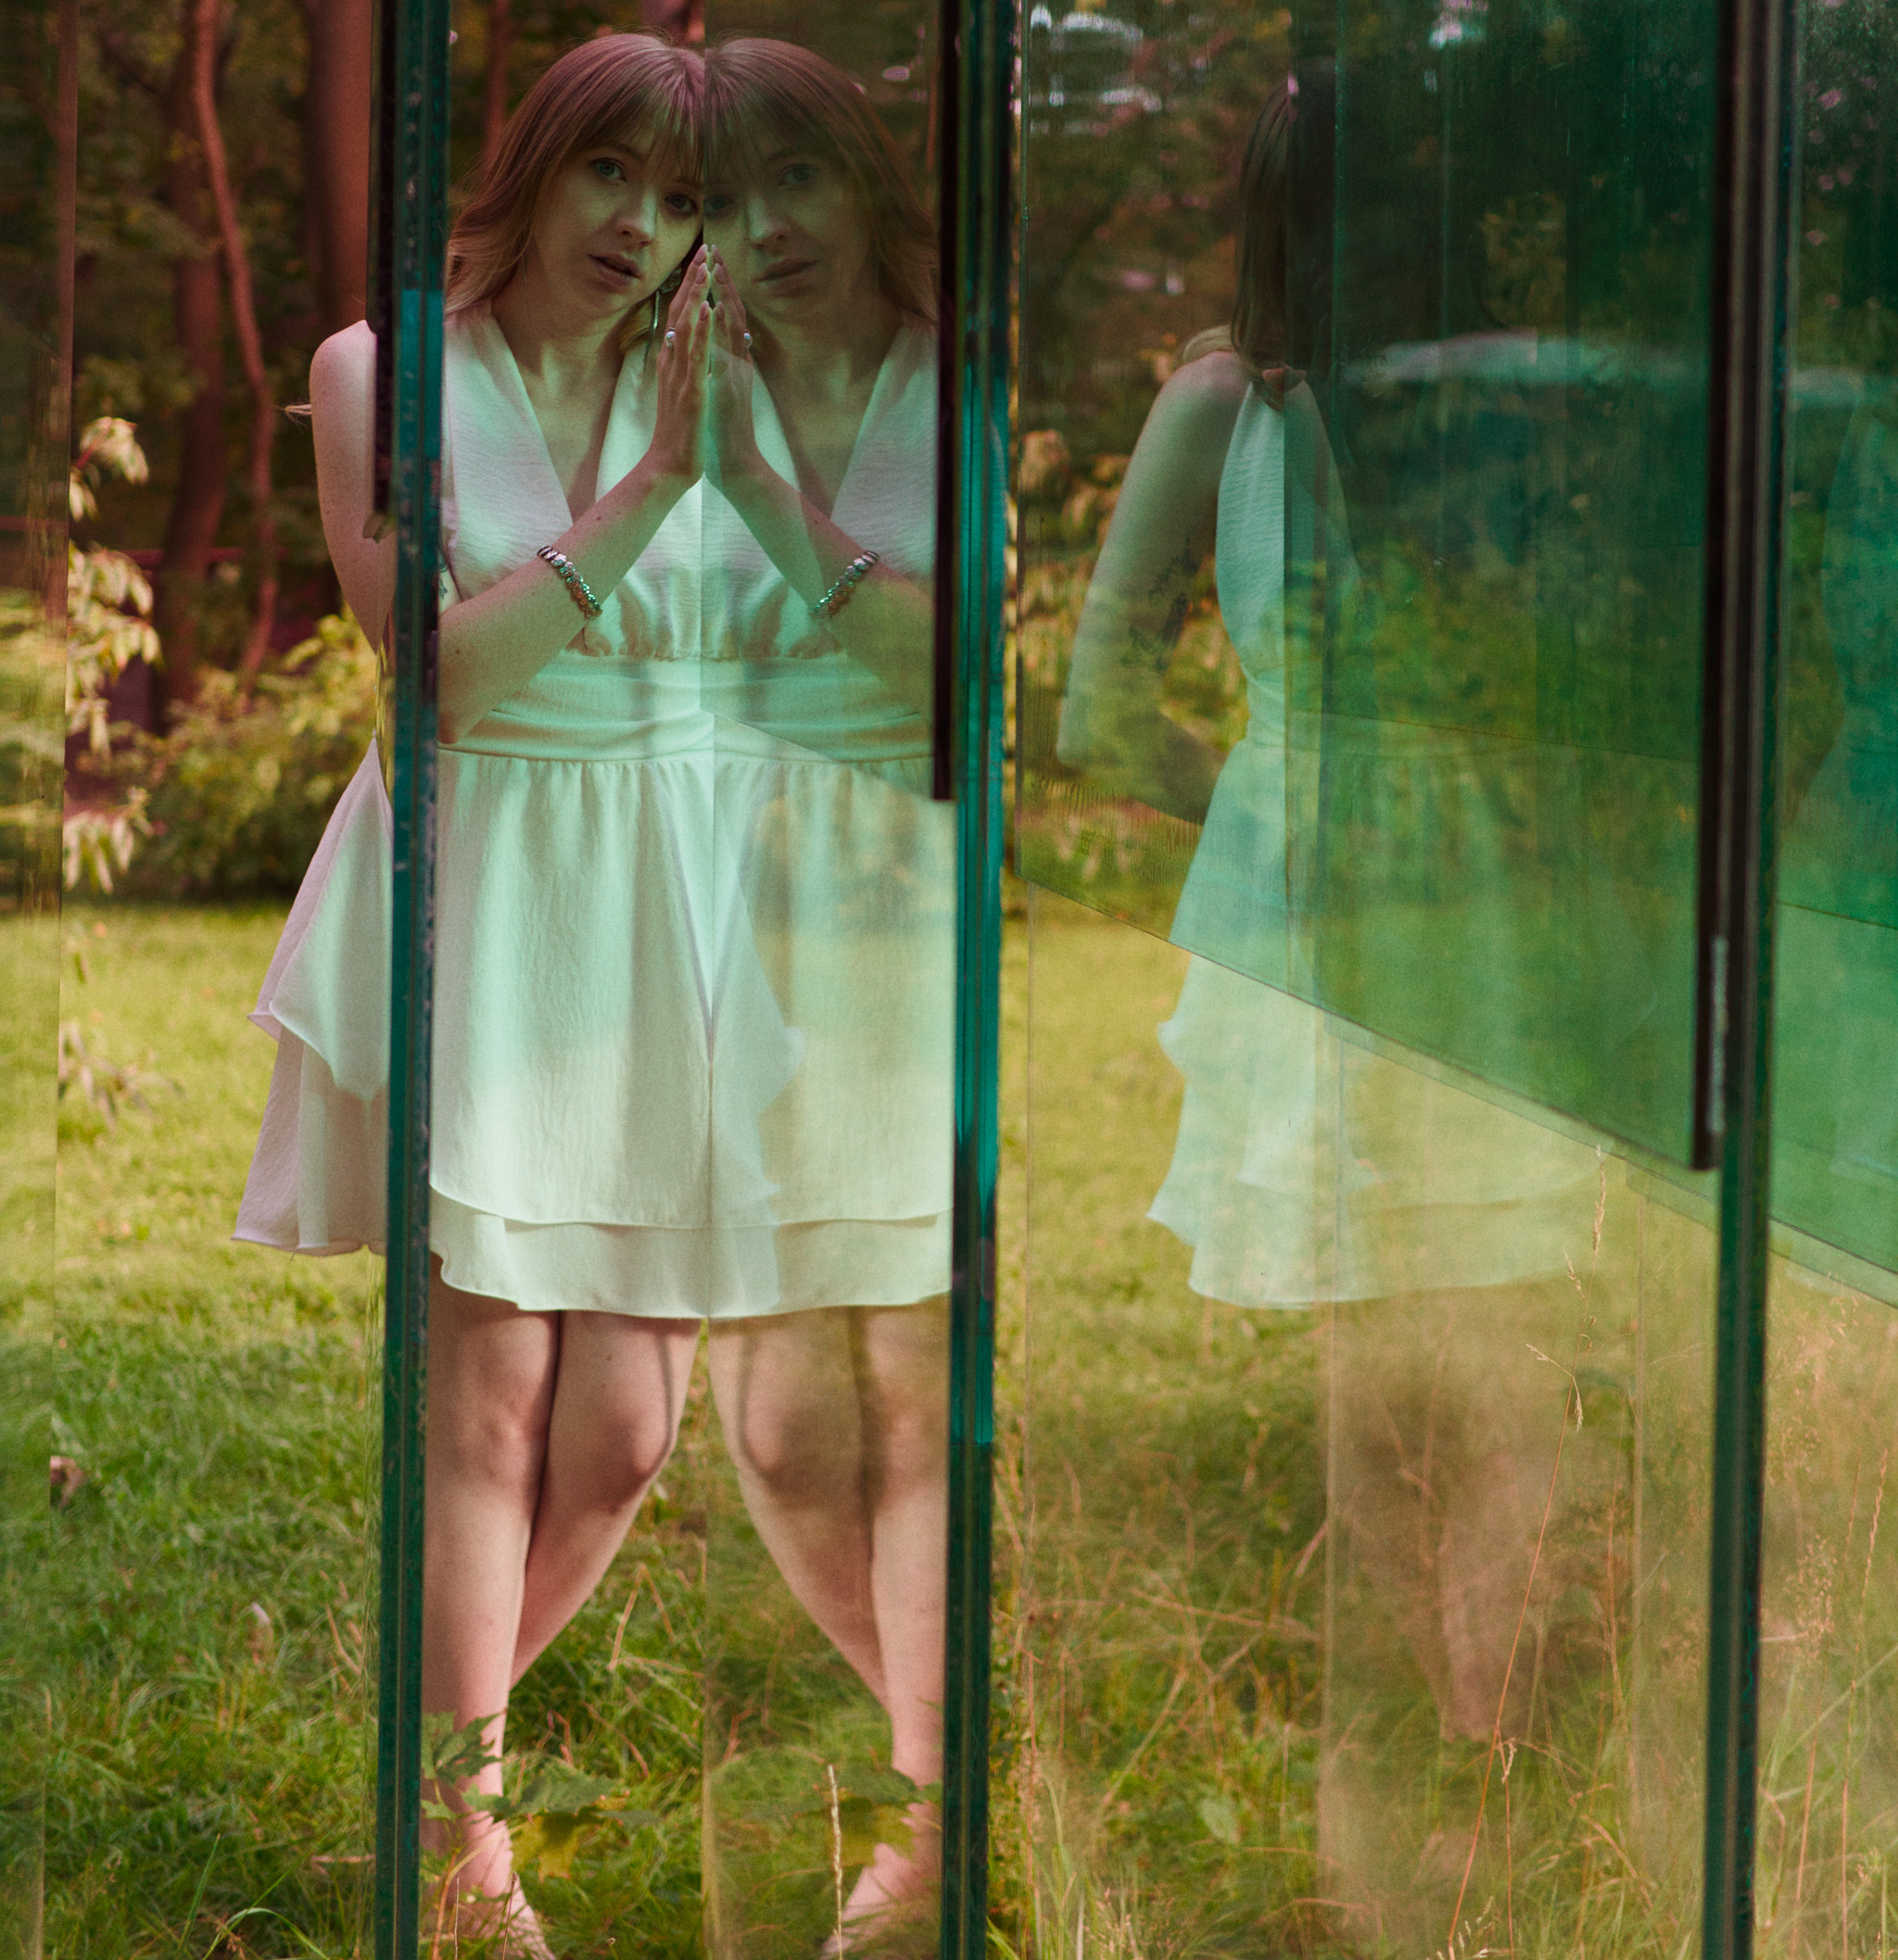
Then some more exposure, contrast in CB rgb, a color tweak in rgb primaries. It’s not perfect by any means, could still use a bit of work. I think it has a pastel-look here.
I have made an attempt, based on what I see in the first picture - large highlights, the divide between the green and the natural areas. I think the scene lighting was different between the pictures? It’s hard to get the same sort of contrast on the face, without painting it in manually.
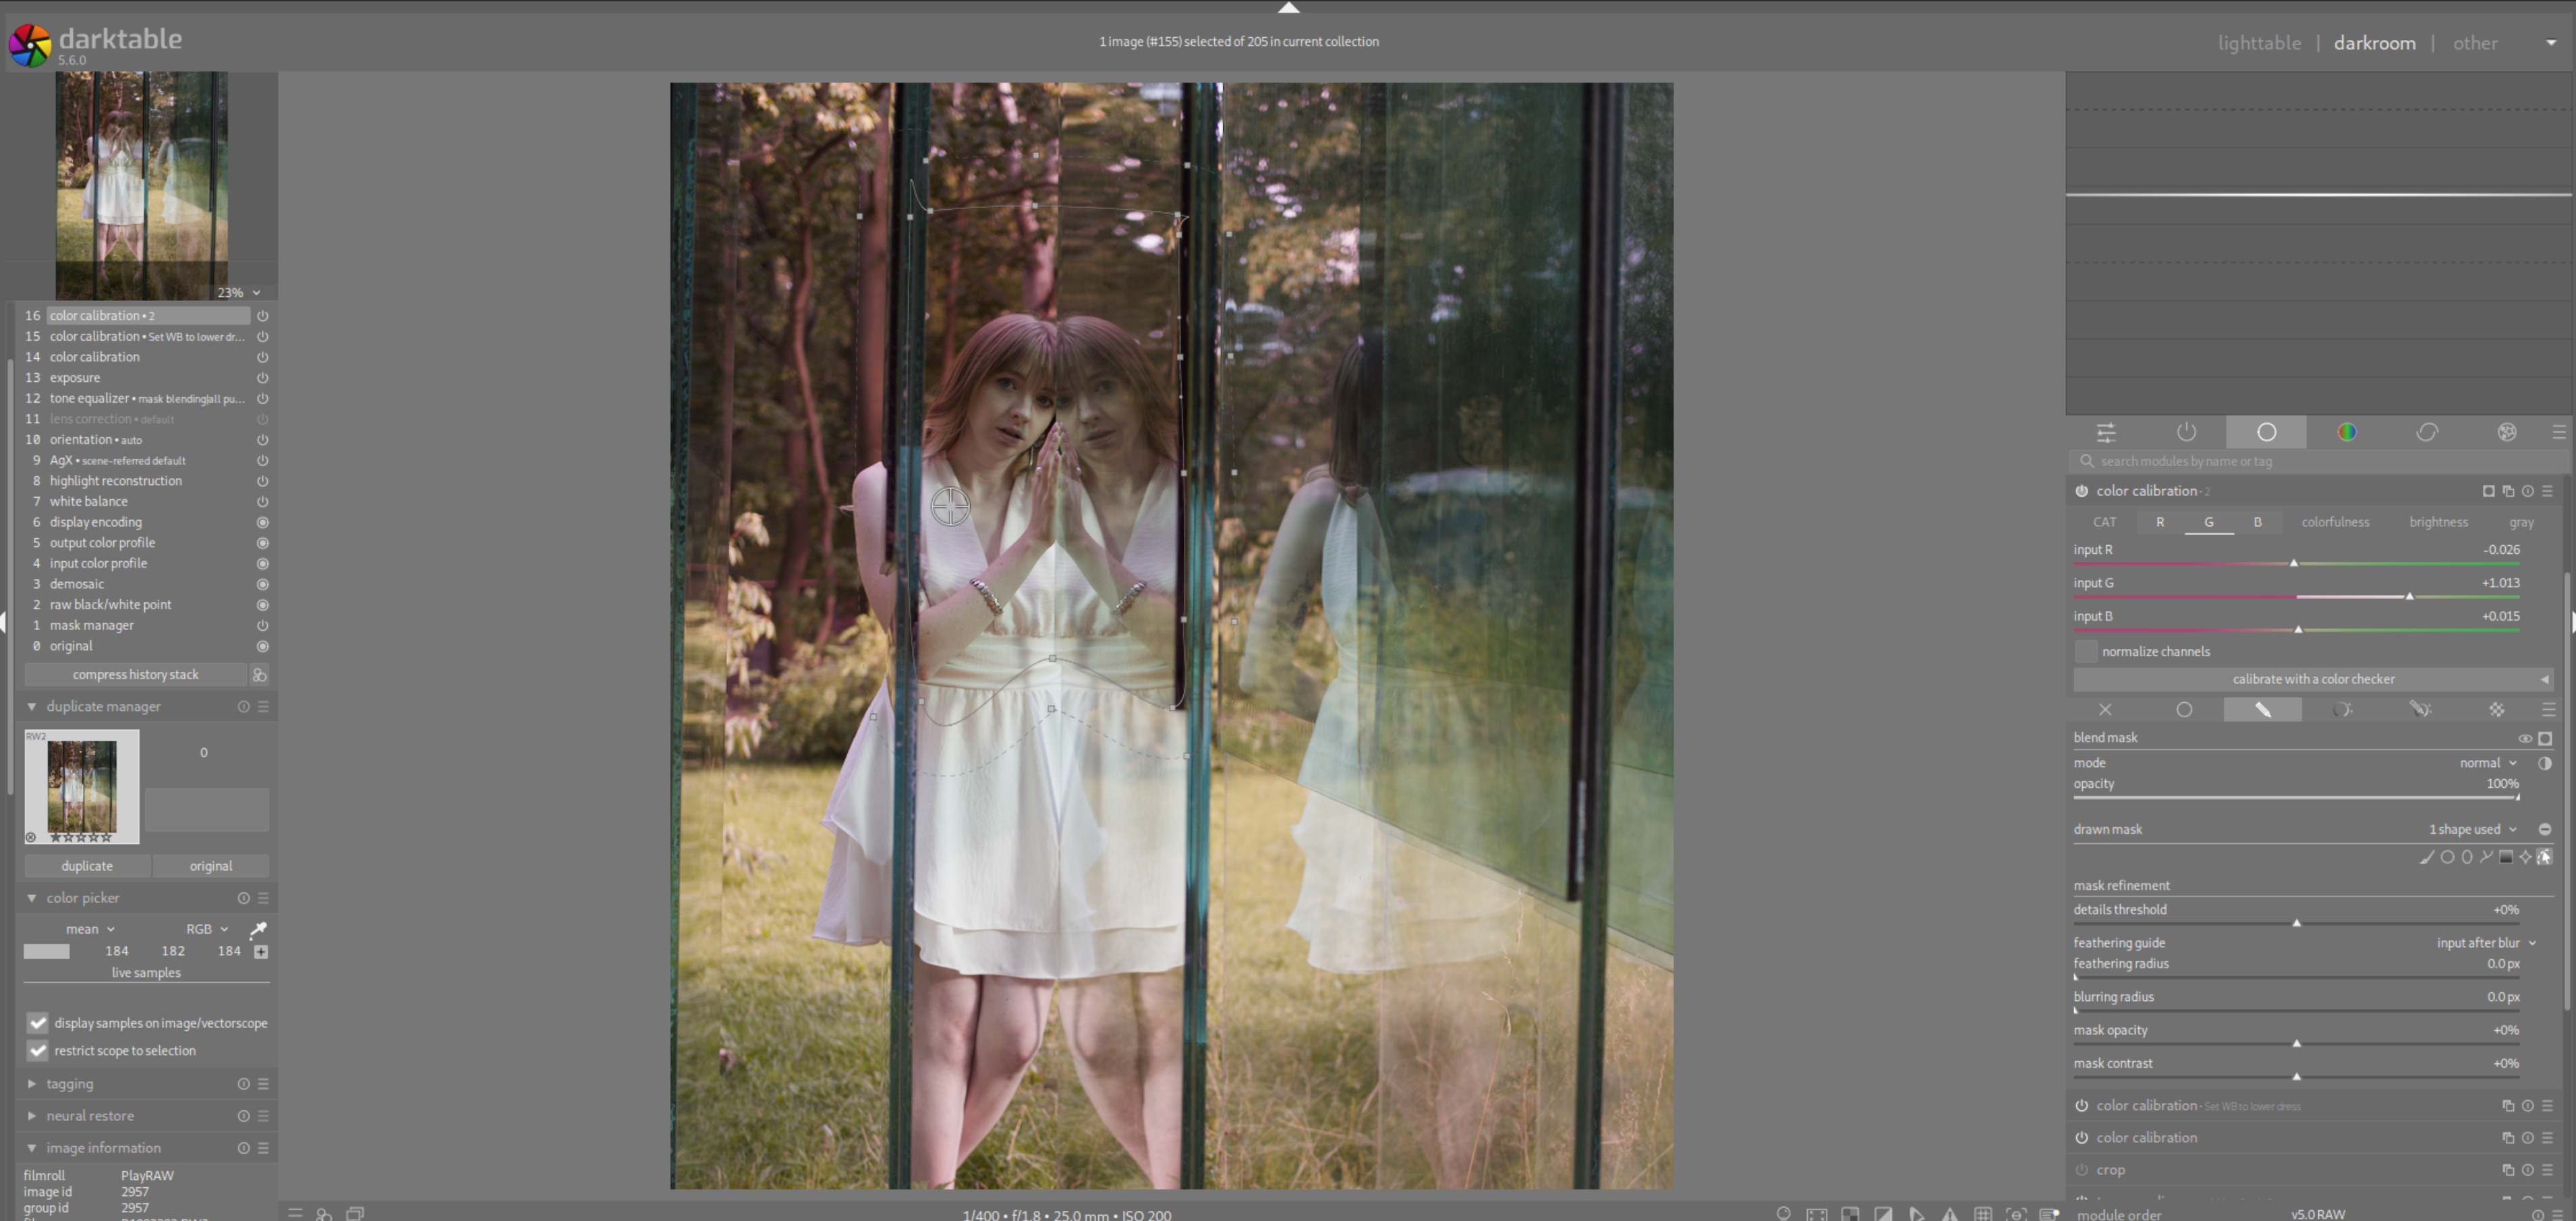
An interesting one. Here’s my attempt. Tried to get a good start in color calibration, then masked the face (left) to make better. Painted some face highlight. I had a problem with red so put it down from 1 to .95 in the channel mixer (the “R” tab in color calib.)