Both Lightroom and Capture One definitely do with the shadows and highlight sliders. Exposure also isn’t linear, especially in Lightroom, in order to protect details in the highlights, since they can’t really be recovered later.
I just did a quick agx tonemapped edit then tweaked the toe a little for an update and then final version did a sort for luminosity mask with exposure for the sky…
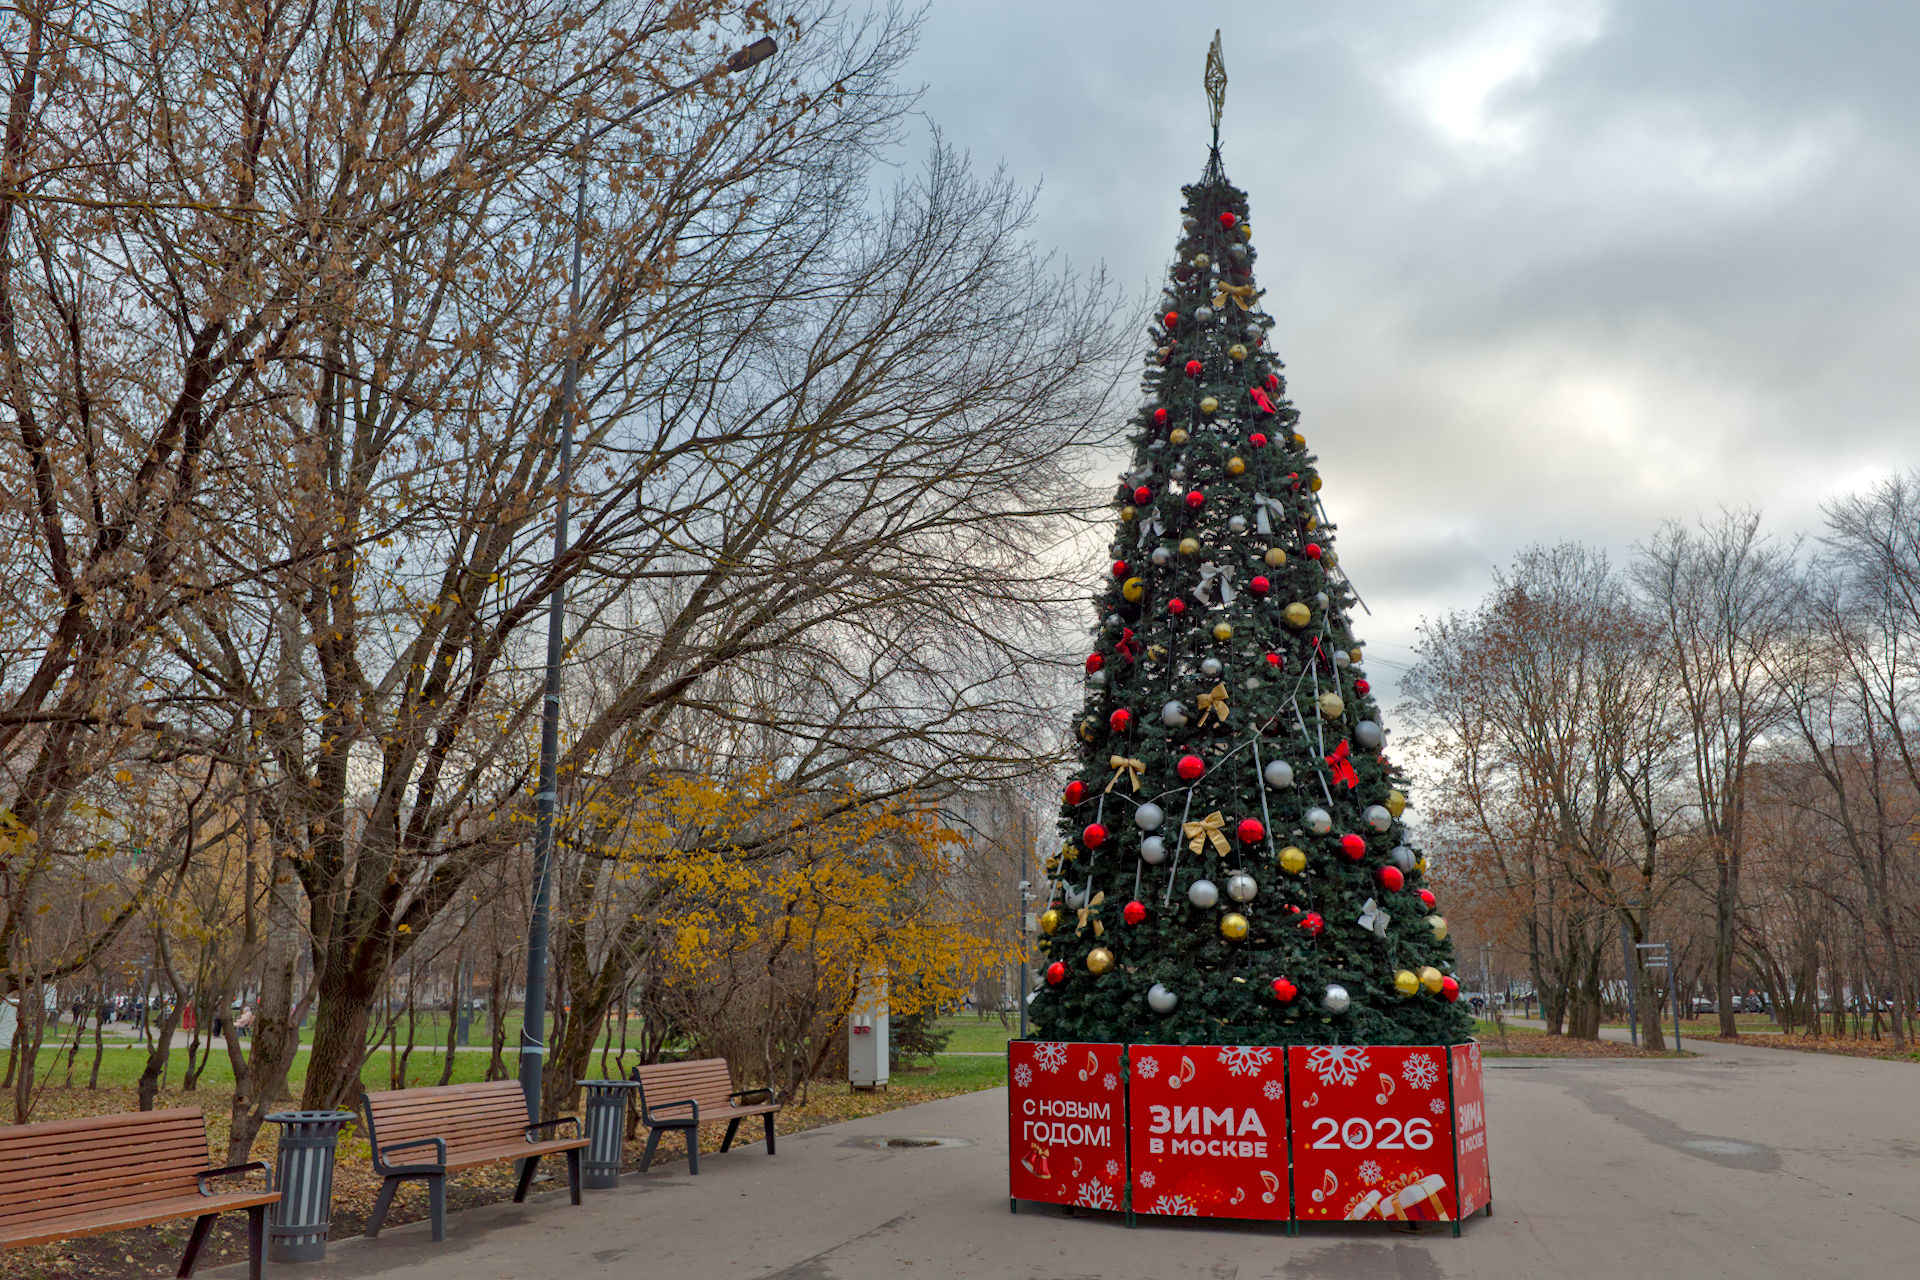
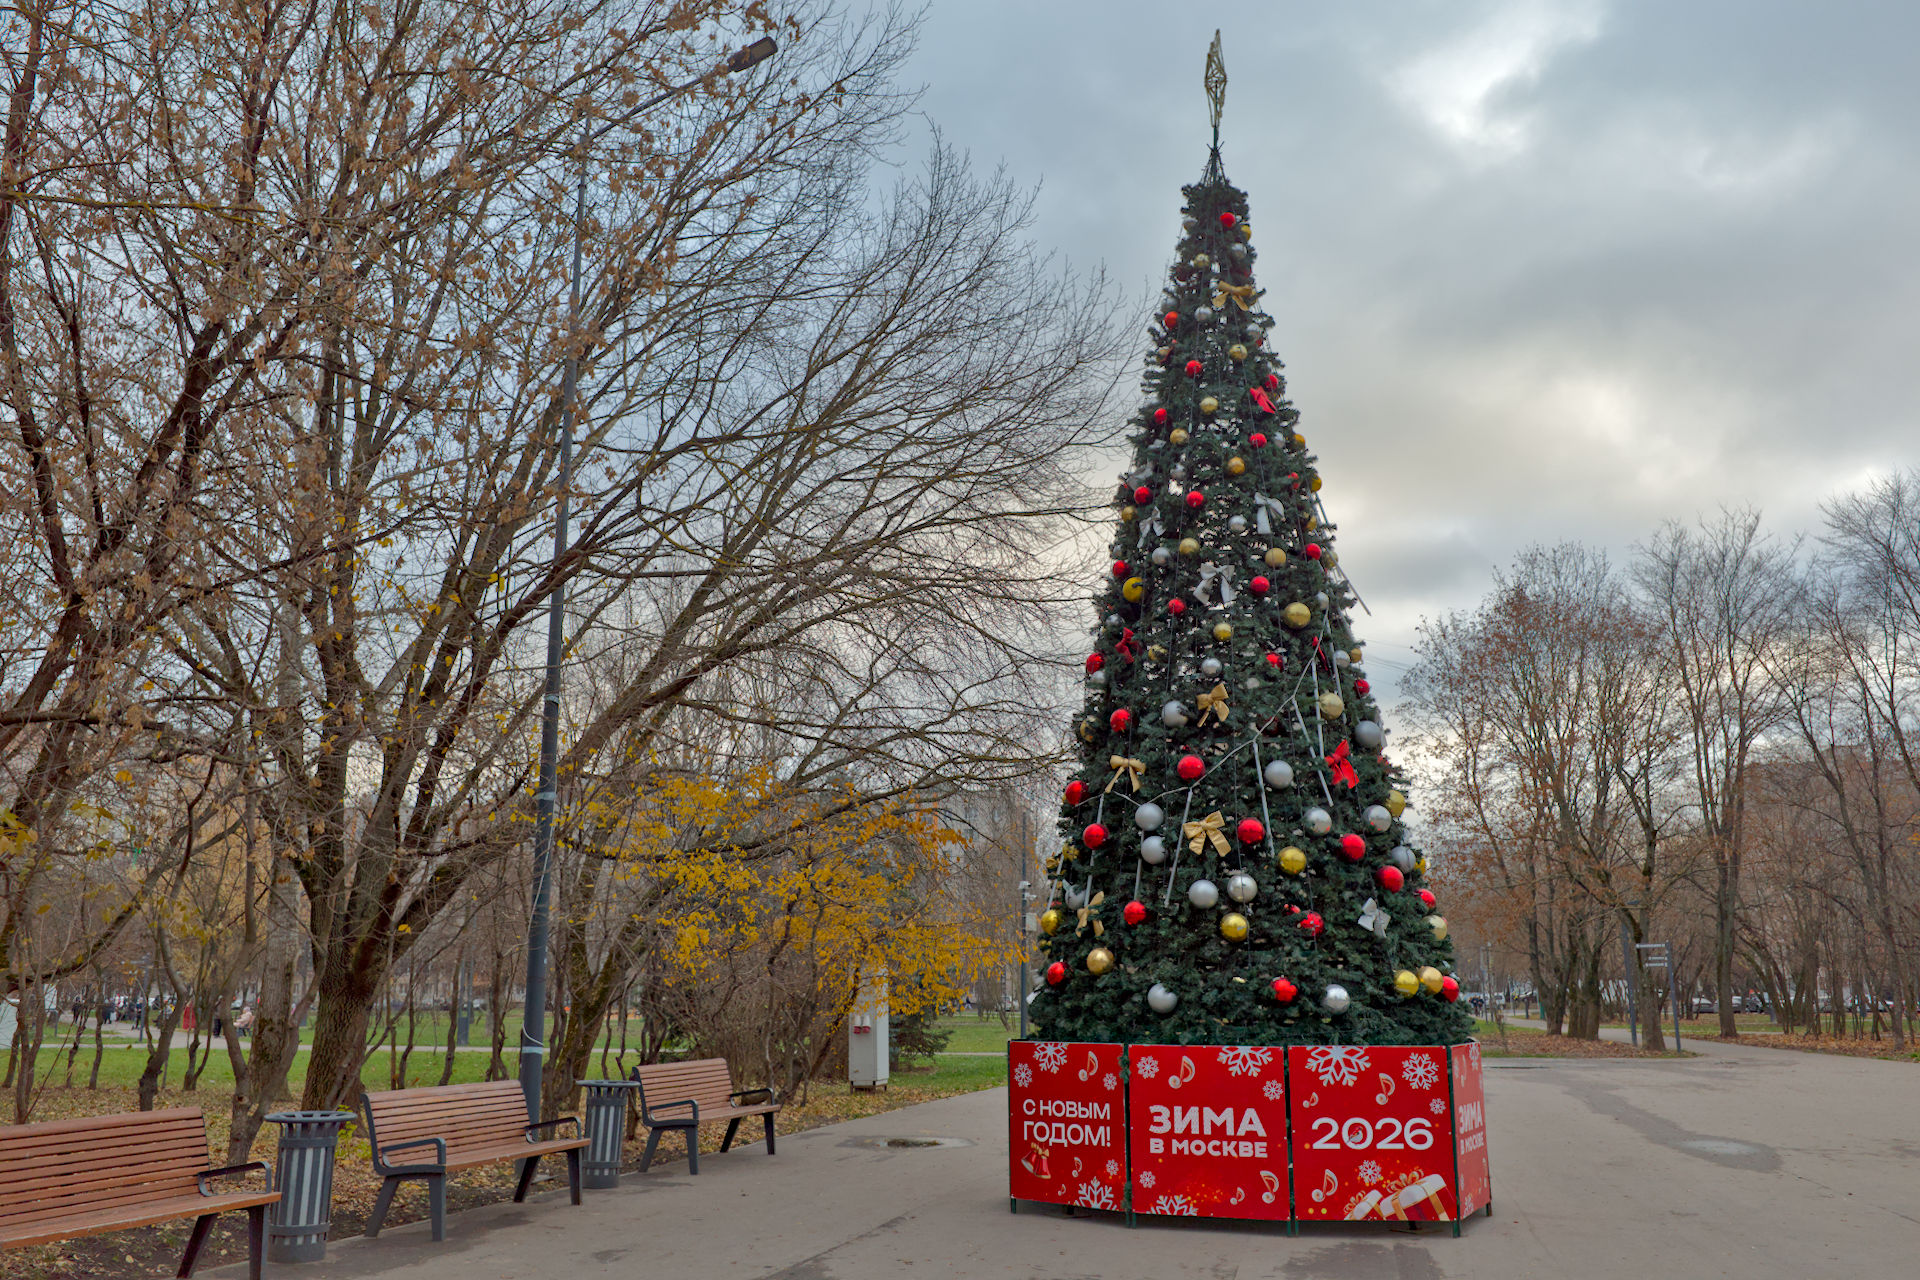
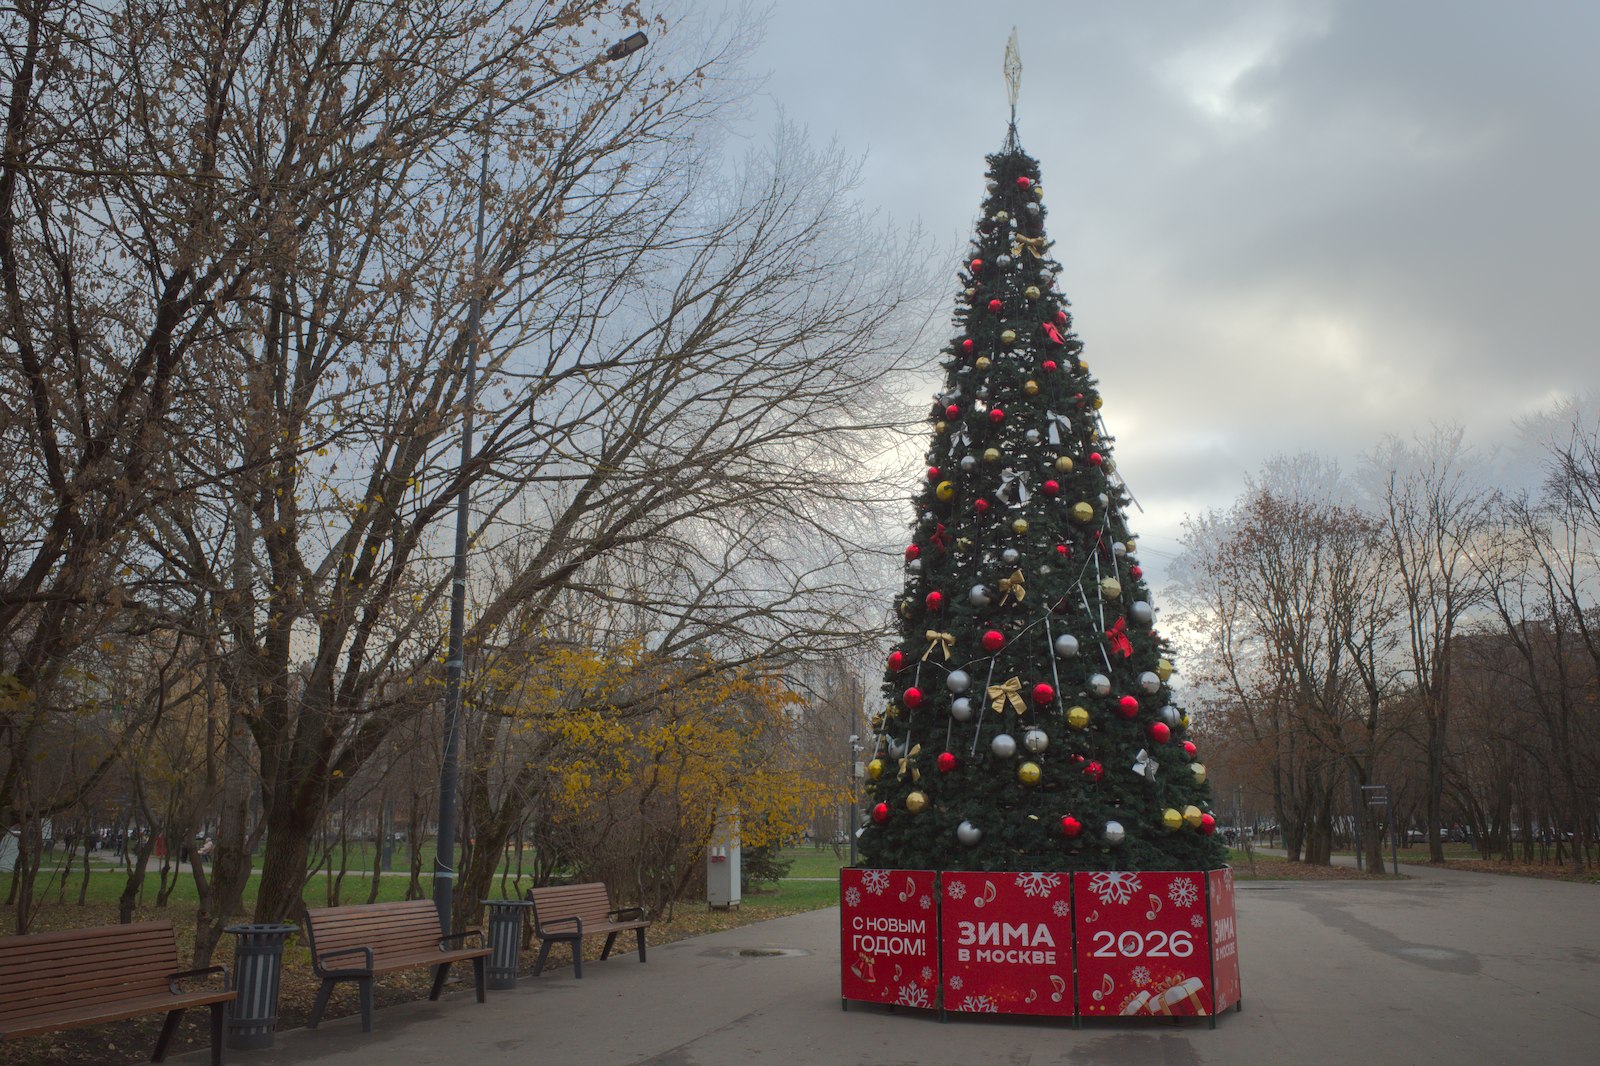
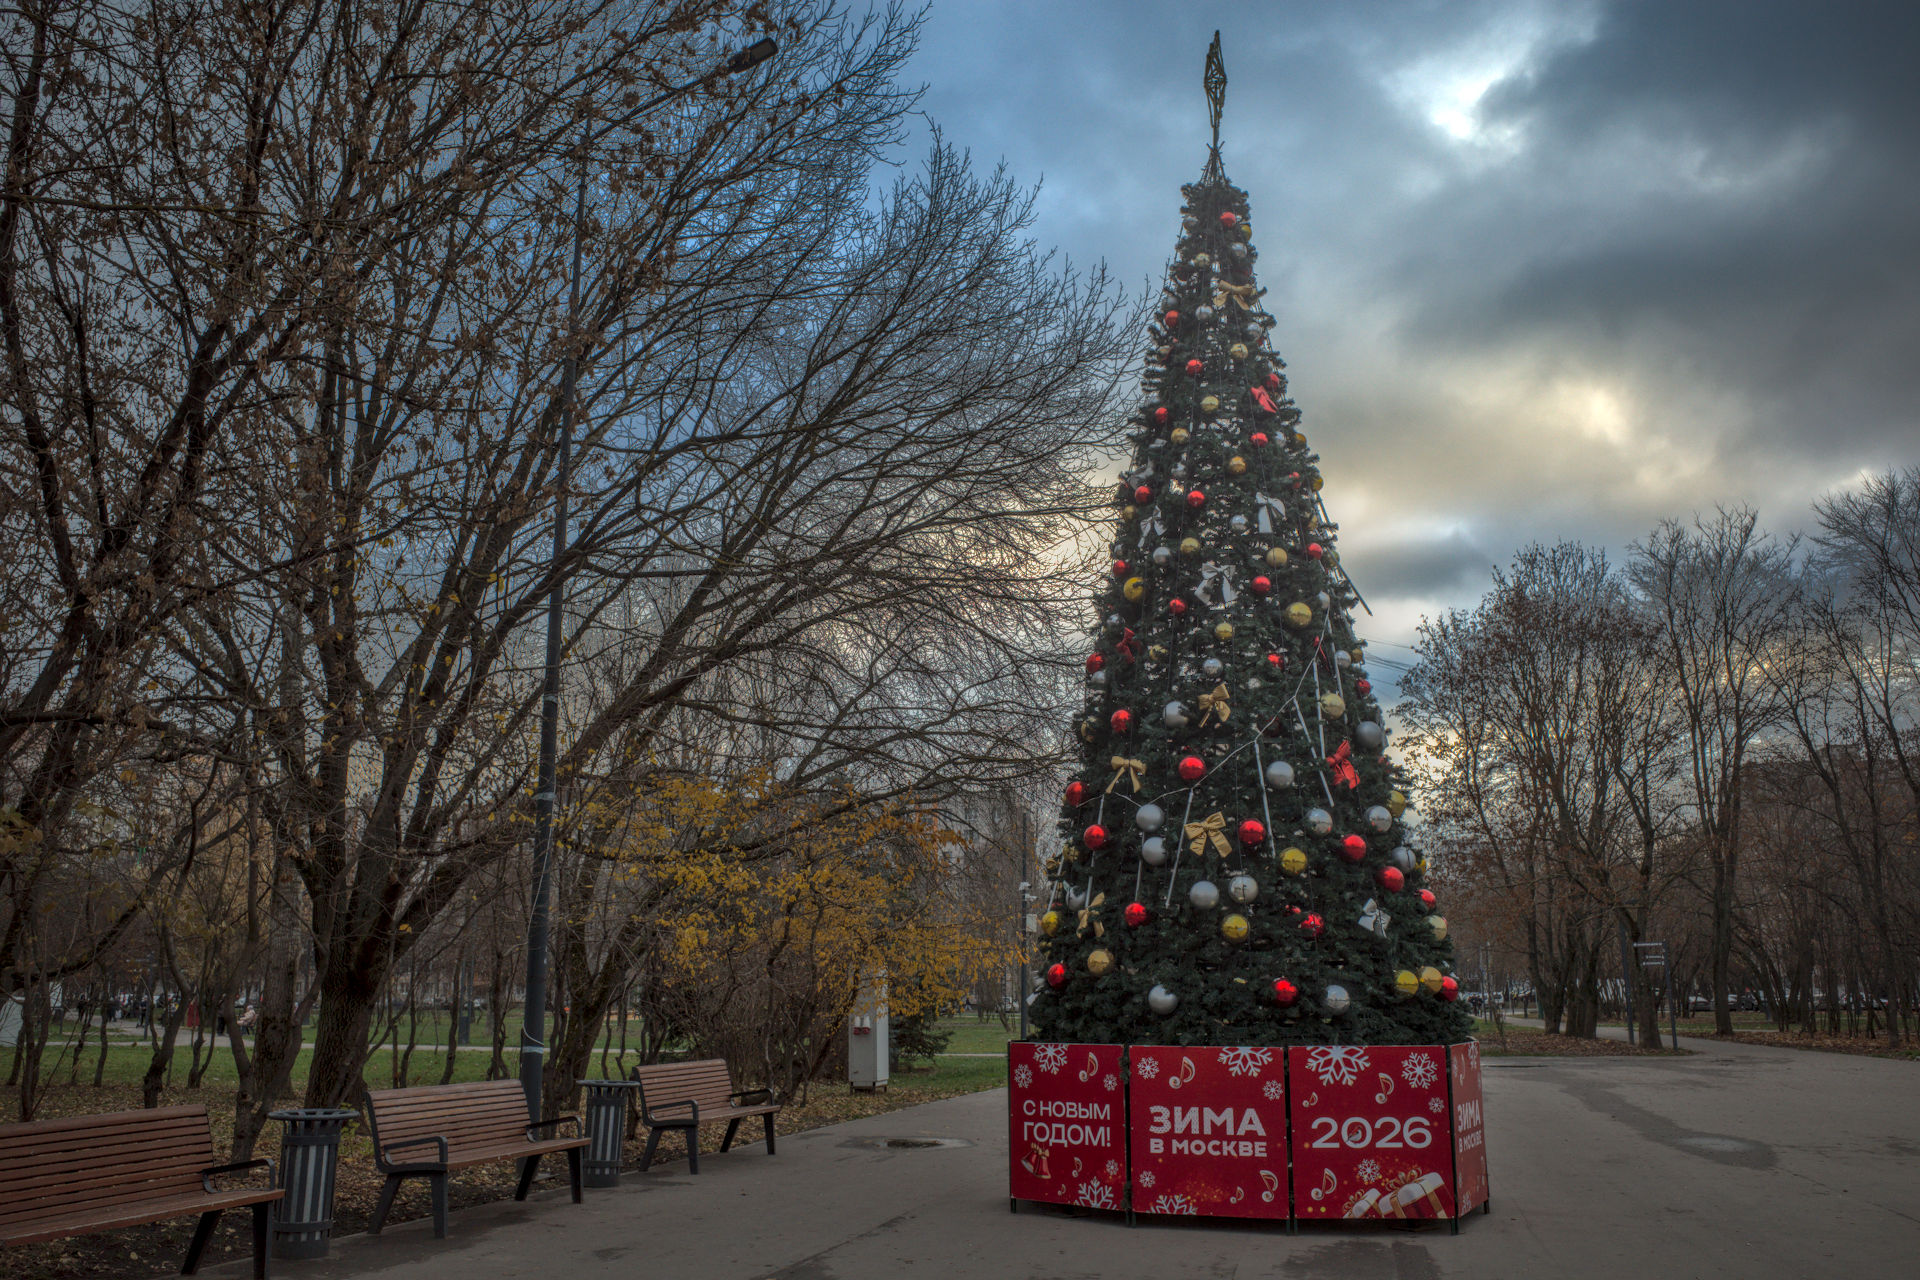
Thanks for all your edits. The photo in fact was taken 1 hour before sunset on a cloudy day, so it was about as dark as it is in my edit - I tried to keep the luminance true to life. But without this context it seems people prefer to edit such weather in a high(er) key, which is interested.
The unmasked areas are passed through unchanged. So, if there’s a pixel in the input that’s at 2000%, it will remain 2000% (or, if it’s at 5%, then 5%). You have not applied a tone mapper to it, you can think of it as still scene-linear. There is no ‘hard boundary’: darktable’s pipelines in encoded in linear and is not hard-clipped until you hit a module that cannot deal with arbitrary inputs.
Though I have to say, if you mask a tone mapper, then you’re probably not tone mapping, just using it as some kind of curve. Of course, it’s the final output that counts. There is no magic quality of a tone mapper, it takes pixels and runs them through a function, usually one by one. Looking it pixel data, there is nothing to label a given RGB triplet as scene or display referred.
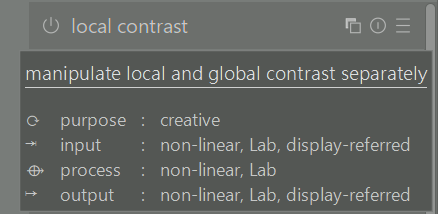
Actually… There is no forcing in a sense and I am sure as always @kofa can explain it better but for the majority of modules DT does not clip or force the data however with DR modules the UI sliders and controls can only impact data in the standard display referred range. So for eg. local contrast or some other modules dragged before the tone mapper won’t clip the data. Some modules will be non linear or use LAB and so moving them to a certain spot in the pipeline can have an impact. Thus the default order takes these things into consideration and tries create the best sequence considering how each preceding module operates…There is an often referred to post that explains this fairly well when the RGB series of modules was introduced…
My phone won’t let me paste the link but I will later …
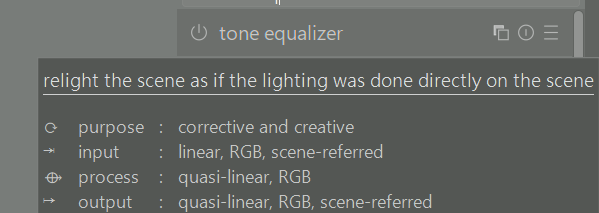
So basically the tonemappers in DT are generally the transition point to standard display referred space and then modules designed for that space follow after and their controls can act on the data now in that space…
Thanks for the “context” and that is always part of it along with the photographers desired intention or vision…when presented with the image second hand I would assume the tree to be the subject and so making the most of it while not creating something too unnatural around it would be what I would go for… Further guidance would come from your request for more contrast in the sky so that likely completes the targets for the image so the tree and the sky… Given that I can see most of the edits landing more or less where they did…
There are others who do the same to maintain as much control as possible, and to see step for step how the image develops as modules are activated.
Your image has a dynamic range of about 7 EV, which a screen normally can handle, so in the case of your image it’s a question of whether it really needs the application of a tone mapper.
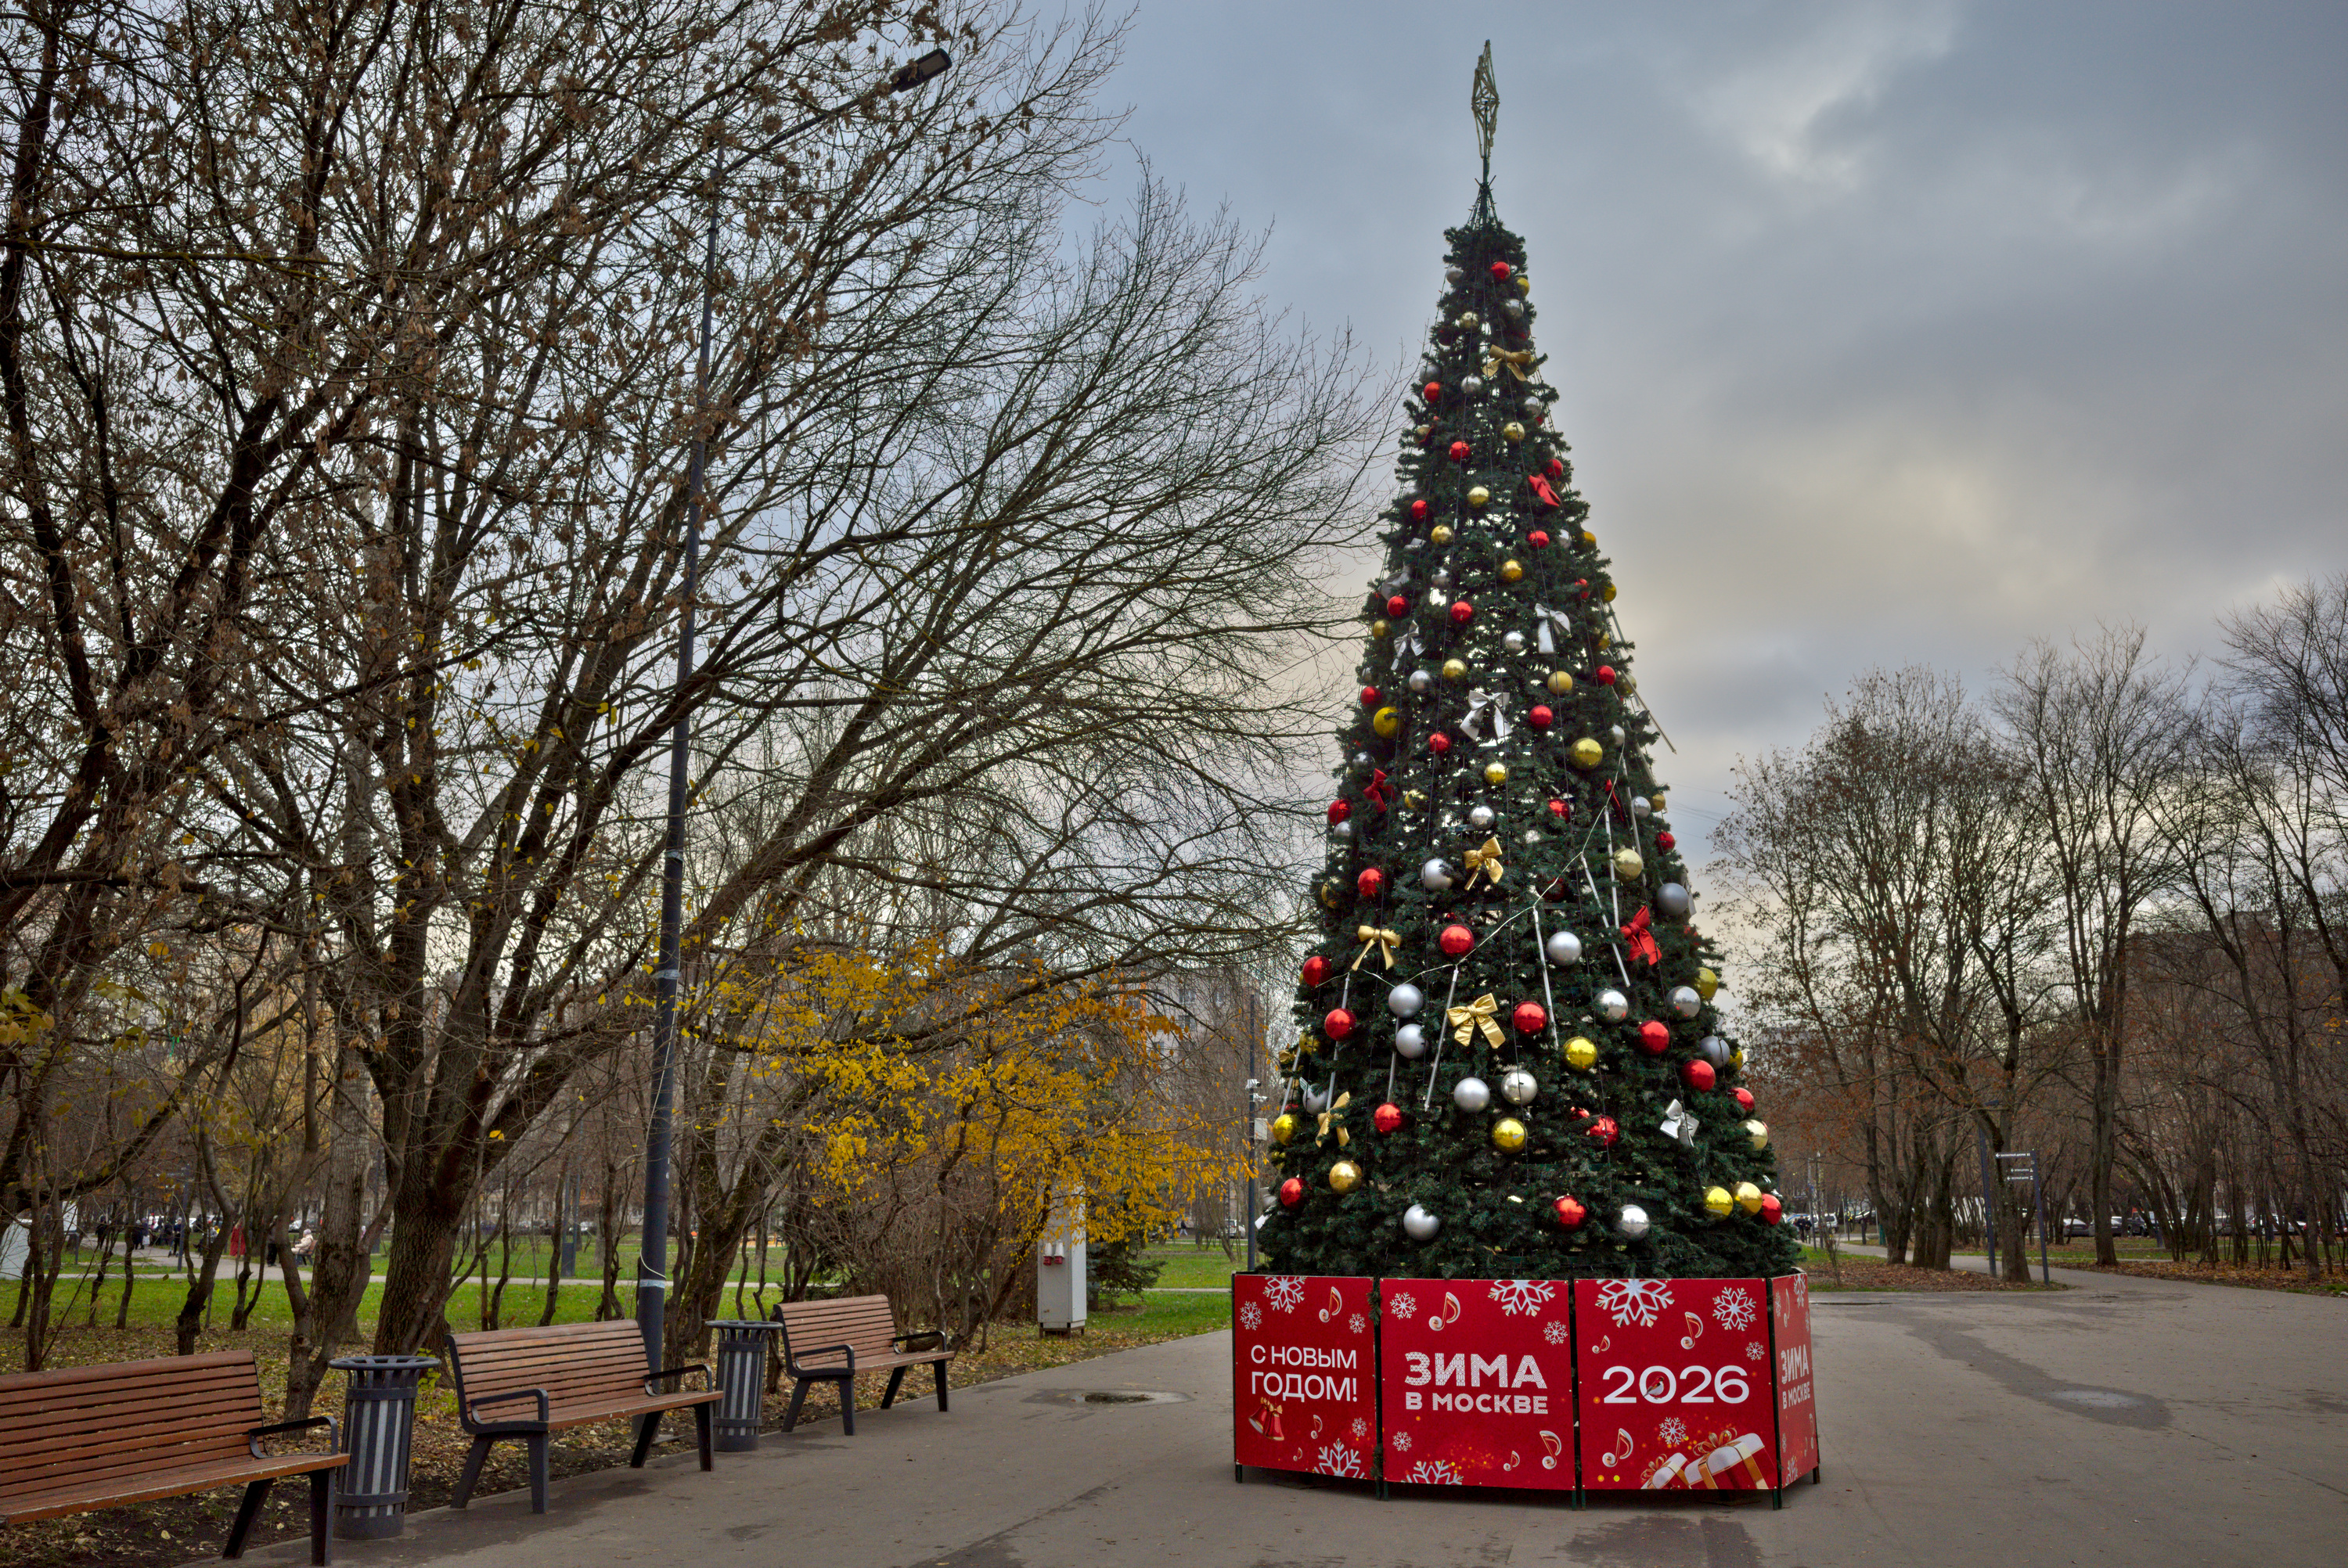
As the Christmas three is quite well defined in separate areas of dark shadow and lighter areas, a simple alternative to lifting shadows by tone equalizer, may be to use the shadows slider in the perceptual brilliance section of color balance rgb module. There is a certain overlap between the effect of the shadows, mid-tones and highlights sliders, though, as can be seen illustrated on the mask tab. We can reduce this overlap and concentrate the slider’s effect more to the shadows and lower part of midtones by increasing the value of the shadows fall-off slider.
The effect of just this (the remaining modules at default values), and dropping any tone mapper, is seen below.
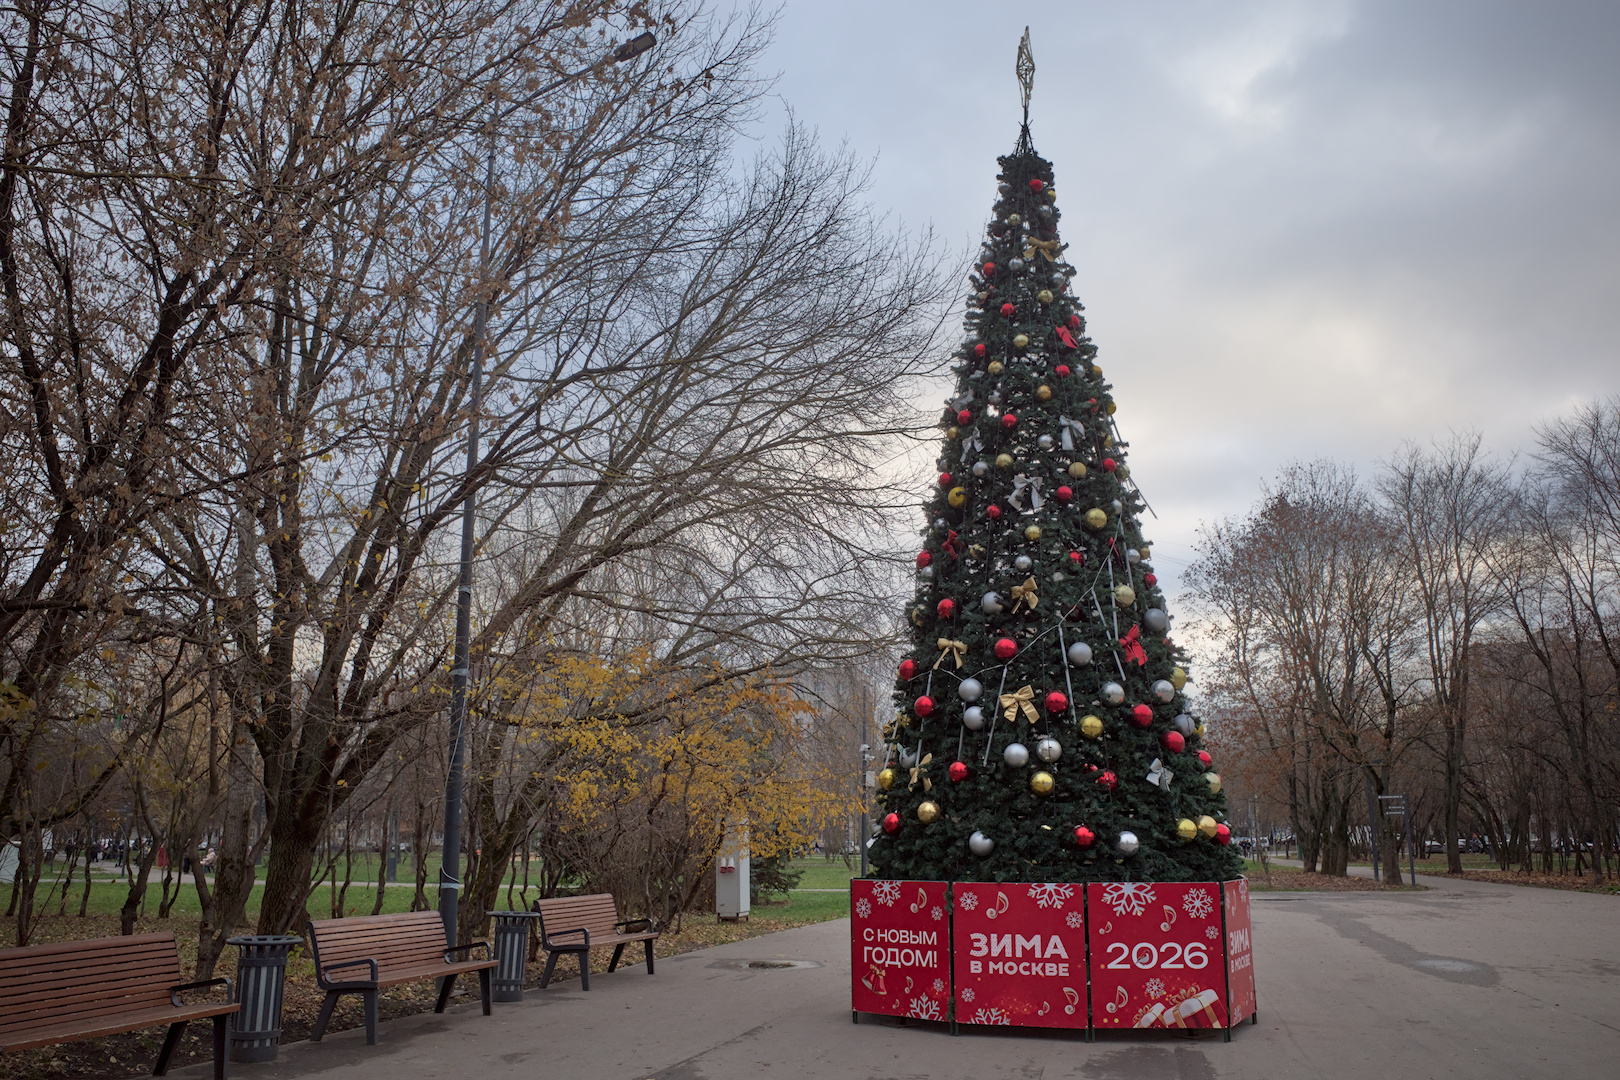
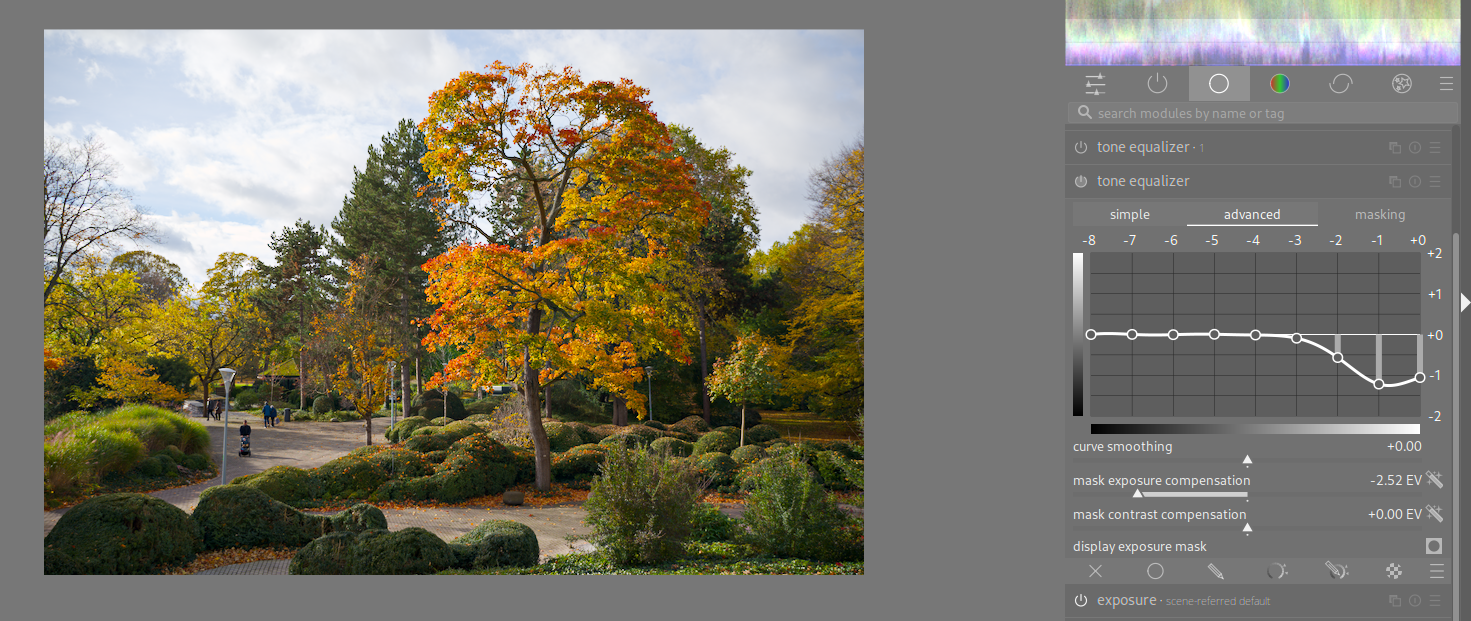
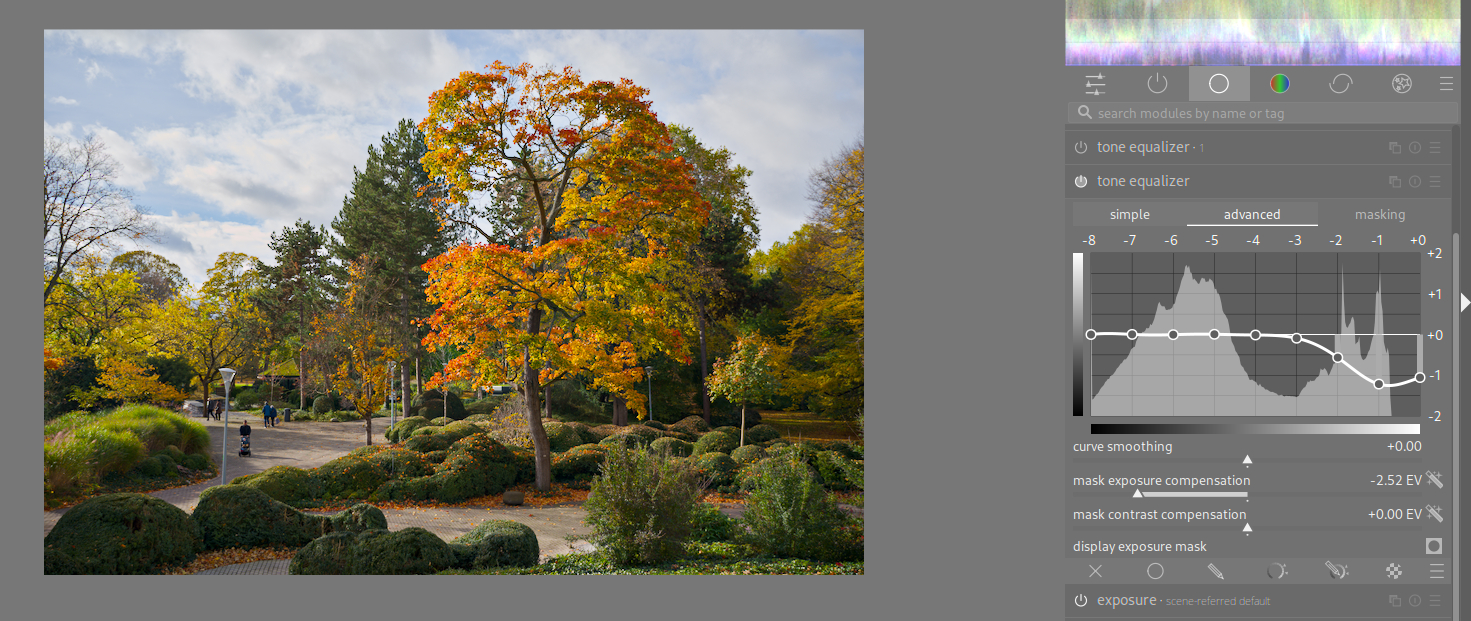
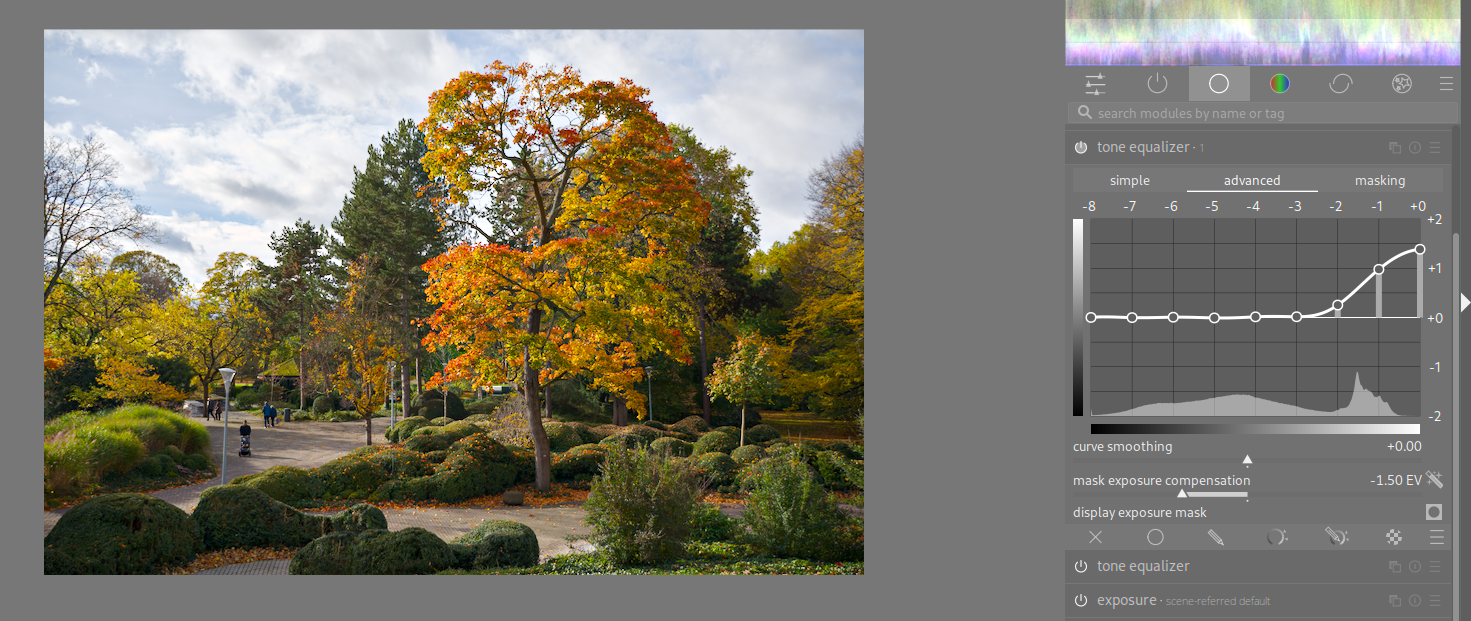
One technique I learned from grandmaster @s7habo on Youtube is using two instances of tone equalizer: The first to darken the bright sky in EIGF/GF mode, the second with “preserve details ‘no’” to pull up the highest highlights and add detail in the highlights.
Often the sky is fairly easy to mask and so you can use a blend mode with exposure and or local contrast…Using multiply blend mode which you can tweak with the opacity as well as the fulcrum can also add some drama to the sky to make it as dark or light as you want… Likely here I should have used a second instance of exposure instead of the intial one but with agx I could be lazy… but you get the idea…
Mathematically, the phenomenon is simple to demonstrate: sigmoid (or any tone curve with a similar shape) squashes the contrast on the edges. Eg take this simple numerical example:
One fix is to amplify back the highlights with eg local contrast, but this is not easy: on the edges, the tone curve almost totally extinguishes them. You can mask for the highlights, but then you risk artifacts (because different regions would required vastly different local amplification, eg see the graph above at x=6 and x=7).
It would be much easier if the local contrast algorithm knew which pixels came from which part of the tone curve (eg once you know a value, you know the local slope of the tone mapper curve that produced it).
I don’t think there is a way out of this without tone mappers doing some kind of local contrast preservation, like filmulator. This means that it is no longer a pixelwise mapping.