Hi, when I select a file to process, it opens in the editing window but immediately some profile is applied and the picture changes. It looks different than in the preview above. See comparison of both pictures annexed.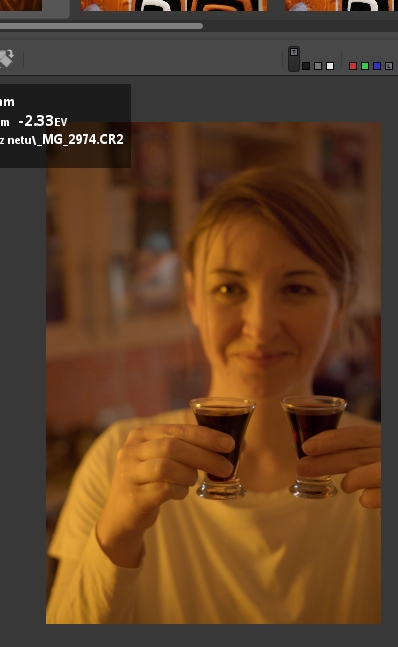
 .
.
I would like to start editing from the original picture but I am not able to cancel the initial profile.
Please can you help me? What should I do/not to do?
thanks.petr
@pk0036 Welcome to the forum! If you are new to RT, you may want to read Getting Started and Eek! My Raw Photo Looks Different than the Camera JPEG.
Basically, the thumbnail grabs the raw file’s preview image, but the data itself is raw.
2 Likes
Use the Neutral button in the Exposure tool to reset the image. Auto exposure correction is enabled by default.
1 Like
Hi, thanks for answers. The thing is that when I first opened RT, the picture in preview and the open one in editor looked the same, there was no profile applied. Then I was processing some pictures (maybe changed something unintentionally) and when I wanted to open a new one, a profile was suddenly applied.
I also tried to press the Neutral button but nothing happened - the picture still looks the same like after application of that profile.
What do you suggest, please?
thanks. petr
Hi @pk0036
I suggest that you take a look at the above links first, they contain really useful info to get you started with RT:
http://rawpedia.rawtherapee.com/Getting_Started
http://rawpedia.rawtherapee.com/The_Image_Editor_Tab#Eek.21_My_Raw_Photo_Looks_Different_than_the_Camera_JPEG
Then, if you want to have a starting point that is somewhat close to what a JPEG engine of a camera (not necessarily the JPEG engine of your camera though, see above) would produce, you can use a default profile that applies these settings:
![]()
This should put you in the right ballpark. If there’s no “auto-detected camera profile” available for your camera, you can have a look at this:
http://rawpedia.rawtherapee.com/How_to_create_DCP_color_profiles
http://rawpedia.rawtherapee.com/How_to_get_LCP_and_DCP_profiles
1 Like
Neutral + this Exposure Tone Curve 1 in Film-Like mode gets you quite close to most camera’s rendering, tone-wise:
DCP tone curve.rtc (141 Bytes)
1 Like
This seems to be a RT related question so I moved it to that subforum.
3 Likes
Hi all,
so yesterday I was experimenting a bit with histogram matching, and I was able to “extract” a bunch of tone curves from various pictures I found over the web (since I only have one camera…). Of course they are just an approximation, and their quality depends also on the source images used (ideally I think the source image should cover as much tonal range as possible), but they look reasonable to me.
Here are a few of them, in the form of pp3s:
-
SONY A7RIII.pp3 (271 Bytes)
-
NIKON D850.pp3 (241 Bytes)
-
CANON EOS 5D MARK IV.pp3 (271 Bytes)
-
FUJIFILM X-T1.pp3 (241 Bytes)
-
PENTAX K-1.pp3 (272 Bytes)
And in case anyone is interested, here is the script I have used (requires Python, PIL/Pillow, RT and dcraw)
histogram-matching.py (4.9 KB)
3 Likes
Thanks agriggio I get a good match in my tests.
Here is a screen print RT with just the generated matching curve on the left and the camera jpeg on the right.

I set the number of points in the tone-curve to 20, the higher number achieved a better match on the sky.
Using histogram-matching.py P1000310.RW2 -o hill.pp3 -n 20 -s 900
@agriggio +1 for adding a button which does this into the Exposure tool 
That would be great. Histogram matching for the masses!
Yeow, the mother of all solutions to, “Why does my picture look dark?”, “My raw picture doesn’t look like the camera JPEG…”
Dangit @agriggio, you have me figuring out Python…
So, here’s a faster version, that also fixes a bug found by @David_Wilson:
histogram-matching.py (5.6 KB)
Yes, that would be an option. Another one that I was considering could be to change the “Tone Curve” checkbox in the DCP settings to a set of radio buttons with options “None”, “From DCP” and “Auto Matched”, with the latter (obviously) working by histogram matching. This would have the downside of making the tone curve not visible and not modifiable, but it could also result in more accurate matches… opinions?
I don’t see how this is related to the DCP or input profile in general, and as such think that putting it there would be a mistake. It would imply doing things which it doesn’t do. It would fit very snugly in the Exposure tool, allowing the user to tweak the curve, reset the curve, change the curve mode, etc.
Well, the input profile does have an influence on the matching, although for luminance only (what is done here) it’s probably not big. However, I see your point, so I’ll think about how to put it in the exposure tool.
Do you expect this to work in interactive mode only, or should this be something that goes into a pp3 or which can be applied in batch mode? If the latter, we would have to think about how to do it properly, to avoid having the same usability issues that the current “auto levels” has (i.e. if you have a tone curve set, the results are way off).
Users surely would like to be able to batch-apply it, though even if they can’t there is a workaround: I presume the generated curve will be very similar between two photos from the same camera with the same in-camera settings, so even if this tool has no proper batch mode, they can still open one photo, generate the curve, and then apply this PP3 to all other photos.
The matching is luminance only. Could a second pass calculate a color saturation curve as well. I am thinking of those photographers who set their camera mode to vivid.
I was just thinking the same thing, but it may be that the individual channels are matched… ?
We also have to think about auto vignetting-corrected ooc jpegs especially when shot wide open. That may lead to wrong results in the histogram-matching process.
yes, you can match the individual channels and produce individual rgb curves. if people are interested, I can post a modified version of the script. in my (limited) tests however this is less robust – it works well for the original image but not so much if you try applying the same curves to other images…
that’s something I haven’t tested – I didn’t even think about it to be honest ![]() I would be surprised if the impact turned out to be big, but it definitely needs to be checked
I would be surprised if the impact turned out to be big, but it definitely needs to be checked