I want to create a pure black and white image (not grayscale), like the one at the end of my post. The method I used was first to make the image grayscale (with color calibration) and then to create two instances of rgb curve on top of filmic. The first one making all pixels above the threshold white and the second one making the ones below black. I used parametric mask so that the placing of the “knee” in the curve didn’t need to be very precise and exactly 90° (see the picture to get the idea). Do you have any other ideas how the same effect could be achieved?
I have found it easier to have two instances, one for whites and one for blacks, and control the transition point (from black to white) in the parametric mask. Also you need the parametric mask only in the first instance, in the second instance you can turn everything that is not white to black.
Picture WIndow Pro has a few simple ways it seems…since it has a stair step curve mode …it looks like converting to monochrome and then using a 2 point stair curve can be used to set the threshold…it also has a dedicated transform with a threshold slider…
Would it be hard to introduce a stair step function in the tone curve?? I tried to simulate it but it jumps around trying to fit the spline model I guess??
EDIT: I know this is not FOSS software…it is free so no commercial plug intended…just using it as an example because in playing around with it I remembered that it had a stair step curve function and it has a lot of neat and creative features if anyone is interested that might be of use to some. You can create scripts so you can chain things together to extract or create a lot of possibilities
Looks interesting. I quickly played with the program and the step curve. For grayscale images it was easy to achieve the posterization by adding few control points and dragging them. I also tried it on a color image, but there I didn’t manage to proper results with few minutes playing.
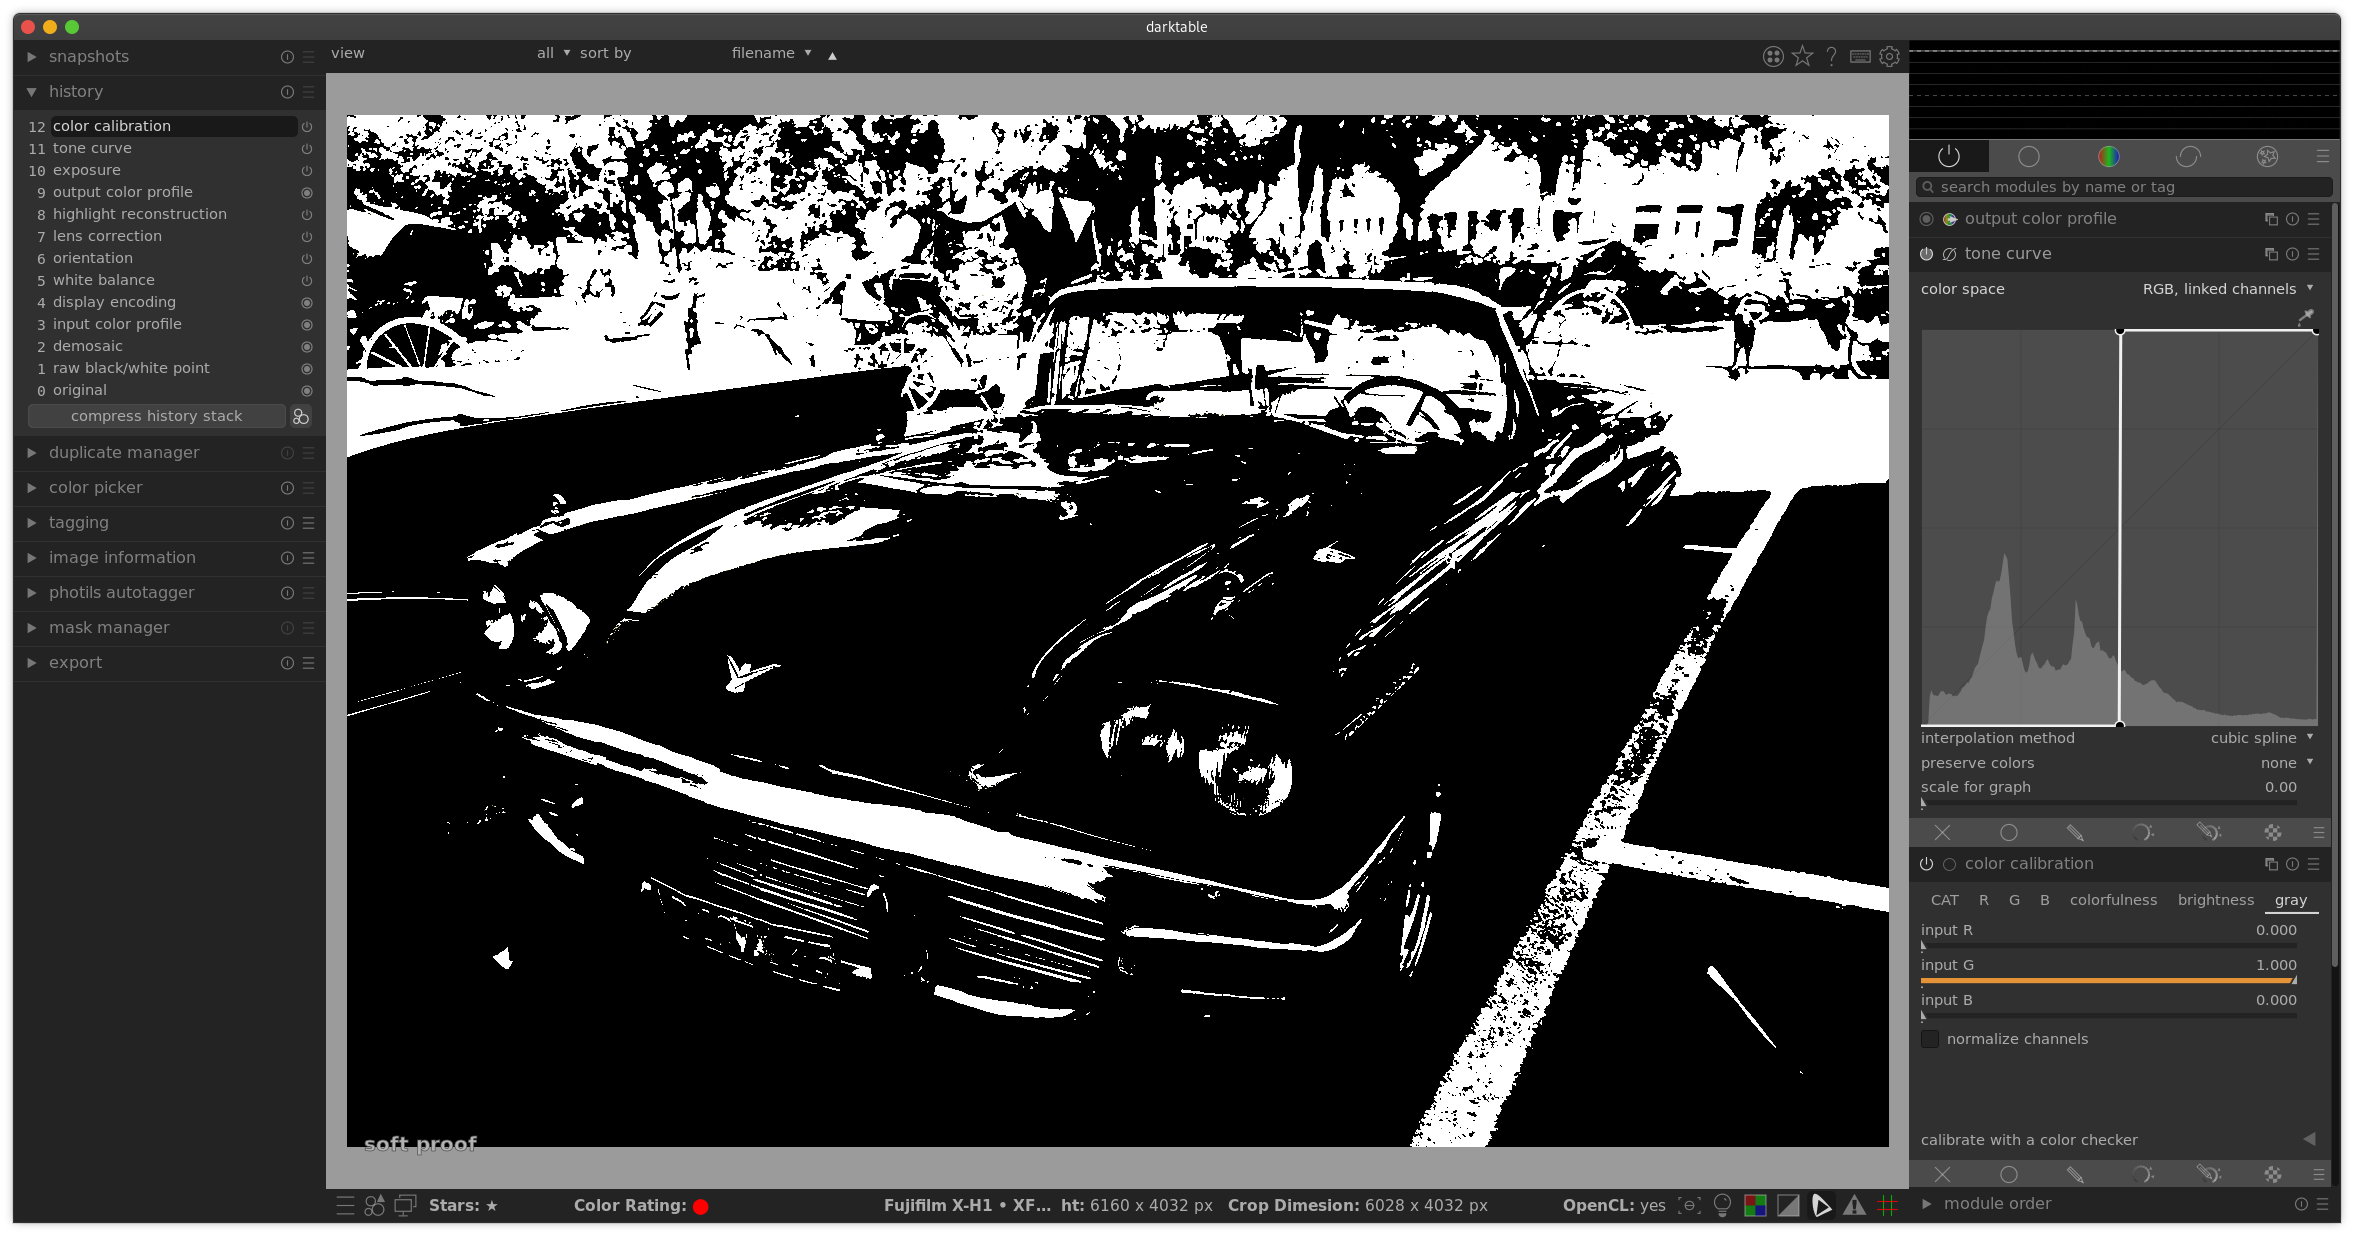
Just with this two modules you can get your desire Black & White, using color calibration and tone curve modules.
Even you can use the color calibration in the gray tab to control the amount of red, green or blue present in the image and of course this affect the image in every color.
As you can see I used cubic spline as interpolation method and none as preserve colors.
I make some screenshots.
Here you can see the values for the two points of the curve.
I have found it easier to use two instances of the rgb tone curve (or tone curve if you prefer). Because there is no step curve, you need to fix both points to move the cut-off point. The second instance (black) can be set to go at zero almost to full white, and I adjust the cut-off point by adjusting the luminosity mask in the first instance (white). Also in the old tone curve module, if you move the left point beyond the right point, it is deleted and you need to restart.
It’s probably easy to use two instances of exposure module – set one to add +16EV, with a parametric mask selecting pixels with luminosity above a certain threshold, and add a second instance that uses a raster mask based in the inverse of the mask defined in the first exposure module instance, and it sets exposure of the remaining pixels to -16EV. Modifying the parametric mask in the first exposure module then automatically affects the second exposure module. Finally, in filmic narrow the dynamic range so that those exposure adjustments push you hard into the rolloff regions of the S-curve, and you are done.
So, if you look at the toolchain, I have after getting to linear RGB: 1) filmic tone curve, 2) grayscale, and 3) a control-point curve. You really need a decent tone curve before you do the BW shenanigans to put all the tones where you can work with them. With the control-point curve, it then becomes an exercise in placing the bottom-left and top-right control points where you want them, sliding bottom-left along the bottom and top-right along the top. You’ll know when you slide one or the other too far, the image will go ‘negative’. This way, you don’t have to switch tools to work the effect. I’m assuming RT/dt control point curve will work in this fashion…