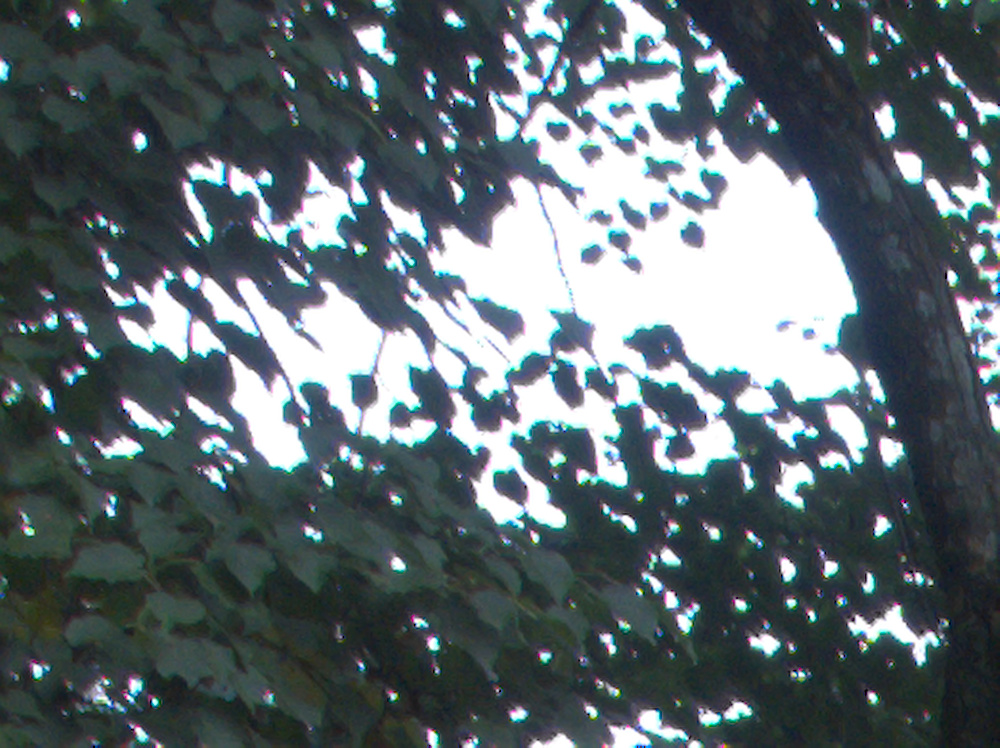
purple fringing

ok, thanks for the interesting answer.
You see, defringe does help but it does change the rest of the image, too (usually to desaturation), according to my experience.
Defringe in RT seems to do a better job than in dt, btw.

Yes I’ve noticed that too. It might help to compensate by increasing color balance saturation a little more? I haven’t really tried it.

1 Like

yes, that’s what I usually do. But defringe does not always work. Hard to find good examples though… and it’s definitely not always magenta.

Usually cheap, low-quality lenses create lots off CA.

The Olympus 9-18mm is not a cheap lens from my point of view. But it is probably the smallest ultrawide lens that exists.

Olympus M.ZUIKO DIGITAL ED 9-18mm f4.0-5.6 - DxOMark - quite bad CA measurements.

2 Likes

It is difficult to judge, without the raw. When I take your play raw from the Erlaufschlucht as an example, the fringing appears in regions of the sky that are over exposed. There is not only purple fringing but also a complementary greenish edge. So, this looks to me like chromatic aberratins.

However in darktable the chromatic aberration module does not realy work in this example. In contrast the defringe module does quite fine:

Sometimes the color zone module can also be helpfull:


P9120141(1).orf.xmp (5.8 KB)

Here’s my RT version of the above crop


P9120141.orf.pp3 (14.0 KB)

3 Likes

Have a look at the pp3 :wink:

Mainly defringe + raw-ca-correction with 5 iterations

Yes, I already found the sidecar file :wink: and withdrew the post. Your result looks good!

1 Like

@Thomas_Do
For the above crop, the 5 raw-ca-correction iterations were not really necessary, but for this crop they improved the result (left 1 iteration, right 5 iterations)

The best I could do in darktable was a combination of “highlight recobstruction” in LCh and “defringe” static threshold, edge detection radius 8.4.

Well, I can confirm that RT is always better with this lens as far as CA and/or purple fringing is concerned.

I only want to mention that sometimes dt defringe does this:


(second screenshot without defringe)

I think some modules such as filmic sometimes make fringes worse.

But I wanted to come back to the question what purple fringing actually is any how it is generated.
Only @Soupy said something. So apparently it’s partly clippend highlights. But they cannot be clipped highlights if they are cyan or green.
And the modules chromatic aberrations/lens correction sometimes also make CA worse. In most cases the module chromatic aberration seems to be more effective than lens correction.

I think I must do more tests with a good UV filter and smaller aperture. But I also want to mention that apparently it’s not only the lens but some camera sensors are more sensitive to UV light.

1 Like

Well, as already said, it is probably difficult to design an ultra-wide lens that is so compact. So compromises are necessary. It is true that it is not a super expensive lens.

1 Like
1 Like

As far as raw ca correction is concerned, dt uses an elder version of the algorithm, which does support only one iteration while RT supports up to 5 iterations.

Here’s an example from your latest play raw (top left no raw ca correction, bottom left one iteration (what dt supports), top right two iterations, bottom right 5 iterations)

Default in RT is 2 iterations. I think it’s a quite good default.

1 Like

Many possible reasons for unexpectedly pink/purplish supposedly neutral areas, mostly already mentioned. These are the most common:

  1. In the highlights, Green channel clipped in the raw file but not the other two channels in, say, daylight. If after white balance R and B are higher than G (because G is clipped and remains unchanged), the resulting tone is purplish instead of neutral. In the RT Exposure module you can uncheck ‘Clip out of gamut colors’, check ‘Highlight reconstruction’ and play with the rest of the sliders, including Highlight compression to your liking. In theory this can be fixed ‘perfectly’ if the underlying subject was neutral.

  2. Lateral CA: greenish on one side of a high contrast target like a branch, reddish on the other. The three color planes are out of alignment where this happens because of varying magnification away from the optical axis. You can typically fix the alignment quite accurately by playing with the CA module in RT.

  3. Longitudinal (axial) CA: purplish tinge bleeds into high contrast targets like branches against the sky. The three color channels have slightly different focal planes. Most current solutions are palliative (e.g. ‘defringe’).

It is possible to have all three in a capture. The crop shown by @Thomas_Do shows very obvious strong lateral CA. The small branches seem to be affected by axial CA.

Jack

3 Likes

Is this lens supported by lenslensfun? You can correct CA from lensfun as well.

1 Like

I don’t know what can be done with darktable, but as a user of cheap lenses I’ve had to develop a system to remove chromatic aberrations, mainly by the (unorthodox) use of the defringe tool.

This is what I could get from your latest playraw:

P9120141
P9120141.jpg.out.pp3 (13.4 KB)

I must say that a perfect image from your raw is quite unlikely, TBH: there are big aberrations that will lead to gray borders unless you take a lot of care with them. In this crop I have:

  • used CA with just one iteration: mainly because it seems to be enough, but also to compare results with darktable. If you use 2 iterations (default) the image may be better in certain areas, but the gray borders are wider
  • even though I have lowered the exposure, I also have left it at a point where the highlights are burned (clipped). This way it helps to hide a bit those gray borders
  • the most part of the trick is how I use the defringe tool: look carefully and you will notice that all the color points are raised at least one pixel or so. This assists to remove lots of artifacts here and there (not only on the highlights). Look on the highlights on the stones, the grass, or the streaks of water while turning the tool on and off. Look also on the trunk of the rightmost part of the image. Of course this leads to some loss of color in the image, but I usually choose a midpoint where the colors look natural (or at least believable). The trickiest point here comes after you have removed the undesired fringes. Then you have to carefully choose the appropriate radius (I almost always leave the Threshold at 0). Too much and you will introduce gray borders. Too low and not all fringes will be removed.

Of course the best solution would be a better lens :wink:

Hope it helps

4 Likes

how?
edit: ok, I just checked, that’s obviously the lens correction module.